11 Privacy Ideas for Backyard Spaces with Better Seclusion
A backyard that blocks prying eyes and softens neighborhood noise changes how you use your outdoor space. You stop worrying about who's watching and start actually relaxing.
These 11 privacy ideas range from quick weekend fixes to long-term upgrades, so you can pick what fits your budget and yard. Each one focuses on real seclusion, not just decoration.
Whether you rent or own, have a tiny patio or a sprawling lawn, there's a solution here that works. Let's get you the kind of backyard where you can sip coffee in peace.
1. Plant a Living Wall with Fast-Growing Evergreens
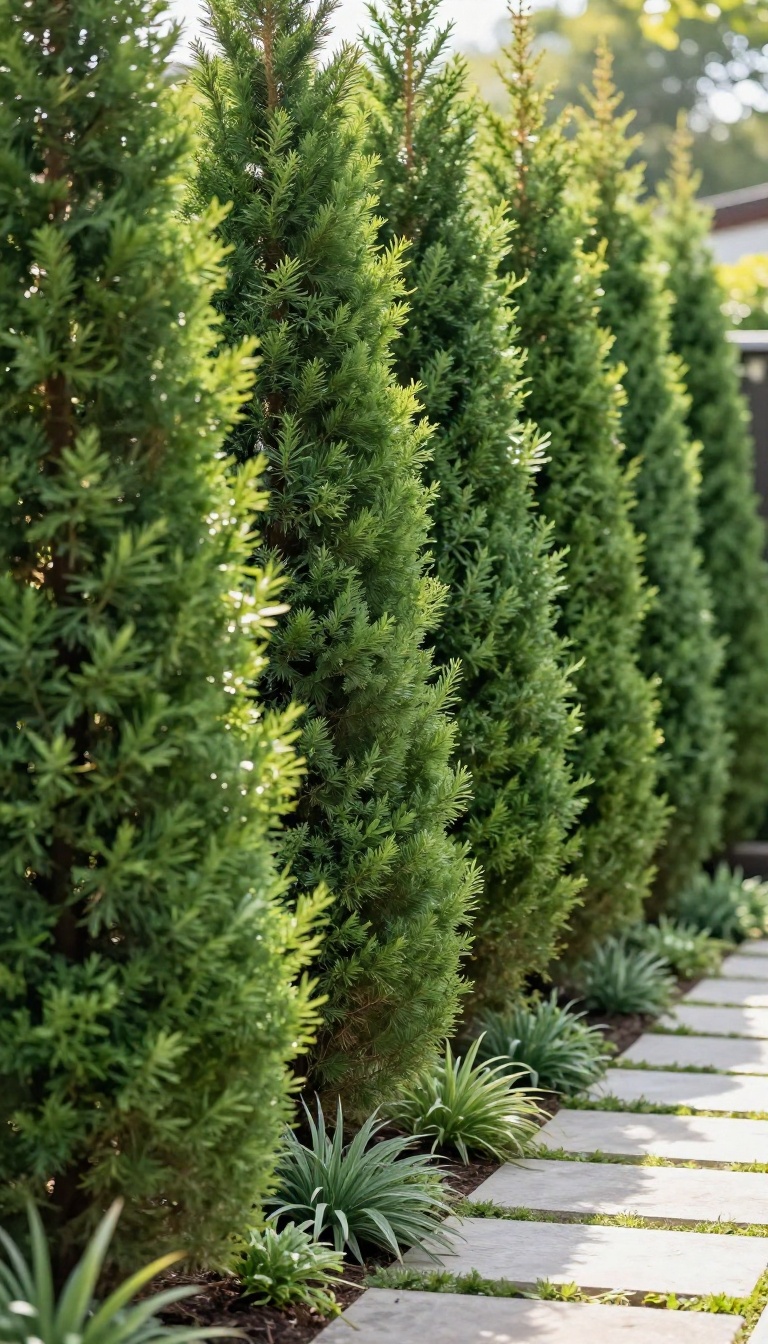
A living wall of evergreens gives you privacy that looks good year-round and grows faster than you might think. Unlike fences that need staining or repair, these plants fill in, thicken up, and naturally block sightlines while softening noise. You get a green screen that feels organic and intentional, not like a barricade.
Evergreens are the backbone of backyard privacy because they keep their leaves or needles through winter, so you're not left exposed when deciduous trees drop. The key is picking species that grow quickly, tolerate your climate, and fit the height you need without becoming a nightmare to maintain. Arborvitae, bamboo, and clumping bamboo are three top contenders, each with its own strengths and quirks.
Plant them right, and you'll have a dense, living barrier within a couple of seasons.
Best Evergreens For Quick Coverage
Arborvitae (Thuja) is a go-to for many homeowners because it grows fast—up to 3 feet per year in good conditions—and stays narrow, making it perfect for tight spaces. 'Green Giant' is a popular variety that reaches 40-60 feet tall if you let it, but you can keep it trimmed to 10-15 feet for a hedge. Bamboo, on the other hand, gets a bad rap for spreading, but clumping bamboo (like Fargesia) stays in a tidy clump and won't take over your yard. Running bamboo can be invasive, so stick with clumping types unless you install a rhizome barrier.
Both arborvitae and clumping bamboo provide dense, year-round screening and absorb sound better than a solid fence.
How To Plant For Fast, Dense Growth
Spacing matters more than you think. Plant arborvitae about 2-3 feet apart for a quick hedge, or 3-4 feet if you're patient. Clumping bamboo should be spaced 3-5 feet apart, depending on the variety.
Dig a hole twice as wide as the root ball but no deeper than the root ball itself. Backfill with native soil, water deeply, and add a 2-3 inch layer of mulch to retain moisture and suppress weeds. The first year is critical: water regularly, especially during dry spells, and resist the urge to fertilize until the second growing season.
A slow-release fertilizer in early spring will boost growth without burning roots.
Keeping Your Living Wall Healthy And Neat
Once established, evergreens need little beyond occasional pruning to maintain shape and density. For arborvitae, trim lightly in early summer to encourage bushiness, but avoid cutting into old wood—it won't regrow. Clumping bamboo benefits from thinning out old canes in late winter to make room for new shoots.
Watch for common pests like spider mites on arborvitae and bamboo mites on bamboo; a strong blast of water or insecticidal soap usually does the trick. If you live in a snowy area, gently brush off heavy snow to prevent branches from bending or breaking. With minimal care, your living wall will thicken each year and give you the seclusion you want.
2. Install a Slatted Wood Fence for Airflow and Style
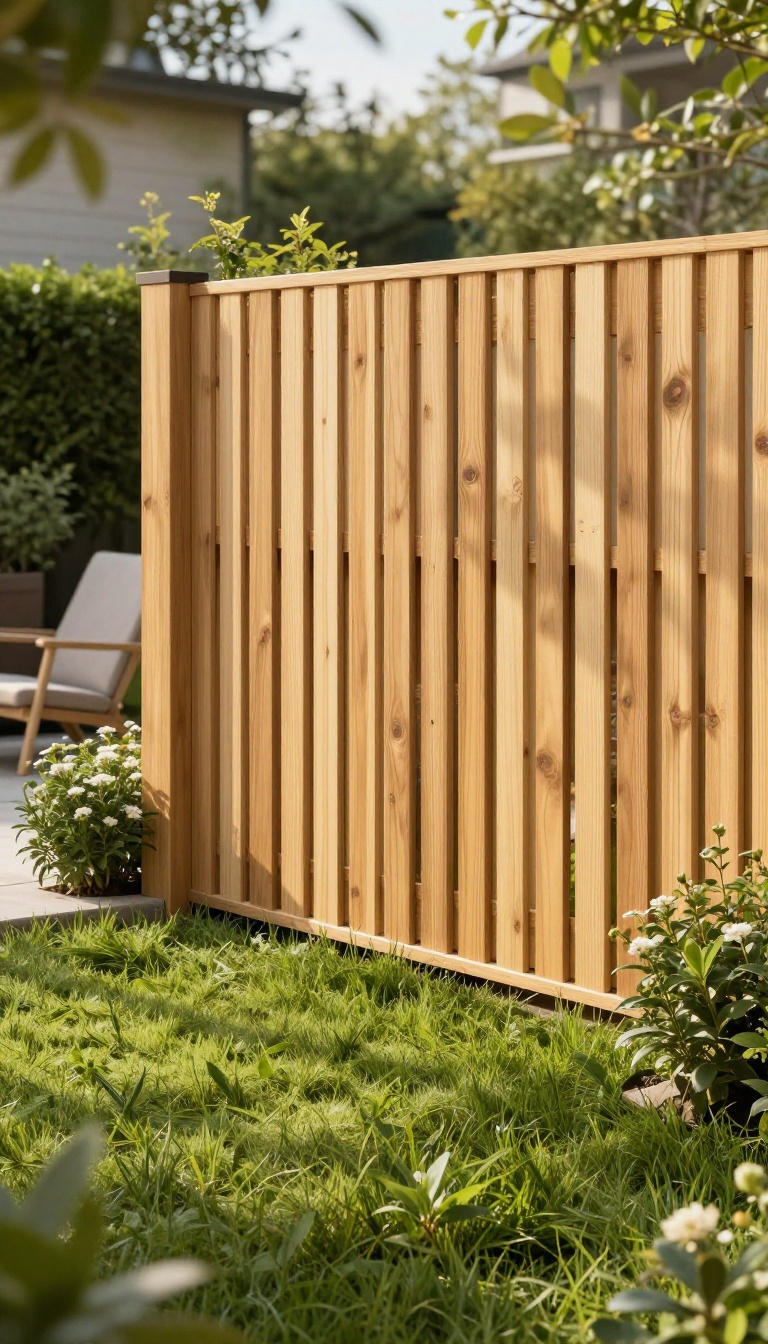
A solid wall of wood gets the job done, but it can leave your yard feeling like a box. Slatted fencing solves that by breaking up the barrier into thin horizontal or vertical strips. You get the privacy you want, plus air moves through and light still filters in.
It's a simple swap that makes a big difference in how your space feels.
Slatted fences work because they block sightlines without blocking everything else. The gaps are small enough that neighbors can't see through, but big enough to let a breeze pass. That airflow keeps your yard from turning into a hot, stagnant pocket on summer days.
And because the design is clean and modern, it looks intentional from both sides, not just yours.
Horizontal Vs. Vertical Slats
Horizontal slats create a calm, contemporary look and make your yard feel wider. They're great for low fences or as a topper on an existing wall. Vertical slats, on the other hand, add height and a bit of drama.
They also shed rain better and tend to feel more traditional. Pick based on the vibe you want and how much wind you get.
Spacing And Privacy Level
The gap between slats controls how much privacy you actually get. A 1/2-inch gap gives you near-total seclusion, while 1 to 2 inches lets more light through but might reveal silhouettes. For most backyards, a 3/4-inch gap hits the sweet spot.
If you're on a slope or have close neighbors, go tighter.
Materials And Maintenance
Cedar and redwood are popular because they resist rot and look great as they age. Pressure-treated pine costs less but needs staining every couple of years. For a low-maintenance option, consider composite or metal slats that mimic wood.
Whatever you choose, seal the cut ends and check for loose screws after big storms.
3. Add a Pergola with Climbing Vines or Shade Cloth
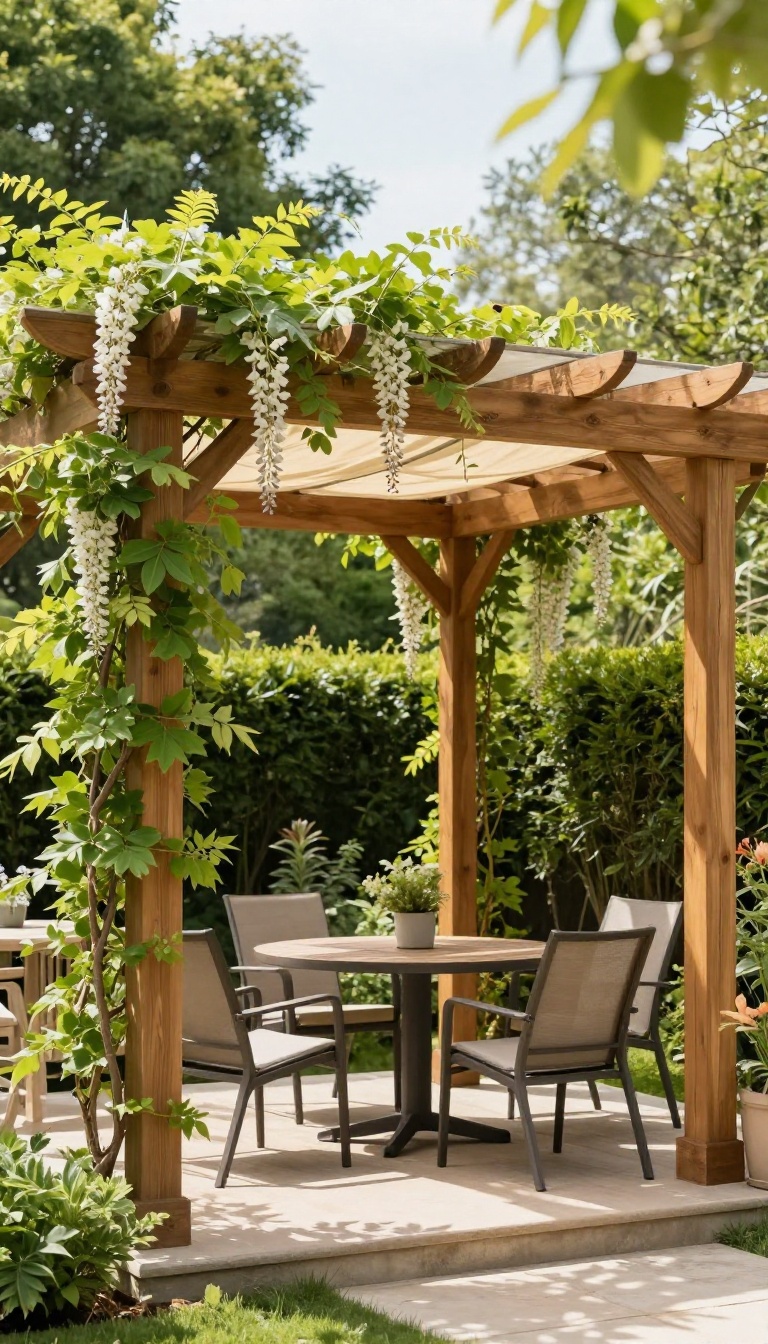
A pergola sits somewhere between a roof and open sky. It frames the space above you without sealing it off, so light still moves through while sightlines from nearby windows and second stories get broken up. Add climbing plants or fabric panels and that frame starts doing real privacy work.
The overhead structure blocks the straight-down view, and the vertical fill softens the angles from the sides. It is one of the few upgrades that feels just as good in a small courtyard as it does over a full patio.
The trick with a pergola is that the structure alone rarely gives you full seclusion. You need something growing on it or stretched across it to close the gaps. That is also what makes it flexible.
You can dial the coverage up or down depending on the season, the plant growth, and how much shade you actually want. Start with the frame, then choose your fill based on your climate, your patience, and how permanent you want the result to be.
Pick A Size That Actually Covers Your Seating
Measure the area where you sit, not the whole patio. A pergola that spans eight by ten feet usually covers a dining set or a pair of lounge chairs without overwhelming a modest yard. If you go too big, you spend more money and still end up with open edges where the view cuts through.
If you go too small, you sit half in the shade and half on display. Mark the footprint with stakes or painter's tape before you buy anything. Standing inside that outline for a minute tells you more than any showroom photo.
Choose Vines That Match Your Climate And Patience
Fast growers like wisteria, trumpet vine, and hops can cover a pergola in a season or two, but they need regular trimming to stay off your roof and gutters. Slower options like climbing hydrangea or jasmine take longer but behave better. Check whether the vine is evergreen in your zone.
A deciduous climber gives you privacy in summer and a bare skeleton in winter, which may or may not bother you. Plant at the base of the posts, not in the middle of the patio. Roots need room, and you do not want to cut into your hardscape to make space.
Use Shade Cloth When You Want Privacy Now
Fabric panels give you instant coverage while plants are still filling in. A 70 to 90 percent shade cloth draped over the top cuts glare and blocks upward views without turning the space into a cave. You can also run panels down one or two sides for extra screening from a specific neighbor or street.
Attach them with grommets, zip ties, or a simple tension wire so they stay tight in wind. Take them down or swap them seasonally if you want more sun in winter. That flexibility is the whole point of going with fabric instead of a solid roof.
Keep The Structure Safe And Secure
Anything overhead needs to handle wind, rain, and the weight of wet vines. Anchor the posts into concrete footings or use a sturdy base designed for your surface, especially on decks. Leave a small gap between the top of the pergola and your house if it sits close to a wall.
That keeps debris from collecting and gives you room to clean. Trim vines away from electrical lines, roof shingles, and windows. A little maintenance twice a year keeps the privacy without creating a problem you have to fix later.
4. Use Outdoor Curtains on a Covered Patio
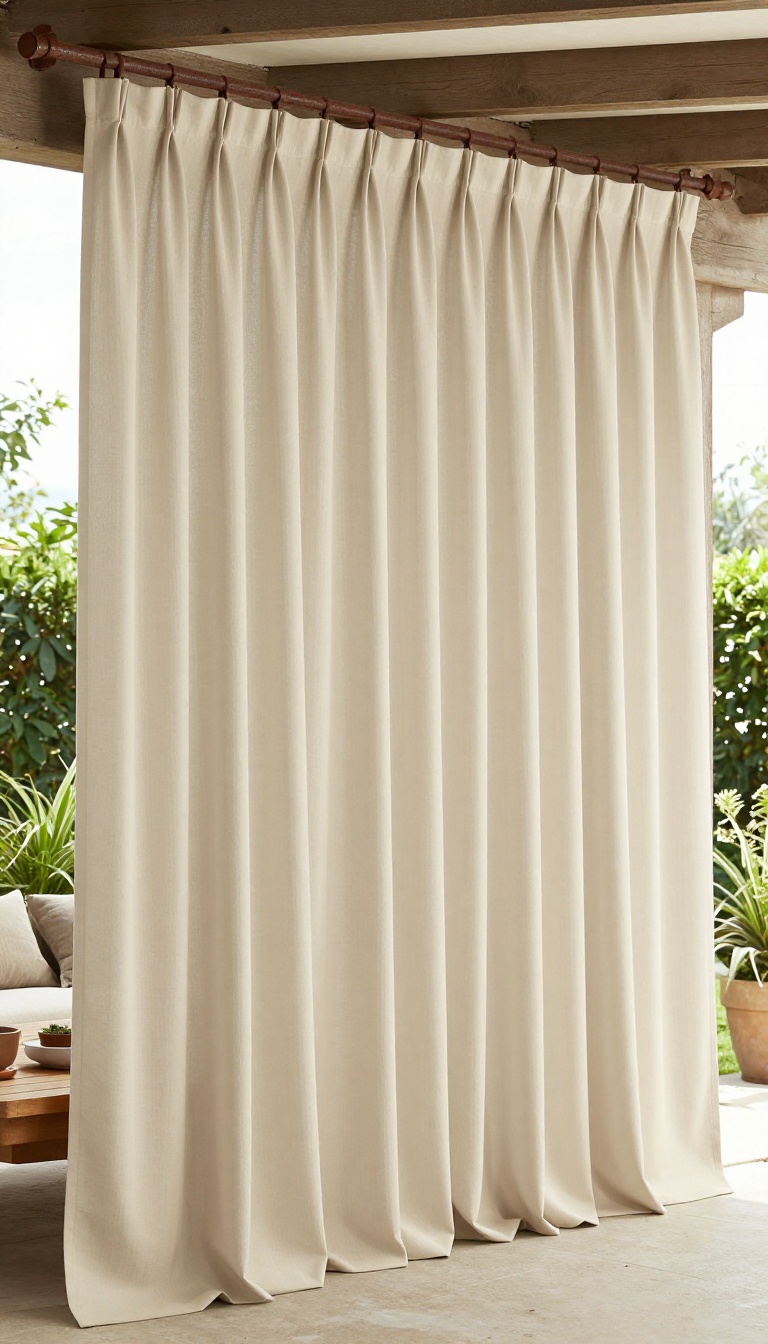
Outdoor curtains turn a covered patio into a room that opens and closes on your terms. Hang them from a pergola, porch beam, or gazebo frame, and you get privacy in seconds without blocking the breeze. Pull them back when you want the view, and close them when you don't.
The trick is picking curtains made for the outdoors. Regular indoor fabric will fade, mildew, and sag after a season of sun and rain. Look for solution-dyed acrylic or treated polyester, and check that the label says weather-resistant or outdoor-safe.
You'll also need a rod that can handle the weight and the elements. A rust-proof curtain rod or a tension wire between posts works well. If your structure doesn't have a good anchor point, use adhesive hooks rated for outdoor use—just make sure they're on a clean, dry surface.
Hanging them is straightforward. Measure your opening, add a few inches on each side for overlap, and choose a length that either grazes the floor or stops a few inches above it. Tiebacks or curtain rings let you gather them neatly when they're open.
Pick The Right Fabric
Solution-dyed acrylic holds color and resists mold better than most. If you want a lighter look, choose a breathable outdoor sheer—it still gives privacy while letting air move through.
Mount Them Securely
A sturdy rod or wire is key. For pergolas, wrap straps around the beams. For porches, screw brackets into the wood or use heavy-duty adhesive hooks on smooth surfaces.
Make Them Easy To Open
Tiebacks, curtain rings, or a simple hook-and-loop strap keep curtains tidy when you want an open view. Choose a style you can operate with one hand while holding a drink.
5. Build a Privacy Screen with Reclaimed Materials
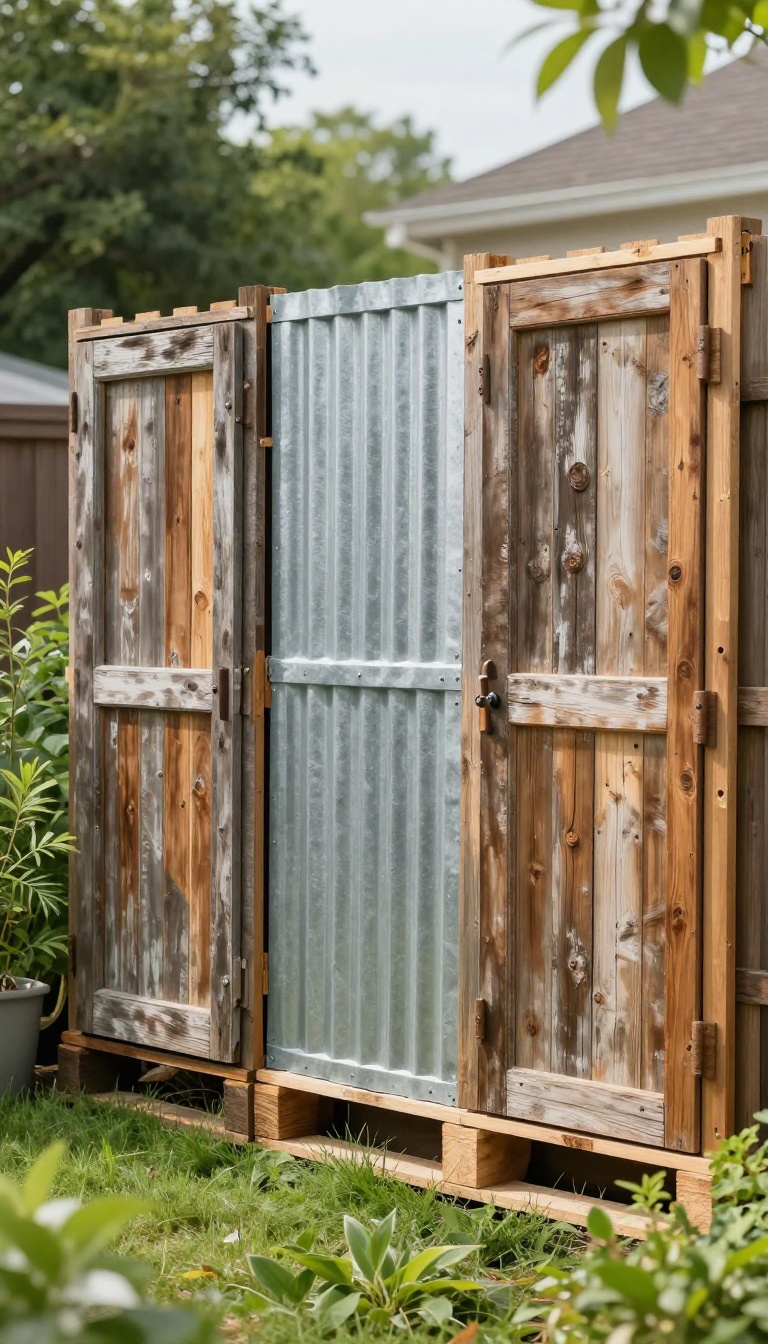
Reclaimed materials give you a privacy screen that doesn't look like everyone else's. Old doors, pallets, and corrugated metal can all work, and they often cost less than new lumber. The result is a barrier with texture and history that blocks views without feeling generic.
The best part about going reclaimed is that you're not limited to one look. You can mix materials to match your style, whether that's rustic, industrial, or something in between. Plus, you're keeping usable stuff out of the landfill, which feels good every time you look at it.
Where To Find Materials
Check local salvage yards, online marketplaces, and even your own garage. Old doors show up on curb alerts and estate sales. Pallets are often free behind stores.
Corrugated metal might come from a torn-down shed. Ask around—people are usually happy to get rid of this stuff.
Putting It Together
Start with a sturdy frame using pressure-treated posts. Attach your reclaimed pieces horizontally or vertically, leaving small gaps for airflow. Use screws or nails that won't rust.
If you're using doors, hinge them so you can open the screen for access. For pallets, cut them to size and sand rough edges.
Making It Last
Reclaimed wood can be weathered, so seal it with an outdoor stain or paint. Metal might need a rust-inhibiting primer. Check for loose pieces each season and tighten as needed.
With a little care, your screen will hold up for years and keep looking better with age.
6. Create a Sunken or Raised Seating Area
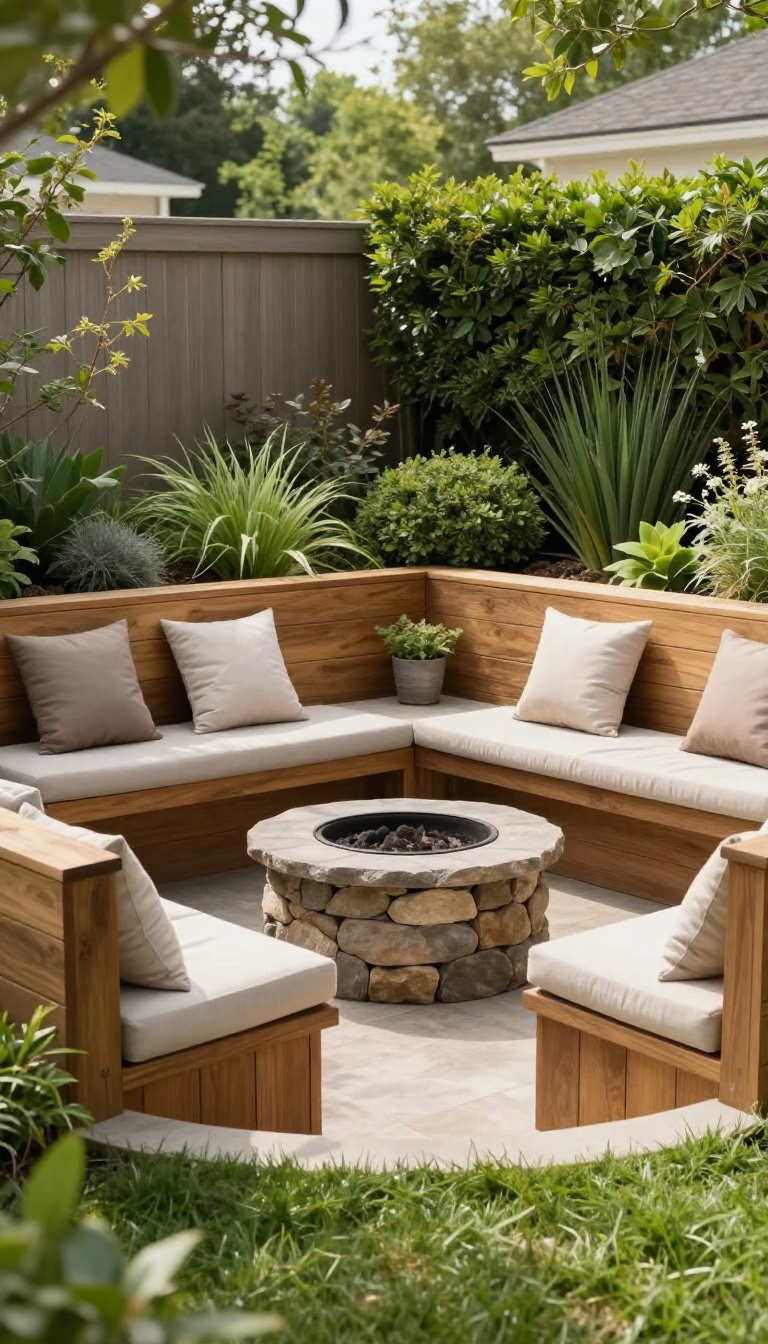
Flat yards put you at eye level with every passerby, which is why a change in grade can feel like a privacy upgrade. Dig down a couple of feet or build up a platform, and suddenly you're sitting in a spot that's harder to see from the street. It's a structural move, but it pays off with a tucked-away feel that fencing alone can't match.
A sunken or raised seating area works because it changes the sightline. When you're lower than the surrounding ground, the earth itself becomes a natural screen. When you're higher, you're above the nosy angle of neighbors looking across a shared fence.
Either way, you're not just adding a patio—you're reshaping how your yard relates to the outside world. This idea takes more planning than hanging a curtain, but it's not out of reach for a handy homeowner or a modest landscaping budget. The key is to work with your existing slope and soil instead of fighting it.
A gentle grade change is often enough to create that cozy, hidden feeling. Before you grab a shovel, think about drainage, access, and how you'll use the space. A sunken fire pit area needs a way for water to escape.
A raised deck needs safe steps and a railing. Get those basics right, and you'll have a private retreat that feels intentional, not improvised.
Why Grade Changes Work For Privacy
Sitting below grade puts the ground between you and curious eyes. Even a 12- to 18-inch drop can hide you from the street when you're seated. That's often all it takes to feel out of view.
Raised areas flip the script. You're not hiding behind a wall; you're above the line of sight that usually makes you visible. Neighbors looking over a fence see less of you when you're on a platform.
It's a simple trick of angles.
Sunken Patio Basics
A sunken patio is essentially a shallow excavation with retaining walls on the sides. You can use timber, stone, or concrete blocks to hold back the soil. The floor can be gravel, pavers, or decking.
Drainage is the make-or-break detail. Water needs somewhere to go, so slope the base slightly toward a drain or French drain. If your yard stays wet, a raised option might be smarter.
Keep the depth modest—12 to 24 inches is plenty for privacy without turning your patio into a pit. Add built-in benches along the walls to save space and boost the snug feel.
Raised Deck And Platform Tips
A raised deck lifts you above the fence line, which can reduce views from the street and nearby windows. It also gives you a dry, level surface on a sloped yard. Build to a height that feels comfortable, not precarious.
Anything over 30 inches usually needs a railing, and that railing can double as a privacy screen with added panels or planters. Use the space under the deck for storage or a shaded hangout. That lower level can be another private nook if you enclose it with lattice or slatted screens.
Planting And Screening Around The Grade
Once the grade is set, plants can finish the job. Shrubs along the top edge of a sunken patio add a soft barrier. Tall grasses or evergreens around a raised deck block sightlines without blocking light.
Climbing vines on a retaining wall or railing turn hard edges into green screens. Just make sure they don't creep into your seating area or block airflow. Layered planting—low plants in front, taller ones behind—creates depth and makes the space feel enclosed.
It's the same principle as a hedge, but tailored to your new levels.
7. Add a Water Feature to Mask Noise
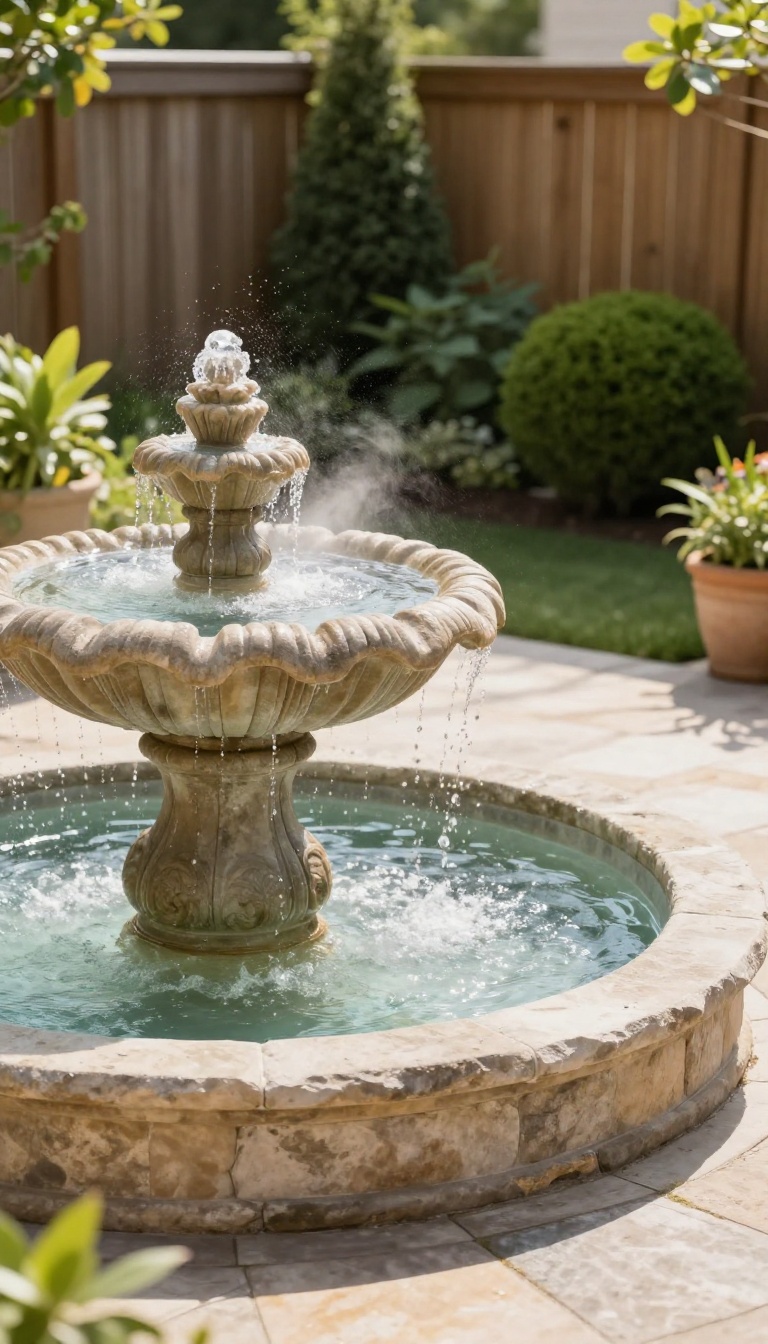
Privacy isn't only about what your neighbors can see. Sometimes the bigger problem is what you can hear — their conversation, their lawnmower, the steady hum of traffic on the road behind your fence. A water feature won't block a single sightline, but the sound of moving water does something screens and hedges can't: it fills the air with a soft, steady texture that makes nearby noise fade into the background.
Think of it as a sound curtain instead of a visual one.
The trick is matching the water sound to the noise you're trying to cover. A gentle trickle won't do much against a busy road, and a crashing waterfall next to a quiet patio can feel like too much. Get the volume and tone right, and you'll notice the difference the first evening you sit outside.
Pick The Right Sound Level
Splashing and falling water create broadband sound, which is why it masks speech and traffic so well. A tall fountain with a drop of a foot or more throws more noise than a low bubbler. For light masking, a small recirculating fountain works fine.
For constant road noise, look at a tiered fountain or a waterfall-style feature with a wider spillway.
Place It Between You And The Noise
Sound travels in straight lines, so put the water feature on the side of the patio facing the noise source. If traffic comes from the street, set it near that edge of the yard. If it's a chatty neighbor, angle it toward their fence line.
You don't need it huge — placement does more work than size.
Keep It Running Without The Hassle
A solar pump runs quietly and costs nothing to operate, though it slows on cloudy days. A plug-in pump with a timer gives you consistent flow and lets you shut it off at night. Either way, check the water level weekly and rinse the pump intake now and then.
A five-minute routine keeps the sound steady all season.
8. Plant a Tall Hedge with a Mixed Border
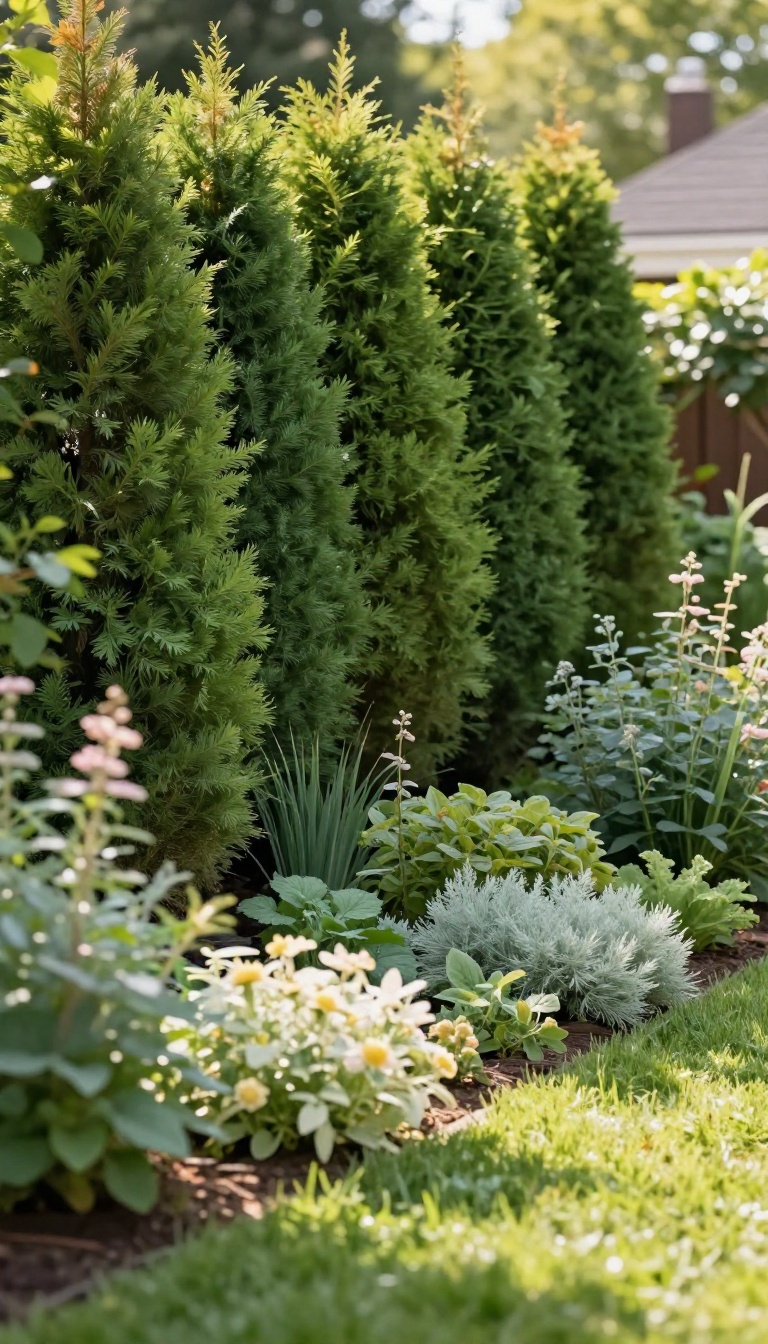
A single row of shrubs does the job, but it looks like a single row of shrubs. Layer in smaller plants around it and suddenly you have a barrier that reads as a garden, not a fence substitute. The tall hedge gives you height and density; the mixed border hides its ankles and softens the transition to lawn or patio.
This approach works because privacy screens often fail at eye level and below. A tall hedge blocks the long view, while the border fills the gaps where neighbors or passersby might still catch a glimpse. It also looks intentional, like you planned a landscape instead of just planting a wall.
You can scale this up or down depending on your space. A tight city lot might need a narrow column of evergreens with a slim ribbon of perennials. A bigger yard can handle a deep, layered bed that doubles as a habitat for birds and pollinators.
The trick is to think in layers: tall, medium, and low. Your tall hedge is the backbone. The medium layer adds visual weight and blocks mid-level sightlines.
The low layer covers the ground and keeps the whole thing from looking like it's floating. You don't need a huge budget or a team of landscapers. Start with the hedge, then add border plants over a season or two.
The hedge does the heavy lifting right away, and the border fills in around it. Choose plants that match your light, soil, and climate. A mixed border isn't about rare specimens; it's about reliable performers that look good together and don't need constant fussing.
Once it's established, this kind of planting gets denser and more private every year.
Pick The Right Tall Hedge
Evergreens give you year-round privacy, which matters if you live somewhere with real winters. Arborvitae, holly, and upright juniper are common choices because they stay dense and grow relatively fast. If you want something more relaxed, consider a tall deciduous shrub like viburnum or a columnar hornbeam that holds its leaves late.
Check the mature height and width before you buy. A hedge that wants to be 15 feet wide won't fit a 3-foot strip. Also think about growth rate: fast growers give you privacy sooner but need more pruning.
Slow growers are lower maintenance but test your patience. Plant in a straight line or a gentle curve, depending on your style. Space them according to the tag so they knit together into a solid wall instead of a row of lonely bushes.
Build The Border In Layers
Start with medium shrubs that fill the space between the hedge's base and the lawn. Think hydrangea, ninebark, or smaller evergreens like boxwood. These add body and block views through the lower half of the hedge.
Then add perennials and grasses for texture and seasonal color. Ornamental grasses are especially good because they move in the breeze and stay upright through winter. Coneflowers, salvia, and ferns fill in nicely depending on your light.
Finish with a low groundcover or tidy edging to keep the bed looking sharp. This bottom layer suppresses weeds and makes the whole planting look deliberate rather than wild.
Keep It Looking Good With Minimal Work
Water deeply and regularly for the first year or two. Once roots are established, most mixed borders only need help during dry spells. Mulch with bark or leaves to hold moisture and keep weeds down.
Prune the hedge once or twice a year to maintain density. Don't shear it into a tight box unless you want that formal look; a light shaping keeps it natural. Cut back perennials in early spring to make room for new growth.
If a plant isn't thriving, move it or replace it. A mixed border is forgiving because you're not relying on a single species. Swap in something that likes your conditions and the whole thing keeps working.
9. Use Outdoor Shades or Roll-Up Blinds
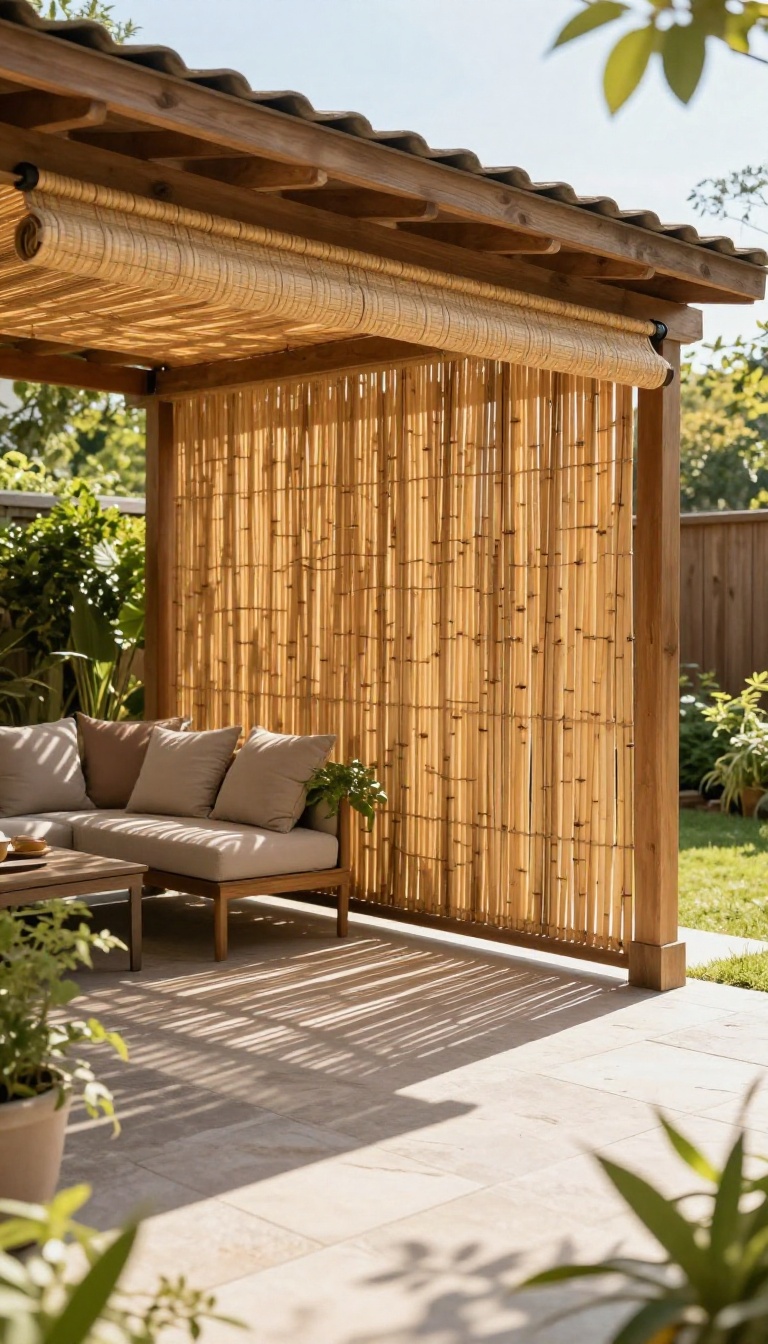
Roll-up shades give you privacy on demand, which is something fixed screens can't do. You mount them under an eave, along a fence top, or between posts, then drop them when you want to block a sightline. One pull of a cord and the yard closes up; another pull and the breeze comes back.
Bamboo, reed, and solar shades all work here, and each one changes the feel of the space differently. The right pick depends on how much wind you get, how much sun you're fighting, and whether you want a natural look or something more modern.
The appeal of a roll-up blind is that it's adjustable. You're not committing to a permanent wall or a hedge that takes three years to fill in. On a Saturday afternoon you can have shade and seclusion; by evening you can roll it up and watch the stars.
They also handle awkward spaces well. That narrow gap between the garage and the fence, the open side of a pergola, the spot where your neighbor's second-story window looks straight down into your yard. A shade covers it without a construction project.
Pick The Right Material
Bamboo and reed shades give a warm, tropical look and block most of the view. They're great for covered patios, but they can fray in constant wind or heavy rain. Solar shades are made from a woven mesh that cuts glare and blocks visibility while still letting air move through.
If your yard gets a lot of breeze, go solar. If you want a softer, more natural vibe and you have some overhead protection, bamboo is the better call.
Mounting Without A Headache
You don't need a contractor. Most roll-up shades come with hooks or brackets that screw into wood, and a fence or eave usually has plenty of solid spots. For a freestanding setup, run a cable or wire between two posts and hang the shade from that.
Just make sure the mounting point can handle the weight when the shade is fully extended and the wind picks up.
Using Them Well
Roll them down before the sun hits the side of the house, not after, so you're blocking heat instead of trapping it. On windy days, keep them partially rolled or tie them off at the bottom. And if you're covering a gap that faces a neighbor, a double layer of solar shade gives you more privacy without making the space feel like a cave.
10. Arrange Potted Plants as a Movable Screen
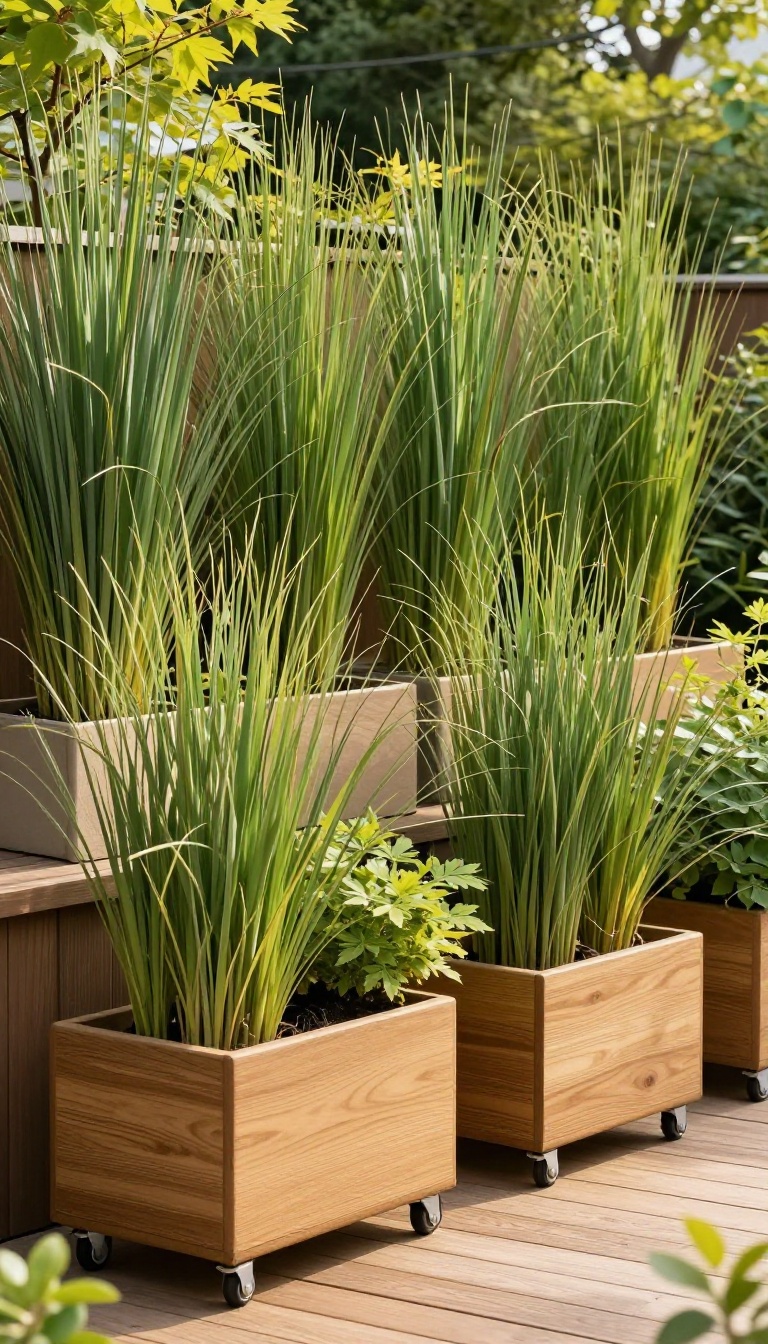
Potted plants give you privacy that can shift with your needs. Instead of committing to a permanent hedge, you can move tall planters around to block a specific sightline, like a neighbor's kitchen window or the street corner where cars slow down. This flexibility makes them a smart pick for renters, small patios, and anyone who likes to rearrange their outdoor space now and then.
The trick is choosing the right plants and containers so the screen actually works. You want height, density, and a look that doesn't scream 'privacy barrier. ' Here's how to make it happen without a lot of fuss.
Pick Plants That Grow Tall And Full
Ornamental grasses like pampas or miscanthus shoot up fast and create a soft, moving wall. Small trees such as dwarf oleander or Japanese maple work too, especially in large pots. Bamboo is another option, but stick with clumping varieties to avoid a runaway takeover.
Whatever you choose, make sure it's happy in a container and gets the sun it needs.
Choose Planters You Can Actually Move
A 20-inch pot full of soil and a plant gets heavy fast. Look for planters with built-in casters or set them on plant caddies so you can roll them into place. Lightweight resin or fiberglass pots are easier to shift than ceramic or concrete.
If you're on a deck, check the weight limit before you load up a row of big planters.
Arrange Them For Maximum Coverage
Stagger the pots in a slight zigzag instead of a straight line. That way, gaps between plants don't line up into a clear view. You can also group taller plants behind shorter ones to fill in the lower gaps.
For a corner that needs extra blocking, cluster three or four pots together and fan them out.
Keep Them Looking Good Year-round
Rotate pots occasionally so all sides get even light and grow evenly. Trim dead leaves and spent blooms to keep the screen dense. In colder months, swap out annuals for evergreens or add a few tall dried grasses.
A little upkeep keeps the privacy intact and the arrangement from looking scraggly.
11. Add a Privacy Fence with a Decorative Topper
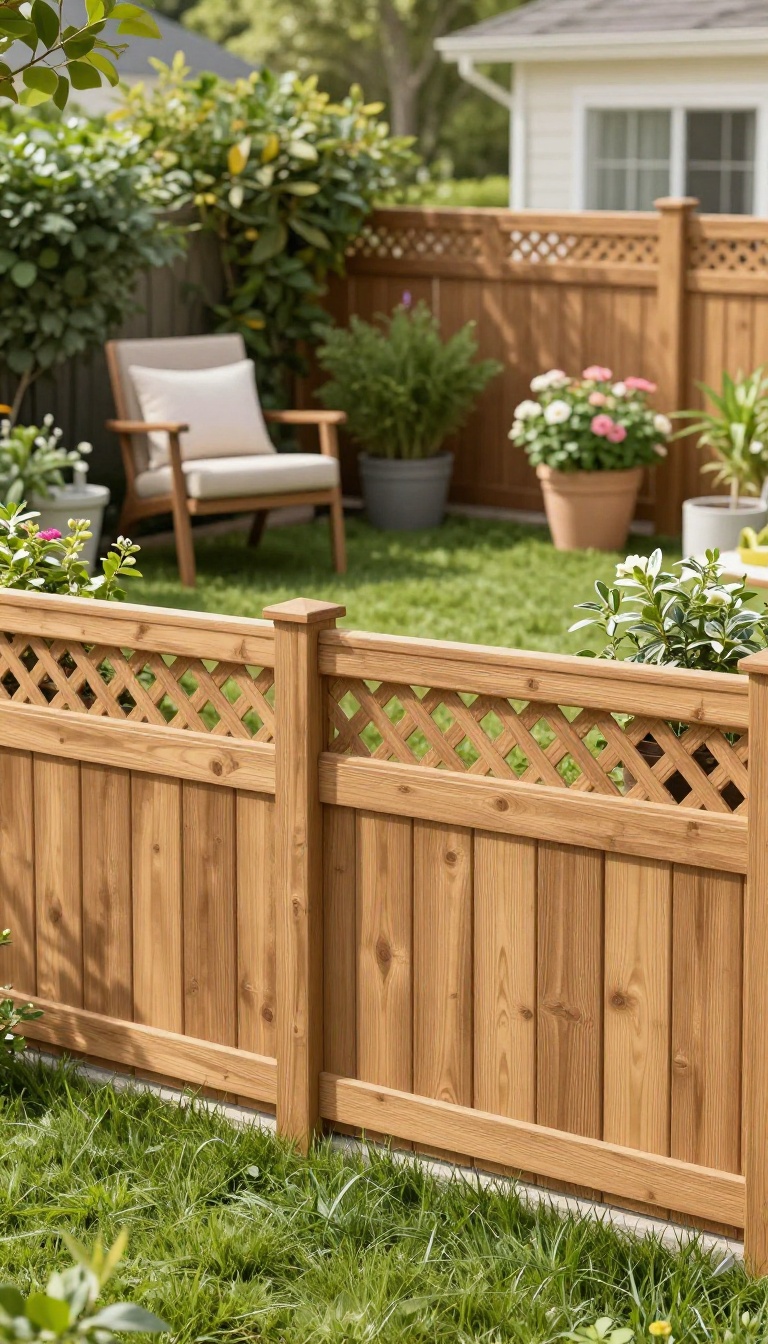
A solid fence gives you the seclusion you want, but it can also make your yard feel like a cage. The trick is to add a decorative topper that lifts the visual height without turning your property into a fortress. Toppers come in all sorts of materials and styles, from classic lattice to modern metal.
They let you customize the look while keeping prying eyes out. Here's how to pick and install a topper that works for your space.
A fence with a topper is a smart way to gain extra privacy because the topper adds height where it counts—above the solid panel. That means you can block sightlines from second-story windows or nosy neighbors standing on tiptoes. Plus, the open design of most toppers keeps air moving and lets some light through, so your yard doesn't feel closed in.
You can buy pre-made toppers or build your own from materials like wood lattice, metal bars, or even bamboo. The key is to match the topper to your existing fence style and your privacy needs. For example, a tight lattice offers more coverage than wide metal bars, but both add a decorative touch.
Choosing The Right Topper Material
Wood lattice is a popular choice because it's affordable and easy to cut to size. It provides decent privacy while still letting breezes through. Metal toppers, like wrought iron or aluminum, are more durable and give a sleek, modern look, but they offer less privacy unless you add climbing plants.
Bamboo or reed fencing can be attached as a topper for a natural, tropical vibe, but it may need more maintenance over time.
Installation Tips For A Clean Look
Start by measuring your fence line and deciding how tall you want the topper to be. A general rule is to add 12 to 18 inches of height for meaningful privacy. Attach the topper securely to the top rail of your fence using screws or brackets designed for outdoor use.
If you're using lattice, you can frame it with trim pieces for a finished edge. For metal toppers, consider hiring a pro if you're not comfortable with welding or drilling into metal.
Combining Toppers With Plants For Extra Coverage
If your topper is open, you can weave in climbing plants like ivy, jasmine, or clematis to fill the gaps. This adds privacy and softens the hard lines of the fence. Just make sure the plants are suitable for your climate and won't damage the fence material.
A trellis attached to the topper can give vines something to grab onto and keep them from spilling over to your neighbor's side.
FAQ
What's the fastest way to get backyard privacy?
Outdoor curtains or roll-up shades can go up in an afternoon and instantly block views. For a natural option, plant fast-growing evergreens like arborvitae, which can add several feet per year.
Do I need a permit to build a privacy fence?
It depends on your local rules. Many areas limit fence height to 6 feet in backyards, and some require permits for anything taller. Check with your city or HOA before you build.
How can I block noise as well as sightlines?
Combine a solid barrier like a fence or dense hedge with a water feature. The barrier blocks some sound, and the moving water masks what's left. Thick evergreens also absorb noise better than thin plants.
What are the best plants for a privacy screen in small yards?
Clumping bamboo, 'Green Giant' arborvitae, and Japanese holly work well in tight spaces. They stay narrow and grow tall without taking over. Just avoid running bamboo, which spreads aggressively.
Can I add privacy without blocking all the light?
Yes. Slatted fences, pergolas with vines, and sheer outdoor curtains let light through while still giving you seclusion. Choose materials with gaps or open weaves to keep the space bright.
Conclusion
You don't need a huge budget or a professional crew to make your backyard feel private. Start with one idea that fits your space and budget, then layer in more as you go.
Even a small change, like a potted screen or a roll-up shade, can make a big difference in how relaxed you feel outside. Pick the solution that matches your yard and your lifestyle, and enjoy the quiet.