13 Large Shower Ideas for a Spacious Spa Inspired Setup
A cramped shower can make your whole bathroom feel smaller than it is. But when you have the space to spread out, the right design can turn your daily rinse into a mini escape.
Whether you're planning a full remodel or just dreaming about upgrades, these large shower ideas focus on making the most of every square foot. The key is to think beyond the basic enclosure.
A spacious shower isn't just about size—it's about flow, light, and materials that feel good underfoot. From curbless entries to double showerheads, small choices can make a big difference in how open and airy the space feels.
1. Go Curbless for a Seamless Transition
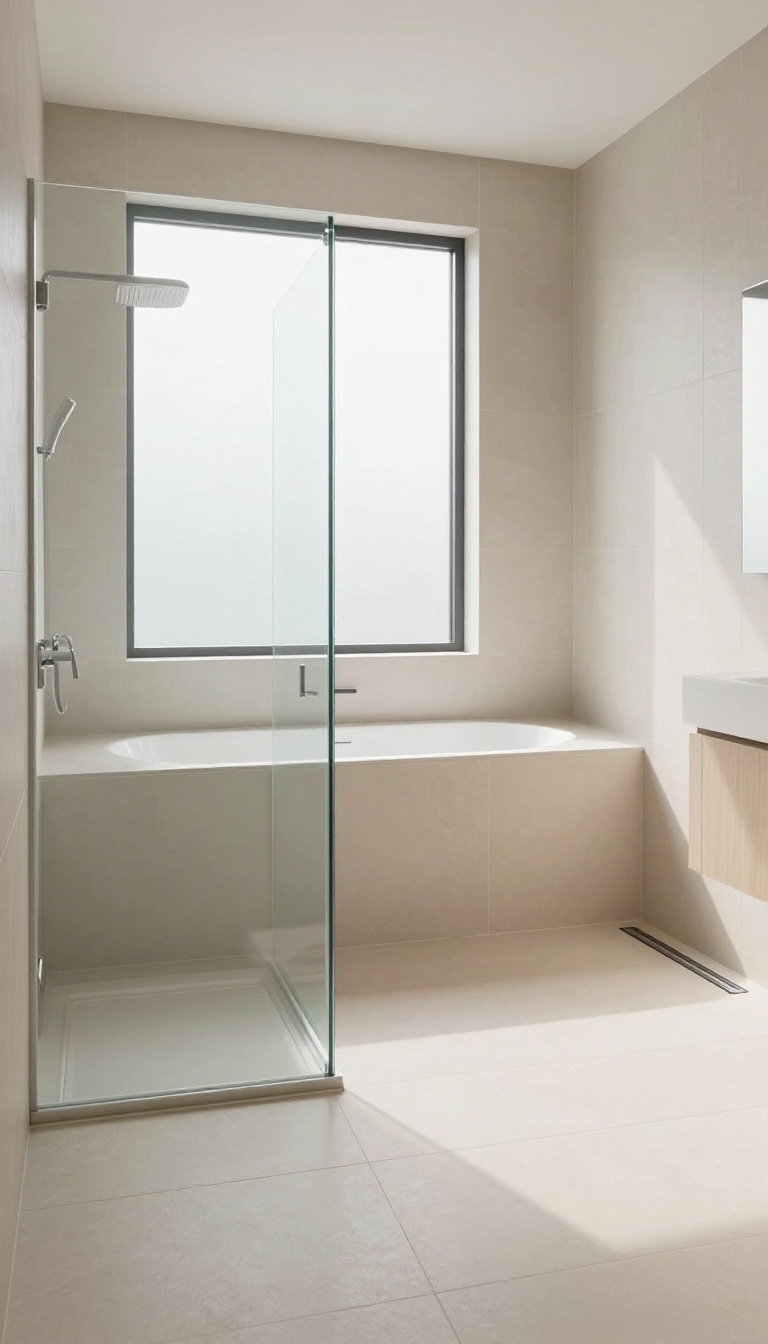
Stepping over a shower curb can feel like a barrier, especially when you're aiming for a spacious, spa-like vibe. A curbless shower removes that step entirely, creating a smooth, continuous floor from the bathroom into the shower. This simple change not only improves accessibility but also visually expands the space, making the whole room feel more open and connected.
A curbless shower is a design choice that prioritizes flow and openness. By eliminating the raised lip, you create a seamless transition that makes the shower feel like a natural extension of the bathroom. This is especially effective in larger bathrooms, where the lack of a visual break can make the area feel even more expansive.
Plus, it's a practical upgrade for anyone who wants to future-proof their home for aging in place or mobility concerns.
Plan The Slope Carefully
The key to a successful curbless shower is proper floor sloping. The shower floor needs to be gently angled toward the drain to ensure water doesn't pool or escape into the rest of the bathroom. This requires careful planning during construction, as the subfloor must be adjusted to accommodate the slope without creating a tripping hazard.
Work with an experienced contractor who understands the nuances of waterproofing and drainage in curbless designs.
Choose The Right Drain
A linear drain is often the best choice for a curbless shower. Unlike a traditional center drain, a linear drain sits flush with the floor along one edge, making it easier to create a subtle slope. It also adds a modern, minimalist look that complements the open feel of the space.
When selecting a drain, consider the flow rate and ensure it can handle the water volume from multiple showerheads if you plan to install them.
Coordinate Flooring Materials
To enhance the seamless look, use the same flooring material throughout the bathroom and shower. Large-format tiles or natural stone can be laid continuously, with no transition strip or threshold. This visual continuity tricks the eye into seeing a larger area and reinforces the spa-like aesthetic.
If you prefer different textures, choose materials that complement each other in color and tone to maintain a cohesive feel.
2. Install a Rainfall Showerhead from Above
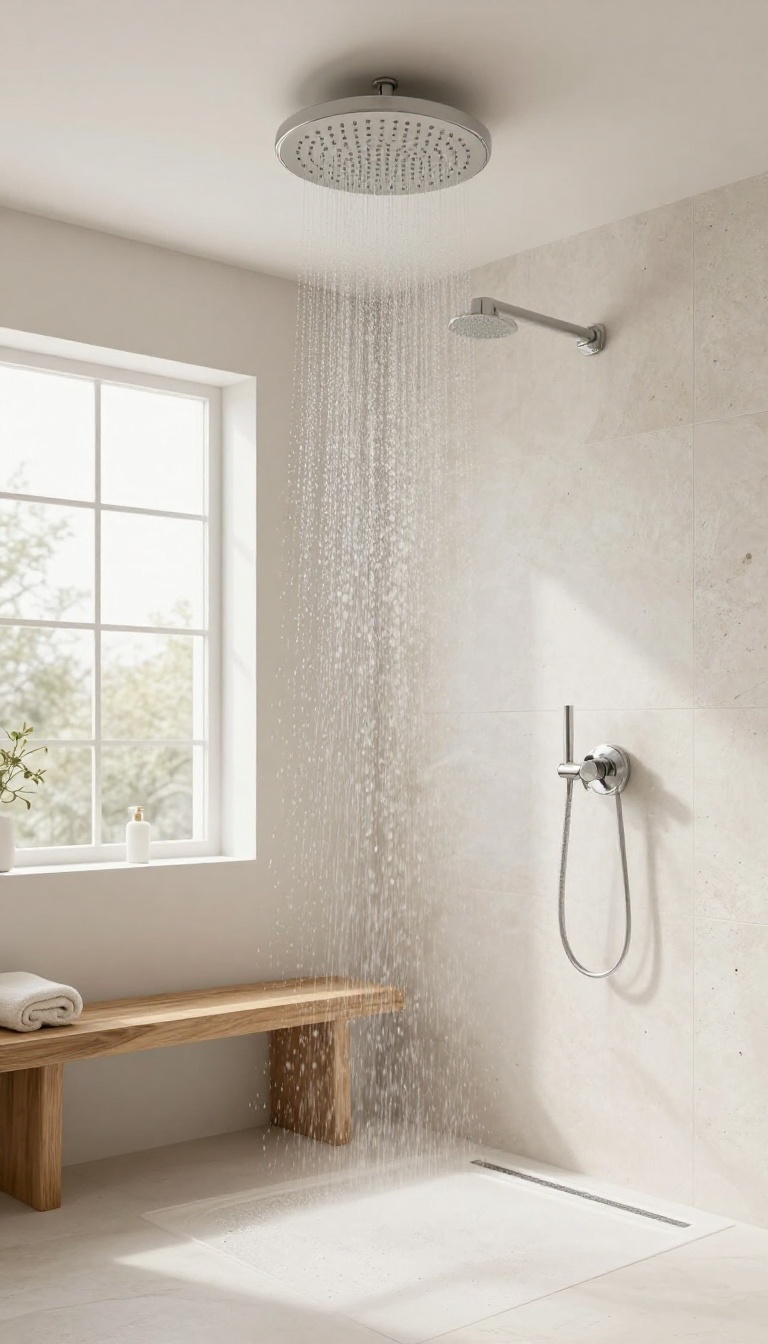
A ceiling-mounted rainfall showerhead does more than just deliver water—it changes the entire feel of your shower. The wide, gentle stream mimics standing in a warm summer rain, instantly turning an ordinary routine into a calming ritual. In a large shower, this type of showerhead shines because it has room to spread the water evenly, covering your shoulders and back without the harsh spray of a standard fixture.
When you have a spacious shower, a rainfall showerhead becomes a centerpiece. It draws the eye upward, making the ceiling feel like part of the experience. The even, low-pressure flow is perfect for rinsing off after a long day, and it pairs beautifully with natural stone or wood accents.
Plus, it frees up wall space for other features like a handheld sprayer or built-in bench.
Why Rainfall Works In Large Showers
The main advantage of a rainfall showerhead is coverage. In a compact shower, the water often hits only your head and shoulders, but in a larger space, the wide face can drench your entire body. It also creates a more immersive sound—the patter of water on the floor and walls adds to the spa-like atmosphere.
Many models are adjustable, letting you switch from a soft drizzle to a more invigorating pulse.
What To Look For
Size matters: aim for a head at least 8 inches in diameter for a true rainfall effect. Check the flow rate—some rainfall heads need higher water pressure to perform well, so you might need to upgrade your shower valve. Also, consider the mounting height.
In a tall ceiling, you'll want to position it so the water hits you at the right angle, usually about 7 feet above the floor. If you're not sure, a professional can help with placement.
Pairing With Other Features
Rainfall showerheads work great alongside a handheld sprayer for targeted cleaning or for rinsing the shower walls. They also complement thermostatic valves that keep water temperature steady, so you don't get a sudden chill. For a truly luxurious feel, add a diverter to switch between the rainfall head and a wall-mounted showerhead, giving you flexibility depending on your mood.
3. Add a Built-In Bench for Comfort and Function
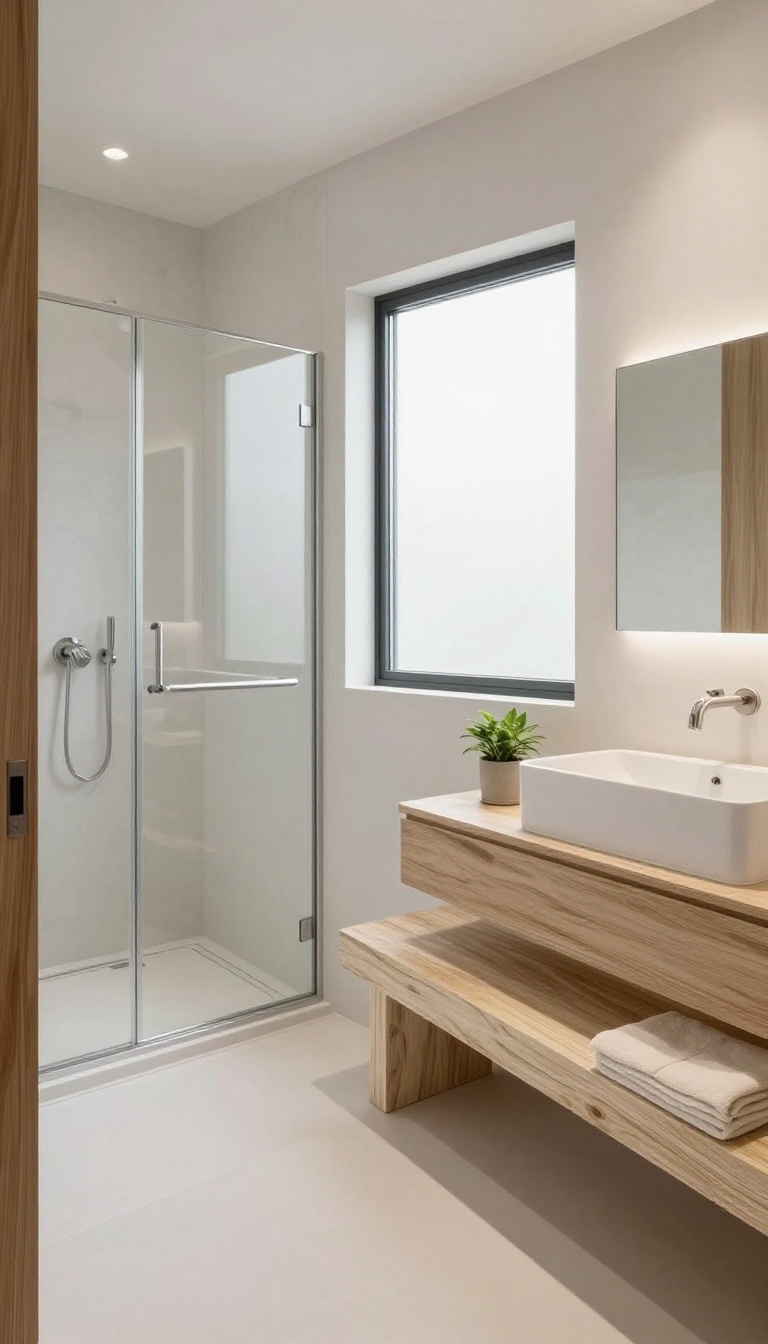
A built-in bench turns a large shower from a simple wash station into a place where you can actually pause and relax. It's not just about having a seat—it's about creating a natural focal point that anchors the space and gives you a spot to rest, organize, or simply enjoy the steam. Whether you're shaving your legs, scrubbing your feet, or just taking a moment to breathe, a bench adds a layer of convenience that makes the shower feel more like a personal retreat.
When you have a large shower, it's easy for the space to feel empty or overwhelming. A built-in bench fills that void with purpose. It provides a practical surface for toiletries, a safe place to sit if you need it, and a visual break that keeps the eye moving.
Plus, it's a design element that can be customized to match your style—from sleek and modern to warm and rustic. The key is to place it thoughtfully, so it doesn't interfere with the shower flow but instead enhances it.
Why A Bench Makes Sense
A bench isn't just a luxury; it's a smart addition for anyone who values comfort and safety. It gives you a stable place to sit while washing hard-to-reach areas, which is especially helpful for those with mobility issues or just tired legs after a long day. It also creates a natural ledge for keeping shampoo, soap, and razors within easy reach, reducing clutter on the floor or in caddies.
And when you're not using it, the bench can double as a display spot for a small plant or a stack of folded towels.
Placement And Design Tips
Where you put the bench matters. A common choice is along a side wall, away from the main water flow, so it stays dry and accessible. You might also consider a corner bench to maximize space without blocking the entry.
Think about the height—around 18 to 20 inches is comfortable for most people. For materials, natural stone like marble or travertine adds a spa-like feel, while tile or concrete offers durability and easy cleaning. If you want extra comfort, you can add a teak bench on top, which is warm and water-resistant.
Style Ideas To Match Your Shower
Your bench can be a subtle blend or a bold statement. For a minimalist look, choose a bench that matches the wall tile, creating a seamless appearance. If you prefer contrast, use a darker stone or wood tone to make the bench stand out as a design feature.
You can also integrate storage underneath, like a recessed niche or a small shelf, to keep everything tidy. And don't forget lighting—a small niche light above the bench can highlight the area and add to the spa ambiance.
4. Use Floor-to-Ceiling Tile for a Seamless Look
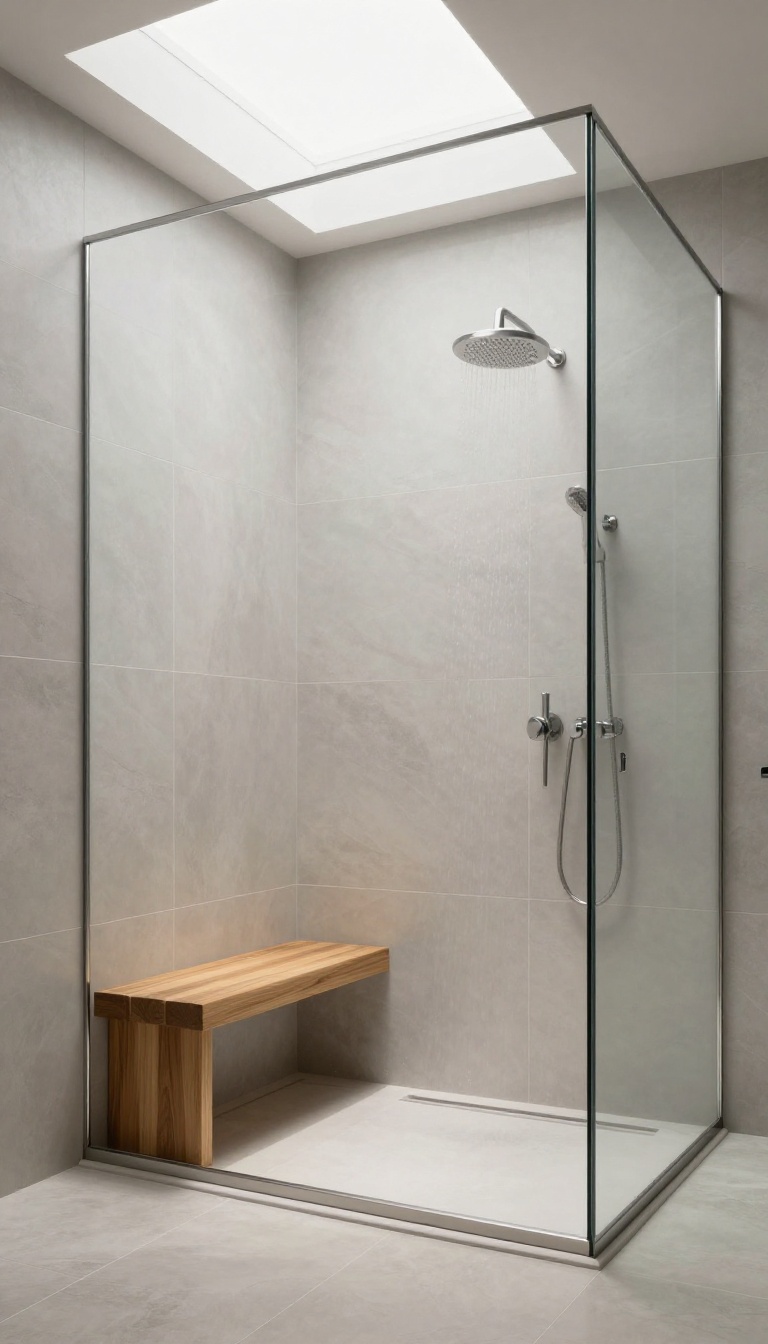
Walls that stop halfway can make a large shower feel chopped up. Taking tile all the way to the ceiling changes that completely. It creates one continuous surface that draws your eye upward, making the whole space feel taller and more expansive.
Large-format tiles are the secret weapon here. Fewer grout lines mean less visual clutter, so the shower reads as a single, sleek block. This approach works with almost any style, from minimalist to rustic, and it instantly adds a custom, high-end feel.
When you extend tile to the ceiling, you remove the visual break that often happens at the top of a shower wall. That line can interrupt the eye and make the ceiling feel lower. By eliminating it, the shower feels more open and connected to the rest of the room.
Large-format tiles, like 12×24 or 24×48 inches, are ideal for this technique. They cover more area with fewer grout lines, which reduces maintenance and creates a smoother, more seamless appearance. The larger the tile, the fewer interruptions in the surface, so the shower feels more like a single, sculpted space.
Why Grout Lines Matter
Grout lines are more than just functional—they affect how your eye reads the space. Too many thin lines can make a wall look busy and fragmented. By using large tiles, you minimize those lines, which helps the shower feel calmer and more expansive.
It's a simple trick that makes a big difference in perception.
Choosing The Right Tile Size
For a truly seamless look, go as large as your walls can handle. A 24×48-inch tile is a popular choice because it covers a lot of ground with minimal grout. If your walls are uneven, you might need a slightly smaller tile, but the goal is always to reduce the number of lines.
Consider a rectified tile for even tighter joints and a cleaner finish.
Pairing With A Curbless Entry
Floor-to-ceiling tile works beautifully with a curbless shower. The continuous surface flows from the floor up the walls without any breaks, which reinforces the open, spa-like feel. It also makes the shower feel like a natural extension of the bathroom rather than a separate, enclosed box.
5. Incorporate a Steam Shower for Ultimate Relaxation
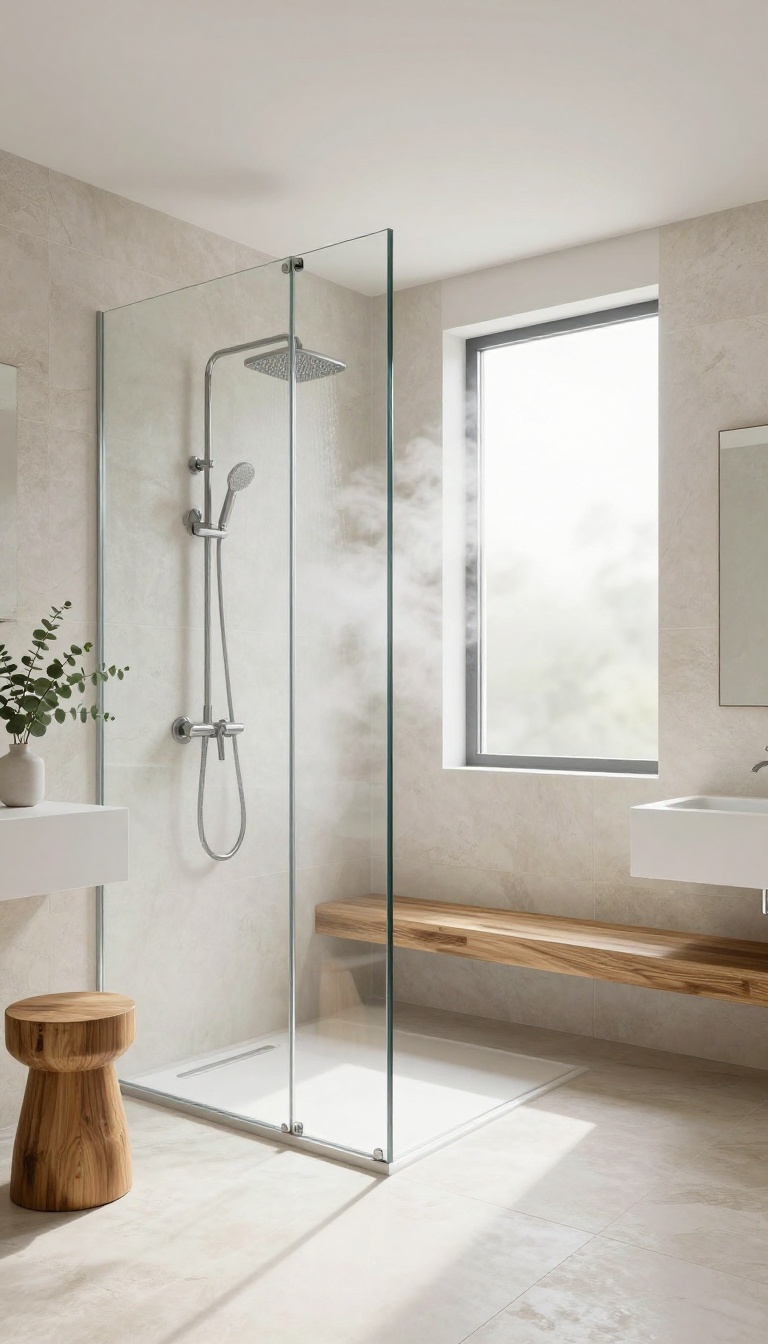
Imagine stepping into your shower and feeling the warm, enveloping mist of a steam room without leaving home. That's the magic of adding a steam generator to your large shower. It's a feature that goes beyond just cleaning—it turns your daily routine into a ritual of relaxation.
Plus, it's a major selling point if you ever decide to put your house on the market.
A steam shower isn't just about luxury; it's about wellness. The moist heat can help ease muscle tension, open up your airways, and give your skin a healthy glow. And when you have a spacious shower, there's plenty of room to add a built-in bench or a small stool so you can sit back and truly soak in the steam.
The key is to plan for it during your remodel, as you'll need a steam generator, a sealed glass door, and proper ventilation to keep the steam contained.
What You Need For A Steam Shower
To make this work, you'll need a steam generator that's sized appropriately for your shower's cubic footage. You'll also need a fully sealed glass door that closes tightly, and a ceiling that slopes slightly to prevent drips. Don't forget a control panel inside the shower so you can adjust the steam levels and temperature without stepping out.
Health And Wellness Benefits
Steam showers are more than just a treat—they're a health booster. The steam can help clear congestion, soothe sore muscles, and even improve circulation. It's like having a personal spa treatment whenever you want, and it's especially welcome after a long workout or a stressful day.
Design Considerations For A Seamless Look
When integrating a steam shower, think about materials that can handle the moisture. Non-porous tiles like porcelain or glass are great choices. You'll also want to ensure your shower has a slight slope in the ceiling to prevent water from dripping, and consider adding a built-in seat for comfort.
With the right design, your steam shower can look as good as it feels.
6. Double Up with Dual Showerheads
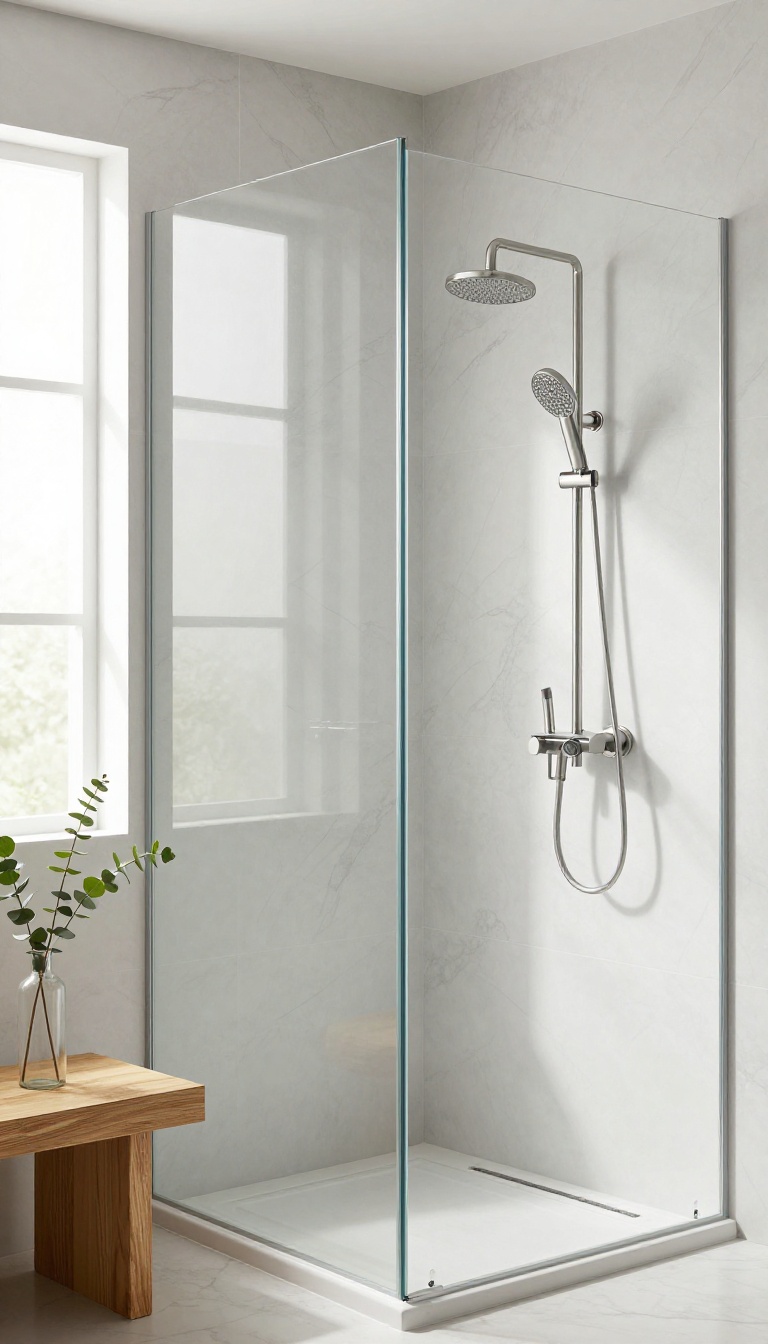
If you've ever tried to share a shower with a partner, you know the dance of taking turns under a single stream. Dual showerheads eliminate that awkward shuffle and turn your large shower into a true two-person zone. Plus, even when you're flying solo, you can angle them to hit your shoulders and back at the same time for a deeper clean.
Dual showerheads aren't just about convenience—they're a design statement that screams luxury. In a spacious shower, two separate fixtures can balance the visual weight of the room, especially if you place them on opposite walls. You'll also get better water coverage, which means less shivering in cold corners and more of that warm, enveloping feeling you want from a spa.
Pick The Right Configuration
Think about how you'll actually use the space. If you're mostly showering solo, consider placing both heads on the same wall—one high, one low—for a full-body rinse. For couples, opposite walls or a corner setup gives each person their own zone without sacrificing elbow room.
Just make sure the plumbing can handle the extra flow; you may need a larger water heater.
Mix And Match Styles
You don't have to use two identical showerheads. Pair a rainfall head from above with a handheld wand on a slide bar for flexibility. Or combine a fixed head with a body spray for a targeted massage.
Mixing styles adds functionality and lets you customize your shower experience every time.
Control The Flow Separately
For the ultimate in comfort, install separate valves for each showerhead. That way, you can adjust temperature and pressure independently. If you're sharing, one person can enjoy a steady drizzle while the other prefers a pulsating jet.
It's a small upgrade that makes a big difference in how you use the space.
7. Let the Light In with a Skylight or Large Window
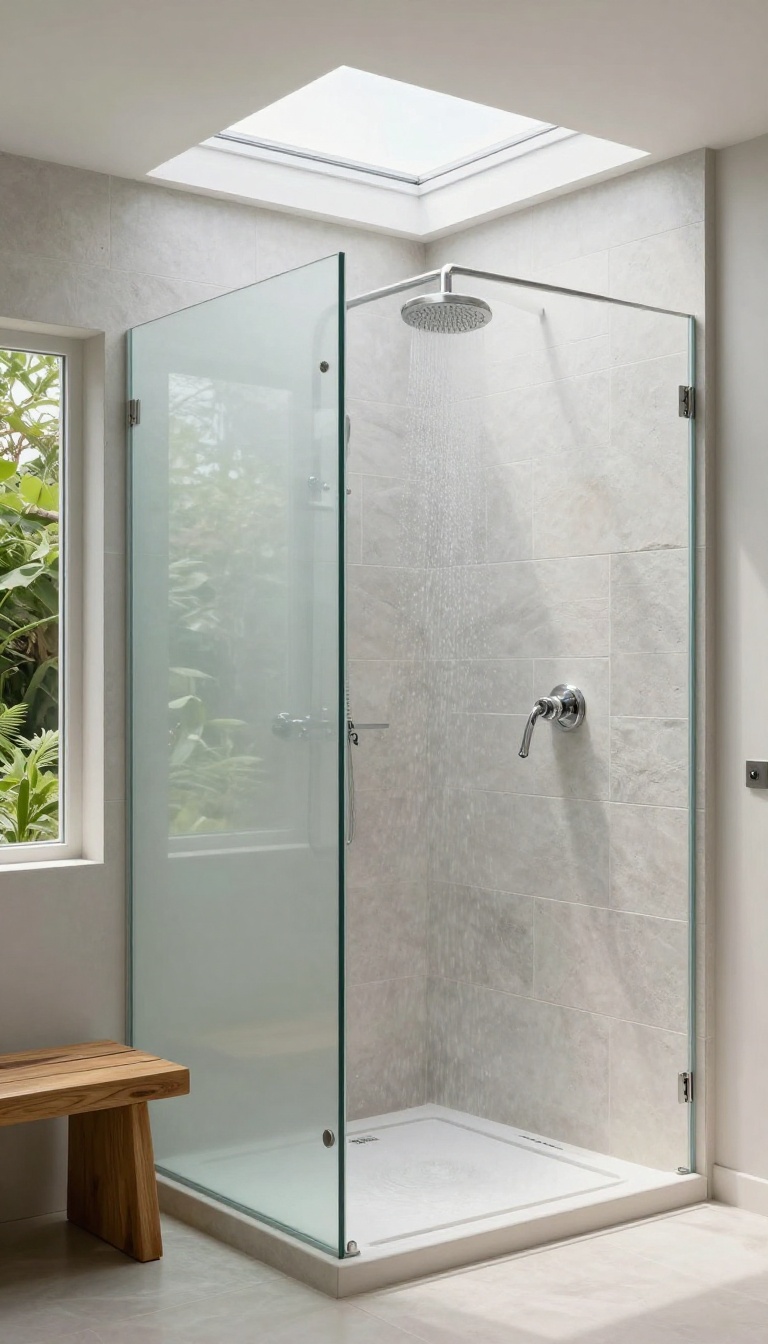
Natural light can completely change how a large shower feels. Instead of a cave-like enclosure, you get an open, airy space that feels connected to the outdoors. A skylight or a well-placed frosted window brings in daylight without sacrificing privacy, making your shower feel like a private retreat.
When you have a spacious shower, lighting becomes a key design element. Relying solely on overhead fixtures can leave the space feeling flat and closed in. By introducing natural light, you add depth and warmth that artificial lighting can't replicate.
Plus, daylight can make the room appear even larger than it is, enhancing the spa-like atmosphere.
Skylights: Bring The Sky In
A skylight is a fantastic option for showers that lack exterior walls. It floods the space with soft, even light from above, creating a bright and inviting ambiance. You can choose a fixed skylight for simplicity or a venting one to let out steam and improve air circulation.
For privacy, consider frosted or tinted glass that still lets in plenty of daylight.
Frosted Windows: Privacy With A View
If your shower has an exterior wall, a large frosted window can be a game-changer. It allows natural light to pour in while obscuring the view from outside. You can install a picture window that's fixed, or an operable one for fresh air.
For an extra touch, consider a window with textured glass that adds visual interest while maintaining privacy.
Positioning And Placement Tips
Think about where the light will enter and how it will interact with your shower's layout. A skylight centered over the showerhead creates a dramatic focal point, while a window near a bench or niche can highlight those features. Also, consider the direction your home faces—south-facing windows bring in more direct light, while north-facing ones offer softer, diffused light.
8. Choose a Frameless Glass Enclosure to Open Up the Space
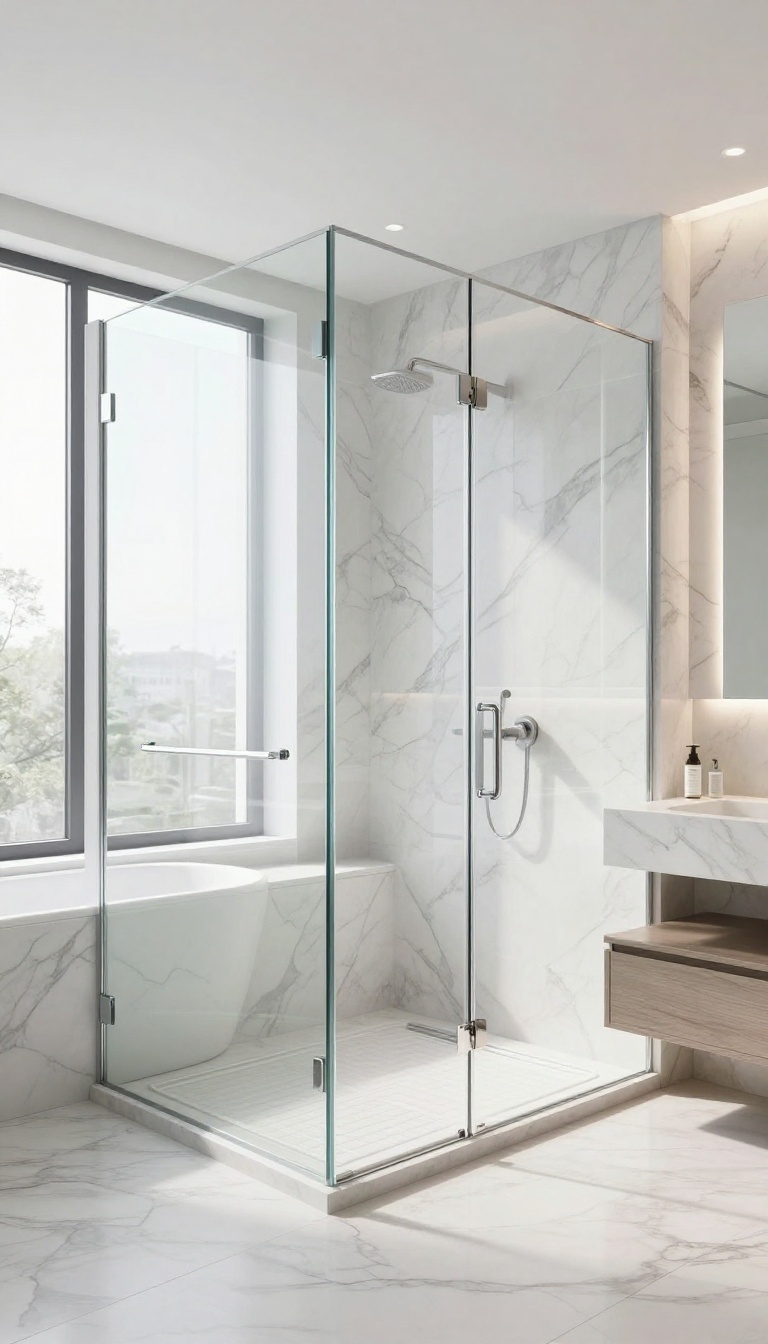
A bulky framed shower door can feel like a visual roadblock, even in a large bathroom. The thick metal tracks and opaque panels break up the line of sight and make the enclosure feel boxed in. Swapping that for frameless glass changes the whole vibe in an instant.
Frameless glass doors and panels minimize visual barriers, allowing the eye to travel across the entire bathroom. This makes both the shower and the room feel more expansive. It's a simple upgrade that pays off in both style and spaciousness.
Frameless glass enclosures use thick tempered glass panels held together with minimal hardware—usually just a few hinges and a handle. Without the bulky frame, the glass becomes almost invisible, letting your beautiful tile work and the rest of the bathroom take center stage. This open look is especially effective in large showers where you want the space to feel continuous with the rest of the room.
The lack of framing also means fewer places for soap scum and grime to hide. No metal tracks to scrub or gaskets to replace—just smooth glass that's easy to wipe down. Plus, the sleek, modern aesthetic works with almost any design style, from minimalist to traditional.
Why Frameless Feels Bigger
The secret is in the sightlines. A framed enclosure has thick borders that your eye naturally stops at, making the shower feel like a contained box. Frameless glass, on the other hand, is nearly invisible.
Your gaze flows freely from the shower floor to the rest of the bathroom, tricking your brain into perceiving more space. In a large shower, this effect is even stronger because there's more glass area to see through.
Installation And Safety Considerations
Frameless glass is heavier and requires precise installation. The glass is typically 3/8 to 1/2 inch thick and needs proper support at the hinges and anchor points. Always hire a professional who specializes in frameless glass to ensure it's installed safely and correctly.
Tempered glass is required for safety—it shatters into small, rounded pieces rather than sharp shards, so it's a safe choice for a busy family bathroom.
Cleaning And Maintenance Tips
Keeping frameless glass crystal clear is easier than you might think. Use a squeegee after each shower to prevent water spots, and clean with a mild glass cleaner or a vinegar-water solution. Avoid abrasive pads that can scratch the surface.
Also, check the hinges and seals periodically to ensure they're still watertight. With a little care, your frameless enclosure will stay beautiful for years.
9. Add a Niche for Storage That Blends In
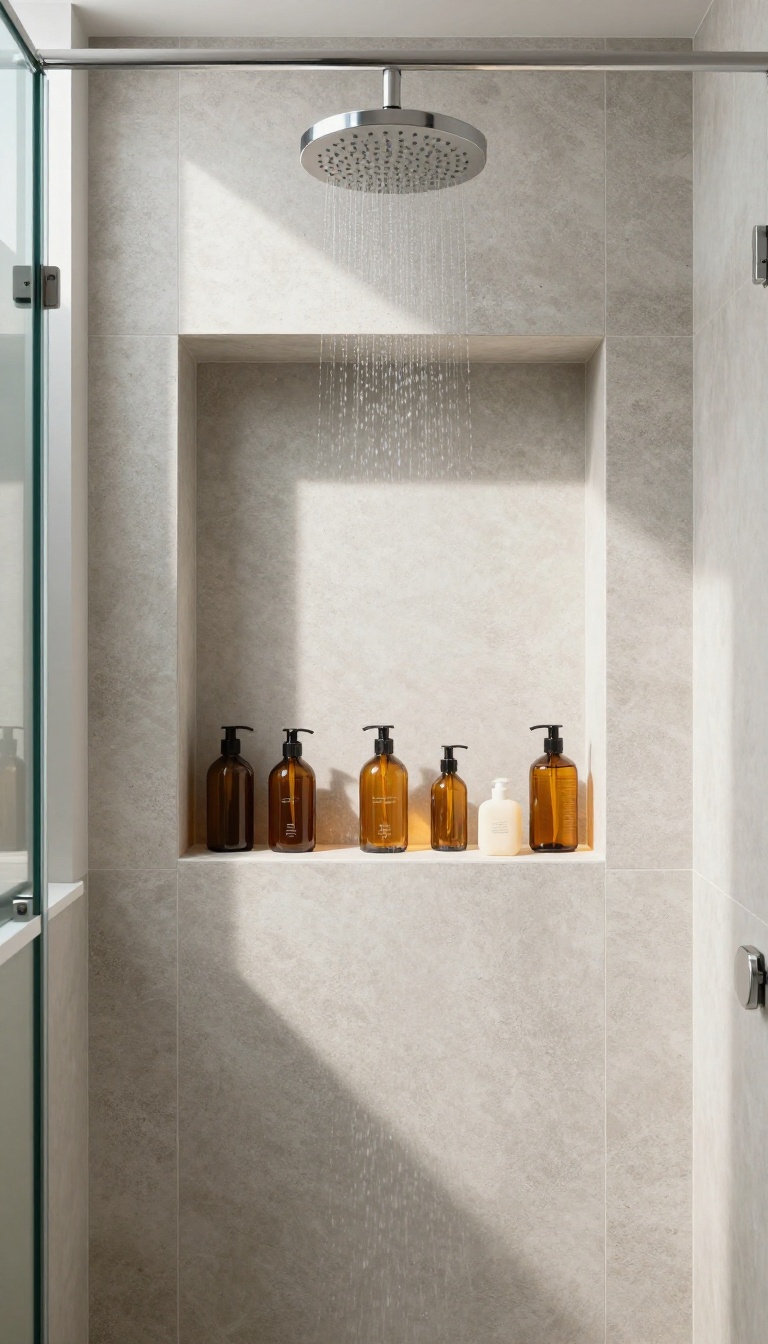
One of the biggest challenges in a large shower is keeping it organized without letting bottles and bars take over the space. A recessed niche solves that by giving you a built-in spot for everything you need, right where you need it. When you tile it to match the walls, it disappears into the design, keeping the shower feeling open and uncluttered.
Recessed niches are a simple upgrade that pays off every single day. You won't have to balance shampoo bottles on the floor or hang a caddy that looks out of place. Instead, everything sits neatly inside the wall, within easy reach.
And because the niche is flush with the tile, it doesn't interrupt the visual flow of your shower. It's one of those details that makes a big shower feel even more spacious and intentional.
Where To Place The Niche
Think about your routine before you settle on a spot. Most people want a niche near the showerhead, at chest height, so you can grab shampoo without bending or stretching. If you have a bench, a lower niche near the seat is handy for soap or razors.
In a double shower, consider two niches—one on each side—so everyone has their own storage zone.
Sizing And Spacing
A niche that's too small becomes useless, but one that's too big can look like a cave. Aim for a width that fits your largest bottle, usually around 12 to 16 inches. Height matters too—make it tall enough for pump bottles, but not so tall that it swallows everything.
If you're tiling, plan the niche dimensions to align with your tile layout so the grout lines stay clean and seamless.
Matching Materials For A Seamless Look
The trick to making a niche blend in is using the same tile as the surrounding walls. That way, it reads as a natural part of the shower, not an add-on. If you want a subtle contrast, you can use a complementary accent tile on the back wall of the niche, but keep the frame in the main tile.
For a truly invisible look, match the grout color too.
Adding Lighting Inside The Niche
A small LED strip or a puck light inside the niche can make it feel like a display case for your bath products. It also helps you find things in a dim shower. Just make sure the fixture is rated for wet or damp locations and is installed by a professional.
The soft glow adds a spa-like touch without being over the top.
10. Incorporate Natural Stone for a Spa-Like Texture
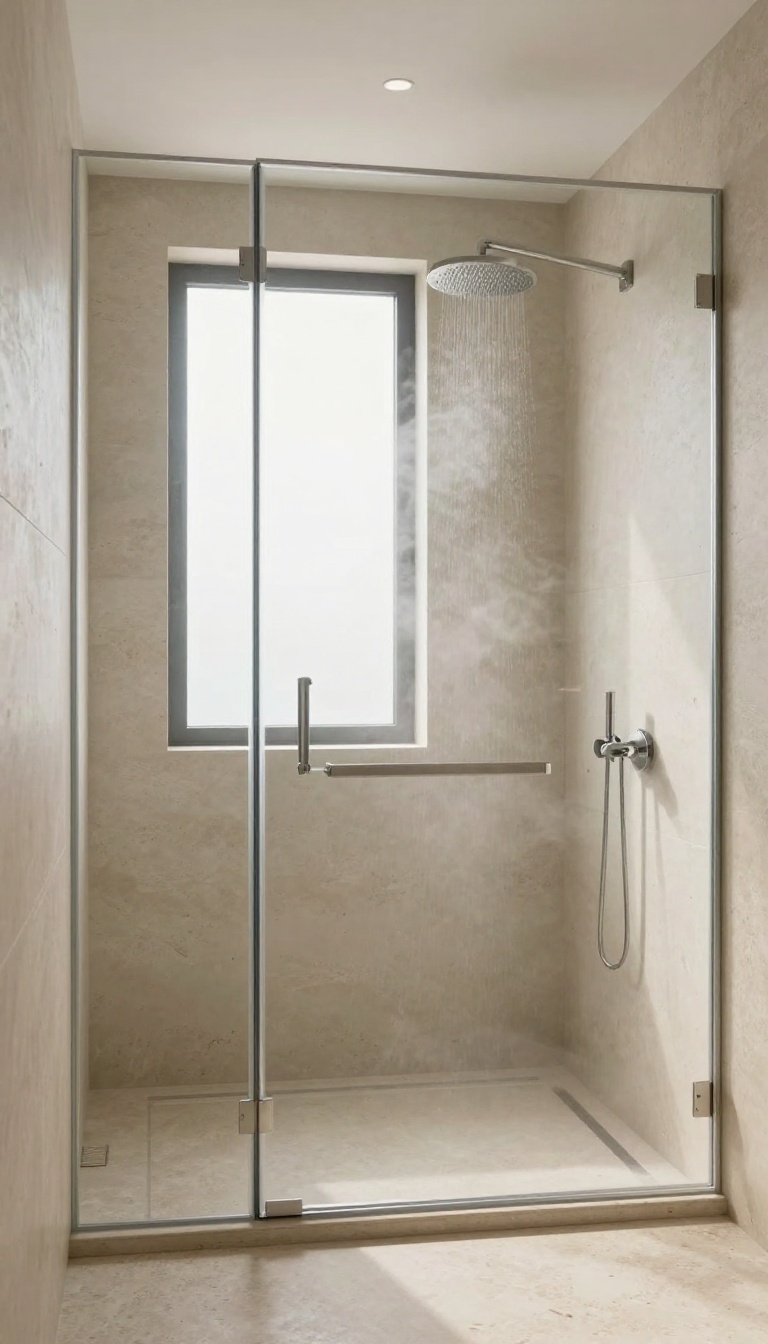
When you step into a high-end spa, the first thing you notice isn't the fancy fixtures—it's the texture under your feet and against your skin. Natural stone brings that same grounding, earthy feel to your shower. It's not just about looks; the varied tones and patterns make each installation unique, giving your space a one-of-a-kind character.
Natural stone like travertine, slate, or limestone adds warmth and organic texture that instantly elevates a large shower. The subtle imperfections and color variations create a lived-in, calming atmosphere that's hard to replicate with synthetic materials. Plus, stone naturally stays cool in warm weather and can be paired with radiant heating for cozy winters.
Choosing The Right Stone
Travertine offers a classic, soft look with its pitted surface and earthy tones. Slate brings a darker, more dramatic feel with its rugged texture. Limestone is smooth and neutral, perfect for a minimalist aesthetic.
Consider the overall vibe of your bathroom—do you want rustic, modern, or timeless? Each stone has its own personality.
Installation And Maintenance Tips
Stone needs proper sealing to resist water and staining, especially in a shower. Use a high-quality penetrating sealer and reapply every year or two. For flooring, choose a textured or tumbled finish to prevent slipping.
Grout lines should be wider to accommodate the uneven edges of natural stone, and using a matching grout color helps hide imperfections.
Pairing With Other Materials
To keep the space from feeling too heavy, balance the stone with lighter elements like glass partitions, white fixtures, or warm wood accents. A stone accent wall behind the showerhead creates a focal point, while the rest of the shower uses larger-format tiles for a cleaner look. Mixing textures adds depth without overwhelming the senses.
11. Create a Wet Room for a True Open Concept
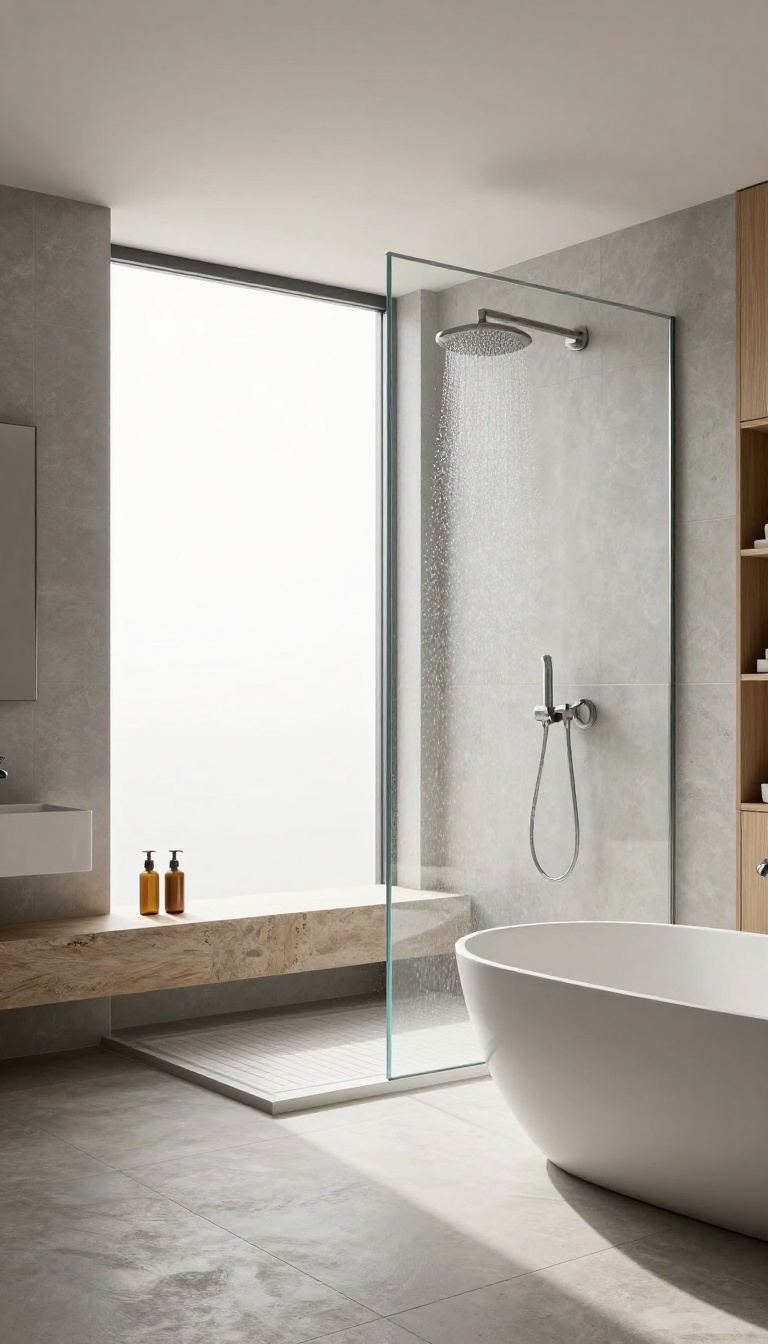
A wet room takes the open concept to the extreme—the entire bathroom is waterproof, and the shower area is only separated by a low partition or glass panel. This maximizes space and feels incredibly luxurious. If you've ever wanted to ditch the traditional shower enclosure, this is the boldest way to do it.
Wet rooms are a staple in modern and minimalist design, especially in spaces where every inch counts. By eliminating the shower tray and curb, you create a seamless floor that makes the room feel larger and more fluid. The lack of barriers also makes cleaning easier—just sweep or squeegee the entire floor.
Plus, it's a dream for accessibility, as there's no step to navigate.
Why Choose A Wet Room?
The biggest draw is the sense of openness. Without a shower door or curtain, the visual line from the vanity to the shower is uninterrupted, making the bathroom feel twice its size. It also allows for more flexible fixture placement—you can install a freestanding tub nearby without worrying about splashing.
And if you love the spa vibe, a wet room with a rainfall showerhead and a bench feels like a private steam room.
Key Design Considerations
Before you commit, you'll need to plan for proper drainage. The floor needs a gentle slope toward a linear drain, and the entire room must be fully waterproofed—walls and floor. Choose non-slip tiles for safety, and consider a glass panel or half-wall to keep water from splashing onto the vanity.
A heated floor is a nice touch to keep your toes warm after a shower.
Styling Your Wet Room
To keep the wet room feeling cohesive, use large-format tiles in a light color to enhance the sense of space. Add a wooden bench or teak stool for a natural contrast. For lighting, recessed ceiling spots or a skylight work well, but avoid fixtures that aren't rated for damp areas.
Keep the palette neutral—think white, beige, or soft gray—and let the textures do the talking.
12. Install a Linear Drain for a Flat, Modern Floor
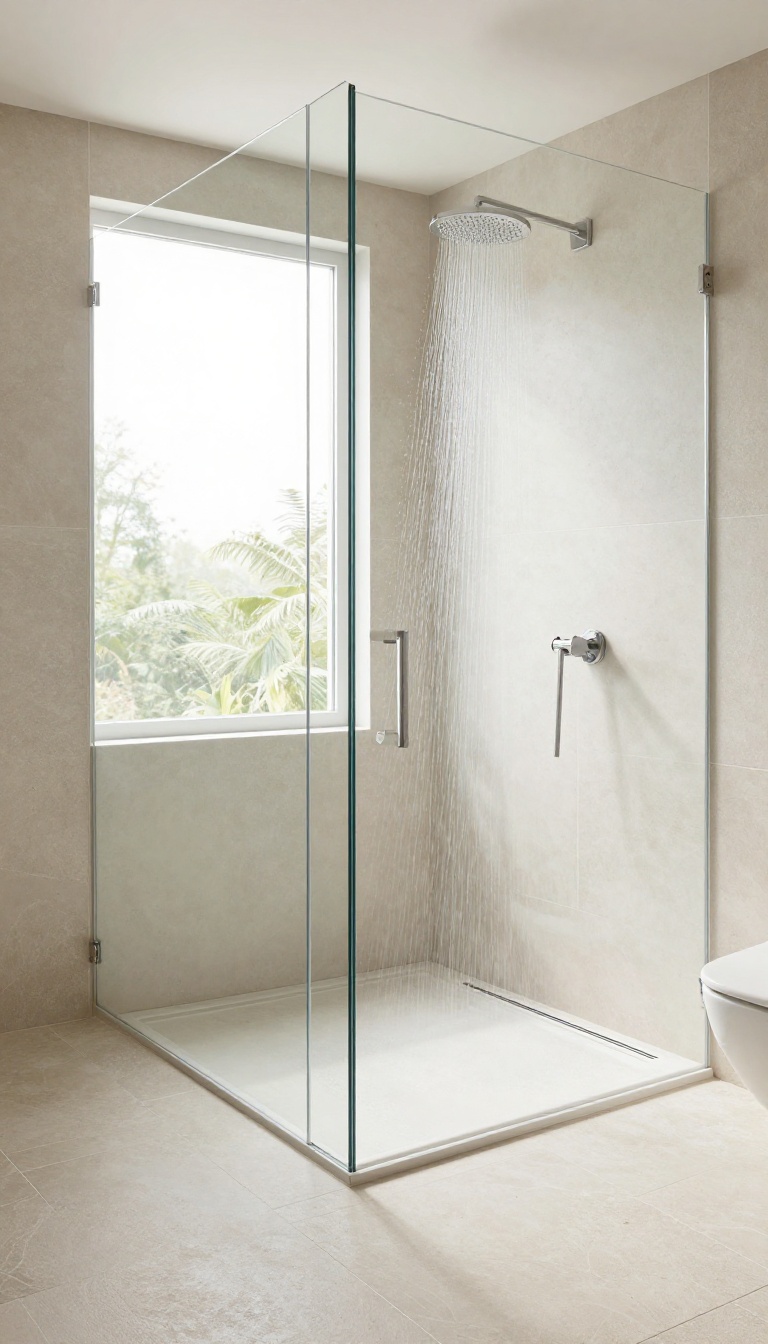
Linear drains are a game-changer for large showers, letting you ditch the traditional center drain and slope. With a linear drain along one edge, the floor stays perfectly flat, which looks sleek and feels great underfoot. It also opens the door to a curbless entry, making the whole space feel even more open and accessible.
A linear drain is more than just a functional detail—it's a design choice that can define the entire look of your shower. By placing the drain along a wall or at the edge of the shower, you can create a single, subtle slope that channels water efficiently without interrupting the visual flow. This flat floor is not only stylish but also safer, as there's no uneven surface to trip over.
Plus, it makes cleaning a breeze since there are no corners or recesses for grime to hide.
Why Choose A Linear Drain?
Linear drains are perfect for large showers because they handle high water flow without pooling. The long, narrow grate can be placed at the far end, so you don't have to stand right over it. They also look more modern and minimal compared to traditional round drains, blending seamlessly into the floor.
And if you're planning a curbless entry, a linear drain is practically required—it lets the floor stay level with the rest of the bathroom, which is both sleek and wheelchair-friendly.
Design Options And Placement
You can install a linear drain along a wall, at the entrance, or even in the middle of the shower for a dramatic effect. Wall placement is the most common because it keeps the floor visually clean and makes the shower feel larger. If you want a true wet-room feel, place the drain at the open edge of the shower so water flows away from the entrance.
Choose a grate material that matches your fixtures—stainless steel is durable, while brushed bronze adds warmth. Some grates even come in tileable styles, so the drain can disappear into the floor pattern.
Installation Tips And Considerations
Proper installation is key to avoiding problems down the road. The floor needs to slope slightly toward the drain—usually about 1/4 inch per foot—but because the drain is linear, the slope only goes in one direction, which is easier to achieve than a multidirectional slope. Make sure the drain is properly sealed to prevent leaks, and consider a drain with a removable trap for easy cleaning.
If you're working with a contractor, ask about their experience with linear drains, as they require precise leveling and waterproofing.
13. Add Ambient Lighting for a Calming Atmosphere
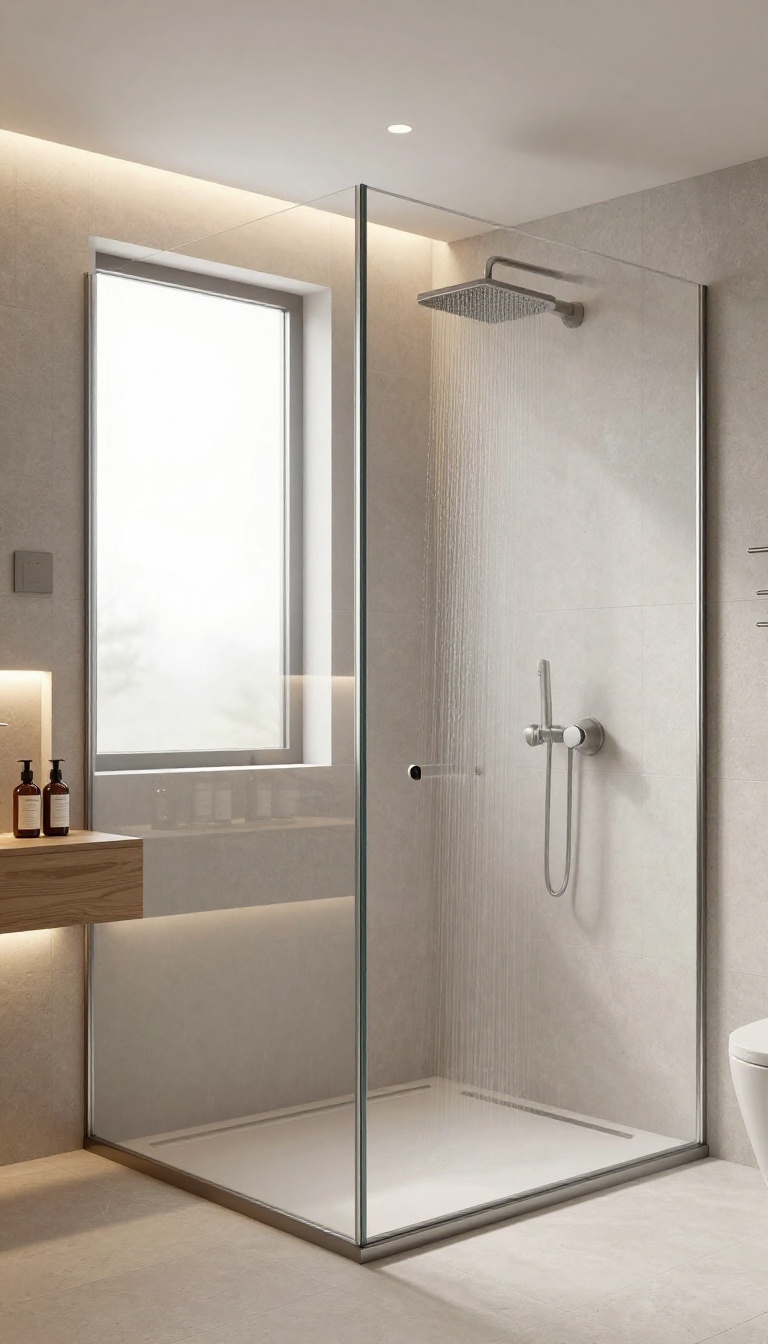
Lighting can make or break the spa vibe you're going for. In a large shower, a single overhead fixture often leaves shadows and makes the space feel flat. Layering different types of light lets you adjust the mood from bright and energizing to soft and soothing.
Start with recessed ceiling lights for even, general illumination. Add LED strips along shelves, niches, or the shower bench to highlight textures and create a warm glow. A dimmer switch gives you full control—crank it up for a morning rinse or dial it down for a relaxing evening shower.
Choose The Right Color Temperature
Warm white (2700K–3000K) is your go-to for a relaxing feel, while cool white (4000K+) works better for tasks like shaving. Many LED strips offer adjustable color temperatures, so you can switch between them easily. If you're installing new fixtures, pick ones with a high CRI (90+) to keep colors true and skin tones natural.
Place Lights Where They Matter
Think about what you do in the shower. Put a waterproof light above the shampoo niche so you can see labels clearly. Add a small spotlight near the bench if you like to sit and unwind.
Avoid placing lights directly above the showerhead—they create harsh shadows and can be blinding when you look up.
Don't Forget Safety And Code
All fixtures must be rated for wet or damp locations, and they need to be installed at the right distance from the water source. Check local building codes or hire a licensed electrician to handle the wiring. It's a small investment that keeps your spa-like retreat safe and compliant.
FAQ
What is the minimum size for a large shower?
Typically, a large shower is at least 36 x 60 inches, but for a truly spacious feel, consider 42 x 72 inches or larger. This gives you room to move comfortably and add features like a bench or dual heads.
How much does it cost to install a large shower?
Costs vary widely based on materials, labor, and features. A basic large shower can start around $5, 000, while a high-end spa setup with steam, stone, and custom glass can exceed $15, 000.
Do I need a permit to remodel a shower?
In most areas, yes. Plumbing and electrical changes typically require a permit. Check with your local building department to ensure your remodel meets code.
What is the best tile for a large shower floor?
Small-format tiles like mosaics are best for shower floors because they conform to slopes and provide good traction. Large tiles can be slippery and harder to slope properly.
How can I make my large shower feel more private?
Use frosted or textured glass for windows and doors, or install a privacy film. You can also add a partition wall or use a rain showerhead that doesn't require full visibility.
Conclusion
Designing a large shower is all about balancing function with a sense of escape. Whether you choose a curbless entry, a steam generator, or just a few well-placed niches, the goal is to create a space that feels open, calming, and personal.
Take your time picking the features that match your routine and style. A thoughtful shower design can turn a daily necessity into a moment of genuine relaxation, and with these ideas, you're well on your way to building your own spa at home.