11 Above Shower Surround Ideas for a Finished Custom Look
The area above your shower often gets ignored, but it's prime real estate for making your bathroom feel intentional and polished. A bare wall or a standard tile edge can leave the space feeling unfinished. With a little creativity, you can turn that overlooked zone into a standout feature.
Whether you're doing a full remodel or just want a quick refresh, these ideas range from budget-friendly to splurge-worthy. You'll find options that suit any style, from minimalist to rustic.
The goal is to help you achieve a seamless, custom look that ties the whole room together. Let's dive into 11 ways to finish the space above your shower and give your bathroom that extra touch of personality.
1. Full-Height Tile for a Seamless Spa Feel
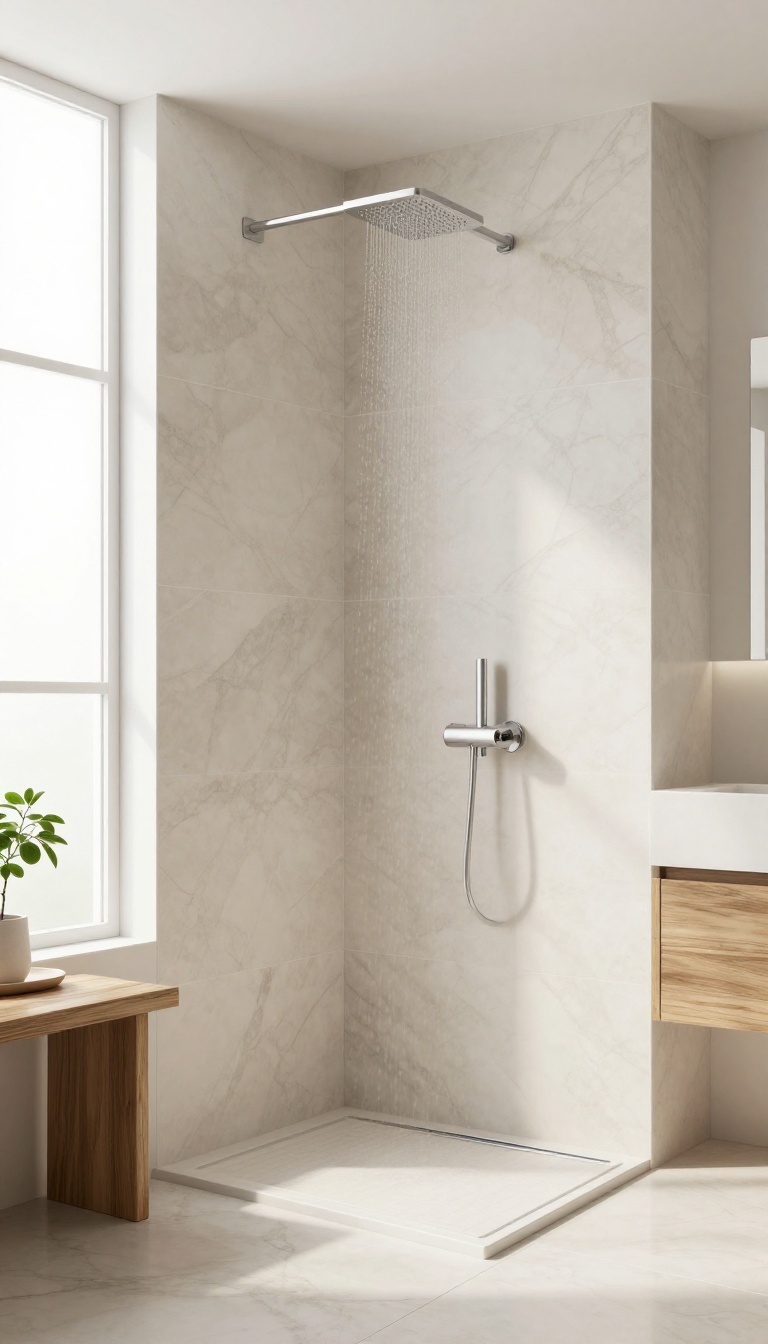
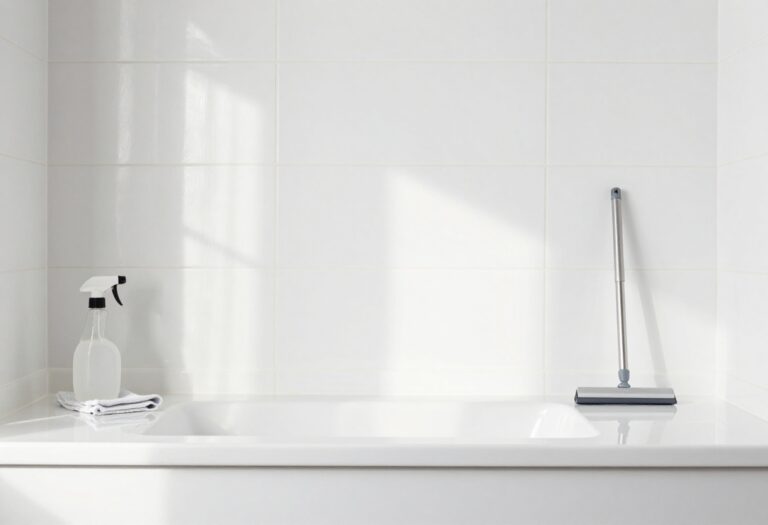
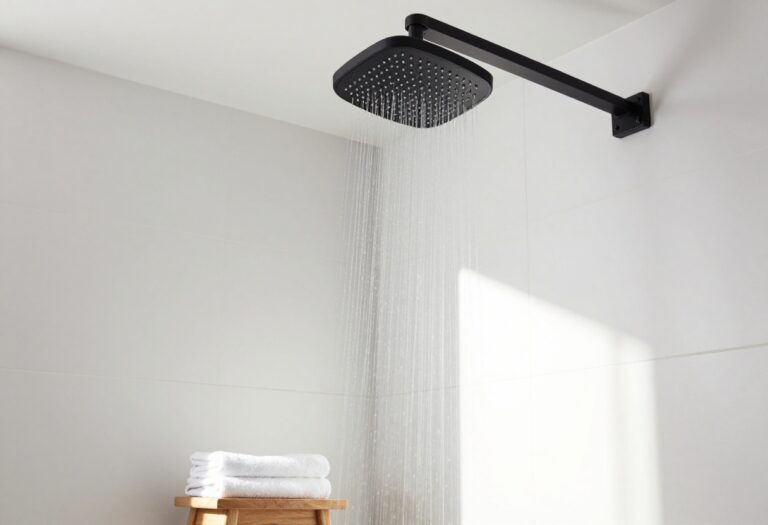
Running tile all the way to the ceiling is one of the simplest ways to make your shower feel like a high-end spa. It eliminates that awkward stopping point where tile meets drywall, which often looks unfinished and collects grime. The continuous line draws the eye upward, making the whole bathroom appear taller and more open.
Full-height tile isn't just about looks—it also solves practical problems. Moisture and steam can wreak havoc on painted walls above a shower, leading to peeling and mold. Tile gives you a waterproof surface that's easy to clean and never needs repainting.
Plus, you can use the same tile as the rest of the shower for a cohesive look, or switch to a complementary shade for subtle contrast.
Choosing The Right Tile
Large-format tiles are a popular choice for this approach because fewer grout lines mean a cleaner, more seamless appearance. But don't overlook textured or patterned tiles if you want to add visual interest. Just make sure the tile is rated for wall use and has a suitable finish for wet areas.
Installation Tips
Plan the layout so that cut tiles are minimized, especially near the ceiling. Use a level and spacers to keep lines straight. If you're not confident in your tiling skills, hiring a pro is worth the investment—full-height tile leaves no room for sloppy edges.
Finishing Touches
Consider adding a decorative trim or a thin shelf at the top to create a deliberate endpoint. This can also double as a place for plants or extra toiletries. For a truly seamless look, match the grout color to the tile, so the surface reads as one solid plane.
2. Waterproof Wall Panels for a Sleek, Modern Finish
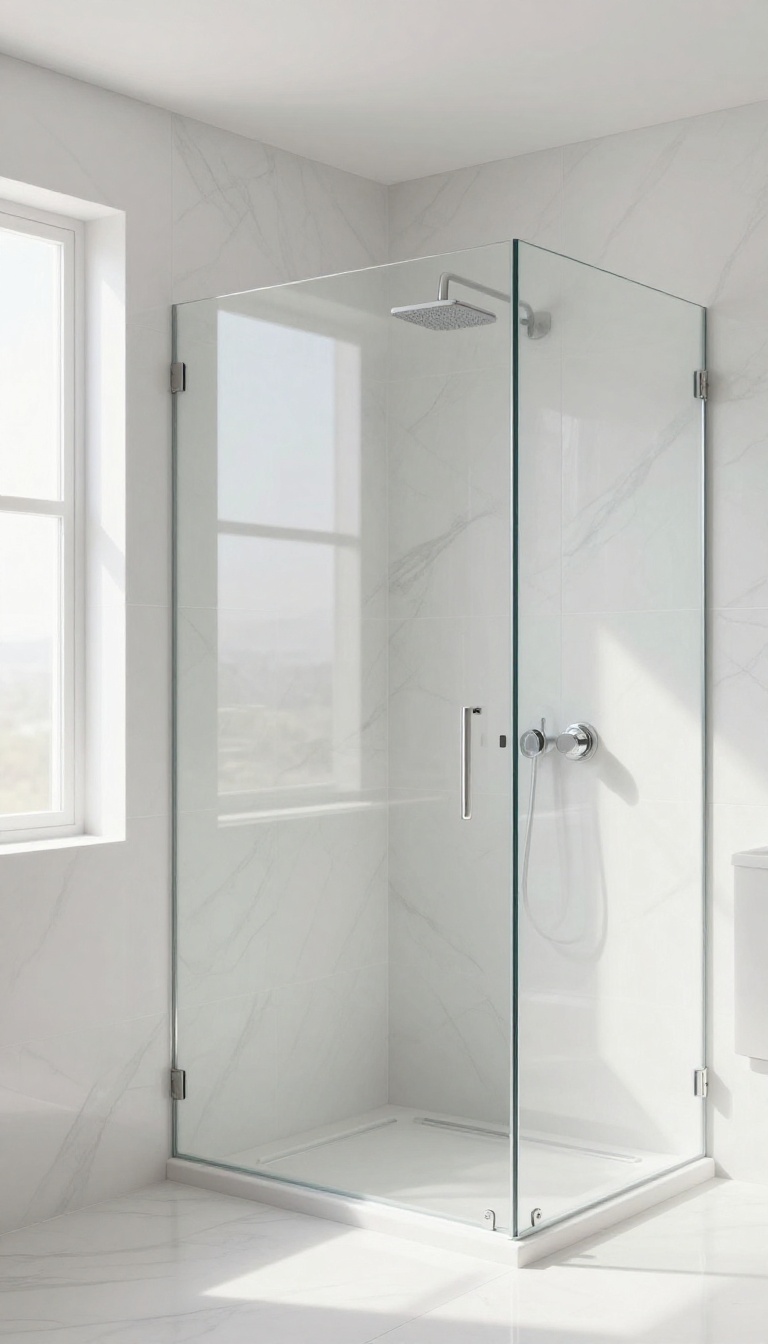
If you love the look of large-format tile but dread the thought of grout lines, waterproof wall panels are a game-changer. These big sheets come in a range of finishes—from glossy white to realistic marble or concrete—and install with minimal fuss. They give your shower surround a smooth, continuous surface that feels both contemporary and custom.
Waterproof wall panels are made from materials like PVC, acrylic, or fiberglass-reinforced plastic, designed to handle moisture without warping or mold. Because they come in large sizes, you'll have fewer seams, which means less cleaning and a more streamlined aesthetic. They're a favorite for quick renovations because they can often go right over existing tile, saving you time and demolition mess.
Why Choose Large Panels Over Tile?
The biggest draw is the lack of grout. Grout lines are where soap scum and mildew love to hide, so eliminating them makes upkeep a breeze. Panels also install faster, which can cut labor costs if you're hiring a pro.
Plus, the seamless look reads as high-end—think luxury hotel bathroom rather than basic builder-grade.
Picking The Right Finish And Texture
You're not stuck with plain white. Many panels mimic the veining of marble, the matte look of concrete, or even subtle wood grain. Choose a finish that complements your fixtures and vanity.
For a truly sleek vibe, go with a high-gloss panel that reflects light and makes the space feel bigger. If you prefer a softer feel, matte finishes hide water spots better.
Installation Tips For A Flawless Look
Measure carefully and plan your panel layout to minimize seams. Use a waterproof adhesive and seal all edges with a high-quality silicone caulk. If you're not confident with a saw, many home centers offer cutting services.
And don't forget to let the panels acclimate to your bathroom for 24 hours before installation—this prevents expansion issues later.
3. Shiplap or Beadboard for a Cozy, Cottage Vibe
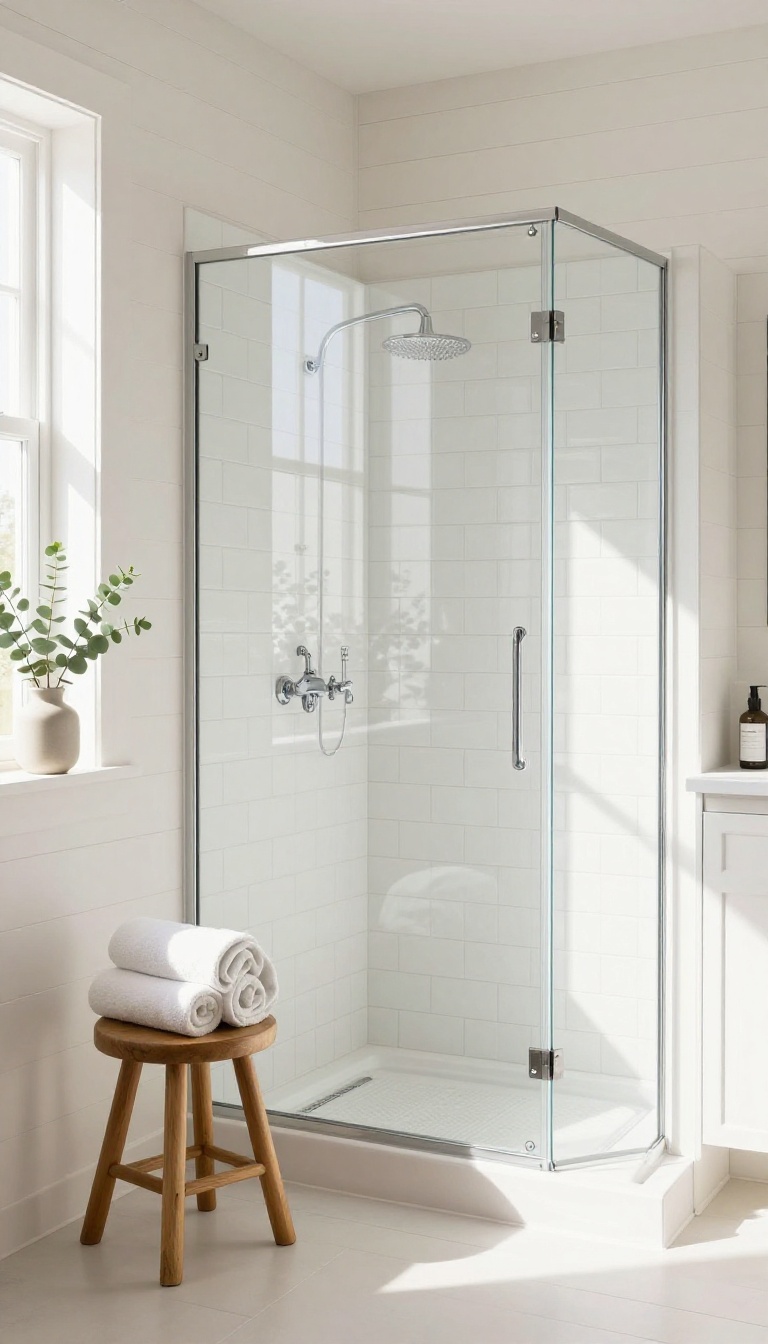
Shiplap and beadboard bring instant warmth and texture to a bathroom, and they work beautifully above a shower. This is a budget-friendly option that adds a classic, charming feel without the cost of full tile. It's a great way to make the space feel more finished and inviting.
Shiplap and beadboard are both excellent choices for the area above a shower. They introduce a cozy, cottage-like aesthetic that can soften the overall look of a modern bathroom. Plus, they're relatively easy to install, making them a popular DIY project.
Why Shiplap Works In Bathrooms
Shiplap boards have a slight gap between them, which allows for natural expansion and contraction. This makes them more resistant to warping in humid conditions. The horizontal lines also draw the eye across the room, making the space feel wider and more relaxed.
Beadboard: A Vertical Twist
Beadboard features vertical panels with small grooves, adding a different kind of texture. It can make ceilings feel higher and lends a more traditional, farmhouse-style charm. It's also a great way to add visual interest without overwhelming the space.
Materials And Moisture Resistance
For a shower area, it's crucial to choose moisture-resistant materials. Look for water-resistant MDF or PVC beadboard, or seal real wood with a high-quality waterproof finish. Proper installation and sealing will ensure your shiplap or beadboard lasts for years without issues.
4. Recessed Niche with Accent Tile for Storage and Style
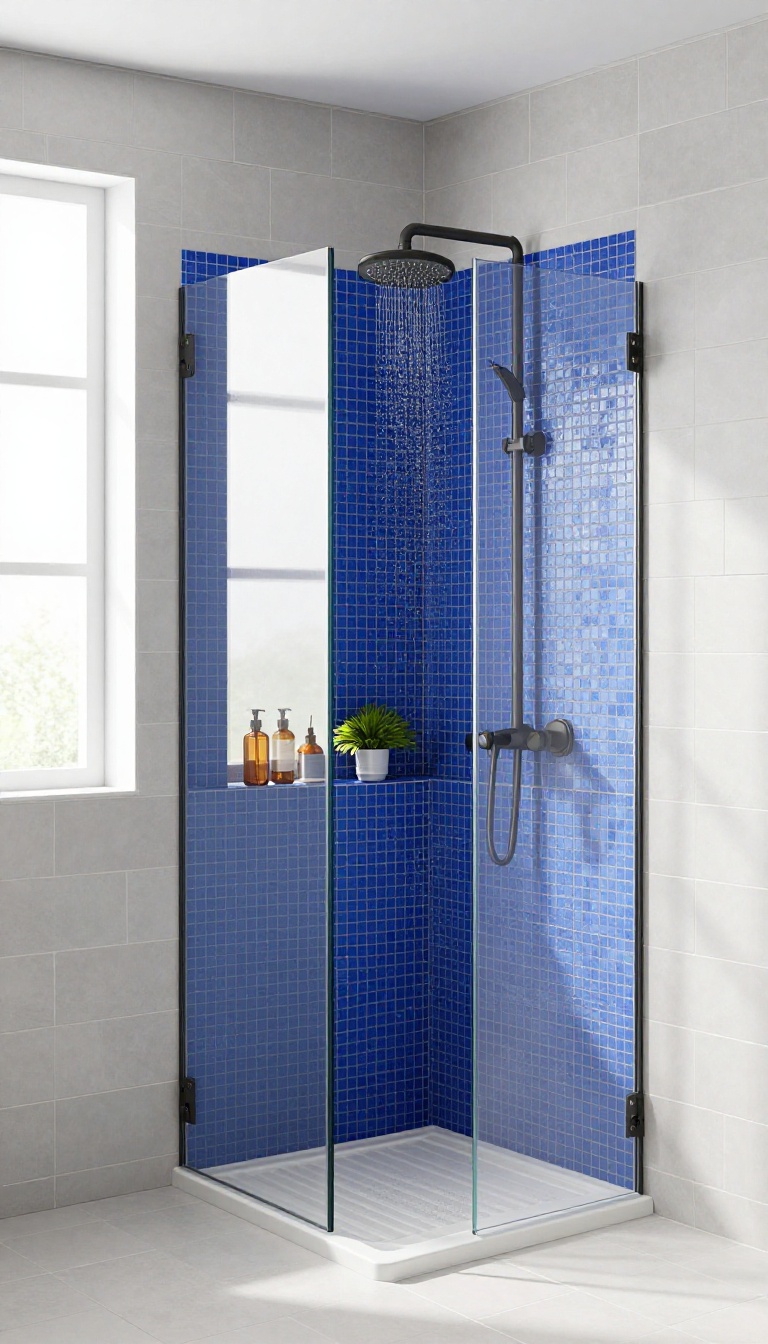
A recessed niche is one of those details that feels custom because it is. Instead of sticking a wire caddy on the wall, you carve out a shelf that blends right into the tile. It's a clean, built-in look that keeps your shampoo bottles off the floor and within easy reach.
What makes this idea really shine is the accent tile. By lining the back of the niche with a contrasting color or pattern, you create a small focal point that draws the eye. It's a simple way to add depth and personality without overwhelming the whole shower.
Start by planning the niche's location and size. The best spot is usually on a wall that's not directly hit by the shower spray, but still easy to reach. You want it deep enough to hold standard bottles—about 4 to 6 inches is typical.
The height and width can vary, but a single shelf is often enough for most bathrooms. When it comes to the accent tile, think about contrast. You can go bold with a dark mosaic, or keep it subtle with a slightly different shade of the same tile.
The key is to make the niche feel intentional, not like an afterthought. A vertical stack of contrasting tiles or a herringbone pattern can add visual interest without being too busy.
Choosing The Right Size And Placement
Before you start cutting into the wall, measure your bottles and plan the layout. A niche that's too small will be useless, and one that's too large can look awkward. A good rule of thumb is to make it about 12 to 16 inches tall and 8 to 12 inches wide.
Place it at chest height so you can grab things easily without stretching. Also, think about the studs in your wall. You'll need to work around them, or you might have to frame out the opening.
If you're not comfortable with structural work, it's worth hiring a pro for this step. The result will be a seamless, built-in look that feels like it was always part of the design.
Selecting The Perfect Accent Tile
The accent tile is where you can have fun. Choose something that complements the main shower tile but stands out. For example, if your shower is white subway tile, a dark blue or green mosaic will pop.
If you're using large format tiles, a strip of glass or metallic tile can add a modern touch. Keep in mind the size of the niche. Small mosaic tiles are easier to fit into tight corners and curves, while larger tiles might need to be cut.
Also, consider the finish—matte tiles hide water spots better than glossy ones, but glossy can add a nice shine. Whatever you pick, make sure it's rated for wet areas.
Installation Tips For A Flawless Finish
If you're doing this yourself, take your time with the waterproofing. Use a waterproof membrane behind the niche and seal all seams with silicone. The niche floor should slope slightly toward the shower so water doesn't pool.
When tiling, use a level and spacers to keep everything straight. For the accent tile, apply thin-set mortar and press the tiles in place, using a grout float to fill the joints. After it dries, seal the grout to prevent stains.
The final step is to caulk the edges where the niche meets the main wall. This will give it a clean, finished look that's also watertight.
5. Floating Shelves for Display and Convenience
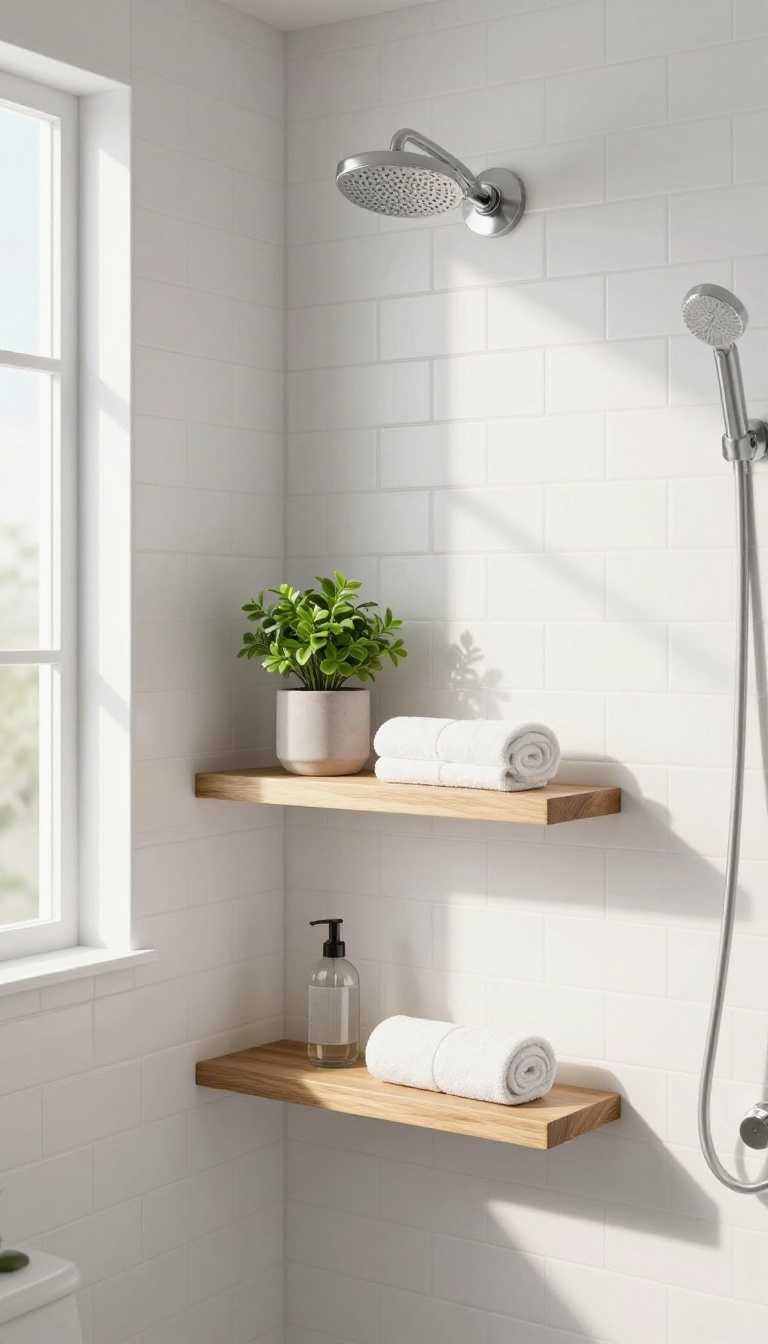
Floating shelves above the shower are a smart way to blend storage with style. They give you a spot for shampoo and soap while also letting you show off a plant or a rolled towel. Because they mount directly to the wall, they keep the visual line clean and uncluttered.
Floating shelves work in almost any bathroom, whether you have tile, drywall, or even a waterproof panel. They’re easy to install, and you can choose from wood, glass, or stone to match your decor. Plus, they turn that empty space into a functional area without making the room feel crowded.
Pick The Right Material
Wood adds warmth but needs a good seal to handle moisture. Glass or acrylic look sleek and let light pass through, making the shower feel bigger. Stone or concrete bring a spa-like vibe, but they’re heavier and need stronger wall anchors.
Think about what fits your style and how much maintenance you’re willing to do.
Placement And Height
Install the shelves high enough so they don’t interfere with your shower head or your head. A common spot is around 6 to 7 feet from the floor, but it depends on your ceiling height. Make sure the shelves are level and secure, especially if you’re storing bottles that could get heavy.
Styling Tips
Keep it simple: a small plant, a few rolled towels, or a decorative jar. Avoid overloading the shelves, because too many bottles can look messy. Use matching containers or trays to keep everything organized and visually pleasing.
You can also mix in a waterproof speaker or a candle for a nice touch.
6. Accent Wall with Bold Pattern or Color
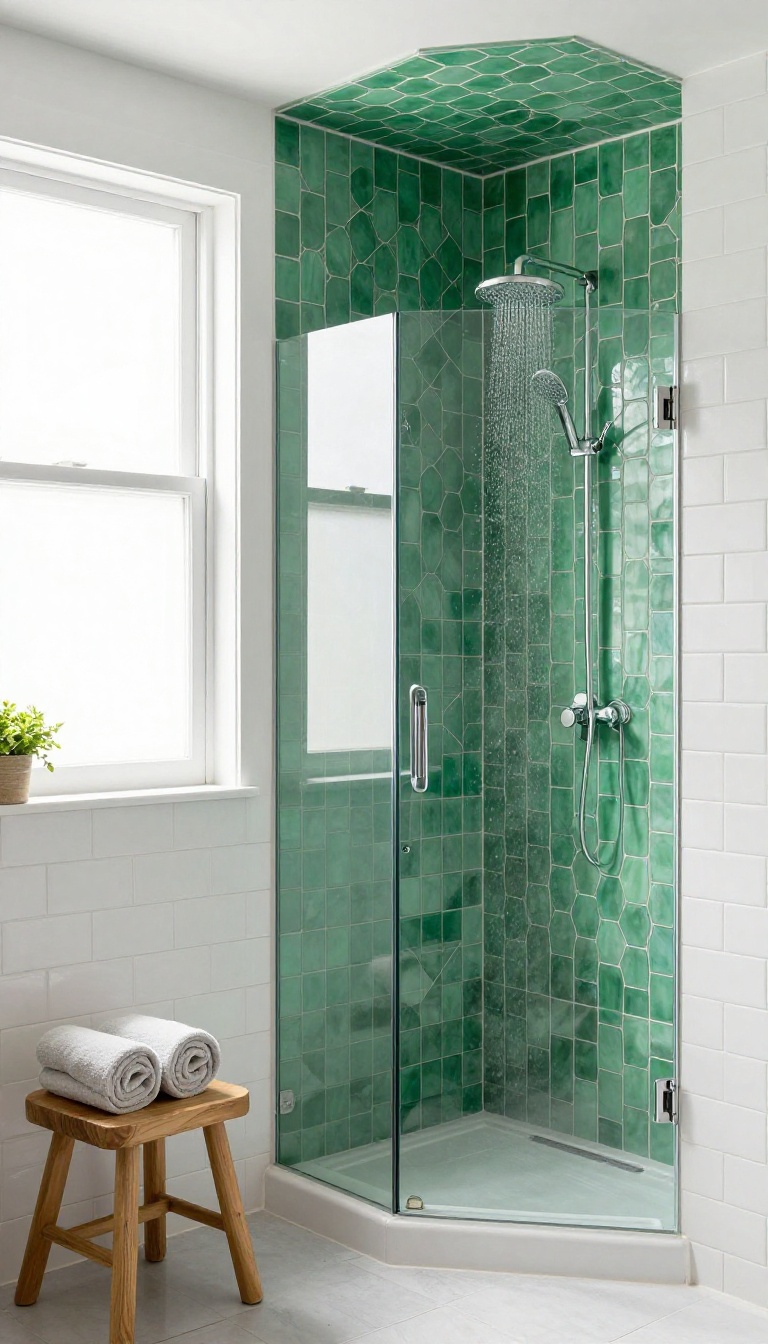
Sometimes the simplest way to make a statement is to go bold. Instead of playing it safe with neutral tiles or plain paint, create an accent wall above the shower that pops. This is your chance to inject personality and drama into the bathroom without overwhelming the entire space.
A bold accent wall above the shower instantly draws the eye upward, making the ceiling feel higher and the room more dynamic. You can achieve this with vibrant tile patterns, rich paint colors, or even wallpaper designed for humid areas. The key is to choose a focal point that complements the rest of the bathroom while standing out on its own.
Tile That Commands Attention
Geometric patterns, Moroccan fish scales, or large-format tiles with a marble look can turn the wall above your shower into a work of art. Don't be afraid to mix shapes or use contrasting grout to make the pattern pop. If you're hesitant about going too wild, pick a pattern that incorporates colors already present in your bathroom.
Paint: The Budget-friendly Bold Move
For a quick and affordable update, paint the wall above the shower in a deep, saturated hue like navy, emerald, or charcoal. Use a satin or semi-gloss finish to resist moisture and make cleaning easier. To keep the look intentional, extend the color to the ceiling or add a contrasting trim.
Wallpaper That Works In Wet Areas
Modern peel-and-stick wallpapers are now made with moisture-resistant materials, making them a viable option for above the shower. Choose a bold botanical print or an abstract design to add texture and interest. Just make sure the area is properly ventilated and the wallpaper is rated for bathrooms.
7. Natural Stone Veneer for an Organic, Earthy Look
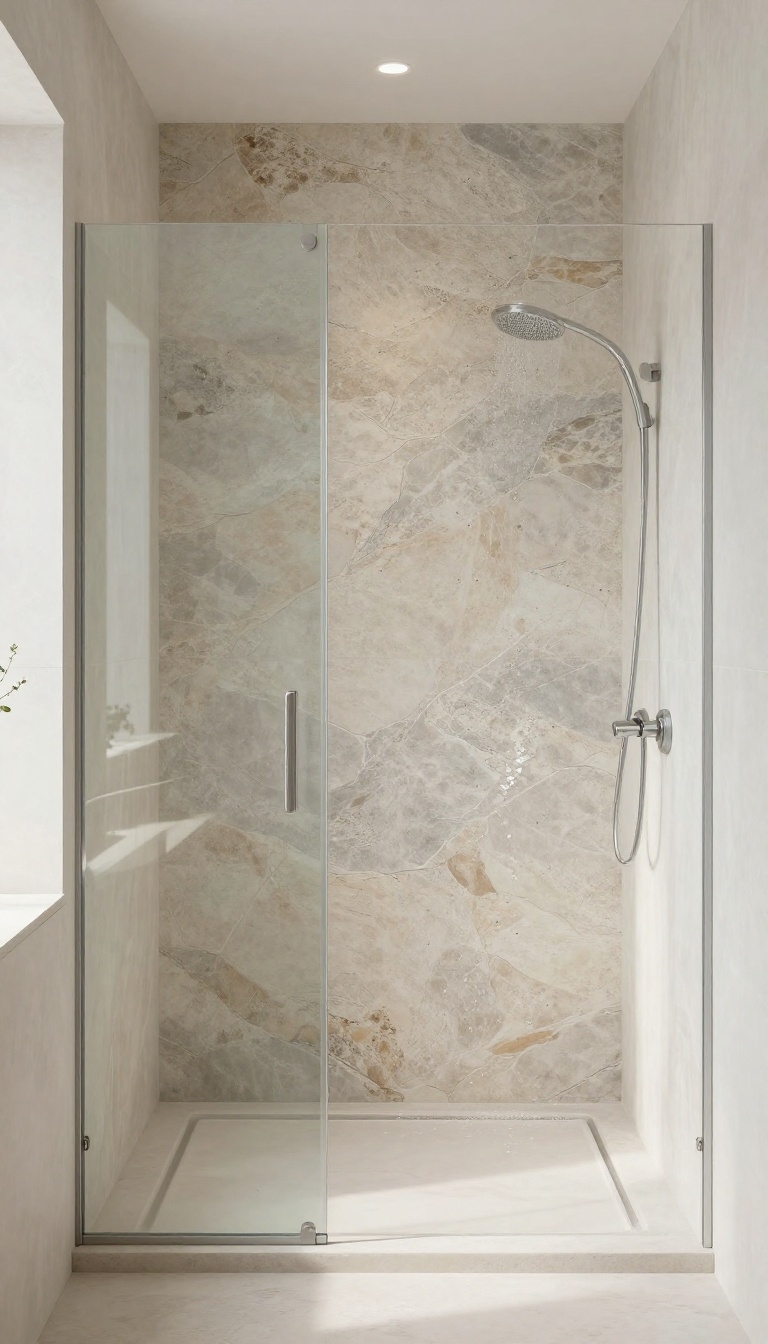
If you're drawn to the raw beauty of natural rock but worried about the weight and cost of full stone slabs, thin stone veneer is the perfect compromise. These panels are cut from real stone or made from lightweight aggregates, giving you the authentic texture and color variations of nature without the hefty price tag. Above a shower, they create a striking, spa-like backdrop that feels grounded and serene.
Natural stone veneer brings a sense of calm and connection to the outdoors, making your bathroom feel like a private retreat. The uneven surfaces and subtle color shifts catch the light in interesting ways, adding depth and character to the space. Plus, the installation is much easier than traditional stone, so you can achieve that high-end look without a major construction project.
Why Choose Veneer Over Full Stone?
Full stone slabs are heavy, expensive, and require reinforced framing. Veneer panels are thin—usually about an inch thick—so they can be installed directly onto existing drywall or cement board. You get the same visual impact with a fraction of the cost and labor.
It's a smart way to get that earthy, organic feel without the engineering headaches.
Sealing And Maintenance Tips
Because the shower area is constantly exposed to moisture, you'll need to seal the stone veneer properly. Use a high-quality penetrating sealer designed for natural stone and reapply it every year or so. For daily care, a squeegee after each shower helps prevent water spots and mineral buildup.
With the right maintenance, your stone veneer will stay beautiful for years.
Pairing With Other Materials
Stone veneer works beautifully with wood-look tile, matte black fixtures, and warm neutral tones. To keep the look cohesive, choose a veneer that complements your existing tile or countertop. You can also mix it with a simpler tile on the lower half of the wall to create a balanced, layered design.
8. Glass Tile Mosaic for a Touch of Glamour
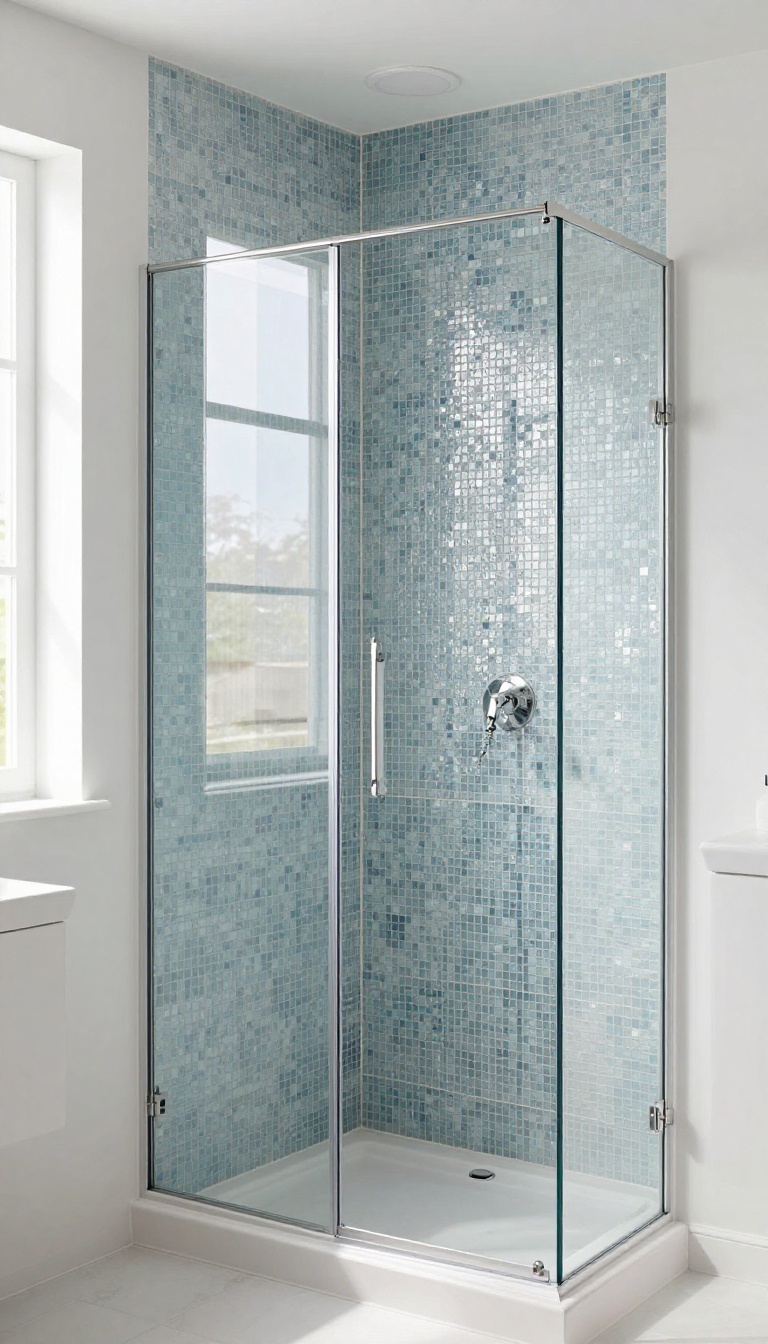
If you want to add a touch of luxury without going overboard, glass mosaic tiles are a fantastic choice. They catch the light and create a subtle shimmer that instantly elevates the space. Plus, they come in a range of colors and finishes, so you can find the perfect match for your bathroom's vibe.
Glass mosaic tiles are like jewelry for your walls. They reflect light, making the bathroom feel brighter and more open. The shimmering effect adds a glamorous touch that feels custom and high-end.
Whether you go for a subtle blend of soft blues or a bold jewel tone like emerald or sapphire, these tiles bring a sense of depth and richness that other materials just can't match.
Why Glass Mosaics Work Above A Shower
The area above the shower is often dry, so you don't have to worry about water damage or constant moisture. That makes it a safe spot for glass tiles, which are non-porous and easy to clean. Plus, the reflective surface adds a touch of elegance without being too flashy.
It's a simple way to make the bathroom feel more polished and intentional.
Choosing The Right Color And Finish
Think about the overall color scheme of your bathroom. If you want a calming spa-like feel, opt for soft blues, greens, or neutrals. For a more dramatic look, go with deep jewel tones or even a metallic finish like gold or silver.
The finish matters too: glossy tiles reflect more light, while matte ones offer a more understated elegance. You can also mix and match colors to create a custom pattern.
Installation Tips And Grout Choices
Glass tiles can be a bit tricky to install because they require a smooth, even surface and special thin-set mortar. It's best to hire a professional if you're not confident in your DIY skills. When it comes to grout, choose a color that complements the tiles.
White or light gray keeps the look airy, while darker grout can add contrast and make the tiles pop. Sealing the grout is essential to prevent staining.
9. Wood-Look Tile for Warmth Without the Worry
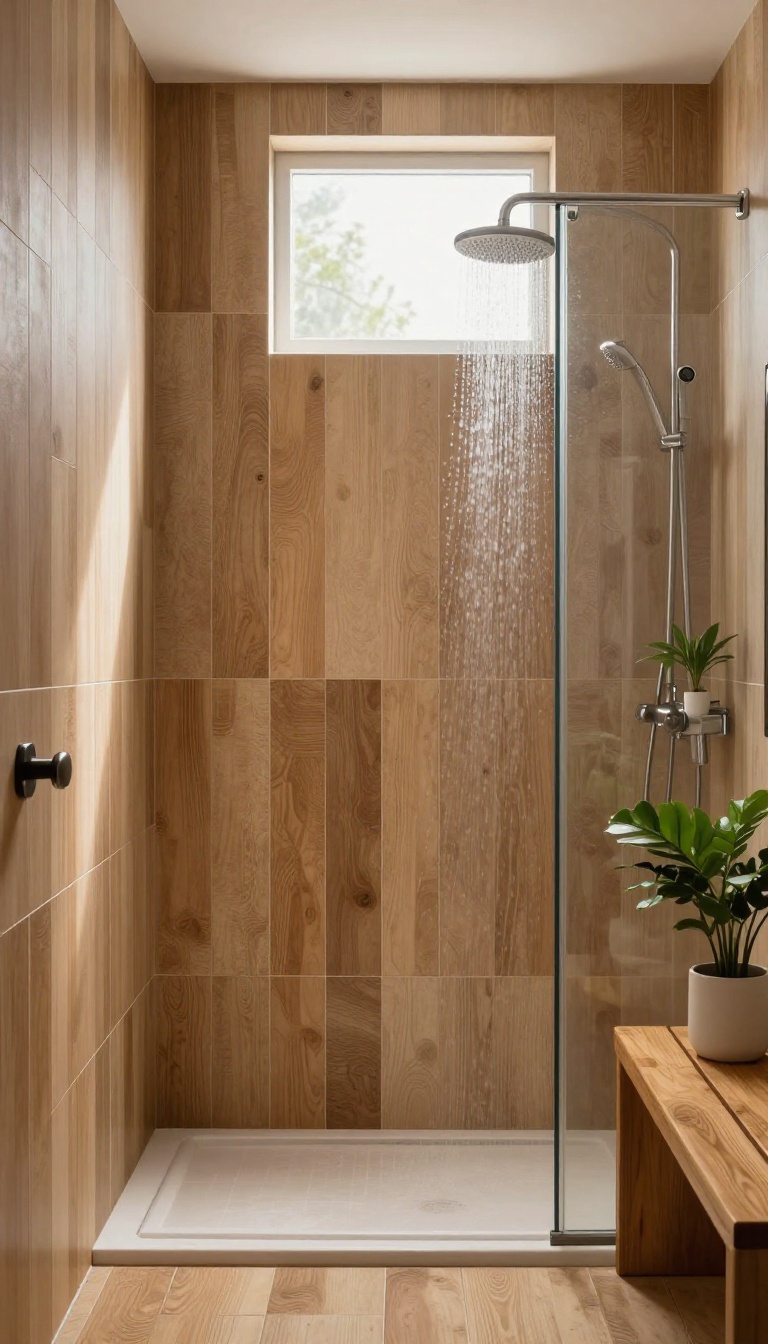
Wood brings instant warmth, but real wood in a shower is a recipe for trouble. Moisture, warping, and mold are just a few of the problems you'd face. Wood-look tile gives you that cozy, natural aesthetic without any of the headaches.
Wood-look planks are essentially ceramic or porcelain tiles that mimic the grain, color, and texture of real wood. They're waterproof, durable, and easy to clean, making them perfect for the humid environment above a shower. The result is a space that feels grounded and inviting, like a spa retreat.
Why Wood-look Tile Wins
Real wood might look great, but it's high-maintenance. Wood-look tile offers the same visual appeal with none of the worry. It won't rot, warp, or stain, and it handles moisture like a champ.
Plus, it's more affordable than most hardwoods, so you can get that high-end look without the price tag.
Choosing The Right Plank
When picking wood-look tile, pay attention to the finish. A matte or textured surface feels more like real wood and adds grip, which is a bonus in a wet area. Also, consider the plank size.
Longer planks (like 6×24 inches) create a sleeker, more modern look, while shorter ones feel more traditional. Don't forget to bring home samples to see how they look in your lighting.
Installation And Grout Matters
The grout lines can make or break the wood effect. Use a grout color that blends with the tile, or go slightly darker to mimic natural wood joints. Also, consider a staggered or offset pattern, just like real hardwood floors.
This helps the tile look more authentic and less like a grid. Hiring a pro for the installation is worth it to get the layout right.
10. Painted Wall with a Waterproof Sealant
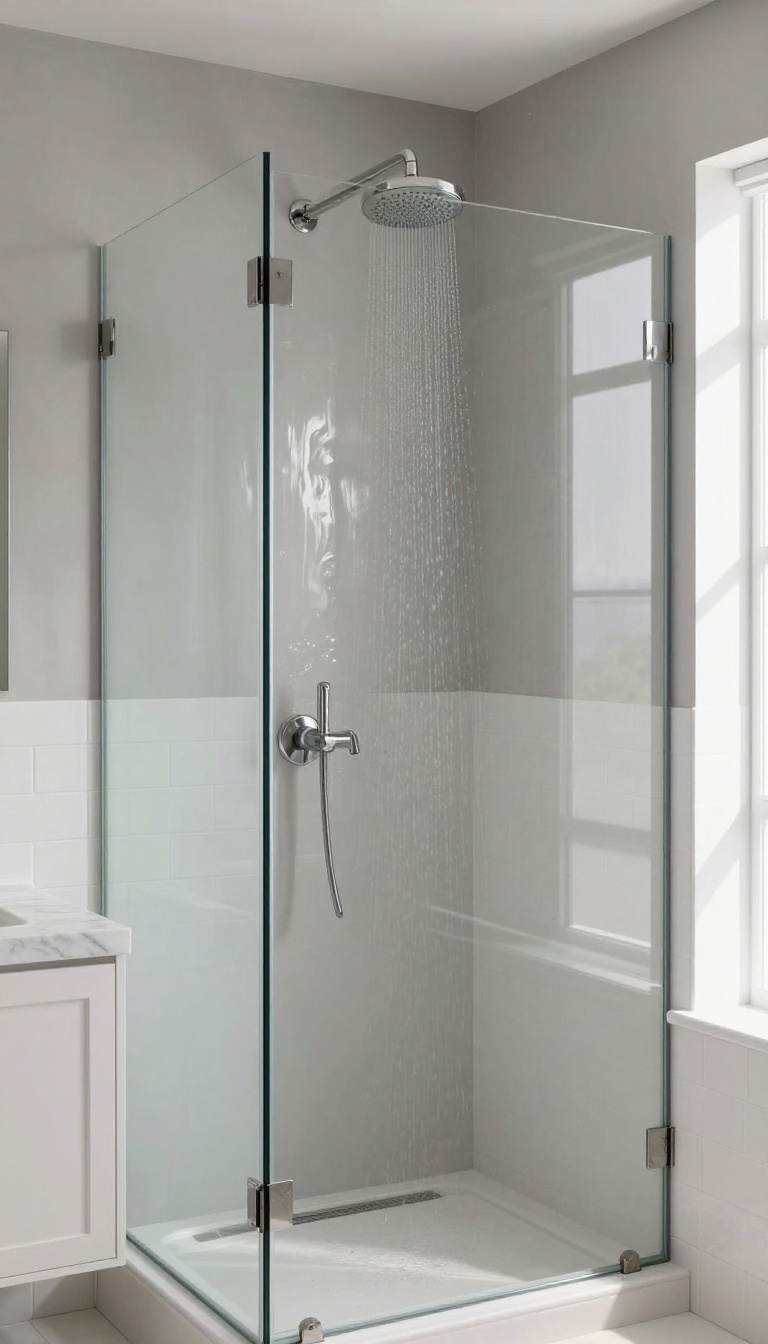
Sometimes the most straightforward approach is also the most effective. Painting the area above your shower with a high-quality bathroom paint and sealing it properly gives you a clean, minimal look without the cost or mess of tile. It's a great option if you're on a budget or just want a quick refresh.
The key is to use paint specifically designed for high-moisture areas and to apply a waterproof sealant over it. This protects the wall from steam and splashes while keeping the finish looking fresh. With the right prep and materials, a painted wall can look surprisingly custom and polished.
Choose The Right Paint
Not all paint is created equal. Look for a satin or semi-gloss finish that's labeled 'bathroom' or 'kitchen' paint. These have added mildew resistance and stand up better to humidity.
Avoid flat finishes—they'll absorb moisture and stain easily.
Prep And Prime
Proper prep is non-negotiable. Clean the wall thoroughly to remove any soap scum or residue. Fill any holes or cracks, then sand smooth.
Apply a good primer designed for high-moisture areas. This helps the paint adhere and prevents moisture from seeping through.
Seal It For Protection
After the paint has fully cured, apply a clear waterproof sealant. This adds an extra layer of defense against water damage and makes the surface easier to wipe down. You can use a brush or roller for a smooth, even coat.
Let it dry completely before using the shower.
11. Custom Built-In Cabinet for Extra Storage
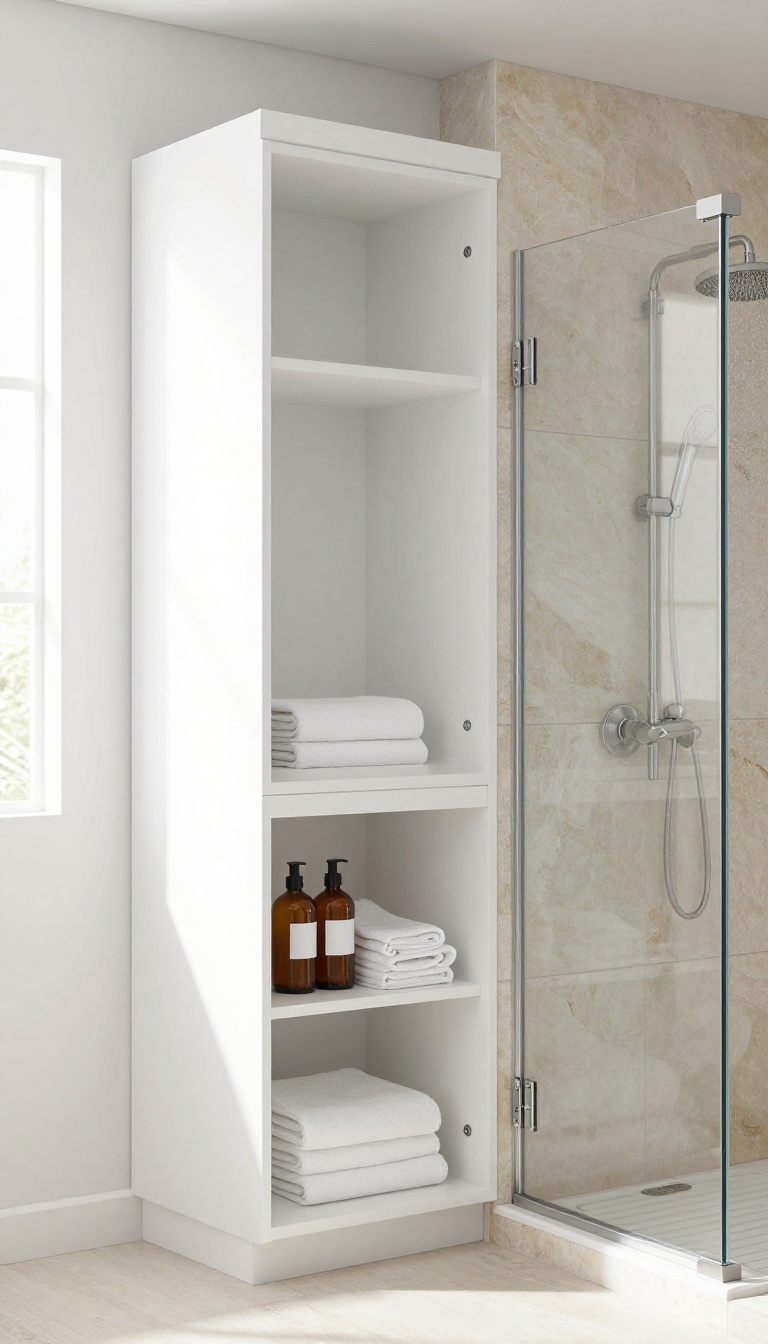
A custom built-in cabinet above the shower is a game-changer for bathrooms that lack storage. It turns dead space into a functional spot for towels, toiletries, or decorative items. Plus, it gives the room a built-in, high-end feel that’s hard to beat.
When you install a shallow cabinet above the shower, you’re not just adding storage—you’re adding character. The key is to design it so it looks like it was always part of the room, not an afterthought. You can match the cabinet to your existing trim or go with a contrasting finish for a pop of style.
Either way, it’s a practical upgrade that makes your morning routine easier.
Why A Built-in Beats A Standalone Unit
A standalone shelf or cabinet can look clunky and take up visual space. A built-in is flush with the wall, so it feels seamless and doesn’t interrupt the flow of the room. It also maximizes every inch of available space, which is crucial in smaller bathrooms.
Plus, you can customize the interior to fit exactly what you need—like adjustable shelves or a hidden outlet for a razor charger.
Material And Finish Options
For a wet area like a shower, you need materials that can handle moisture. Marine-grade plywood or PVC board are smart choices because they resist warping and mold. You can paint them to match your bathroom or leave them natural for a warm touch.
If you want a more luxurious look, consider a stone or tile surround that frames the cabinet—it ties the whole design together.
Installation Tips And Considerations
Before you start, make sure you have proper waterproofing behind the cabinet and that the door seals well to keep humidity out. You’ll also want to think about accessibility—place it high enough to avoid splashes but low enough that you can reach it easily. If you’re not handy, hire a pro, but for the DIY crowd, a pre-fabricated cabinet unit can simplify the job.
Just remember to caulk all seams and use stainless steel hinges.
FAQ
What is the best material to use above a shower?
The best material depends on your style and budget. Tile, waterproof panels, and sealed wood-look options are all durable and moisture-resistant. Avoid materials that can warp or mold, like untreated wood.
Can I paint the wall above my shower?
Yes, you can paint the wall above your shower, but you need to use a bathroom-specific paint that is mold and mildew resistant. Also, ensure proper ventilation to prevent moisture damage.
How do I clean the area above my shower?
Regular cleaning with a mild detergent and a soft cloth or sponge is usually enough. For tile, use a grout cleaner to keep the lines looking fresh. Avoid abrasive cleaners that can scratch surfaces.
Do I need to waterproof the wall above the shower?
Yes, it's important to waterproof the area above the shower to prevent moisture from seeping into the wall and causing damage. Use a waterproof membrane or backer board, especially if you're tiling.
How high should I tile above the shower?
Tiling all the way to the ceiling is a popular choice for a seamless look. If you prefer a shorter tile height, make sure it extends at least a few inches above the showerhead to protect the wall from splashes.
Conclusion
Choosing the right finish above your shower can transform the entire bathroom. Whether you go for a full tile installation or a simple painted wall, the key is to pick something that suits your style and handles moisture well.
Take your time to weigh the options and consider your budget and maintenance preferences. With a little effort, you'll enjoy a finished, custom look that makes your daily shower feel more like a retreat.