How to Clean a Bathroom Step by Step in 15 Easy Ways
Cleaning the bathroom from top to bottom in 15 steps sounds like a lot, but it's actually the most efficient way to get it done.
You'll start with dry dusting and end with a sparkling floor, hitting every surface in between without backtracking.
This sequence saves time and ensures nothing gets overlooked, so you can finish faster and enjoy a truly fresh space.
1. Start with a Dry Sweep
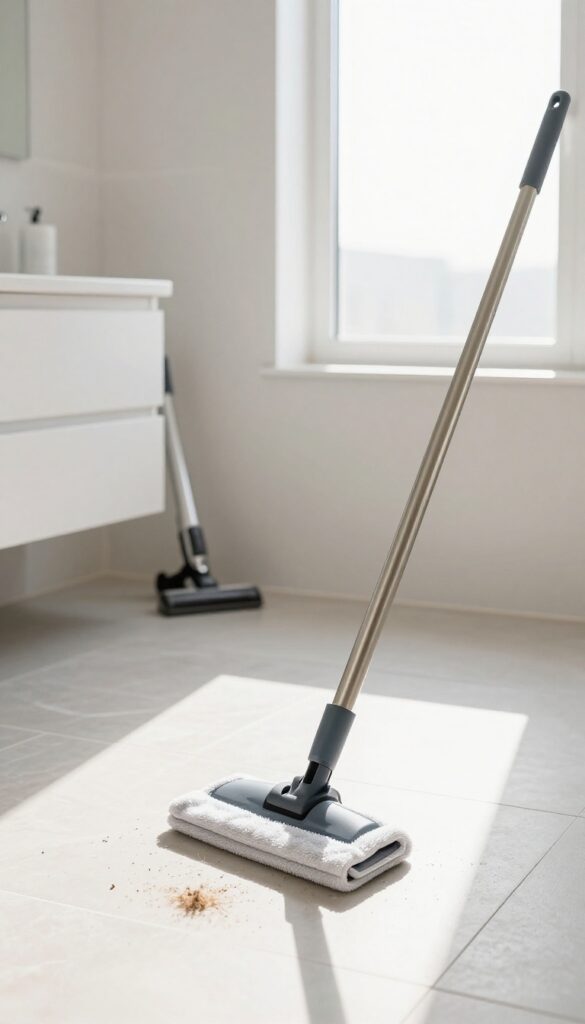
Before any water or cleaner touches your bathroom, grab a dry microfiber mop or a vacuum. Loose hair, dust, and lint accumulate quickly on floors and countertops. If you wet them first, you'll just push that debris around and risk clogging your drain.
A quick dry sweep clears the way for everything that follows.
Dry sweeping is the unsung hero of bathroom cleaning. It prevents the dreaded hair-ball mess that forms when wet mops drag debris into corners. It also keeps your mop water cleaner longer, so you're not spreading dirty water around.
Spend just two minutes sweeping before you start, and your whole routine will feel smoother.
Why Dry First Matters
Wet cleaning pushes loose debris into grout lines, drains, and under cabinets. That hair and dust can trap moisture and lead to mold or mildew over time. A dry sweep lifts it all away before it becomes a problem.
Best Tools For The Job
A microfiber dust mop is ideal because it traps particles without scratching surfaces. A vacuum with a soft brush attachment works great on tile floors and corners. Avoid traditional brooms—they tend to scatter fine dust into the air.
Don't Forget Vertical Surfaces
Use a dry microfiber cloth or a duster to wipe down walls, shelves, and the top of the toilet tank. These spots collect dust that later falls onto your freshly cleaned surfaces. A quick once-over saves you from double work.
2. Tackle the Toilet Inside and Out
The toilet is often the most dreaded part of bathroom cleaning, but it doesn't have to be. With the right approach, you can make it quick and sanitary. Start by applying a toilet bowl cleaner to the inside, then move to the exterior for a complete refresh.
Begin by squeezing a toilet bowl cleaner under the rim and around the bowl. Let it sit for a few minutes to break down stains and disinfect. While it works, spray a disinfectant all over the exterior—including the tank, lid, seat, and base.
Wipe everything down with a microfiber cloth, then scrub the inside with a toilet brush, paying attention to the rim and jet holes. Flush, then give the brush a quick rinse. Finish by wiping the seat and lid one more time for a streak-free shine.
Choose The Right Cleaner
Not all toilet cleaners are the same. Gel-based formulas cling better to the bowl, while foaming ones cover more area quickly. For stubborn rings, look for cleaners with bleach or citric acid.
If you prefer natural options, baking soda and vinegar can work, but they require more elbow grease.
Don't Forget The Hidden Spots
The area around the toilet base and behind the seat hinges collects dust and grime. Use a small brush or an old toothbrush to scrub these tight spaces. Also, wipe down the flush handle—it's one of the most touched surfaces in the bathroom.
Keep A Routine
A quick daily wipe of the seat and a weekly deep clean prevent buildup and odors. If you have a busy household, keep disinfectant wipes handy for a fast touch-up. Consistency makes the job easier over time.
3. Shine the Mirror Without Streaks
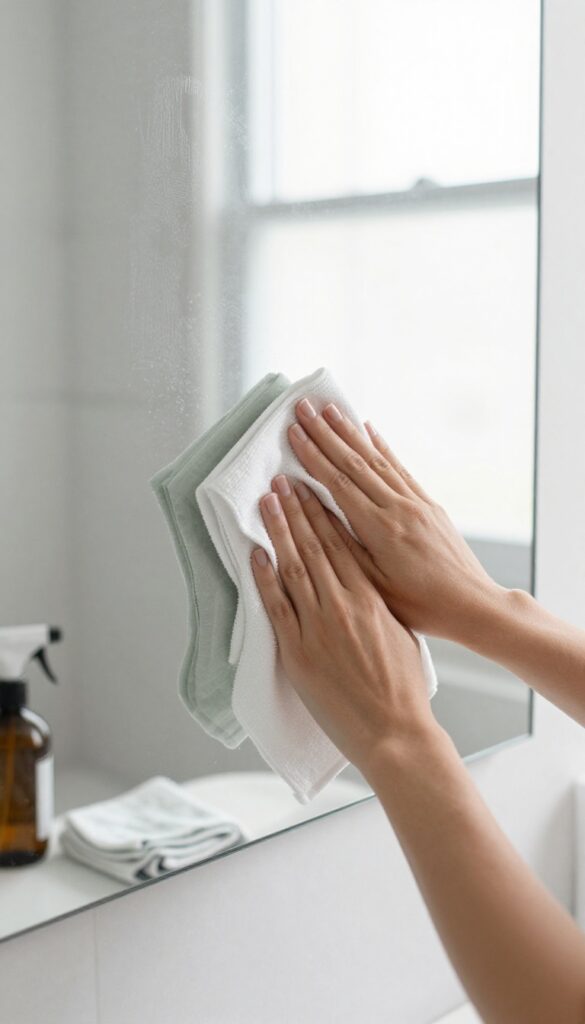
A streaky mirror can undo all your hard work in an instant. The good news is that getting a crystal-clear reflection is simple with the right technique. You just need the proper tools and a specific wiping pattern to avoid those annoying lines.
Start by choosing your cleaner. A mix of equal parts white vinegar and water works wonders, or you can use a dedicated glass cleaner. Spray the solution lightly onto a microfiber cloth—never directly onto the mirror, as excess liquid can seep behind the edges and damage the backing.
Wipe in a zigzag pattern from top to bottom, overlapping each pass slightly. This prevents streaks because you’re not wiping in circles that redistribute residue. Finish by buffing with a dry section of the cloth for extra shine.
Why Microfiber Matters
Microfiber cloths are designed to trap dust and oils without leaving lint behind. Paper towels often leave fibers and can create static that attracts dust. A clean, dry microfiber cloth is your best friend for a streak-free finish.
The Zigzag Technique
Wiping in a zigzag motion ensures that the cleaner is evenly distributed and that you don’t redeposit grime. Start at the top left, move diagonally to the right, then back to the left, working your way down. This pattern covers the entire surface efficiently.
Avoid Common Mistakes
Don’t use too much cleaner—a little goes a long way. Excess liquid can cause drips that dry into streaks. Also, never clean a mirror when it’s hot from a shower; let it cool first, or the cleaner will evaporate too quickly and leave marks.
4. Clean the Shower Doors and Tracks
Shower doors and tracks collect soap scum, hard water stains, and mildew faster than almost any other surface. Glass doors look terrible when they're cloudy, and tracks can get downright gross. A few simple steps will restore their shine and keep them working smoothly.
Start by spraying a 50/50 mix of white vinegar and water onto the glass doors. Let it sit for 5-10 minutes to break down mineral deposits. Scrub with a non-abrasive sponge or microfiber cloth—avoid steel wool or harsh scrubbers that can scratch the glass.
Rinse thoroughly with warm water and squeegee dry for a streak-free finish. For stubborn spots, make a paste of baking soda and vinegar and apply it directly. For the tracks, use an old toothbrush dipped in vinegar to dislodge grime from corners and crevices.
Follow up with a wet cloth to wipe away loosened debris. If the track has standing water, use a paper towel to soak it up. To prevent future buildup, squeegee the doors after every shower and wipe tracks dry weekly.
Glass Door Technique
Vinegar is your best friend for glass doors because it cuts through soap scum without harsh chemicals. Spray generously, let it dwell, then scrub gently. Rinse well—leftover vinegar can dry into streaks.
A squeegee after each shower keeps doors crystal clear.
Track Deep Clean
Tracks collect hair, soap residue, and mildew. A toothbrush reaches tight spots. For extra stubborn buildup, use a small brush or even a pipe cleaner.
Flush the track with water after scrubbing to wash away debris. Dry with a cloth to prevent mold.
Preventive Maintenance
A daily squeegee and weekly track wipe-down stop grime from accumulating. Consider a shower door spray that repels water and soap scum. Keeping the bathroom well-ventilated also reduces moisture and mildew growth.
5. Refresh Grout Lines
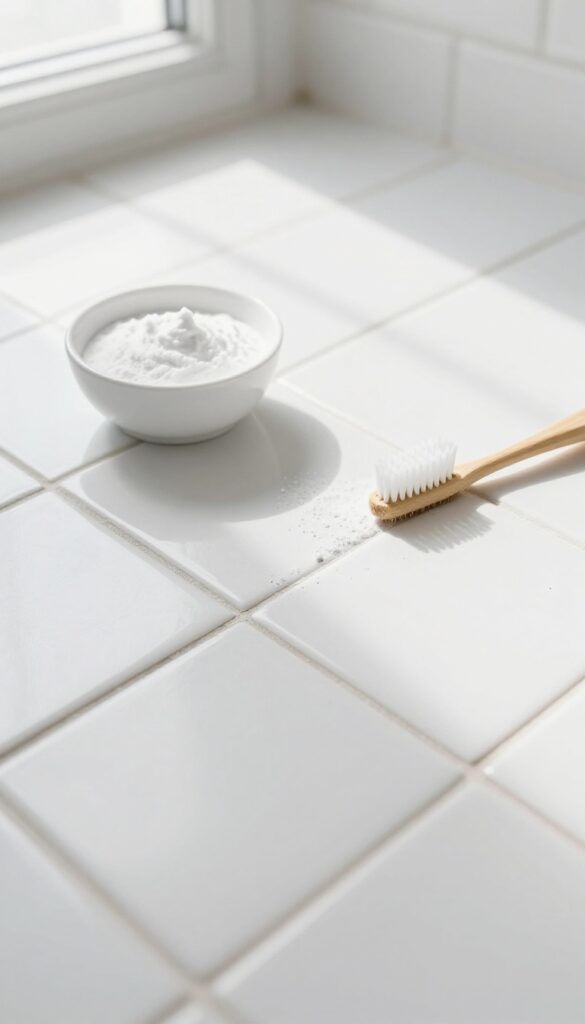
Grout lines are the unsung heroes of a clean bathroom—until they start looking dingy. Over time, they trap dirt, soap scum, and mildew, making even a freshly scrubbed tile floor or wall look dull. The good news is you don't need harsh chemicals or a professional to bring them back to life.
A simple paste made from baking soda and hydrogen peroxide does the job beautifully.
Mix three parts baking soda with one part hydrogen peroxide to form a thick paste. Apply it directly to the grout lines using an old toothbrush or a small spatula, making sure to work it into the grooves. Let it sit for about 10 minutes—this gives the peroxide time to break down stains and kill mold spores.
Then scrub vigorously with a stiff-bristled brush, focusing on any stubborn spots. Rinse thoroughly with warm water and wipe away any residue with a damp cloth. Your grout will look noticeably lighter and fresher, and the whole process takes under 20 minutes.
Why This Combo Works So Well
Baking soda is a gentle abrasive that lifts grime without scratching tile, while hydrogen peroxide is a natural bleach and disinfectant. Together, they create a fizzing action that helps dislodge dirt deep within the porous grout. Unlike chlorine bleach, peroxide won't produce harsh fumes or damage colored grout over time.
Pro Tips For Stubborn Stains
For grout that's really dark or moldy, let the paste sit for 20 minutes instead of 10. You can also cover it with plastic wrap to keep it from drying out too fast. If you still see stains after scrubbing, repeat the process or add a few drops of dish soap to the paste for extra grease-cutting power.
Sealing After Cleaning
Once your grout is dry and clean, consider applying a grout sealer. This creates a protective barrier that repels moisture and dirt, making future cleanings much easier. Just spray or brush on a thin layer, wipe off excess, and let it cure according to the product instructions.
6. Descale the Showerhead
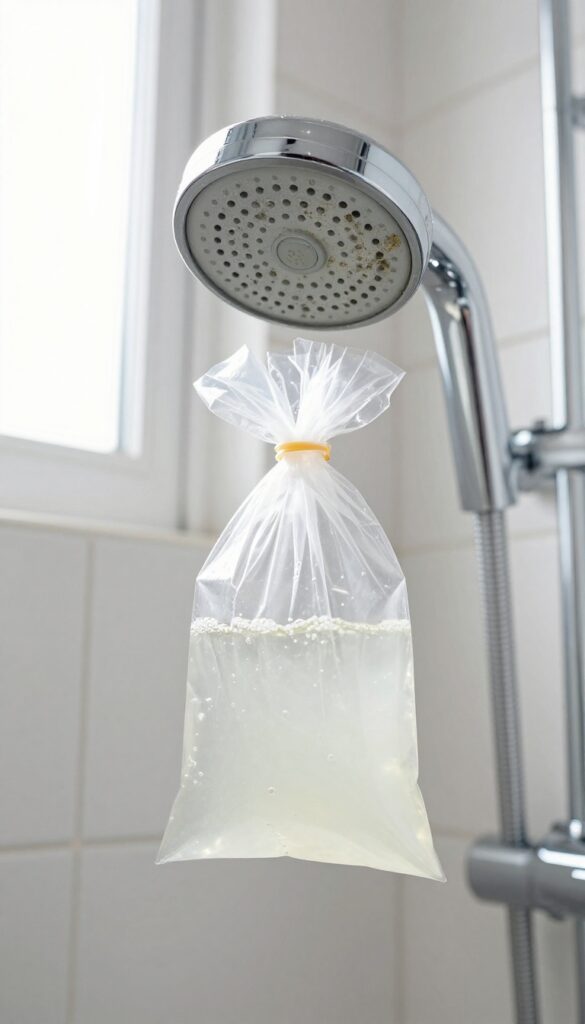
Hard water can clog your showerhead with mineral deposits, reducing water pressure and leaving you with a weak spray. Descaling it is a simple, chemical-free fix that restores flow and keeps your shower feeling powerful. All you need is white vinegar and a few minutes of hands-off time.
Why Vinegar Works Best
White vinegar is mildly acidic, which dissolves calcium and lime scale without harsh scrubbing. It's safe for most metal and plastic showerheads, and it's much cheaper than commercial descalers. Plus, you probably already have a bottle in your kitchen.
Step-by-step Soaking Method
Fill a sturdy plastic bag with enough white vinegar to fully submerge the showerhead. Carefully lift the bag over the head, making sure the holes are covered, and secure it tightly with a rubber band or zip tie. Let it soak for at least an hour—overnight if buildup is heavy.
After soaking, remove the bag and run the shower on hot for a minute to flush out any loosened debris.
What If The Showerhead Is Fixed?
If your showerhead is a wall-mounted style that can't be bagged, you can fill a smaller bag or use a plastic cup held in place with a rubber band. Alternatively, unscrew the head and soak it in a bowl of vinegar. Just be sure to check the manufacturer's instructions first, as some finishes (like brass or nickel) may require a diluted solution.
7. Wash the Shower Curtain and Liner
Your shower curtain and liner are like sponges for soap scum, mildew, and mystery grime. If they look dingy or smell musty, it's time for a refresh. The good news: most fabric liners and curtains can go right in the washing machine.
Machine washing is the easiest way to deep clean a shower curtain or liner. Add a couple of towels to the load—they act as scrubbers to agitate dirt and soap residue. Use a gentle cycle with warm water, your regular detergent, and a half cup of baking soda to boost cleaning and deodorize.
Skip the fabric softener, which can leave a film that attracts mildew. After the cycle ends, hang the curtain or liner back up immediately. Letting it sit in the washer wrinkled and damp is an open invitation for mildew to grow.
Prep For The Wash
Before tossing it in, check the care label. Most polyester or PEVA liners are machine-washable, but some cheap ones may warp. Remove any plastic hooks or metal rings that could snag the fabric.
If there are visible mold spots, pretreat them with a spray of hydrogen peroxide or a paste of baking soda and water. Let it sit for 15 minutes before washing.
Dry It Right
Hanging the curtain or liner back on the rod immediately is key. Spread it out fully so it doesn't bunch up. If you have a dryer-safe curtain, you can tumble dry on low heat for a few minutes to speed things up, but always finish by hanging.
A quick wipe of the shower rod with a disinfecting wipe before rehanging keeps everything fresh.
Prevent Future Grime
To keep your curtain and liner cleaner longer, give them a quick rinse with warm water after each shower. This washes away soap residue before it dries and hardens. Also, leave the curtain spread open after showering so air circulates and moisture evaporates.
A weekly spray with a vinegar-water solution (1: 1) can help prevent mildew buildup.
8. Scrub the Bathtub and Sink
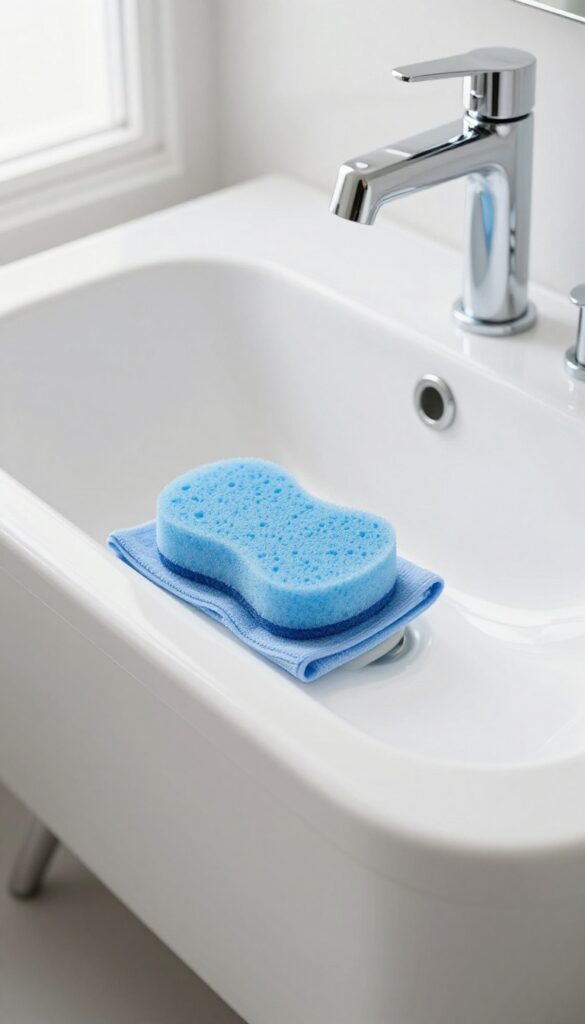
Bathtubs and sinks see a lot of action, so they need a little extra attention. A good scrub removes soap scum, body oils, and everyday grime that can make surfaces look dull. The trick is using the right cleaner and technique to avoid scratches while getting everything truly clean.
Choose Your Cleaner Wisely
Abrasive powders can scratch acrylic or fiberglass tubs, so stick with a non-abrasive bathroom cleaner or a simple baking soda paste. For tough stains, let the cleaner sit for five minutes before scrubbing. This gives it time to break down the grime without extra elbow grease.
Scrub In The Right Order
Start with the bathtub walls, then move to the bottom, and finish with the sink. This way, any drips or splashes from higher surfaces get cleaned up as you go. Use a soft sponge or a microfiber cloth for most surfaces, and a soft-bristle brush for corners and around fixtures.
Don't Forget The Fixtures
Faucets, handles, and drain covers collect water spots and toothpaste residue. Wipe them down with the same cleaner or a vinegar-water solution, then rinse thoroughly. A dry buff with a clean cloth will restore their shine.
Rinse And Dry
After scrubbing, rinse every surface with warm water until no cleaner residue remains. Leftover cleaner can cause streaking or dullness. Use a squeegee on the tub walls and a microfiber cloth on the sink to prevent water spots and speed up drying.
9. Wipe Down Countertops and Vanity
Countertops and vanities take a daily beating—toothpaste splatters, hair product residue, and water spots add up fast. A quick wipe-down after each use helps, but a thorough cleaning during your deep bathroom scrub makes a real difference. This step is all about removing grime from the surface and those sneaky edges where buildup hides.
Start by clearing everything off the counter: toothbrush holders, soap dispensers, makeup bags, the works. Give each item a quick wipe before setting it aside. Then spray the entire vanity surface with an all-purpose cleaner or a simple vinegar-and-water solution (equal parts works great).
Let it sit for 30 seconds to loosen any stuck-on gunk.
Work The Edges And Corners
Use a microfiber cloth to wipe the main surface in broad strokes, then focus on the edges where the counter meets the backsplash and the corners near the sink. These spots collect toothpaste drips and dust bunnies. A damp cloth or an old toothbrush can help dislodge stubborn residue.
Don't Forget The Faucet Base
The area around the faucet is a magnet for hard water stains and soap scum. Spray it down and scrub gently with a soft cloth or sponge. If you see mineral deposits, a little baking soda on a damp cloth works wonders without scratching.
Finish With A Dry Buff
After cleaning, go over the counter with a dry microfiber cloth to remove any streaks and prevent water spots. This leaves the surface shiny and fingerprint-free. Replace your toiletries, and you're done—a clean, organized vanity that looks and feels fresh.
10. Clean Faucets and Handles
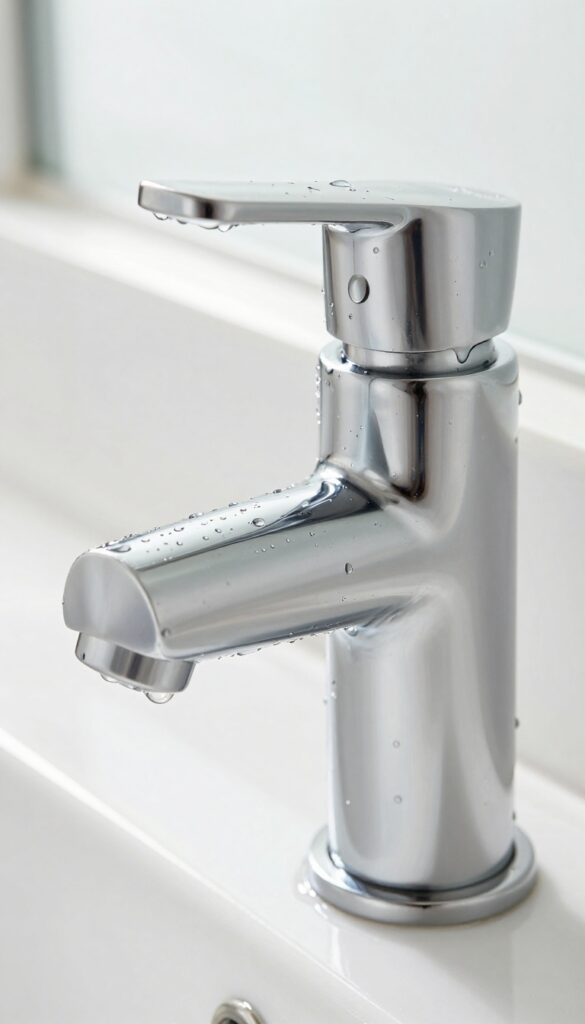
Faucets and handles are touched constantly, so they collect fingerprints, water spots, and grime fast. A quick wipe-down makes them shine like new, but stubborn buildup needs a little extra help. Here's how to get them sparkling without scratching the finish.
Daily Wipe-down
After each use, give faucets and handles a quick wipe with a soft, dry cloth. This prevents water spots and soap residue from hardening. For a deeper clean, use a microfiber cloth dampened with a 50/50 vinegar-water solution.
Avoid abrasive sponges that can scratch chrome or brushed nickel.
Removing Stubborn Buildup
For mineral deposits or hard water scale, soak a cloth in white vinegar and wrap it around the faucet or handle. Let it sit for 15 minutes, then remove and wipe clean. For tight crevices, use an old toothbrush dipped in vinegar.
Rinse with water and dry thoroughly to prevent new spots.
Polishing For Shine
After cleaning, buff the metal with a dry microfiber cloth to restore its luster. For extra shine, apply a tiny drop of olive oil or baby oil to a cloth and rub gently. This also helps repel future water spots.
Avoid wax or polish with silicone, which can leave a sticky residue.
11. Disinfect Light Switches and Doorknobs
Light switches and doorknobs are some of the most frequently touched surfaces in any bathroom, yet they're often skipped during cleaning. Germs and grime accumulate quickly here, so giving them a proper wipe-down is a small step that makes a big difference. You don't need to overthink it—just a quick spray and wipe keeps these high-touch spots sanitary.
Choose The Right Disinfectant
Pick a disinfectant spray that's safe for the material of your switches and knobs. Most plastic or metal surfaces handle standard household disinfectants well, but avoid bleach on painted or delicate finishes. Always check the label to ensure it's effective against bacteria and viruses without causing damage.
Spray The Cloth, Not The Surface
Never spray directly onto light switches or electrical outlets—moisture can seep inside and cause a short. Instead, spray the disinfectant onto a clean microfiber cloth until it's damp but not dripping. This keeps you safe and prevents excess liquid from pooling around the switch plate.
Wipe Every High-touch Area
Go beyond just the switch plate: wipe the entire switch, the surrounding wall area, and the doorknob or handle. Don't forget the back of the knob and the edge of the door near the latch. For a thorough clean, let the disinfectant sit for the contact time recommended on the label before drying.
12. Organize the Medicine Cabinet
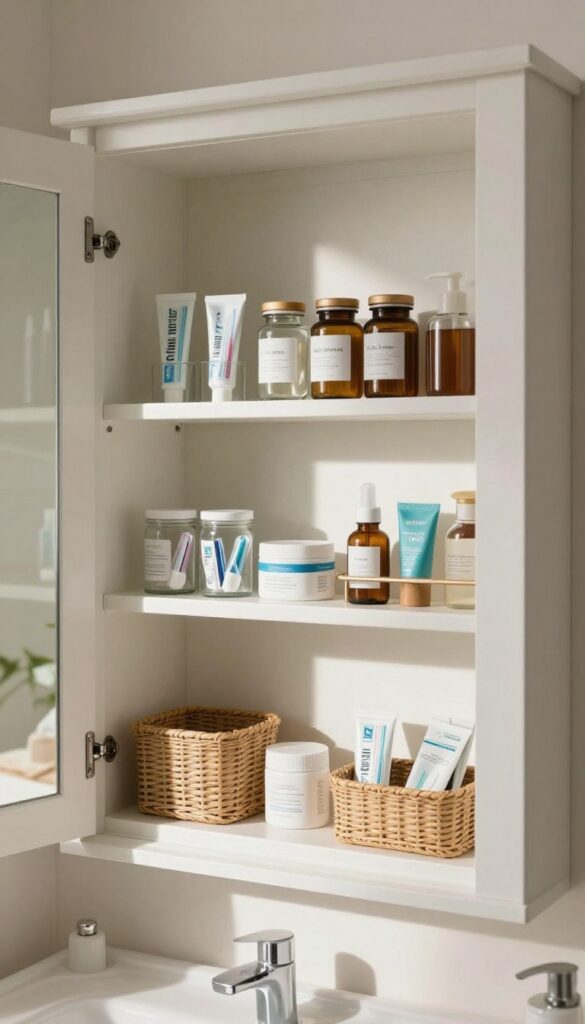
The medicine cabinet is often a catch-all for half-used tubes, expired bottles, and random odds and ends. Taking a few minutes to sort it out not only makes it look neater but also helps you find what you need quickly. Plus, clearing out expired products is a simple safety win.
Start by removing everything from the cabinet. Lay items out on the counter so you can see what you're working with. Wipe down the shelves with a damp cloth and a mild cleaner to remove any dust or spills.
While the shelves dry, go through the pile and toss anything that's expired, empty, or no longer useful. Group the remaining items by category—first aid, oral care, skincare, hair products, medications—and return them to the cabinet in an orderly fashion. Use small bins or trays if you have them to keep like items together.
Sort And Purge
Check expiration dates on medications, ointments, and makeup. Anything past its prime goes in the trash. Also ditch empty bottles, dried-out nail polish, and products you haven't touched in a year.
This step alone frees up a surprising amount of space.
Clean The Shelves
Use a microfiber cloth and a gentle all-purpose cleaner to wipe down each shelf. Pay attention to corners and edges where gunk can build up. Let the shelves air-dry completely before putting anything back to prevent moisture from getting trapped.
Group And Arrange
Organize items by frequency of use and category. Keep daily essentials like toothpaste and deodorant at eye level. Store less frequently used items, like first aid supplies or backup toiletries, on higher or lower shelves.
Use small baskets or dividers to keep categories separate.
13. Freshen the Trash Can
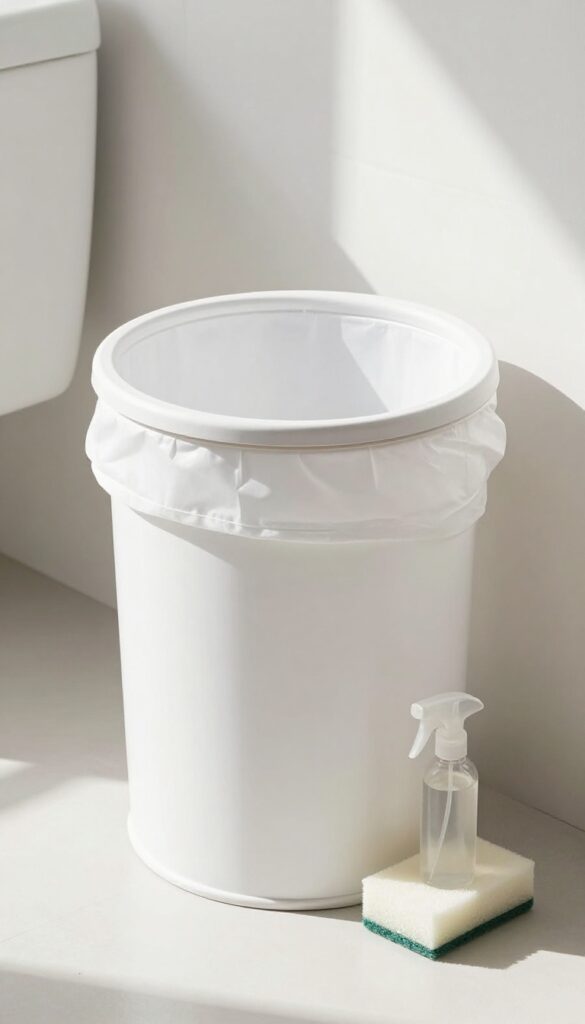
The trash can is one of those things you use every day but rarely think to clean. Over time, spills, leaks, and just general use can make it a source of odors. Giving it a quick refresh keeps your bathroom smelling clean and prevents grime from building up.
Empty And Rinse
Start by removing the liner and any trash. Take the can outside or to a utility sink and give it a good rinse with warm water to loosen any stuck-on debris. If there are any obvious stains or sticky spots, a quick scrub with a sponge will take care of them.
Wash With Soapy Water
Fill the can with warm water and a squirt of dish soap. Use a long-handled brush or a sponge to scrub the inside and outside, paying extra attention to the bottom and rim where grime collects. Rinse thoroughly and let it air dry completely before adding a new liner.
Deodorize With Baking Soda
Once the can is dry, sprinkle a thin layer of baking soda on the bottom. This natural deodorizer will absorb any lingering smells and keep the can fresh between cleanings. Then place a new liner in, and you're done.
14. Clean Exhaust Fan and Vents
The exhaust fan and vents work hard to remove moisture and odors, but they also trap dust and grime over time. A clogged fan not only looks bad but also works less efficiently, which can lead to mold and mildew issues. Giving them a quick clean every few months keeps the air moving and your bathroom fresh.
Safety First: Turn Off Power
Before you start, flip the switch that controls the fan or turn off the breaker to that circuit. This prevents any accidental spinning while you clean. Use a sturdy step stool or ladder to reach the fan safely.
Vacuum The Cover And Vents
Attach the brush or crevice tool to your vacuum and gently go over the fan cover and the vent openings. This removes loose dust and cobwebs. Don't forget to vacuum the surrounding ceiling area if it looks dusty.
Wash The Fan Cover
If the cover is removable, unclip or unscrew it carefully. Soak it in warm water with a few drops of dish soap for about 10 minutes. Scrub gently with a soft brush or sponge to remove stubborn grime.
Rinse thoroughly and let it air dry completely before reattaching.
Wipe Down The Fan Blades
With the cover off, use a damp microfiber cloth or a duster to wipe the fan blades and the interior housing. Be gentle to avoid bending the blades. If there's heavy dust buildup, a vacuum with a brush attachment works well here too.
15. Mop the Floor Last
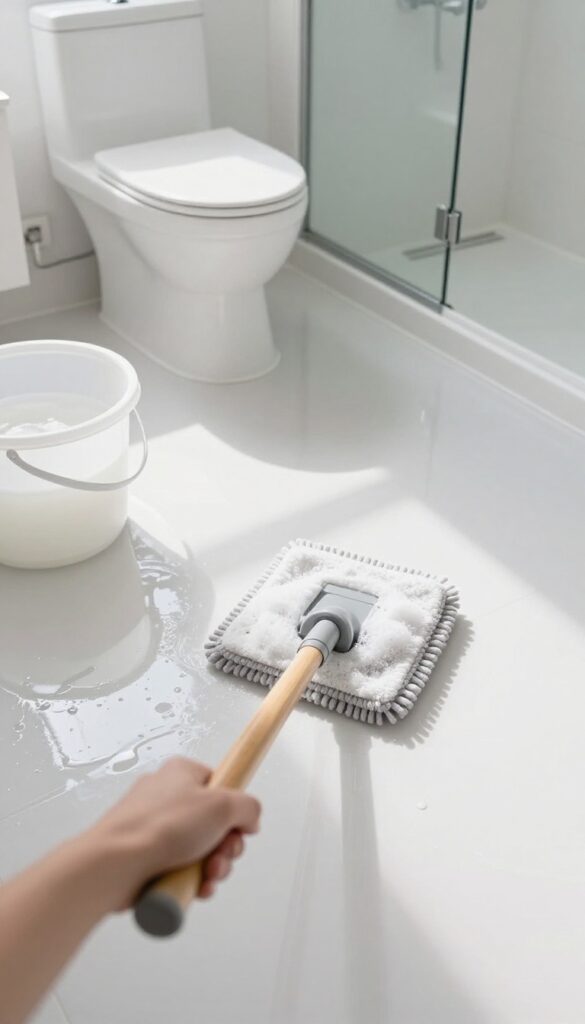
You've scrubbed the toilet, polished the mirror, and wiped down every surface. Now it's time to finish strong with the floor. Mopping last ensures no dirty water splashes onto your clean fixtures, and you won't have to step on a wet floor while doing other tasks.
Grab a microfiber mop and a bucket with your preferred floor cleaner—either a store-bought one or a simple vinegar solution (1/2 cup white vinegar per gallon of warm water). Microfiber traps dirt and grime better than traditional string mops, and it dries faster. Start in the farthest corner of the bathroom and work your way toward the door.
This way, you never have to walk on freshly mopped areas, leaving no footprints behind. Dip the mop, wring it out well (you want it damp, not soaking), and use smooth, overlapping strokes. Rinse the mop head as needed, especially if you're cleaning a larger bathroom.
Let the floor air dry completely before putting the bath mat back down.
Choose The Right Cleaner
For most tile or vinyl floors, a neutral pH cleaner works best. Avoid harsh chemicals that can damage grout or leave a sticky residue. Vinegar is a great natural option, but skip it on natural stone like marble or travertine.
If you're unsure, test a small hidden area first.
Work In Sections
Don't try to mop the whole floor at once. Divide it into quadrants and mop one section at a time. This keeps the mop water cleaner and ensures you don't miss spots.
Rinse the mop head between sections to avoid spreading dirty water.
Don't Forget The Baseboards
Before you mop, quickly wipe down the baseboards with a damp cloth. They collect dust and grime that can wash onto your clean floor. A quick pass saves you from having to re-mop later.
FAQ
How often should I deep clean my bathroom?
Aim for a deep clean once a week, but high-traffic bathrooms may need it every few days. Daily quick wipes can help maintain cleanliness between deep cleans.
Can I use vinegar on all bathroom surfaces?
Vinegar is safe for most surfaces, but avoid it on natural stone (like marble or granite) as it can etch the surface. Use a pH-neutral cleaner instead.
What's the best way to remove hard water stains?
A paste of baking soda and vinegar or a commercial limescale remover works well. Apply, let it sit, then scrub with a non-abrasive pad.
How do I prevent mold and mildew in the bathroom?
Improve ventilation by using an exhaust fan or opening a window. Wipe down wet surfaces after showers and use a squeegee on glass doors.
Is it necessary to use separate cleaners for different surfaces?
Not always. An all-purpose cleaner works for many surfaces, but for tough stains or specific materials (like grout or glass), specialized cleaners can be more effective.
Conclusion
Keeping your bathroom clean doesn't have to be a weekend-long project. With these 15 straightforward methods, you can tackle dirt and grime efficiently, leaving your space fresh in no time. Pick the techniques that fit your schedule and stick with them.
Start with the steps that target your biggest trouble spots, then build a routine from there. A little consistency goes a long way—your bathroom will stay cleaner longer, and you'll save effort on future cleanings. Now go enjoy that sparkling clean room.