20 Kitchen Cleaning Checklist Ideas for a Tidy Cooking Space
A messy kitchen doesn't just look bad—it makes cooking harder. Greasy counters, sticky cabinets, and hidden crumbs slow you down and kill your motivation. But you don't need to spend hours scrubbing to get things under control.
A focused checklist turns chaos into a manageable routine.
These 20 ideas target the most common kitchen trouble spots. Each one solves a specific problem, from baked-on oven grime to cluttered drawers. Pick the ones that match your biggest headaches, and build a cleaning habit that actually sticks.
No fluff, no generic tips—just practical steps that make your kitchen feel fresh and functional. Ready to transform your cooking space? Let's dive in.
1. Degrease the Stovetop After Every Heavy Cook
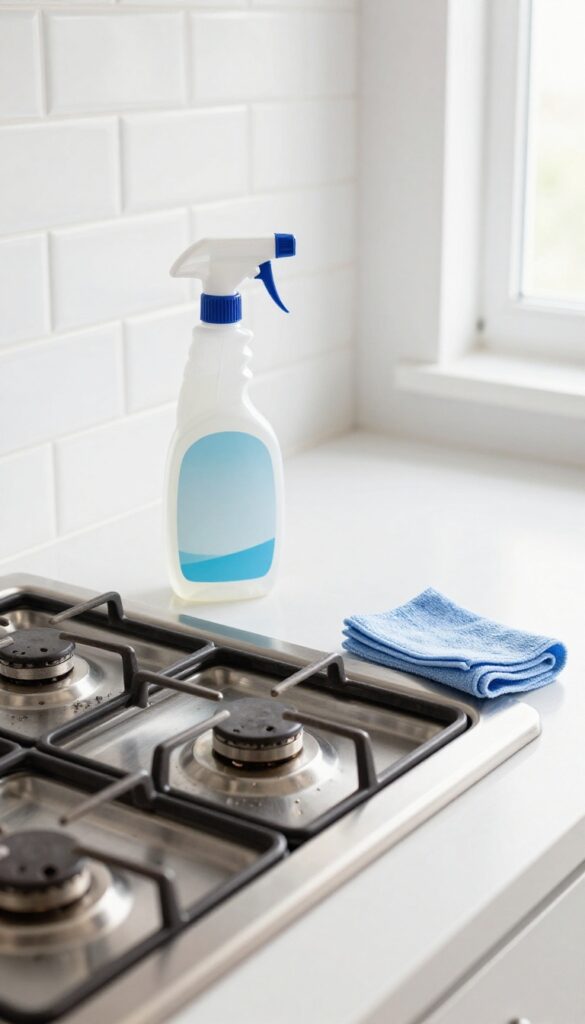
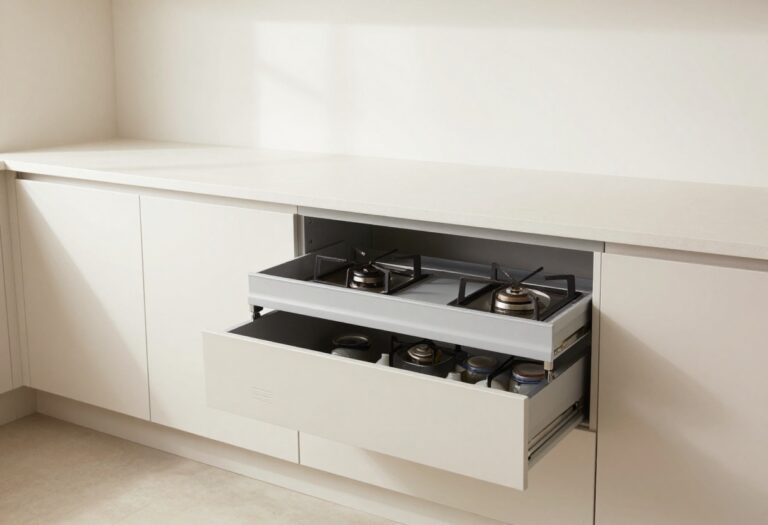
Splattered grease hardens quickly and attracts more dirt. Wiping the stovetop with a degreasing spray right after cooking prevents stubborn buildup and keeps burners working efficiently. This small habit saves you from scrubbing caked-on grime later.
Make it a rule: once the pan is off the heat, grab a spray and a microfiber cloth. A quick wipe while the surface is still warm (but not hot) dissolves grease instantly. For gas stoves, remove grates and wipe underneath weekly.
For glass cooktops, use a dedicated cleaner to avoid scratches.
Choose The Right Degreaser
Not all cleaners are equal. A mix of white vinegar and water works for light grease, but for heavy buildup, use a commercial degreaser or a paste of baking soda and dish soap. Avoid abrasive pads on ceramic or glass surfaces.
Don't Forget The Knobs And Drip Pans
Grease collects on knobs and drip pans too. Remove knobs (if possible) and soak them in warm soapy water. Wipe drip pans with a degreaser or replace them if they're too crusty.
This step keeps controls from getting sticky.
Set A Timer For A Weekly Deep Clean
Even with daily wipes, schedule a deeper clean once a week. Remove grates and burners, scrub with a degreasing soap, and rinse thoroughly. This prevents buildup in hard-to-reach areas and maintains burner efficiency.
2. Wipe Down Cabinet Fronts Weekly
Cabinet fronts take a beating. Every time you cook, grease and steam rise and settle on the surface. Fingerprints from grabbing handles or opening doors add another layer.
Over time, that invisible film turns into a sticky, dull coating that's harder to remove. A quick weekly wipe keeps them looking fresh and prevents buildup.
You don't need special products—just a damp microfiber cloth and a drop of mild dish soap. Work from top to bottom so drips don't run onto already-cleaned areas. Pay extra attention to areas around the handles and the bottom edges where grime collects.
Dry with a clean cloth to avoid water spots. For wood cabinets, avoid soaking the surface; a lightly damp cloth is enough.
Choose The Right Cloth
Microfiber is your best friend here. It traps grease and dust without scratching the finish. Avoid abrasive sponges or paper towels that can leave lint or fine scratches.
If your cabinets have a matte or textured surface, a soft microfiber cloth works best to lift dirt from the grooves.
Don't Forget The Hardware
Knobs and pulls collect grime from hands. Wipe them down with the same damp cloth, then dry them. For stubborn buildup around the base of knobs, use a cotton swab dipped in soapy water.
This small step makes a big difference in the overall look.
Tackle Stubborn Grease
If you've let it go for a while, a degreasing spray can help. Spray onto the cloth, not directly onto the cabinet, to avoid excess moisture. Let it sit for a minute before wiping.
For really baked-on spots, a paste of baking soda and water works gently.
3. Sanitize the Sink Every Night
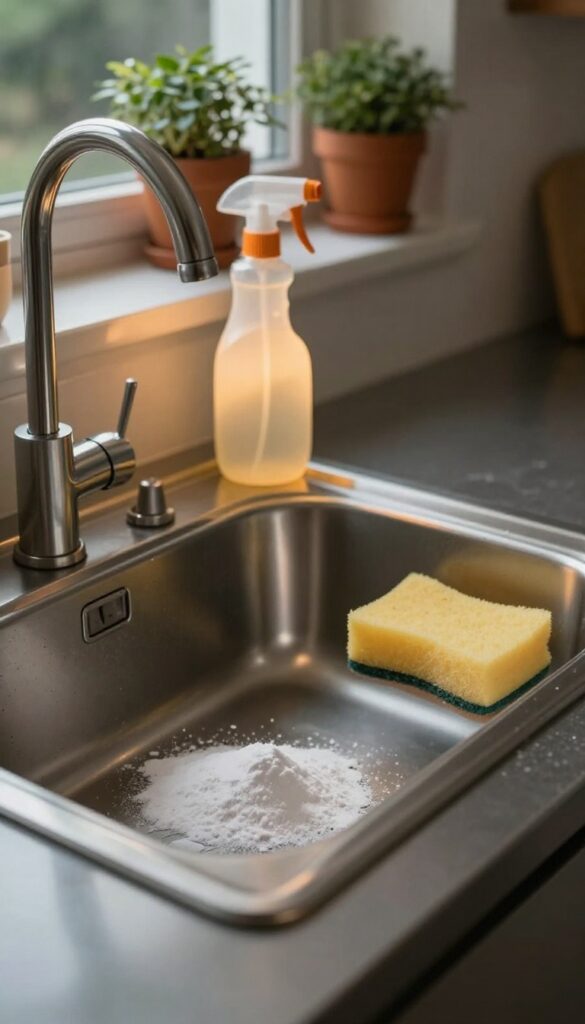
Your kitchen sink gets a lot of action. After washing dishes, prepping veggies, and draining leftover pasta water, it becomes a breeding ground for bacteria. A quick nightly sanitizing routine takes just a couple of minutes and keeps your sink fresh and germ-free.
Why Nightly Matters
Bacteria multiply fast in warm, damp environments. A sink that looks clean can still harbor E. coli and salmonella from raw food juices. A nightly scrub breaks the cycle before odors or health risks develop.
The Baking Soda & Vinegar Method
Sprinkle baking soda over the wet sink surface, then spray with white vinegar. Let it fizz for a minute to lift grime and neutralize odors. Scrub with a sponge, rinse with hot water, and dry with a clean cloth.
For stainless steel, wipe in the direction of the grain to avoid scratches.
Don't Forget The Drain
The drain is often the smelliest part. After scrubbing the basin, pour a cup of baking soda down the drain followed by a cup of vinegar. Let it bubble for five minutes, then flush with hot water.
This clears debris and deodorizes the pipes.
4. Clean the Microwave with Steam
Microwave splatters are stubborn when left to dry. Instead of scrubbing for ages, use steam to loosen everything. A quick steam session makes wiping the interior effortless.
Why Steam Works Best
Heat and moisture soften dried food particles without harsh scrubbing. Lemon adds natural grease-cutting power and leaves a fresh scent. No chemicals needed.
Step-by-step Steam Clean
Fill a microwave-safe bowl with 1 cup water and add a few lemon slices or a tablespoon of vinegar. Microwave on high for 3-5 minutes until the door is foggy. Let it sit for 2 minutes, then wipe with a damp cloth.
Pro Tips For Stubborn Spots
If residue remains, dip your cloth in the warm lemon water and scrub gently. For burnt-on bits, repeat the steam cycle or use a baking soda paste. Wipe the turntable separately.
5. Organize the Fridge by Zones
A cluttered fridge is a recipe for wasted food and forgotten leftovers. When everything is shoved in randomly, you lose track of what you have, and spills turn into science experiments. Zoning your fridge makes it easy to find ingredients, keep things fresh, and spot items that need to be used up.
Start by emptying everything out and giving shelves a quick wipe. Then assign specific zones: dairy on the top shelf (where temps are most stable), raw meats on the bottom shelf (to avoid drips), produce in the crisper drawers, and condiments in the door. Keep leftovers in a dedicated spot, ideally at eye level so you remember them.
Do a weekly purge—toss anything expired or wilted before it contaminates other food.
Zone Labels That Stick
Use small labels or colored tape to mark each zone. This helps everyone in the household follow the system. You can even use clear bins for grouping like items—cheese and yogurt together, salad dressings in one basket.
The goal is to make restocking and grabbing ingredients effortless.
The Weekly Purge Routine
Pick one day a week (trash day works well) to quickly scan each zone. Toss expired dairy, slimy greens, and old leftovers. Give the shelves a quick wipe if anything spilled.
This five-minute habit stops smells and frees up space for fresh groceries.
Prevent Cross-contamination
Raw meat should always be on the bottom shelf, ideally in a rimmed tray or container to catch juices. Keep ready-to-eat foods like cheese and leftovers above. Store fruits and vegetables in separate crisper drawers—some fruits release ethylene gas that can spoil veggies faster.
6. Deep-Clean the Oven Door Glass
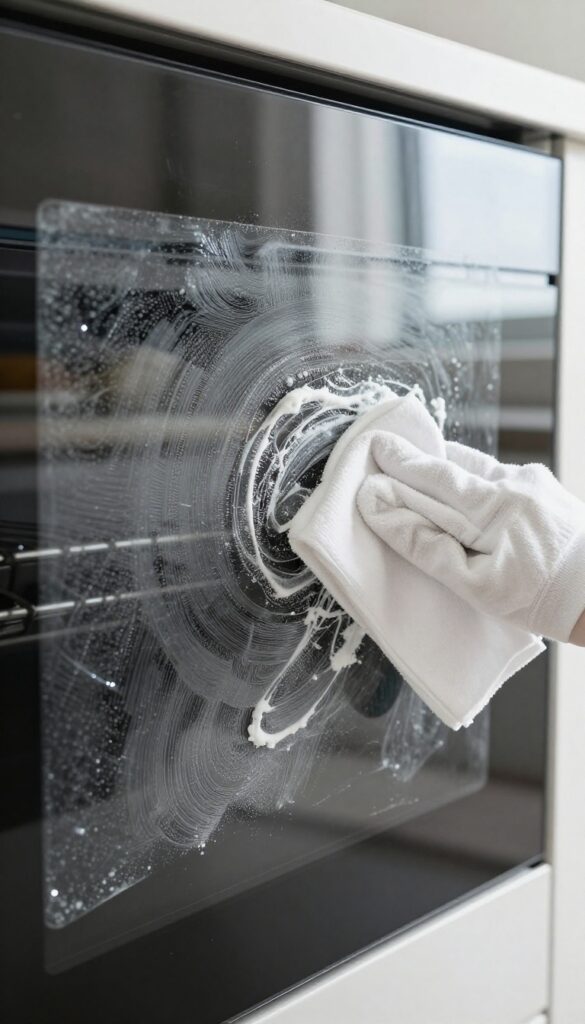
Oven door glass takes a beating from splattering grease and smoke. Over time, that foggy layer makes it hard to check on your food without opening the door. You don't need harsh chemicals to fix it—just a simple paste that cuts through the grime safely.
Baking soda and water form a gentle abrasive that lifts baked-on grease without scratching the glass. Apply the paste, let it sit, then wipe away the mess. This method is safe for self-cleaning ovens and won't release fumes.
Make The Paste
Mix 1/2 cup baking soda with 2-3 tablespoons water until it forms a spreadable paste. Adjust the ratio if needed—it should be thick enough to stay on the glass without dripping.
Apply And Wait
Spread the paste evenly over the glass, focusing on the greasiest spots. Let it sit for 15 minutes so the baking soda can break down the grime. For extra-stubborn buildup, let it sit up to 30 minutes.
Wipe And Rinse
Use a damp microfiber cloth to wipe off the paste. Rinse the cloth frequently to avoid spreading residue. For a streak-free finish, follow with a glass cleaner or a vinegar-water spray.
7. Descale the Coffee Maker Monthly
Your morning coffee deserves better than a machine clogged with mineral deposits. Hard water leaves scale inside the reservoir and heating element, which not only ruins the taste of your brew but also shortens the life of your coffee maker. A monthly descaling session takes just 30 minutes and keeps your coffee tasting fresh and your appliance running smoothly.
Why Scale Is The Enemy Of Good Coffee
Mineral buildup acts like an insulator, making your coffee maker work harder and heat less efficiently. That translates to inconsistent water temperature and a bitter, flat cup of coffee. Over time, scale can clog internal tubes and lead to costly repairs or early replacement.
The Simple Vinegar Cycle
Fill the water reservoir with equal parts white vinegar and water. Run a full brew cycle without coffee grounds. Let the mixture sit in the carafe for 15 minutes, then run two more cycles with plain water to rinse.
That’s it—your machine is clean and ready for great-tasting coffee.
How Often Should You Descale?
Once a month is the sweet spot for most households. If you have very hard water or use your coffee maker multiple times a day, consider doing it every two weeks. Your coffee maker’s manual may have specific recommendations, but monthly descaling is a safe bet for consistent performance.
8. Empty and Wipe the Trash Can
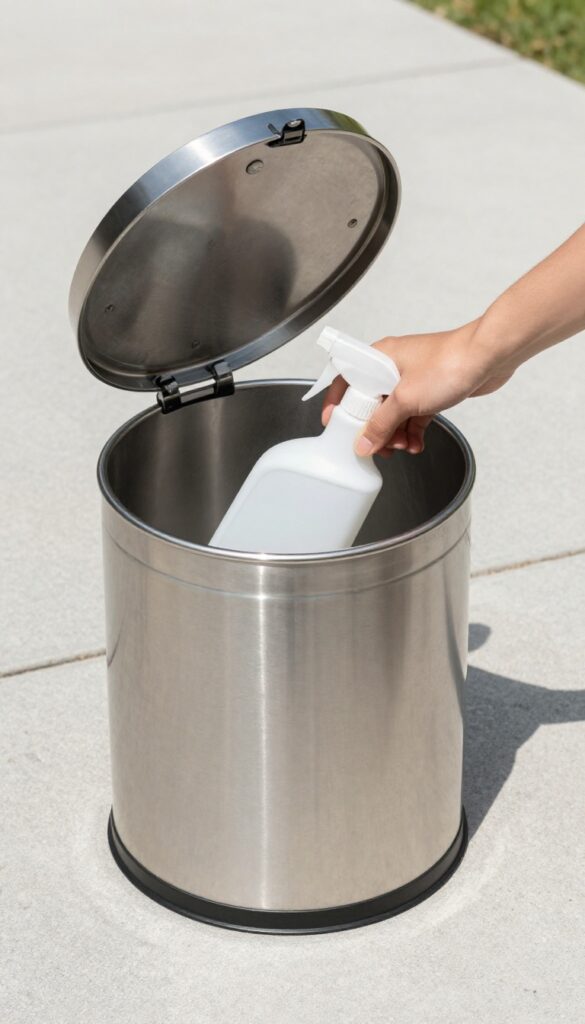
The trash can might be the most neglected item in your kitchen. Spills, leaks, and sticky residues build up fast, turning it into a breeding ground for odors and fruit flies. A quick weekly reset keeps it fresh and your kitchen smelling clean.
Start by taking the trash can outside or to a well-ventilated area. Remove any loose debris and give it a good shake. Then spray the inside and lid with a disinfectant cleaner or a vinegar solution.
Let it sit for a few minutes to break down grime and kill bacteria. Scrub with a brush or sponge, rinse thoroughly, and let it air dry completely before adding a new bag. For extra odor control, sprinkle baking soda at the bottom of the can before inserting the liner.
Why It Matters
A dirty trash can attracts pests like ants, roaches, and flies. It also releases foul smells every time you open the lid, which can linger in your kitchen. Regular cleaning prevents these issues and extends the life of your can.
How Often To Clean
Aim for a deep clean once a week, or more often if you notice odors or stickiness. For everyday maintenance, wipe the lid and rim with a disinfectant wipe after taking out the trash.
Pro Tips For A Fresh Bin
Use a trash can with a tight-fitting lid to contain smells. Line it with a bag that fits well to minimize leaks. If you compost, empty food scraps frequently to reduce moisture buildup in the main can.
9. Scrub the Dishwasher Filter
Your dishwasher works hard, but it can't do its job if the filter is clogged. Food particles and grease build up over time, leading to unpleasant odors and dishes that come out less than clean. A quick monthly scrub of the filter keeps your machine running efficiently and your dishes sparkling.
Why It Matters
A dirty filter traps bacteria and mold, which can transfer back onto your dishes. It also forces the dishwasher to work harder, increasing energy use and the risk of breakdowns. Regular cleaning prevents these issues and extends the life of your appliance.
How To Do It
First, locate the filter at the bottom of the dishwasher—usually a cylindrical or flat mesh piece. Twist it counterclockwise to remove it, then rinse under hot running water. Use a soft brush or toothbrush to dislodge stubborn debris.
For a deeper clean, soak the filter in a bowl of warm water with a few drops of dish soap for 10 minutes, then rinse thoroughly.
How Often
Aim to clean the filter once a month. If you run the dishwasher daily or wash heavily soiled dishes, check it every two weeks. A quick visual inspection after each load can help you stay on top of buildup.
10. Declutter Countertops Daily
Countertops are the hardest-working surfaces in your kitchen. They hold coffee makers, toasters, cutting boards, and random mail that somehow ends up there. When they're cluttered, every crumb and spill has a place to hide, making deep cleaning a bigger chore than it needs to be.
A quick five-minute tidy-up each evening keeps your counters clear and your kitchen ready for the next day. Put away small appliances you don't use daily, toss junk mail, and wipe down surfaces with a damp cloth. This simple habit prevents buildup and makes your morning coffee routine feel fresh.
The One-minute Rule
If something takes less than a minute to put away, do it immediately. That salt shaker, that spice jar, that knife you just used—back in its home right away. Over a day, these seconds add up to a consistently clear counter.
Designate A Landing Zone
Pick one small tray or basket near the door for keys, phones, and mail. This keeps non-kitchen items from spreading across your counters. Empty the landing zone into its proper place each evening.
Wipe As You Go
Keep a microfiber cloth or spray bottle handy. After you finish cooking, give the counter a quick wipe while you wait for water to boil or a timer to go off. It takes ten seconds and prevents dried-on messes.
11. Freshen the Garbage Disposal
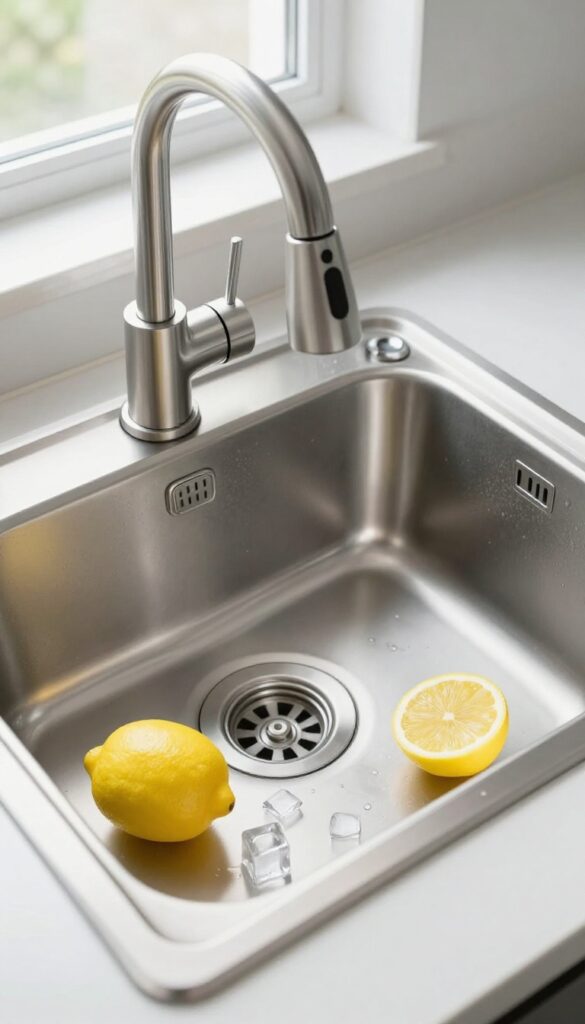
That funky smell coming from your sink isn't just unpleasant—it's a sign that food particles are lingering in your garbage disposal. Over time, bits of food get trapped on the blades and in the rubber splash guard, creating a breeding ground for bacteria and odors. The good news?
You can fix it in minutes with items you already have in your kitchen.
Grinding ice cubes and citrus peels is the most effective way to clean and deodorize your disposal. The ice helps dislodge stuck-on gunk and sharpens the blades, while the citrus oils neutralize odors naturally. Do this once a week to keep your disposal smelling fresh and running smoothly.
The Ice Cube Trick
Drop a handful of ice cubes into the disposal while running cold water. Turn it on and let it grind until the ice is gone. The abrasion scrubs away residue without damaging the blades.
For extra cleaning power, add a tablespoon of baking soda before the ice.
Citrus Power
After the ice, toss in lemon or orange peels. Run the disposal again with cold water. The citrus oils break down grease and leave a fresh scent.
Avoid using harsh chemicals like bleach, which can damage the disposal and harm the environment.
Don't Forget The Splash Guard
The rubber splash guard often collects slimy buildup. Pull it out (if removable) and scrub it with an old toothbrush and dish soap. Rinse well and reinstall.
This simple step prevents odors from creeping back into your kitchen.
12. Wash Reusable Shopping Bags
Those reusable totes you lug home from the grocery store might look harmless, but they can actually be a breeding ground for bacteria. Raw meat juices, produce dirt, and crumbs collect in the fabric, especially if you're not washing them regularly. A quick wash keeps your bags fresh and prevents cross-contamination between your groceries and your kitchen.
Most reusable bags are machine-washable, so this is an easy win. Check the care label first—cotton and polyester bags usually handle a warm cycle fine, while insulated bags might need hand-washing. Toss them in with a load of towels or on a gentle cycle, then air dry.
For non-washable bags, wipe them down with a disinfectant spray or soapy water and let them dry completely before storing.
How Often To Wash
Aim to wash your bags after every trip where you carried raw meat, poultry, or seafood. For dry goods and produce, every few uses is fine. If you notice any spills or stains, clean them right away to avoid odors and bacteria buildup.
Hand-washing Option
If you don't want to run a whole machine cycle, hand-wash bags in the sink with warm water and dish soap. Scrub the fabric gently, especially the bottom and corners where crumbs hide. Rinse thoroughly and hang to dry.
Storage Matters
Don't stuff damp bags into a drawer or leave them in the car. Moisture encourages mold and mildew. After washing, let bags dry completely before folding and storing.
Keep a few clean bags in your kitchen and rotate them regularly.
13. Polish Stainless Steel Appliances
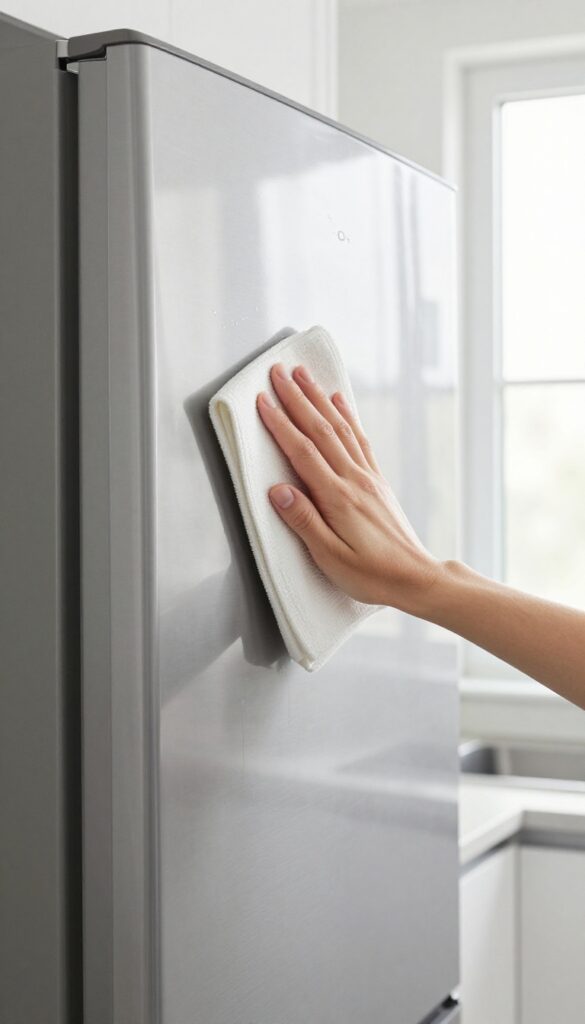
Stainless steel looks amazing when it’s clean, but fingerprints, water spots, and smudges show up almost instantly. The good news is you don’t need harsh chemicals or expensive products to get that showroom shine. A few simple tricks can keep your fridge, dishwasher, and range hood looking flawless with minimal effort.
Choose The Right Cloth
Microfiber is your best friend here. Paper towels leave lint, and regular dishcloths can scratch the surface. A soft, lint-free microfiber cloth grabs oils and dirt without damaging the finish.
Keep a dedicated one just for stainless steel to avoid cross-contamination from other cleaning tasks.
Go With The Grain
Stainless steel has a directional grain, and wiping against it creates a messy, streaky look. Always wipe in the same direction as the grain—usually vertical on most appliances. This simple habit makes a huge difference in how polished the surface appears.
Diy Polish Or Store-bought
A dab of olive oil or baby oil on a dry microfiber cloth works wonders for removing fingerprints and adding a subtle shine. Just use a tiny amount and buff thoroughly. If you prefer a dedicated product, look for a stainless steel polish that’s designed to repel smudges.
Either way, less is more—too much product leaves a sticky residue.
Maintain The Shine Between Cleans
To keep smudges at bay, give your appliances a quick once-over with a dry microfiber cloth every few days. This takes seconds and prevents buildup. For stubborn marks like dried-on grease, a drop of dish soap on a damp cloth works before you polish.
Consistent light maintenance beats heavy scrubbing every time.
14. Vacuum Under and Behind Appliances
You might wipe down countertops and sweep the floor, but what about the spaces your broom can't reach? Under the fridge, behind the stove, and around the dishwasher—these dark corners collect crumbs, dust, and the occasional lost snack. A monthly vacuum with a crevice tool keeps pests away and helps your appliances breathe easier.
Out of sight shouldn't mean out of mind. Those hidden crumbs attract ants and cockroaches, and dust bunnies can block airflow, making your fridge or dishwasher work harder. A quick monthly vacuum session takes just 10 minutes per appliance and pays off in fewer repairs and a cleaner kitchen overall.
Why It Matters
Appliances like refrigerators and stoves have vents and coils that need air circulation to run efficiently. When dust and debris pile up, the motor strains, energy bills creep up, and the appliance may fail sooner. Plus, food debris is a buffet for pests.
A clean under-appliance zone eliminates both problems.
How To Do It Right
Unplug the appliance if possible, then carefully pull it away from the wall. Use a crevice tool on your vacuum to suck up crumbs and dust along the floor and base of the appliance. For tight spots, a long, flexible duster can help.
Don't forget to vacuum the coils on the back of the fridge if accessible.
When To Schedule
Set a monthly reminder on your phone. If you have pets, consider bi-weekly—pet hair accumulates fast. Also, vacuum after any kitchen renovation or deep cleaning project, as dust from construction settles in these hidden spots.
15. Soak and Scrub Cutting Boards
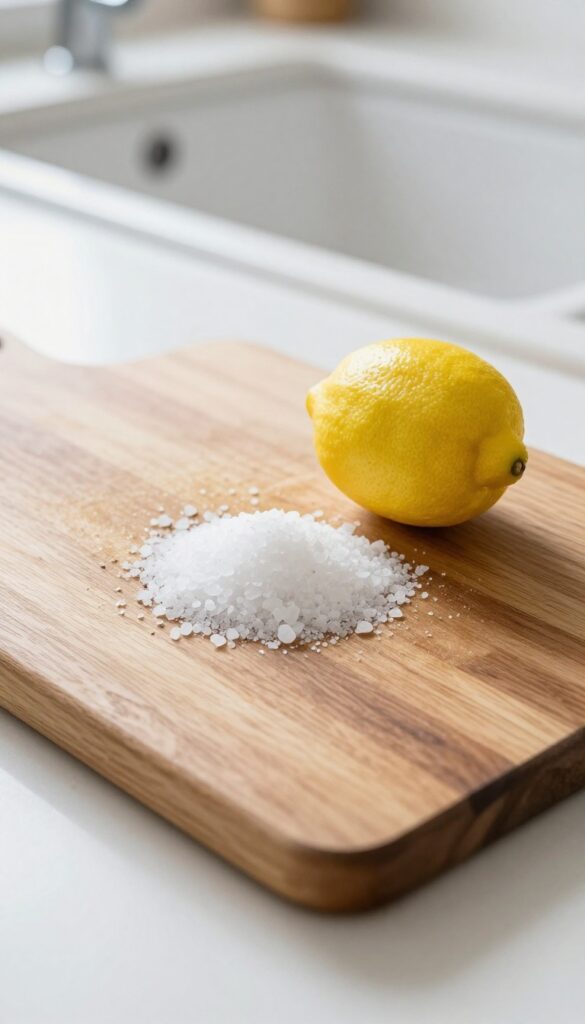
Cutting boards take a beating. Every slice leaves tiny grooves where bacteria can hide, and even a quick rinse won't get them truly clean. A deep soak and scrub routine keeps your boards fresh and food-safe without harsh chemicals.
Why Grooves Are A Problem
Knife marks create microscopic crevices that trap food particles and moisture. This is a perfect breeding ground for bacteria like E. coli and Salmonella. Plastic boards are especially prone to deep scoring, but wood can also harbor germs if not properly maintained.
The Salt And Lemon Method
Sprinkle coarse salt over the board, then cut a lemon in half and use the cut side to scrub the salt into the surface. The salt acts as an abrasive to lift stains and debris, while the lemon's acidity kills bacteria and neutralizes odors. Let it sit for 5 minutes, then rinse with hot water.
Deep Soak For Stubborn Stains
For heavily stained or smelly boards, mix a solution of 1 tablespoon baking soda per quart of warm water and soak the board for 15–20 minutes. Scrub with a stiff brush, rinse, and dry upright. Avoid soaking wood boards too long to prevent warping.
Drying And Oiling Wood Boards
Always dry cutting boards completely before storing to prevent mold. For wood boards, apply food-grade mineral oil once a month to keep the grain sealed and reduce moisture absorption. This also helps prevent deep knife grooves from forming.
16. Wipe Down Light Switches and Handles
Light switches and cabinet handles are some of the most frequently touched surfaces in your kitchen, yet they rarely get cleaned. Think about it: you flip a switch with greasy fingers, then grab a handle after handling raw chicken. A quick wipe with a disinfectant wipe or a microfiber cloth and all-purpose spray reduces germ spread, especially during cold and flu season.
It takes less than a minute but makes a big difference in kitchen hygiene.
These high-touch spots are often overlooked. A quick wipe with a disinfectant wipe reduces germ spread, especially during cold and flu season.
Why It Matters
Your hands touch light switches and handles dozens of times a day. Bacteria and viruses can survive on these surfaces for hours or even days. Regularly disinfecting them helps prevent cross-contamination and keeps your family healthier.
How To Do It Right
Use a disinfectant wipe or a spray with a microfiber cloth. Pay attention to the edges and backs of handles. Let the surface stay wet for the contact time recommended on the product label.
For metal handles, avoid harsh chemicals that can damage the finish.
How Often To Clean
Aim for daily wiping during flu season or when someone in your home is sick. Otherwise, a weekly clean is sufficient. Make it part of your after-dinner wipe-down routine.
17. Rotate and Clean Pantry Shelves
Pantry shelves can turn into a disaster zone without regular attention. Spilled flour, sticky syrup drips, and forgotten cans create messes that attract pests and make it hard to find what you need. A simple rotation and deep clean every few months keeps your pantry organized, bug-free, and easy to use.
Start by pulling everything off the shelves and grouping items by category—canned goods, grains, spices, snacks. This gives you a chance to check expiration dates and toss anything past its prime. Wipe down each shelf with a damp cloth and mild cleaner, paying extra attention to corners where crumbs hide.
Once shelves are dry, return items with the newest ones in back and oldest in front so you use them first. This rotation method reduces waste and keeps your pantry fresh. For extra protection, line shelves with easy-to-clean shelf liners or washable mats.
Sort And Declutter First
Before you start wiping, take everything out and lay it on the counter. Check each item's expiration date and toss anything expired or stale. Group like items together—this helps you see what you have and what you might be overstocked on.
Donate unopened non-perishables you know you won't use.
Deep Clean Shelves And Corners
Use a vacuum with a crevice tool to suck up loose crumbs and dust from shelf edges. Then wipe shelves with a solution of warm water and mild dish soap or a vinegar-water mix. For stubborn sticky spots, let the cleaner sit for a minute before scrubbing.
Dry thoroughly to prevent mold or warping.
Rotate Stock And Organize
Place newer items behind older ones so you grab the soon-to-expire first. Use clear bins or baskets to corral small items like spice packets or snack bags. Label shelves or bins if you share the pantry with others—it makes putting things back easy and keeps everyone accountable.
Prevent Future Messes
Consider using shelf liners that are easy to remove and wash. Store flour, sugar, and other powdery ingredients in airtight containers to minimize spills. Place a small tray under leak-prone items like honey or oil bottles.
A monthly quick wipe-down of shelves prevents buildup and keeps the pantry looking tidy.
18. Deodorize the Dishwasher with Baking Soda
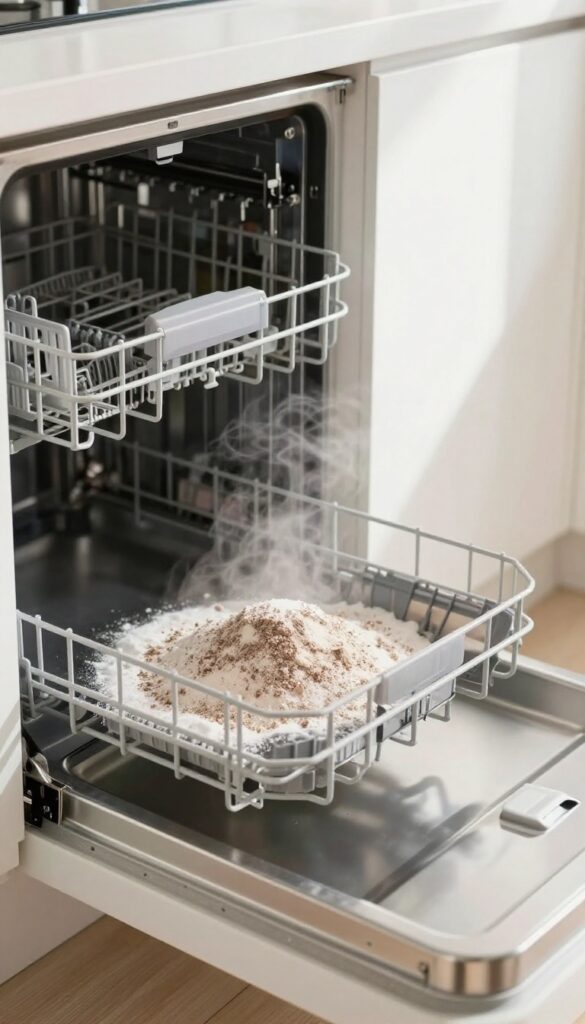
A dishwasher that smells musty isn't just unpleasant—it can leave odors on your supposedly clean dishes. The culprit is often trapped food particles and moisture that create a breeding ground for bacteria. Fortunately, you don't need harsh chemicals to fix it.
A simple sprinkle of baking soda can neutralize those smells and leave your dishwasher fresh.
Start by removing any visible debris from the filter and drain. Then, sprinkle about one cup of baking soda across the bottom of the empty dishwasher. Run a short, hot water cycle (no detergent).
The baking soda will absorb odors and help break down residue. For extra freshness, add a few drops of lemon essential oil to the baking soda before running the cycle. Do this monthly to keep your dishwasher smelling clean and your dishes tasting fresh.
Why Baking Soda Works
Baking soda is a natural deodorizer because it neutralizes both acidic and alkaline odor molecules. It's gentle on dishwasher components and safe for septic systems. Unlike bleach or commercial cleaners, it won't leave harsh chemical residues that could affect the taste of your dishes.
When To Deodorize
If you notice a musty smell when you open the dishwasher, it's time. You can also do this as part of your monthly kitchen maintenance. If you run the dishwasher infrequently, consider deodorizing before each use to prevent odors from building up.
Extra Tips For Freshness
After the cycle, leave the door slightly ajar to allow airflow and prevent moisture buildup. Clean the rubber gasket with a vinegar-dampened cloth to remove mold. Avoid overloading the dishwasher, as trapped food particles contribute to smells.
19. Clean Range Hood Filters
Range hood filters work hard trapping grease and smoke, but when they get clogged, your kitchen fills with lingering odors and steam. Worse, a greasy filter is a fire hazard waiting to happen. Giving them a deep clean every few months keeps your ventilation system working efficiently and your kitchen safer.
Grease-laden filters reduce ventilation and pose a fire risk. Soaking them in hot water with dish soap or degreaser every few months restores airflow.
How Often To Clean
For heavy-use kitchens, clean filters every 2 to 3 months. If you cook greasy foods often, bump it up to monthly. A quick visual check—if you see visible grease buildup or the hood seems less effective—it's time to soak.
Step-by-step Cleaning Method
Remove the filters carefully (most slide out or have a latch). Fill your sink or a large basin with hot water and add a few squirts of dish soap or a degreasing cleaner. Let the filters soak for 15–20 minutes.
Scrub stubborn spots with a soft brush, rinse thoroughly, and let them dry completely before reinstalling.
What About Dishwasher-safe Filters?
Many modern range hood filters are dishwasher safe. Check your manual or look for a label. If they are, place them on the top rack and run a hot cycle with a degreasing detergent.
Avoid using rinse aid, as it can leave a residue. Still, a manual soak every few washes gives a deeper clean.
20. Wipe Down Baseboards and Corners
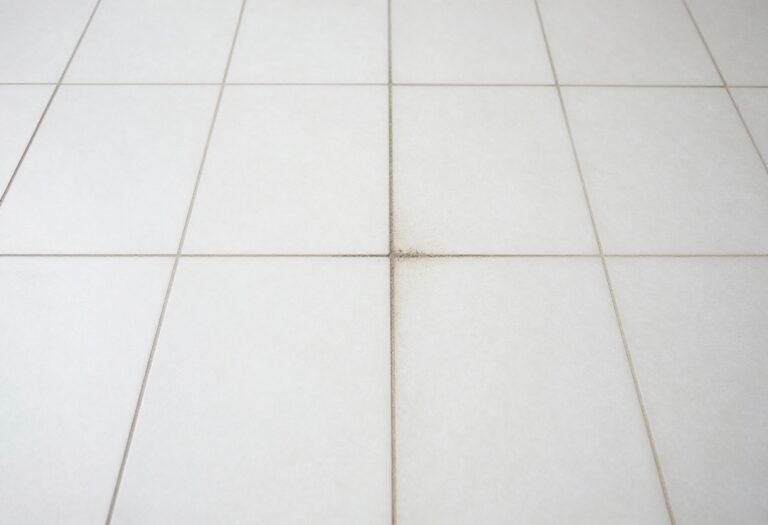
Baseboards and corners are easy to overlook, but they collect dust and grease just like any other surface. A quick wipe during your regular cleaning routine keeps them from looking dingy and makes the entire kitchen feel fresher.
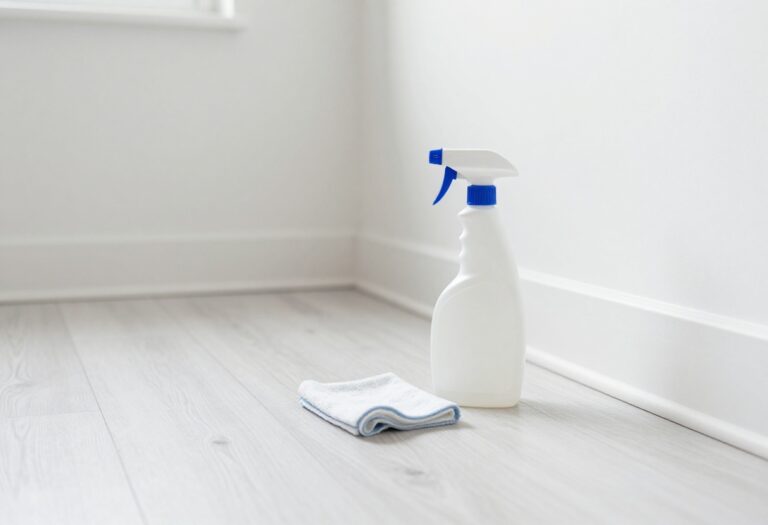
Grab a damp microfiber cloth or a sponge mop and run it along the baseboards, especially near the stove and sink. Pay extra attention to corners where crumbs and grime tend to build up. This simple step takes just a few minutes but has a big visual impact.
Why Baseboards Get Grimy
Cooking releases grease particles that float through the air and settle on low surfaces like baseboards. Over time, this creates a sticky film that traps dust and makes the kitchen look unclean. Regular wiping prevents buildup and keeps the room looking polished.
Tools For The Job
A microfiber cloth or a flat mop with a washable pad works best. For stubborn grease, add a drop of dish soap to warm water. Avoid harsh chemicals that can damage paint or wood finishes.
A quick rinse with clean water afterward prevents residue.
Incorporate Into Your Routine
Add baseboard wiping to your weekly or biweekly cleaning checklist. It’s a low-effort task that pays off in overall cleanliness. If you notice heavy buildup, focus on the areas around the stove and dishwasher where grease and food splashes are most common.
FAQ
How often should I deep-clean my kitchen?
Aim for a deep clean every one to three months, depending on how much you cook. Daily wipe-downs and weekly spot-cleaning keep things manageable between deep sessions.
What's the best natural cleaner for kitchen grease?
A mix of equal parts white vinegar and water, plus a few drops of dish soap, works well. Baking soda paste is great for scrubbing stubborn spots without scratching surfaces.
How do I prevent my sink from smelling bad?
Flush the drain with hot water weekly, and pour a mixture of baking soda and vinegar down it. Let it fizz for a few minutes, then rinse. This clears organic buildup that causes odors.
Should I clean my refrigerator coils?
Yes, every six months. Dusty coils make the fridge work harder and use more energy. Use a coil brush or vacuum attachment to gently remove dust from the coils behind or underneath the fridge.
What's the safest way to clean a non-stick pan?
Use a soft sponge and mild dish soap. Avoid abrasive scrubbers and metal utensils that can scratch the coating. For stuck-on food, soak the pan in warm soapy water before cleaning.
Conclusion
A clean kitchen doesn't require a full day of scrubbing. By breaking the job into small, targeted tasks—like degreasing the stovetop after cooking or wiping cabinet fronts weekly—you keep messes from piling up. These 20 checklist ideas give you a practical roadmap to a tidy cooking space without the overwhelm.
Start with the areas that bother you most, and build from there. Consistency beats intensity every time. Your kitchen will feel fresher, and you'll actually enjoy spending time in it.