13 Patio Landscaping Ideas to Frame Your Outdoor Space
Your patio should feel like an extension of your home—a place where you can unwind, entertain, or simply enjoy a morning coffee. But without the right landscaping, it can end up feeling bare or disconnected from the rest of your yard.
The good news? You don't need a huge budget or a professional designer to make it shine.
With a few thoughtful touches, you can frame your patio in a way that feels intentional and inviting. Whether you're starting from scratch or just want to refresh what you have, these 13 ideas will help you create an outdoor space you'll love spending time in.
1. Define the Edge with a Low Border
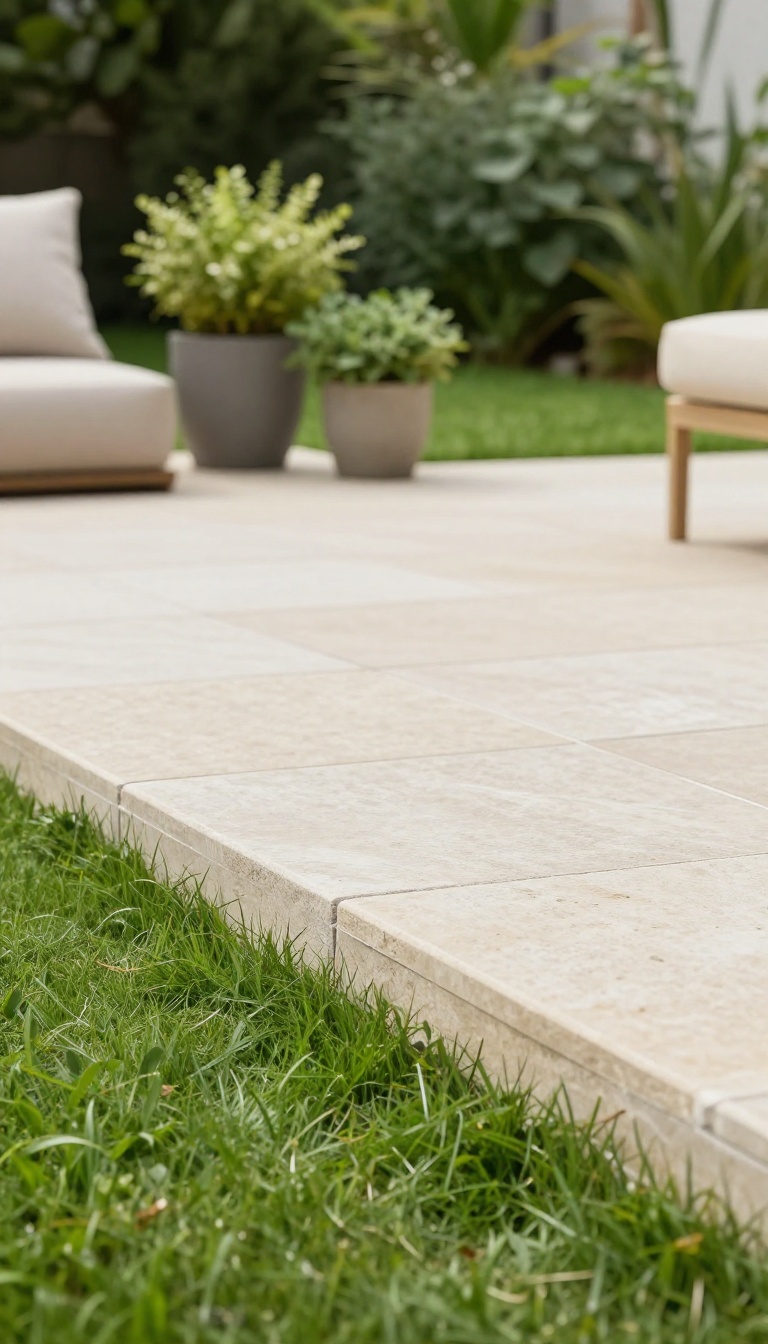
A crisp edge instantly makes a patio look more polished, even if the rest of the yard is still a work in progress. Think of it as the frame around a picture—it draws the eye and keeps everything tidy. A low border also solves a practical problem: it stops grass from creeping onto the pavers and keeps mulch from spilling into the seating area.
Low borders come in a few classic materials, each with its own personality. Stone gives a natural, timeless feel that blends with almost any landscape. Brick offers a more formal, structured look, while metal edging is sleek and modern, perfect for minimalist designs.
Whichever you choose, the goal is the same: a clean line that separates your patio from the surrounding garden or lawn.
Stone Borders For A Natural Look
Natural stone, like flagstone or river rock, creates a soft, organic transition between your patio and the garden. You can set the stones flush with the ground for a subtle line or let them sit slightly higher for a more defined edge. This works especially well if your patio already uses stone or if you have a cottage-style garden.
Just dig a shallow trench, set the stones in place, and backfill with soil or gravel to keep them steady.
Brick And Paver Edging For A Classic Finish
Brick or matching pavers are a go-to for a clean, traditional border. They come in uniform sizes, so they're easy to lay in a straight line or gentle curve. You can lay them flat, on their side, or even at an angle for a herringbone pattern.
This type of edging pairs well with concrete or brick patios and gives a sense of permanence. Use a rubber mallet to tap them into place and a level to keep everything even.
Metal Edging For A Sleek, Modern Vibe
If your patio has a contemporary feel, thin metal edging—like steel or aluminum—is a great choice. It's barely visible, so it doesn't compete with the patio itself, but it does the job of keeping grass and mulch in check. Metal edging is also durable and easy to install: you simply stake it into the ground along the patio edge.
It's perfect for clean, straight lines, though it can bend for gentle curves if needed.
2. Add a Pergola for Vertical Interest
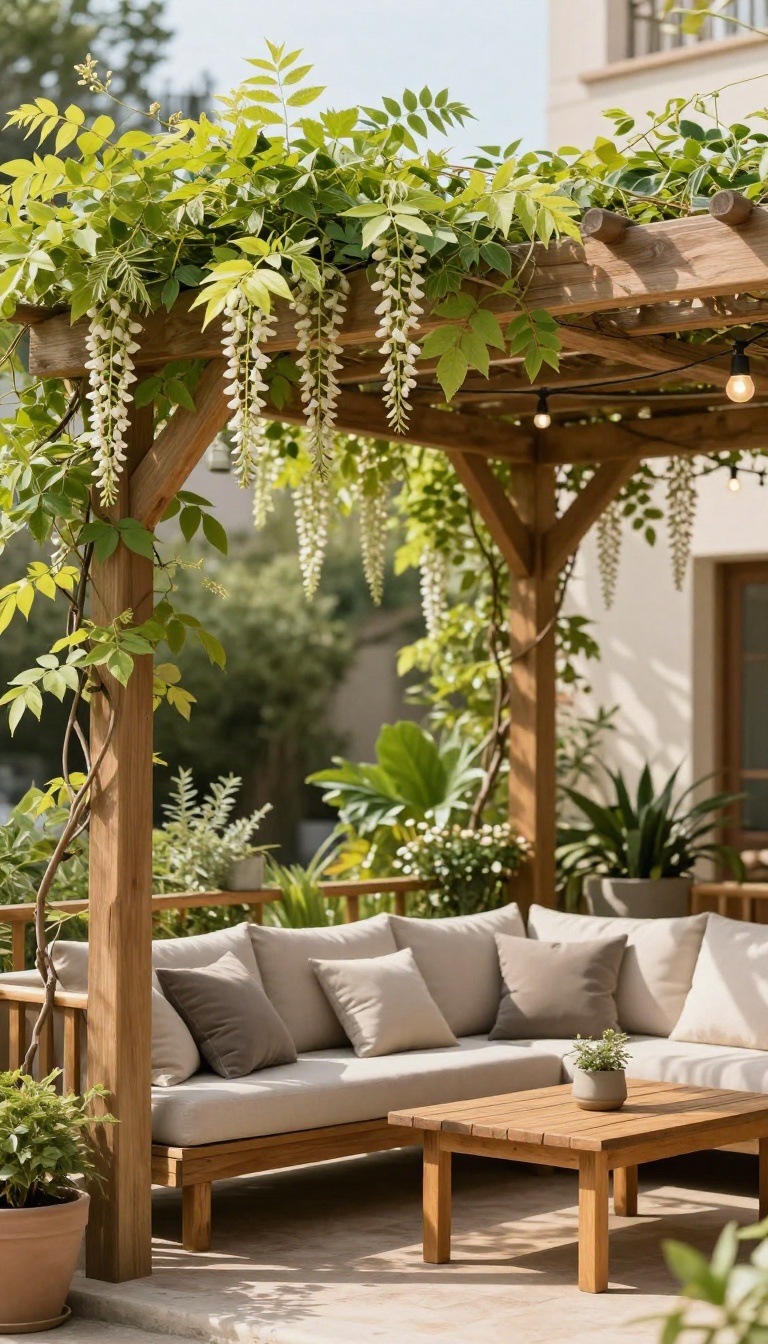
A pergola is more than just a shade structure—it's a way to give your patio a sense of enclosure and height. By drawing the eye upward, it transforms a flat, open area into a cozy outdoor room. Plus, it offers the perfect support for climbing plants, so you can enjoy a natural, living canopy overhead.
When you add a pergola, you're not just installing a functional feature; you're creating a focal point that anchors your entire patio design. It provides partial shade, defines the seating area, and gives you a framework to incorporate greenery in a way that feels organic and inviting.
Choosing The Right Material
The material you choose sets the tone for your pergola. Wood, like cedar or redwood, offers a warm, classic look that blends well with nature. Vinyl or aluminum are low-maintenance options that resist rot and insects.
Consider your home's style and how much upkeep you're willing to do—each material has its own charm and durability.
Training Vines For A Natural Canopy
Climbing plants are the secret to making a pergola feel magical. Wisteria, clematis, and climbing roses are popular choices, but you can also try fast-growing annuals like morning glories for a quick cover. Train the vines gently by tying them to the structure and guiding them upward.
With a little patience, you'll have a leafy roof that provides extra shade and privacy.
Adding Lighting And Decor
Once your pergola is up, you can enhance it with string lights, lanterns, or even a ceiling fan for warmer days. Drape sheer curtains for a soft, romantic feel, or hang planters from the beams for an extra pop of color. These touches make the pergola feel like a true outdoor living space, perfect for evening gatherings.
3. Incorporate a Fire Pit as a Focal Point
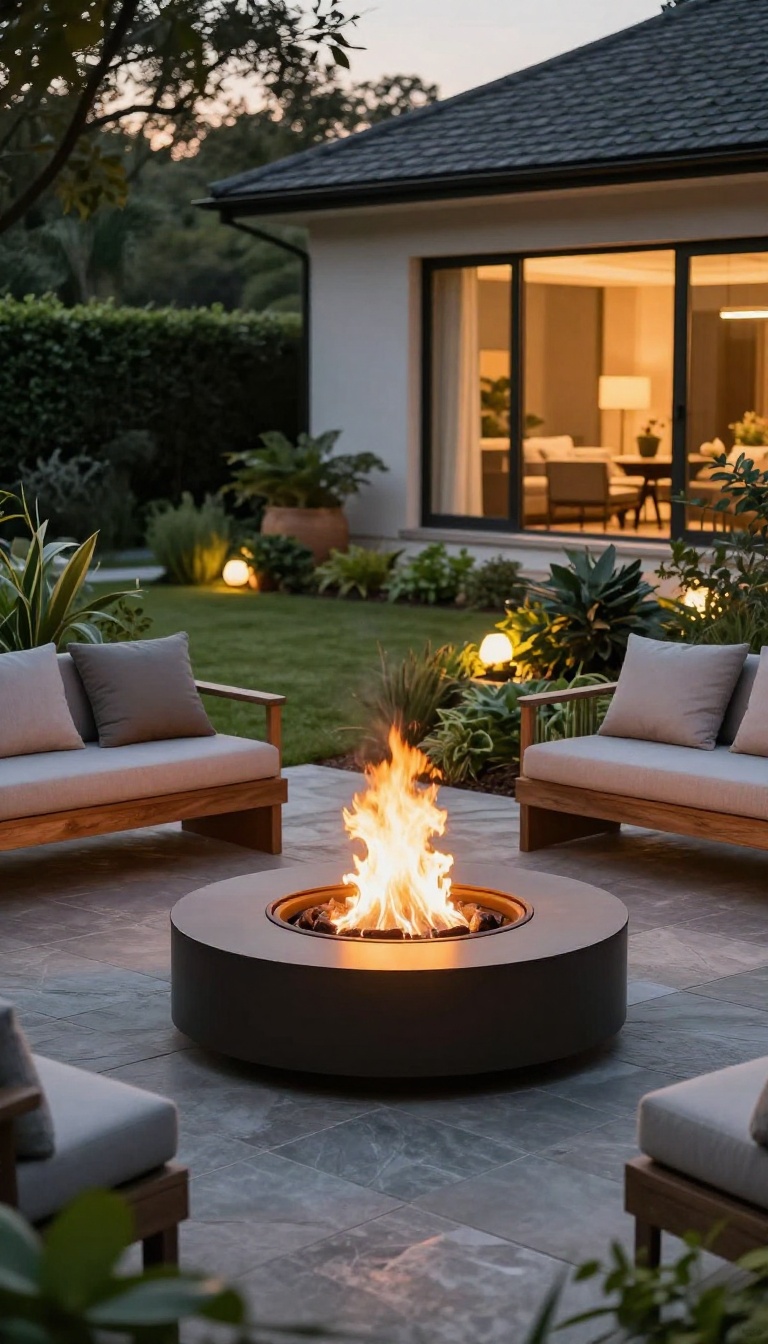
A fire pit naturally anchors your patio and encourages gathering. Choose a design that complements your patio material—whether it's a sleek metal bowl or a rustic stone ring—and surround it with comfortable seating. When the sun goes down, the glow of the flames turns your patio into a cozy retreat.
It's the kind of feature that draws people in, making it easy to host evening get-togethers or just enjoy a quiet night outside.
The key is to pick a style that fits your space. A modern patio might call for a minimalist steel fire table, while a more traditional yard could benefit from a stacked stone fire pit. Think about how you'll use it—cooking, lounging, or both—and choose accordingly.
Placement matters too. You'll want it at a safe distance from any structures or overhanging branches, and ideally positioned so the seating around it feels natural. A circular arrangement of chairs or benches creates an inviting, inclusive vibe.
Choosing The Right Fire Pit
Start with the fuel type. Wood-burning pits give you that classic campfire experience, complete with crackling sounds and the smell of smoke. Gas or propane options are cleaner and easier to control, perfect for those who want instant flames without the hassle.
Consider your local regulations and any fire restrictions before deciding. Next, think about materials. Cast iron is durable and retains heat well, while copper develops a beautiful patina over time.
Stone and concrete blend seamlessly with natural surroundings. Match the finish to your patio's existing palette—earthy tones for a rustic look, sleek black for a modern edge.
Seating Arrangements
Comfortable seating is non-negotiable. Built-in benches with cushions offer a permanent solution, while portable chairs give you flexibility to rearrange. A mix of seating options—like a curved bench paired with a few Adirondack chairs—adds visual interest and accommodates different group sizes.
Don't forget side tables or ledges for drinks and snacks. A flat rim on the fire pit itself works, but having a small table nearby keeps things convenient. Aim for a cozy, intimate setup rather than spreading everything too far apart.
Safety And Maintenance
Always place your fire pit on a non-flammable surface like concrete, pavers, or gravel. Keep a fire extinguisher or a bucket of sand close by, and never leave the fire unattended. Check the wind direction before lighting to avoid smoke blowing toward seating.
Regular cleaning extends the life of your fire pit. Remove ash after each use, cover it when not in use, and inspect for rust or cracks periodically. With a little care, your fire pit will stay a welcoming centerpiece for years.
4. Use Potted Plants for Flexibility
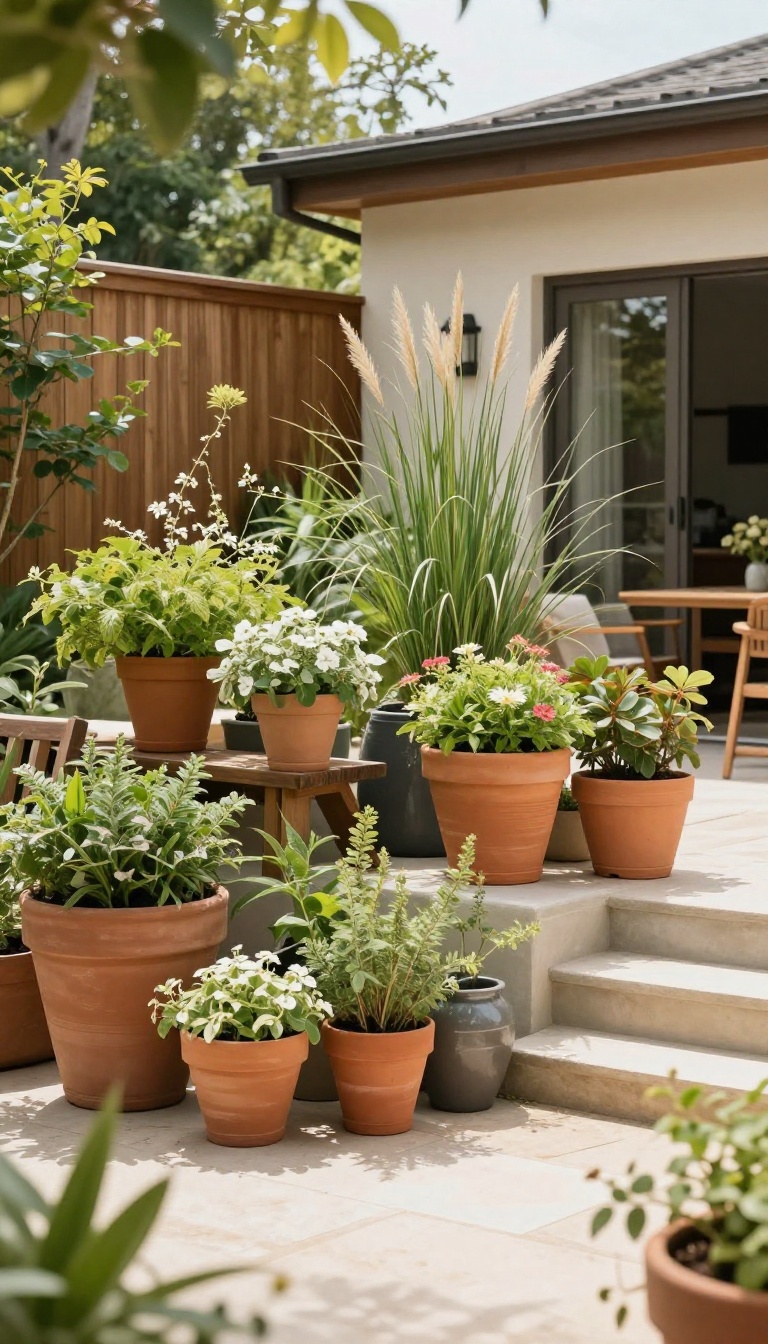
Potted plants are a patio's best friend. They let you change your outdoor look with the seasons or your mood, without committing to permanent planting. Whether you're renting or just love variety, containers offer endless possibilities.
Potted plants are perfect for renters or those who love to change things up. Mix heights and textures with tall grasses, flowering shrubs, and trailing vines to soften hard edges and add color.
Choose Containers That Match Your Style
The pot itself is part of the design. Go with terracotta for a warm, rustic feel, or sleek ceramic for a modern look. Don't be afraid to mix materials—just keep a cohesive color palette to tie it together.
Play With Height And Layers
Use tall planters for vertical interest and shorter ones for filling in gaps. Place pots at different levels—on steps, stands, or even an upcycled crate—to create depth. This makes the patio feel more dynamic and inviting.
Rotate Plants With The Seasons
One of the best parts of container gardening is swapping plants as the weather changes. Spring bulbs, summer annuals, fall mums, and evergreen shrubs keep your patio looking fresh year-round. Plus, you can move pots to catch the sun or shade as needed.
Group Pots For Maximum Impact
Cluster pots together in odd numbers—three or five works well—to create a mini garden vignette. Mix textures like spiky grasses, soft ferns, and trailing ivy for a lush, layered look. This also makes watering and care easier when they're close together.
5. Create a Winding Path to the Patio
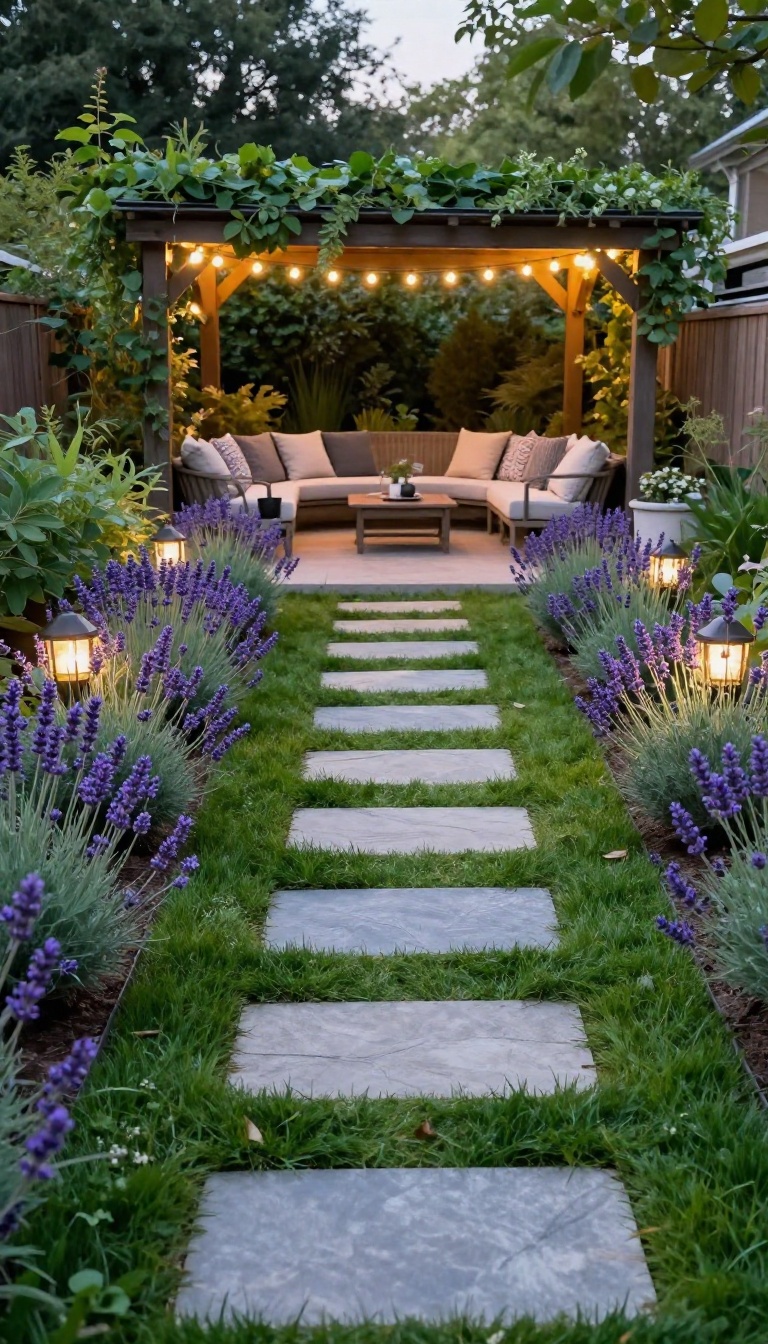
A straight, utilitarian walkway gets you from point A to point B, but a winding path turns the journey into part of the experience. It slows things down, adds a sense of discovery, and makes your patio feel like a destination rather than just another spot in the yard. Plus, the curves soften the landscape and make even a small garden feel larger.
A meandering path made of stepping stones or gravel invites guests to explore and builds anticipation as they approach your patio. Line it with low-growing plants or solar lights for a magical touch.
Choose The Right Material
Stepping stones feel natural and work well in casual gardens, while gravel is budget-friendly and easy to install. For a more polished look, consider flagstone or brick laid in a loose pattern. Whatever you pick, make sure it complements your patio surface and the overall style of your home.
Plan The Curve
Start by marking the path with a garden hose or rope to see how it flows. Aim for gentle, sweeping curves rather than tight zigzags. The path should lead the eye toward the patio and feel like a natural part of the landscape, not a forced addition.
Light The Way
Solar path lights or low-voltage landscape lighting along the edges add safety and ambiance. For a softer, more whimsical feel, tuck small lights among plants or use glow-in-the-dark pebbles. Lighting also extends the usability of your path into the evening.
Plant The Borders
Line the path with low-growing plants like creeping thyme, lavender, or ornamental grasses. They soften the edges, add color, and release pleasant scents as you brush past. Just keep them trimmed so they don't overtake the path.
6. Install Outdoor Lighting for Ambiance
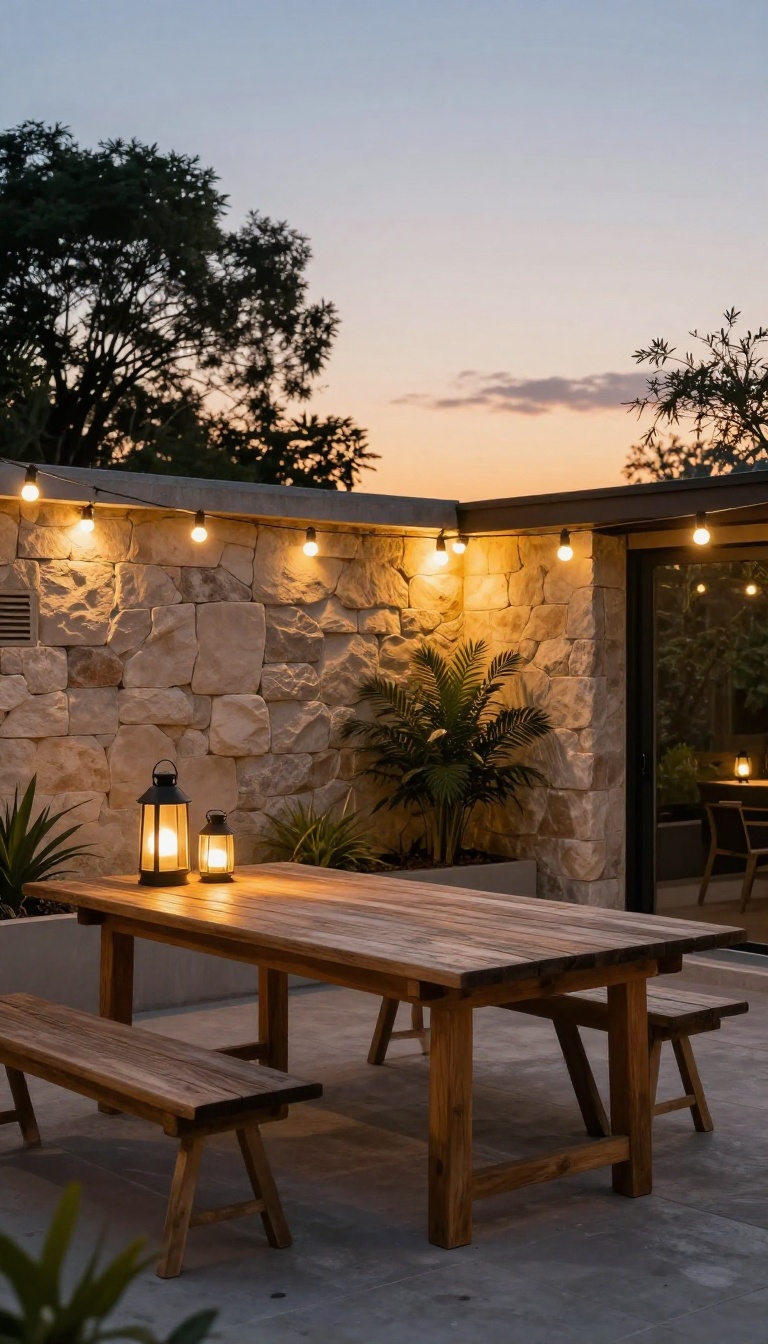
As the sun sets, a well-lit patio invites you to stay a little longer. Outdoor lighting does more than just illuminate—it sets the mood and highlights your landscaping. With the right mix, you can turn your patio into a cozy retreat that's usable well into the evening.
Start by thinking about how you use your patio. For dining areas, you'll want brighter task lighting, while softer ambient lights are perfect for lounging. String lights overhead add a festive feel, lanterns bring a warm glow, and recessed deck lights offer a sleek, modern touch.
Layer different types to create depth and flexibility.
Layer Your Lighting
Combine overhead string lights with low-level path lights and accent lights on plants or architectural features. This creates a balanced, inviting atmosphere. Use dimmers where possible to adjust the brightness based on the occasion—bright for dinner, softer for conversation.
Choose The Right Fixtures
Pick fixtures that match your patio's style. For a rustic look, go with wrought iron or wood lanterns. For a modern space, sleek LED strips or recessed lights work well.
Solar options are great for easy installation, but low-voltage systems offer more reliability and control.
Highlight Key Features
Use spotlights or uplights to draw attention to a beautiful tree, a water feature, or a stone wall. This not only adds visual interest but also makes your patio feel more connected to the surrounding landscape. Just be careful not to overdo it—subtle is often more effective.
7. Build a Raised Planter Bed Around the Perimeter
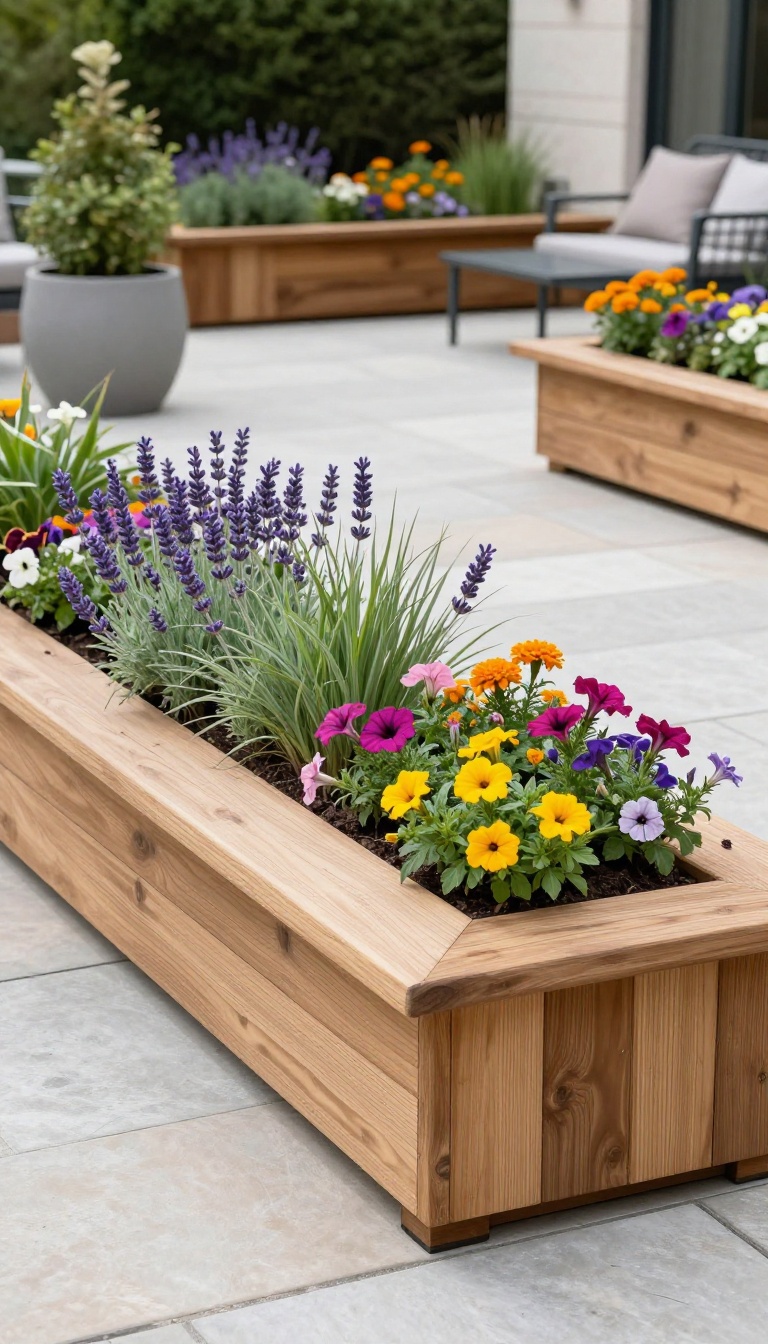
If your patio feels a bit exposed or just blends into the lawn, a raised planter bed around the edge can change everything. It adds structure, color, and a clear boundary that makes the space feel more like a room. Plus, it’s a practical way to grow plants without bending over.
Raised beds are a smart choice for framing your patio because they do double duty: they define the space and make gardening easier. You can build them from wood, stone, or even metal, and they work for both large and small patios. The key is to fill them with a mix of perennials and annuals so you get color all season long.
Choose The Right Height And Material
The height of your planter bed should match your needs. If you want to sit on the edge, go with 18 to 24 inches. For a more subtle look, 12 inches is enough.
Materials matter too—cedar and composite wood resist rot, while stone or brick give a more permanent feel. Just make sure the bed is deep enough for root growth.
Pick Plants That Thrive In Your Climate
Before you plant, check your hardiness zone and sun exposure. For sunny patios, try lavender, salvia, or ornamental grasses. In shade, hostas and ferns work well.
Mix in annuals like petunias or marigolds for pops of color. You want a blend that looks good from spring through fall.
Add A Built-in Seat Or Edge
A raised bed can double as seating if you make the top wide enough. Cap it with a flat stone or wood board for a comfortable perch. Or add a low edge that matches your patio pavers for a cohesive look.
This turns the planter into a functional part of your outdoor living area.
8. Incorporate Water Features for Tranquility
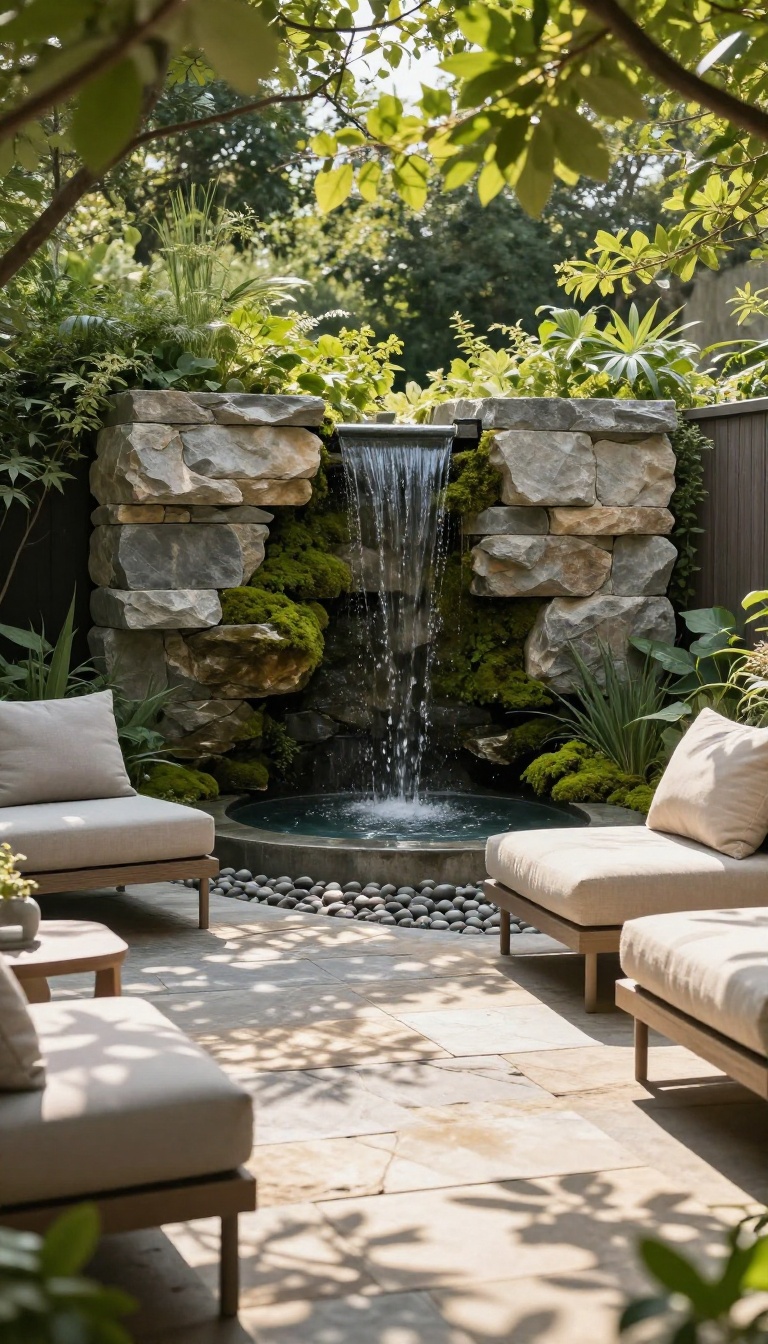
There's something about water that instantly calms a space. A small fountain or pondless waterfall can turn your patio into a quiet escape, even in the middle of a busy neighborhood. The gentle sound masks traffic and chatter, making your outdoor area feel more private and peaceful.
Adding a water feature doesn't have to be complicated or expensive. You can choose from a variety of styles, from a simple tabletop fountain to a custom rock waterfall. The key is to match the size and scale to your patio and to consider the maintenance involved.
A well-placed water feature becomes a natural focal point, drawing the eye and creating a sense of movement that makes the space feel alive.
Choose The Right Style
Think about the vibe you want. A classic tiered fountain adds a formal touch, while a bubbling urn or a stacked stone waterfall feels more rustic and natural. If you're short on space, a wall-mounted fountain saves floor area and still delivers that soothing sound.
For a modern look, consider a sleek, geometric basin with a simple spout.
Placement And Sound
Where you put the water feature matters. Place it near your seating area so you can actually hear it, but not so close that it splashes or feels overwhelming. If your goal is to mask road noise, position it between the patio and the source of the sound.
The sound of water should blend into the background, not dominate the conversation.
Keep It Low-maintenance
A pondless waterfall is a great option if you want the look and sound of water without the upkeep of a pond. It recirculates water through a hidden reservoir, so there's no standing water for mosquitoes to breed in. You'll just need to top it off occasionally and clean the pump before winter.
For fountains with a basin, a simple cover or a splash of bleach-free cleaner keeps algae at bay.
9. Add a Shade Sail for Modern Flair
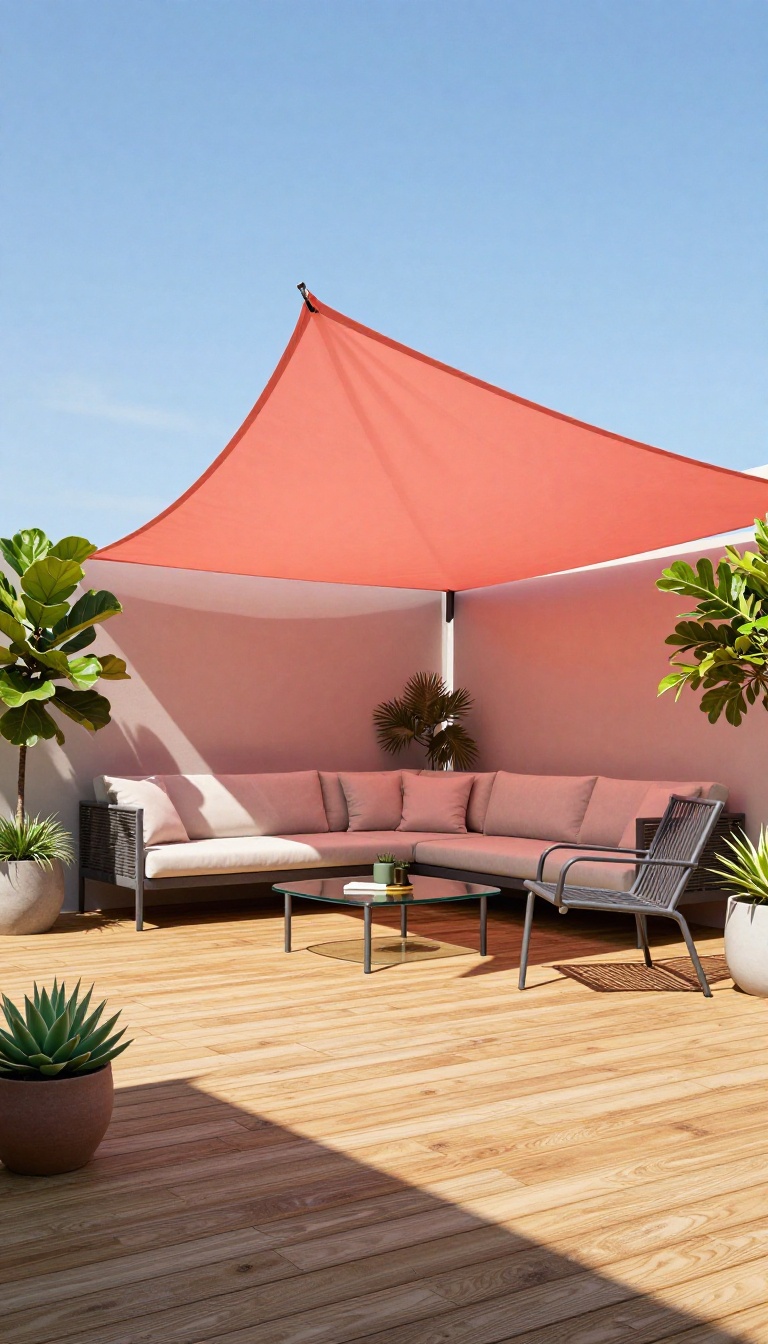
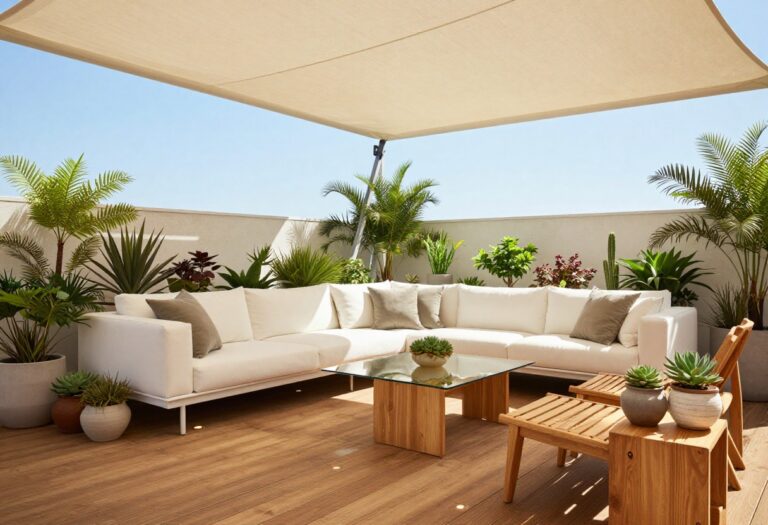
Shade sails are the cool kids of patio covers. Instead of a bulky umbrella or a permanent roof, these fabric panels stretch overhead to create sleek, geometric shade. They come in a rainbow of colors and shapes, and when you install them at a slight angle, they add dynamic lines that frame your patio beautifully.
Shade sails aren't just practical—they're a design statement. The angled installation creates a sense of movement and depth, making your patio feel more like a curated outdoor room. Plus, they're relatively easy to install and can be removed when the seasons change.
Pick The Right Shape And Size
Shade sails come in triangles, rectangles, and even custom shapes. For a classic look, go with a triangle—it's the most versatile and easy to tension. If you have a larger patio, consider a rectangle or a combination of two sails overlapping for more coverage.
Measure your space first and leave room for the hardware.
Choose A Color That Pops
Neutral tones like beige or gray blend in seamlessly, but don't be afraid to go bold. A bright coral or teal sail can become the focal point of your patio, especially against a green lawn or wooden fence. Think about the mood you want—warm colors energize, cool colors calm.
Install At An Angle For Maximum Impact
The key to a modern look is angling the sail so one corner is higher than the others. This not only looks more dynamic but also helps with water runoff. You'll need sturdy anchor points—posts, walls, or even trees—and turnbuckles to keep the fabric taut.
A slight curve in the sail adds tension and prevents flapping.
Layer With Other Elements
Shade sails work great on their own, but they shine when combined with other patio features. String lights draped along the edges add a cozy glow for evenings. Add a few potted plants or an outdoor rug underneath to define the space further.
The sail becomes the canopy that ties everything together.
10. Use Gravel or Pebbles for a Natural Look
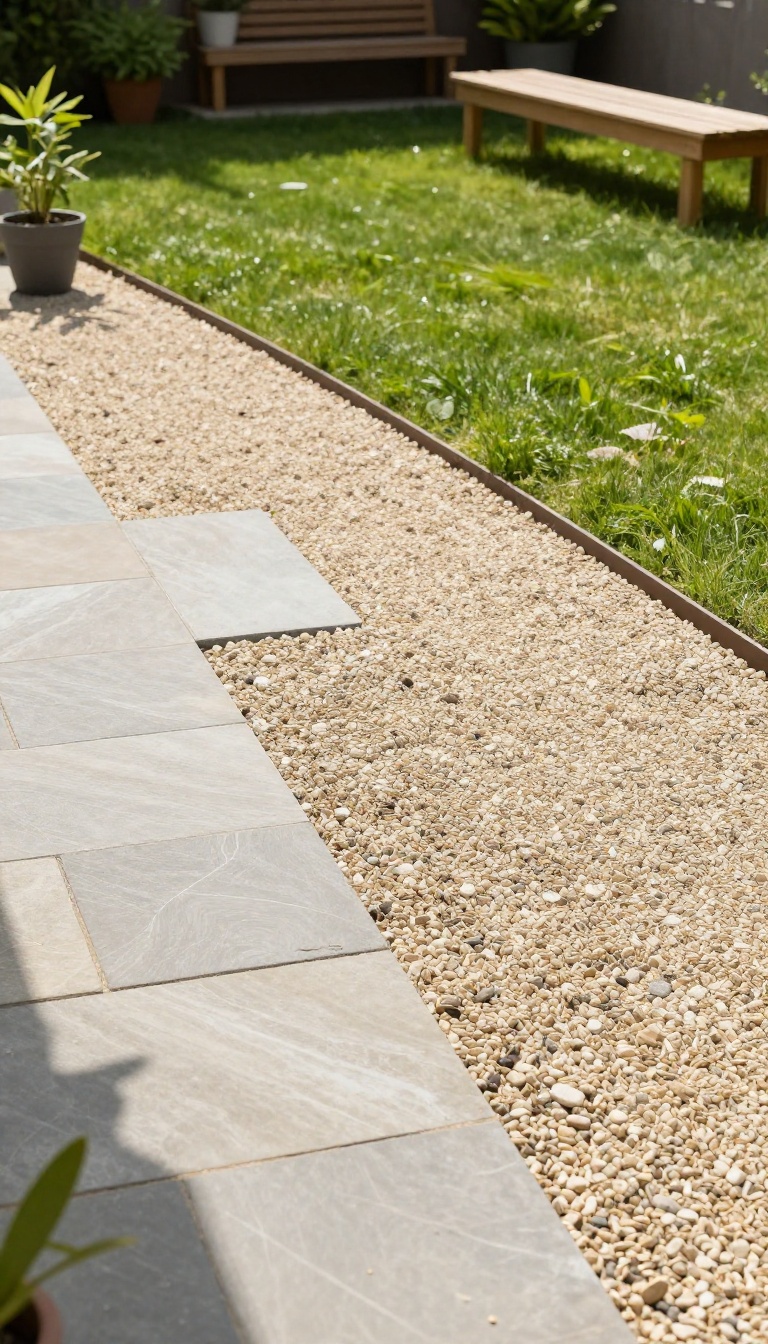
If your patio feels a bit too rigid against the lawn, gravel or pebbles can soften that edge beautifully. They create a natural transition that doesn't require constant maintenance, and they add texture that contrasts nicely with concrete, stone, or wood. Plus, they're a budget-friendly way to define zones without pouring more concrete.
Gravel and pebbles are versatile materials that can frame your patio in a way that feels organic and effortless. They work well in both modern and rustic settings, and they're surprisingly easy to install. Whether you go with a thin border or a wider band, this idea adds visual interest while keeping weeds at bay.
Choosing The Right Material
Not all gravel is created equal. Pea gravel is smooth and comfortable underfoot, while crushed stone compacts better and stays in place longer. Think about the color and size that will complement your patio surface.
For a cohesive look, match the tones of your hardscape or go for a contrasting shade to make the border pop.
Creating A No-mow Buffer
One of the biggest perks of a gravel border is that it eliminates the need to edge or mow right up against your patio. A 12- to 18-inch band of gravel creates a clean separation between the patio and the grass. It also helps with drainage, keeping water from pooling near your foundation or patio base.
Layering For Stability
To keep gravel from spreading into your lawn, install a simple edging like metal or plastic strips. Lay down landscape fabric first to prevent weeds, then add a few inches of gravel. For high-traffic areas, consider a stabilizer grid to keep the stones in place.
This keeps the look tidy without much upkeep.
11. Plant Ornamental Grasses for Movement
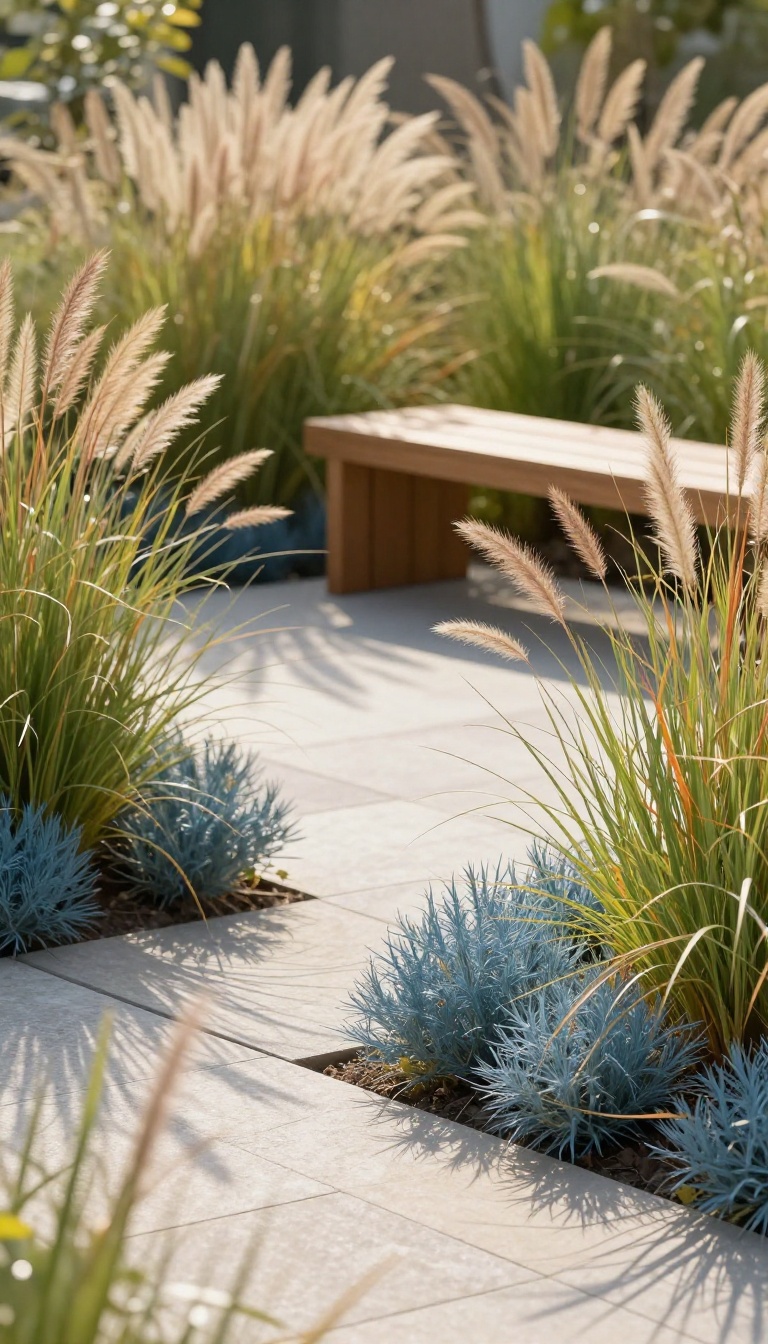
Ornamental grasses bring a whole new energy to your patio. They sway with the breeze, catch the light, and add a soft rustling sound that makes the space feel alive. Planting them in clusters near the edges creates a natural, airy screen that softens hard lines and gives you a bit of privacy without blocking the view.
Choose The Right Grasses For Your Climate
Not all grasses are the same, so pick ones that thrive in your area. For warm climates, consider switchgrass or fountain grass—they love the heat. In cooler regions, feather reed grass or blue fescue are hardy choices.
Check your local nursery for native varieties; they'll need less water and care once established.
Create A Natural Screen With Clumping Varieties
Instead of a solid hedge, use clumping grasses to form a loose, breezy barrier. Plant them in staggered rows or groups of three to five for a fuller look. This way, you get privacy without feeling closed in.
The grasses will fill in over time, creating a soft, living wall that moves with the wind.
Mix Textures And Heights For Visual Interest
Don't stick to one type. Combine tall, feathery grasses like miscanthus with shorter, spiky ones like blue fescue. This contrast adds depth and keeps the eye moving.
Place taller grasses at the back or corners, and shorter ones in front to create layers that frame your patio beautifully.
Low-maintenance Care Tips
Once established, ornamental grasses are tough and easygoing. Water them deeply but infrequently, especially during the first year. Cut them back in late winter or early spring before new growth appears.
A yearly dose of compost or slow-release fertilizer keeps them looking their best without much effort.
12. Incorporate a Vertical Garden or Trellis
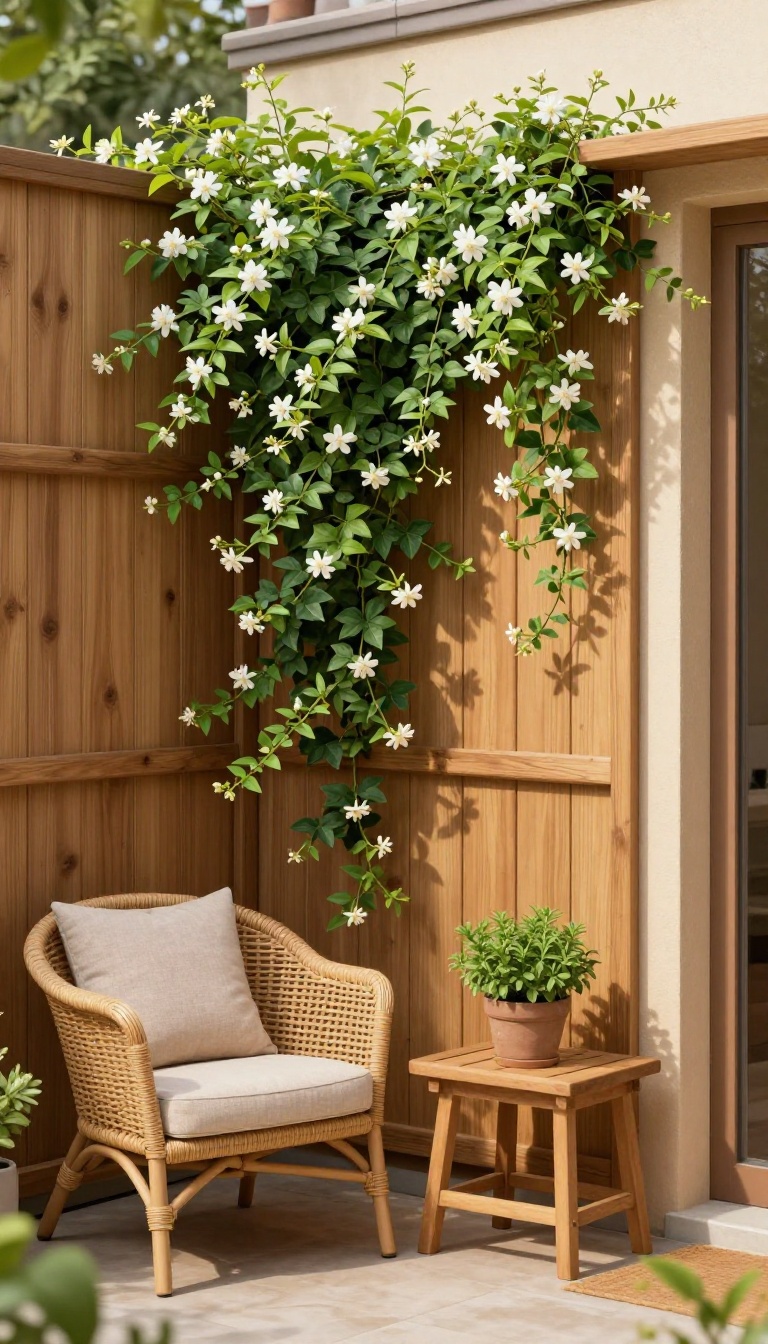
When floor space is scarce, the only way to go is up. A vertical garden or a simple trellis can transform a bare wall or fence into a lush backdrop for your patio. It's a clever way to add greenery without sacrificing your seating area or walkway.
Vertical gardens and trellises are perfect for small patios or balconies. They draw the eye upward, making the space feel larger and more inviting. Plus, they offer a practical way to grow herbs, flowers, or even vegetables right at your fingertips.
Pick The Right Plants
Choose plants that thrive in your climate and light conditions. Climbing roses, jasmine, and clematis are classic choices for trellises. For a living wall, consider herbs like basil, mint, or thyme—they're compact and useful for cooking.
Mix in some trailing annuals like petunias or ivy for instant color.
Diy Trellis Or Living Wall
You don't need to hire a professional. A simple wooden lattice or metal trellis can be attached to an existing fence or wall. For a living wall, use a modular system of pockets or planters that you can mount.
Or get creative with a repurposed pallet or an old picture frame.
Maintenance Tips
Vertical gardens can dry out faster than ground plants, so check moisture regularly. Install a drip irrigation system to make watering easier. Prune climbing plants to keep them tidy and guide them along the trellis.
Fertilize lightly during the growing season to keep everything lush.
13. Add a Cozy Outdoor Rug and Furniture
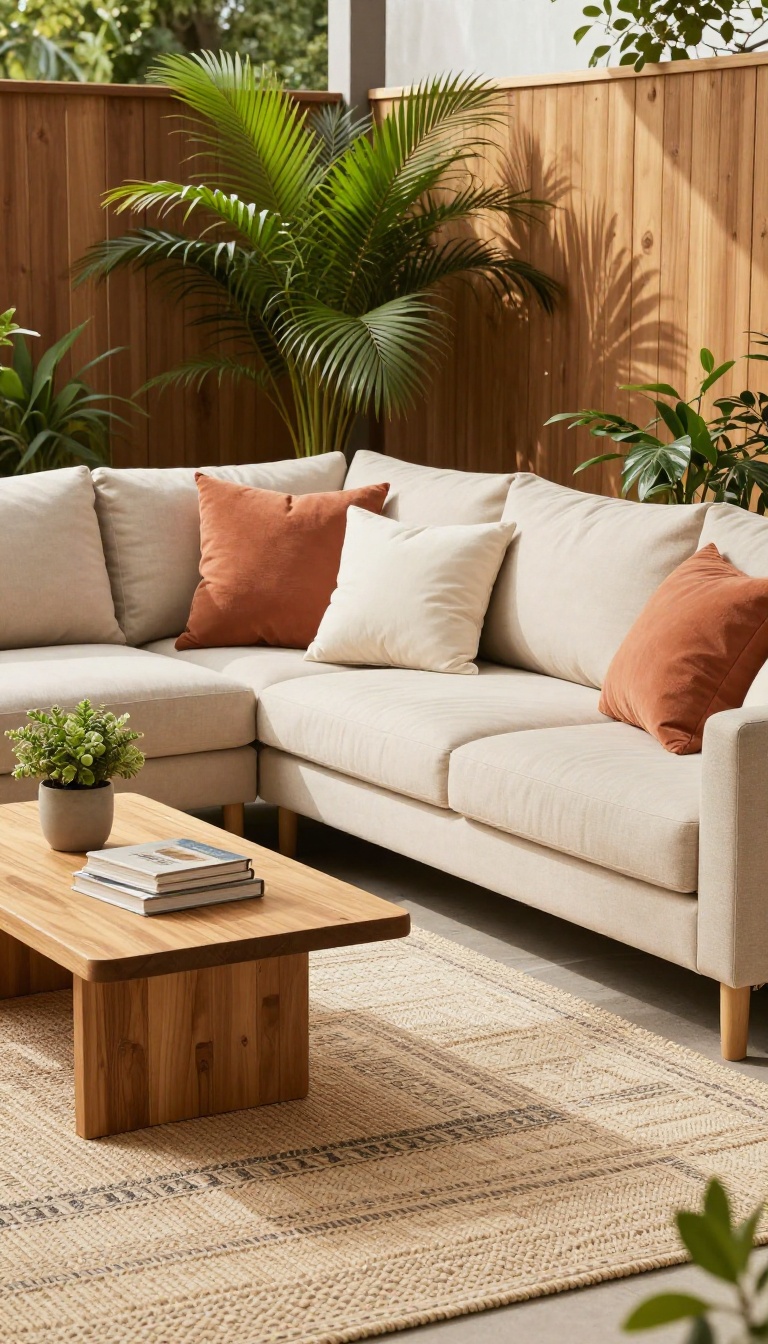
Nothing says 'come sit awhile' like a soft rug underfoot and furniture that invites you to sink in. An outdoor rug does more than just look pretty—it anchors your seating area, defines the space, and adds a layer of comfort that hard surfaces just can't match. Pair it with the right furniture, and your patio instantly feels like an outdoor living room.
Choosing the right outdoor rug and furniture is all about balancing style with practicality. You want pieces that can handle the elements but still feel inviting. A rug with a bold pattern can hide dirt and add visual interest, while neutral tones let your plants and other decor shine.
For furniture, think about how you actually use your patio—do you host big dinners, lounge with a book, or watch the kids play? Your answers will guide your choices.
Pick A Rug That Works Hard
Outdoor rugs come in all sorts of materials, but polypropylene is a top pick because it resists moisture, stains, and fading. Look for a rug with a low pile—it's easier to clean and won't trap debris. Size matters too: your rug should be large enough to fit all your main furniture pieces, with at least a few inches of clearance on each side.
If you're between sizes, go bigger—a too-small rug can make the space feel disjointed.
Choose Furniture That Fits Your Life
Think about durability and comfort. Wicker and rattan give a classic, natural look but need to be weather-resistant. Aluminum and teak are sturdy and low-maintenance.
For cushions, look for quick-dry foam and UV-resistant fabric. If you have limited space, consider a bistro set or a loveseat instead of a full sectional. And don't forget side tables—they give guests a place to set a drink without having to leave their seat.
Layer In Comfort With Throws And Pillows
Once your rug and main furniture are in place, add soft layers to make it extra cozy. Outdoor pillows in weatherproof fabrics add color and support. A lightweight throw blanket is perfect for cool evenings.
Mixing patterns and textures—like stripes with solids, or smooth with nubby—keeps the look curated without being fussy. Just remember to store pillows and throws in a waterproof bin when not in use to extend their life.
FAQ
What is the best way to frame a patio on a budget?
Start with simple edging using affordable materials like bricks or pavers. Add potted plants and a few solar lights to create a polished look without breaking the bank.
How can I make my patio feel more private?
Incorporate tall plants like ornamental grasses or bamboo in containers, install a trellis with climbing vines, or use outdoor curtains or privacy screens to block sightlines.
What are low-maintenance patio landscaping ideas?
Opt for gravel borders, artificial turf, or drought-tolerant plants like succulents and lavender. Use containers for easy care and consider installing a drip irrigation system to minimize watering.
Can I landscape my patio without grass?
Absolutely. Use a mix of hardscaping like pavers or gravel, and add greenery with potted plants, raised beds, or vertical gardens. This creates a lush feel without the upkeep of a lawn.
How do I choose the right plants for my patio?
Consider your climate, sun exposure, and maintenance level. Choose a mix of evergreen shrubs for structure, perennials for seasonal color, and annuals for quick pops of brightness. Group plants with similar water needs.
Conclusion
Framing your patio is about making the outdoors feel like an extension of your home. You don’t need to tackle everything at once—pick one idea that speaks to your space and start there. Small changes, like adding planters or a simple border, can make a big difference in how the area feels.
The best patio is one that matches how you live and invites you to stay a little longer. So take a look at your space, choose what fits, and enjoy the transformation.