How to Clean Bathroom Walls in 13 Gentle Wash Steps
Bathroom walls take a beating—steam, splashes, and everyday grime can leave them looking dull or worse, sticky. Scrubbing too hard risks damaging paint or tile, so a gentle approach is key. These 13 wash steps will restore your walls without the elbow grease or harsh chemicals.
Start by clearing the space and dusting from top to bottom before mixing a mild cleaning solution. Testing an inconspicuous spot first prevents surprises, then you can work through each step with a soft sponge or cloth.
For stubborn spots, a baking soda paste does the trick without scratching. Rinse thoroughly, dry immediately, and finish by tackling grout lines, light switches, and any mold spots for a truly fresh result.
1. Clear the Room and Protect Surfaces
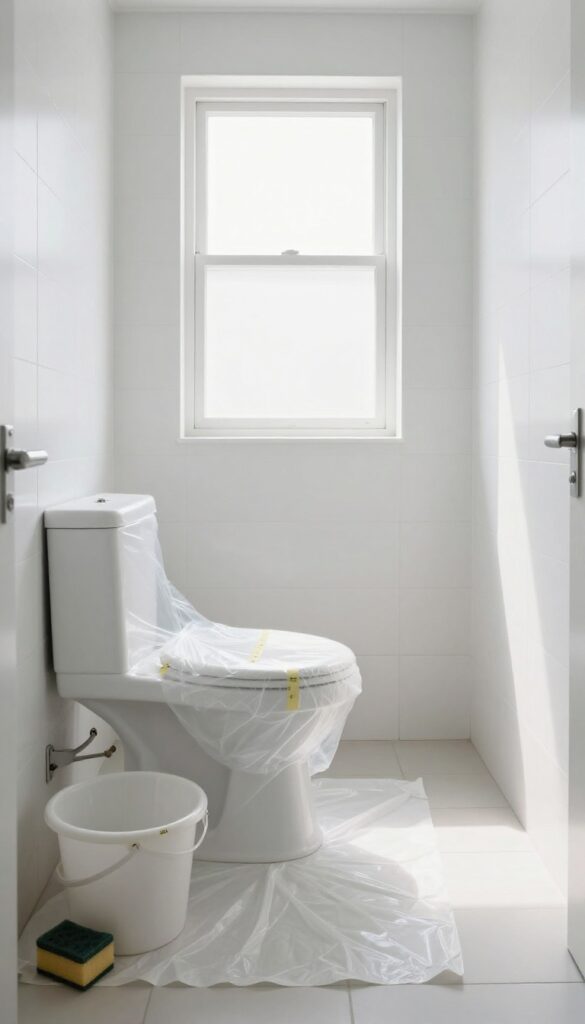
Before you even think about mixing a cleaning solution, take a few minutes to prep the space. Removing everything from the bathroom—towels, bath mats, toiletries, and any decorative items—gives you unobstructed access to every wall. It also keeps your belongings safe from accidental splashes or drips.
Clearing the room is the first step to a stress-free cleaning session. Once the space is empty, lay old sheets, towels, or plastic drop cloths over the floor, toilet, vanity, and any fixtures you can’t move. This simple barrier catches any drips or runoff, protecting your flooring and surfaces from excess moisture or cleaning residue.
Why Prep Matters
A clear room means you can work quickly and efficiently without having to navigate around obstacles. Plus, you avoid the frustration of knocking over a shampoo bottle or soaking a bath mat. Protecting surfaces also prevents water stains or damage, especially on wood or laminate flooring.
What To Cover
Focus on the floor around the walls, the toilet tank and bowl, the vanity counter, and any exposed shelving. Use plastic sheeting for the floor if you’re using a spray cleaner, or old towels if you prefer a damp cloth method. Secure the coverings with painter’s tape to keep them in place.
Quick Tips For A Smooth Start
Gather all your supplies before you begin—bucket, soft sponges, microfiber cloths, and your chosen cleaner. Having everything within arm’s reach saves time and keeps the process flowing. Also, open a window or turn on the exhaust fan to improve ventilation while you work.
2. Dust from Top to Bottom
You might be tempted to grab a sponge right away, but loose dust and cobwebs will just turn into muddy streaks if you do. A quick dry dusting first saves you from smearing grime around later. It also keeps your cleaning solution from turning into a paste with all that airborne debris.
Why Dust First Matters
Dust clings to walls, especially in corners and along the ceiling line. When you apply a wet cleaner, that dust turns into a thin mud that can be hard to rinse off completely. Dry dusting lifts it away before it has a chance to mix with moisture, giving you a cleaner surface to work with.
The Right Tool For The Job
A microfiber duster on an extendable pole is ideal because it traps dust instead of just pushing it around. For high walls or ceilings, the pole lets you reach without stretching. A clean, dry microfiber cloth works too if you don't have a duster.
Just fold it into a pad and wipe in long, overlapping strokes.
Work From Top To Bottom
Start at the ceiling and work your way down. That way, any dust that falls will land on areas you haven't cleaned yet, and you'll catch it on the next pass. Pay special attention to corners, crown molding, and the top edges of baseboards.
Cobwebs love these spots, so check carefully.
3. Mix a Gentle Cleaning Solution
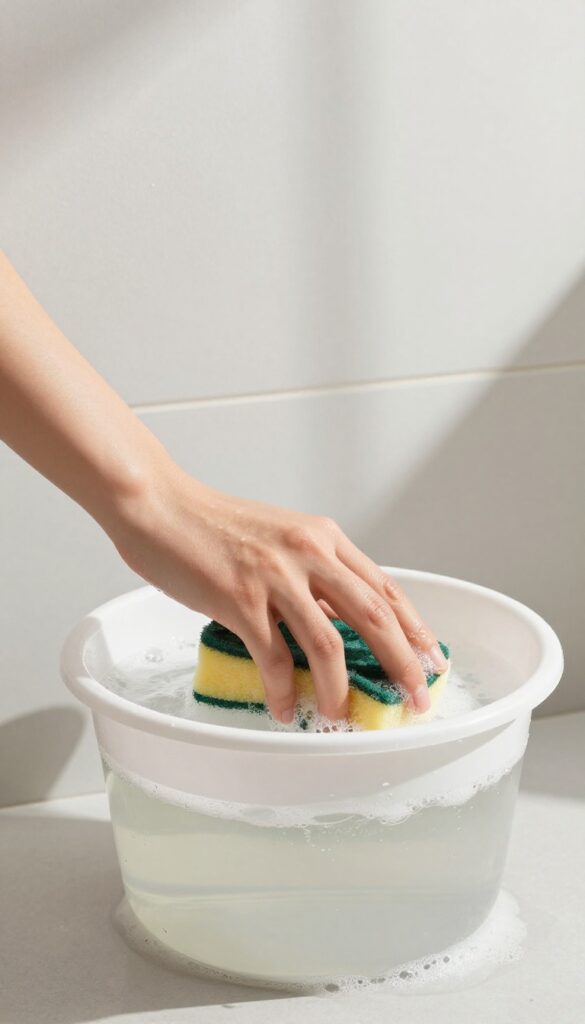
The right cleaning solution makes all the difference when washing bathroom walls. Harsh chemicals like bleach or ammonia can damage paint, dull tile, or release irritating fumes. Stick with a mild mix that lifts grime safely.
Why Gentle Works Best
Bathroom walls are often painted with satin or semi-gloss finishes that can yellow or peel when exposed to strong cleaners. Dish soap and warm water cut through soap scum and body oils without stripping the paint. A mild all-purpose cleaner labeled “gentle” or “natural” is another safe bet.
The Perfect Ratio
Fill a bucket with warm water—not hot, which can set stains—and add just a few drops of liquid dish soap. Swirl gently to avoid too many suds. If you prefer a commercial cleaner, dilute it according to the label, usually about a capful per gallon.
Test the mixture on a hidden spot first.
What To Avoid
Never use bleach, ammonia, or abrasive cleaners on painted walls. These can cause discoloration, dullness, or even damage the drywall underneath. Stick to the mild solution, and you’ll clean effectively without risking your walls’ finish.
4. Test an Inconspicuous Spot
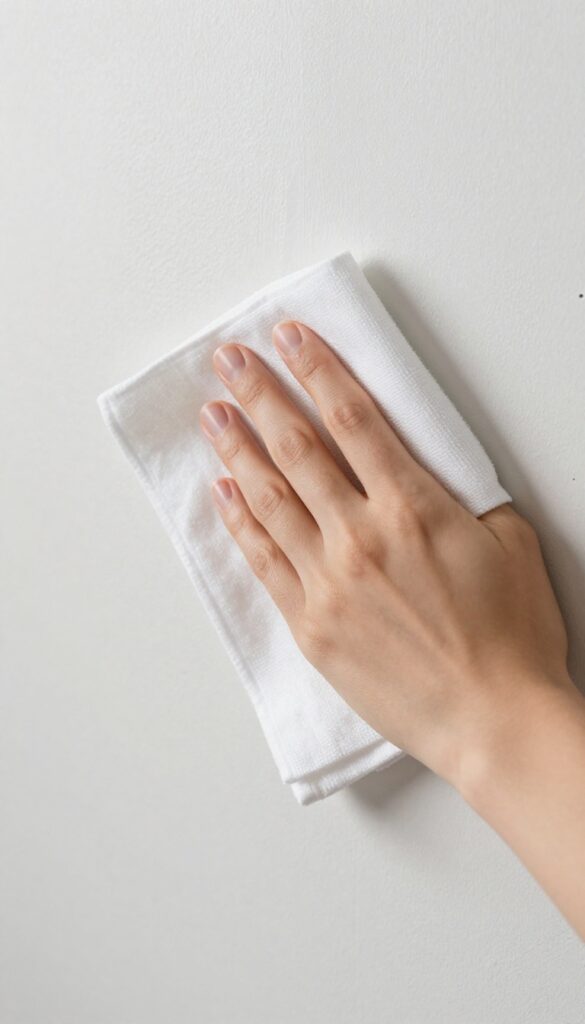
Before you commit to cleaning the entire wall, take a moment to test your cleaning solution on a hidden area. This quick step can save you from a costly mistake if the cleaner reacts badly with your paint or tile. A small patch behind a door or near the baseboard is perfect for this.
Dab a small amount of your chosen cleaner onto a clean cloth and gently rub a hidden spot. Wait a few minutes to see if any discoloration, bubbling, or dullness appears. If the area looks fine, you're good to go.
If not, switch to a milder solution or try a different method.
Why Testing Matters
Different wall finishes react differently to cleaners. Glossy paint may be more resistant, while matte or flat paint can absorb moisture and stain. Tile and grout can also be sensitive to acidic or abrasive cleaners.
A quick test helps you avoid damaging the surface.
How To Perform The Test
Choose a spot that's out of sight, like behind a towel rack or inside a cabinet. Apply the cleaner with a soft cloth or sponge, using the same technique you plan to use on the rest of the wall. Let it sit for a minute, then rinse and dry.
Check for any changes after 10 minutes.
What To Look For
Watch for color fading, streaks, or a change in texture. If the cleaner leaves a residue or makes the surface feel tacky, it's not suitable. Also check if the grout becomes discolored or if the paint starts to peel.
Any of these signs mean you need a different approach.
5. Start with a Soft Sponge or Cloth
Now that your cleaning solution is ready, it's time to actually start washing. The tool you use matters just as much as the cleaner. A soft sponge or microfiber cloth is your best bet—they're gentle enough for painted walls and tiles but effective at lifting grime.
Dip your sponge or cloth into the solution, then wring it out well. You want it damp, not dripping, to avoid streaks and water damage. Work in small sections, starting from the top and moving downward.
This way, any drips will land on areas you haven't cleaned yet, and you won't miss spots.
Why Soft Tools Work Best
Hard scrubbers can scratch paint, dull tile finishes, or even damage grout. A soft sponge or microfiber cloth lifts dirt without abrasion. Microfiber is especially good because its fibers trap dust and grime rather than pushing it around.
The Right Wringing Technique
Squeeze out excess water until the sponge is just moist. If it's too wet, you'll leave soapy residue that attracts dirt. Too dry, and you won't clean effectively.
A good test: press the sponge against the side of the bucket—it should release a few drops, not a stream.
Work In Manageable Sections
Divide the wall into roughly 2×2-foot sections. Clean one section completely before moving to the next. This prevents the solution from drying on the wall, which can cause streaks.
Overlap each section slightly to avoid missing any spots.
6. Tackle Stubborn Spots with a Baking Soda Paste
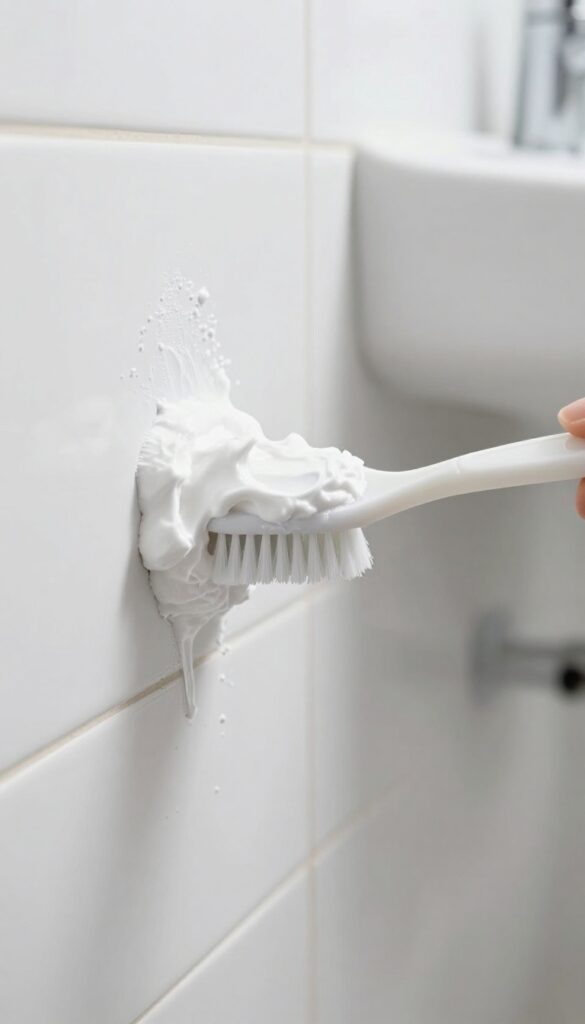
Some spots just won't budge with a mild spray. Dried toothpaste splatters, soap scum rings, or mysterious sticky patches need a little extra help. That's where baking soda steps in—gentle enough for painted walls but tough on grime.
Mix three parts baking soda with one part water to form a thick paste. Apply it directly to the stubborn spot using a soft-bristled brush or a non-scratch sponge. Let it sit for a minute to loosen the grime, then gently scrub in a circular motion.
Rinse with a damp cloth and wipe dry. Avoid pressing too hard—baking soda is mildly abrasive, but you still want to protect the paint or tile finish.
Why Baking Soda Works
Baking soda is a mild alkali that reacts with acids in grime to break them down. Its fine crystals provide gentle abrasion without scratching most surfaces. Plus, it's non-toxic and safe for bathrooms where kids or pets might be around.
Application Tips For Different Surfaces
For painted walls, use a soft sponge and light pressure. On tile or fiberglass, a soft brush works well. Avoid using baking soda on natural stone or unsealed grout—it can etch or dull the finish.
Test on an inconspicuous area first.
When To Let It Sit Longer
For dried-on residue or soap scum that's been there a while, let the paste sit for 5 to 10 minutes. This gives it time to soften the gunk without extra scrubbing. If it starts to dry out, spritz a little water on top to keep it active.
7. Rinse with Clean Water
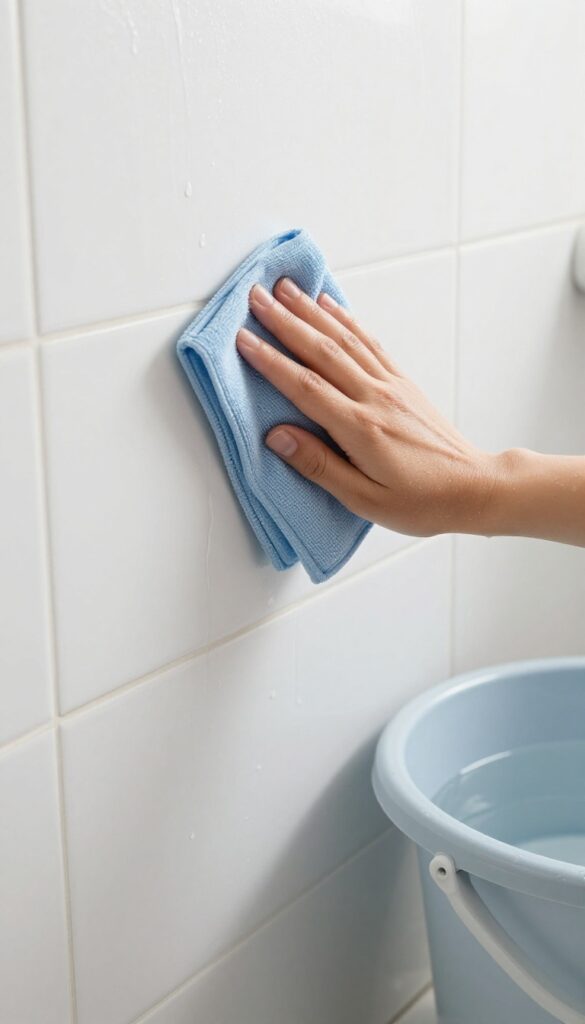
After scrubbing away the grime, you might think the job is done—but leftover soap residue can actually attract more dirt over time. Rinsing thoroughly is the step that makes all the difference between a wall that looks clean and one that truly is clean. A quick once-over with dirty water defeats the purpose, so let's get this part right.
Why Rinsing Matters
Soap and cleaning solutions leave behind a thin film that can dull surfaces and even cause sticky buildup. If you skip rinsing, that residue will trap dust and moisture, leading to streaks and potential mildew. A proper rinse ensures your walls stay fresh longer and look their best.
The Right Technique
Use a clean, damp microfiber cloth or sponge—not dripping wet, just damp. Work in small sections, wiping from top to bottom to let gravity help. Rinse your cloth frequently in a bucket of clean water, and change the water as soon as it looks cloudy.
For large walls, you might need two or three water changes.
Troubleshooting Stubborn Residue
If you notice streaks after rinsing, your water might be too hard or you're using too much cleaner. Try a second rinse with distilled water or add a splash of white vinegar to the rinse water (about 1 tablespoon per gallon). This helps cut through any remaining film without damaging paint.
8. Dry Walls Immediately
Once you've rinsed the last of the cleaning solution away, don't let the walls air-dry. Water left to evaporate on its own leaves behind mineral deposits and streaks that make your hard work look messy. Grabbing a towel right away keeps the finish clean and spot-free.
Pat the walls dry with a clean, lint-free towel or microfiber cloth. Work from the top down so drips don't run over already-dried areas. For large wall sections, a clean dry mop with a microfiber pad can speed things up without leaving streaks.
Why Air-drying Is A Bad Idea
Hard water contains minerals like calcium and magnesium that become visible white spots when water evaporates. Even soft water can leave streaks from dissolved soap residue. Drying immediately prevents these from forming and also reduces the chance of mold or mildew taking hold in lingering moisture.
Best Towels For The Job
Microfiber cloths are ideal because they absorb water quickly and don't shed lint. Old cotton towels work too, but avoid terry cloth that might leave fuzz on the wall. Have two or three towels ready so you can swap to a dry one as soon as the first gets damp.
Corner And Trim Tips
Use a smaller cloth or a sponge to reach into corners and along trim where water tends to pool. Pay extra attention to the area behind the faucet and around the showerhead. A quick once-over with a dry cloth ensures no hidden moisture is left behind.
9. Clean Grout Lines with a Soft Brush
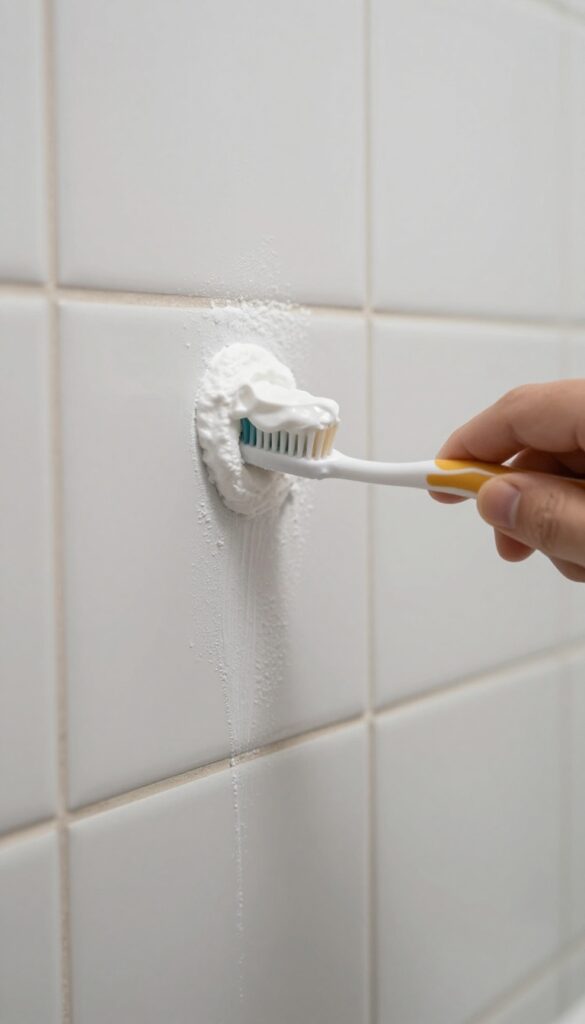
Grout lines are often the first place to show discoloration and mildew. They're porous, so they trap dirt and moisture easily. A gentle scrub with a soft brush can bring them back to life without damaging the surrounding tile.
Grout is more delicate than it looks. Scrubbing too aggressively can erode it, leading to cracks and gaps. A soft-bristled brush—like an old toothbrush—is perfect for this job.
Dip it in a baking soda paste (just mix baking soda with a little water) and work it into the grout lines using circular motions. The paste is mildly abrasive but safe for grout. Rinse thoroughly with a damp cloth or sponge, then dry with a towel.
For extra stubborn stains, let the paste sit for 5-10 minutes before scrubbing. Avoid using bleach or harsh chemicals, as they can weaken the grout over time.
Why A Soft Brush Matters
Hard bristles or metal scrubbers can scratch tile and scrape away grout. A soft brush targets the grout lines without collateral damage. An old toothbrush is ideal because its small head fits into tight spaces, and the bristles are gentle enough for regular use.
Making The Baking Soda Paste
Mix three parts baking soda with one part water until you get a thick, spreadable paste. Add a drop of dish soap for extra grease-cutting power if needed. Apply the paste directly to the grout lines with your brush or a small spatula.
Let it sit for a few minutes to loosen grime.
Rinsing And Drying
After scrubbing, wipe away the paste with a damp cloth. Rinse the area with clean water to remove any residue. Grout can hold moisture, so dry it thoroughly with a towel to prevent mildew from returning.
Open a window or turn on the fan to speed up drying.
10. Wipe Down Light Switches and Outlets
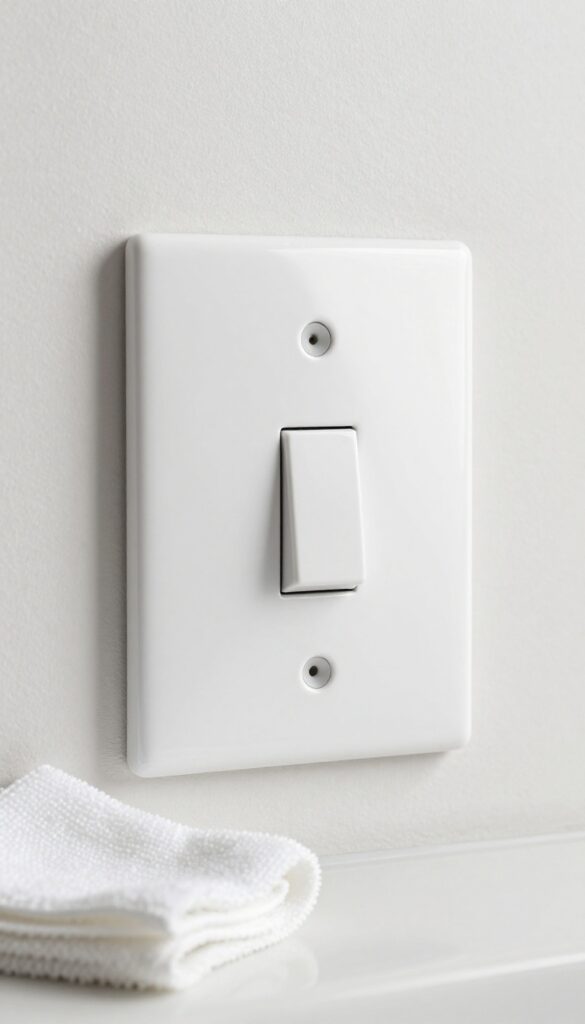
Light switches and outlets are grime magnets that often get overlooked during wall cleaning. Fingerprints, dust, and cleaning splatters accumulate on these high-touch surfaces, making them stand out against fresh walls. A quick, careful wipe keeps them clean without risking electrical safety.
Before you start, turn off the circuit breaker for the bathroom to eliminate any risk of shock. Use a barely damp microfiber cloth—never dripping wet—to gently wipe the switch plates and outlet covers. For stubborn marks, add a drop of mild dish soap to the cloth.
Dry immediately with a separate dry cloth to prevent moisture from seeping into electrical components. Avoid spraying any cleaner directly onto switches or outlets.
Safety First: Power Down
Always switch off the power at the breaker box before touching any electrical plates. This simple step prevents accidental shorts or shocks, especially if moisture finds its way behind the plate. Double-check that the lights and outlets are dead before you start.
The Right Dampness Level
Your cloth should be damp enough to pick up grime but not so wet that water drips. Wring it out thoroughly until it's just barely moist. If you can squeeze out any liquid, it's too wet.
A dry follow-up wipe is essential to remove any residual moisture.
Tackling Stubborn Grime
For caked-on dirt or sticky residue, dip a cotton swab in a 50/50 vinegar-water solution and gently rub the affected area. Avoid abrasive scrubbers that could scratch the plastic. After cleaning, wipe with a dry cloth and let the plates air out for a few minutes before restoring power.
11. Address Mold or Mildew Spots
Mold and mildew can pop up even after a thorough cleaning, especially in damp bathrooms. Catching them early keeps your walls looking fresh and prevents health issues. Here’s how to handle those stubborn spots without damaging the surface.
For small mold spots, white vinegar is your best friend—it’s natural and effective. Spray it directly on the area, let it sit for 10 minutes to kill the spores, then wipe with a damp cloth. If the mold persists, switch to a commercial mildew cleaner, but always follow the label instructions and test on an inconspicuous area first.
Why Vinegar Works
White vinegar is mildly acidic, which breaks down mold and mildew without harsh chemicals. It’s safe for most wall types, including painted surfaces and tiles, as long as you don’t scrub too aggressively.
When To Use A Commercial Cleaner
If vinegar doesn’t remove the mold after two tries, opt for a bleach-based or specialized mildew cleaner. These are stronger but can discolor paint or grout, so test in a hidden spot first. Wear gloves and ensure good ventilation.
Preventing Future Growth
After cleaning, improve bathroom ventilation by running the fan during and after showers. Wipe down walls with a squeegee or microfiber cloth to remove excess moisture, and fix any leaks promptly.
12. Polish with a Dry Microfiber Cloth
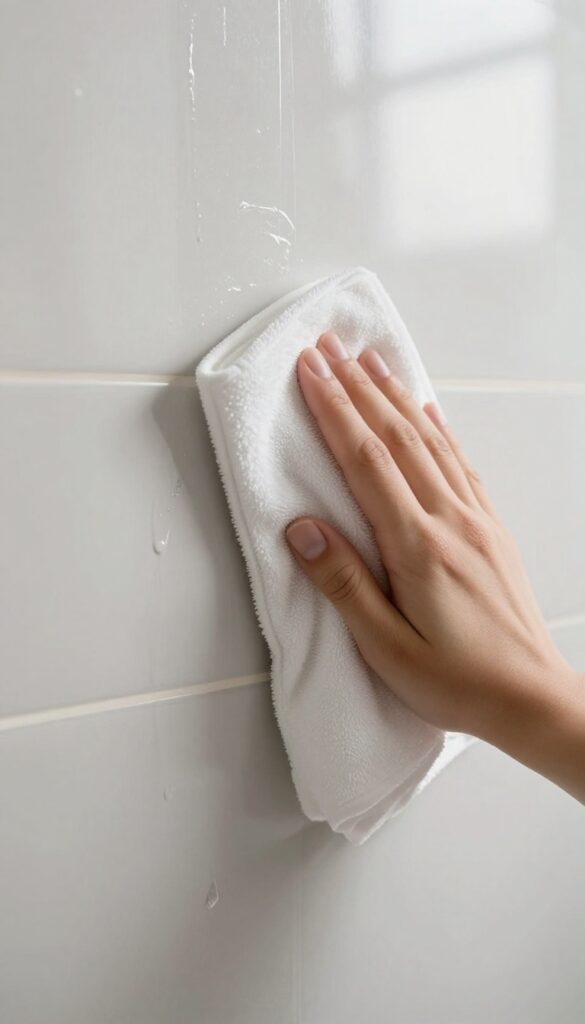
Once your walls are clean and dry, a final polish with a dry microfiber cloth makes all the difference. This step removes any lingering dust or lint left behind from earlier wiping and restores a subtle shine to the surface. It’s quick, easy, and gives your bathroom a professionally finished look.
Grab a clean, dry microfiber cloth—the kind you’d use for polishing glass or stainless steel works perfectly. Fold it into a manageable pad and gently buff the walls in circular motions. You don’t need to press hard; just let the cloth glide over the surface.
This picks up any fine particles and smooths out streaks, leaving the walls looking fresh and streak-free.
Why Microfiber Works Best
Microfiber cloths have ultra-fine fibers that trap dust and lint rather than pushing them around. Unlike cotton rags, they won’t leave fuzz or scratches on painted or tiled surfaces. They’re also highly absorbent, so any tiny moisture spots get wicked away instantly.
How To Avoid Redepositing Dust
Start at the top of the wall and work your way down. Flip the cloth frequently to expose a clean side, and switch to a fresh cloth if it gets too dirty. This prevents you from just moving dust from one spot to another.
When To Skip The Polish
If your walls have a matte or flat finish, buffing too vigorously can create unwanted sheen. In that case, just lightly dust with a dry cloth or skip this step entirely. For semi-gloss or satin finishes, a gentle polish enhances the natural luster.
13. Maintain with Weekly Quick Wipes
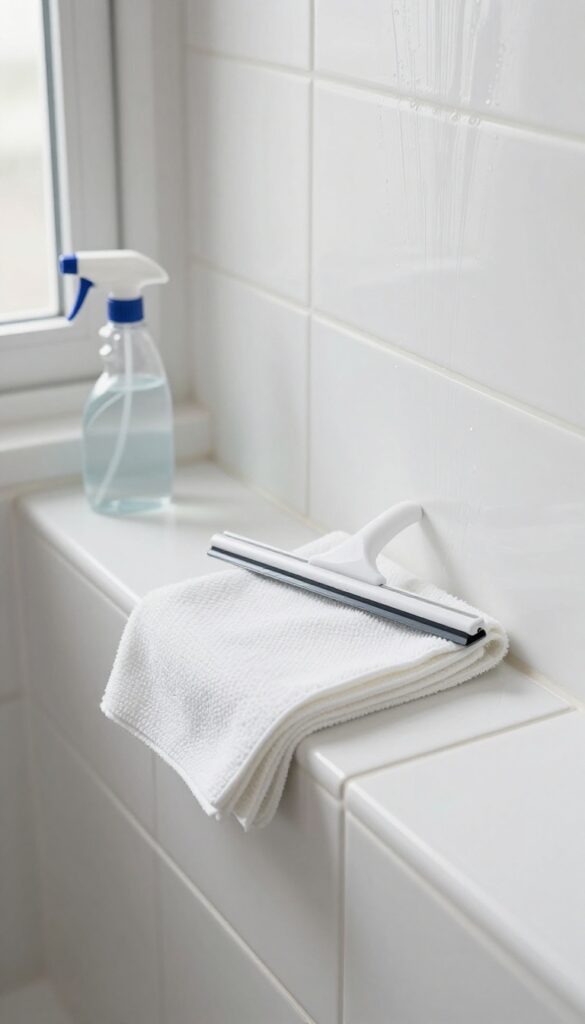
The best deep clean is the one you barely need. A few minutes each week can stop grime from building up in the first place. After every shower, just give your walls a quick once-over—it's that simple.
A squeegee or a dry microfiber cloth is all you need. Start at the top and work your way down, catching drips and moisture before they settle. This habit cuts down on soap scum, mildew, and hard water spots, so your deep cleans are lighter and less frequent.
Keep a squeegee hanging in the shower or a cloth handy nearby so you don't forget.
Squeegee Vs. Cloth
Squeegees are great for tile and glass—they remove water fast without leaving lint. Microfiber cloths work better on painted walls or textured surfaces where a squeegee might skip. Choose whichever fits your wall type, or use both: squeegee first, then a quick buff with a dry cloth.
Target Problem Zones
Pay extra attention to corners, around the showerhead, and near the soap dish. These spots collect moisture and are prime real estate for mildew. A quick wipe there prevents the need for heavy scrubbing later.
Make It A Routine
Tie the quick wipe to an existing habit—like after you towel off. Keep your cleaning tool within arm's reach. After a week, it'll feel automatic.
Your walls will stay fresher, and you'll save time on deep cleaning day.
FAQ
Can I use vinegar on painted bathroom walls?
Yes, but dilute it with water (1: 1 ratio) and test first. Vinegar can dull some paints if used full strength.
How often should I clean bathroom walls?
A quick wipe-down weekly and a deep clean every 1-2 months keeps grime and mold at bay.
What's the best way to clean textured walls?
Use a soft-bristle brush or sponge to gently work the cleaning solution into the texture without damaging it.
Can I use a magic eraser on bathroom walls?
Yes, but test first. Magic erasers can be abrasive and may remove paint or gloss on some surfaces.
How do I prevent mold on bathroom walls?
Improve ventilation with an exhaust fan, wipe down walls after showers, and fix any leaks promptly.
Conclusion
With these 13 gentle wash steps, your bathroom walls can look fresh without harsh scrubbing or damage. Consistent care is key, so pick a routine that fits your schedule and stick with it.
Your walls will thank you, and so will your future self when cleaning day comes around again.