10 Small Backyard Makeover Ideas with Big Visual Impact
A small backyard can feel like a wasted space when it lacks personality. You don't need a full renovation to make it look intentional and inviting. A few smart changes can shift the whole vibe.
Most makeovers fail because people try to do too much at once. The trick is picking one or two high-impact moves and letting them do the heavy lifting. That keeps costs down and effort manageable.
These ten ideas focus on visual punch, not square footage. Each one works in tight quarters and won't drain your weekend or your wallet.
1. Lay a Bold Outdoor Rug to Anchor the Space
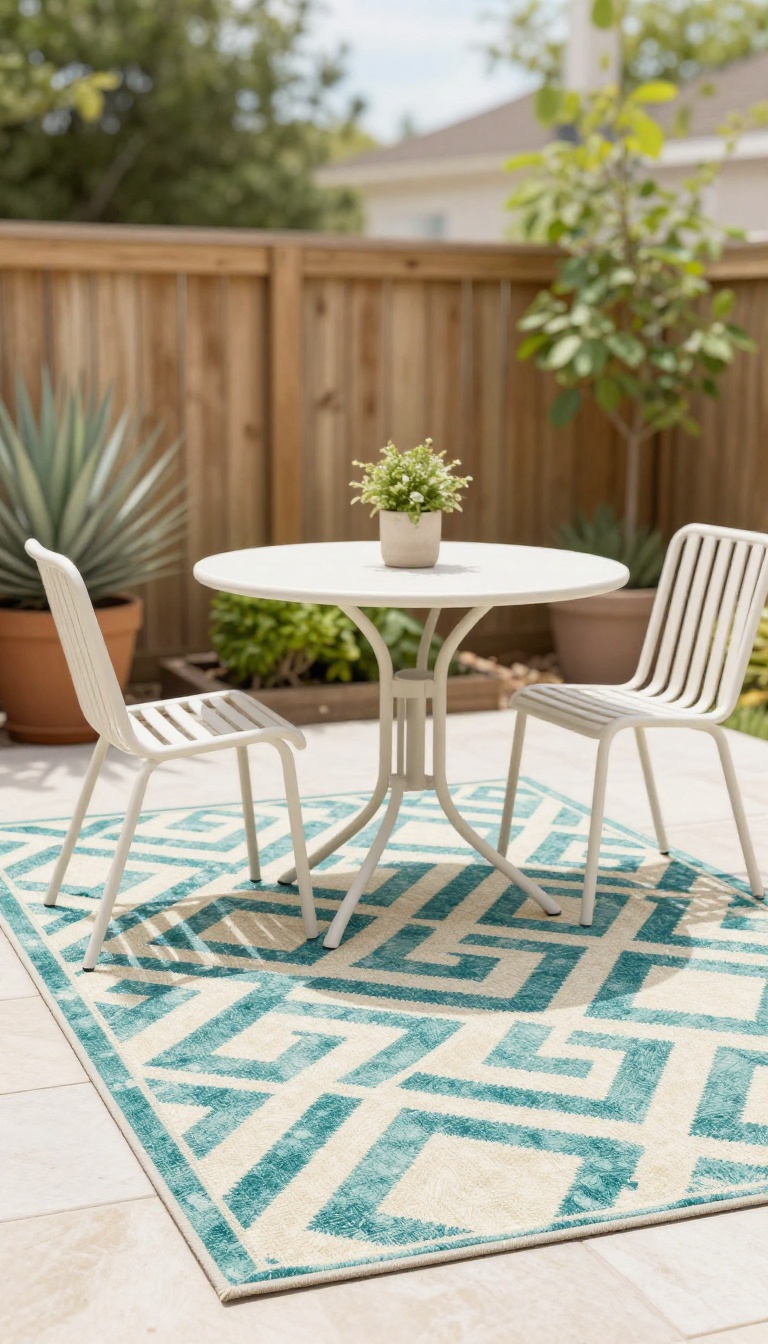
A rug does something no other single item can: it turns a patch of concrete or decking into a defined room. In a small yard, that sense of enclosure makes the space feel intentional instead of leftover. And because it sits low, it won't block sightlines or eat up usable square footage.
The right rug also brings color and pattern that tie mismatched furniture together, so your setup looks curated rather than collected.
Start by measuring your seating or dining zone so the rug fits the furniture, not the other way around. A good rule: the front legs of chairs and sofas should sit on the rug, and the back legs can stay off if space is tight. That keeps the rug from looking like a postage stamp under a bulky set.
If you're working with a narrow patio, a runner can define a walkway or a slim bistro setup without swallowing the whole area.
Pick A Material That Can Take The Weather
Polypropylene, PET, and solution-dyed acrylic are your best bets for outdoor rugs. They resist moisture, fading, and mildew, and they clean up with a hose and mild soap. Natural fibers like jute and sisal look great but soak up water and can get musty in humid climates.
If you love the natural look, choose a jute-blend made for outdoor use or keep a natural rug under a covered area only.
Choose A Pattern That Pulls The Zone Together
Look at your existing furniture and pick one or two colors from it to repeat in the rug. A bold geometric or striped pattern adds energy to a neutral set, while a subtle texture keeps things calm if your furniture is already busy. In a small space, a rug with a light border can make the area feel larger by drawing the eye outward.
Avoid tiny, busy prints that can look cluttered from a distance.
Keep It In Place And Looking Sharp
A rug pad made for outdoor use stops slipping and helps water drain underneath. If your rug sits on a hard surface, add corner weights or double-sided outdoor tape on windy days. Hose it down monthly, scrub with a soft brush, and let it dry fully in the sun before putting furniture back.
Roll it up during heavy rain or off-season to extend its life.
2. Add a Vertical Garden for Greenery Without Floor Space
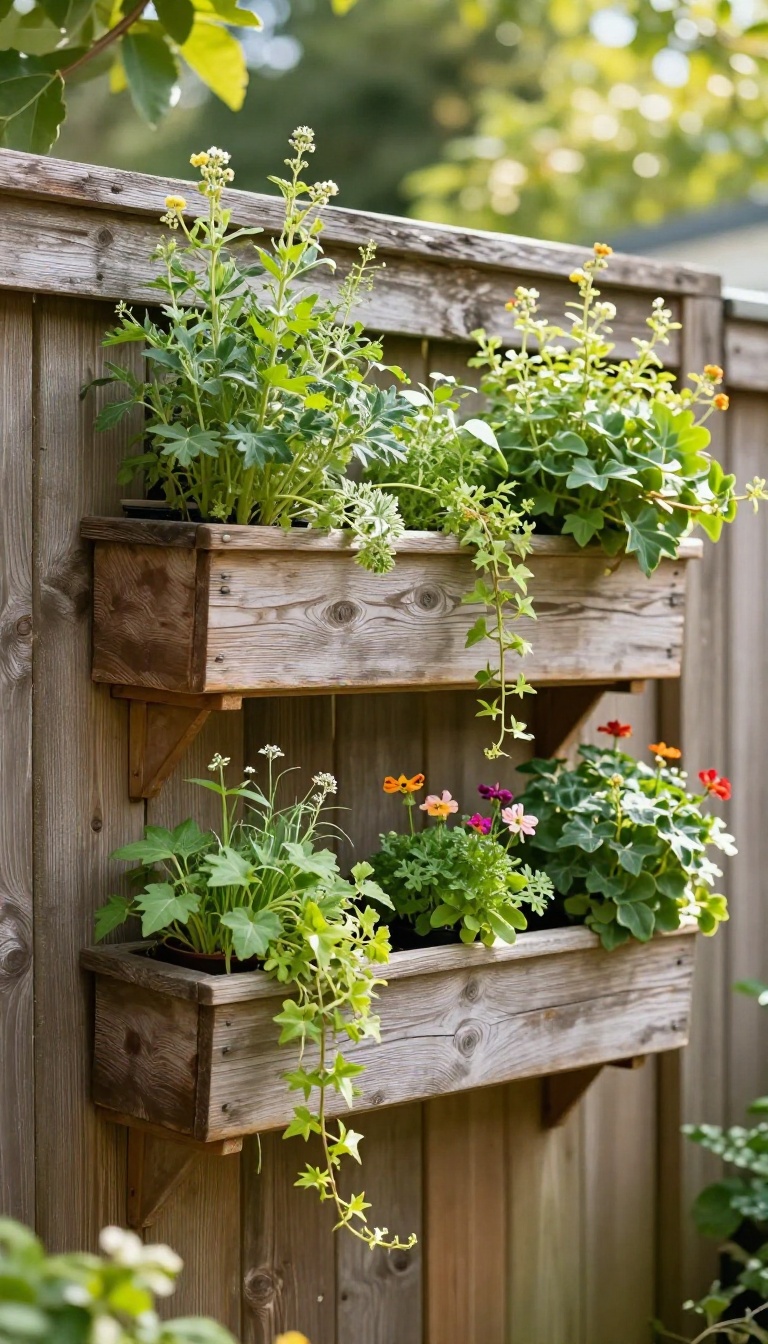
When floor space is tight, the walls become your best real estate. A vertical garden lets you grow herbs, flowers, or vines upward, turning a blank fence or siding into a living feature. It draws the eye up, softens hard edges, and adds lushness without stealing an inch from your patio or lawn.
Plus, it's one of the few makeovers that looks expensive but costs very little.
You don't need a fancy system to get started. A few wall-mounted planters, a simple trellis, or even a repurposed pallet can do the job. The key is to choose a spot that gets the right amount of sun for what you want to grow.
Then pick a style that matches your backyard's vibe—rustic wood, sleek metal, or colorful ceramic. Once it's up, the greenery does the rest.
Pick The Right Wall
Not all walls are equal. A south-facing wall gets the most sun, which is great for vegetables and sun-loving flowers. East or west walls work for partial-sun plants like herbs and ferns.
North-facing walls are best for shade lovers like hostas or ivy. Also, make sure the wall is sturdy enough to hold the weight of wet soil and plants. If you're renting, choose freestanding trellises or hanging planters that don't require drilling.
Choose Your Growing System
You have options. Pocket planters made of felt or fabric are affordable and easy to hang. They're perfect for herbs and small flowers.
Wooden pallets can be painted and leaned against a wall for a rustic look. For a cleaner style, try modular wall planters that snap together. If you want to grow vines like jasmine or clematis, a simple trellis is all you need.
Just make sure the system has good drainage so roots don't rot.
Plant For Impact
Mix textures and colors for visual interest. Combine trailing plants like ivy or creeping Jenny with upright growers like ornamental grasses or salvia. Herbs like basil, mint, and thyme are practical and smell great.
For a pop of color, add petunias or nasturtiums. Group plants with similar water needs together to make care easier. And don't forget to feed them—vertical gardens dry out faster than ground beds, so a weekly liquid fertilizer helps.
Keep It Looking Good
A vertical garden needs a little maintenance to stay lush. Water regularly, especially in hot weather—you might need to water daily. Trim back anything that gets leggy or overcrowded.
Replace plants that fade so the wall always looks full. In winter, if you live in a cold climate, swap in evergreen branches or switch to a trellis with climbing vines that stay green year-round.
3. String Up Cafe Lights for Instant Ambiance
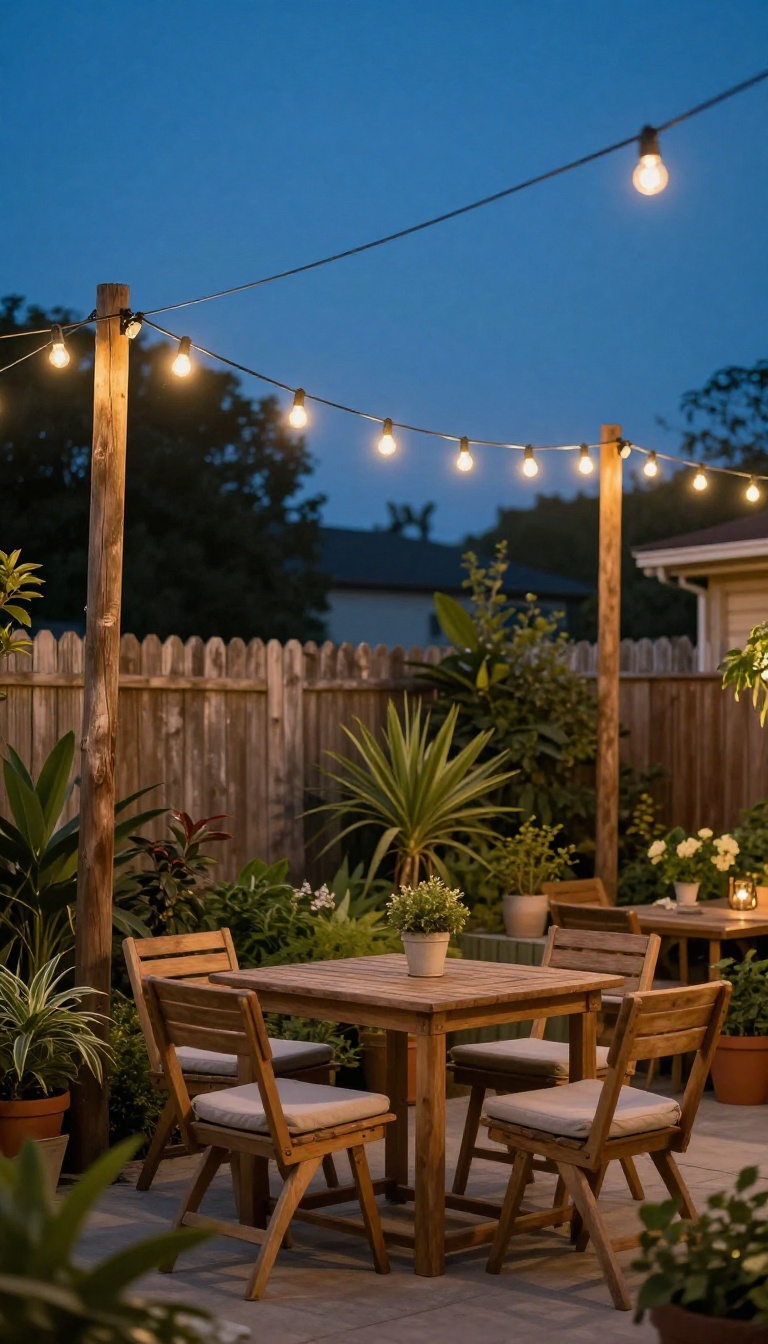
Cafe lights are the closest thing to a magic switch for your backyard. They turn a plain patio into a cozy hangout the moment the sun goes down. The warm glow softens everything and makes even a small space feel like a destination.
You don't need a professional electrician or a huge budget. A few strands and some basic hardware can get the job done in an afternoon. The payoff is a yard that feels intentional and inviting every evening.
Pick The Right Bulbs And Spacing
Go with warm-white LED bulbs around 2200K to 2700K for that golden cafe look. Space them about 18 to 24 inches apart so the light feels even, not spotty. If you want a softer glow, look for frosted or vintage-style bulbs that diffuse the light.
Mount Them Without Damaging Your Yard
Use screw-in hooks or adhesive clips on fences, pergolas, or house walls. For open areas, plant a couple of tall wooden posts and run a galvanized wire between them. Then hang the lights from the wire with zip ties or clips so they stay taut.
Add A Dimmer For Total Control
A plug-in dimmer lets you go from bright and festive to soft and moody with a twist. It's a small upgrade that makes a big difference when you're relaxing or hosting. Just make sure your lights are dimmable before you buy one.
4. Paint a Fence or Wall in a Deep, Rich Color
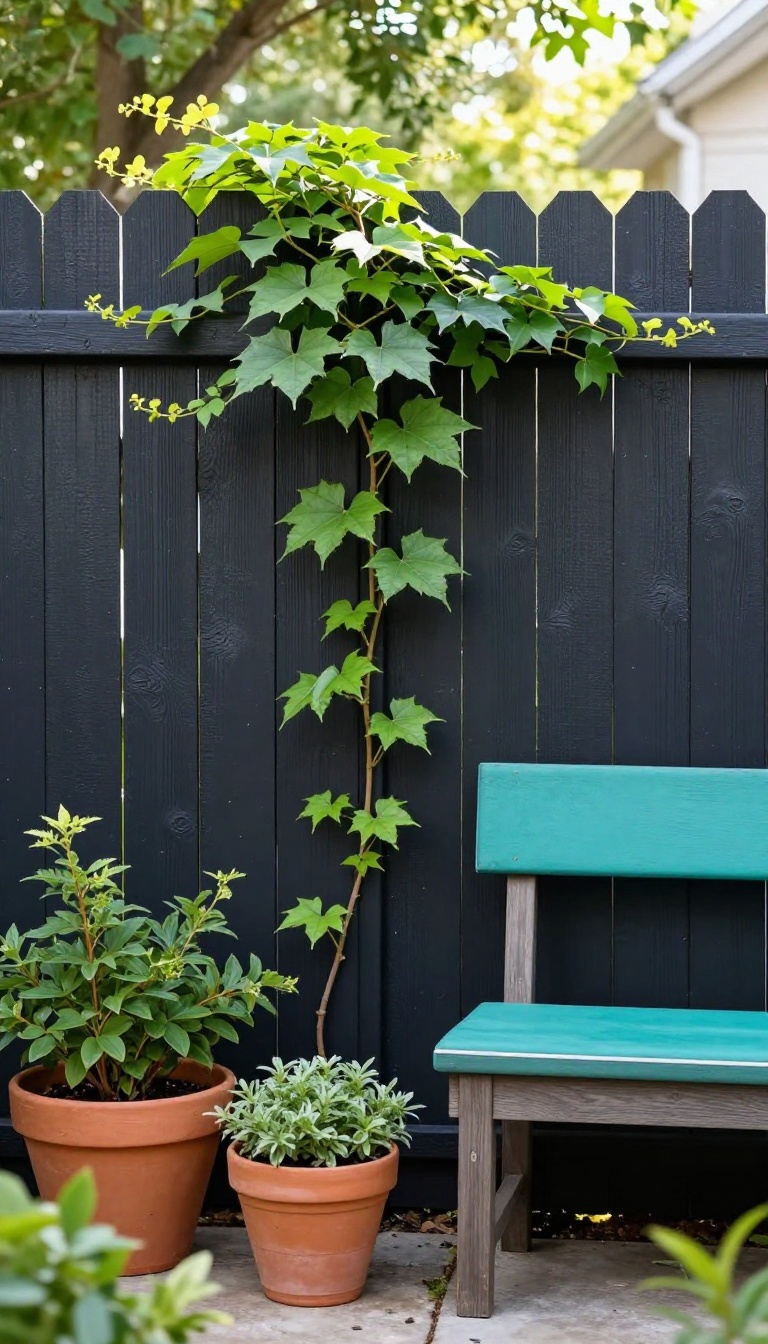
A dark fence or wall might sound like it would shrink a small yard, but it does the opposite. Deep colors like charcoal, navy, or forest green create a sense of depth that makes the space feel larger and more layered. They also turn a plain boundary into a dramatic backdrop that makes everything in front of it stand out.
Most fences and walls in small yards are either bare wood, faded stain, or a light neutral that blends into the background. That's safe, but it's also forgettable. When you go dark, you add instant contrast.
Green leaves look greener, bright cushions look brighter, and even simple furniture suddenly looks intentional. The best part? This is a one-day project.
You don't need a contractor or a big budget—just a few cans of exterior paint, a brush or roller, and some tape. The transformation is immediate and the maintenance is minimal. Just be sure to clean the surface first and pick a finish that suits your climate.
Why Dark Colors Work In Small Spaces
Dark colors recede, which makes boundaries feel farther away. In a small yard, that creates the illusion of more room. They also absorb light instead of reflecting it, so the space feels cozy rather than exposed.
And because dark tones are neutral in their own way, they play well with almost any plant or furniture style.
Choosing The Right Shade
Charcoal is the safest bet—it's modern and pairs with everything. Navy adds a touch of classic elegance, especially near white trim or warm wood. Forest green feels organic and blends beautifully with foliage.
Test a few samples on the actual surface and look at them at different times of day. What looks black in the store might look blue in your afternoon sun.
Prepping And Painting Like A Pro
Clean the surface with a stiff brush and a hose, then let it dry completely. Sand any rough spots and fill cracks with exterior caulk. Use a paint-and-primer combo made for your material—wood, metal, or masonry.
Two thin coats beat one thick one every time. And don't skip the edges; a clean line makes the whole job look professional.
Making The Most Of Your New Backdrop
Once the paint is dry, step back and see what pops. You might want to add a few potted plants with light-colored leaves or a piece of furniture that contrasts with the dark background. A string of lights or a simple wall planter can also stand out beautifully.
The dark surface becomes a stage, so keep the focus on what you place in front of it.
5. Create a Focal Point with a Small Water Feature
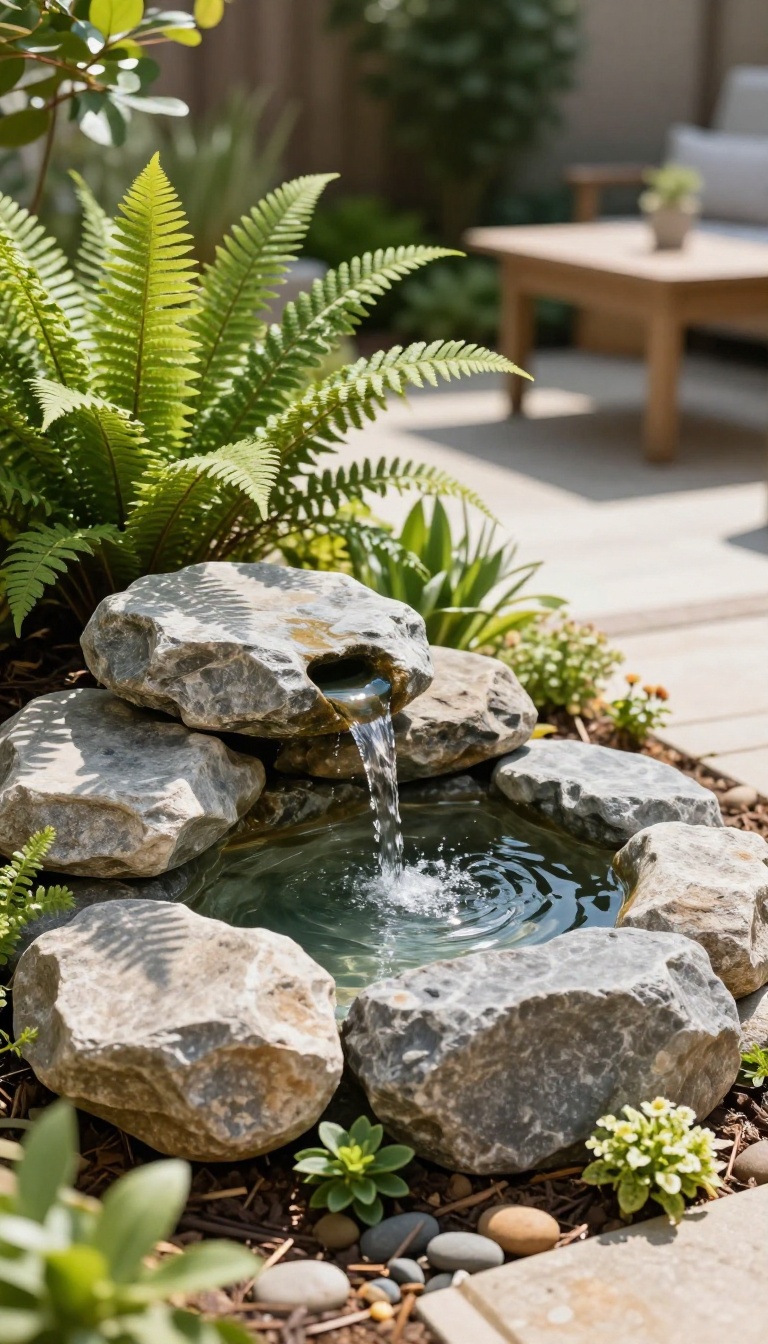
Water has a way of pulling the eye without trying. In a small yard, that's exactly what you want: a single spot that anchors the space and keeps it from feeling like a random collection of stuff. You don't need a pond or a waterfall.
A compact fountain, a bubbling rock, or even a DIY tiered planter with a pump can do the job. The sound and motion draw attention away from the yard's size and toward something calming. Best of all, water features work in almost any setup.
Whether you have a patio, a deck, or a patch of grass, you can tuck one in without tearing things up.
The key is to place your water feature where it can be seen and heard from your main seating area. That might be a corner of the patio, a spot near the fence, or even on a small side table. The goal is to make it the natural center of attention.
Once you pick a spot, choose a style that fits your space. A simple recirculating fountain is plug-and-play. A bubbling rock blends into landscaping.
A DIY version using stacked pots gives you full control over size and look. Maintenance is minimal if you keep it simple. Top off the water every few days, clean the pump monthly, and you're set.
No need for chemicals or complicated filters in most small setups.
Pick The Right Spot
Place your water feature where you'll see and hear it most, like near your seating area or a frequently used path. Avoid low spots that collect debris, and make sure there's an outlet nearby if you're using a pump.
Choose A Style That Fits
A classic tiered fountain suits traditional yards, while a bubbling rock or drilled stone looks more natural. For a modern vibe, a simple geometric basin works well. DIY options like stacked pots let you customize size and color.
Keep It Low-maintenance
Use a small recirculating pump and check water levels weekly. Clean the pump every month or so, and add a few drops of algaecide if needed. In winter, drain and store the feature to prevent cracking.
6. Swap Grass for a Low-Maintenance Ground Cover
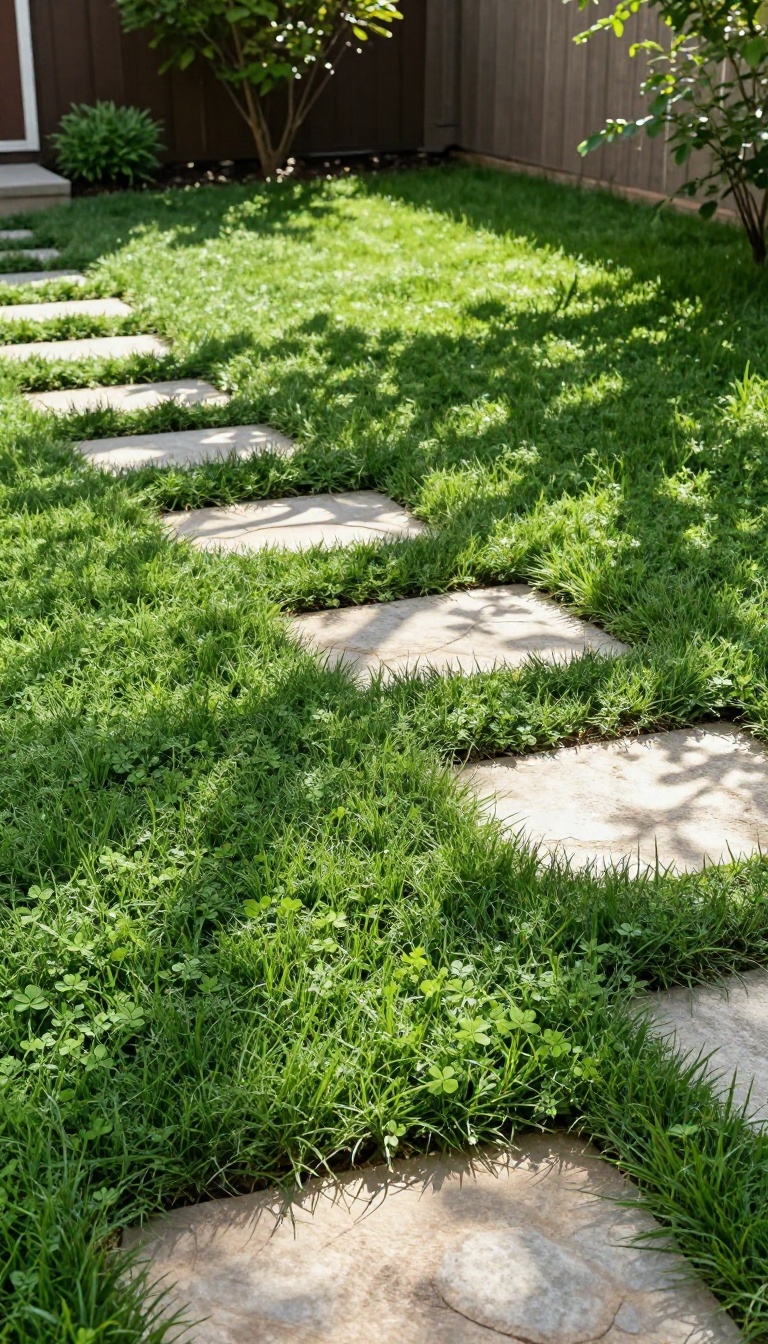
Lawn care eats up weekends. Mowing, watering, and patching bare spots becomes a losing battle in small yards, especially those with shade or foot traffic. Replacing turf with a low-maintenance ground cover solves that problem while upgrading the look.
You trade chores for a clean, modern surface that feels deliberate instead of neglected.
The best part? You don't need a huge budget or a professional crew. Many ground covers establish quickly and ask for almost nothing once they settle in.
Here's how to pick the right one and make the switch without tearing up your whole yard.
Pick A Cover That Fits Your Space
Creeping thyme works beautifully in sunny spots and releases a pleasant scent when you brush past it. It stays low, spreads steadily, and handles light foot traffic. Clover is another strong choice, especially for shady or poor soil.
It stays green, feeds the soil with nitrogen, and needs far less water than traditional grass. If you want something more architectural, consider gravel with pavers or decomposed granite. That combo gives you a crisp, modern look with zero mowing and almost no watering.
Prep And Plant Without The Hassle
You don't have to remove every blade of grass. For thyme or clover, mow the existing lawn very short, rake away the clippings, and scatter seed or plugs directly over the soil. A thin layer of compost on top helps them root.
Water regularly for the first few weeks, then taper off as they establish. For gravel or pavers, lay landscape fabric first to block weeds, then add your base material. It's a weekend project that pays off for years.
Keep It Looking Sharp With Minimal Effort
Once established, most ground covers need little more than an occasional trim to keep edges tidy. Thyme and clover stay dense enough to crowd out most weeds. Gravel areas might need a quick leaf blow now and then, but that's it.
No weekly mowing, no sprinkler schedule, no fertilizer routine. You get a yard that looks intentional and cared for, even when you ignore it for a month.
7. Install a Mirrored or Reflective Panel
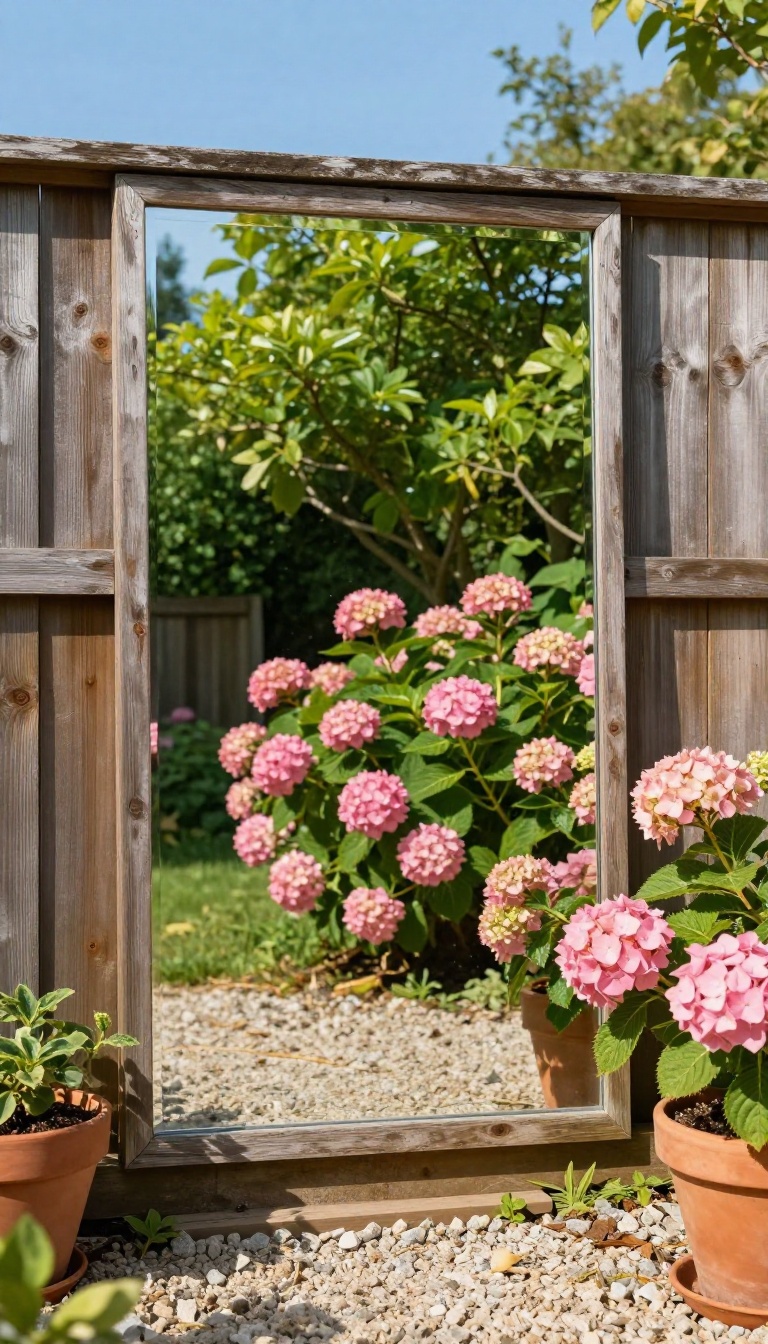
A mirror in the backyard isn't just for checking your hair. A large reflective panel can make a small space feel twice as deep by bouncing light and views around. Place one opposite a focal point and you get a double dose of whatever you love looking at.
Mirrors and reflective panels work because they trick the eye. Your brain sees more green, more sky, more flowers, and assumes the yard extends further than it does. That optical illusion costs a lot less than adding actual square footage.
The key is placement. A mirror facing a bare wall just shows you a bare wall. Put it across from a tree, a colorful planter, or a water feature and suddenly that feature appears twice.
The reflection adds depth without blocking any walkable space. You don't need a fancy antique mirror either. Weatherproof acrylic panels, mirrored screens, and even reflective metal sheets all do the job.
Just make sure whatever you choose can handle rain, sun, and temperature swings.
Pick The Right Spot
Look for a vertical surface that faces something worth reflecting. A fence panel opposite a blooming shrub or a small tree is ideal. Avoid placing a mirror where it reflects a plain wall or your neighbor's garbage bins.
Also think about privacy. A mirror that reflects your seating area might show the neighbor's window too. Angle it slightly so it catches the garden, not the street.
Choose Weatherproof Materials
Regular glass mirrors fog, crack, or peel when left outside. Go for acrylic mirror panels, stainless steel sheets, or outdoor-rated mirrored screens. They're lighter, safer, and built to handle the elements.
If you want a framed look, use a rot-resistant wood or metal frame. Seal any edges to keep moisture out, and mount the panel a few inches off the ground so water doesn't pool behind it.
Mount It Safely
A large panel can act like a sail in the wind. Secure it with heavy-duty brackets, screws, or posts set into the ground. If you're renting, use removable adhesive hooks rated for outdoor use and check them after storms.
For extra safety, consider a shatterproof backing or choose a panel that's already laminated. That way, if it does break, it won't leave sharp pieces around.
Style It Naturally
A bare mirror looks like a bare mirror. Frame it with climbing plants, a trellis, or a row of potted grasses to blend it into the garden. The reflection then feels like a hidden opening rather than a random piece of glass.
You can also lean a smaller mirror against a wall and let vines drape over the top. Just avoid placing it where it reflects the sun directly into your eyes or your neighbor's windows.
8. Build a Simple DIY Bench with Hidden Storage
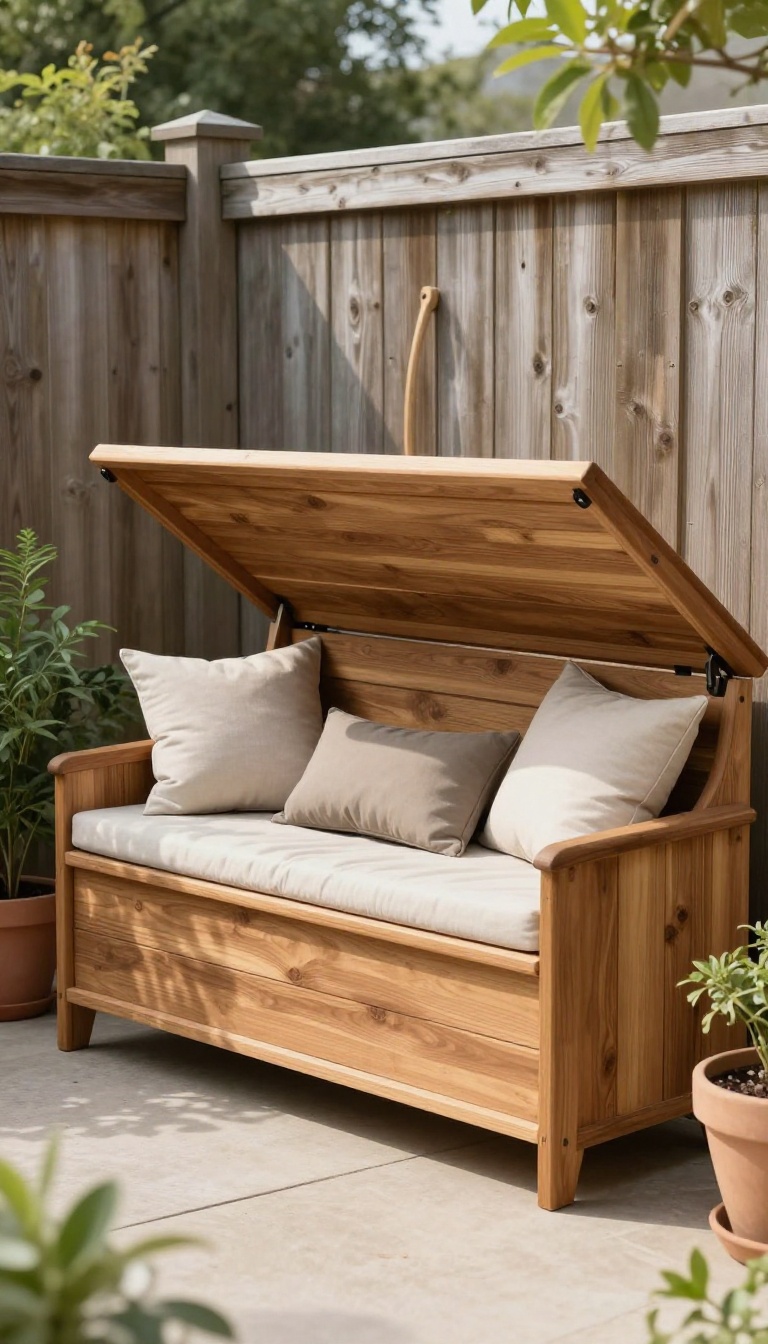
A plain stretch of fence or wall is wasted space until you give it a job. A slim DIY bench turns that dead zone into seating and sneaks in storage you didn't know you had. It's one of those projects that looks custom but costs a fraction of a store-bought piece.
You don't need a workshop full of tools. A few boards, some basic hardware, and a free afternoon will get it done. The best part?
You can size it to fit your exact spot, even if that spot is only a few feet wide. Once it's in, you'll wonder why you waited. Cushions, garden tools, and kids' toys finally have a home that doesn't clutter the yard.
The bench itself is simple: a box with a lid. You build a rectangular frame, attach a hinged top, and add a seat cushion or leave it as wood. The storage inside is the real win because it keeps everyday items out of sight.
Choose a depth of 16 to 18 inches so it's comfortable to sit on but doesn't eat up your patio. Length depends on your space, but even a 4-foot bench adds useful seating. Use weather-treated lumber or cedar so it survives the seasons.
If you're not confident with a saw, many hardware stores will cut boards to size for you. That takes the scary part out of the project. Assembly is mostly drilling and screwing, which anyone can learn.
Finish it with a coat of exterior paint or stain that matches your fence or trim. That helps it blend in instead of standing out like an afterthought.
Pick The Right Spot
Look for a wall or fence section that gets some shade, especially if you plan to sit there in the afternoon. A bench in full sun can be uncomfortable without a cushion or awning. Also check for uneven ground; you may need to shim the legs or build on a small gravel pad.
Make sure the area drains well. Standing water will rot the wood and ruin anything you store inside. A few inches of clearance from the ground helps airflow and keeps the bottom dry.
Keep It Simple With A Flip-top
A flip-top lid is the easiest storage access. Use a piano hinge along the back edge so the whole seat lifts up. Add a small prop stick or gas strut to hold it open while you grab things.
If you want a cleaner look, cut the lid into two sections and hinge only one side. That way you can leave a cushion on half the bench and still get to the storage. Just make sure the cushion is light enough to move when you need to.
Weatherproof It Without Fuss
Untreated wood will gray and crack within a year or two. A simple exterior stain with UV protection is enough. Apply two coats and reapply every couple of years.
For the inside, line the bottom with a rubber mat or plastic sheet to keep moisture away from stored items. Drill a few small drainage holes in the base just in case. That little step prevents mildew and keeps your cushions fresh.
Style It To Blend In
Paint the bench the same color as your fence or house trim so it disappears into the background. Or go bold with a bright color if you want it to be a focal point. Either way, add a couple of outdoor pillows for comfort and a small side table for drinks.
If you have vines or climbing plants nearby, let them drape over one end. It softens the straight lines and makes the bench look like it's always been there. Just avoid covering the lid so you can still open it easily.
9. Use Oversized Planters for Drama
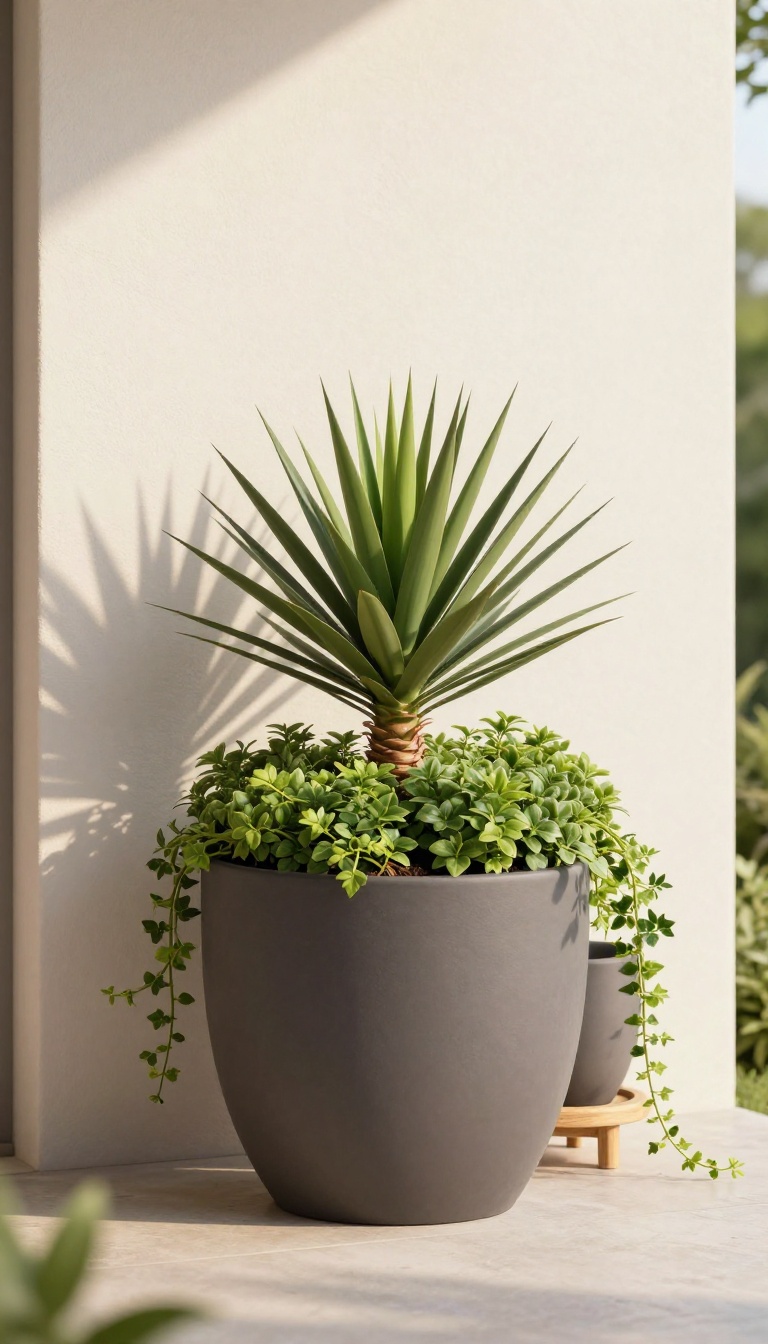
Big pots do more than hold plants—they become the focal point. In a small yard, one oversized planter can anchor a corner, frame a path, or add height where everything else sits low. The key is scale: go bigger than you think you need, then repeat the shape or color for a pulled-together look.
Oversized planters work because they break the rules of small-space design. Instead of filling every inch with tiny pots, you make a bold statement with fewer, larger pieces. That reduces visual clutter and gives the eye a place to rest.
You can use them to solve real problems, too. A bare corner becomes a green feature. A plain patio edge gains structure.
And because they're portable, you can rearrange them whenever the mood strikes—no digging required.
Pick The Right Size And Shape
A planter should feel substantial, not dainty. Aim for at least 18 to 24 inches in diameter for a small yard. Tall, cylindrical pots add height without taking up much floor space.
Wide, bowl-shaped planters work better for low, spreading plants. Stick to one or two shapes and repeat them for a cohesive look.
Choose Bold, Architectural Plants
Skip the petunias and go for plants with strong shapes. Ornamental grasses, cordylines, dwarf palms, and upright sedums all bring drama. Mix one thriller (tall), a few fillers (round), and a spiller (trailing) in each pot.
That combo gives you a full, layered look that lasts all season.
Arrange At Different Heights
Group planters at varying levels to create dimension. Put a tall pot on a low stand or stack a smaller pot on a sturdy base. Cluster three pots of different heights together—tall in back, medium in middle, small in front.
This mimics a garden bed and fills empty corners with greenery and color.
Keep Maintenance Simple
Large pots dry out slower than small ones, so you water less often. Use a quality potting mix and add a slow-release fertilizer at planting time. If you live in a cold climate, choose frost-proof materials like fiberglass or glazed ceramic.
Empty saucers after rain to prevent root rot.
10. Add a Fire Pit or Tabletop Fire Bowl
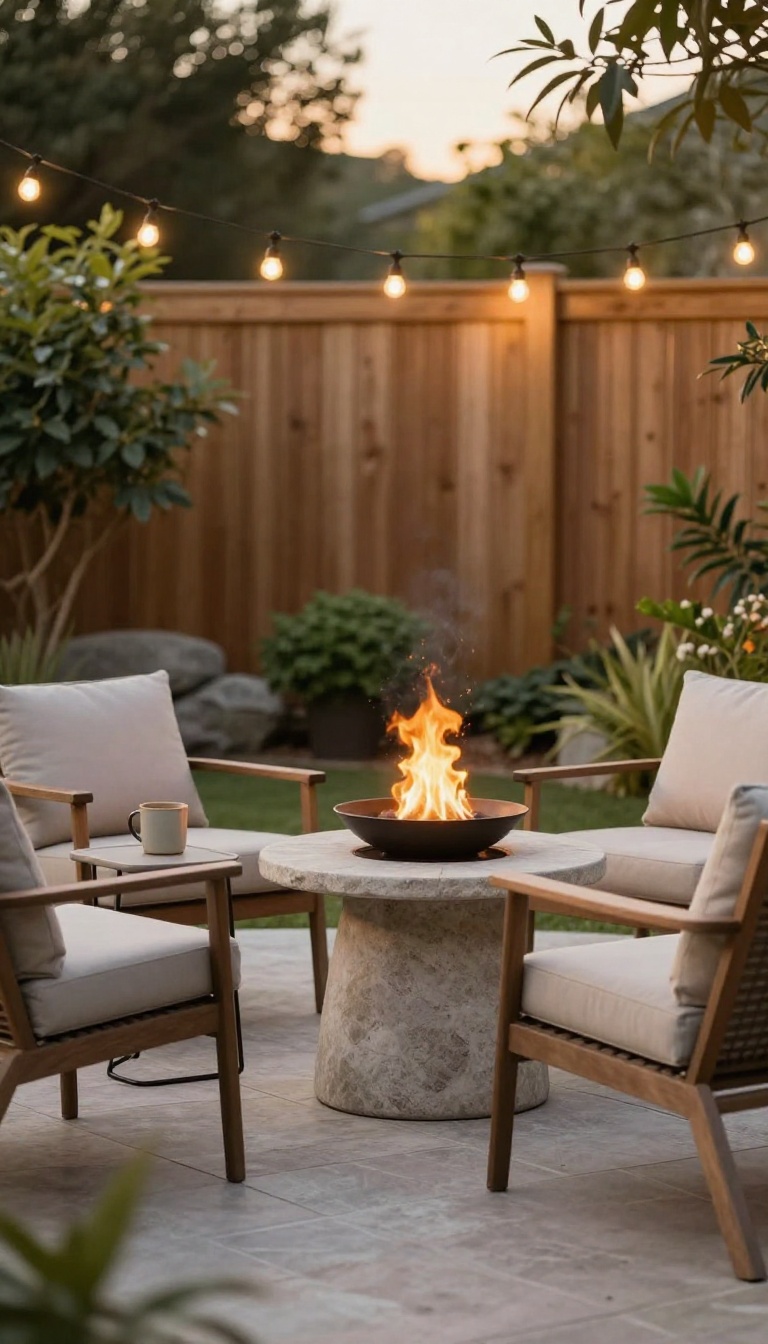
Cool evenings don't have to send everyone back inside. A small fire feature gives your backyard a cozy anchor that draws people in and keeps them there. It's one of the easiest ways to add warmth and ambiance without a major build.
You don't need a massive stone pit to get the effect. A portable fire bowl or a compact DIY setup can transform a tiny patio into a gathering spot. The key is choosing a size and style that fits your space and your budget.
Pick Your Fire Feature
Tabletop fire bowls are perfect for balconies or tiny patios. They run on gel fuel or small propane tanks and need zero setup. If you have a bit more room, a portable fire pit with a stand gives you a real flame without permanent installation.
For a built-in look, a DIY kit with a metal insert and pavers works in a weekend.
Placement That Works
Keep the fire feature at least 10 feet from your house, fence, or low-hanging branches. Set it on a non-flammable surface like concrete, stone, or a fire-resistant mat. If you're short on space, tuck it into a corner and arrange seating in a semicircle to maximize flow.
Safety And Style
Always check local burn regulations before you light up. A spark screen and a fire extinguisher nearby are smart additions. For style, add a few chairs, a side table, and string lights overhead to make the area feel intentional.
FAQ
How can I make my small backyard look bigger without spending much?
Use vertical space with wall planters, add a mirror or reflective panel, and choose a consistent color palette. These tricks create depth and draw the eye upward, making the yard feel larger.
What's the cheapest way to add visual impact to a backyard?
String lights and an outdoor rug are two of the most affordable upgrades. Both instantly change the mood and define a space without requiring construction or expensive materials.
Do I need professional help for a small backyard makeover?
Not at all. Most of these ideas are DIY-friendly and can be done over a weekend. If you're comfortable with basic tools and planting, you can handle them yourself.
How do I choose a color scheme for a small backyard?
Pick two or three colors that complement your home's exterior and repeat them in furniture, planters, and accessories. A cohesive palette makes the space look designed and pulled together.
What are the best low-maintenance plants for a small backyard?
Succulents, ornamental grasses, creeping thyme, and dwarf shrubs are great choices. They need little water, stay compact, and look good year-round with minimal care.
Conclusion
You don't need a big budget or a crew to make your small backyard look amazing. Pick one or two ideas from this list and start there. Even a single change can shift the entire feel of your outdoor space.
Focus on what you'll actually use and enjoy. A cozy corner with lights and a comfy seat often beats a perfectly manicured lawn. Make it yours, and you'll want to spend more time outside.