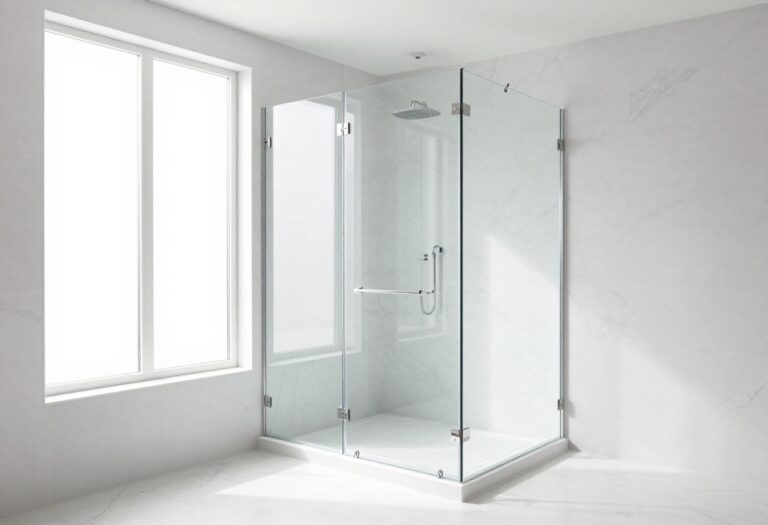
13 Shower Room Ideas for a Bright and Relaxing Retreat
Turning your shower into a bright, relaxing retreat doesn't have to mean a full gut renovation. Small, intentional changes can make a huge difference in how the space feels and functions. Whether you're working with a tiny alcove or a spacious walk-in, these ideas focus on real-world solutions that balance beauty with practicality.
Natural light is the number one ingredient for a bright shower, but not everyone has a window. The good news? There are clever ways to fake it—and even enhance what you already have.
From mirrors to lighting tricks, you can create an airy, open feel without knocking down walls. Budget and effort vary across these ideas, so you can pick what fits your timeline and wallet.
1. Maximize Natural Light with a Skylight or Solar Tube
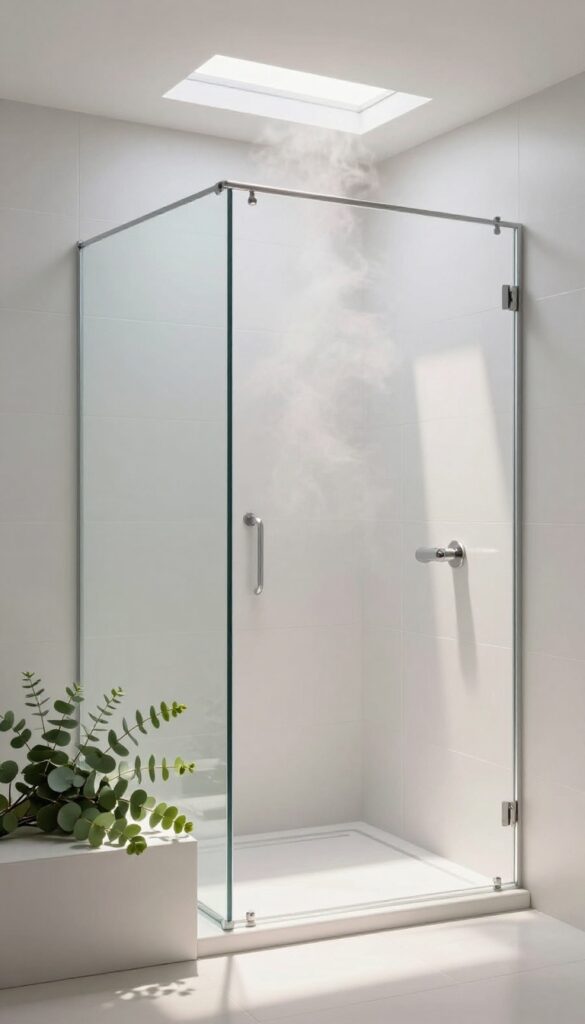
Nothing beats the feeling of warm sunlight streaming down while you shower. A skylight or solar tube brings that outdoor brightness indoors, making your shower feel like a private oasis. Even if your bathroom lacks windows, these options can transform a dim space into a sunlit retreat.
Natural light does wonders for a small or windowless shower. It makes the space feel larger, cleaner, and more inviting. Skylights are a classic choice, but they require roof work and can be pricey.
Solar tubes, on the other hand, are a flexible and budget-friendly alternative that still delivers impressive daylight.
Skylights: The Classic Choice
A traditional skylight offers a direct view of the sky and floods the room with light. For showers, consider a fixed skylight with a diffusing lens to soften the light and reduce glare. Installation involves cutting through the roof, so it's best done during a renovation.
The payoff is dramatic: your shower will feel open and airy, even on cloudy days.
Solar Tubes: Affordable And Effective
Solar tubes, also called tubular skylights, use a reflective tube to channel sunlight from the roof into the room. They're much smaller and easier to install than traditional skylights, and they cost a fraction of the price. A single solar tube can brighten a standard shower area without major structural changes.
Plus, they come with diffusers that spread light evenly, avoiding harsh spots.
Tips For Best Results
Position the skylight or solar tube directly above or slightly in front of the shower area for maximum effect. Use a light-colored ceiling and walls to reflect the light deeper into the room. If privacy is a concern, choose a frosted or prismatic diffuser that scatters light while obscuring the view from above.
2. Use Large-Format Tiles for a Seamless Look
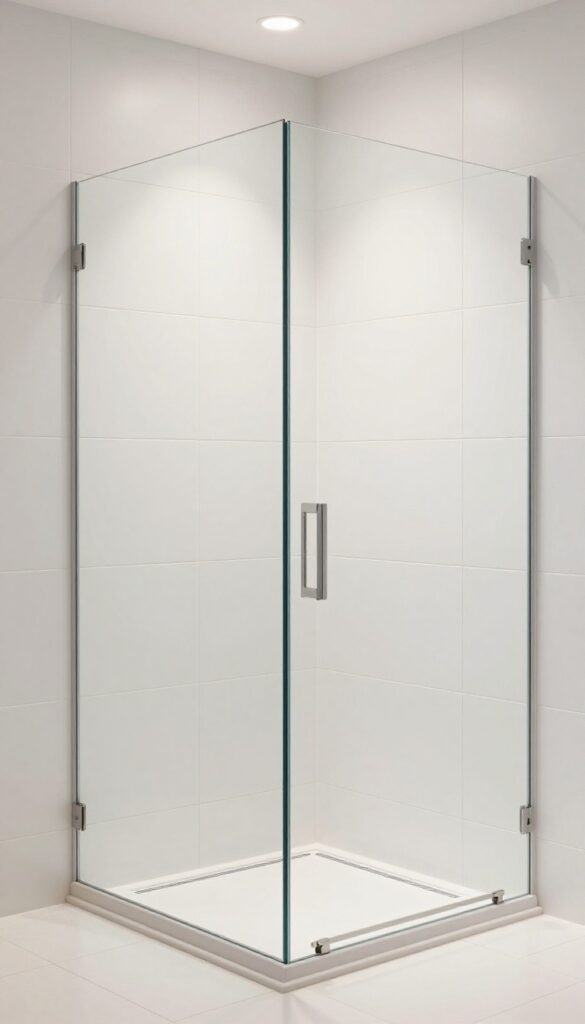
Big tiles are a game-changer for small or dark showers. Fewer grout lines mean less visual clutter, so the eye glides across the surface without interruption. That smooth expanse reflects light better, instantly making the space feel larger and brighter.
Plus, large tiles are easier to clean—fewer grooves for soap scum to hide.
Large-format tiles (like 12×24 inches or bigger) create a clean, spa-like aesthetic. They work especially well in showers where you want a minimalist vibe. The reduced grout lines also mean less maintenance over time.
Choose light-colored tiles with a subtle pattern or a matte finish to maximize light reflection without feeling sterile.
Choose The Right Size And Material
For a seamless look, go with tiles that are at least 12×24 inches. Porcelain or ceramic are durable and water-resistant. If you want extra brightness, pick glossy finishes—they bounce light around the room.
Avoid busy patterns; solid colors or subtle veining keep the space calm and open.
Installation Tips For A Flawless Finish
Large tiles require a perfectly flat substrate to avoid lippage (uneven edges). Use a leveling system during installation. Also, opt for thin grout lines (1/16 inch or less) to maintain that seamless effect.
Matching grout color to your tile makes the lines disappear even more.
Combine With Other Brightening Elements
Pair large tiles with a frameless glass shower door to keep the view unobstructed. Add a recessed niche with the same tile for a built-in look. A linear drain also complements the clean lines.
These choices work together to create an airy, uninterrupted retreat.
3. Install a Frameless Glass Shower Door
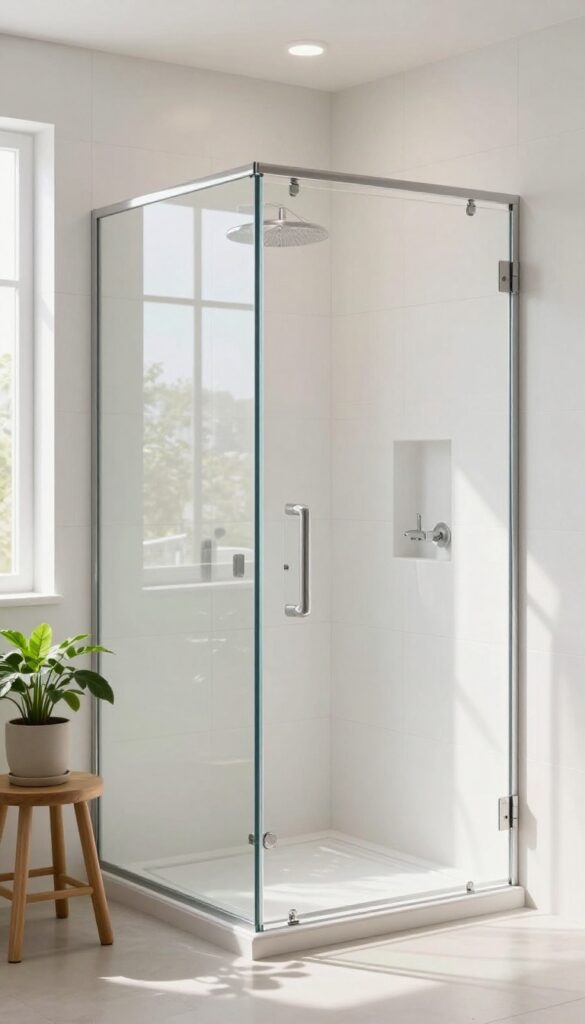
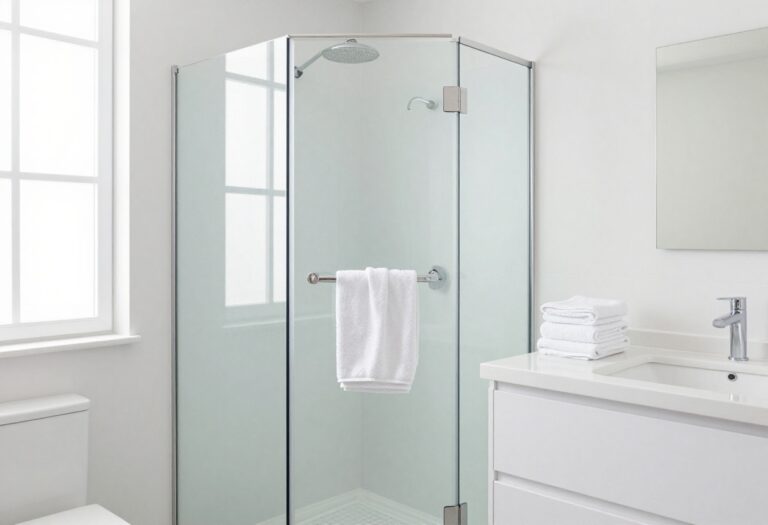
A bulky shower door with a metal frame can make even a spacious bathroom feel cramped. Switching to a frameless glass door instantly changes the whole vibe—it lets light travel freely and opens up the visual space. The result is a cleaner, more modern look that makes your shower feel like part of the room, not a separate box.
Frameless glass doors use thick tempered glass and minimal hardware, usually just hinges and a handle. Because there’s no metal frame, you get an uninterrupted view of your tile or shower wall, which visually expands the area. This is especially powerful in small bathrooms where every inch of openness counts.
Plus, the lack of frame means fewer crevices for soap scum and mold to hide, making cleaning easier.
Maximize Light Flow
Without a frame blocking light, natural or artificial light can travel from the shower to the rest of the bathroom and vice versa. If your shower has a window, the glass door lets that sunlight spill into the entire room. For windowless showers, a frameless door paired with good lighting makes the space feel bright and airy instead of cave-like.
Choose The Right Glass
Clear glass is the most popular choice for that open, spa-like feel, but it does show water spots. If you’re worried about upkeep, consider a light texture or a low-iron glass that reduces the green tint. Tempered glass is a must for safety, and 3/8-inch or 1/2-inch thickness gives a substantial, high-end feel.
Installation Tips
Frameless doors require precise measurements and a perfectly level installation because there’s no frame to adjust. It’s best to hire a professional unless you’re very experienced with tile and glass work. Also, make sure your shower floor slopes correctly to prevent water from sneaking under the door—a small gap at the bottom is normal, but it should drain properly.
4. Add a Bench or Niche for Function and Style
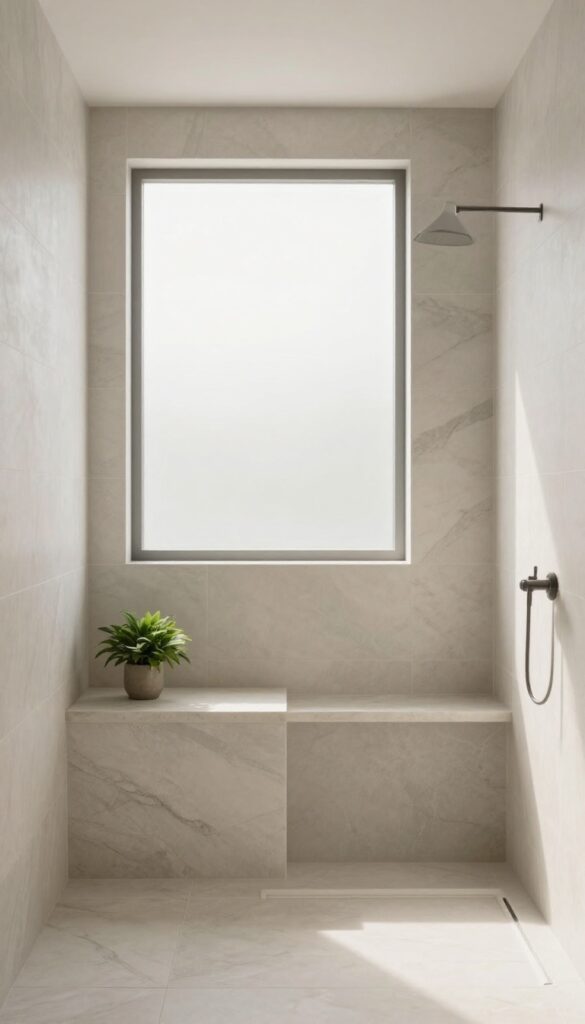
A built-in bench or niche is one of those features you never knew you needed until you have it. It adds a practical spot to sit, stash your shampoo, or display a candle, all while giving your shower a polished, spa-like look. Plus, it breaks up large tile expanses and adds architectural interest without taking up extra floor space.
Seating That Serves Double Duty
A bench isn't just for shaving your legs or taking a load off. It can also act as a ledge for storing bath products or a place to set a small plant. If you have the space, consider a corner bench that tucks away neatly.
For smaller showers, a fold-down teak bench is a smart alternative—it stays dry and out of the way when not in use.
Niches For Neat Storage
A recessed niche keeps bottles and bars off the floor and within easy reach. Place it at shoulder height for effortless access. You can install a single large niche or a series of smaller ones to match your storage needs.
Adding a slight downward slope to the shelf prevents water from pooling.
Materials That Tie It Together
Match your bench or niche material to the rest of the shower for a seamless look, or choose a contrasting material like natural stone or wood for a focal point. Marble, quartz, and tile are popular for built-ins, while teak or cedar work well for removable benches. Just make sure any wood is properly sealed for wet areas.
5. Choose Light, Neutral Colors for Walls and Floor
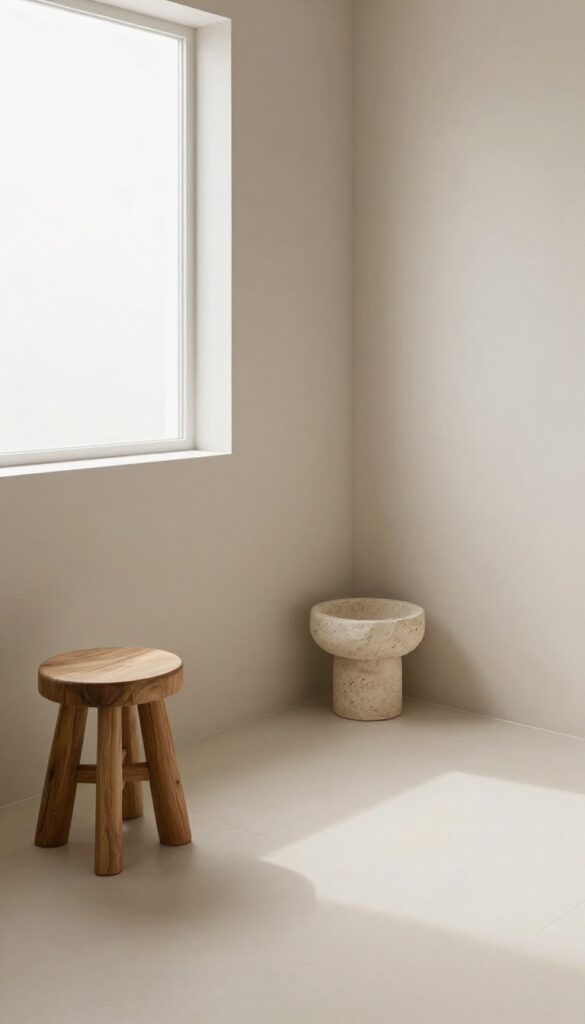
Color sets the mood more than almost anything else in a shower. Light, neutral tones on walls and floors bounce available light around, making even a windowless shower feel bigger and airier. Soft whites, warm beiges, and pale grays create a calm, spa-like backdrop that won't fight with other design elements.
The trick is to keep the base neutral while adding texture through natural materials like wood or stone accents—this adds warmth without darkening the space.
When you stick with light neutrals, you're essentially giving your shower a blank canvas that reflects light and visually expands the room. This doesn't mean boring—think of it as a foundation that lets you play with towels, plants, or a single accent tile without overwhelming the senses. The key is to choose shades with subtle warmth (like creamy white or greige) rather than stark white, which can feel clinical.
Pair with a natural wood stool or a stone soap dish for organic texture that keeps the look grounded and inviting.
Why Light Neutrals Work So Well
Light colors have a high light reflectance value (LRV), meaning they bounce more light around the room. In a shower, where moisture and shadows can make a space feel smaller, this is a huge advantage. Pale grays and beiges also hide water spots and soap scum better than dark tiles, so maintenance is easier.
Plus, they create a serene backdrop that helps you unwind after a long day.
Best Neutral Palettes For Showers
Go for warm whites like Swiss Coffee or Alabaster, soft beiges like Accessible Beige, or pale grays like Agreeable Gray. Avoid cool blues or greens if you want maximum brightness—they absorb light. For floors, consider a slightly darker neutral (like a warm taupe) to hide dirt while keeping the overall look light.
Pair with white grout for a seamless finish or a slightly contrasting grout for subtle definition.
Adding Warmth Without Darkening
Natural wood accents—like a teak bench, bamboo mat, or oak shelf—bring warmth and texture without absorbing light. Stone elements such as a marble soap dish or pebble floor strip add organic feel. Keep these accents small and strategic.
Avoid dark wood or black metal fixtures if you're aiming for brightness; instead, opt for brushed nickel or chrome that reflect light.
6. Incorporate Plants That Love Humidity
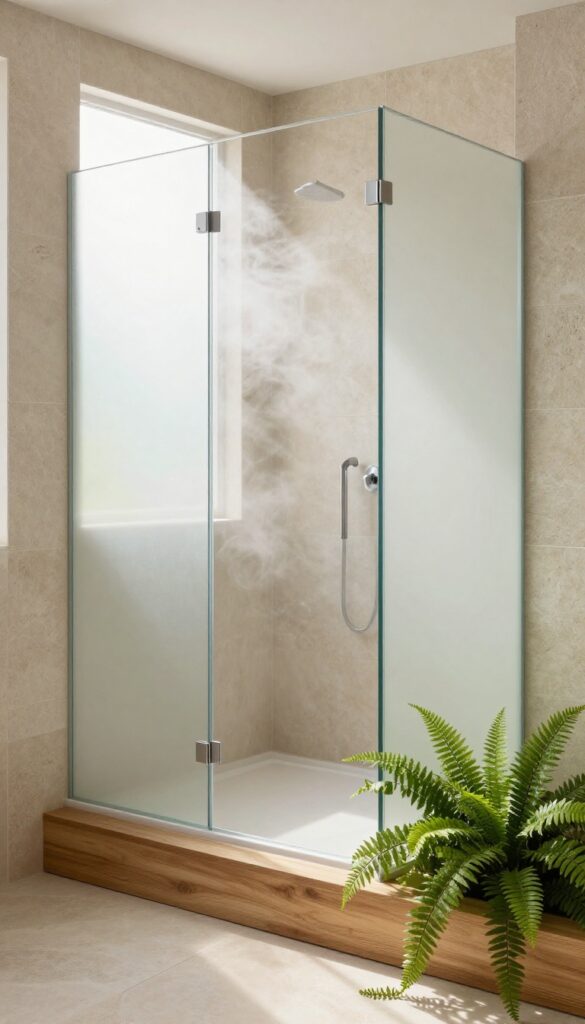
Bringing greenery into your shower is one of the easiest ways to make it feel like a living spa. Ferns, orchids, and pothos thrive in steamy conditions and add a fresh, organic touch that instantly lifts your mood. Plus, they help purify the air and create a calm, natural atmosphere.
Plants aren't just decorative—they actively improve the shower experience. The humidity keeps them lush and happy, so you get a low-maintenance burst of life. Place them on a ledge, hang them from the ceiling, or tuck them into a corner shelf.
Just make sure they get indirect light and aren't directly in the spray.
Best Plants For Steamy Spaces
Not every plant can handle constant moisture and low light. Stick with humidity lovers like Boston ferns, orchids, pothos, snake plants, and bamboo. These varieties are forgiving and thrive in bathroom conditions, so you won't have to fuss over them.
Where To Place Them
Think about water exposure and light. A corner shelf near a window is ideal, but if natural light is scarce, go with low-light plants like pothos or ZZ plants. Hang trailing plants from the ceiling or mount them on the wall to save floor space.
Avoid placing them directly under the showerhead to prevent overwatering.
Styling Tips For A Natural Look
Use simple pots in neutral tones or natural materials like terracotta, woven baskets, or ceramic. Group a few plants together for a mini jungle effect, or keep it minimal with one statement fern. Adding pebbles or driftwood around the pots can enhance the spa vibe.
7. Upgrade to a Rainfall Showerhead
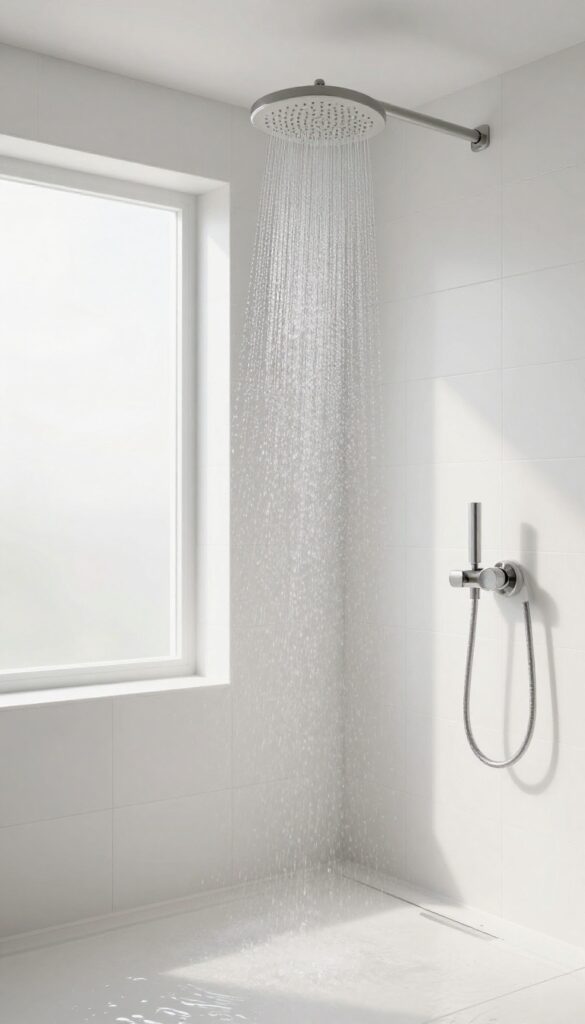
Swapping out your standard showerhead for a rainfall model is one of the quickest ways to bring spa-like luxury into your daily routine. The wide, gentle stream mimics the feeling of standing in a warm summer rain, making every shower feel like a mini escape. It's a simple upgrade that doesn't require any major plumbing changes, yet it instantly transforms the atmosphere of your shower.
A rainfall showerhead does more than just look sleek—it changes how water hits your body. Instead of a concentrated jet, you get a soft, even cascade that covers your shoulders and back. This can make rinsing off shampoo or just standing under the water feel more soothing and less rushed.
Plus, the modern, minimalist design adds a touch of elegance to any shower.
Choosing The Right Size And Style
Rainfall showerheads come in various diameters, typically from 8 to 12 inches. A larger head provides broader coverage, which is great if you have a spacious shower or simply enjoy that enveloping sensation. For smaller spaces, an 8-inch model works well without overwhelming the area.
Also consider the mounting style: ceiling-mounted creates a true rain effect, while wall-mounted with an angled arm is easier to install and adjust.
Installation Tips For Best Performance
Most rainfall showerheads are designed to fit standard shower arms, so installation is usually a straightforward DIY project. However, because they often have a larger face, they can trap water if not angled slightly downward. To avoid drips after you turn off the water, look for models with a self-cleaning nozzle system or a slight tilt.
If you're installing a ceiling-mounted version, you may need to access the space above for proper water line routing—consider hiring a professional for that step.
Pairing With Other Shower Features
A rainfall showerhead pairs beautifully with other upgrades like a handheld sprayer for versatility, or body jets for a full hydrotherapy experience. For a cohesive look, match the finish (brushed nickel, matte black, chrome) with your other fixtures. If you have a glass enclosure, the wide showerhead can create a stunning visual focal point, especially when paired with warm lighting.
8. Use Mirrors Strategically to Bounce Light
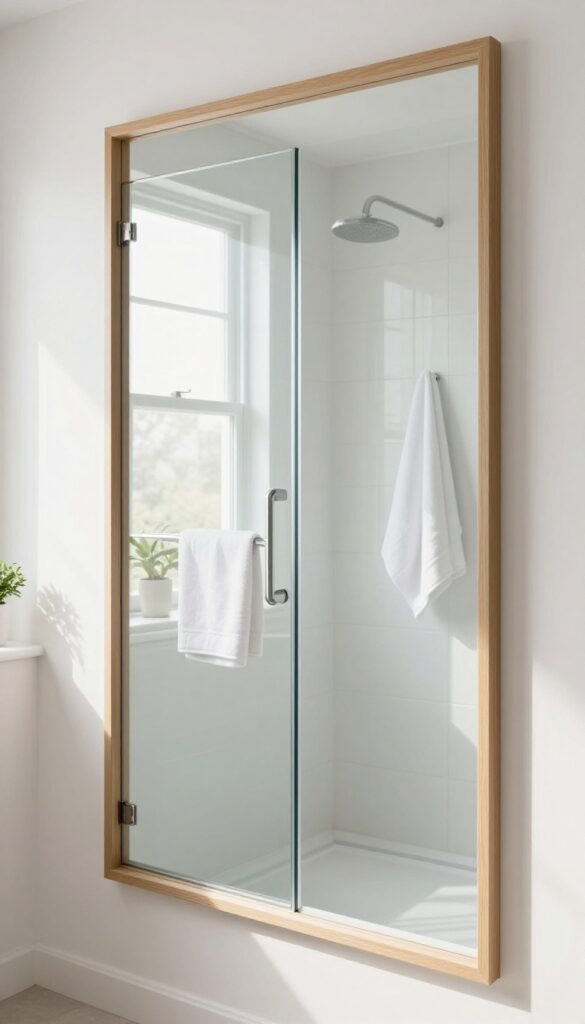
Mirrors are the ultimate trick for making a shower feel bigger and brighter. A well-placed mirror can double the perceived light in a windowless shower by reflecting both natural and artificial light. The key is choosing the right size and placement—too big and it fogs up constantly, too small and it doesn't do much.
Mirrors work wonders in a shower because they bounce light around, making the space feel airy and open. For best results, place a mirror where it can reflect a light source—like a vanity light or a window—without getting soaked. Consider a small, fog-resistant mirror inside the shower for practical use, or a larger decorative mirror just outside the wet zone to reflect brightness without fogging issues.
Fog-resistant Mirrors For Inside The Shower
If you want a mirror inside the shower, look for one with a fog-resistant coating or a built-in demister pad. These stay clear even during a hot shower, so you can shave or check your skincare routine without wiping the glass. Stick to smaller sizes—think 8×10 inches or so—to minimize fogging and keep the look sleek.
Placement Outside The Wet Zone
A larger mirror placed just outside the shower door or on an adjacent wall can reflect light into the shower without getting wet. Angle it to catch a window or a bright light fixture. This trick works especially well in small bathrooms where every bit of light counts.
A frameless or beveled mirror adds a touch of elegance without overwhelming the space.
9. Install Recessed or Dimmable Lighting
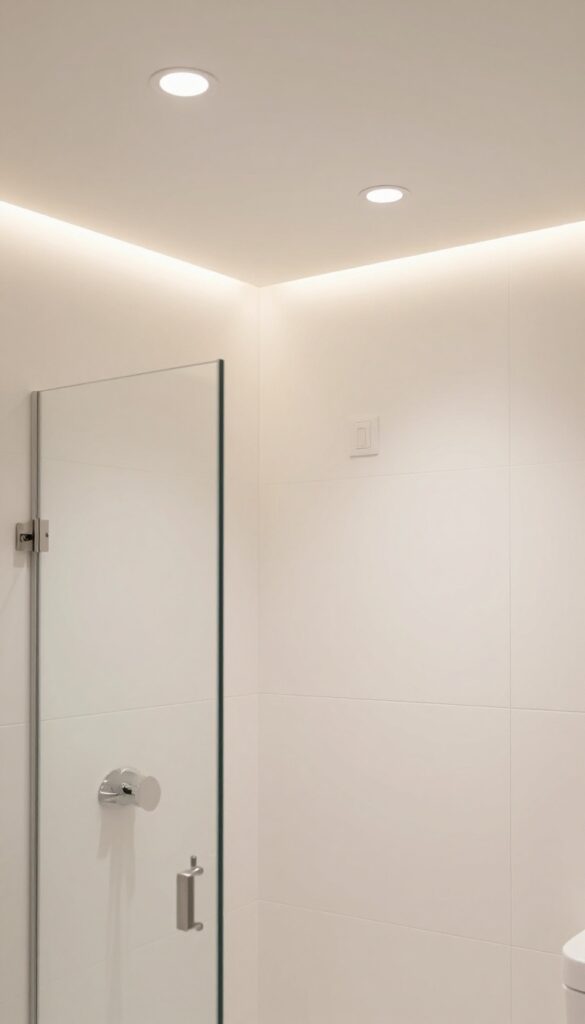
Lighting can make or break the mood in a shower. Harsh overhead fixtures create unflattering shadows, while soft, layered light turns the space into a calm retreat. Recessed lights keep the ceiling clean and uncluttered, and adding dimmable controls gives you total control over brightness.
Keep It Sleek With Recessed Fixtures
Recessed lights sit flush with the ceiling, so they don't collect moisture or grime like hanging fixtures. They're also great for low ceilings, making the shower feel taller. Choose wet-rated housings and trim to handle steam safely.
Dimmable Controls For Any Mood
A simple dimmer switch lets you go from bright morning rinses to soft evening showers. Pair it with a warm white bulb (2700K–3000K) for a cozy glow. If you want more flexibility, install a multi-zone dimmer to control different lights separately.
Add A Waterproof Led Strip For Soft Glow
An LED strip tucked into a ceiling cove or along a niche adds a gentle backlight that mimics natural light. Look for strips with an IP65 or higher rating for wet areas. You can even choose color-changing strips to shift from cool daylight to warm amber.
10. Add a Heated Towel Rack or Radiant Floor Heating
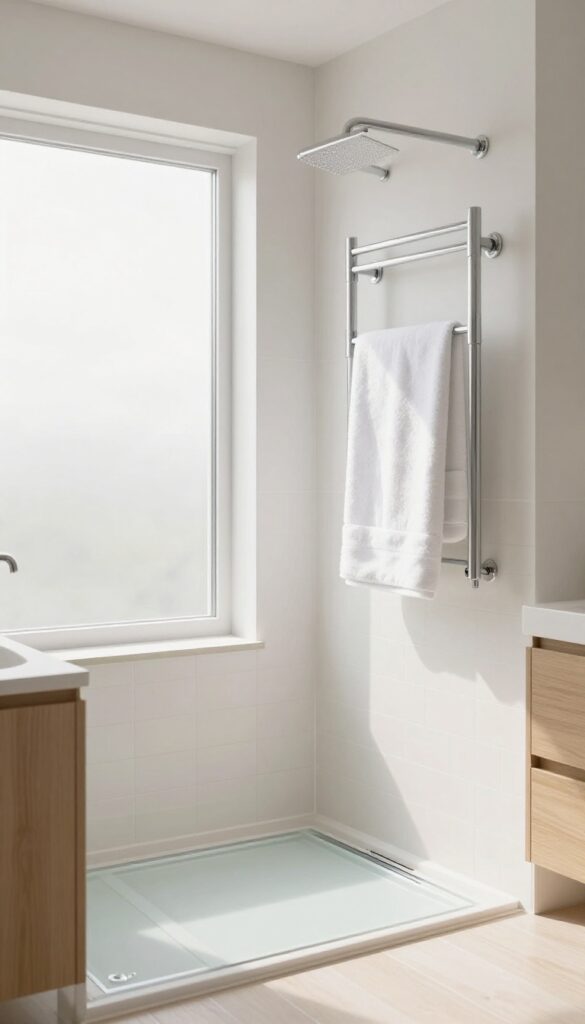
Stepping out of a warm shower onto a cold floor or grabbing a chilly towel can instantly ruin that relaxed feeling. Heated towel racks and radiant floor heating solve both problems, adding a layer of luxury that makes your shower routine feel like a spa treatment. While radiant heating requires more planning, a heated towel rack is a simple upgrade that delivers immediate comfort.
Why Warm Towels Matter
A warm towel isn't just a comfort—it helps you dry faster and keeps your bathroom from feeling damp. Heated towel racks come in wall-mounted or freestanding styles, and many double as a stylish design element. Choose a model with a timer or thermostat to save energy.
Radiant Floor Heating: The Ultimate Upgrade
If you're renovating, electric radiant floor heating is worth the investment. It warms the tile evenly, so your feet stay cozy even in winter. Installation involves laying heating mats under the flooring, so it's best done during a remodel.
The result? A toasty floor that makes your shower retreat complete.
Installation Tips And Safety
For towel racks, make sure you mount them near the shower but away from direct water spray. Hardwired models are more permanent, but plug-in versions are easier to retrofit. For radiant floors, always hire a professional to ensure proper wiring and thermostat placement.
11. Create a Focal Point with a Feature Wall
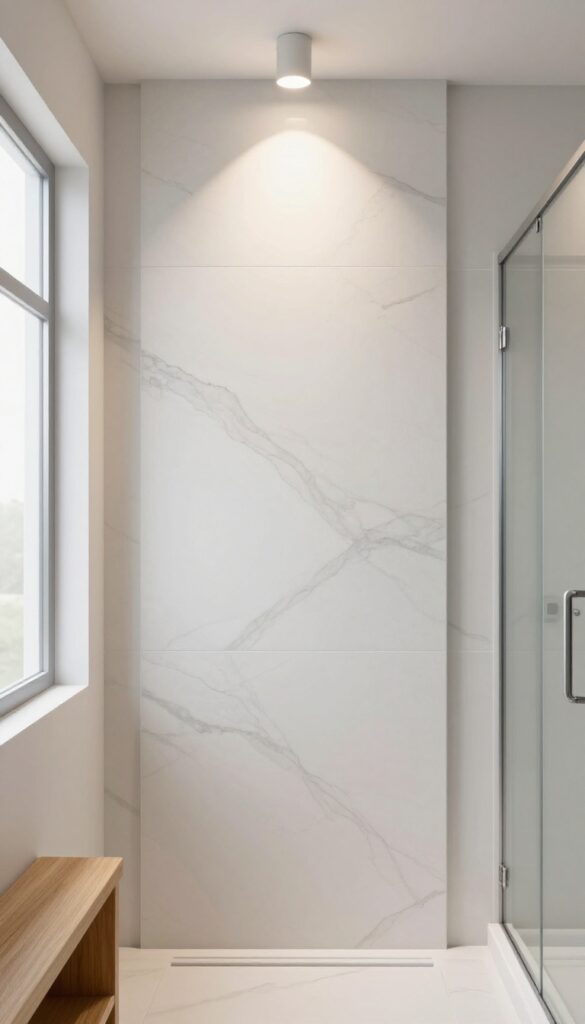
A single wall done right can transform a plain shower into a design statement. Instead of tiling every surface the same way, pick one wall to stand out with contrasting tile, a bold mosaic, or a textured panel. This trick adds personality without making the space feel busy, and it naturally draws the eye, giving the room a clear anchor.
Feature walls work especially well in showers because they create visual depth and break up monotony. The key is choosing a wall that's visible as soon as you enter the bathroom—often the back wall opposite the shower entrance. Keep the other walls neutral to let that one surface shine.
Material Options That Pop
Consider large-format porcelain tiles with a marble look for a sleek, low-maintenance focal point. If you want texture, try 3D ceramic tiles or natural stone mosaics. For a budget-friendly twist, use a single sheet of waterproof paneling with a wood grain or geometric pattern.
Avoid overly glossy finishes in wet areas—they can look slippery and show water spots.
Placement And Proportion Tips
The feature wall should span the full height of the shower but doesn't need to cover the entire wall width. A centered vertical strip or a horizontal band at eye level can be just as striking. If your shower has a niche, integrate it into the feature wall with matching tile for a seamless look.
Lighting To Highlight The Feature
Aim a recessed spotlight or a small waterproof LED strip at the feature wall to emphasize its texture or color. Even a simple sconce on a nearby wall can cast flattering shadows. This turns the wall into a living art piece every time you shower.
12. Optimize Storage with Slim Shelves and Caddies
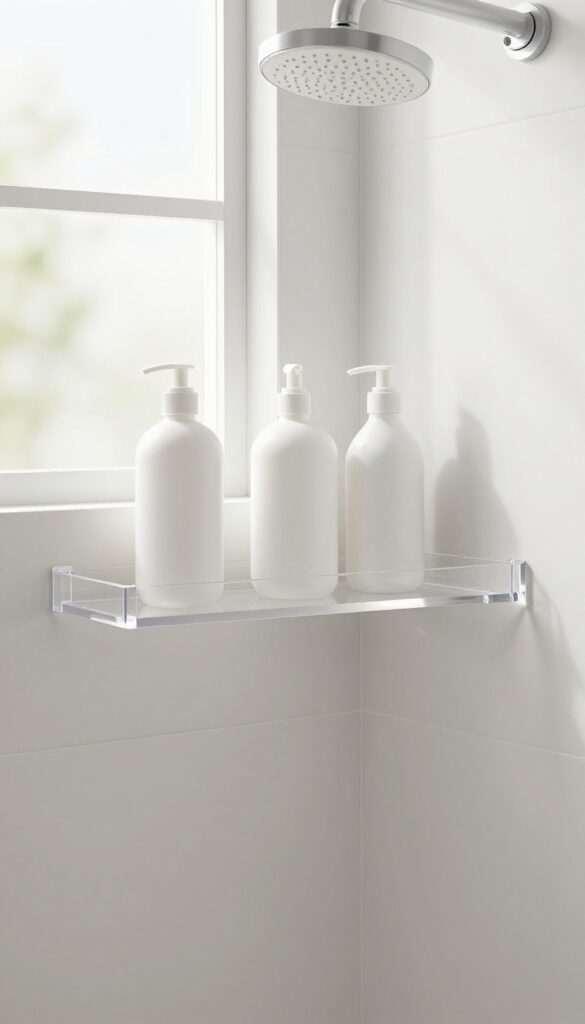
Clutter is the enemy of a relaxing shower. When bottles, sponges, and razors pile up on the floor or tub edge, the space instantly feels chaotic. The fix is simple: add storage that works with the room, not against it.
Slim shelves, recessed niches, and streamlined caddies keep everything within reach while maintaining that clean, airy look you're after.
The goal is to store what you need without adding visual weight. Look for solutions that mount on walls or fit into corners, freeing up floor space. Materials matter too—choose rust-proof finishes like stainless steel, aluminum, or coated wire that hold up to moisture.
Avoid overcrowding; only keep daily essentials in the shower and stash extras elsewhere.
Corner Shelves That Disappear
Corner shelves are a game-changer for small showers. They use dead space and keep bottles off the floor. Look for triangular or quarter-circle shelves that tuck neatly into the corner.
Glass or clear acrylic options are nearly invisible, maintaining the open feel. For a built-in look, consider a recessed niche during a remodel—it's sleek and never in the way.
Recessed Niches For A Seamless Look
If you're renovating, adding a recessed niche is one of the best storage upgrades. It sits flush with the wall, so nothing protrudes. You can customize the size and height to fit your bottles.
Tile the inside with the same wall tile for a cohesive finish. Add a slight slope to the bottom so water drains out, preventing soap scum buildup.
Caddies That Hang, Not Sit
Hanging caddies are perfect for renters or anyone who wants flexibility. They hook over the showerhead or hang from a tension rod. Choose one with rust-resistant coating and enough tiers to separate shampoo, conditioner, and body wash.
For a cleaner look, go with a single-tier caddy that holds just the essentials. Avoid overcrowding—less is more.
13. Incorporate Aromatherapy with Essential Oil Diffusers
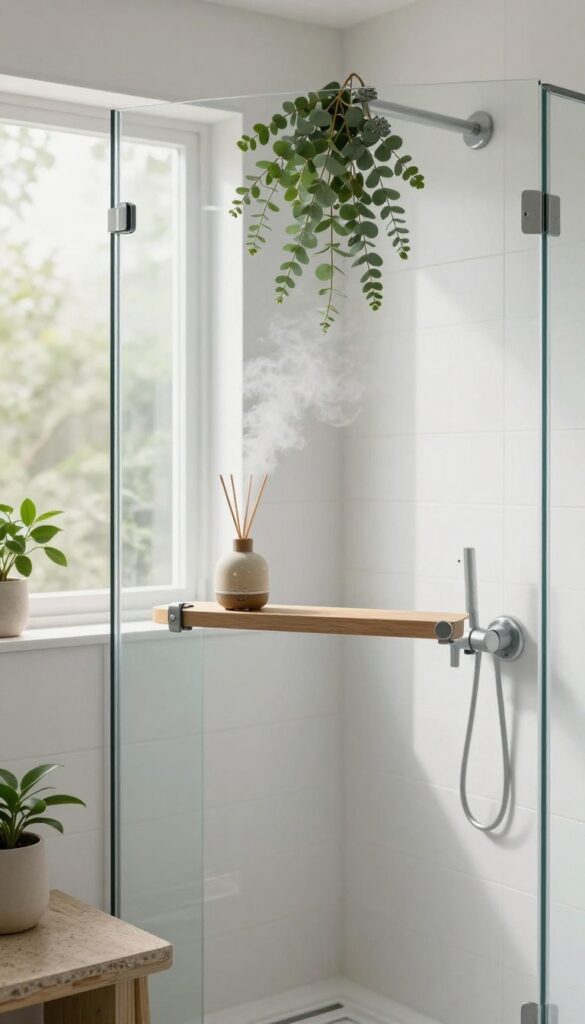
Scents have a powerful way of shifting your mood, and your shower is the perfect place to use them. Steam and warm water help disperse essential oils, turning an ordinary rinse into a spa-like experience. A simple diffuser or a few drops of oil in a corner can make the whole bathroom smell incredible.
Aromatherapy in the shower doesn't have to be complicated or expensive. You can choose from diffusers, shower steamers, or even DIY sprays. The key is picking scents that match your goal—energizing in the morning, calming at night.
Lavender, eucalyptus, and peppermint are classics for a reason.
Choose The Right Delivery Method
You have a few easy options. A small ultrasonic diffuser placed on a shelf or counter works well if you have a dry spot. Shower steamers are like bath bombs but for the floor of your shower—they fizz and release scent with the water.
Or you can make a simple spray with water and a few drops of oil to mist the walls before you step in.
Match Scents To Your Routine
Think about when you shower. Morning showers benefit from invigorating scents like peppermint or citrus to wake you up. Evening showers call for relaxing lavender, chamomile, or sandalwood to help you wind down.
Eucalyptus is great for clearing sinuses any time of day.
Safety And Maintenance Tips
Always use high-quality, pure essential oils and avoid synthetic fragrances. Keep diffusers clean to prevent mold, and never place them directly in the water stream. If using oils in a spray, shake well before each use.
Test a small area first to make sure the oil doesn't damage surfaces.
FAQ
What is the best way to make a small shower look bigger?
Use large-format tiles, a frameless glass door, and light colors. Adding a mirror and maximizing natural light also helps create the illusion of space.
Can I add a skylight to an existing shower?
Yes, but it requires cutting through the roof and proper waterproofing. A solar tube is a simpler alternative that still brings in natural light.
What plants are safe to keep in a shower?
Ferns, orchids, pothos, and snake plants thrive in humid conditions. Just ensure they get some indirect light and are not overwatered.
How do I clean a frameless glass shower door without streaks?
Use a squeegee after each shower to prevent water spots. For deeper cleaning, a mixture of vinegar and water works well. Avoid harsh abrasives.
Are rainfall showerheads worth the investment?
Yes, if you enjoy a gentle, immersive experience. They can be more expensive and may require higher water pressure, but many find them worth it for the spa-like feel.
Conclusion
Creating a bright and relaxing shower room is all about thoughtful choices that balance light, function, and comfort. You don't need a massive budget or a complete remodel—small upgrades like better lighting, smart storage, and a few plants can transform the space.
Pick the ideas that resonate with your style and practical needs. Whether you start with a new showerhead or plan a full tile refresh, each step brings you closer to a daily retreat you'll look forward to.