How to Clean a Shower Head in 15 Deep Cleaning Steps
A slow, clogged shower head can turn your morning routine into a frustrating trickle. Mineral deposits and grime build up over time, but you don't need harsh chemicals or a plumber to fix it.
With a few household staples and these 15 straightforward steps, you can restore full water pressure and a clean, even spray. Each step is practical and easy to follow, targeting buildup without damaging your fixture.
From vinegar soaks to pin-clearing clogged nozzles, you'll have your shower head working like new in no time. Let's get started.
1. Gather Your Cleaning Supplies
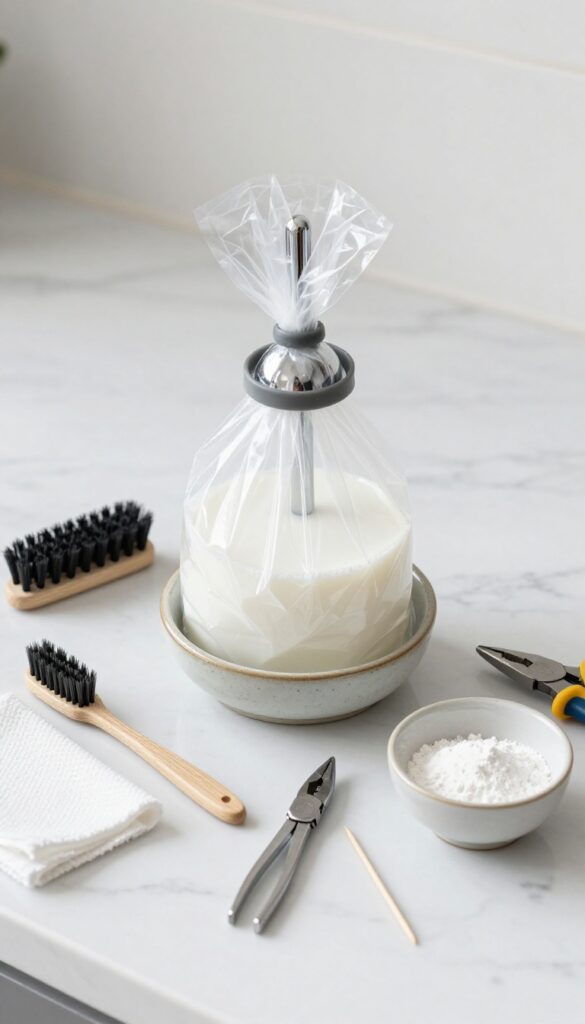
Before you get your hands wet, take a minute to round up everything you'll need. Having all your supplies within reach keeps the job moving without frustrating interruptions. You likely already have most of these items in your pantry or under the sink.
The Vinegar Soak Kit
White vinegar is the star of this show—it dissolves mineral deposits without scrubbing. Grab a plastic bag big enough to fit over your shower head, a rubber band or twist tie to secure it, and a small bowl or cup to hold the bag in place if needed.
Scrubbing Tools
An old toothbrush works wonders on tight spots and around individual nozzles. A small nylon brush or a detailing brush can handle larger surfaces. If your shower head has stubborn buildup, a toothpick or safety pin helps clear clogged holes.
Safety And Finishing Touches
Pliers or a wrench might be necessary if your shower head is screwed on tight—wrap the jaws with tape to avoid scratches. Keep a microfiber cloth handy for drying and polishing after cleaning. Baking soda is optional but great for extra scrubbing power on tough grime.
2. Remove the Shower Head (If Possible)
Taking the shower head off the pipe makes the cleaning process much easier. You can soak it fully, reach every nook, and avoid dripping vinegar all over your tub. Most shower heads unscrew by hand, but a little extra help might be needed for stubborn ones.
Hand-tightened Vs. Wrench-ready
Many modern shower heads are hand-tightened and can be unscrewed easily. If yours has a small hex nut or a set screw, you'll need a wrench or Allen key. Always wrap the tool in a cloth to prevent scratching the finish.
Stuck? Try Penetrating Oil
Mineral deposits can lock the threads. Spray a little penetrating oil (like WD-40) on the connection, wait five minutes, then try again. The oil seeps into the threads and breaks the bond without damaging the metal.
What If It Won't Budge?
If the shower head still won't come off, don't force it—you could crack the pipe or the fixture. Instead, clean it in place. Use a plastic bag filled with vinegar tied around the head, or scrub the nozzles with a brush.
You'll still get good results.
3. Soak in White Vinegar
White vinegar is a natural acid that breaks down calcium and lime scale without scrubbing. Submerging the shower head in vinegar loosens stubborn deposits that restrict water flow. This step is the most effective way to restore full pressure, especially for fixtures that haven't been cleaned in months.
Choose Your Soaking Method
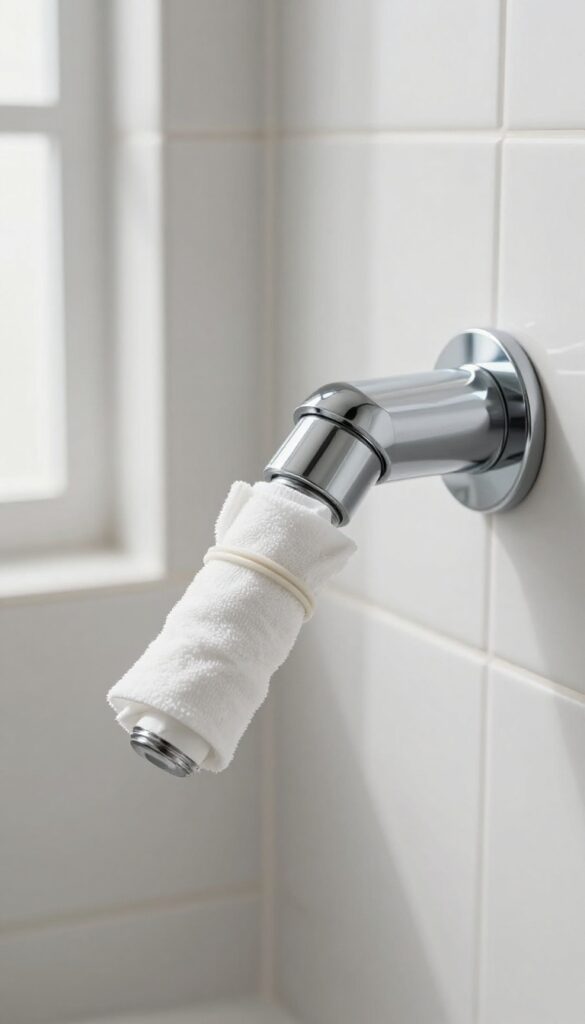
If your shower head is detachable, place it in a bowl or bucket and pour enough undiluted white vinegar to fully submerge it. For fixed heads, fill a plastic bag with vinegar, tie it around the neck with a rubber band, and make sure the head is completely covered. Either way, ensure no metal parts are left exposed to air to avoid uneven cleaning.
Soak Time Matters
A 30-minute soak works for light buildup, but if you see thick white crusts or water flow is severely reduced, let it sit overnight. The longer soak gives the vinegar time to penetrate deep into the nozzles. Check periodically—if the vinegar turns cloudy, that's the minerals dissolving.
Rinse Thoroughly After Soaking
Once the soak is done, remove the shower head and rinse it under warm running water. Use an old toothbrush to gently dislodge any loosened debris from the nozzles. This prevents vinegar residue from mixing with your shower water and ensures a fresh, clean start.
4. Scrub the Nozzles with a Toothbrush
Soaking does a lot of the heavy lifting, but some stubborn deposits need a little manual persuasion. A soft-bristled toothbrush is perfect for this job—it's gentle enough to avoid scratching the finish but firm enough to dislodge grime. Focus on each nozzle individually to ensure every hole is clear and ready to deliver full pressure.
Why A Toothbrush Works Best
Toothbrushes have small heads and angled bristles that can reach into tight spaces around the nozzles. Unlike abrasive scrubbers, they won't scratch chrome, brass, or plastic finishes. Plus, you probably have an old one lying around, so there's no extra cost.
Technique For Best Results
Hold the shower head under running water or dip it in vinegar to keep the bristles wet. Scrub each nozzle in a circular motion for about 10 seconds. Pay extra attention to nozzles that look completely blocked—they may need a few more passes.
Dealing With Stubborn Spots
If a nozzle still looks clogged after scrubbing, dip the toothbrush in undiluted white vinegar and scrub again. The acid helps break down hard water deposits that didn't dissolve during the soak. For really tough buildup, let the vinegar sit on the nozzle for a minute before scrubbing.
5. Use a Pin or Needle for Clogged Holes
Even after a good soak, some nozzles might still be stubborn. Mineral deposits can lodge deep inside tiny holes, blocking the flow completely. That's where a simple pin or needle comes in—no special tools needed.
This step is all about precision. You're not scrubbing or soaking anymore; you're physically clearing each blocked opening. It's quick, effective, and makes a noticeable difference in water pressure.
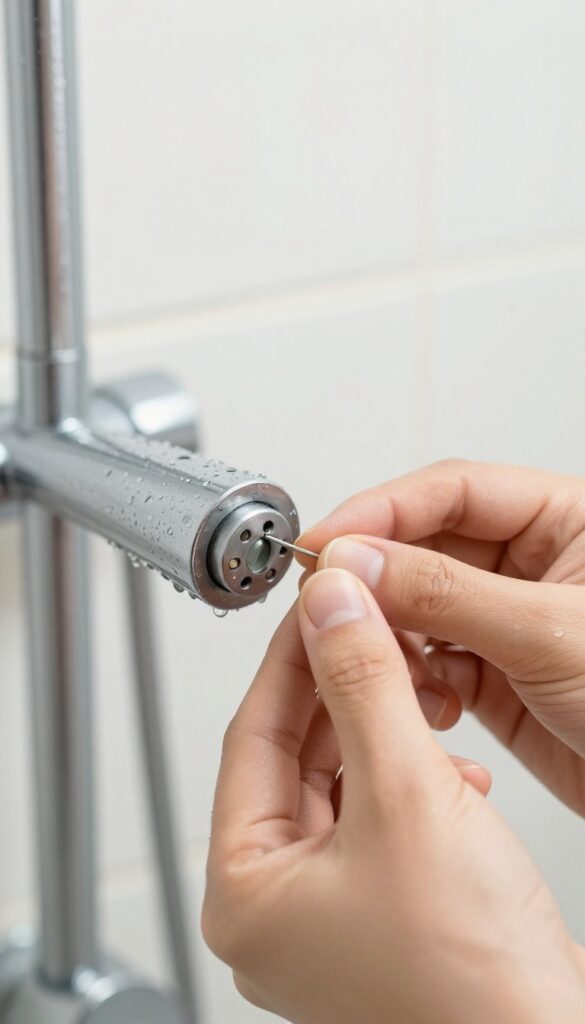
Just a heads up: go gentle. The goal is to dislodge the gunk, not reshape the hole. A light touch is all it takes.
Grab a sewing pin, safety pin, or a thin needle. Hold the shower head under bright light so you can see which holes are blocked. Gently insert the pin into each clogged nozzle and push straight in until you feel the resistance give way.
Wiggle it slightly if needed, but don't force it sideways. After clearing a few holes, run water briefly to flush out loosened debris. Repeat until all nozzles flow freely.
This step is especially satisfying when you see water finally spurt from a hole that was completely dead.
Why A Pin Works Best
A pin's fine tip matches the small diameter of shower head nozzles, so it can reach deep without damaging the rubber or metal. Thicker objects like toothpicks can break off inside, while wires might scratch the surface. A simple pin is the perfect tool for this delicate job.
What To Do If The Hole Still Won't Clear
If a nozzle remains blocked after poking, try soaking the shower head in vinegar again for another 30 minutes. Sometimes the mineral deposit is just too hard and needs more time to soften. After the second soak, poke again—it should clear easily.
6. Clean the Shower Head Arm Threads
The threads on your shower arm are easy to overlook, but they collect mineral deposits just like the shower head itself. When you reattach the head, those crusty threads can prevent a tight seal, leading to annoying drips or even a slow leak behind the wall. A quick wipe-down now saves you from dealing with moisture damage later.
Grab a clean cloth and soak it in white vinegar. Wrap it around the exposed threads on the shower arm and let it sit for 5–10 minutes. The vinegar dissolves any chalky buildup without scrubbing.
After the soak, wipe the threads clean with a dry cloth. They should feel smooth, not gritty. If you spot stubborn spots, use an old toothbrush dipped in vinegar to gently scrub them away.
Rinse the arm with water afterward to remove any vinegar residue.
Why Threads Matter
The threads create the seal between the shower arm and the head. Even a thin layer of mineral deposits can break that seal, causing water to seep out. Over time, that constant moisture can damage the wall or lead to mold.
Cleaning the threads is a small step that prevents bigger problems.
Quick Vinegar Wrap Method
Fold a vinegar-soaked cloth so it wraps fully around the threads. Hold it in place for a few minutes or secure it with a rubber band. The acid works fast—no need to scrub.
Just let the vinegar do the work.
Check For Damage
While you're at it, inspect the threads for any cracks or corrosion. If the metal is pitted or the threads are worn, you might need to replace the shower arm. It's an inexpensive fix that ensures a leak-free connection.
7. Rinse Thoroughly with Water
After soaking and scrubbing, your shower head is free of loosened gunk—but it's not ready to reattach yet. A thorough rinse ensures no vinegar or debris remains inside, which could cause irritation or re-clogging. This step is quick but essential for a clean, fresh result.
Flush From Both Ends
Hold the shower head under a stream of warm running water. Start by rinsing the outside, then flip it upside down so water flows through the connector opening. This forces any loose particles out of the nozzles.
Let the water run for at least 30 seconds to clear internal passages.
Shake Out Trapped Water
After rinsing, give the shower head a few firm shakes to dislodge any remaining drops. Pay attention to the swivel joint or any crevices where water might pool. This prevents mineral-laden water from drying and leaving new spots.
Check For Residual Vinegar Smell
Give the shower head a quick sniff. If you still smell vinegar, rinse it a bit longer under fresh water. A mild scent is harmless, but a strong odor might linger in the shower.
A few extra seconds of rinsing usually does the trick.
8. Soak in Baking Soda Paste for Tough Stains
Sometimes vinegar alone isn't enough to tackle those stubborn white or greenish stains that have built up over months. That's where baking soda steps in—it's a gentle abrasive that lifts mineral deposits without scratching metal or plastic finishes. Mixing it into a paste gives you a targeted treatment that can sit right on the trouble spots and break them down.
Baking soda is a mild alkali that reacts with acids to create a fizzing action, which helps loosen grime. When combined with a little water, it forms a thick paste that clings to vertical surfaces like a shower head. This method is especially effective for removing hard water scale that has become crusty or for neutralizing any lingering vinegar smell after a soak.
How To Make The Paste
Start with about three tablespoons of baking soda in a small bowl. Add water one teaspoon at a time and stir until you get a spreadable consistency—think toothpaste, not runny. You want it thick enough to stay put on the shower head without dripping off.
Applying And Waiting
Use your fingers or a soft brush to coat the entire shower head with the paste, paying extra attention to stained areas. Let it sit for 15 minutes. During this time, the baking soda works to dissolve deposits and absorb odors.
For extra stubborn spots, you can leave it on for up to 30 minutes.
Rinsing And Finishing
After the wait, rinse the shower head thoroughly with warm water. Use a soft cloth to wipe away any remaining paste. You'll notice the surface looks brighter and feels smoother.
If any stains persist, repeat the process or follow up with a gentle scrub from an old toothbrush.
9. Scrub Again and Rinse
After the vinegar soak, your shower head is free of loose debris, but a second scrub ensures every bit of mineral deposit is gone. This step uses the baking soda paste you made earlier to tackle any remaining residue. A thorough rinse afterward leaves the fixture clean and ready to reattach.
Scrubbing again with baking soda paste is like giving your shower head a final polish. The mild abrasiveness lifts stubborn deposits without scratching the finish. Use a soft brush or an old toothbrush to work the paste into all the nooks and crannies, especially around the nozzles.
Rinse with warm water until no paste remains. This step guarantees a spotless surface and prevents residue from redepositing.
Why A Second Scrub Matters
The initial soak loosens most buildup, but some deposits cling tightly. A second scrub with baking soda paste provides gentle abrasion to dislodge these stubborn bits. It also helps remove any vinegar smell and leaves the shower head looking bright.
How To Scrub Effectively
Apply a small amount of baking soda paste to a soft brush or toothbrush. Scrub in circular motions, focusing on the face of the shower head and around each nozzle. Pay extra attention to areas with visible white or green stains.
Avoid using steel wool or harsh scrubbers that could damage the finish.
Rinsing Thoroughly
After scrubbing, rinse the shower head under warm running water. Hold it under the faucet or use a sprayer to flush out all paste from inside the nozzles and threads. Shake off excess water and inspect for any remaining residue.
A clean rinse ensures no baking soda is left behind to clog the fixture later.
10. Clean the Shower Head Exterior
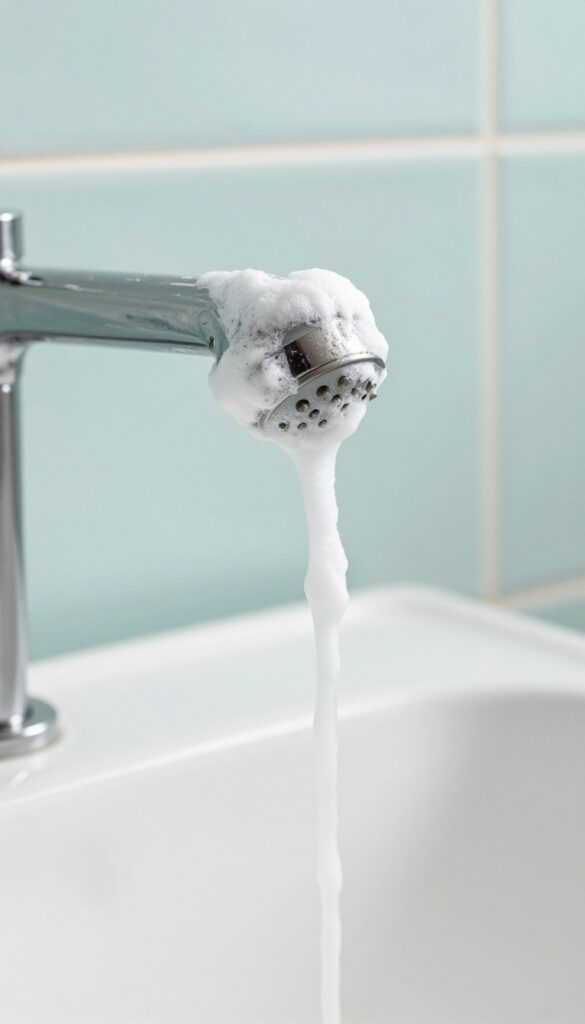
After tackling the interior and nozzles, it's time to make the outside shine. The exterior of your shower head collects soap scum, hard water spots, and everyday grime that can dull its finish. A quick wipe-down not only restores its appearance but also prevents buildup from hardening over time.
Grab a damp microfiber cloth and gently wipe the entire surface, including the neck and any crevices. For chrome or metal finishes, avoid abrasive cleaners that can scratch the surface. Instead, use a mild dish soap solution or a dedicated cleaner safe for your fixture's material.
Dry immediately with a soft, lint-free cloth to prevent water spots and streaks. This step takes under a minute but makes a huge difference in how clean your shower head looks and feels.
Choose The Right Cleaner
Not all finishes are created equal. For chrome, stainless steel, or nickel, a gentle cleaner like diluted white vinegar or a pH-neutral soap works well. Avoid bleach, ammonia, or acidic cleaners on coated or colored finishes—they can cause pitting or discoloration.
When in doubt, test a small hidden area first.
Don't Forget The Neck And Swivel
The area where the shower head connects to the arm often gets overlooked. Wipe around the swivel joint and the neck thoroughly, as these spots trap moisture and grime. Use a soft toothbrush or cotton swab for tight spaces if needed.
Dry For A Streak-free Finish
Water spots are the enemy of a clean shower head. After wiping, use a dry microfiber cloth to buff the surface. This removes any remaining moisture and leaves a polished, streak-free shine.
It also helps prevent future mineral deposits from adhering.
11. Reattach the Shower Head
Now that your shower head is clean and dry, it's time to put it back where it belongs. Reattaching might seem straightforward, but a little care here prevents leaks and damage. Follow these steps to get a snug, drip-free fit without overdoing it.
Hand-tighten First
Start by screwing the shower head onto the arm by hand. Turn it clockwise until it feels snug. Avoid using tools at this stage—hand-tightening is usually enough to create a good seal without risking cross-threading.
Use Pliers Gently
If the shower head feels loose after hand-tightening, wrap the connection with a soft cloth and use pliers to give it an extra quarter turn. Be careful not to overtighten—just a gentle nudge is all it needs. Overtightening can crack the plastic or strip the threads.
Add Plumber's Tape For A Better Seal
If you notice a slow drip after reattaching, unscrew the head and wrap the arm threads with two or three layers of plumber's tape (PTFE tape). This fills any gaps and ensures a watertight connection. Reattach and tighten as before.
12. Run Water to Flush Out Residue
After all that soaking and scrubbing, your shower head is clean—but it's still full of vinegar and loosened gunk. Running water through it is the final rinse that clears everything out and preps it for reattachment. This step also gives you a chance to check for leaks before you call it done.
Flush With Hot Water
Turn on the water to full hot and let it run for a full minute. Hot water helps dissolve any remaining vinegar residue and carries away debris that might be stuck inside the neck or hose. If your shower head is handheld, point it down the drain to avoid splashing.
Check For Leaks
While the water is running, inspect the connection point where the shower head meets the pipe. If you see any drips, tighten the connection by hand or with a wrench (wrap the threads with Teflon tape first if needed). A small leak now can waste water and cause mineral buildup later.
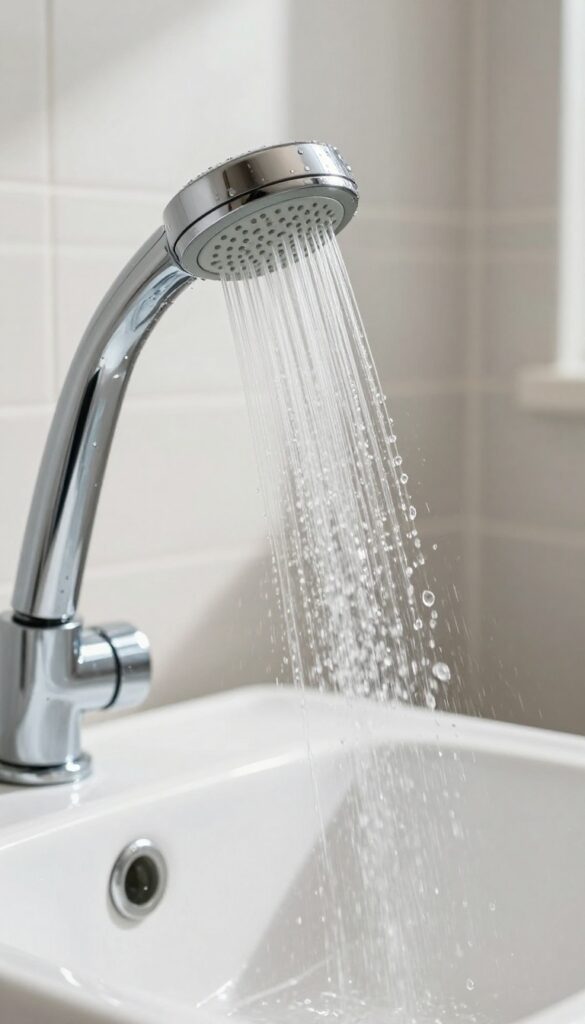
Test The Spray Pattern
After flushing, turn the water off and then back on to check the spray. It should be even and full, with no blocked nozzles. If some holes are still sputtering, a quick poke with a pin or a second vinegar soak may be necessary.
13. Clean the Shower Head Filter (If Applicable)
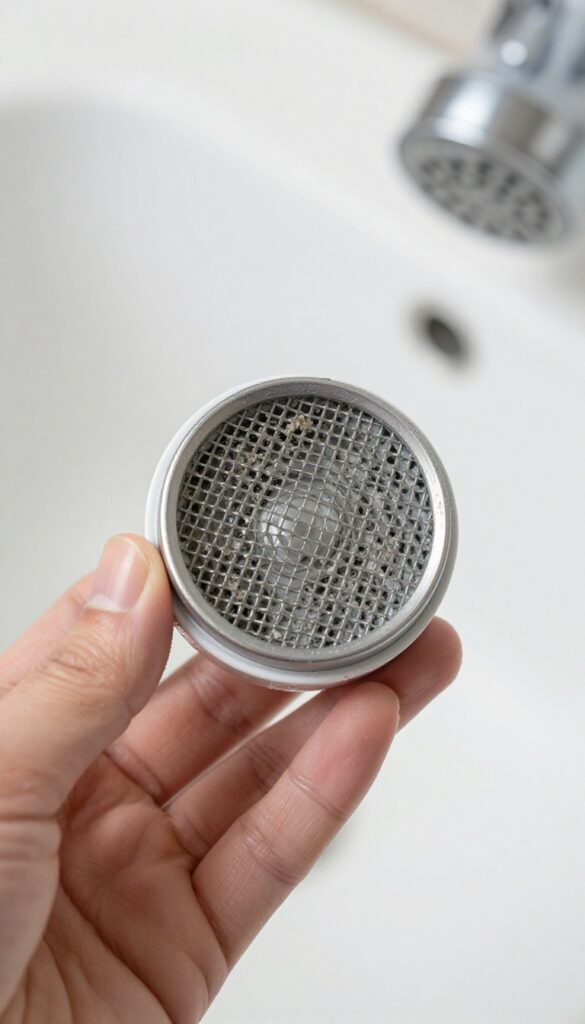
Not all shower heads have a filter, but many do—especially models with a built-in water softener or those designed for hard water. This small mesh screen sits inside the connection point and catches sediment before it reaches the nozzles. Over time, it can get clogged with grit and mineral flakes, which restricts water flow and reduces pressure.
Cleaning it is quick and makes a noticeable difference.
A clean filter ensures consistent water pressure and prevents debris from redepositing inside the shower head. It also improves water quality by trapping particles that could otherwise end up in your spray.
Locate And Remove The Filter
Unscrew the shower head from the shower arm. Inside the connection point, you'll likely see a small rubber or metal mesh disc. Gently pry it out with your fingers or a pair of tweezers.
If it's stuck, tap the shower head lightly against your palm to dislodge it. Be careful not to damage the mesh.
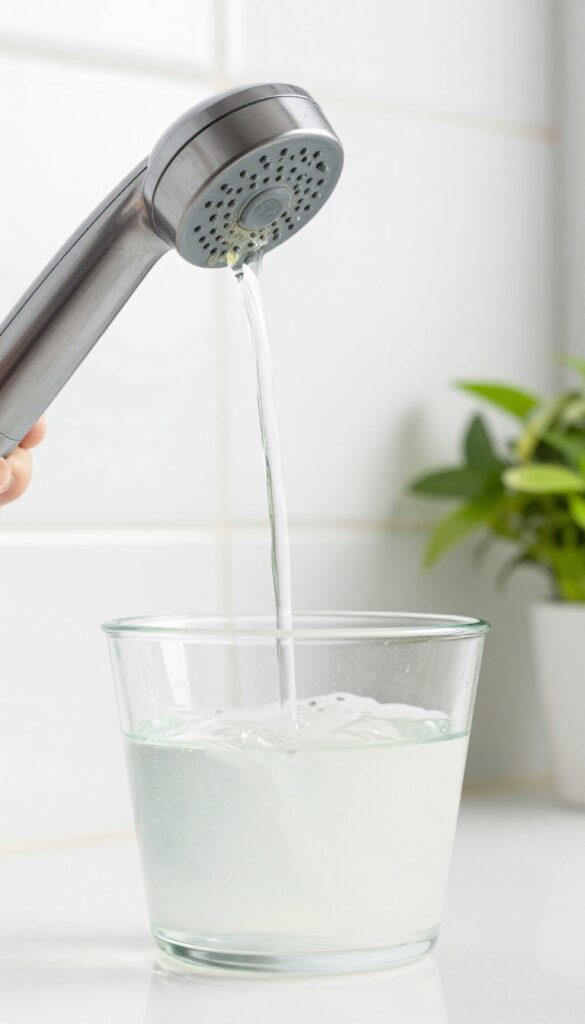
Rinse And Soak
Rinse the filter under running water to remove loose debris. If it's heavily clogged with mineral deposits, place it in a bowl of white vinegar for 15 minutes. This dissolves calcium and lime buildup.
After soaking, rinse again thoroughly. For stubborn grime, use an old toothbrush to gently scrub the mesh.
Reinstall And Test
Once the filter is clean and dry, pop it back into the shower head. Screw the head back onto the shower arm by hand—don't overtighten. Turn on the water and check for improved flow.
If you still notice low pressure, the filter might need replacement, especially if it's torn or warped.
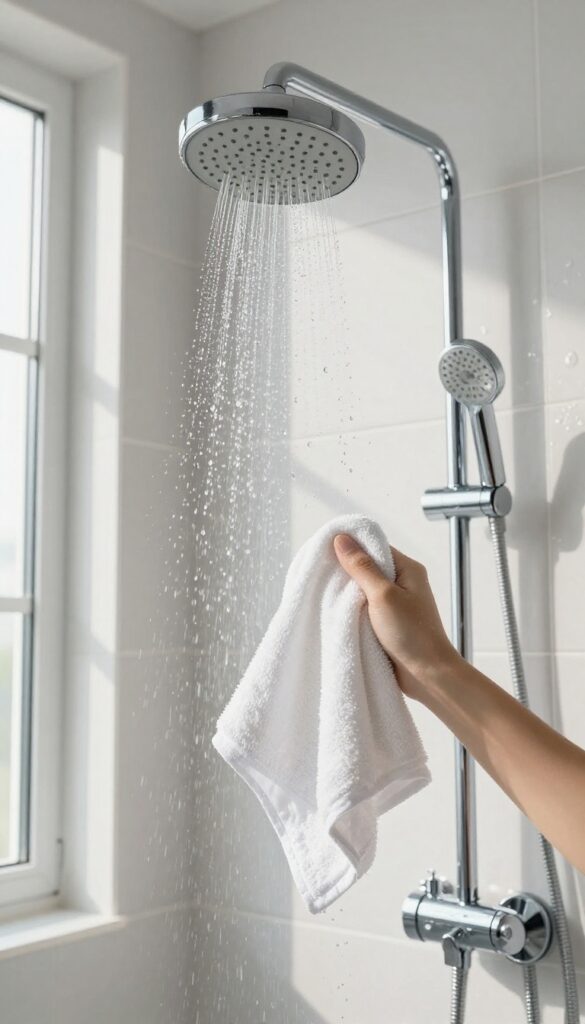
14. Wipe Down After Each Use
You've put in the work to get your shower head sparkling clean. Now the trick is keeping it that way without having to repeat the deep-cleaning process every week. The simplest habit you can adopt takes less than a minute and makes a huge difference.
A quick wipe after every shower stops mineral deposits and soap scum from building up in the first place. It's like brushing your teeth to prevent cavities—a little effort now saves you a big hassle later.
Why A Quick Wipe Works
Hard water minerals start clinging to your shower head the moment water hits it. If you let them dry on their own, they bond to the surface and form those stubborn white crusts. Wiping the shower head dry removes the water before it evaporates, so minerals never get a chance to settle.
The Right Tool For The Job
A microfiber cloth is your best bet. It's absorbent, gentle on metal and plastic, and won't leave lint behind. Keep a dedicated cloth hanging near the shower or in a small caddy so it's always within reach.
Avoid abrasive sponges or rough towels—they can scratch the finish over time.
How To Wipe For Best Results
After you turn off the water, give the shower head a quick once-over. Start with the face, paying attention to the nozzles, then move to the neck and any attached hose. If you have a handheld model, wipe the handle too.
The whole process takes about 30 seconds.
Bonus: Keep The Glass Clean Too
While you're at it, use the same cloth to wipe down the shower door or curtain rod. This prevents water spots and mildew in the rest of the shower area. It's a small extra step that makes your whole bathroom look cleaner with almost no extra effort.
15. Schedule Regular Deep Cleaning
You've put in the work to get your shower head sparkling clean. Now the trick is keeping it that way without having to repeat this entire process every month. A simple schedule makes all the difference.
A deep clean every three to six months is enough for most homes. If you have hard water, lean toward the three-month mark. Soft water?
You can stretch it to six. Mark it on your calendar or set a phone reminder so it becomes a habit. Your shower head will thank you with steady pressure and a clean spray.
Why Regular Cleaning Matters
Mineral buildup doesn't happen overnight. It's a slow process that gradually restricts water flow. By cleaning on a schedule, you prevent heavy deposits from forming.
That means less scrubbing each time and a longer lifespan for your fixture.
How To Know It's Time
Even before your scheduled date, watch for warning signs. A change in spray pattern, reduced pressure, or visible white flakes around the nozzles all mean it's time to clean. Don't wait until the trickle becomes unbearable.
Making It Easy To Remember
Link your deep clean to another routine task. For example, do it when you change your smoke detector batteries or at the start of each season. Pairing it with something you already remember helps the habit stick.
FAQ
How often should I clean my shower head?
For best performance, deep clean your shower head every three to six months. If you have hard water, consider cleaning it more frequently—every two to three months.
Can I clean a shower head without removing it?
Yes. Fill a plastic bag with vinegar, secure it over the shower head with a rubber band, and let it soak for 30 minutes to an hour. Then remove the bag and run water to rinse.
What if vinegar doesn't remove the buildup?
For stubborn mineral deposits, try a commercial descaling product or a mixture of lemon juice and baking soda. Soak longer or scrub with a brush to break down tough residue.
Is it safe to use bleach on a shower head?
Bleach is not recommended for cleaning shower heads as it can damage finishes and rubber components. Stick with vinegar or mild cleaners for safe and effective results.
Why is my shower head still clogged after cleaning?
If water flow remains low, the issue might be inside the shower arm or pipes. Check for a clogged filter or consider replacing the shower head if it's old or damaged.
Conclusion
Once your shower head is sparkling and free of mineral deposits, you'll notice a big difference in water pressure and spray quality. Make descaling a quick monthly habit—a simple vinegar soak or a wipe with a descaler is all it takes to keep buildup from returning. Your morning showers will feel refreshingly clean again.
A little regular maintenance goes a long way toward keeping your shower head performing at its best. Pick the cleaning method that fits your schedule and supplies, and stick with it.