15 Cleaning Kitchen Cabinets Tips for Dust and Grease
Kitchen cabinets take a daily beating—grease splatters from cooking, sticky fingerprints, and a fine layer of dust that seems to appear overnight. Over time, that buildup can make even the nicest cabinets look dull and grimy.
You don't need expensive cleaners or hours of scrubbing to get them back to their best. These 15 tips target both dust and grease, using everyday ingredients and smart techniques.
Whether your cabinets are wood, laminate, or painted, you'll find a method that works without damaging the finish. Let's get those doors and drawers sparkling again.
1. Start with a Dry Dusting
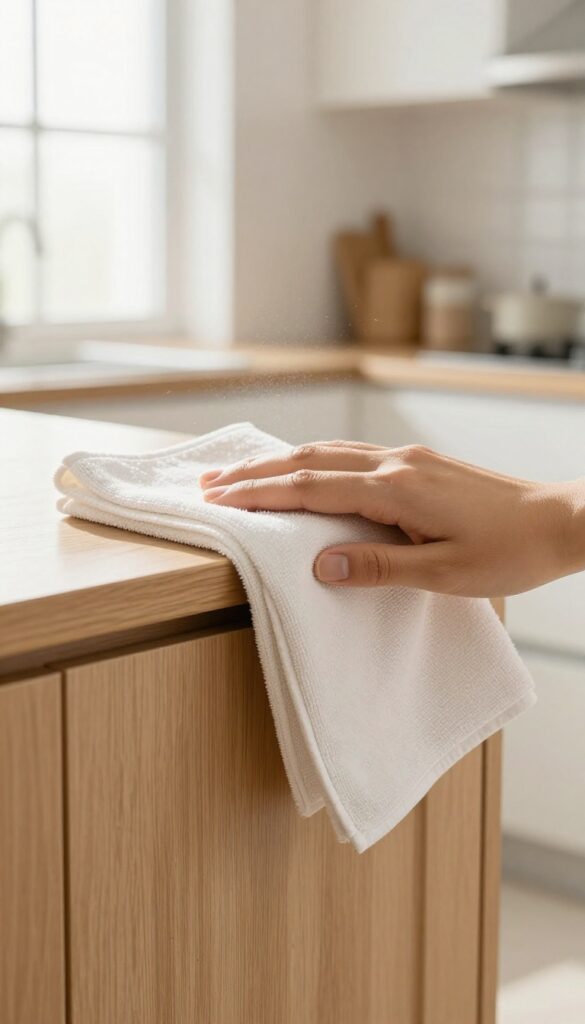
Before you grab any cleaner, take a moment to remove the loose dust and debris sitting on your cabinets. It might seem like an extra step, but skipping it can make the next stage harder. When you apply a wet cleaner directly onto dusty surfaces, you risk turning that dust into a muddy paste that smears across your cabinets and dries into a haze.
A quick dry dusting prevents that mess and sets you up for a much cleaner finish.
Grab a microfiber cloth or a soft brush attachment on your vacuum. Microfiber is ideal because it traps dust particles instead of pushing them around. Work from the top of the cabinets downward so dust doesn't fall onto already cleaned areas.
For carved or recessed panel doors, a soft paintbrush or a clean makeup brush can reach into grooves where dust hides. If you use a vacuum, keep the suction on low to avoid scratching the finish. This step takes just a couple of minutes and makes every subsequent cleaning step more effective.
Why Dry Dusting Matters
Grease and dust are a messy combo. Dust particles are mostly dead skin cells, fabric fibers, and pollen—they absorb grease and become sticky. If you add water or cleaner without dusting first, you're essentially gluing that grime to the surface.
Dry dusting lifts the loose particles so your cleaner can focus on the actual grease.
Best Tools For The Job
Microfiber cloths are the gold standard—they're electrostatic and grab dust without scratching. For hard-to-reach corners, use a vacuum with a soft brush attachment. Avoid feather dusters; they just scatter dust into the air, and it settles back onto your cabinets.
A clean, dry paintbrush works wonders for detailed trim or raised panel doors.
Pro Tip: Work Top To Bottom
Always start with the top edges and crown molding, then move to the doors, and finish with the baseboards. This way, any dust that falls lands on areas you haven't cleaned yet. It's a simple order that saves you from redoing sections.
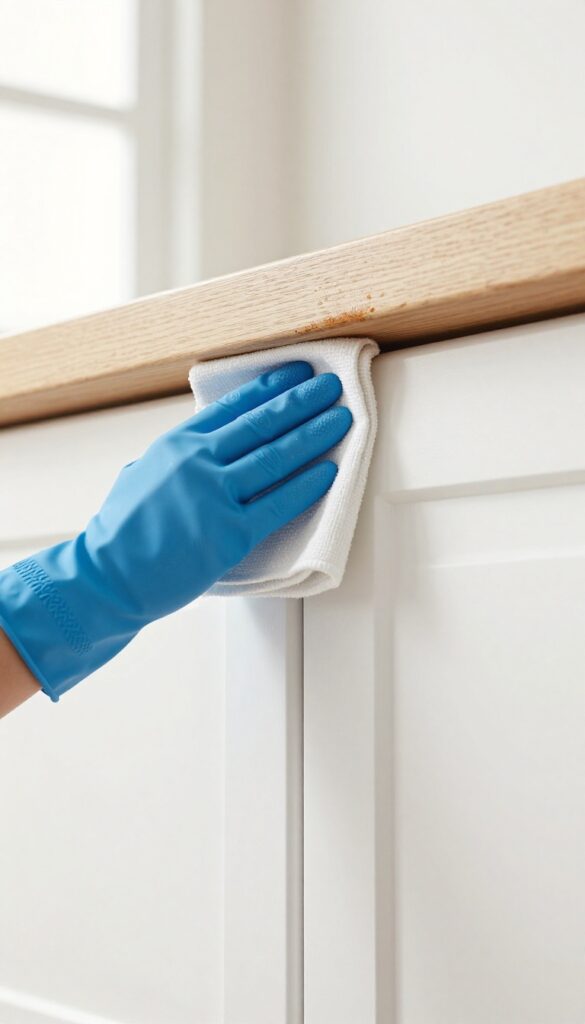
2. Use a Degreasing Dish Soap Solution
When grease is the main culprit, you need something that cuts through it without stripping the finish. A simple mixture of warm water and a few drops of blue Dawn dish soap does exactly that. It's gentle enough for daily use but tough on the oily grime that clings to cabinet surfaces near the stove.
Just be sure to rinse with a damp cloth afterward to avoid any soapy residue that could dull the look.
Dawn dish soap is a go-to for many kitchen cleaners because it breaks down grease on contact. Mix a few drops into a bowl of warm water—hot water helps activate the soap but not so hot that it damages the finish. Dip a soft sponge or microfiber cloth into the solution, wring it out well, and wipe down each cabinet door and drawer front.
Work in sections so the solution doesn't dry on the surface. Follow up with a clean, damp cloth to remove any leftover soap, then dry with a soft towel to prevent water spots.
Why Blue Dawn Works Best
Blue Dawn is specifically formulated to cut grease without harsh chemicals that can damage cabinet finishes. Other dish soaps may contain moisturizers or dyes that leave a film or cause discoloration over time. Stick with the original blue formula for best results.
How To Avoid Over-wetting
Too much water can seep into seams and cause swelling or warping, especially on wood cabinets. Wring your sponge or cloth until it's just damp, not dripping. Wipe with the grain of the wood if applicable, and dry immediately with a separate towel.
When To Add A Little Vinegar
For extra grease-cutting power on heavily soiled areas, add a tablespoon of white vinegar to the soapy water. Vinegar helps dissolve stubborn grease and also acts as a natural deodorizer. Test on an inconspicuous spot first, as vinegar can be too acidic for some sealed finishes.
3. Try a Vinegar and Water Spray
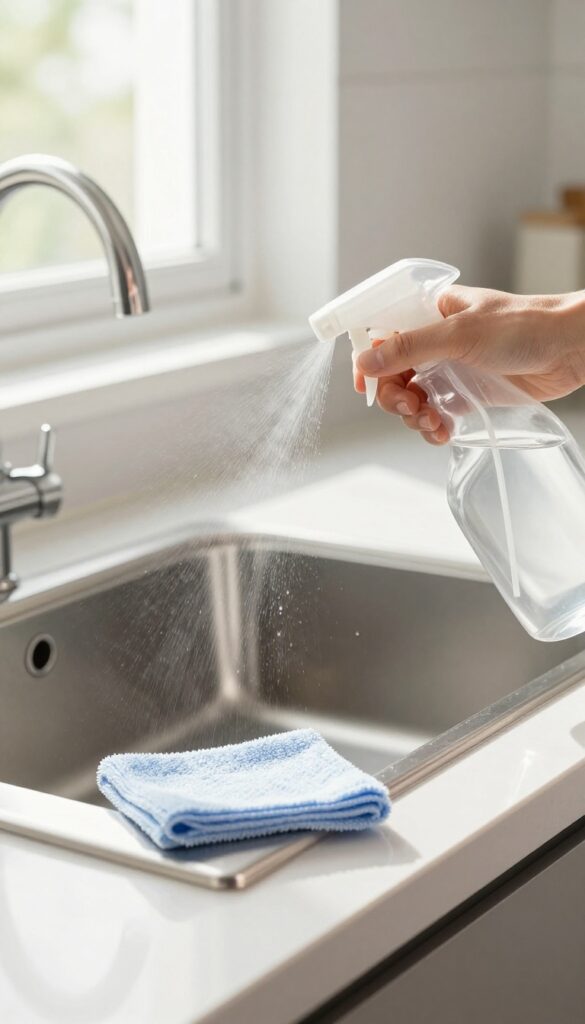
If you're looking for a cleaner that's both effective and gentle, vinegar and water is a solid go-to. White vinegar cuts through grease naturally without harsh chemicals, and it's cheap enough to use liberally. Just mix equal parts in a spray bottle, and you've got a degreaser that works on most cabinet surfaces.
Spray the solution lightly onto the cabinet fronts—avoid soaking the wood or letting it run into seams. Let it sit for about a minute so the vinegar can break down the grease. Then wipe with a soft, damp cloth, followed by a dry one to prevent moisture damage.
This method works best on sealed wood, laminate, or painted cabinets. Skip it on unsealed or waxed wood, as vinegar can strip the finish over time.
Why Vinegar Works On Grease
Vinegar is acidic, which helps dissolve the sticky oils in grease. Unlike some commercial degreasers, it won't leave a residue or a strong chemical smell (once it dries, the vinegar scent disappears). It's also safe around food prep areas, so you don't have to worry about toxic fumes near your countertops.
Best Practices For Application
Use a microfiber cloth for the best results—it grabs grease rather than pushing it around. Work in small sections, and don't oversaturate the cloth. If you have stubborn spots, let the spray sit for an extra minute or two before wiping.
For extra cleaning power, add a drop of dish soap to the mixture.
When To Avoid This Method
Avoid vinegar on unsealed wood, as it can penetrate and cause swelling or discoloration. Also, test a small hidden area first if your cabinets have a wax or oil finish. If you see any dulling or streaking, switch to a different cleaner.
For natural stone countertops nearby, be careful not to spray vinegar on them—it can etch the surface.
4. Baking Soda Paste for Stubborn Grease
When grease has been baking onto your cabinets for weeks, a simple spray won't cut it. That's where a thick paste of baking soda and water comes in. It's gentle enough not to scratch, but abrasive enough to lift off the gunk without harsh chemicals.
Mix equal parts baking soda and water to form a spreadable paste. Apply it to the greasy areas with a soft cloth or sponge, using light pressure. Let it sit for about five minutes so the baking soda can break down the grease.
Then wipe it off with a damp cloth. Rinse the area well with clean water to remove any residue, and dry with a microfiber towel.
Why Baking Soda Works
Baking soda is a mild alkali that reacts with grease molecules, helping to break them apart. Its fine particles provide just enough friction to scrub away buildup without scratching most cabinet finishes. Plus, it's non-toxic and safe around food.
How To Apply Without Damage
Always use a soft cloth or sponge—never a scrub pad or brush that could leave marks. Apply the paste in a thin layer and rub gently in a circular motion. Avoid letting the paste dry completely, as it can become harder to rinse off.
When To Use This Method
This paste is ideal for cabinets above the stove or near the sink where grease accumulates most. For light dust or daily cleaning, stick with a milder solution. Save the baking soda paste for weekly or bi-weekly deep cleans.
5. Lemon Juice for Extra Grease Cutting
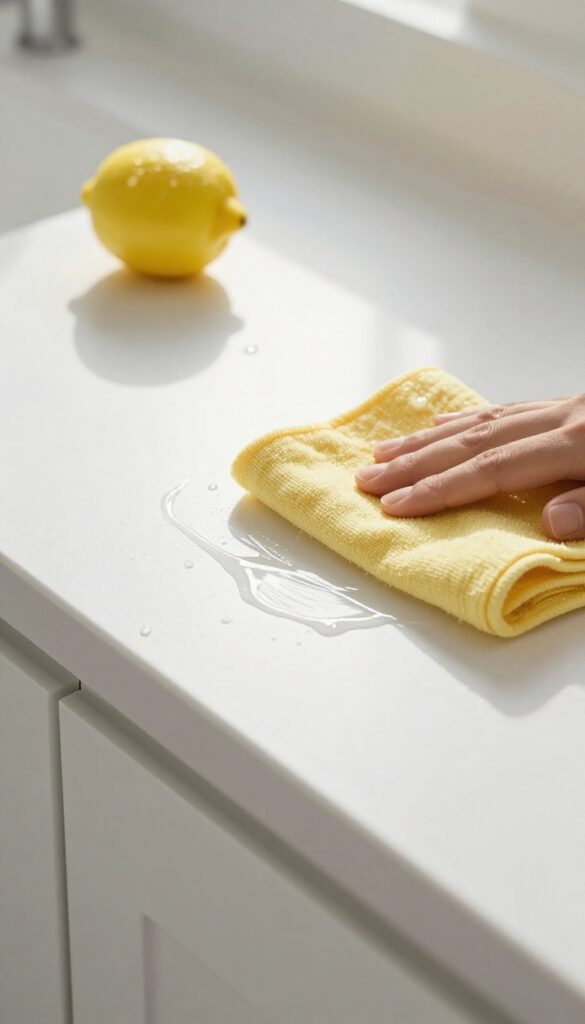
Lemon juice is a powerhouse when it comes to cutting through kitchen grease. Its natural acidity breaks down stubborn oil residues that plain soap or vinegar might leave behind. Plus, it leaves your kitchen smelling fresh and clean, not like a bottle of chemicals.
Adding lemon juice to your cleaning routine is simple and effective. A tablespoon mixed into your vinegar spray or soapy water boosts grease-fighting power without damaging cabinet finishes. It's especially useful for cabinets near the stove where grease buildup is heaviest.
How To Mix It
For a basic lemon grease cutter, combine 1 cup of warm water, 1/2 cup of white vinegar, and 1 tablespoon of lemon juice in a spray bottle. Shake gently and spray onto greasy cabinet surfaces. Let it sit for a minute, then wipe with a soft cloth.
For extra stubborn spots, use a few drops of dish soap instead of vinegar.
Best Surfaces To Use It On
Lemon juice is safe for most cabinet materials, including painted, laminate, and sealed wood. Avoid using it on unsealed wood or stone surfaces, as the acid can cause damage. Always test on a small hidden area first.
For delicate finishes, dilute the lemon juice further with more water.
Why It Works So Well
The citric acid in lemon juice breaks down the chemical bonds in grease, making it easier to lift away. It also has antibacterial properties, so you're not just cleaning—you're sanitizing. The fresh scent is a bonus, especially after cooking fish or strong-smelling dishes.
6. Use a Magic Eraser for Tough Spots
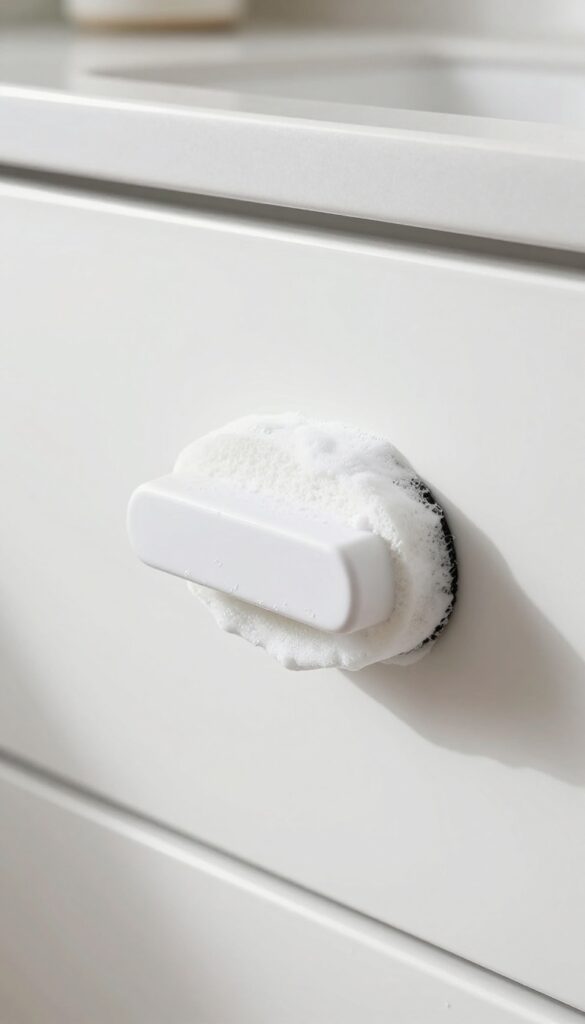
Some spots just won't budge with normal cleaners. Sticky residue near handles, splattered grease on edges, or mystery gunk that's been there for months. That's where a melamine sponge, often sold as Magic Eraser, comes in handy.
It works like a super-fine sandpaper, lifting grime without heavy scrubbing.
Dampen the sponge and wring out excess water. Gently rub the tough spots in a circular motion. The foam will crumble slightly as it cleans—that's normal.
Test on a hidden area first, especially on glossy or painted finishes, because it can dull the sheen if rubbed too hard. For light-colored cabinets, this method is a lifesaver for erasing scuff marks and sticky patches.
Where To Focus
Pay extra attention to cabinet handles, knobs, and the edges of doors—these are high-touch zones that collect grease and fingerprints. Also check the area under the sink where splashes happen. A quick pass with the eraser can make these spots look new.
Don't Overdo It
Melamine sponges are abrasive. Use them sparingly and only on stubborn spots. For routine cleaning, stick to milder methods.
Overuse can wear down the finish over time, especially on laminate or painted surfaces. When the sponge starts to disintegrate, toss it and grab a fresh piece.
7. Clean Cabinet Hardware Separately
Knobs and pulls are magnets for grease and grime, especially in the tiny crevices where your fingers touch them every day. Spraying them while they're still attached often leaves residue behind. Taking them off for a proper soak makes a huge difference.
Remove all knobs and pulls with a screwdriver. Drop them into a bowl of warm water with a squirt of dish soap. Let them soak for 15–20 minutes to loosen the baked-on grease.
Then scrub each piece with an old toothbrush, paying extra attention to the grooves and edges. Rinse under running water and dry thoroughly with a soft cloth before reattaching. This simple step can make your hardware look brand new without any harsh chemicals.
Why Soaking Works Best
Soaking softens the grease that has hardened in tight spots. Dish soap breaks down the oil, so you don't have to scrub as hard. This prevents scratching the finish on your hardware, especially if it's brass, chrome, or painted.
Toothbrush Scrubbing Tips
Use a toothbrush with firm bristles to reach into every nook. For stubborn buildup, dip the brush in the soapy water and add a little baking soda to make a gentle paste. Rinse well afterward to avoid any residue.
Drying And Reattaching
Always dry hardware completely before putting it back on. Moisture trapped behind the knob can cause rust or damage the cabinet door over time. Use a microfiber cloth to buff them dry and give them a little shine.
8. Wipe Down Cabinet Tops and Crown Molding
The tops of cabinets are out of sight, out of mind—until you notice a greasy dust bunny falling onto your counter. Crown molding collects the same grime. These surfaces need attention too, but they're easy to clean with the right approach.
Start With A Dry Dusting
Before you bring out any liquid, grab a microfiber duster or a dry cloth to remove loose dust. This prevents mud from forming when you add moisture. Work from one end to the other, and don't forget the corners.
Tackle Grease With A Degreaser
For sticky buildup, a degreaser spray is your best friend. Spray onto a damp microfiber cloth (never directly onto the cabinet) and wipe the top surfaces and molding. Let it sit for a minute if the grease is stubborn, then wipe again with a clean damp cloth.
Don't Forget The Edges And Crevices
Grease loves to hide along the front edge of cabinet tops and in the grooves of crown molding. Use a soft-bristled brush or an old toothbrush dipped in degreaser to gently scrub those areas. Wipe away residue with a damp cloth.
9. Use a Soft-Bristled Brush for Carved Details
Ornate cabinet fronts look beautiful, but all those grooves and raised details are perfect hiding spots for greasy grime. A soft-bristled brush can reach into those crevices without scratching the finish, making it a simple but effective tool for detailed cleaning.
Standard sponges and cloths can't get into the nooks and crannies of carved or raised-panel cabinets. Over time, grease and dust build up in those grooves, creating a sticky film that's hard to remove. A soft-bristled brush—like a clean toothbrush or a small paintbrush—can dislodge that buildup without damaging the wood or paint.
Dip the brush in a mild soapy solution, gently scrub the carved areas, then wipe away the loosened grime with a damp cloth. This method is especially useful for cabinets with intricate designs or beadboard panels.
Choosing The Right Brush
Not all brushes are safe for cabinet surfaces. Avoid stiff bristles that can scratch. A soft toothbrush works well for tight corners, while a 1-inch paintbrush with natural bristles is great for wider grooves.
Make sure the brush is clean and dedicated to cabinet cleaning.
Technique For Best Results
Work in small sections. Dip the brush in soapy water (a few drops of dish soap in warm water), shake off excess, and gently scrub the carved areas in a circular motion. Don't press too hard.
Follow up with a damp microfiber cloth to remove the loosened dirt, then dry with a soft towel.
When To Use This Method
This technique is ideal for cabinets with raised panels, fluted details, or carved trim. It's also helpful for cleaning around hardware without removing it. Use it every few months to prevent heavy buildup that's harder to remove.
10. Try Rubbing Alcohol for Sticky Residue
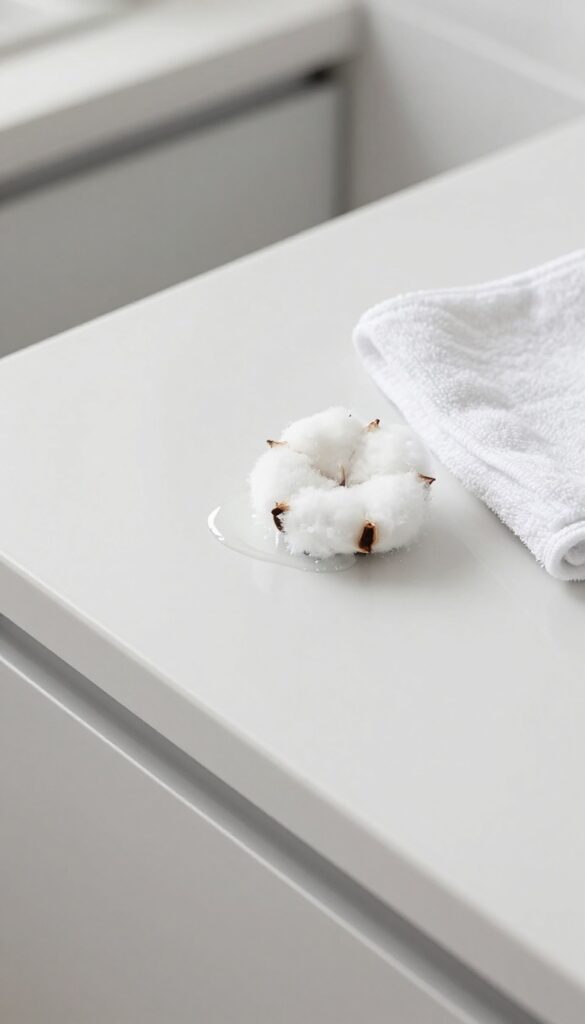
Sticky residue is one of the most annoying things to deal with on kitchen cabinets. Whether it's leftover adhesive from a label or a patch of old, tacky grease, it can feel impossible to remove without damaging the surface. Rubbing alcohol cuts through that stickiness fast and leaves no oily film behind.
Rubbing alcohol is a gentle but effective solvent that breaks down sticky substances without harsh scrubbing. It evaporates quickly, so it won't soak into the wood or finish. Just be sure to test it on a hidden spot first, especially on painted or lacquered cabinets, to make sure it doesn't dull the sheen.
How To Use It Safely
Dip a cotton ball or soft cloth in rubbing alcohol (70% is fine) and dab it onto the sticky spot. Let it sit for about 10 seconds to loosen the gunk. Wipe gently in one direction; the residue should come off easily.
Immediately rinse the area with a damp cloth and dry it with a soft towel to remove any alcohol residue.
When Not To Use It
Avoid rubbing alcohol on unfinished wood, shellac, or very delicate antique finishes. It can strip or lighten the surface. Stick to mild soap and water for those cases.
Also, don't use it near heat sources or open flames—alcohol is flammable.
11. Use a Commercial Degreaser for Heavy Buildup
Sometimes vinegar and baking soda just don't cut it. When grease has baked on for months, a commercial degreaser can save you time and elbow grease. The trick is picking one that's tough on grime but gentle on your cabinet finish.
Choose A Gentle But Effective Formula
Look for degreasers labeled as safe for finished wood, laminate, or painted surfaces. Brands like Krud Kutter and Simple Green are popular because they cut through heavy grease without harsh fumes or bleach. Always spot-test in an inconspicuous area first.
Apply And Let It Sit
Spray the degreaser directly onto the greasy areas, or onto a microfiber cloth if you prefer more control. Let it sit for 3–5 minutes to break down the grime. Don't let it dry—wipe it off while it's still damp.
Wipe And Rinse Properly
Use a clean, damp cloth to remove any residue. Some degreasers leave a film that can attract dust later, so follow up with a water-dampened cloth. Dry with a soft towel to prevent water spots or streaks.
12. Protect Wood Cabinets with a Light Oil
Wood cabinets need a little extra love after cleaning. They can dry out from harsh cleaners or just age, losing that warm glow. A light oil treatment not only restores moisture but also creates a protective barrier that makes future dusting easier.
After you've scrubbed away grease and grime, give your wood cabinets a final polish with mineral oil or lemon oil. Apply a small amount to a soft cloth—never directly onto the wood—and wipe in the direction of the grain. This simple step hydrates the wood, revives its color, and leaves a subtle sheen that repels dust and fingerprints.
Why Oil Works
Wood is porous, so it naturally absorbs oils and moisture. A light oil penetrates the surface, replacing what's lost from cleaning or dry air. The thin film left behind also fills tiny scratches and masks wear, making cabinets look refreshed.
Plus, dust slides off rather than sticking, so you'll clean less often.
Which Oil To Choose
Mineral oil is odorless, food-safe, and won't go rancid—ideal for kitchen use. Lemon oil adds a fresh scent and is also safe, but check that it's pure lemon oil, not a synthetic blend. Avoid vegetable oils like olive or coconut, as they can turn sticky or rancid over time.
How Often To Apply
For most kitchens, once every three to six months is plenty. If your cabinets see heavy cooking or feel dry to the touch, you can oil them more often. Always test a small hidden area first to make sure the oil doesn't darken the wood too much.
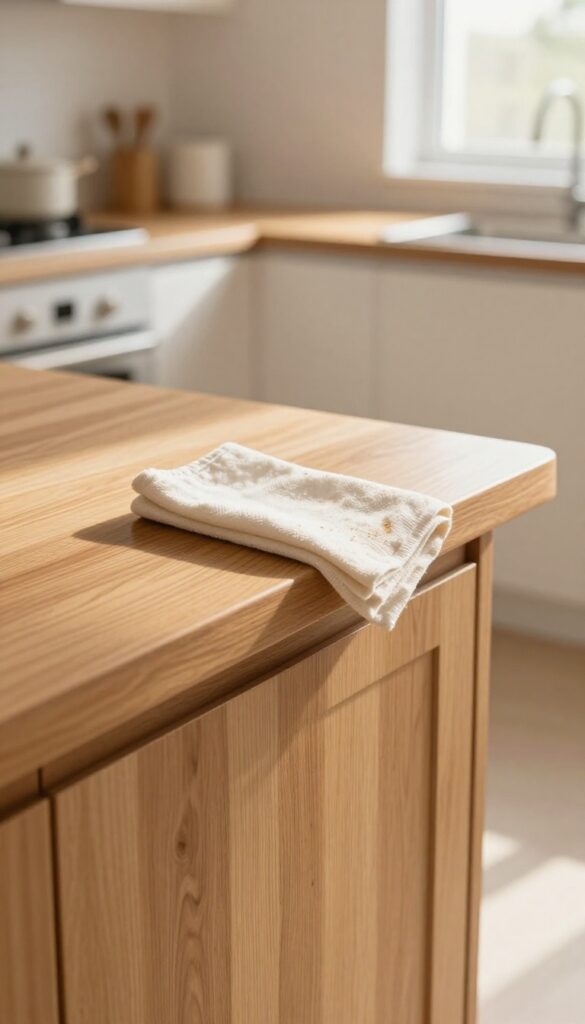
13. Use a Lint-Free Cloth to Avoid Streaks

You've cleaned your cabinets, but now there are streaks and lint all over the surface. That's frustrating, and it usually happens because of the cloth you're using. The right cloth makes a huge difference in the final look.
Microfiber cloths or old cotton t-shirts are your best friends here. Paper towels might be convenient, but they often leave behind lint and streaks. For a truly polished finish, you need a fabric that picks up grease and dust without leaving anything behind.
Why Microfiber Works Best
Microfiber cloths are designed to trap dust and grease in their fibers rather than just pushing them around. They're highly absorbent and leave no lint behind. Plus, they can be washed and reused many times, making them an eco-friendly choice.
For best results, use a clean microfiber cloth and avoid fabric softeners when washing, as they reduce absorbency.
The Old T-shirt Trick
An old, soft cotton t-shirt works almost as well as microfiber. Make sure it's clean and has no loose threads or pills. Cut it into manageable squares and use a fresh one for each cabinet door.
Cotton is gentle on finishes and won't scratch, even on painted cabinets.
Wipe In The Direction Of The Grain
For wood cabinets, always wipe along the grain, not against it. This prevents streaks and makes the wood look natural and polished. For laminate or painted cabinets, a gentle back-and-forth motion works, but finishing with a single-direction wipe gives a streak-free shine.
14. Clean from Top to Bottom
It might sound obvious, but the order you clean your cabinets makes a huge difference. If you start with the lower cabinets and work up, you'll end up with drips and dust falling onto surfaces you just cleaned. That's just wasted effort.
By always starting at the top and working your way down, you let gravity work with you, not against you. This simple habit saves time and keeps your cabinets looking streak-free.
Why Top-down Works Best
Grease and dust naturally settle downward. When you spray cleaner on upper cabinets, any drips will fall onto lower cabinets that haven't been cleaned yet. If you've already cleaned those lower ones, you'll have to redo them.
Starting at the top ensures that any mess ends up on surfaces you're about to clean anyway. It's a small change in routine that cuts your cleaning time in half.
Change Your Water Often
As you wipe down cabinets, your cleaning water picks up grease and grime. If you keep using the same dirty water, you're just spreading grease around instead of removing it. Swap out your water or cleaning solution every few cabinets—especially after tackling the area near the stove.
Clean water means a clean finish.
Work In Sections
Tackle one cabinet at a time. Start with the top edge, then the door front, then the sides, and finally the bottom edge. This ensures you don't miss any spots and that drips from the top are caught by the lower parts you're about to clean.
It also helps you stay organized and avoid feeling overwhelmed.
15. Establish a Weekly Quick-Wipe Routine
A little prevention goes a long way. Instead of waiting for grime to build up, a quick weekly wipe keeps your cabinets looking fresh with minimal effort. This habit targets the most vulnerable spots and stops grease and dust from turning into a stubborn mess.
What You'll Need
Grab a microfiber cloth and dampen it with warm water. That's it—no soap needed for light dust and grease. Microfiber traps particles without scratching surfaces, and water alone handles everyday residue.
Focus On High-traffic Zones
Pay extra attention to cabinet fronts near the stove and the handles you touch daily. These areas collect the most grease and fingerprints. A few swipes here prevent the sticky buildup that requires heavy scrubbing later.
Make It A Two-minute Habit
Set a reminder or tie it to an existing routine, like after Sunday breakfast. Two minutes is all it takes. Consistency is key—once it becomes automatic, you'll wonder why you didn't start sooner.
FAQ
Can I use bleach to clean kitchen cabinets?
Bleach is too harsh for most cabinet finishes and can cause discoloration or damage. Stick to mild dish soap, vinegar, or a gentle commercial degreaser.
How often should I clean kitchen cabinets?
For light maintenance, wipe them down weekly. A deep clean targeting grease and dust is recommended every 3-6 months, depending on cooking frequency.
What's the best way to clean greasy laminate cabinets?
Laminate is durable but can be scratched. Use a soft sponge with warm soapy water or a vinegar solution. Avoid abrasive pads or harsh chemicals.
How do I remove yellowing from white cabinets?
Mix baking soda with hydrogen peroxide to form a paste. Apply gently, let sit for 10 minutes, then rinse. Test on a hidden area first.
Can I use olive oil to polish wood cabinets?
Olive oil can go rancid and attract dust. Instead, use mineral oil or a dedicated wood polish designed for kitchen cabinets.
Conclusion
Keeping your kitchen cabinets free of dust and grease doesn't require expensive products or hours of scrubbing. These 15 tips give you practical, everyday solutions using items you likely already have at home. Pick a few that fit your routine and stick with them.
Your cabinets will stay cleaner longer, and you'll save time on deep cleaning later. Start with the methods that match your biggest pain point—whether it's sticky residue near the stove or dusty upper cabinets—and build from there. A little regular maintenance goes a long way.