15 Cleaning Fridge Steps for Fresh Shelves and Drawers
Opening your fridge to a funky smell or sticky shelf is never a good start to the day. A clean refrigerator not only looks better but also keeps your food fresher and reduces waste. You don't need harsh chemicals or hours of scrubbing—just a simple plan and a few basic supplies.
This guide breaks down the whole process into 15 straightforward steps. Whether you're doing a quick wipe-down or a full deep clean, these tips will help you tackle every nook and cranny. No more mystery spills or forgotten leftovers.
By the end, your fridge will look and smell like new. Plus, you'll know exactly how to maintain it between deep cleans. Let's get started.
1. Empty Everything Out
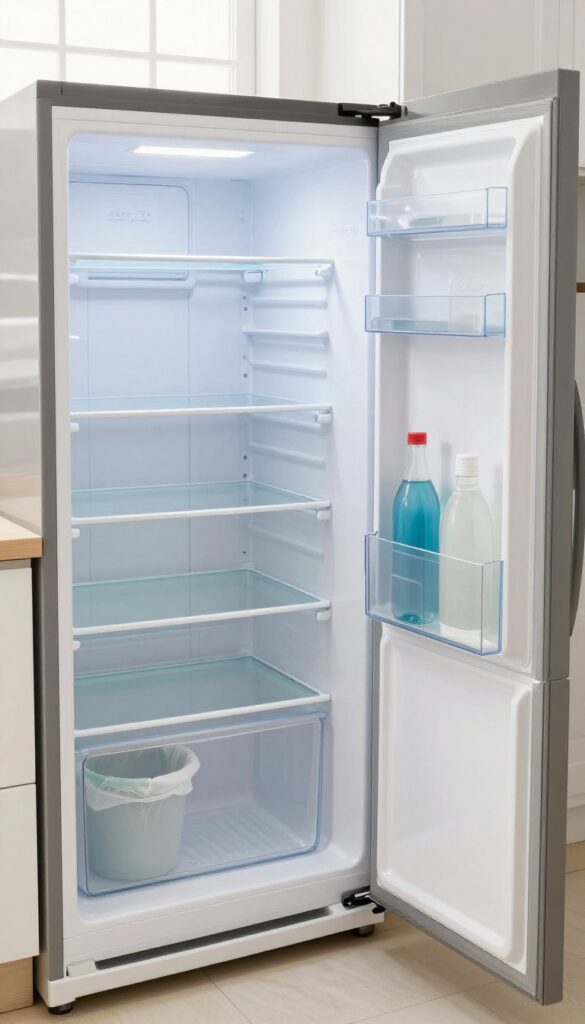
Before you can clean, you need a blank canvas. Pulling everything out of the fridge might seem like a hassle, but it's the only way to reach every surface and deal with forgotten items. Plus, it gives you a chance to check expiration dates and toss anything past its prime.
Sort As You Go
As you remove items, group them by category—dairy, produce, condiments, leftovers. This makes it easier to wipe down shelves and decide what stays. Keep a trash bag or compost bin nearby for anything that's expired or questionable.
Remove Shelves And Drawers
Take out all removable parts: glass shelves, crisper drawers, and door bins. Wash them separately in warm, soapy water. While they're drying, you'll have unobstructed access to the fridge interior.
Check Dates And Condition
Now's the time to inspect every bottle and container. Look for mold, off smells, or sticky residues. Toss anything you won't use soon.
This step prevents future messes and keeps your fridge organized.
2. Toss Expired and Old Food
Now that your fridge is empty, it's time to play detective. Grab a trash bag and a critical eye. You'll be surprised how many forgotten containers are lurking in the back.
This step is all about clearing out anything that's past its prime, so you start fresh.
Check Expiration Dates
Pull out every bottle, jar, and container. Look for expiration or 'best by' dates. If it's expired, toss it.
Don't second-guess—if you wouldn't eat it, it doesn't belong in your clean fridge. This includes condiments, sauces, and dressings that often get overlooked.
Sniff Test For Leftovers
Leftovers can be tricky. If you can't remember when you cooked it, or if it looks or smells off, pitch it. A good rule: if it's been in there more than three to four days, it's safer to let it go.
Your nose knows—trust it.
Check Produce And Dairy
Wilted greens, moldy berries, and slimy cheese have no place in a fresh fridge. Sort through your produce and dairy, tossing anything that's spoiled. This not only prevents bad smells but also stops mold spores from spreading to your fresh groceries.
3. Remove Shelves and Drawers
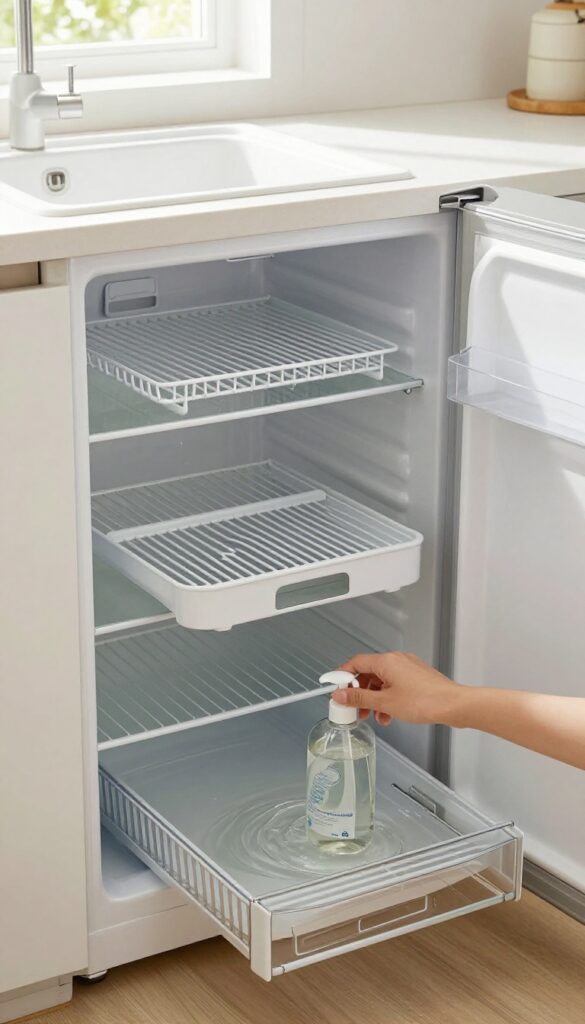
Once the fridge is empty, it's time to take out everything that isn't permanently fixed. Most shelves and drawers are designed to slide out easily—just check for tabs or clips. This step makes cleaning much easier because you can reach every corner without awkward bending.
Check The Manual For Removal Tips
Before you start yanking, glance at your fridge's manual or look online for removal instructions. Some shelves have release buttons or need to be tilted up at one end. Knowing the right method prevents accidental breakage.
Wash In The Sink Or Dishwasher
Most glass shelves and plastic drawers are dishwasher-safe (check for a symbol). For hand washing, use warm water and mild dish soap. Avoid abrasive scrubbers—they can scratch plastic and leave cloudy marks on glass.
Let Everything Dry Completely
After washing, set shelves and drawers on a drying rack or towel. Make sure they're bone-dry before putting them back. Any leftover moisture can lead to mold or frost buildup.
4. Wash Removable Parts in Warm Soapy Water
After you've taken out all the shelves and drawers, it's time to give them a proper bath. Warm soapy water is all you need to cut through grime without damaging the plastic or glass. This step makes a huge difference in how fresh your fridge feels.
Fill your sink or a large basin with warm water and a squirt of mild dish soap. Submerge each shelf and drawer, letting them soak for a few minutes to loosen stuck-on bits. Use a soft sponge or cloth to scrub gently, paying extra attention to corners and edges where gunk hides.
Rinse everything thoroughly with clean water to remove any soap residue, which can leave a film or affect food taste. Finally, set them on a drying rack or clean towel to air dry completely before putting them back. Patience here pays off—moisture can lead to mold or odors if you reassemble too soon.
Soak For Easy Cleaning
Letting the parts sit in soapy water for 5–10 minutes loosens dried spills and sticky spots. This saves you from scrubbing hard and risking scratches. For tougher residue, a paste of baking soda and water can be applied before soaking.
Rinse Away All Soap
Soap residue can cling to plastic and glass, leaving a strange taste on your food or causing a filmy buildup. Rinse each piece under running water, using your hands to feel for any slippery spots. A final wipe with a vinegar-water solution (1 part vinegar to 3 parts water) helps remove any last traces and adds a sanitizing boost.
Air Dry Completely
Drying might seem like a no-brainer, but rushing it can undo your hard work. Moisture trapped under shelves or in drawer corners can lead to mold or mildew. Place everything on a clean dish rack or towel and let it dry for at least an hour.
If you're in a hurry, speed things up with a microfiber cloth, but air drying is best.
5. Wipe Down Interior Walls and Ceiling
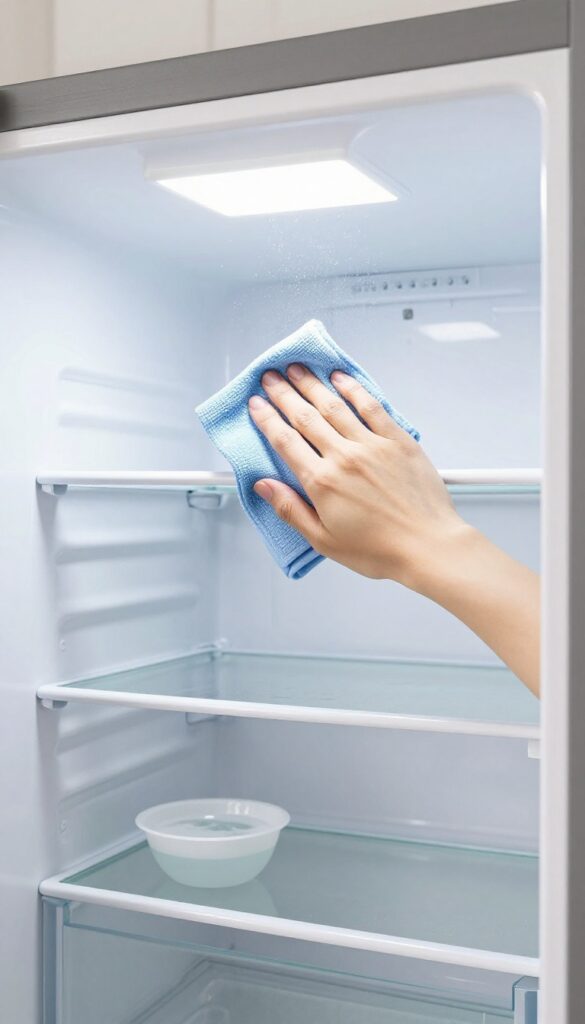
After the shelves and drawers are out, your fridge's interior walls and ceiling are finally exposed. This is where sticky splatters and crumbs love to hide, especially along the top and sides. A quick wipe here makes a huge difference in how fresh the whole fridge feels.
Grab a microfiber cloth and a gentle all-purpose cleaner or a mix of water and mild dish soap. Start at the top and work your way down so drips don't land on already-clean areas. Pay extra attention to corners and the ceiling—those spots often get ignored but collect dust and grime.
For stubborn residue, let the cleaner sit for a minute before wiping. Dry with a clean cloth to prevent streaks.
Work From Top To Bottom
Start cleaning the ceiling first, then move to the side walls, and finish with the back wall. This order ensures any drips or crumbs fall onto surfaces you haven't cleaned yet, so you don't have to redo anything.
Don't Forget The Door Gaskets
The rubber seals around the door can trap mold and mildew. Wipe them with a damp cloth and mild soap, then dry thoroughly. A clean gasket also helps the door seal properly, saving energy.
Check For Hidden Spills
Look under the crisper drawers and along the bottom edges. Sometimes liquid leaks down and dries into a sticky mess. Use a small brush or toothbrush to get into tight crevices if needed.
6. Clean the Door Seals (Gaskets)
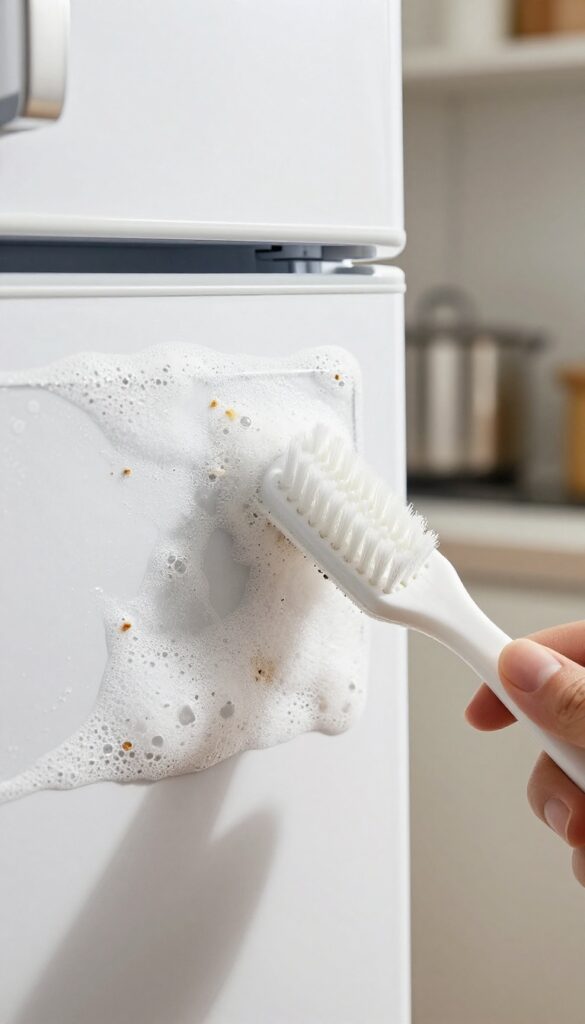
The rubber gaskets around your fridge door do more than keep the cold in. They also trap crumbs, spills, and moisture, which can lead to mold and a weak seal. A dirty gasket makes your fridge work harder, wasting energy and shortening its lifespan.
Fortunately, cleaning them is quick and easy.
Start by mixing a small amount of mild dish soap with warm water. Dip an old toothbrush into the soapy water and gently scrub along the folds of the gasket. Pay extra attention to the bottom edge where debris collects most.
For stubborn grime, use a paste of baking soda and water. Rinse with a damp cloth and dry thoroughly with a towel. This simple step improves efficiency and prevents odors.
Why Gaskets Matter
A tight seal keeps cold air inside and warm air out. When gaskets are dirty or sticky, they can't seal properly, causing your fridge to run longer and use more electricity. Clean gaskets also prevent condensation and mold growth, which can affect food quality.
How To Clean Without Damaging
Avoid harsh chemicals like bleach or abrasive scrubbers that can crack or dry out the rubber. Stick to mild soap, baking soda, or a vinegar solution (1 part vinegar to 3 parts water). Always dry the gasket completely after cleaning to prevent mildew.
Quick Maintenance Tips
Check your gaskets monthly for cracks or wear. Wipe them down whenever you notice sticky spots or crumbs. A well-maintained gasket can extend the life of your fridge and keep your energy bills lower.
7. Scrub the Drawers and Crisper Compartments
Crisper drawers are designed to keep produce fresh, but they can quickly become a breeding ground for mold and bacteria if neglected. Moisture and food debris often settle at the bottom, leading to stains and unpleasant odors. A thorough scrub with a simple baking soda paste will restore them to like-new condition.
Make A Baking Soda Paste
Mix three parts baking soda with one part water to form a thick paste. This gentle abrasive is effective at lifting stains without scratching the plastic. Apply it to a soft sponge or cloth and work it into the corners and crevices of the drawers.
Let It Sit For Stubborn Stains
For dried-on residue or discoloration, spread the paste over the affected areas and let it sit for 10–15 minutes. The baking soda will break down the grime, making it easier to wipe away. For extra tough spots, add a splash of white vinegar to the paste for a fizzy cleaning boost.
Rinse And Dry Completely
After scrubbing, rinse the drawers thoroughly with warm water to remove all baking soda residue. Any leftover paste can leave a chalky film. Dry the drawers with a clean towel or let them air dry before placing them back in the fridge.
This prevents moisture buildup that could lead to mold.
8. Tackle Stubborn Stains with Baking Soda
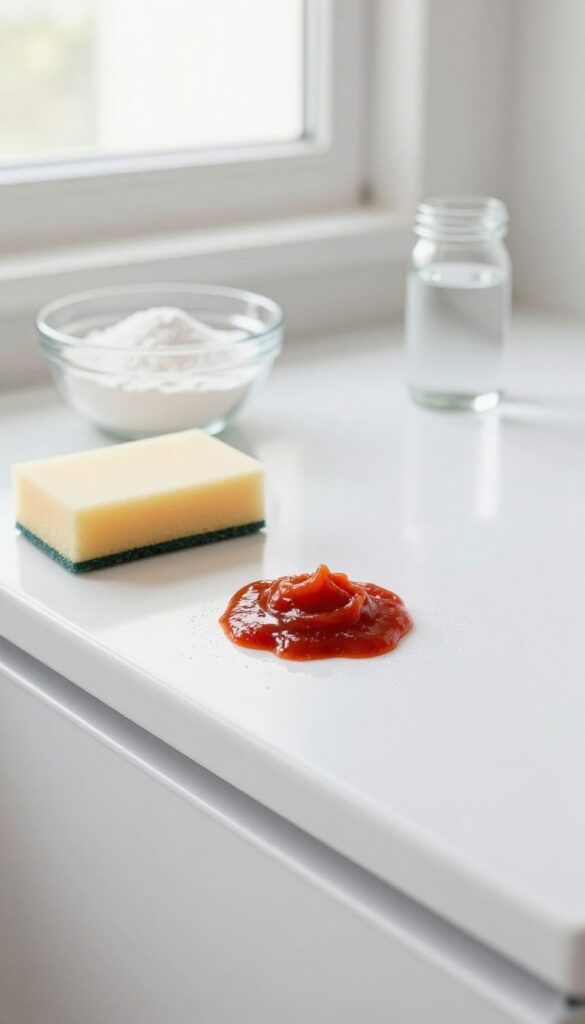
Some spills just won't budge with soapy water alone. That's where baking soda comes in. This gentle abrasive works wonders on dried-on messes without scratching your fridge's surfaces.
You probably already have a box in your pantry. Mix it with a little water to form a thick paste, apply it to the stain, and let it sit for a few minutes. Then scrub with a soft sponge or cloth—those stubborn spots should lift right off.
Baking soda is a natural, non-toxic cleaner that's perfect for food-safe areas. It's also a deodorizer, so it helps neutralize any lingering smells while you scrub. For extra tough stains, add a splash of white vinegar to the paste—it will fizz and help break down the grime.
Just rinse thoroughly afterward to avoid any residue.
Make The Paste
In a small bowl, mix three parts baking soda with one part water. Stir until it forms a spreadable paste. If it's too runny, add more baking soda; if too thick, add a few more drops of water.
Apply And Wait
Use a spatula or your finger to spread the paste over the stain. Let it sit for 5–10 minutes. This gives the baking soda time to soften the dried-on gunk.
Scrub Gently
Use a non-abrasive sponge or a soft-bristled brush to scrub in circular motions. Rinse with a damp cloth. For really stubborn spots, repeat the process or let the paste sit longer.
Rinse And Dry
Wipe away all paste residue with a clean, damp cloth. Follow with a dry towel to prevent water spots. Your shelves and drawers will look like new.
9. Deodorize with Vanilla or Lemon
Even after a thorough scrub, your fridge can hold onto stubborn odors from old leftovers or strong-smelling foods. Chemical deodorizers might mask smells, but they often leave behind artificial scents you don't want near your food. A natural alternative works just as well without any risk.
Why Vanilla Works Wonders
Vanilla extract does more than flavor cookies. Its sweet, warm aroma neutralizes fridge odors by absorbing them rather than covering them up. Simply soak a cotton ball or a small piece of cloth in pure vanilla extract, place it in a shallow dish, and set it on a middle shelf.
Replace it every week or so to keep the scent fresh. Avoid imitation vanilla, which can contain artificial additives that might not be as effective.
Lemon's Fresh Punch
Lemon slices are another powerful, natural deodorizer. The citric acid in lemons helps break down odor-causing compounds while leaving a clean, citrusy fragrance. Cut a lemon into thin slices, arrange them on a small plate, and place it in the fridge for 24 to 48 hours.
For a longer-lasting solution, squeeze lemon juice into a bowl of water and set it out. Replace the slices or juice every few days to maintain effectiveness.
Tips For Best Results
Before using either method, make sure your fridge is clean and dry. Odor absorbers work best when there's no competing mess. Place the bowl or plate away from strong-smelling items like onions or fish to avoid cross-contamination.
If you're dealing with a particularly stubborn smell, combine both methods: vanilla on one shelf and lemon on another. And remember, these natural deodorizers are safe around food, so no need to worry about chemical residues.
10. Clean the Exterior and Handles
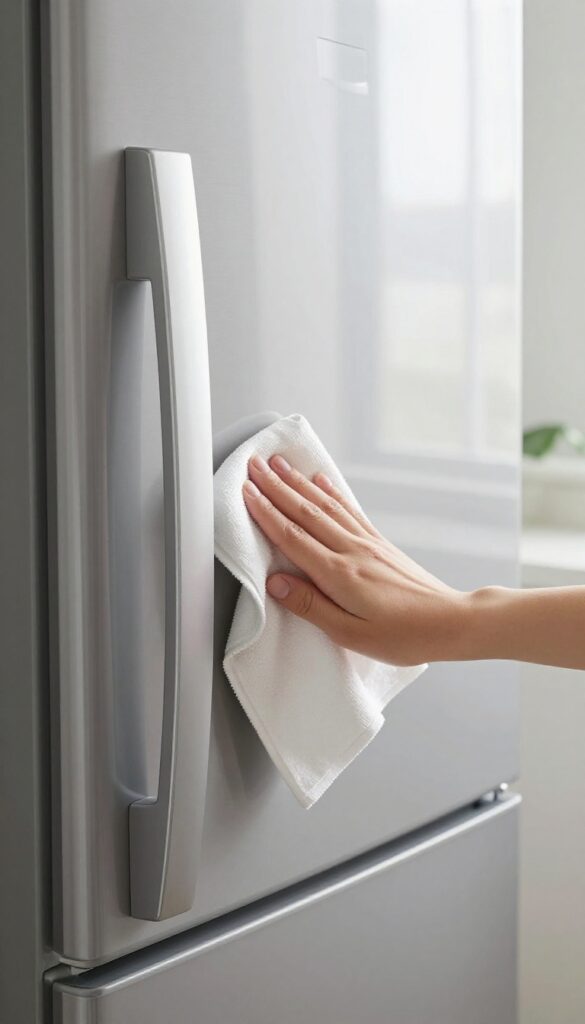
It's easy to focus on the inside and forget the outside, but the fridge exterior and handles collect grime from daily use. Handles, in particular, get greasy from cooking oils and sticky fingerprints. A quick wipe-down keeps your kitchen looking clean and prevents buildup that can damage finishes over time.
Wipe Down The Doors
Start with a soft cloth and warm, soapy water. For stainless steel, wipe with the grain to avoid streaks. If your fridge has a smudge-proof coating, avoid abrasive cleaners or scrub pads.
Dry with a microfiber cloth for a streak-free shine.
Don't Forget The Handles
Handles are high-touch zones that trap grease and bacteria. Use a gentle degreaser or a mixture of vinegar and water. For stubborn grime, a paste of baking soda and water works well.
Rinse with a damp cloth and dry thoroughly.
Tackle The Top And Vents
The top of the fridge often collects dust and crumbs. Wipe it down with a damp cloth. Check the front bottom vents—if they're clogged with dust, the fridge has to work harder.
Use a vacuum with a brush attachment to clear them.
11. Vacuum the Condenser Coils
Your fridge has to work hard to keep things cold, and the condenser coils are what make that happen. When dust and pet hair build up on them, the compressor runs longer and hotter, which wastes energy and can shorten the fridge's life. Luckily, this is a quick fix that takes just a few minutes twice a year.
Condenser coils are usually located on the back or bottom of the refrigerator. If they're covered in dust, your fridge uses more electricity and may struggle to maintain temperature. Vacuuming them every six months keeps airflow optimal and can even prevent costly repairs.
It's one of those maintenance tasks that's easy to overlook but makes a big difference.
Where To Find The Coils
On most modern fridges, the coils are either exposed on the back or hidden behind a grille at the bottom front. Check your owner's manual if you're unsure. For bottom-mounted coils, remove the kickplate grille by pulling it straight off or unscrewing it.
On older models, you may need to pull the fridge away from the wall to access the back panel.
How To Vacuum Safely
Use a vacuum with a brush attachment to gently loosen and remove dust. Start at the top of the coils and work downward. Be careful not to bend the thin metal fins.
If the dust is caked on, a coil cleaning brush (available at hardware stores) can help. Avoid using a wet cloth or any liquid near the coils.
When To Do It
Aim for every six months, but if you have pets that shed a lot, consider doing it every three months. You can also check the coils visually—if you see a visible layer of dust, it's time to clean. Doing this along with your fridge deep clean is a perfect reminder.
12. Check and Clean the Drip Pan
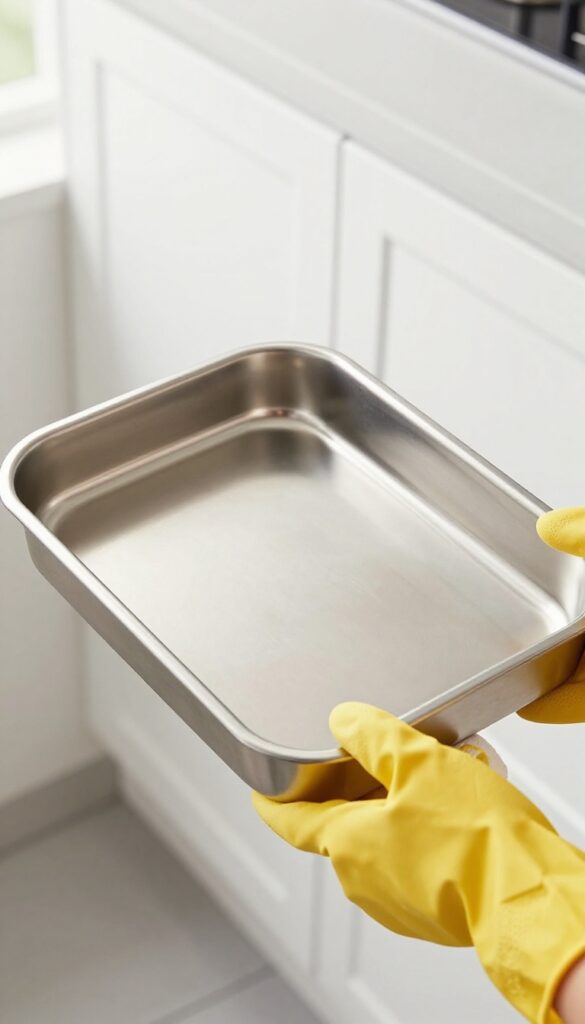
The drip pan is one of those parts you probably forget exists until something goes wrong. It sits underneath your fridge, quietly collecting condensation and the occasional spill. Over time, that stagnant water can turn into a moldy, smelly mess that affects your whole kitchen.
Giving it a quick clean every few months prevents odors and keeps your fridge running smoothly.
Locate And Remove The Drip Pan
First, unplug your fridge or switch off the circuit breaker for safety. The drip pan is usually behind the front grille at the bottom—pop the grille off with a flathead screwdriver or just pull it forward. Slide the pan out carefully; it might be full of water, so keep a towel handy.
Scrub Away Grime And Mold
Empty the pan into a sink or bucket. Wash it with warm, soapy water and a sponge—add a little vinegar or bleach if you see mold. Scrub all corners and rinse thoroughly.
For stubborn buildup, let it soak for 10 minutes.
Dry And Reinstall
Dry the pan completely with a clean cloth before sliding it back in. Any leftover moisture can lead to more mold. Pop the grille back on, plug the fridge in, and you're done.
Mark your calendar to repeat this every three months.
13. Organize Items Before Returning
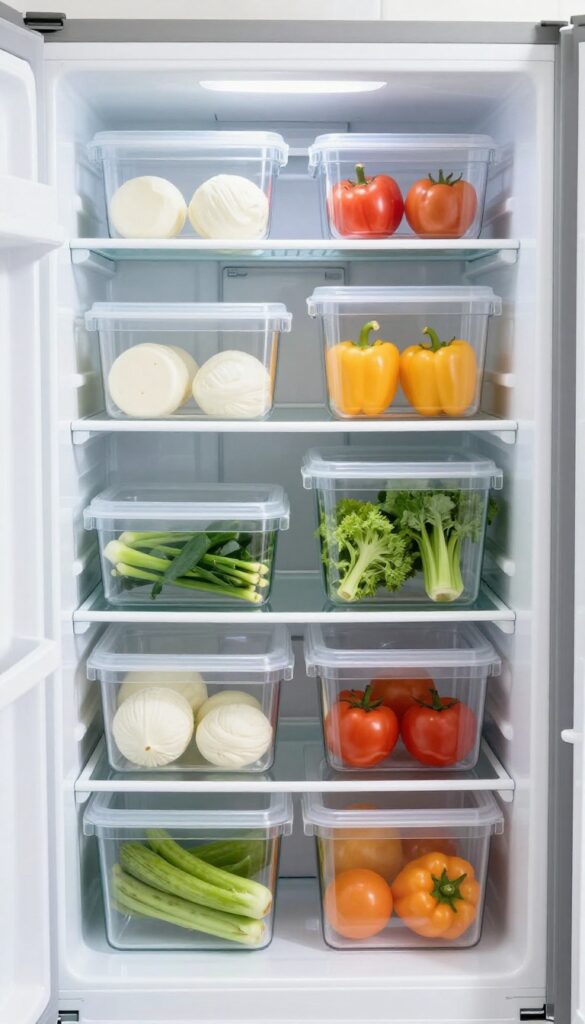
Now that every shelf and drawer is sparkling clean, it's tempting to just toss everything back in. But a little planning before restocking will save you time and frustration later. Grouping similar foods together and using clear bins keeps your fridge tidy and makes it easy to grab what you need.
Group By Category
Start by sorting your items into categories: dairy, meats, vegetables, fruits, condiments, and leftovers. This way, you can assign each category a specific zone in the fridge. For example, keep dairy on the top shelf where temperatures are most stable, and store raw meat on the bottom shelf to prevent drips.
Use Clear Bins And Baskets
Clear bins are a game-changer for fridge organization. They corral small items like cheese sticks, yogurt cups, or sauce packets so they don't get lost. Label each bin with a dry-erase marker or a simple sticker.
Baskets with handles are great for produce drawers, making it easy to lift out and wash veggies.
Apply The First-in, First-out Rule
When placing items back, put newer ones behind older ones. This prevents forgotten leftovers from turning into science experiments. For leftovers, use clear containers and write the date on the lid.
Keep a small bin for “eat soon” items on the middle shelf so nothing gets buried.
14. Use Liners for Easy Future Cleaning
You’ve scrubbed every shelf and drawer until they shine. Now, keep them that way with minimal effort. Shelf liners are a simple addition that makes future cleanups a breeze.
Place shelf liners or mats on your clean shelves. They catch spills before they reach the surface, so you can just lift the liner and rinse it off. No more scrubbing dried-on juice or sticky residue from the glass itself.
Choose The Right Material
Look for liners made from non-slip silicone or clear PVC. They grip the shelf and won’t shift when you place items on them. Avoid paper or fabric liners—they absorb moisture and can become a breeding ground for mold.
Cut To Fit, Then Install
Measure each shelf and cut the liner slightly smaller than the shelf’s dimensions. This prevents the liner from curling up at the edges. Lay the liner flat and press out any air bubbles.
If your liner is adhesive, peel and stick carefully.
Quick Cleaning Routine
When a spill happens, remove the liner and rinse it under warm water. Use a mild dish soap and a sponge to wipe it clean. Let it dry completely before putting it back.
This takes less than a minute and keeps your fridge looking fresh.
15. Maintain a Weekly Quick Wipe
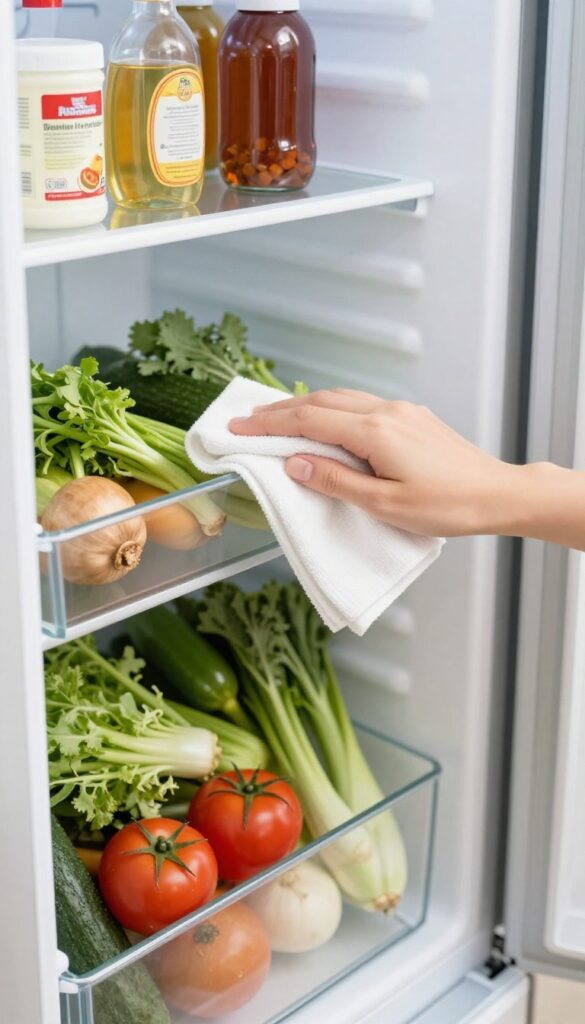
A deep clean is great, but the real secret to a fresh fridge is staying on top of it week by week. A quick five-minute wipe-down prevents grime from building up and keeps odors from taking hold. It's the easiest habit to adopt, and it saves you from having to do another marathon scrub session later.
Think of this as a reset button for your fridge. Once a week, take a damp cloth and wipe down the shelves, drawers, and door bins. While you're at it, check for any expired or wilting produce and toss it.
This small routine stops spills from becoming crusty and prevents forgotten leftovers from turning into science experiments.
What To Wipe
Focus on the high-touch areas: the middle shelf where you store leftovers, the vegetable drawer handles, and the door bins that hold condiments. A quick pass with a microfiber cloth and mild soap is all it takes. Don't forget the rubber gasket around the door—crumbs and spills love to hide there.
When To Toss
Make it a habit to scan for anything past its prime. Wilted greens, half-empty jars, and leftovers older than a week should go. This not only keeps the fridge tidy but also frees up space for fresh groceries.
A quick purge each week makes a huge difference.
Make It A Routine
Tie the wipe-down to something you already do, like taking out the trash or prepping Sunday meals. Keep a spray bottle of diluted vinegar and a cloth under the sink so you can grab them without thinking. After a few weeks, it'll feel automatic.
FAQ
How often should I deep clean my fridge?
Aim for a deep clean every 3 to 4 months. If you notice spills or odors sooner, clean as needed.
Can I use bleach to clean my fridge?
It's best to avoid bleach as it can damage surfaces and leave harmful residues. Stick to mild dish soap or a vinegar-water solution.
How do I remove stubborn odors from my fridge?
Place an open box of baking soda or a bowl of coffee grounds inside. Replace every month for continuous odor absorption.
Is it safe to put glass shelves in the dishwasher?
Check your fridge manual. Many glass shelves are dishwasher-safe, but sudden temperature changes can cause cracking. Let them cool before washing.
What should I do if my fridge has mold?
Wear gloves and a mask. Clean affected areas with a mixture of equal parts water and white vinegar. For persistent mold, use a mild bleach solution (1 tablespoon bleach per quart of water) and rinse thoroughly.
Conclusion
Cleaning your fridge doesn't have to be a dreaded all-day task. By breaking it down into these 15 manageable steps, you can keep shelves and drawers fresh with minimal effort. A quick weekly wipe-down and a monthly deep clean will prevent spills from turning into stubborn stains.
Start with the steps that address your biggest pain points—whether it's sticky shelves or smelly drawers. Once you build a simple routine, you'll notice how much better your food stays and how much easier it is to find what you need.