15 Deep Cleaning Kitchen Steps for a Full Cooking Space Reset
Your kitchen works hard, but a quick wipe-down only hides the grime. A deep clean resets the space, making cooking feel fresh and organized.
These 15 steps tackle every corner, from greasy cabinets to hidden filters, so your kitchen truly shines. No shortcuts—just practical, thorough methods that leave no surface untouched.
Ready to transform your cooking zone? Let's get started.
1. Clear and Declutter Every Surface
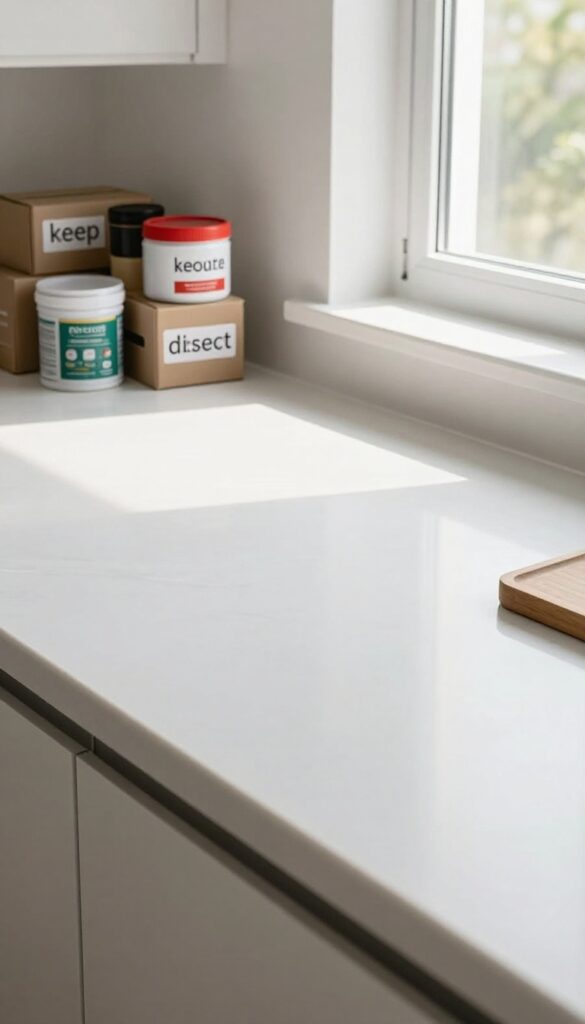
Before you can scrub, you need a blank canvas. Pull everything off your countertops, tables, and islands—appliances, jars, mail, plants, all of it. As you go, sort each item into one of three piles: keep on the counter, relocate to a proper home, or toss/recycle.
This step alone reveals crumbs, spills, and forgotten messes hiding under your stuff.
Once surfaces are bare, you can see exactly what needs cleaning. No more moving things around to wipe underneath—you’ll hit every spot in one pass. Plus, decluttering forces you to decide what really belongs on your counters.
That bread maker you haven’t touched in months? Maybe it’s time to store it away.
Sort With Purpose
Have three boxes or bags ready: keep, relocate, and discard. Be honest about what you actually use daily. Coffee maker and knife block?
Keep. That novelty mug collection? Relocate to a cupboard.
Expired spices or broken gadgets? Toss or recycle. This prevents clutter from creeping back.
Don’t Forget The Hidden Zones
Countertops are obvious, but also clear the top of the fridge, window sills, and any open shelving. These spots collect dust and grease that get ignored because they’re out of sight. Wipe them down now while they’re empty.
Group Similar Items Together
As you sort, cluster like items: cooking utensils near the stove, baking tools near the mixer, cleaning supplies under the sink. This makes putting everything back logical and keeps your kitchen functional long after the deep clean.
2. Degrease Cabinet Doors and Handles
Cabinet doors and handles are grime magnets. Cooking vapors mix with dust and settle into a stubborn film that regular wiping can't touch. A proper degrease restores their original finish and makes your whole kitchen feel cleaner.
Choose Your Degreaser
You don't need harsh chemicals. A mix of warm water and a few drops of dish soap works well for most cabinets. For tougher grease, use a 50/50 vinegar and water solution.
Avoid abrasive cleaners that can damage the finish.
Work From Top To Bottom
Start with the top edges and work your way down. Grease drips, so cleaning from the top prevents re-soiling lower areas. Use a microfiber cloth dampened with your solution, and wring it out well to avoid excess moisture.
Don't Skip The Handles And Knobs
Handles collect grease from hands and cooking splatter. Remove them if possible and soak in warm soapy water. Wipe down the area behind them too.
For fixed hardware, use a small brush or toothbrush to get into crevices.
Rinse And Dry Thoroughly
After degreasing, go over the surfaces with a clean damp cloth to remove any soap residue. Dry immediately with a soft towel to prevent water spots or streaks. Open cabinets briefly to let air circulate.
3. Deep Clean the Oven and Stovetop
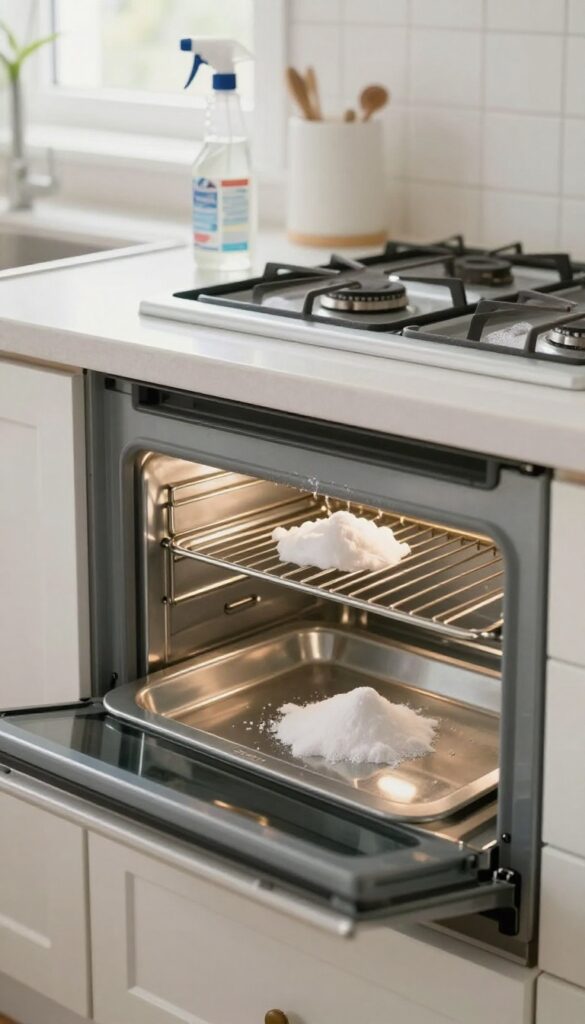
The oven and stovetop take the brunt of cooking splatters, spills, and baked-on grease. A thorough clean here not only improves hygiene but also helps your appliances perform better and last longer. Let's break it down into manageable steps.
Tackle The Oven Interior
Start by removing oven racks and any removable parts like the temperature probe or drip tray. Soak the racks in hot, soapy water while you work on the interior. Make a paste of baking soda and water, spread it over the oven walls, floor, and door, avoiding heating elements.
Let it sit overnight or for at least 12 hours. The next day, spray vinegar over the paste to create a fizzy reaction, then wipe clean with a damp cloth. For stubborn spots, use a non-scratch scrub pad.
Don't Forget The Oven Door And Gasket
The oven door glass can be cleaned with the same baking soda paste or a glass cleaner. For the rubber gasket, use a mild soapy cloth—avoid harsh chemicals that can degrade the seal. Wipe the hinges and the area around the door as well, as crumbs and grease accumulate there.
Deep Clean The Stovetop
For gas stoves, lift off the burner grates and caps and soak them in hot, soapy water. Scrub the burner heads with a toothbrush to clear clogged ports. Wipe the stovetop surface with a degreaser or a vinegar-water solution.
For electric or induction cooktops, use a specialized cooktop cleaner and a razor scraper for burnt-on residue, following the manufacturer's instructions. Reassemble everything once dry.
4. Scrub the Sink and Faucet
Your sink and faucet see a lot of action. Leftover food, soap scum, and hard water stains can build up fast. A deep scrub here makes the whole kitchen feel cleaner and brighter.
Baking Soda Scrub
Sprinkle a generous layer of baking soda over the entire sink surface. Wet a sponge and scrub in circular motions, focusing on stains and corners. Rinse thoroughly with warm water.
Vinegar Shine
After rinsing, spray or wipe the sink with white vinegar. Let it sit for a minute, then buff dry with a microfiber cloth. This removes residue and adds a streak-free shine.
Faucet Deep Clean
Fill a small plastic bag with white vinegar and secure it around the faucet head with a rubber band. Let it soak for 30 minutes to dissolve mineral deposits. Remove, scrub any remaining buildup with an old toothbrush, and rinse.
5. Wipe Down Backsplash and Walls
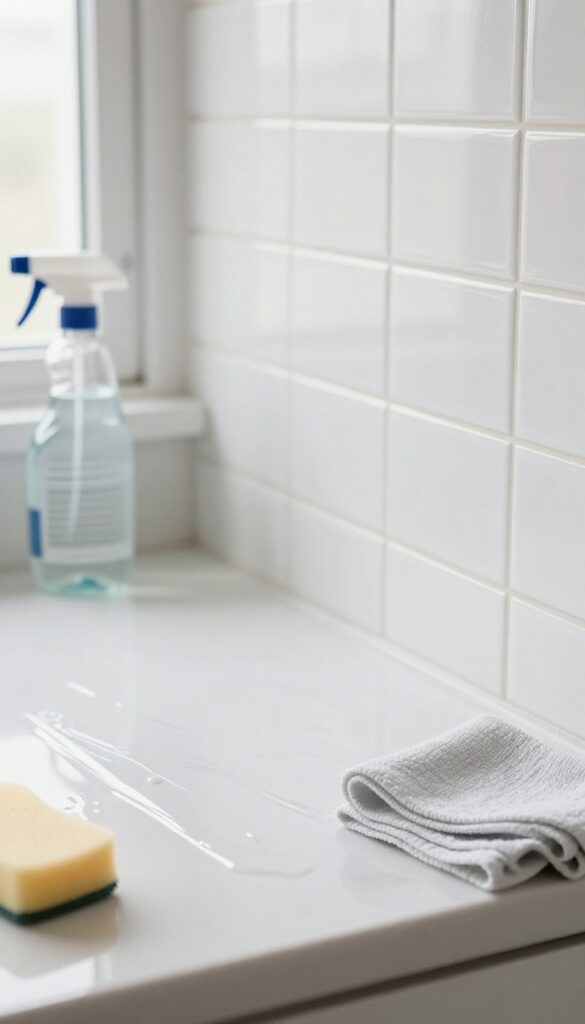
Your backsplash takes the brunt of cooking splashes, but walls behind the stove and counter often get overlooked. Grease and food particles cling to tiles and paint, creating a sticky film over time. A targeted wipe-down removes that residue and makes the whole kitchen feel cleaner.
Start by spraying a mild degreaser or a mix of warm water and dish soap directly onto the backsplash. Let it sit for a minute to break down grease, then scrub with a non-abrasive sponge. For stubborn spots, a soft-bristled brush works wonders on grout lines.
Rinse with a damp cloth and dry with a microfiber towel to avoid streaks. Don't forget the wall areas above the backsplash and behind small appliances—they collect dust and splatters too.
Choose The Right Cleaner
Avoid harsh chemicals that can damage tile or paint. A simple solution of vinegar and water (1: 1) works for most backsplashes, but skip vinegar on natural stone. Instead, use a pH-neutral cleaner or a commercial degreaser.
Test on a hidden spot first to ensure no discoloration.
Tackle Grout Lines
Grout is porous and traps grease and dirt. After cleaning the tiles, use an old toothbrush dipped in baking soda paste (baking soda plus water) to scrub grout lines. Rinse thoroughly to prevent residue buildup.
Don't Ignore The Walls
Paint on walls can stain easily. Use a gentle cleaner and a soft sponge, working from top to bottom to avoid drips. For textured walls, a microfiber cloth gets into crevices.
If you see stubborn grease spots, a magic eraser can help, but test first.
6. Clean Inside the Refrigerator
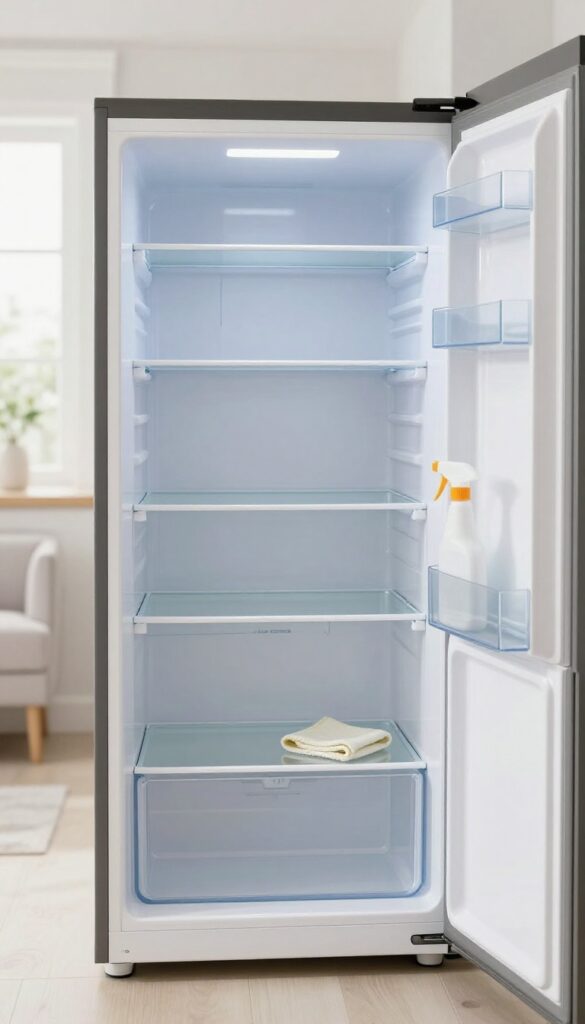
The fridge is a breeding ground for spills, forgotten leftovers, and funky smells. A thorough clean not only makes it look spotless but also helps your food stay fresher longer. Set aside some time to empty it completely and give every surface a proper scrub.
Empty And Sort
Take everything out—shelves, drawers, condiments, leftovers. Check expiration dates and toss anything past its prime or looking questionable. Wipe down jars and bottles before putting them back to avoid reintroducing grime.
Wash Removable Parts
Pull out shelves and drawers and wash them in warm, soapy water. Use a gentle scrub brush for stuck-on bits. Rinse and dry thoroughly before reassembling.
This prevents mold and keeps surfaces clean.
Wipe Interior Walls
Mix a tablespoon of baking soda with a quart of warm water. Dip a soft cloth or sponge into the solution and wipe down all interior surfaces—walls, ceiling, door bins, and gaskets. Baking soda neutralizes odors without harsh chemicals.
Pay extra attention to corners and crevices.
Dry And Restock
Use a clean towel to dry everything completely. Moisture promotes mold, so don't skip this step. Return items in an organized way—group similar foods together and keep raw meat on the bottom shelf.
Consider adding an open box of baking soda to absorb future odors.
7. Descale the Coffee Maker and Kettle
Your morning brew deserves better than a machine clogged with mineral deposits. Over time, calcium and limescale build up inside coffee makers and kettles, affecting performance and taste. Descaling regularly keeps them running efficiently and your drinks tasting fresh.
For drip coffee makers, fill the reservoir with equal parts white vinegar and water. Run a full brew cycle, then pause halfway to let the solution sit for 30 minutes. Finish the cycle, then run two more cycles with fresh water to rinse.
For kettles, fill halfway with the same vinegar-water mix, bring to a boil, and let it sit for 20 minutes. Pour out, rinse thoroughly, and boil fresh water once before using.
Why Descaling Matters
Mineral buildup doesn't just affect taste—it can shorten the lifespan of your appliances. Scale acts as an insulator, making heating elements work harder and less efficiently. In coffee makers, it can clog valves and spray arms, leading to uneven extraction and weak coffee.
How Often To Descale
Frequency depends on your water hardness. If you have hard water, descale every 1-2 months. For soft water, every 3-6 months is usually enough.
A good rule: if you notice slow brewing or a white residue inside, it's time.
Natural Alternatives To Vinegar
Citric acid is a great option if you dislike the vinegar smell. Mix 1-2 tablespoons of citric acid powder with water and run the same cycle. It's just as effective and leaves no odor.
Lemon juice works too, but may require more rinsing.
8. Wash the Microwave Inside and Out
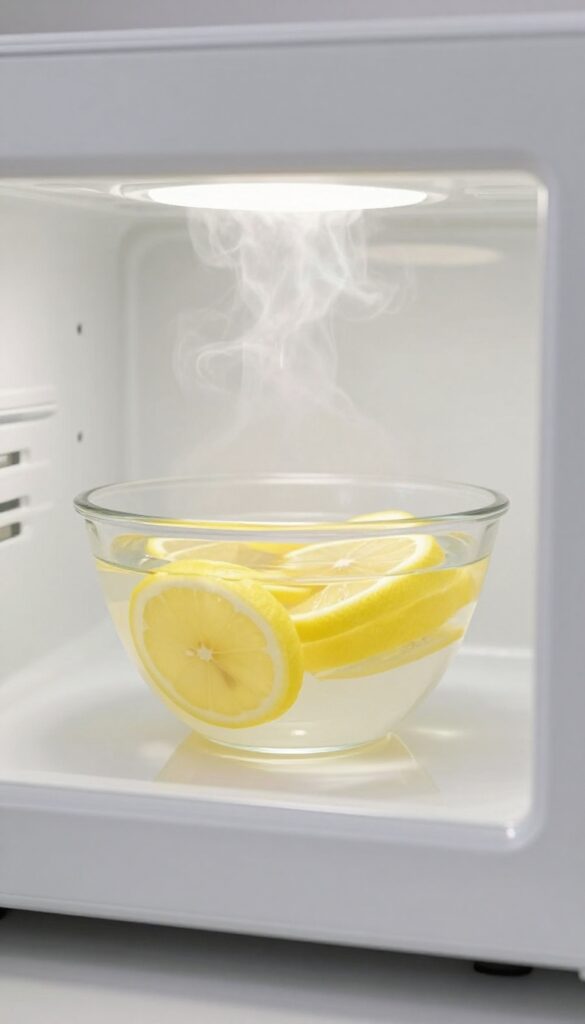
Microwaves collect splatters and spills with every use, but a deep clean doesn't have to be a chore. Steam power does the heavy lifting, loosening stuck-on food so you can wipe it away effortlessly. This method works for both the interior and exterior, leaving your microwave fresh and spotless.
Steam Clean The Interior
Fill a microwave-safe bowl with water and add a few slices of lemon or a splash of vinegar. Microwave on high for 3 minutes. Let the steam sit for another 2 minutes without opening the door.
The condensation softens all the grime, making it simple to wipe down with a damp cloth. The lemon also leaves a fresh scent.
Wipe Down The Exterior And Keypad
Don't stop at the inside. The outside, especially the keypad and handle, collects grease and fingerprints. Use a mild all-purpose cleaner or a vinegar-water solution on a soft cloth.
Avoid spraying directly on the keypad to prevent moisture damage. Wipe in one direction to avoid streaks.
Don't Forget The Turntable And Rollers
Remove the glass turntable and wash it with warm soapy water, or place it in the dishwasher if it's dishwasher-safe. Clean the roller ring and the center hub underneath. Food debris often hides there, causing the turntable to stick or wobble.
Dry everything before reassembling.
9. Organize and Wipe Pantry Shelves
Pantry shelves can become a chaotic jumble of half-used bags and forgotten cans. A deep clean here not only makes everything look tidy but also helps you keep track of what you actually have. Plus, it's the perfect time to toss anything past its prime.
Start by taking everything out—every box, jar, and packet. Give the shelves a good vacuum to catch crumbs and dust, then wipe them down with a damp cloth. While the shelves dry, sort through the items.
Group similar things together: baking supplies, grains, snacks, canned goods. Use clear bins or baskets for small packets like spice mixes or tea bags. This way, you can see everything at a glance and grab what you need without digging.
Don't forget to check expiration dates and toss anything expired or stale.
Empty And Assess
Pull everything off the shelves and lay it out on your counter or table. This gives you a clear view of what you have and what's been hiding in the back. Check each item for expiration dates—if it's past due, toss it.
Also look for any opened packages that might have gone stale or attracted pests.
Clean The Shelves
Use your vacuum's crevice tool to suck up crumbs and dust from every corner. Then, wipe down the shelves with a damp microfiber cloth and a mild cleaner. For sticky spots, a little dish soap in warm water works wonders.
Let the shelves dry completely before putting anything back.
Group And Contain
Organize items by category: baking goods, pasta and rice, canned vegetables, snacks, spices, etc. Place each group in a clear bin or basket. This not only looks neat but also makes it easy to grab what you need.
Label the bins if you want to get extra organized. For small packets like gravy mixes or seasoning packets, use a small basket or a divided container.
10. Clean the Dishwasher Filter and Interior
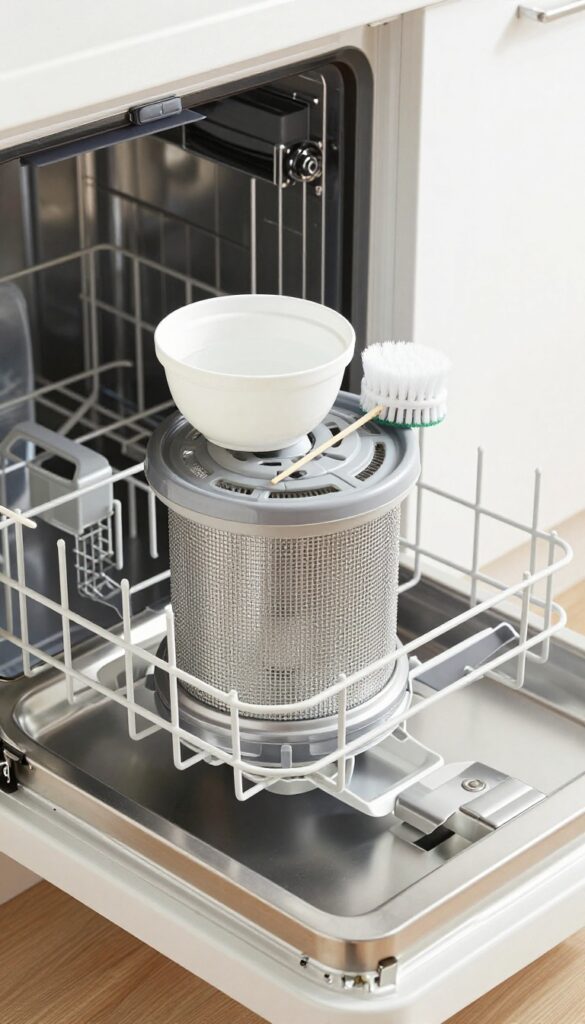
Your dishwasher works hard to get dishes clean, but if it's dirty itself, you're just recycling grime. A clogged filter or greasy interior can leave residue on your glassware and make everything smell funky. Luckily, this is an easy fix that takes just a few minutes.
Start by removing the bottom rack to access the filter assembly. Twist and lift out the filter—it's usually a cylindrical mesh piece. Rinse it under hot running water, scrubbing with a soft brush to dislodge trapped food particles.
For stubborn buildup, soak it in a mixture of hot water and dish soap.
Scrub The Spray Arms
While you're at it, check the spray arms for clogged holes. Use a toothpick or a small wire to clear any debris. Then run the arms under hot water to flush out loose bits.
Run A Vinegar Cycle
Place a cup of white vinegar in a dishwasher-safe bowl on the top rack. Run a hot water cycle with no detergent. The vinegar cuts through grease and mineral deposits, leaving the interior fresh and clean.
Wipe Down Seals And Edges
Use a damp cloth to wipe the rubber door gasket and the edges of the door. These areas can trap moisture and mold. A quick wipe prevents odors and keeps the seal tight.
11. Detail the Range Hood and Filters
Your range hood works hard to capture grease, smoke, and odors, but it can't do its job when coated in grime. Over time, the filters and fan blades get caked with sticky residue, which reduces airflow and can even become a fire hazard. A thorough cleaning restores performance and keeps your kitchen air fresh.
Remove And Soak The Filters
Most range hoods have metal mesh filters that pop out easily. Check your manual if you're unsure how to release them. Fill your sink or a large basin with hot water and add a few squirts of dish soap or a degreasing cleaner.
Let the filters soak for at least 15 minutes—longer if they're heavily soiled. Scrub them gently with a soft brush to dislodge stubborn grease, then rinse thoroughly and let them dry completely before reinstalling.
Wipe Down The Hood Surface
While the filters soak, tackle the hood itself. Use a microfiber cloth dampened with warm, soapy water or a mild degreaser to wipe the exterior and interior surfaces. Pay special attention to the underside and edges where grease tends to accumulate.
For stainless steel, follow up with a dry cloth to prevent streaks and water spots.
Clean The Fan Blades
The fan blades inside the hood can collect a surprising amount of grime. If you can access them safely, use a damp cloth or a long-handled brush to wipe each blade. For tight spaces, a spray degreaser and a toothbrush can help.
Be careful not to bend the blades, as that can cause noise or imbalance. Once clean, run the fan on low for a few minutes to dry any remaining moisture.
12. Sanitize Trash Can and Recycling Bins
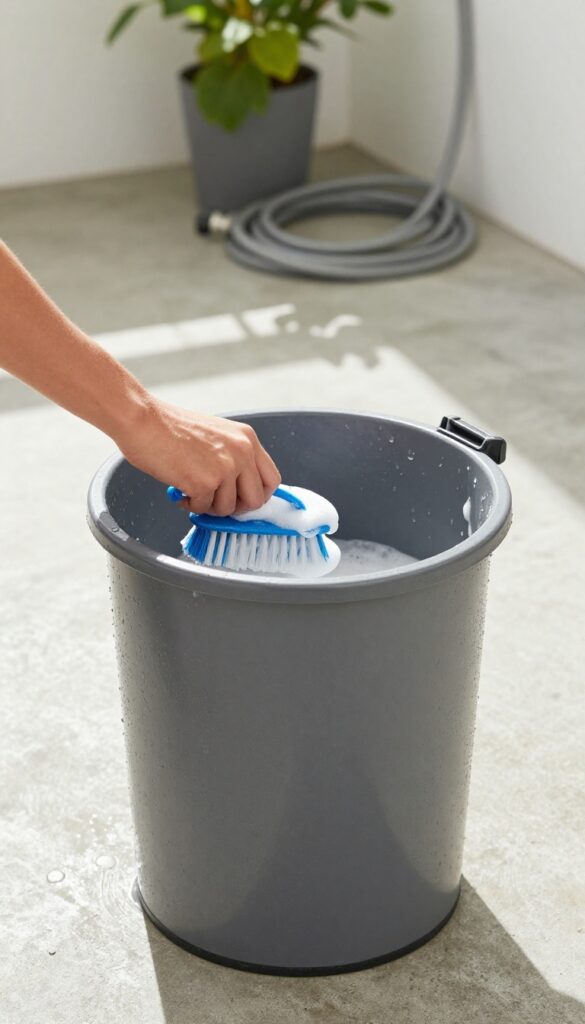
Trash cans and recycling bins are easy to overlook, but they collect spills, sticky residue, and bacteria over time. A quick rinse won't cut it—you need a proper sanitizing routine to keep odors and pests away. Once you clean them thoroughly, your kitchen will smell fresher, and you'll feel better about tossing scraps.
Empty And Rinse First
Take both bins outside and dump any remaining debris. Rinse them with a garden hose to remove loose particles. If you have a removable liner, take it out and wash it separately.
This step prevents dirt from turning into sludge when you apply cleaner.
Scrub With Disinfectant
Mix a solution of 1 part bleach to 10 parts water, or use a commercial disinfectant spray. Apply it generously inside and out, then scrub with a stiff brush. Pay extra attention to the bottom and corners where gunk hides.
Let the solution sit for 5–10 minutes to kill germs.
Rinse And Dry Completely
Rinse thoroughly with clean water to remove any chemical residue. Tilt the bins to drain, then let them air dry in the sun—UV rays help kill remaining bacteria. Make sure they're bone dry before relining; moisture trapped under a bag can breed mold.
13. Wipe Baseboards and Floor Edges
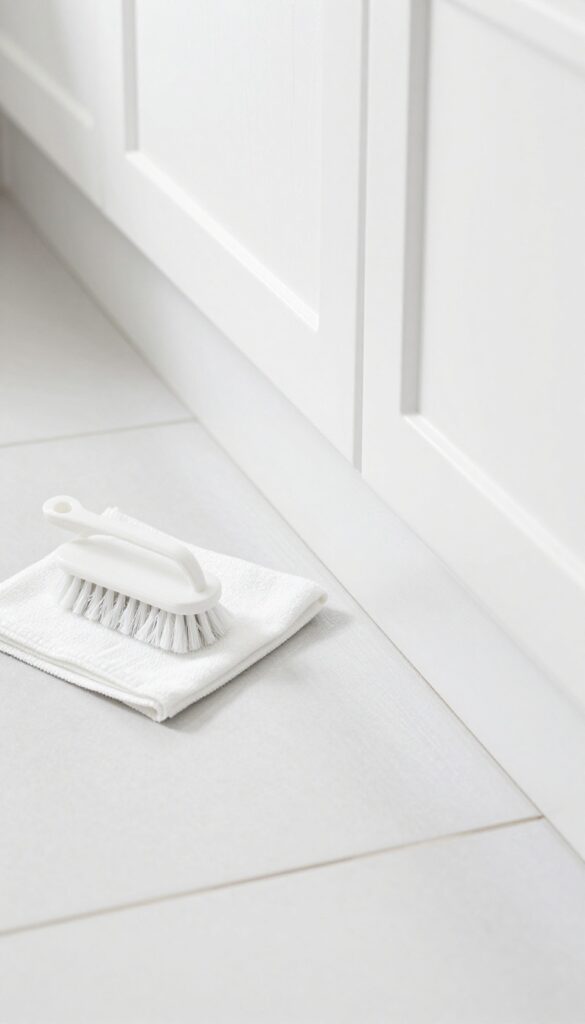
Baseboards and floor edges are easy to ignore until you really look at them. Dust, grime, and cooking grease build up along these surfaces, making the whole kitchen feel less clean. A quick wipe-down here can make a surprising difference in how fresh the room looks and smells.
Start by sweeping or vacuuming along the baseboards to remove loose dust and debris. Then, use a damp microfiber cloth or sponge with a mild cleaner to wipe down the entire length of the baseboards. For stubborn spots, a magic eraser works wonders without damaging the paint.
Don't forget corners and edges where dirt tends to accumulate. This step is quick but impactful—it brightens the room and gives your kitchen that truly deep-cleaned feel.
Why Baseboards Matter
Baseboards act like a magnet for dust, pet hair, and cooking residue. Over time, that buildup can make your kitchen look dingy even if counters are spotless. Cleaning them is a low-effort way to elevate the entire space.
Best Tools For The Job
A microfiber cloth is ideal because it traps dust without scratching. For greasy areas, add a drop of dish soap to warm water. A magic eraser is perfect for scuff marks or stuck-on grime, but test it on an inconspicuous spot first.
Don't Forget The Floor Edges
Where the floor meets the baseboard is a prime spot for dirt. Use a small brush or an old toothbrush to dislodge debris from the gap, then wipe clean. This detail makes the whole floor look freshly cleaned.
14. Deep Clean the Floor (Not Just Sweeping)
Your kitchen floor takes a daily beating from spills, crumbs, and foot traffic. A quick sweep might make it look tidy, but it doesn't remove the sticky residue or grime that builds up over time. A proper deep clean leaves the floor truly clean and safe for food prep.
Start by sweeping or vacuuming to remove loose dirt and debris. Pay special attention to corners and under cabinets where crumbs hide. Then, mop with a cleaner suitable for your floor type—avoid harsh chemicals that can damage finishes.
For tile grout, mix baking soda with water to form a paste, apply it to the grout lines, scrub with a stiff brush, and rinse. Let the floor dry completely before walking on it to prevent streaks and slips.
Sweep And Vacuum First
Don't skip this step. Sweeping or vacuuming removes loose particles that can scratch the floor during mopping. Use a soft-bristle broom or a vacuum with a hard floor setting to avoid damage.
Choose The Right Mop And Cleaner
A microfiber mop is gentle and effective. For tile or vinyl, use a neutral pH cleaner. Avoid vinegar on stone or laminate—it can etch the surface.
Damp mop, not soaking wet, to prevent water damage.
Tackle Grout Lines
Grout absorbs spills and looks dingy fast. Make a paste of baking soda and water, apply it to grout lines, let it sit for 5 minutes, then scrub with an old toothbrush or grout brush. Rinse with water and wipe dry.
Let It Dry Completely
After mopping, open windows or turn on a fan to speed drying. Walking on a wet floor leaves footprints and can be slippery. Wait until the floor is fully dry before moving furniture or appliances back.
15. Refresh Small Appliances and Utensil Holders
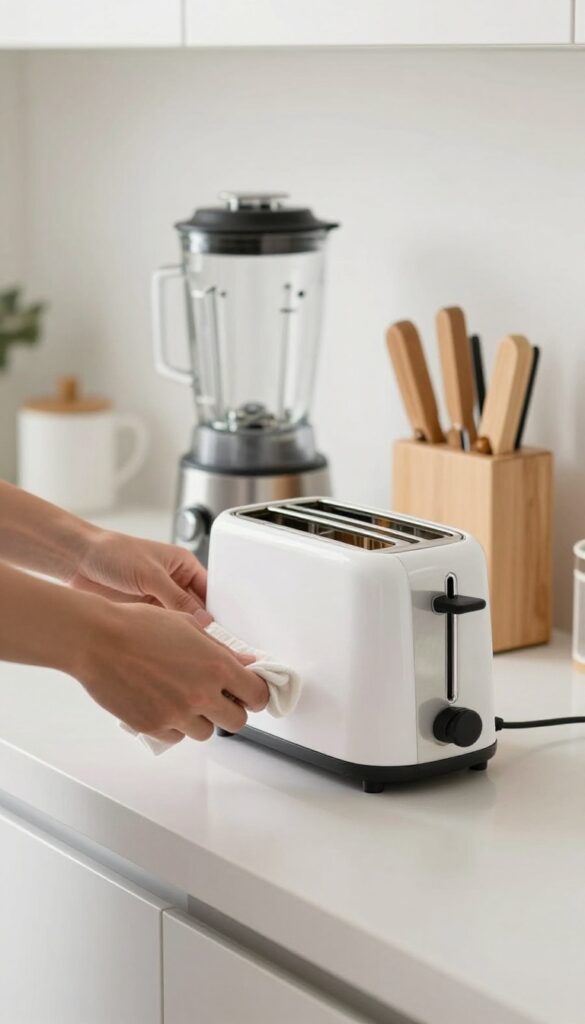
Countertop appliances and utensil holders are some of the most touched items in your kitchen, yet they rarely get a proper cleaning. Over time, toasters collect crumbs, blenders develop a film of dried smoothie residue, and knife blocks harbor unseen bacteria. Giving these items a thorough refresh not only improves hygiene but also makes your kitchen look and feel cleaner.
Start by unplugging all small appliances. For toasters, remove the crumb tray and wash it in warm soapy water. Use a soft brush or a damp cloth to wipe the interior and exterior, avoiding heating elements.
For blenders and food processors, disassemble removable parts and wash them in hot soapy water or run them through the dishwasher. Wipe the base with a damp cloth, being careful around the motor vents. For coffee makers, run a vinegar and water cycle to descale, then rinse with fresh water.
For knife blocks, shake out debris and use a thin brush or pipe cleaner to clean each slot. If the block is wooden, wipe with a mild soap solution and dry immediately. Utensil holders can be washed in the dishwasher or wiped down with a disinfecting spray.
Finally, polish any stainless steel surfaces with a dedicated cleaner or a mixture of vinegar and olive oil for a streak-free shine.
Tackle The Toaster And Coffee Maker
The toaster often hides burnt crumbs and grease. Remove the crumb tray, wash it, and vacuum the interior if needed. For coffee makers, descaling is key—mix equal parts white vinegar and water, run a full cycle, then two cycles of fresh water.
Wipe the carafe and warming plate.
Blenders And Food Processors
These can get grimy around the blade base. Disassemble all removable parts and wash them in hot, soapy water. Use a bottle brush to clean the inside of the pitcher.
Wipe the motor base with a damp cloth, and don't forget the gasket seal.
Knife Blocks And Utensil Holders
Knife blocks collect dust and bacteria. Shake out loose debris, then use a thin brush or pipe cleaner to clean each slot. For utensil holders, wash in the dishwasher or by hand with a disinfecting cleaner.
Dry thoroughly to prevent rust or mold.
Final Polish And Organization
Once everything is clean and dry, arrange appliances neatly on the counter. Use a stainless steel cleaner or a microfiber cloth with a dab of vinegar to polish surfaces. This final step adds a professional gleam and makes your kitchen feel brand new.
FAQ
How often should I deep clean my kitchen?
Aim for a deep clean every three to six months, depending on how much you cook. High-use kitchens may need it quarterly.
What is the best degreaser for kitchen cabinets?
A mix of warm water, dish soap, and a splash of white vinegar works well. For heavy grease, try a commercial degreaser or a baking soda paste.
Can I use bleach on all kitchen surfaces?
No, bleach can damage stainless steel, granite, and some sealed surfaces. Use it only on non-porous, bleach-safe areas like sinks or trash cans.
How do I remove baked-on food from the oven?
Make a paste of baking soda and water, spread it over the stains, and let it sit overnight. Spray with vinegar in the morning, then wipe clean.
What's the safest way to clean a refrigerator?
Use a solution of mild dish soap and warm water. Avoid harsh chemicals that can absorb into food. Baking soda helps with odors.
Conclusion
A deep-cleaned kitchen isn't just about appearances—it's the foundation for safer, more enjoyable cooking. By working through these 15 steps, you've tackled hidden grease, grime, and bacteria that daily wiping misses. Pick a few high-impact tasks to maintain weekly, and save the full reset for seasonal refreshes.
Your cooking space will feel fresher, your tools will last longer, and every meal will start with a clean slate. You've earned that satisfying sparkle.