23 Kitchen Deep Cleaning Checklist Steps for Every Zone
A truly clean kitchen isn't just about wiping counters. It's about tackling the grime that builds up in every nook and cranny, from the top of the fridge to the bottom of the sink. This checklist breaks down the job into 23 manageable steps, organized by zone, so you can work through your kitchen methodically.
You'll hit all the hot spots—the stovetop, the oven, the fridge, and more—without missing a thing. Each step is designed to be practical and effective, using common tools and cleaners you probably already have.
By the end, your kitchen won't just look clean; it will smell fresh and feel truly hygienic. Let's get started.
1. Clear and Wipe Cabinet Exteriors
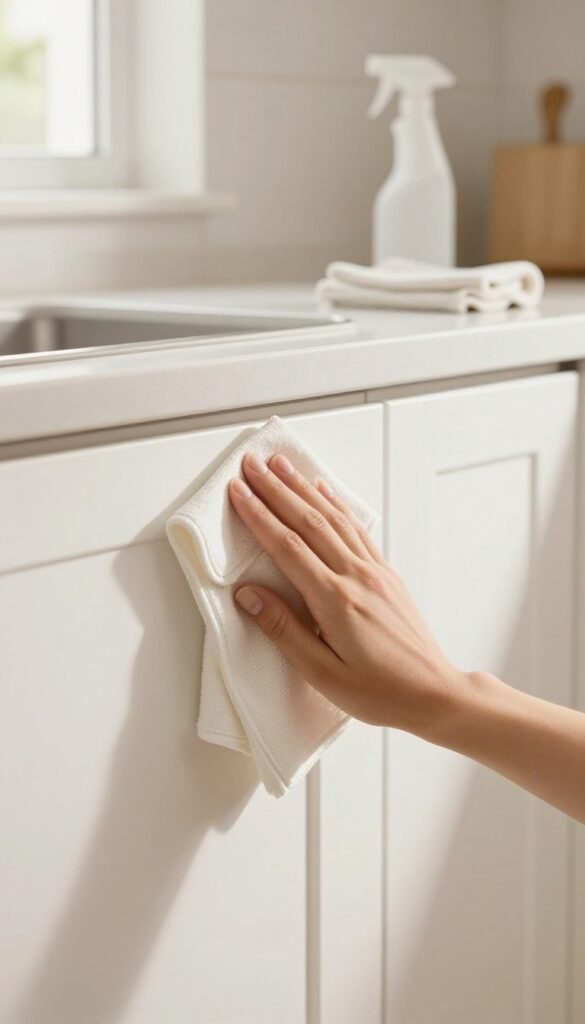
Cabinet fronts take a beating from cooking splatters, greasy fingers, and dust. Before you dive into the deeper cleaning, start with a clean slate. Remove everything from countertops and cabinet fronts, then give those doors and handles a thorough wipe-down.
Mix a gentle degreaser—warm water with a squirt of dish soap works great. Dip a microfiber cloth, wring it out well, and wipe each cabinet door from top to bottom. Don't forget the handles and knobs, where grime collects.
For stubborn spots, let the solution sit for a minute before wiping. Dry with a separate cloth to avoid streaks.
What You’ll Need
Microfiber cloths, mild dish soap, warm water, a bucket, and a dry towel. Avoid harsh chemicals that can damage wood or paint finishes.
Pro Tip For Grease
If your cabinets are extra greasy, add a splash of white vinegar to the soapy water. It cuts through oil without leaving residue.
Don’t Forget The Tops
Cabinet tops collect dust and sticky grease. If you can reach, wipe them too. For tall cabinets, use a step stool or an extendable duster.
2. Empty and Scrub Inside Cabinets
Cabinets hide more than just dishes. Over time, crumbs, dust, and sticky spills accumulate on shelves, especially if you store spices, oils, or canned goods. This step ensures every surface inside your cabinets is as clean as the ones you can see.
Start by removing everything from one cabinet at a time. Group similar items together on your counter or table. Use a vacuum with a crevice tool to suck up loose crumbs and debris from corners and shelf edges.
Then, wipe all interior surfaces with a damp microfiber cloth and a mild all-purpose cleaner or a vinegar-water solution. Pay extra attention to sticky spots and corners. Let the cabinet air dry completely before putting items back—this prevents moisture from causing mold or warping.
While shelves dry, take the opportunity to wipe down jars and containers that may have greasy or dusty exteriors.
Tackle Stubborn Spills And Stains
If you find sticky spills from honey, syrup, or oil, spray the area with a degreaser or a paste of baking soda and water. Let it sit for a few minutes, then scrub gently with a soft brush. Rinse with a damp cloth and dry thoroughly.
Don't Forget The Doors And Edges
The inside of cabinet doors and the top edges of shelves collect grime too. Wipe them down with the same cleaner, using a toothbrush for any grooves or hardware. This small extra step makes a big difference in overall freshness.
Organize As You Restock
Before putting everything back, consider using shelf liners or small bins to keep items grouped. Place frequently used items at eye level and heavier items on lower shelves. This not only keeps your cabinets tidy longer but also makes future cleaning easier.
3. Degrease the Range Hood and Filter
Your range hood works hard pulling grease, smoke, and odors out of the air, but all that gunk has to go somewhere. Over time, the filter and the hood itself get coated in sticky residue that can even become a fire hazard. Cleaning this zone not only improves airflow but also helps your hood run more quietly and efficiently.
Remove And Soak The Filter
Most range hood filters are metal mesh or baffle filters that slide or clip out easily. Check your hood's manual if you're unsure. Once removed, fill your sink or a large basin with hot water and add a generous squirt of dish soap—or a degreasing agent like baking soda or a commercial degreaser.
Submerge the filter completely and let it soak for at least 15 minutes, longer if it's heavily soiled. After soaking, scrub gently with a soft brush or sponge to loosen the grease, then rinse thoroughly with hot water. Let it air dry completely before reinstalling.
Scrub The Hood Exterior And Interior
While the filter soaks, tackle the hood itself. For the exterior, use a microfiber cloth with a mild all-purpose cleaner or a vinegar-water solution. Stainless steel hoods benefit from a dedicated stainless steel cleaner to avoid streaks.
For the interior, which is often greasier, spray a degreaser directly onto the surfaces and let it sit for a few minutes. Wipe down the inside with a damp cloth, paying extra attention to the fan blades and any crevices where grease accumulates. A toothbrush or small detailing brush works well for tight spots.
Don't Forget The Exhaust Fan And Surrounding Area
If your range hood has an exhaust fan that's accessible, gently wipe the fan blades with a degreaser-dampened cloth. Be careful not to bend the blades. Also, clean the area above and around the hood—dust and grease can collect on top of cabinets or on the ceiling.
A quick wipe with a degreaser or a magic eraser can make a big difference in the overall freshness of your kitchen.
4. Deep Clean the Stovetop and Burners
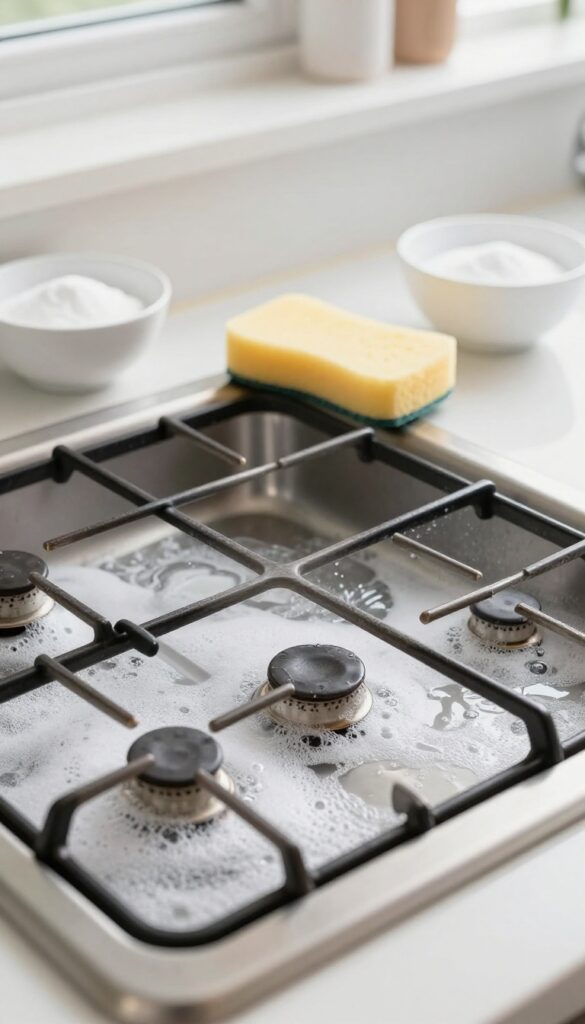
The stovetop takes the brunt of daily cooking, so it deserves a thorough deep clean. Over time, grease and burnt-on food can build up, affecting performance and appearance. This step will have your burners and stovetop looking like new.
Remove And Soak The Grates And Burner Caps
Start by taking off the grates and burner caps. Place them in a sink or large basin filled with hot, soapy water. Let them soak for at least 15 minutes to loosen baked-on grime.
For stubborn spots, add a bit of baking soda or a degreasing dish soap.
Scrub The Stovetop Surface
While the grates soak, wipe down the stovetop. Use a non-abrasive cleaner or a mixture of vinegar and water. Avoid harsh scrubbers that could scratch glass or ceramic tops.
For gas stoves, clean around the burner heads carefully with a soft brush.
Rinse And Dry Everything Thoroughly
After soaking, scrub the grates and caps with a sponge or brush to remove any remaining residue. Rinse them well with clean water and dry completely before putting them back. Moisture can cause rust or affect burner performance, so make sure everything is bone dry.
5. Scrub the Oven Interior and Door
The oven is a workhorse, but it's also a magnet for baked-on grease and charred spills. A deep clean here makes a huge difference in both appearance and smell. Plus, it helps your oven heat more evenly.
Start by removing the oven racks and any loose debris. Then apply a baking soda paste (or a commercial oven cleaner) to the interior, avoiding heating elements. Let it sit overnight for tough grime.
Wipe away with a damp cloth, then spray with white vinegar to neutralize residue. For the glass door, a vinegar-water solution cuts through grease and leaves a streak-free shine. Don't forget the door edges and seal—use a toothbrush for crevices.
Choose Your Cleaner
Baking soda paste is gentle and non-toxic, perfect for regular maintenance. Mix 1/2 cup baking soda with a few tablespoons of water to form a spreadable paste. For heavy buildup, a commercial oven cleaner works faster—just follow the label instructions and ventilate well.
Tackle The Glass Door
Spray the door with equal parts white vinegar and water. Let it sit for a minute, then wipe with a microfiber cloth. For stubborn spots, scrub gently with a non-abrasive sponge.
Avoid harsh scouring pads that can scratch the glass.
Don't Skip The Racks
Soap and water usually do the trick. If racks are heavily soiled, soak them in hot water with dish soap and a cup of baking soda. Scrub with a stiff brush, rinse, and dry before sliding back in.
6. Clean the Microwave Inside and Out
The microwave might be one of the most used appliances in your kitchen, but it's also one of the most neglected when it comes to deep cleaning. Food splatters and grease can build up quickly, turning your microwave into a breeding ground for bacteria and odors. This step will get it sparkling inside and out with minimal effort.
Steam Clean The Interior
Fill a microwave-safe bowl with 1 cup of water and add a few slices of lemon or a tablespoon of vinegar. Microwave on high for 3-5 minutes until the mixture boils and steam coats the interior. Let it sit for 2 minutes to loosen any baked-on grime.
Then, carefully remove the bowl and wipe down all surfaces with a damp cloth or sponge. The steam softens even the toughest residue, making cleanup a breeze.
Don't Forget The Turntable And Rollers
Remove the glass turntable and the plastic roller ring. Wash them in warm, soapy water or place them in the dishwasher if they're dishwasher-safe. Dry thoroughly before putting them back.
While they're out, wipe the microwave floor and the roller guide with a damp cloth to remove any crumbs or spills.
Tackle The Exterior And Keypad
The outside of your microwave collects fingerprints, grease, and dust, especially on the keypad and handle. Use a gentle all-purpose cleaner or a mixture of water and mild dish soap on a microfiber cloth. Wipe the entire exterior, paying extra attention to the keypad—spray the cloth, not the keypad, to avoid moisture seeping into the electronics.
Finish with a dry cloth to prevent streaks.
7. Wipe Down the Refrigerator Exterior
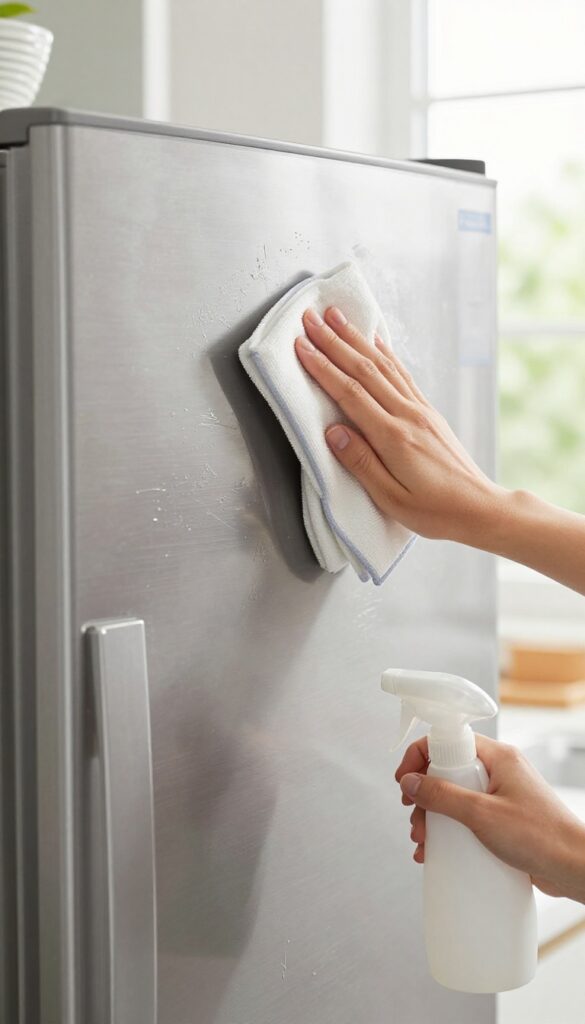
The fridge door gets touched dozens of times a day, so it collects fingerprints, smudges, and sticky spots fast. And when was the last time you cleaned the top of the fridge? That space often becomes a dumping ground for dust, crumbs, and who-knows-what.
A quick exterior wipe-down makes a huge visual difference and keeps your fridge looking its best.
Start by removing everything from the top of the fridge. Give that area a good vacuum or dusting, then wipe it down with an all-purpose cleaner. For the doors and handles, use a microfiber cloth and a cleaner appropriate for your fridge's finish.
If you have stainless steel, a dedicated stainless steel cleaner or a mix of vinegar and olive oil works wonders to remove fingerprints and restore shine. Don't forget the sides and the bottom front panel where dust bunnies love to hide. Finish by wiping the handles with a disinfecting wipe for extra hygiene.
Tackle The Top And Sides
Clear off everything stored on top of the fridge—cookbooks, baskets, decorations. Vacuum or dust the surface, then spray with an all-purpose cleaner and wipe dry. For the sides, especially if the fridge is between cabinets, use a long-handled duster or extendable microfiber mop to reach dusty areas.
Wipe down the sides with a damp cloth to remove any greasy film.
Shine The Doors And Handles
For stainless steel, apply a small amount of stainless steel cleaner to a microfiber cloth and rub in the direction of the grain. This removes fingerprints and smudges without leaving streaks. For painted or plastic finishes, a gentle all-purpose spray works fine.
Pay extra attention to handles, which harbor germs—use a disinfectant wipe or a cloth with diluted bleach solution (test first).
8. Empty and Sanitize the Refrigerator Interior
Your fridge is a closed environment, so spills and old food can quickly lead to odors and mold. A deep clean of the interior not only makes it look better but also keeps your food fresher longer. Start by removing everything, then work through each part methodically.
Toss And Consolidate
Pull out every item and place them on your counter or a cooler. Check expiration dates and toss anything past its prime—old condiments, wilted veggies, and leftovers you forgot about. Group similar items together so restocking is organized.
Remove Shelves And Drawers
Most fridge shelves and drawers are removable. Take them out and wash them in warm, soapy water in your sink. For stubborn stains, let them soak for a few minutes.
Rinse and dry thoroughly before putting them back.
Wipe Down The Interior
Use a mild disinfectant or a solution of equal parts water and white vinegar. Wipe all interior surfaces—walls, ceiling, floor, and door bins. Pay extra attention to corners and crevices where spills can hide.
Dry with a clean cloth to prevent streaks.
Restock Smartly
Once everything is clean and dry, return the shelves and drawers. Place items back in an organized way: raw meat on the bottom shelf, dairy on the upper shelves, and produce in the designated drawers. Wipe down jars and bottles before putting them in to keep things clean longer.
9. Defrost and Clean the Freezer
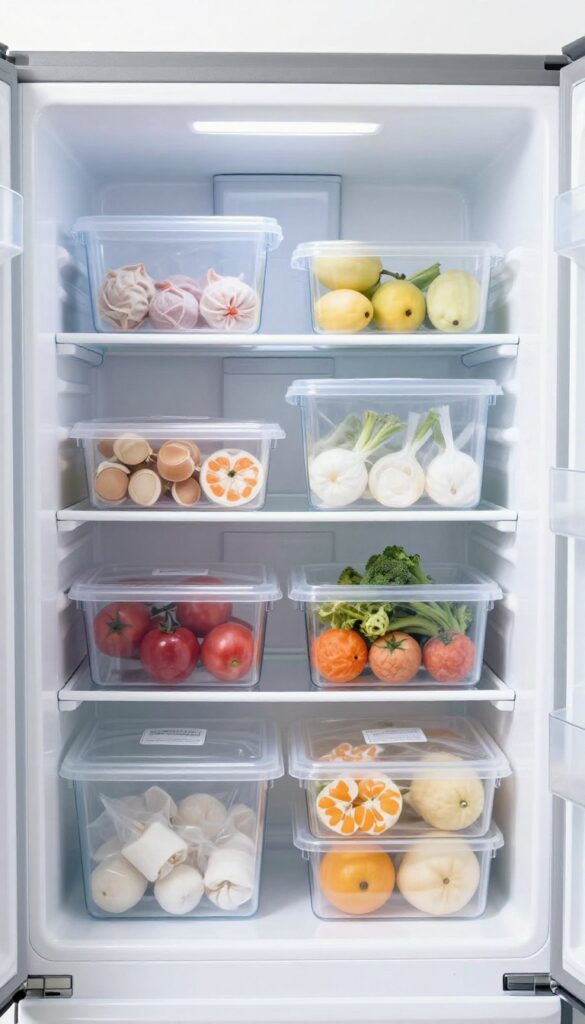
If your freezer has a thick layer of frost or ice buildup, it's time to defrost. Not only does ice take up valuable space, but it also makes the appliance work harder, driving up energy costs. A clean, frost-free freezer keeps food fresher longer and makes it easier to find what you need.
Prep And Defrost
Start by unplugging the freezer or turning off the circuit breaker. Remove all frozen items and place them in a cooler with ice packs to keep them cold. Open the freezer door and let the ice melt naturally—place towels around the base to catch water.
Never use a sharp tool to chip ice; that can damage the interior. For faster defrosting, put bowls of hot water inside and close the door for 15 minutes, then replace the water as needed.
Clean And Sanitize
Once all ice is gone, wipe down every surface with a mixture of warm water and mild dish soap. Pay special attention to corners, seals, and drawers where spills can hide. Rinse with a clean damp cloth and dry thoroughly.
To prevent odors, wipe the interior with a solution of equal parts water and white vinegar. Let it air dry before plugging the freezer back in.
Organize For Easy Access
Before reloading, take stock of what you have and toss anything freezer-burned or past its prime. Group similar items together—meats, veggies, frozen meals—and use clear bins or labels to keep things visible. Store items you use most often at eye level.
Consider adding a freezer inventory list on the door so you know what's inside without digging.
10. Soak and Scrub the Sink and Drain
Your sink sees a lot of action, from rinsing dishes to washing produce. Over time, it can develop stains, odors, and a buildup of grime. Giving it a deep soak and scrub not only makes it sparkle but also helps keep drains fresh and free-flowing.
The Baking Soda Soak
Start by plugging the sink and filling it with hot water. Add about half a cup of baking soda and let it dissolve. Let the water sit for 15–20 minutes to loosen any stuck-on debris and neutralize odors.
This simple soak works wonders on stainless steel and porcelain sinks alike.
Scrub Every Surface
After soaking, drain the water and sprinkle fresh baking soda over the wet sink. Use a soft sponge or cloth to scrub in circular motions, paying extra attention to the sides and bottom. For tough stains, make a paste with baking soda and a little water, let it sit for a few minutes, then scrub.
Rinse thoroughly with warm water.
Clean The Drain And Garbage Disposal
Remove the drain stopper and use a small brush or old toothbrush to clean around the drain opening and the rubber gasket. For the garbage disposal, toss in a handful of citrus peels (lemon, lime, or orange) and run cold water while turning it on. The peels help deodorize and clean the blades naturally.
Follow up with a few ice cubes to sharpen the blades.
11. Polish the Faucet and Fixtures
Faucets and handles take a beating daily, and water spots or mineral buildup can make them look dull. A quick polish restores their shine and keeps them looking like new. This step is simple but makes a big visual difference.
Start by wrapping a cloth soaked in white vinegar around the faucet base and spout. Let it sit for 10-15 minutes to dissolve mineral deposits. For stubborn spots, use an old toothbrush dipped in vinegar.
Rinse with water and dry thoroughly. Then buff all metal surfaces—faucet, handles, soap dispenser—with a dry microfiber cloth until they gleam. Don't forget the sprayer head and any decorative trim.
For brass or specialty finishes, check the manufacturer's care instructions to avoid damage.
Why Vinegar Works Best
Vinegar's acidity breaks down calcium and lime deposits without harsh scrubbing. It's safe for most finishes and won't scratch. Just avoid using it on unsealed brass or copper.
Buffing Technique For A Streak-free Shine
Use a clean, dry microfiber cloth in circular motions. Microfiber traps dust and prevents lint. For extra sparkle, add a drop of olive oil to the cloth and buff lightly.
Don't Skip The Small Fixtures
Soap dispensers, air gap caps, and pot fillers collect grime too. Wipe them with vinegar and buff. A consistent shine across all fixtures makes the whole sink area look polished.
12. Clean the Dishwasher Filter and Interior
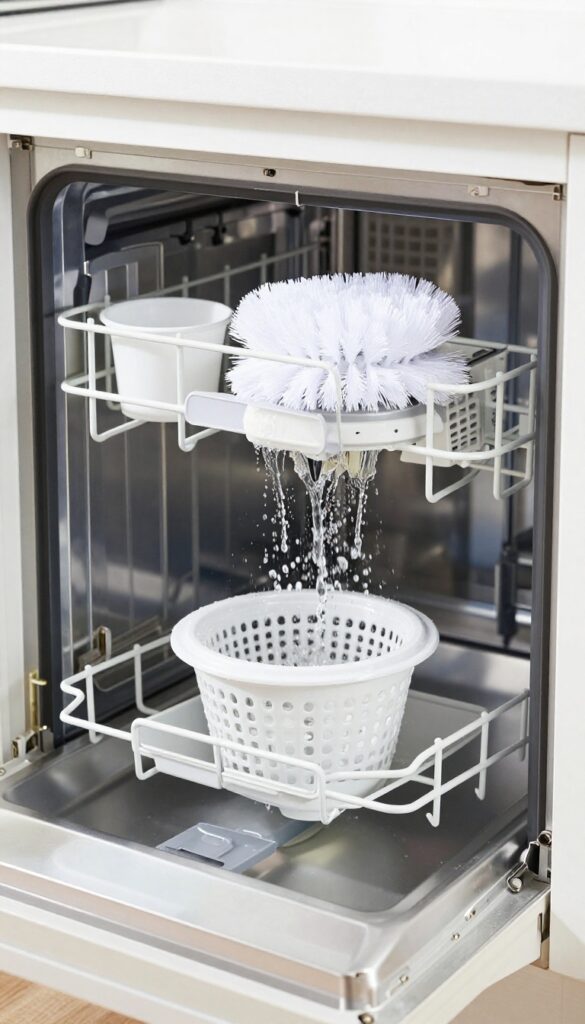
Your dishwasher works hard to clean your dishes, but it needs a little TLC itself. Over time, food particles get trapped in the filter, and grease and soap scum build up inside the tub. This can lead to unpleasant odors, poor cleaning performance, and even mold growth.
A quick monthly deep clean keeps it running efficiently and smelling fresh.
Remove And Rinse The Filter
Most dishwashers have a removable filter at the bottom. Twist it counterclockwise or lift it out, depending on your model. Rinse it under hot running water, scrubbing gently with a soft brush to dislodge any trapped debris.
Avoid using harsh scrubbers that could damage the mesh. Let it dry completely before putting it back.
Wipe Down The Door Gasket And Edges
The rubber gasket around the door can trap moisture, food bits, and mold. Wipe it down with a damp cloth and a mild detergent or a 50/50 vinegar-water solution. Pay attention to the folds and crevices.
A clean gasket ensures a tight seal and prevents leaks.
Run A Cleaning Cycle
Place a dishwasher cleaner tablet on the bottom rack or fill a dishwasher-safe cup with white vinegar and set it upright on the top rack. Run a hot water cycle (or the 'clean dishwasher' cycle if your model has one). This removes grease, mineral deposits, and lingering odors.
For extra freshness, sprinkle baking soda on the bottom before a short rinse cycle.
13. Wipe Down Countertops and Backsplash
Countertops and backsplash take a daily beating from cooking splatters, spills, and crumbs. Over time, grease and grime build up, especially on the backsplash behind the stove. This step focuses on giving those surfaces a thorough clean, not just a quick wipe.
Start by clearing everything off your countertops—appliances, canisters, knife blocks, everything. This gives you full access to every inch of the surface. Then spray an all-purpose cleaner liberally over the counters and backsplash.
Let it sit for a minute to break down grease, then wipe with a clean microfiber cloth. Pay special attention to the backsplash, where oil and sauce splatters tend to hide. For stubborn spots, use a soft scrub brush or a baking soda paste.
Don't forget corners and edges where crumbs accumulate.
Choose The Right Cleaner
Not all countertops are the same. For granite or quartz, use a pH-neutral cleaner to avoid etching. For laminate, a standard all-purpose spray works fine.
For tile backsplash, a degreaser is your best friend. Always test a small hidden area first if you're using something new.
Tackle Grout Lines
The grout between backsplash tiles can trap grease and turn dingy. After wiping the tiles, use an old toothbrush dipped in baking soda and water to scrub the grout lines. Rinse with a damp cloth.
For tough stains, a grout cleaner or a bleach pen can help restore brightness.
Don't Forget The Edges
Countertop edges and seams are crumb magnets. Run your finger along the edge to feel for hidden debris. Use a damp cloth or a small brush to clean these areas.
Also wipe down the area where the backsplash meets the counter—it's a common spot for gunk buildup.
Dry And Buff
After cleaning, dry the countertops and backsplash with a fresh microfiber cloth. This prevents water spots and streaks. For stainless steel or glossy surfaces, buff gently to restore shine.
A dry surface also discourages bacteria growth.
14. Sanitize Cutting Boards and Utensil Holders
Cutting boards and utensil holders are two of the most overlooked germ magnets in the kitchen. Every time you chop raw meat or vegetables, bacteria can linger in knife grooves. And utensil holders?
They collect crumbs, dust, and even sticky residue from dirty handles. Here's how to give them a proper deep clean.
Scrub Cutting Boards The Right Way
For wooden boards, sprinkle coarse salt over the surface and scrub with half a lemon. The salt acts as a gentle abrasive, while the lemon juice cuts grease and kills bacteria. Rinse and dry immediately.
For plastic boards, use a diluted bleach solution (1 tablespoon bleach per gallon of water) or run them through the dishwasher on a hot cycle. Replace boards that are heavily scored or warped.
Empty And Wash Utensil Holders
Tip out all utensils and wipe the inside of the holder with a damp cloth to remove loose crumbs. For stubborn grime, wash with warm soapy water and a bottle brush. If the holder is dishwasher-safe, toss it in the top rack.
Let it air dry completely before returning utensils to prevent moisture buildup.
Don't Forget The Utensils Themselves
While you have everything out, give your wooden spoons, spatulas, and tongs a good wash. Use hot soapy water and a scrub brush to get into crevices. For wooden utensils, rub them with mineral oil after drying to keep them from cracking.
15. Organize Pantry Items and Wipe Shelves

Your pantry is the backbone of your kitchen, but it's easy for it to become a chaotic jumble of half-used bags and forgotten cans. Taking everything out might feel like a hassle, but it's the only way to truly reset the space. Once you see the empty shelves, you'll be motivated to create a system that actually works for you.
Empty And Sort
Pull every single item out of the pantry and group them by category—canned goods, pasta, baking supplies, snacks, and so on. As you go, check expiration dates and toss anything that's past its prime. Donate unopened non-perishables you know you won't use.
Wipe Down Shelves And Walls
With the pantry bare, vacuum or sweep up any crumbs and dust. Then wipe down all shelves, walls, and the floor with a mild all-purpose cleaner. Pay extra attention to corners and crevices where spills can hide.
Let everything dry completely before restocking.
Group And Label
Place similar items together so you can find them at a glance. Use clear bins or baskets for small packets and loose items. Label shelves or containers so everyone in the household knows where things belong.
This makes future restocking and meal prep much faster.
16. Clean Small Appliances (Toaster, Coffee Maker, etc.)
Small appliances work hard every day, but they often get ignored during routine cleaning. Toasters collect crumbs in hard-to-reach places, coffee makers build up mineral deposits, and microwaves can hide splatters that bake on over time. Giving each appliance a thorough cleaning not only keeps them looking good but also helps them perform better and last longer.
Start by unplugging everything for safety. Remove any removable parts like crumb trays, carafes, and filter baskets. Wash these in warm soapy water or in the dishwasher if they're dishwasher-safe.
Wipe down exteriors with a damp cloth and a gentle cleaner, paying attention to buttons and crevices where grime hides. For stubborn spots, a soft brush or toothpick can help dislodge debris without scratching surfaces.
Toaster And Toaster Oven
Empty the crumb tray over the trash and wipe it clean with a damp cloth. For toaster ovens, remove the rack and wash it separately. Use a soft brush to sweep crumbs from the bottom and around the heating elements.
Wipe the interior with a damp cloth and dry thoroughly before reassembling.
Coffee Maker And Kettle
Descale your coffee maker or electric kettle every few months to remove mineral buildup. Fill the reservoir with equal parts water and white vinegar, run a brew cycle (or boil in a kettle), then let it sit for 15 minutes. Run two more cycles with fresh water to rinse.
Wash the carafe, filter basket, and any removable parts in soapy water.
Microwave
Place a bowl of water with a few slices of lemon inside and microwave on high for 3 minutes. The steam loosens stuck-on food. Let it sit for 5 minutes, then wipe the interior with a sponge.
Remove the turntable and wash it separately. Wipe the door seal and control panel with a damp cloth.
Other Small Appliances
For blenders, fill the jar halfway with warm water and a drop of dish soap, then blend on high for 30 seconds. Rinse thoroughly. For slow cookers, wash the stoneware insert and lid in soapy water or the dishwasher.
Wipe the base with a damp cloth, being careful not to get water into the electrical parts.
17. Dust Light Fixtures and Under-Cabinet Lights
Light fixtures and under-cabinet lights are easy to overlook, but they collect a surprising amount of dust and grease. When they're dirty, your kitchen can feel dim and dingy, even on a sunny day. Giving them a quick wipe-down makes a noticeable difference in brightness and overall cleanliness.
Start by turning off the lights and letting bulbs cool completely. Use a microfiber duster or a soft, dry cloth to remove loose dust from fixtures and covers. For sticky grime, dampen a cloth with a gentle cleaner (like diluted vinegar or dish soap) and wipe carefully—avoid getting moisture into electrical parts.
Dry with a clean cloth to prevent streaks. For under-cabinet lights, pay attention to the tracks and any exposed wiring; a cotton swab can help reach tight spots. Once everything is clean, flip the switch and enjoy the renewed glow.
Why It Matters
Clean lights not only look better but also improve visibility for cooking and prepping. Dust and grease can reduce light output by up to 30%, making your kitchen feel smaller and less inviting. Regular dusting also extends the life of bulbs and fixtures.
Tools And Supplies
You'll need a microfiber duster, soft lint-free cloths, a mild cleaner (like all-purpose spray or vinegar water), a small step stool, and cotton swabs for tight spots. Avoid abrasive cleaners that can scratch glass or plastic covers.
Step-by-step
- Turn off lights and let cool. 2.
Dust covers and bulbs with a dry microfiber cloth. 3. Dampen cloth with cleaner and gently wipe surfaces.
- Use a dry cloth to buff away streaks. 5.
For under-cabinet lights, clean the housing and any exposed bulbs carefully. 6. Replace any covers or diffusers once dry.
18. Wipe Baseboards and Window Sills
Baseboards and window sills are the silent collectors of kitchen dust, grease, and mystery crumbs. They sit at the edges of your workspace, often ignored until you notice a grimy film. Giving them a quick wipe during your deep clean makes a huge difference in the overall freshness of the room.
Start With A Dry Dust
Before you bring in any moisture, run a microfiber cloth or a duster along the baseboards and sills. This picks up loose dust and cobwebs without turning them into mud. Pay extra attention to corners where debris tends to accumulate.
Tackle Grease With Warm Soapy Water
Kitchen baseboards and sills often have a layer of greasy residue from cooking. Dip a soft cloth in warm water with a few drops of dish soap, wring it out well, and wipe down the surfaces. For stubborn spots, a gentle scrub with a soft sponge works wonders.
Get Into Tight Spots With A Brush
Use an old toothbrush or a small detailing brush to reach the crevices where baseboards meet the floor or where window sills meet the frame. These hidden areas trap grime and can harbor mold if left unchecked. A quick scrub keeps them clean and dry.
19. Clean Windows and Glass Surfaces
Windows and glass surfaces in the kitchen take a beating from cooking grease, steam, and fingerprints. A quick wipe might hide the grime, but a deep clean makes everything sparkle. This step covers windows, glass cabinet doors, and any glass décor that's looking dull.
Start by removing any curtains or blinds and tossing them in the wash or wiping them down. Mix a solution of warm water and a few drops of dish soap, or use a commercial glass cleaner. Spray the glass generously, then wipe with a lint-free microfiber cloth in a zigzag pattern to avoid streaks.
For stubborn grease spots, add a splash of vinegar to your cleaner. Don't forget the window sills and tracks—use a small brush or an old toothbrush to scrub out dirt, then vacuum or wipe away debris. Finally, tackle glass cabinet doors and picture frames with the same cleaner, paying extra attention to edges where grime builds up.
Windows And Window Treatments
Take down curtains or blinds and launder or wipe them according to care instructions. Clean the glass with a squeegee or microfiber cloth, working from top to bottom. For tracks, use a vacuum crevice tool followed by a damp cloth.
Glass Cabinet Doors
Spray glass cleaner on a cloth rather than directly on the door to avoid drips. Wipe in a circular motion, then buff dry. Clean the edges and corners with a cotton swab if needed.
Glass Décor And Picture Frames
Remove items from shelves and wipe frames with a damp cloth. Clean the glass with a gentle spray and a microfiber cloth. Let everything dry fully before replacing.
20. Scrub the Trash Can Inside and Out
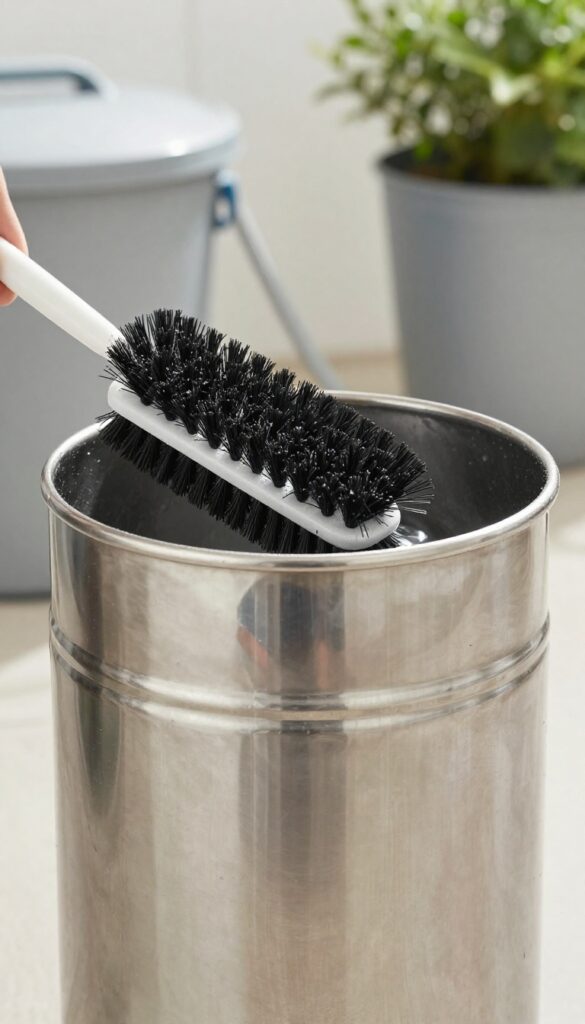
Your kitchen trash can takes a beating every single day. Food scraps, sticky spills, and mystery liquids collect at the bottom, creating a breeding ground for bacteria and odors. Even if you take out the trash regularly, the can itself needs a deep clean to stay fresh and sanitary.
Start by taking the trash can outside to a well-ventilated area or your driveway. Empty any remaining debris and give it a quick rinse with a hose to loosen stuck-on gunk. Spray the entire interior and exterior with a disinfectant cleaner or a mixture of bleach and water (about 1/4 cup bleach per gallon of water).
Let it sit for five minutes to kill germs and break down grime. Scrub every surface with a stiff-bristled brush, paying extra attention to the bottom corners and the rim where the bag sits. Rinse thoroughly with a hose, then tip the can upside down to drain.
Let it air dry completely before bringing it back inside and lining it with a fresh bag. For extra odor control, sprinkle a little baking soda in the bottom of the clean can before adding the new liner.
Why This Step Matters
A dirty trash can is one of the biggest sources of kitchen odors. Even if you take out the trash daily, residue builds up and attracts fruit flies, ants, and other pests. Deep cleaning the can every few weeks keeps your kitchen smelling fresh and reduces the risk of cross-contamination from raw food drips.
Tools And Cleaners You'll Need
Grab a stiff-bristled brush or an old scrub brush, a bucket, disinfectant spray or bleach, rubber gloves, and a hose or large sink. If you prefer a natural option, use white vinegar and baking soda—sprinkle baking soda inside, spray with vinegar, let it fizz, then scrub.
Tips For A Thorough Job
Don't forget the lid and the pedal mechanism if your can has one. Those areas collect splatters and fingerprints. Use an old toothbrush to reach tight spots.
If your trash can is plastic, avoid abrasive pads that can scratch the surface and create hiding spots for bacteria.
21. Vacuum and Mop the Floor
After all the counters, cabinets, and appliances are spotless, the floor is the final frontier. It's collected every spill, crumb, and grease splatter from your deep cleaning session. Start by removing any loose debris with a broom or vacuum, then give it a proper mop to finish the job.
Sweep or vacuum thoroughly, then mop with a floor cleaner suited to your flooring type. Pay extra attention under appliances.
Sweep Or Vacuum First
Don't mop a dirty floor—you'll just push grime around. Use a broom for hard floors or a vacuum with a hard floor attachment to pick up crumbs, dust, and pet hair. Get under the edges of cabinets and appliances where debris hides.
Choose The Right Cleaner
Match your mop solution to your flooring. For tile or vinyl, a mild all-purpose cleaner works. For hardwood, use a pH-neutral wood cleaner to avoid damage.
Avoid harsh chemicals that can strip finishes or leave residue.
Mop In Sections
Work from the farthest corner toward the door so you don't walk on wet areas. Use a clean mop head and change the water when it gets dirty. For stubborn spots, let the cleaner sit for a minute before scrubbing.
Don't Forget Under Appliances
Pull out the fridge and stove if you can, or use a flat mop to reach underneath. These spots collect dust bunnies and food particles that attract pests. A quick pass makes a huge difference.
22. Clean Under and Behind Appliances
You might wipe down the front of your fridge and stove every week, but when's the last time you looked behind them? These dark, tight spaces are magnets for dust bunnies, lost food bits, and even the occasional pet toy. Pulling appliances out once in a while makes a huge difference in your kitchen's overall cleanliness.
Start by unplugging any appliances you'll move. Clear the area around them so you have room to work. For heavy items like the fridge and range, enlist a helper or use appliance sliders to protect your floors.
Once they're out, you'll see what's been hiding back there—and it's usually not pretty.
Vacuum First, Then Wipe
Use your vacuum's crevice tool to suck up dust, crumbs, and cobwebs from the floor and along the walls. Pay special attention to the coils on the back of the fridge—dust buildup makes it work harder and shortens its life. After vacuuming, wipe down the floor with a damp mop or cloth.
While you're at it, give the sides and back of the appliance a quick wipe to remove any sticky residue.
Don't Forget The Rollers And Feet
The wheels or leveling feet on the bottom of your fridge and stove collect hair and grime. Use a damp cloth or an old toothbrush to scrub them clean. This helps your appliances slide back into place smoothly and prevents dirt from transferring to your freshly cleaned floor.
Check For Leaks And Damage
With the fridge pulled out, inspect the water line (if you have an ice maker or dispenser) for any signs of leaks or cracks. Look under the stove for gas line issues (if applicable) or burnt debris. Catching problems early can save you from costly repairs down the road.
Push Back With Care
Before sliding appliances back, make sure the floor is completely dry. Slowly and carefully push them into place, being mindful not to pinch cords or hoses. Give them a final wipe-down on the front, and you're done—your kitchen just got a whole lot cleaner.
23. Refresh the Kitchen with a Final Touch
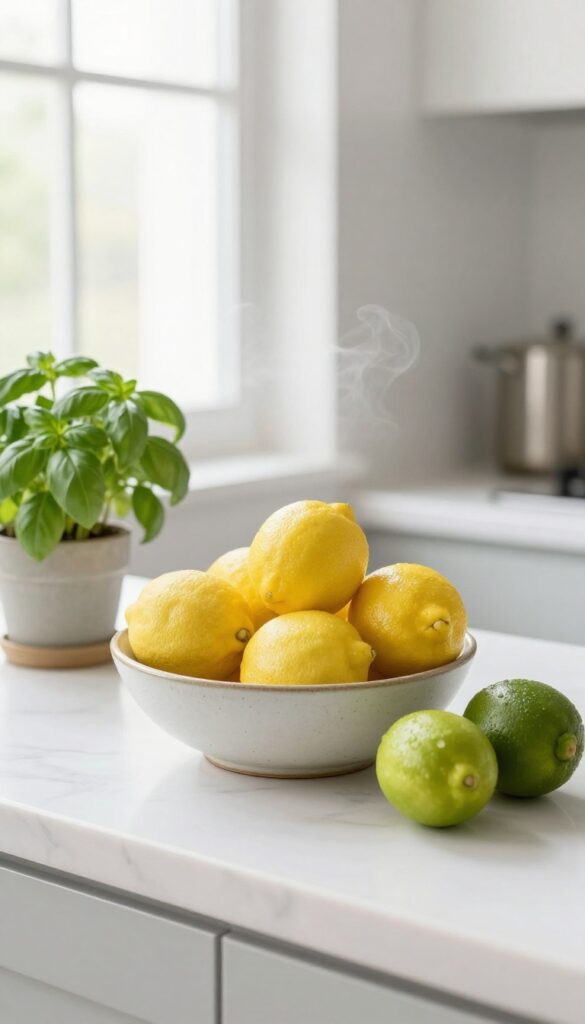
After scrubbing every surface and organizing every drawer, it's time for the finishing touch. This step is about making your kitchen feel as good as it looks. A little effort here can turn a clean kitchen into a welcoming, fresh-smelling space that you'll enjoy spending time in.
The final step is all about ambiance. Place a bowl of fresh lemons or a small plant on the counter to add a pop of color and a natural scent. Light a candle or use a natural air freshener to complete the clean feeling.
This small effort makes the kitchen feel inviting and ready for use.
Add A Natural Centerpiece
A simple bowl of lemons, limes, or a small potted herb plant on the counter adds life and a subtle, fresh fragrance. It's an easy way to make the space feel brighter and more welcoming without any heavy scents.
Set The Mood With Scent
Light a clean-scented candle like lemon, linen, or eucalyptus. Or use a natural room spray with essential oils. Avoid heavy, artificial fragrances.
The goal is a light, airy freshness that complements the clean look.
FAQ
How often should I deep clean my kitchen?
A full deep clean every 3 to 6 months is ideal, but high-use areas like the stovetop and sink may need monthly attention.
What is the best natural cleaner for kitchen grease?
A mixture of equal parts white vinegar and water, plus a few drops of dish soap, works well on most greasy surfaces.
How do I remove baked-on food from my oven?
Make a paste of baking soda and water, spread it over the stains, let sit overnight, then wipe clean with vinegar.
Can I use bleach on my kitchen countertops?
Only if the countertop material is bleach-safe (like sealed granite or tile). Avoid bleach on marble, wood, or laminate.
What should I do if my kitchen smells after cleaning?
Check the garbage disposal, trash can, and refrigerator for hidden odors. Run lemon peels through the disposal and wipe all surfaces with vinegar.
Conclusion
Tackling your kitchen zone by zone turns an overwhelming deep clean into a series of small wins. You'll see the payoff immediately—shinier surfaces, fresher smells, and the satisfaction of knowing every corner is truly clean.
Pick two or three zones to maintain weekly, and save the full checklist for seasonal resets. Your kitchen will stay guest-ready without the burnout, and your future self will thank you every time you walk in.