How to Clean Grout on Tile Floors DIY in 15 Easy Tips
Dirty grout lines can make an otherwise clean floor look dingy and neglected. You don't need expensive tools or professional help to restore them—just a few household ingredients and a bit of patience.
These 15 tips tackle everything from everyday dust to stubborn stains, using methods that are gentle on grout but tough on grime. Each step is designed to be practical, budget-friendly, and effective for different levels of dirt.
Start with the simplest approach and work your way up as needed. Your floors will look refreshed in no time.
1. Start with a Good Vacuum
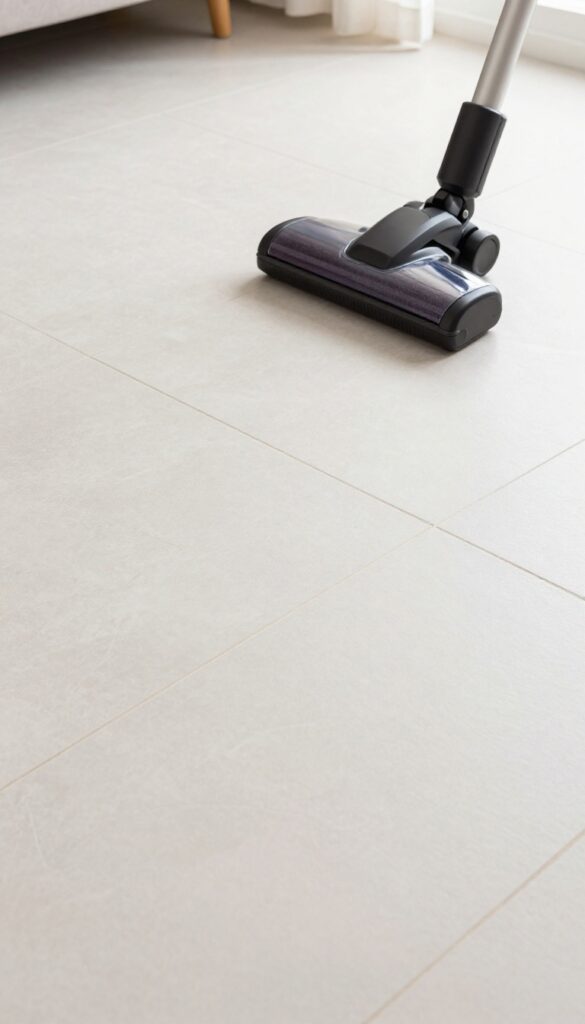
You might be tempted to grab a scrub brush and get right to work, but that can actually make things worse. Loose dirt and grit act like sandpaper when you scrub, scratching the grout and embedding grime deeper. A quick vacuum first removes those abrasive particles so your cleaning efforts are effective, not damaging.
Why Vacuuming First Matters
Grout is porous and soft compared to tile. Scrubbing over loose debris forces sharp particles into the grout's surface, creating tiny scratches that trap more dirt later. Vacuuming lifts away hair, dust, and crumbs without pushing them around.
It also prevents you from spreading gritty mud across the floor when you add water or cleaner.
Best Vacuum Tools For The Job
A vacuum with a brush attachment works best—it agitates dust loose from grout lines while suctioning it up. If you don't have a brush, use a crevice tool to get into the grooves. For large areas, a canister vacuum or a stick vac with a hard floor setting is efficient.
Avoid beater bars on tile; they can scatter debris and scratch the surface.
Don't Forget The Broom
After vacuuming, a quick sweep with a soft-bristle broom catches any remaining fine dust that the vacuum missed. Focus on corners and edges where dirt accumulates. This two-step approach—vacuum then sweep—ensures the floor is truly clean before you introduce moisture.
It takes just a few minutes and saves you from scrubbing twice.
2. Use a Baking Soda Paste
Baking soda is a gentle abrasive that lifts dirt without scratching grout. When mixed into a paste, it clings to vertical lines and works into the porous surface. This method is perfect for light to moderate grime and is safe for all tile types.
This simple paste is a go-to for regular maintenance. It's cheap, non-toxic, and surprisingly effective at lifting everyday dirt and mild stains. The key is letting it sit so the baking soda can break down the grime.
Making The Paste
Mix three parts baking soda with one part water in a small bowl. Stir until you get a thick, spreadable consistency—like toothpaste. If it's too runny, add more baking soda; if too dry, add a few drops of water.
Applying And Waiting
Use an old toothbrush or a grout brush to dab the paste onto the grout lines. Spread it evenly, covering the stain completely. Let it sit for 10 to 15 minutes.
This dwell time lets the baking soda start dissolving the dirt.
Scrubbing And Rinsing
Scrub the paste into the grout using firm, circular motions. Focus on darker spots. Rinse with a damp cloth or sponge, then wipe away any residue.
Repeat on stubborn areas if needed. Your grout should look noticeably brighter.
3. Try Vinegar and Water Solution
Vinegar is a powerhouse for cutting through grime, and when it comes to light grout stains, a simple vinegar and water mix often does the trick. The acidity helps break down dirt and soap scum without harsh chemicals. Just be careful—this method isn't for every grout type.
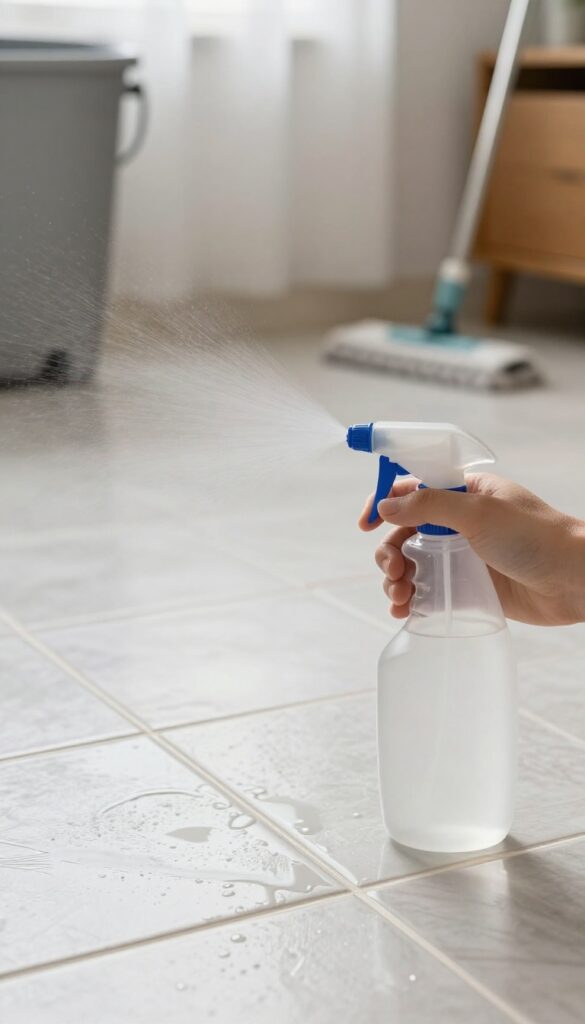
For light stains, spray a 1: 1 vinegar-water mix onto grout, let it fizz, then scrub. Avoid on unsealed grout as vinegar can etch it.
When To Use This Method
This solution works best on sealed grout with surface-level dirt, like dust, light foot traffic marks, or mild soap residue. If your grout is unsealed or you have natural stone tiles, skip this tip—vinegar can damage them over time.
How To Apply It Right
Mix equal parts white vinegar and warm water in a spray bottle. Mist the grout lines lightly, let it sit for 5 minutes to fizz and loosen dirt, then scrub with a stiff brush. Rinse with water and dry with a cloth to prevent moisture from seeping in.
A Quick Safety Check
Always test on a hidden spot first. If the grout bubbles or changes color, stop immediately. For sealed grout, this is a safe, low-effort first step before moving to stronger cleaners.
4. Hydrogen Peroxide for Tough Stains
When baking soda and vinegar aren't enough, hydrogen peroxide steps in. It's a mild bleach that whitens grout without the harsh fumes of chlorine bleach. Perfect for those stubborn spots that just won't budge.
How It Works
Hydrogen peroxide releases oxygen bubbles that lift dirt and brighten grout. It's safe for most tile types, but test on an inconspicuous area first. Apply it directly to the stain, let it fizz for a few minutes, then scrub with a stiff brush.
Best For
This method works wonders on white or light-colored grout. It's especially effective on organic stains like coffee, wine, or mildew. For extra power, mix hydrogen peroxide with baking soda into a paste.
Safety Tips
Wear gloves to avoid skin irritation. Keep the area ventilated. Don't mix hydrogen peroxide with vinegar or bleach—it can create toxic fumes.
Rinse thoroughly after scrubbing.
5. Use a Grout Brush or Old Toothbrush
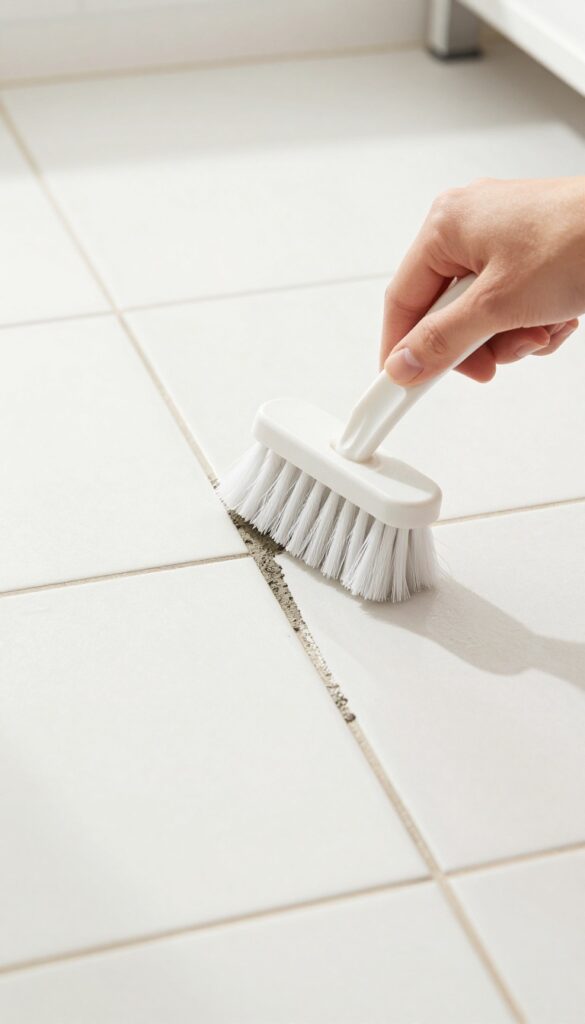
A stiff-bristled grout brush or an old toothbrush gets into narrow lines. For larger areas, attach a brush to a drill for faster scrubbing. This section covers how to choose the right brush and use it effectively.
The right brush makes all the difference when cleaning grout. A dedicated grout brush has stiff, angled bristles that dig into the grooves without damaging the tile. An old toothbrush works well for small spots or tight corners.
For large floor areas, a drill brush attachment saves time and elbow grease—just be careful not to press too hard.
Choosing The Right Brush
Grout brushes come in various sizes and stiffness levels. Look for one with nylon bristles that are firm but not wire-like, which can scratch tile. A handle with a comfortable grip helps you maintain pressure.
If you're using a toothbrush, make sure it's clean and has firm bristles for maximum scrubbing power.
Drill Brush Attachment Tips
A drill brush attachment turns your power drill into a high-speed scrubbing tool. Choose a brush head that matches your grout line width—too wide and it may miss the groove, too narrow and it won't cover efficiently. Use a low speed setting (around 500-800 RPM) and move the drill steadily along the lines.
Apply gentle pressure to avoid splattering cleaning solution.
6. Steam Clean for Deep Grime
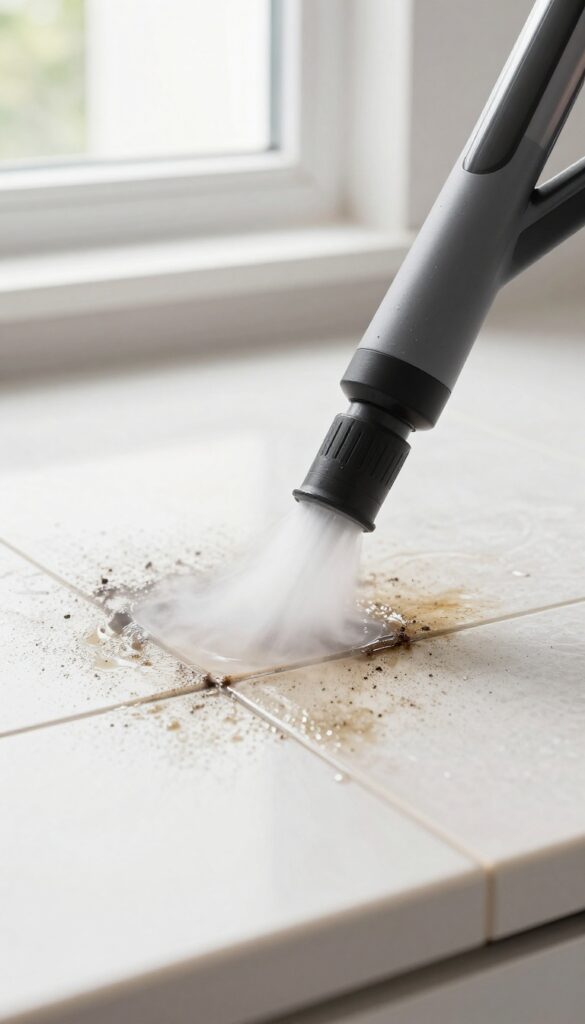
When scrubbing by hand isn't cutting it, a steam cleaner can be a game-changer. It uses hot vapor to penetrate grout pores, loosening stubborn dirt and killing bacteria without harsh chemicals. This method is especially effective in kitchens and bathrooms where grease, soap scum, and mold build up over time.
Steam cleaning is a powerful, chemical-free way to deep clean grout. The high temperature helps break down grime that's baked into the pores, making it easier to wipe away. It's also great for sanitizing the grout lines, which is a bonus in high-moisture areas.
Just be sure to use a steam cleaner with a grout attachment for best results.
Best Steam Cleaners For Grout
Look for a steam cleaner that comes with a small brush attachment or a grout tool. Handheld steamers work well for small areas, while larger units with floor mop attachments can cover more ground. Brands like Bissell, McCulloch, and Dupray offer reliable options.
Make sure the steamer produces dry steam (low moisture) to avoid damaging the grout.
How To Steam Clean Grout Safely
First, sweep or vacuum the floor to remove loose debris. Fill the steam cleaner with water and let it heat up. Test on an inconspicuous area first to ensure the grout can handle the heat.
Move the steamer slowly along the grout lines, letting the steam work for a few seconds before wiping away the loosened dirt with a microfiber cloth. Avoid lingering too long on one spot to prevent moisture damage.
When To Avoid Steam Cleaning
Steam cleaning isn't suitable for all grout types. If your grout is unsealed or already cracked, the moisture and heat can worsen the damage. Also, avoid steam on floors with loose tiles or old, brittle grout.
For these cases, stick with gentler methods like baking soda or hydrogen peroxide.
7. Make a Lemon and Baking Soda Scrub
If you want a fresh, natural way to clean grout, grab a lemon from the kitchen. The citric acid cuts through grease and grime, while baking soda provides gentle scrubbing power. This combo smells amazing and leaves your grout looking brighter.
Cut a lemon in half and dip the cut side into a small dish of baking soda. Scrub the grout lines directly with the lemon half, applying a bit of pressure. The fizzing action helps lift dirt.
Rinse with water and wipe dry. For tough stains, let the mixture sit for 5 minutes before scrubbing.
Why Lemon And Baking Soda Work So Well
Lemon juice is acidic, which helps dissolve mineral deposits and soap scum. Baking soda is a mild abrasive that scrubs without scratching. Together, they create a fizzy reaction that loosens dirt deep in the grout pores.
Best Grout Types For This Method
This scrub is safe for most unsealed or natural stone grout. Avoid it on polished marble or limestone, as the acid can etch the surface. Test in a hidden spot first.
Pro Tip: Boost The Cleaning Power
For extra stubborn stains, sprinkle baking soda directly on the grout, then squeeze lemon juice over it. Let it bubble for a few minutes before scrubbing with a brush. Rinse thoroughly.
8. Use Oxygen Bleach for Whitening
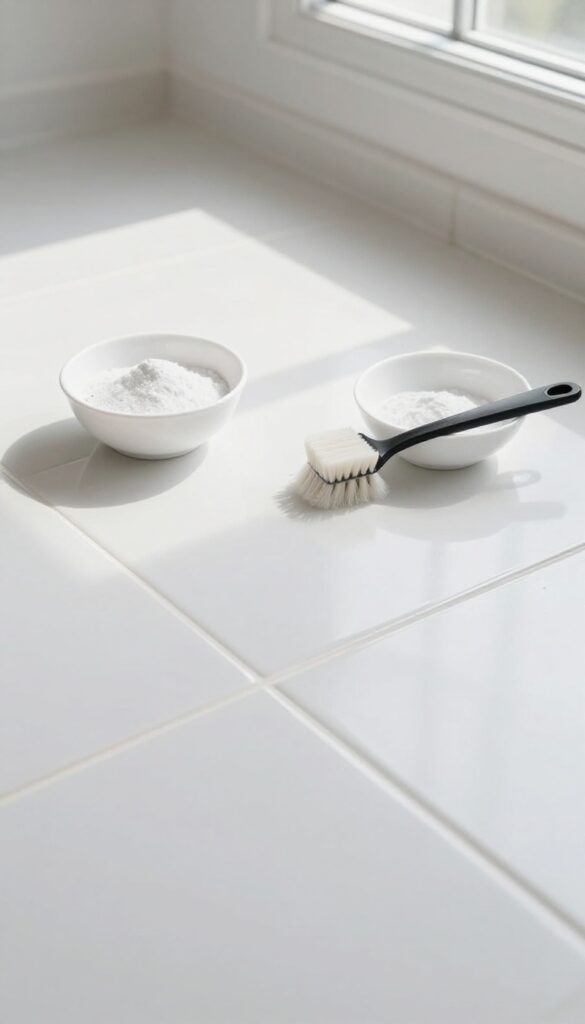
If your grout has yellowed or grayed over time, oxygen bleach is a gentler alternative to chlorine bleach. It lifts stains and brightens the grout without harsh fumes or damaging the tile. This method works best for light-colored grout that needs a refresh.
Oxygen bleach is a powder that releases oxygen bubbles when mixed with water. These bubbles penetrate porous grout, breaking down organic stains and whitening the surface. Unlike chlorine bleach, it won't weaken the grout or discolor surrounding tiles.
It's safe for most tile types, including ceramic and porcelain.
How To Mix And Apply
Mix oxygen bleach powder with warm water to form a thick paste—about 3 parts powder to 1 part water. Apply the paste directly to the grout lines using a small brush or your finger (wear gloves). Let it sit for 15 minutes; you'll see bubbles working.
Scrub lightly with a grout brush, then rinse thoroughly with clean water. Repeat on stubborn spots.
Why It Works So Well
Oxygen bleach is an oxidizing agent, meaning it reacts with stain molecules and breaks them apart. This makes it effective on organic stains like food spills, mildew, and dirt that has settled deep into the grout. It also has a mild bleaching effect that restores whiteness without the aggressive chemical smell of chlorine.
Safety And Precautions
Always test on a hidden area first to ensure your grout and tile are colorfast. Avoid using on natural stone tiles like marble or travertine, as oxygen bleach can etch them. Wear gloves to protect your skin, and ensure good ventilation.
Rinse well to remove any residue that could attract dirt later.
9. Try a Commercial Grout Cleaner
Sometimes DIY solutions just don't cut it, especially if your grout has years of embedded dirt or mold. That's when a dedicated commercial grout cleaner can save the day. These products are formulated to tackle heavy stains without damaging the grout, but you still need to use them wisely.
Commercial cleaners come in spray bottles, gels, or foams. Look for a pH-neutral formula to avoid etching the grout or dulling the tile. Always read the label—some require scrubbing, others just need to sit and rinse.
And never mix them with other cleaners, as chemical reactions can release harmful fumes.
Choose The Right Formula
Not all grout cleaners are the same. For porous grout, a gel or paste works better because it clings to vertical surfaces and penetrates deep. For smooth tile, a spray is fine.
Avoid acidic cleaners (like those with hydrochloric acid) on natural stone tiles—they can cause etching.
Test Before You Commit
Grout color can be unpredictable. Apply the cleaner to a small, hidden area first. Wait the recommended time, then rinse and let dry.
If the color looks good and the stain lifted, you're safe to proceed. If it lightens or discolors, switch to a different product.
Follow Instructions To The Letter
Commercial cleaners are potent. Leaving them on too long can damage grout, while rinsing too early may not remove stains. Use a timer and follow the dwell time exactly.
Wear gloves and ensure good ventilation—open windows or run a fan.
10. Seal Grout After Cleaning
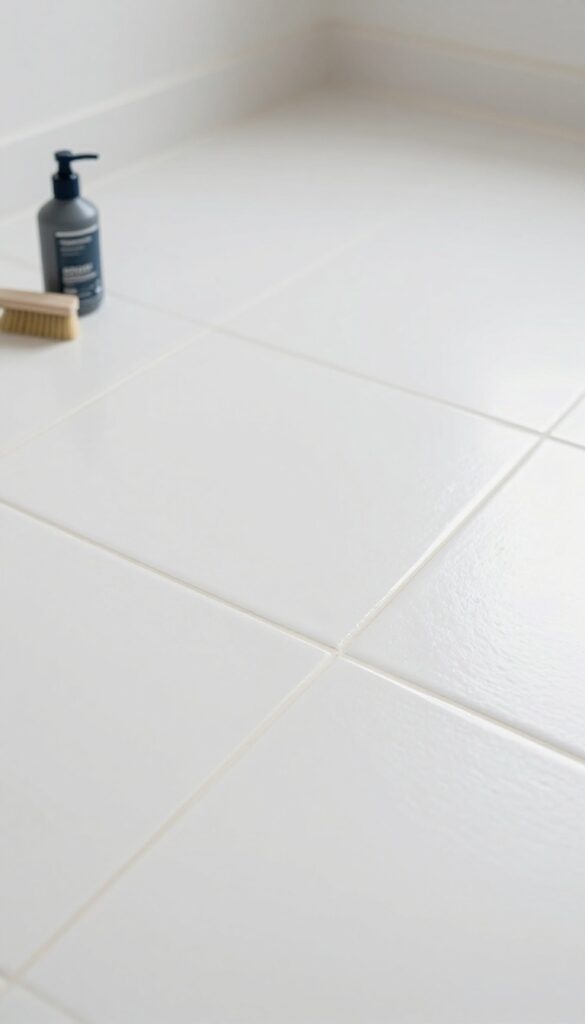
You've put in the work to get your grout looking fresh again—now make sure it stays that way. Sealing is the step that locks in your effort and creates a barrier against future dirt, spills, and moisture. It's a small investment of time that pays off big in easier cleaning down the road.
Once your grout is completely clean and dry, applying a penetrating sealer is the best way to protect it. This type of sealer soaks into the porous grout and forms an invisible shield that repels liquids and stains. Without sealer, grout acts like a sponge, soaking up anything that spills.
With sealer, spills bead up and wipe away, and dirt has a harder time sticking. It's especially important in high-moisture areas like bathrooms and kitchens. The process is simple: apply the sealer with a small brush or applicator, let it penetrate for the time specified on the bottle, then wipe off any excess.
Let it cure fully before walking on the floor or getting it wet. Most sealers last one to two years, so plan to reapply annually for best results.
Choose The Right Sealer
Not all sealers are created equal. For tile grout, look for a penetrating sealer rather than a surface sealer. Penetrating sealers go into the grout and protect from within, while surface sealers can peel or wear off.
Also consider whether you want a natural look or a slight sheen. Water-based sealers are low-odor and easy to clean up, while solvent-based ones may offer more durability. Always test a small inconspicuous area first to make sure the sealer doesn't darken or change the grout color unexpectedly.
Application Tips For Best Results
Before applying sealer, make sure the grout is bone-dry—wait at least 24 to 48 hours after cleaning. Use a small foam brush or a grout sealer applicator bottle to carefully apply the sealer directly onto the grout lines. Avoid getting sealer on the tile surface, as it can cause hazing.
Work in small sections, applying sealer to a few square feet at a time. Let it sit for the recommended dwell time (usually 5–15 minutes), then wipe away any excess with a clean, dry cloth. If you miss wiping off excess, it can dry into a cloudy film that's hard to remove.
When To Reapply Sealer
Sealer doesn't last forever. Over time, foot traffic and cleaning wear it down. A simple test is to sprinkle a few drops of water on the grout.
If the water beads up, the sealer is still working. If it soaks in and darkens the grout, it's time to reseal. In most homes, resealing once a year is sufficient.
High-traffic areas or frequently wet spaces may need it every six months. Mark your calendar or set a reminder so you don't forget.
11. Use a Magic Eraser for Spot Cleaning
For those small, stubborn spots that resist your regular cleaning routine, a Magic Eraser can be a lifesaver. These melamine foam sponges work like a fine abrasive, lifting dirt and stains without harsh chemicals. They're especially handy for high-traffic areas or spots near the stove where grout gets grimy fast.
How It Works
A Magic Eraser is essentially a super-fine sandpaper. When dampened, it creates a mild abrasive action that polishes away stains. It's gentle enough for most glazed tiles but can dull unglazed or natural stone tiles, so test in an inconspicuous area first.
Best Uses
This method shines on small, concentrated stains like coffee drips, grease splatters, or scuff marks. It's not ideal for large areas—you'd go through too many erasers. Instead, keep one handy for quick touch-ups between deeper cleans.
Step-by-step
- Wet the Magic Eraser until it's damp, not dripping. 2.
Gently rub the stained grout line in a back-and-forth motion. 3. Rinse the area with water and wipe dry.
- Repeat if needed, but avoid over-scrubbing to prevent grout damage. Always follow the grain of the grout line.
12. Create a DIY Bleach Pen
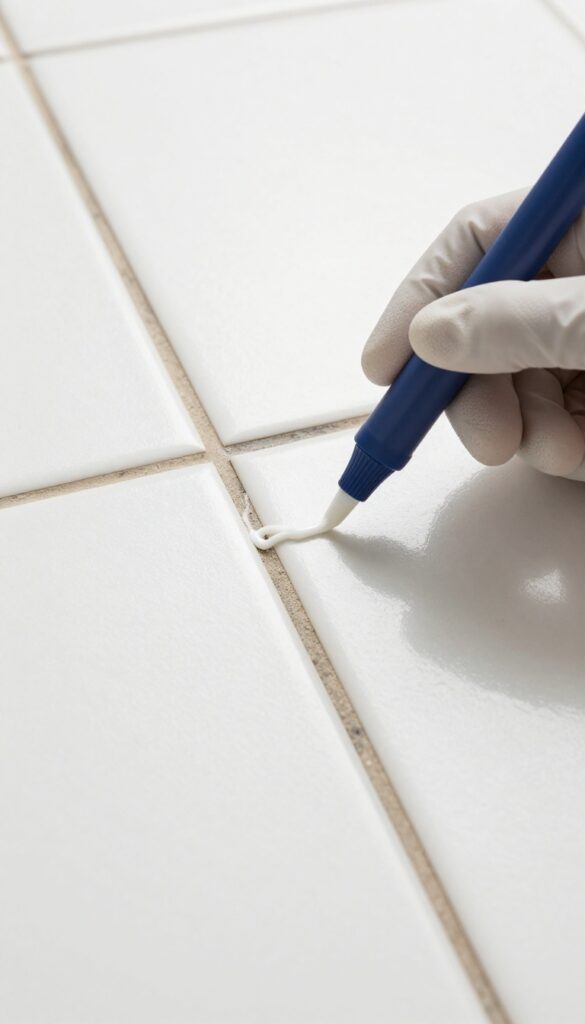
White grout looks crisp when new, but it shows every stain. A bleach pen lets you target only the grout lines without splashing bleach onto your tiles. It's perfect for quick touch-ups between deep cleans.
Gel bleach pens are designed for precise application. They work well on white grout because the bleach whitens without damaging the tile. This method is fast and requires minimal setup.
How To Use A Bleach Pen On Grout
First, clean the floor to remove loose dirt. Then, shake the bleach pen and squeeze a thin line of gel along each grout line. Let it sit for 10 minutes—don't let it dry out.
Rinse thoroughly with water and wipe dry. The gel stays put, so it won't run onto your tiles.
Best Practices For Best Results
Use a bleach pen only on white or light-colored grout; it can discolor darker grout. Work in small sections so the gel doesn't dry before you rinse. Ventilate the room while using bleach.
For stubborn stains, apply a second coat after rinsing.
When To Use A Bleach Pen Vs. Other Methods
A bleach pen is ideal for spot treatments and small areas. For large floors, a bleach solution and scrub brush might be faster. Use the pen for maintenance between deep cleans to keep grout looking bright.
13. Apply a Paste of Cream of Tartar
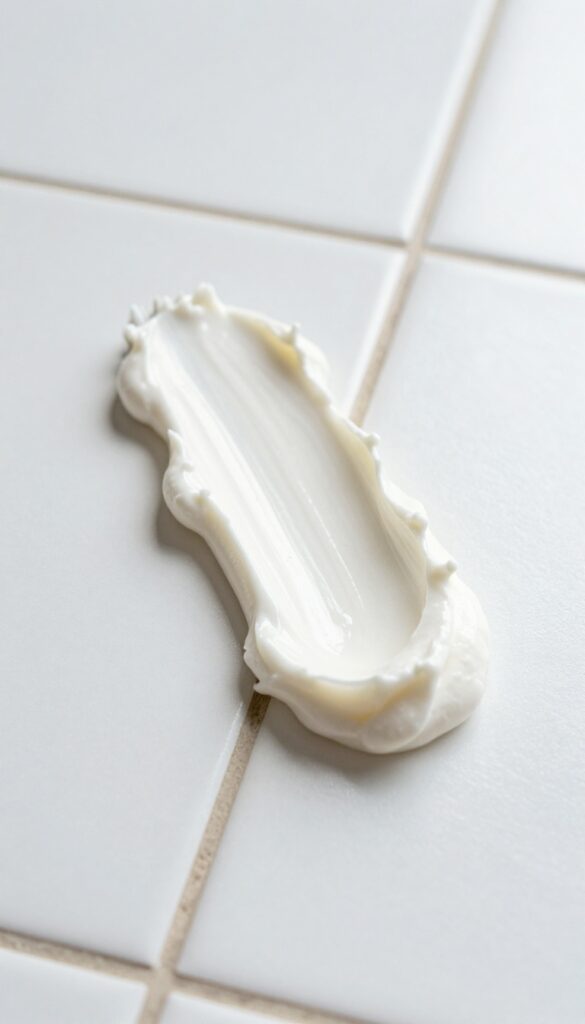
Cream of tartar isn't just for baking—it's a surprisingly effective grout cleaner. When mixed with lemon juice, it forms a gentle paste that lifts stains without harsh chemicals. This old-school method works especially well on light-colored grout that's lost its brightness.
To make the paste, combine cream of tartar with enough lemon juice to create a thick, spreadable consistency. Apply it directly to the grout lines using an old toothbrush or a small spatula. Let the paste sit until it dries completely—usually about 15–20 minutes.
As it dries, it pulls dirt and discoloration out of the porous grout. Once dry, scrub the area lightly with a damp brush, then rinse with clean water. You'll notice a visible difference, especially on white or beige grout.
Why This Combo Works So Well
Cream of tartar is a mild acid (potassium bitartrate) that breaks down grime, while lemon juice adds extra acidity and a fresh scent. Together, they create a gentle abrasive paste that doesn't damage grout like stronger chemicals can. It's a safe choice for homes with kids or pets.
Best Uses For This Method
This paste is ideal for spot-treating small areas, like a bathroom floor or kitchen backsplash. It's less effective on large expanses of grout because it dries quickly and requires manual application. Use it for localized stains or to brighten grout in high-visibility spots.
Pro Tips For Best Results
Test the paste on a hidden area first to ensure it doesn't discolor your grout. For extra stubborn stains, let the paste sit for up to 30 minutes. Rinse thoroughly to remove any residue, and avoid using this method on unsealed grout too often, as the acidity can wear it down over time.
14. Use a Pressure Washer (Outdoor Tiles)
When indoor methods fall short, outdoor grout often needs heavy artillery. A pressure washer can blast away years of dirt, mildew, and grime from exterior tile floors in minutes. Just be careful—too much pressure can erode the grout itself.
For outdoor tiles like patios, walkways, or pool decks, a pressure washer with a narrow tip (15 to 25 degrees) works wonders. Hold the nozzle about 6 to 12 inches from the surface and keep it moving in steady sweeps. Focus on the grout lines, but don't linger in one spot.
Test a small, hidden area first to make sure the grout can handle the force. If you see crumbling, dial down the pressure or switch to a wider spray pattern. Always wear safety glasses and closed-toe shoes—debris can fly.
This method is fast, satisfying, and leaves your outdoor tiles looking brand new.
Choose The Right Nozzle
A 15-degree nozzle offers a strong, narrow stream that targets grout lines without overspray. For delicate or older grout, use a 25-degree tip to reduce the risk of damage. Avoid zero-degree nozzles—they're too aggressive and can gouge the grout.
Keep It Moving
Never hold the pressure washer stationary over a grout line. Move the wand in a steady back-and-forth motion, overlapping each pass slightly. Pausing even a second too long can strip the grout out of the joint, leaving you with a bigger repair job.
Pre‑treat Stubborn Stains
For mold or oil stains, spray a grout cleaner or diluted bleach onto the area and let it sit for 10 minutes before pressure washing. This loosens deep grime so the water can rinse it away more effectively, reducing the time you need to spend on each section.
15. Maintain with Regular Sweeping and Mopping
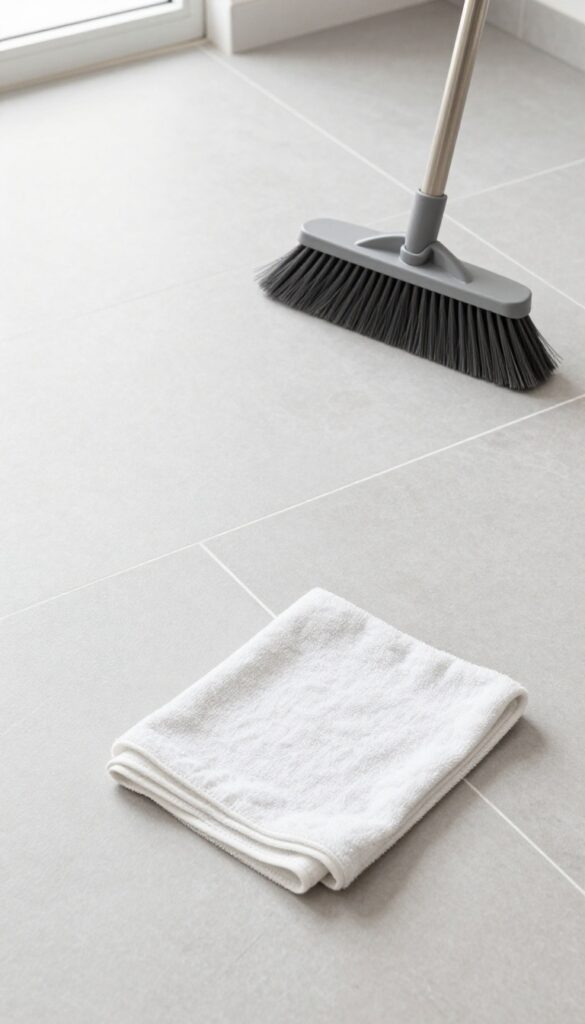
You've put in the work to get your grout looking fresh again—now make sure it stays that way. The secret to long-lasting clean grout isn't a harsh chemical; it's a simple routine. Daily sweeping and weekly mopping stop dirt from settling into the porous grout lines, keeping them bright between deep cleans.
Sweeping daily removes abrasive grit that can darken grout over time. Use a soft-bristle broom or a microfiber dust mop to capture fine particles without scratching tiles. For mopping, choose a pH-neutral cleaner—avoid vinegar or bleach, which can degrade grout sealer.
Always dry the floor with a clean towel or microfiber cloth after mopping; standing water seeps into grout and encourages mold. This small habit extends the life of your grout and reduces the need for heavy scrubbing.
Why Sweeping Matters
Dirt and dust act like sandpaper on grout. A quick daily sweep prevents these particles from grinding into the porous surface. Focus on high-traffic areas and corners where debris collects.
A microfiber dust mop is especially effective because it traps dust rather than pushing it around.
Choosing The Right Mop And Cleaner
A flat mop with a washable microfiber pad is ideal—it's gentle and leaves less moisture behind. For the cleaning solution, stick with a pH-neutral formula (around pH 7). Avoid acidic cleaners like lemon juice or vinegar, which can etch grout, and alkaline ones like ammonia, which may dull tile.
If your grout is sealed, a neutral cleaner preserves the sealer's integrity.
The Drying Step You Can't Skip
After mopping, use a dry microfiber cloth or a squeegee to remove excess water from tile and grout lines. Moisture left to evaporate naturally can leave mineral deposits and encourage mildew. For bathrooms or kitchens, this step is critical—especially in grout lines that stay damp longer.
FAQ
Can I use bleach to clean grout?
Yes, but dilute it with water (1: 4 ratio) and rinse thoroughly. Bleach can discolor colored grout and weaken it over time, so use sparingly.
How often should I clean grout?
Light cleaning every 2-4 weeks prevents buildup. Deep clean every 6-12 months, depending on traffic and spills.
What is the best homemade grout cleaner?
A baking soda and vinegar paste works well for most stains. For whitening, add hydrogen peroxide or lemon juice.
Do I need to seal grout after cleaning?
Yes, sealing after a deep clean helps repel stains and moisture. Reapply sealer every 1-2 years for best results.
Can I clean grout with a steam mop?
Yes, but use a grout attachment if available. Steam mops can loosen dirt, but avoid excessive moisture on unsealed grout.
Conclusion
Grout doesn't have to stay dingy forever. By using the right cleaner and a bit of patience, you can bring back that fresh, clean look without calling in a pro. The key is consistency—spot clean spills quickly and seal your grout annually to keep stains from setting in.
Start with one tip that fits your schedule, and you'll be surprised how much brighter your floors look. Enjoy your revitalized tile without the elbow grease.