11 Walking Shower Ideas for Easier Access and Modern Style
Stepping into a shower shouldn't feel like a hurdle. Traditional tubs and high curbs can turn a daily routine into a balancing act, especially as mobility changes or if you simply crave a more open, spa-like feel.
A walking shower—one you can step right into—offers a sleek solution that blends safety with contemporary design. These showers aren't just for aging in place or recovery; they're a smart upgrade for anyone who values ease and style.
By removing barriers and adding thoughtful touches, you can create a space that feels both luxurious and effortlessly functional. Whether you're planning a full remodel or a simple refresh, these ideas will help you design a shower that welcomes you in.
1. Curbless Entry: The Seamless Step-In
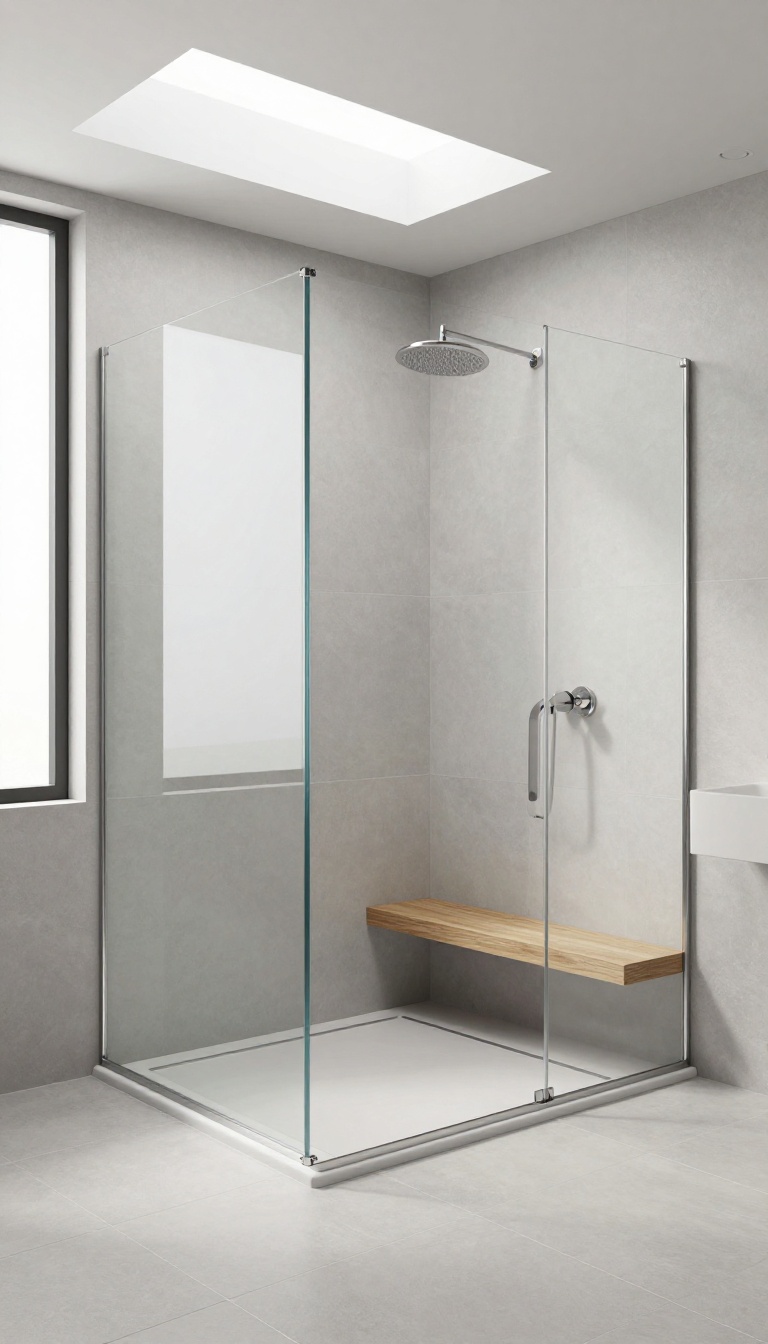
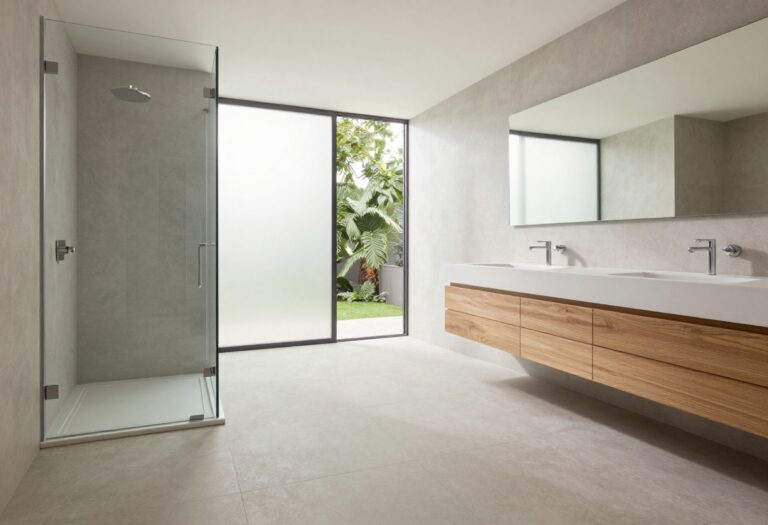
The most impactful change you can make is removing the curb altogether. A curbless shower sits flush with the bathroom floor, so you literally walk in without any step. It’s a game-changer for accessibility and gives the bathroom a sleek, open look.
Curbless designs are the gold standard for barrier-free showers. They eliminate the trip hazard and make it easy for wheelchairs or walkers to roll right in. Plus, the continuous flooring makes the room feel larger and easier to clean.
It’s a win-win for style and function.
Why Go Curbless?
Beyond accessibility, curbless showers reduce the visual clutter of a raised threshold. They create a seamless flow between the shower and the rest of the bathroom, which is perfect for modern, minimalist designs. You’ll also avoid the awkward step-over that can be tough on knees or hips.
Key Installation Considerations
Proper slope is critical to keep water from escaping. Work with a professional to ensure the floor is pitched correctly toward the drain. You’ll also need a linear drain or a center drain placed strategically.
Waterproofing is non-negotiable, so invest in quality materials to avoid leaks.
Design Ideas For Curbless Showers
Pair the flush entry with large-format tiles to minimize grout lines and enhance the seamless look. Add a glass panel or just a fixed glass screen to keep water in while maintaining openness. For a spa vibe, consider a rainfall showerhead and a built-in bench.
2. Linear Drains: Sleek Water Management
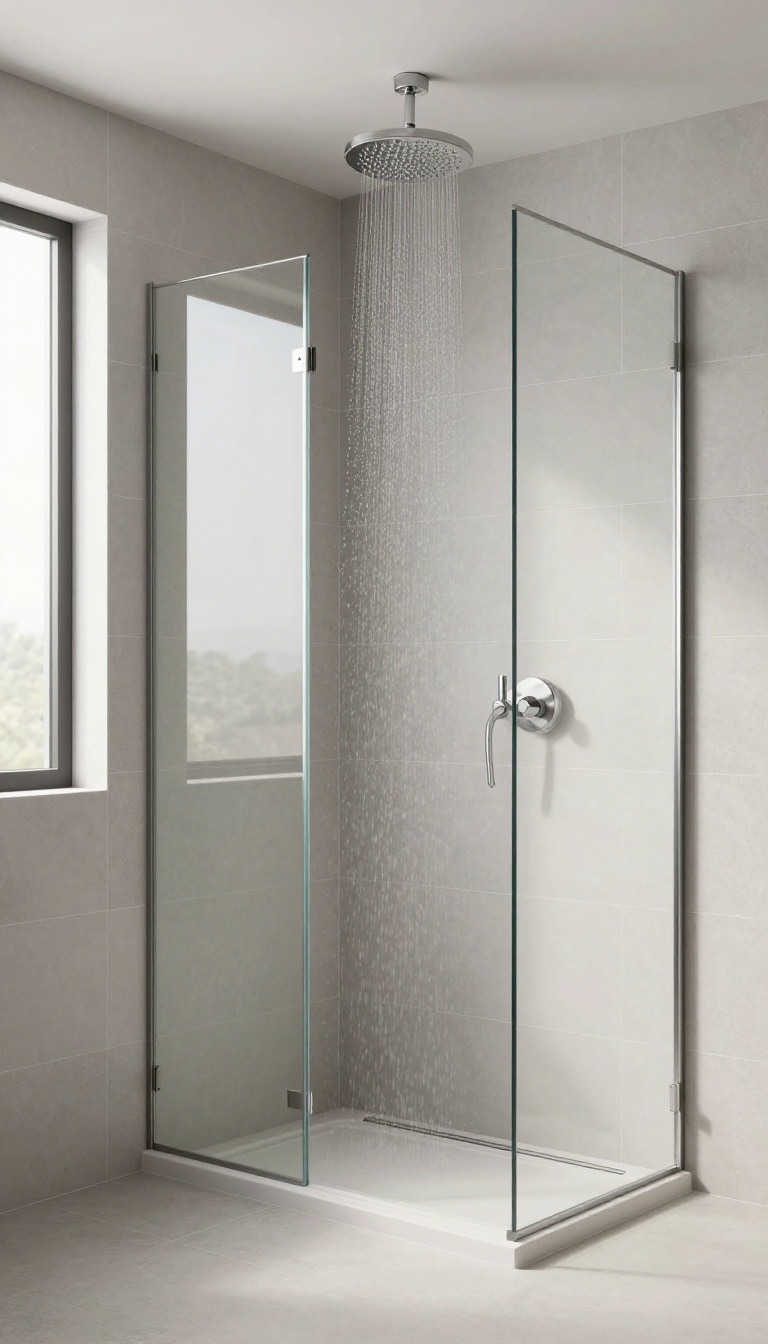
When you ditch the curb, water needs a smart path out. A linear drain is that unsung hero—it sits flush with the floor, so you don't trip over a grate. Plus, it makes the whole shower feel more open and less like a wet box.
Linear drains are a game-changer for walk-in showers. Unlike traditional center drains that require a sloped floor in all directions, a linear drain sits along one edge, letting the floor stay level from side to side. That means less of a slope to navigate, which is easier on the feet and looks cleaner.
You can install it at the entrance to catch water before it escapes, or along the back wall for a minimalist look. Either way, you get efficient drainage without the visual clutter of a round grate in the middle of your shower.
Why Choose A Linear Drain?
The biggest plus is accessibility. With a linear drain, the shower floor can be completely flat, so there's no lip or bump to step over. That's a huge win if you're planning for aging in place or just want a seamless transition from bathroom floor to shower.
Plus, the long, narrow grate looks modern and can be cut to fit any shower size. You can even use tile inserts that match your floor, making the drain nearly invisible.
Placement Options
Where you put the drain depends on your layout. For a curbless shower, a drain along the entrance acts like a subtle moat, keeping water inside. If you want a wet-room feel, place it along the back wall and let the floor slope gently toward it.
Some people even install two drains for larger showers, but one well-placed linear drain usually does the job.
Installation Tips
You'll need a plumber to adjust the waste pipe, but the extra cost is worth it. Make sure the drain is pitched correctly so water flows freely. Also, think about the grate material—stainless steel is durable, while plastic is cheaper but less fancy.
And don't forget to clean it regularly; hair and soap scum can build up, but most grates lift out for easy maintenance.
3. Non-Slip Flooring: Safety Underfoot
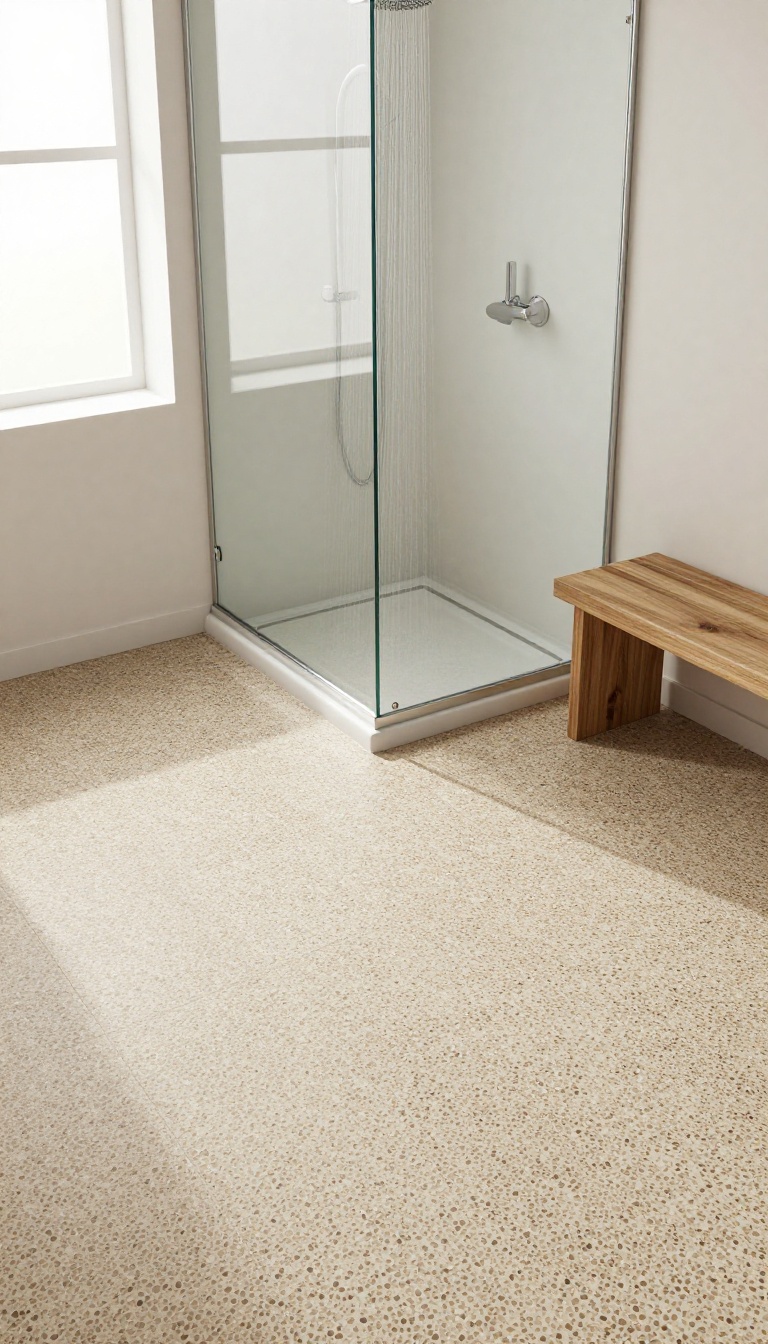
Once the curb is gone, the floor becomes the next big safety factor. Wet tiles can be treacherous, but that doesn't mean you have to sacrifice looks for grip. Today's non-slip options come in a range of textures and styles that keep your footing secure while looking sharp.
Choose textured tiles or slip-resistant materials to prevent falls, especially when the floor is wet. Options like pebble tiles, matte porcelain, or rubber flooring offer grip without compromising style. Safety doesn't have to be boring.
Why Texture Matters More Than You Think
Smooth, glossy tiles might look sleek, but they turn into a skating rink when wet. The key is to look for a coefficient of friction (COF) rating of 0. 6 or higher.
Textured surfaces create more traction, giving your feet something to grip even with soap and water in the mix.
Top Non-slip Materials To Consider
Pebble tiles are a popular choice—they feel like a natural riverbed and provide excellent drainage. Matte porcelain is another solid option, offering a subtle texture that doesn't scream 'safety floor. ' For a softer feel underfoot, rubber flooring is warm, cushioned, and virtually slip-proof, making it ideal for accessible showers.
Design Tips To Keep It Stylish
You don't have to cover the entire floor in one texture. Mix larger matte tiles with a strip of pebble tiles near the drain for a stylish accent that also improves drainage. Or choose a large-format textured tile that mimics natural stone for a seamless, spa-like look.
Remember, grout lines also add grip, so smaller tiles can be your friend.
4. Built-In Seating: Comfort and Convenience
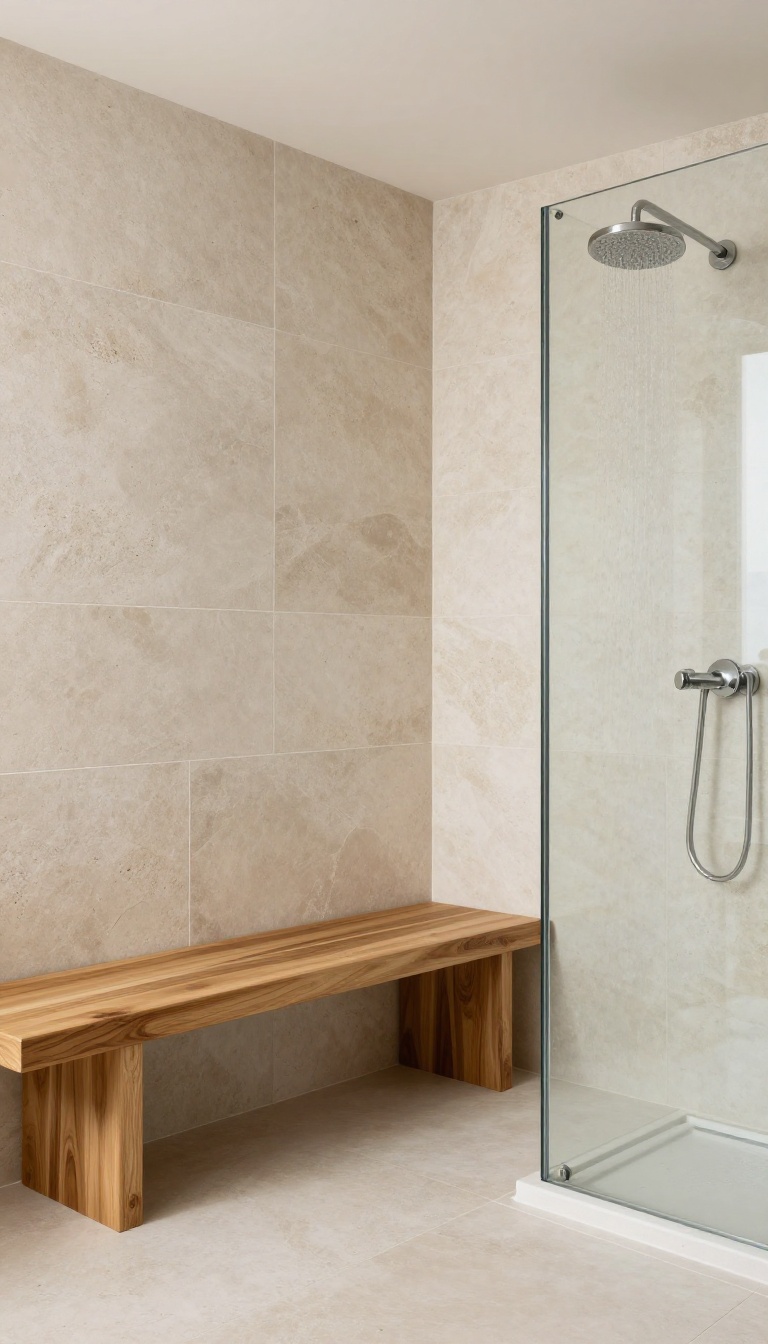
A shower bench isn't just a practical addition—it's a game-changer for how you experience your daily rinse. Whether you're recovering from surgery, dealing with fatigue, or simply love the idea of sitting under warm water, a built-in seat turns your shower into a personal retreat. Unlike portable stools that slide around or take up floor space, a built-in bench becomes part of the design.
It's always there when you need it, and it can be styled to match your shower's aesthetic perfectly.
Built-in seating adds both function and style to a walking shower. It gives you a stable, permanent place to sit, which is invaluable for anyone with balance issues or stamina concerns. Plus, it can make your shower feel more like a luxury spa.
When planning your bench, think about where it will go and how it will be used. A corner bench saves space, while a full-length bench offers more room to stretch out. You can also choose from different materials and styles to match your bathroom's look.
Choosing The Right Bench Style
There are two main types of built-in benches: cantilevered and freestanding. A cantilevered bench is anchored to the wall, leaving the floor open for easy cleaning and a more spacious feel. A freestanding bench, on the other hand, sits on the floor and can be placed anywhere.
Consider the size of your shower and your personal needs. If you have limited space, a corner bench or a fold-down seat might be the best option. Fold-down seats are great when you don't need them all the time—they flip up against the wall when not in use, freeing up floor space.
Material And Maintenance
The material you choose for your bench affects both durability and maintenance. Natural stone like marble or granite looks elegant but requires sealing to prevent water damage. Solid surface materials like quartz or Corian are non-porous and easy to clean, making them a practical choice.
Teak wood is another popular option, especially for a spa-like feel. It's naturally water-resistant and feels warm to the touch. Just be aware that it needs occasional oiling to keep its color and prevent cracking.
Safety And Comfort Features
To make your built-in seat as safe as possible, consider adding a few thoughtful details. A slightly textured surface can prevent slipping when wet. Rounded corners reduce the risk of injury if you bump into them.
You might also add a handheld showerhead nearby, so you can easily reach it while sitting. This makes it convenient to rinse off without standing up, and it's a big help for anyone with limited mobility.
5. Grab Bars That Blend In
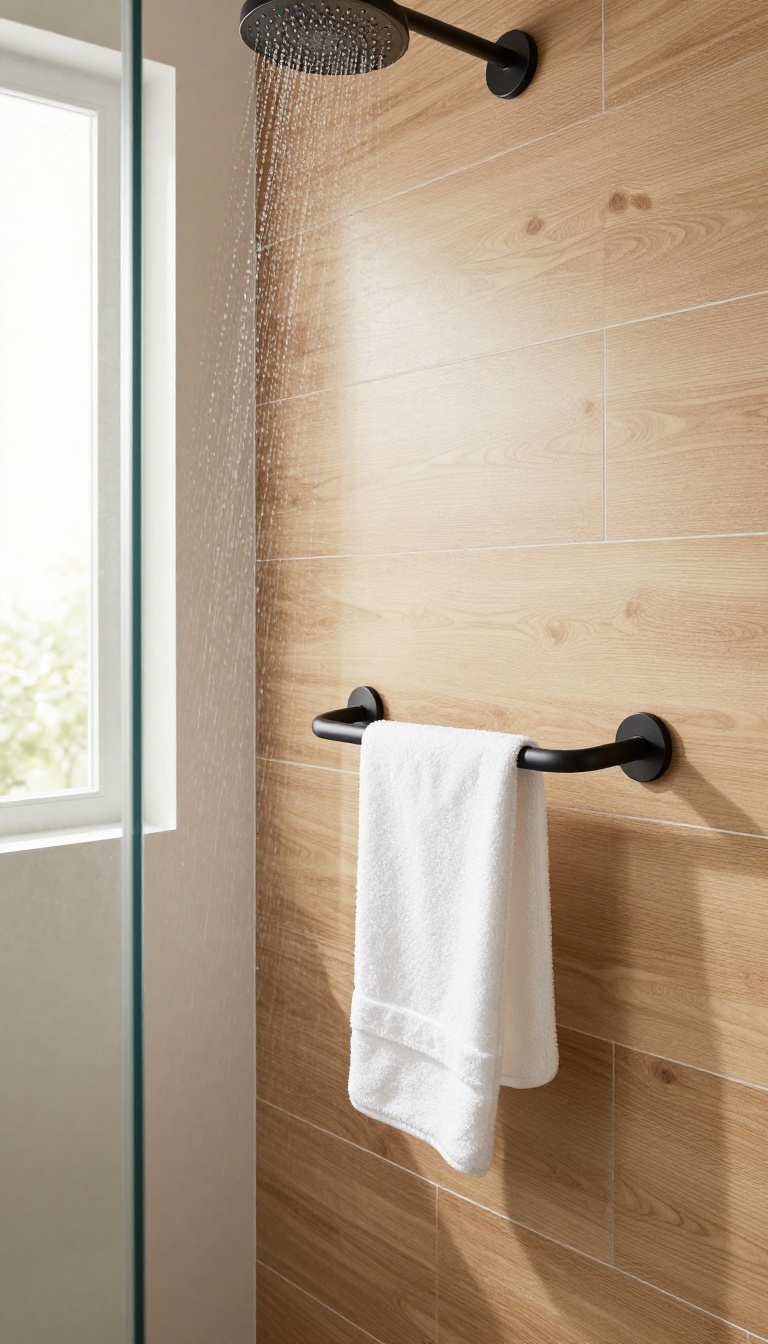
Grab bars used to scream “hospital bathroom, ” but that’s no longer the case. Today’s designs come in sleek finishes and clever forms that look like towel bars or shelving. You get the support you need without the institutional vibe.
Safety doesn’t have to be an eyesore. Modern grab bars are available in matte black, brushed nickel, and even wood-look finishes that complement any bathroom style. Some double as towel racks or corner shelves, so they earn their keep even when you don’t need to hold on.
Placement matters just as much as style. Install one near the entry to steady yourself as you step in, another inside the shower for balance while washing, and a third by the controls so you can adjust the water safely. With the right spots and finishes, these bars become a natural part of the design.
Choose Finishes That Match Your Fixtures
Match grab bars to your shower trim and faucet for a cohesive look. Brushed nickel pairs well with most modern fixtures, while matte black adds a bold, contemporary edge. If you prefer a warmer feel, look for bars with a wood-grain texture or a bronze finish that blends with natural elements.
Look For Multi-purpose Designs
Many grab bars now double as towel bars or shelves. A horizontal bar near the entry can hold a towel within reach, while a vertical bar with a small shelf gives you a spot for shampoo or soap. These multi-function pieces reduce clutter and make the bar feel intentional, not added on.
Install In Key Spots
Think about where you need support most. Place a bar at the entry to help with stepping over the curb (if there is one) or to steady yourself as you transition in. Inside the shower, a vertical bar near the controls lets you reach the handles without losing balance.
Another near the shower seat or bench is handy for standing up.
6. Handheld Showerhead: Flexibility and Reach
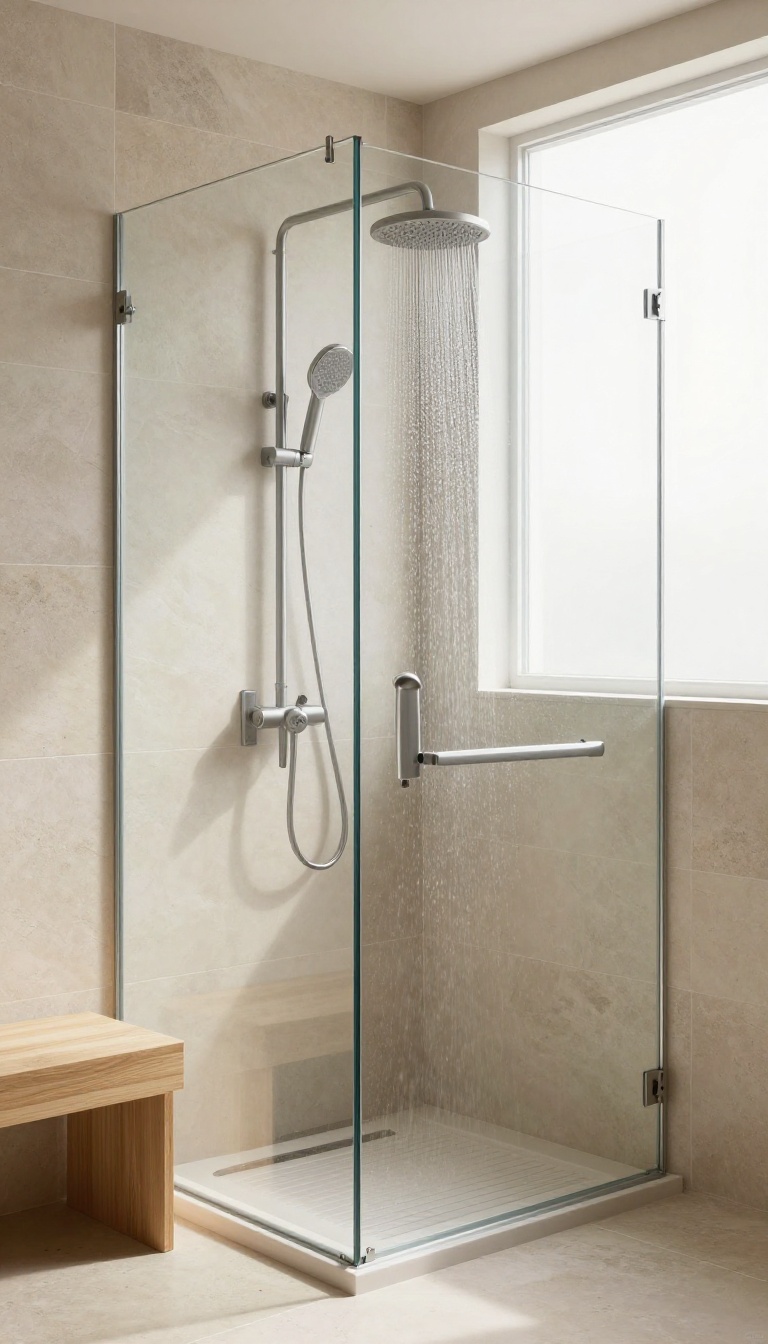
A handheld showerhead is one of those small upgrades that makes a big difference. It puts the water right where you need it, whether you're rinsing off after a workout or helping a child wash their hair. And when you're in a walking shower, it adds a layer of convenience that fixed heads just can't match.
The beauty of a handheld showerhead lies in its flexibility. You can hold it in your hand to target specific areas, or mount it on a sliding bar to adjust the height for different users. This is especially handy if you have a bench in your shower—you can sit and still have full control over the water flow.
Why It Works In A Walking Shower
Since walking showers often have open space and minimal barriers, a handheld showerhead lets you use that space more effectively. You can reach every corner of the shower without stretching or twisting, which is great for cleaning the shower itself too. Plus, it's easier to rinse off soap from hard-to-reach places like your back or legs.
Choosing The Right Model
Look for a handheld showerhead with a long, flexible hose—at least 60 inches—so you can move freely. A sliding bar is a smart addition because it lets you adjust the height for everyone in the household. Some models come with multiple spray settings, from a gentle mist to a powerful massage, so you can customize your shower experience.
Installation And Maintenance Tips
Most handheld showerheads are easy to install—you can often swap out your existing head in minutes without calling a plumber. Just make sure the mounting bracket is securely attached to the wall, and check the hose connections periodically for leaks. Clean the nozzles regularly to prevent mineral buildup, especially if you have hard water.
7. Wide Doorways and Open Layouts
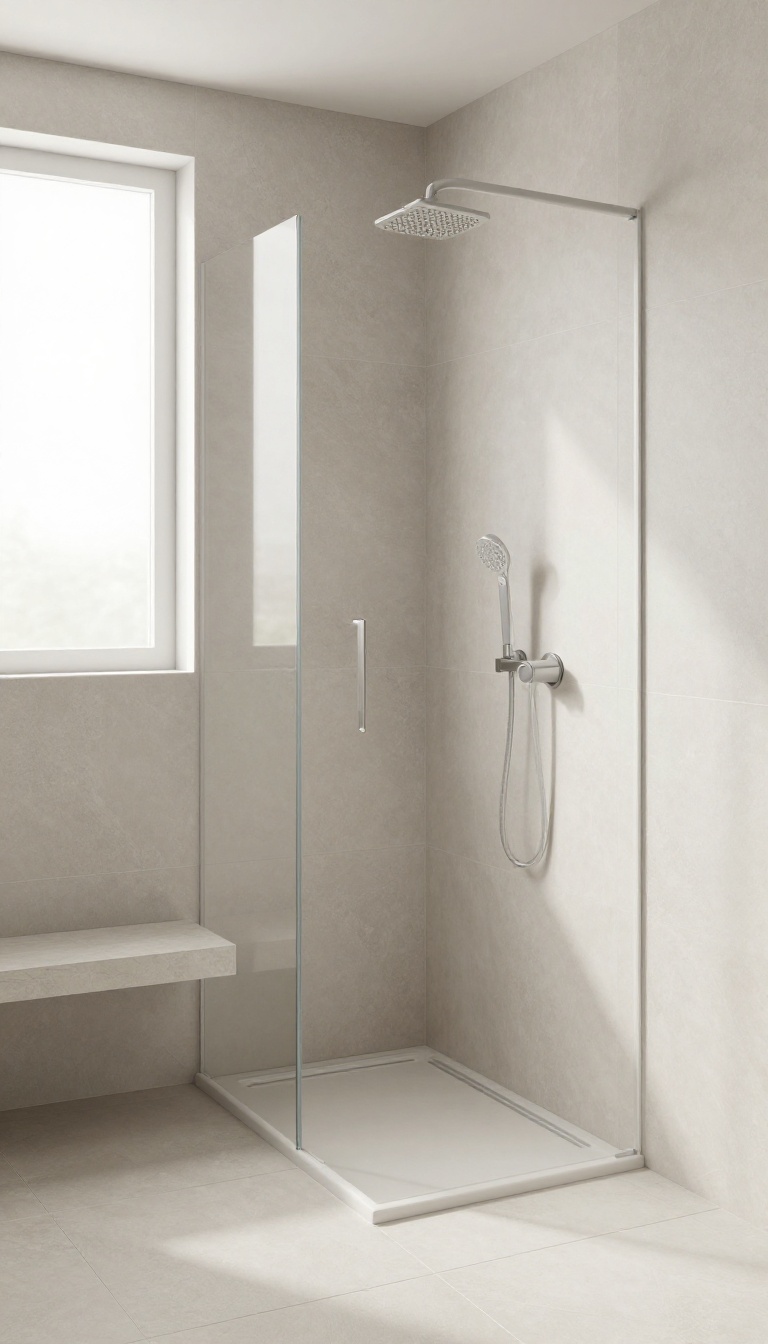
A shower door that swings inward can feel like a barrier, especially when space is tight. Swapping it for a wider, sliding, or pivot door keeps the entry clear and easy to navigate. If you're ready to go all in, a doorless design with a generous opening takes accessibility and openness to the next level.
Wide doorways and open layouts do more than improve access—they transform the entire bathroom. A bigger opening lets in more light, makes the room feel larger, and removes the visual clutter of a traditional door. Whether you choose a sleek sliding door or skip the door altogether, you'll create a shower that's both easier to use and more inviting.
For a doorless setup, the key is planning the opening width and water containment. A minimum 32-inch opening is comfortable for most walkers or wheelchairs, but 36 inches or more feels even more spacious. You'll also need a slight slope toward the drain and possibly a linear drain to keep water from escaping.
The payoff is a seamless transition from bathroom floor to shower floor—no step, no threshold, just a smooth, open space.
Sliding And Pivot Doors Save Space
If you prefer a door for water control, consider a sliding or pivot model. Sliding doors glide along a track and don't swing into the bathroom, which is perfect for narrow layouts. Pivot doors open outward from a side hinge, giving you a wide entry without eating up floor space.
Both styles come in frameless glass for a modern look and are easier to operate than traditional hinged doors.
Doorless Showers For A Seamless Look
Going doorless is the ultimate in open design. You can create a wet room where the entire bathroom floor is waterproof, or use a fixed glass panel to keep splashes in check. The entry becomes a wide opening—often 36 to 48 inches—that feels like walking into a spa.
This setup is ideal for wheelchair users or anyone who wants to avoid maneuvering around a door. Just make sure your bathroom floor slopes properly and you have a good drain system.
Planning For Accessibility And Comfort
When widening your shower entry, think about the path leading to it. A clear, level route from the bathroom door to the shower makes a huge difference. Avoid raised thresholds or lips that could trip someone.
Also, consider adding a small bench or grab bar near the entrance for extra support. These details make the shower safer and more comfortable for everyone, regardless of age or mobility.
8. Recessed Shelving and Niches
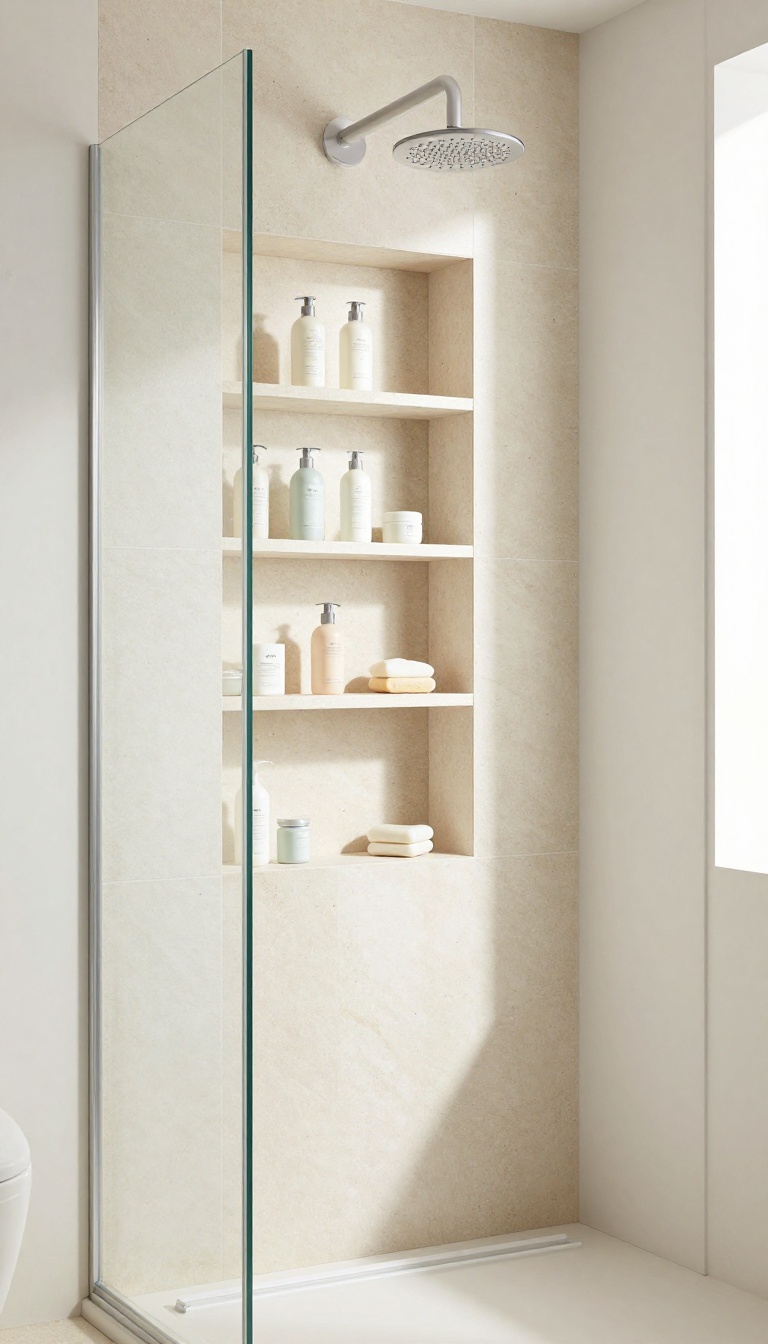
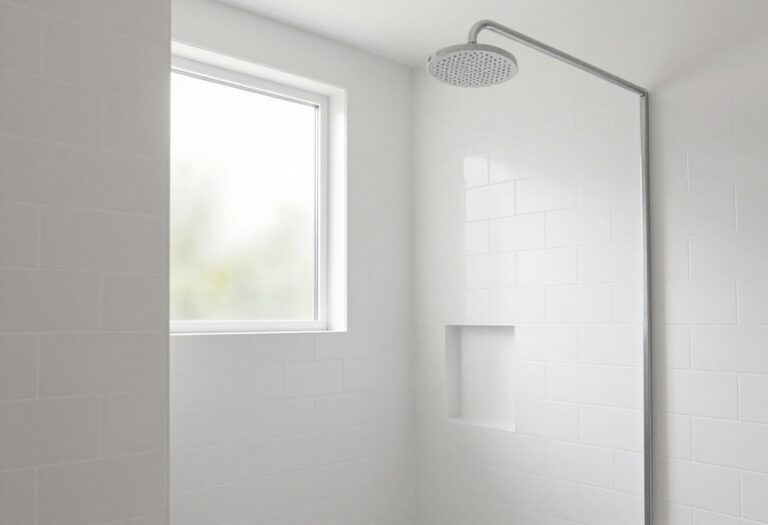
Wall-mounted caddies and corner shelves can crowd a walk-in shower, eating into the open space that makes these designs so appealing. Recessed niches offer a built-in alternative that keeps your essentials close without stealing a single inch of room. They also streamline the look, turning practical storage into a seamless part of the shower's architecture.
Recessed shelving is a smart storage solution that blends function with style. By building storage into the wall, you avoid protrusions that can interrupt the clean lines of a walk-in shower. This is especially valuable in smaller bathrooms where every bit of space matters.
Plus, with no bulky caddies to clean around, maintenance becomes simpler and the shower feels more open and airy.
Choosing The Right Size And Placement
The key to a useful niche is planning its size and location. Think about what you'll store—shampoo bottles, soap, razors—and design the niche to fit them comfortably. A typical niche is about 12 inches wide and 12 to 16 inches tall, but you can customize it.
Place it at a height that's easy to reach for everyone in the household, usually around chest level. Also, consider the showerhead location to avoid water splashing directly into the niche.
Materials And Waterproofing
Since the niche is inside the wet area, waterproofing is non-negotiable. Use a waterproof membrane behind the tile and ensure proper sloping to prevent water pooling. For the niche itself, choose materials that match your shower walls—ceramic tile, porcelain, or natural stone.
Use a solid piece of stone or a prefabricated tile insert for a seamless look. Avoid porous materials that can stain or harbor mold.
Styling And Design Options
Niches don't have to be plain boxes. Get creative with shapes—a tall vertical niche for long bottles, a narrow one for razors, or a wide shelf for multiple items. You can add a small ledge for a plant or a decorative accent.
Lighting inside the niche can add a touch of luxury and make products easier to find. Choose a complementary tile or a contrasting color to make the niche a focal point.
9. Thermostatic Valves: Consistent Comfort
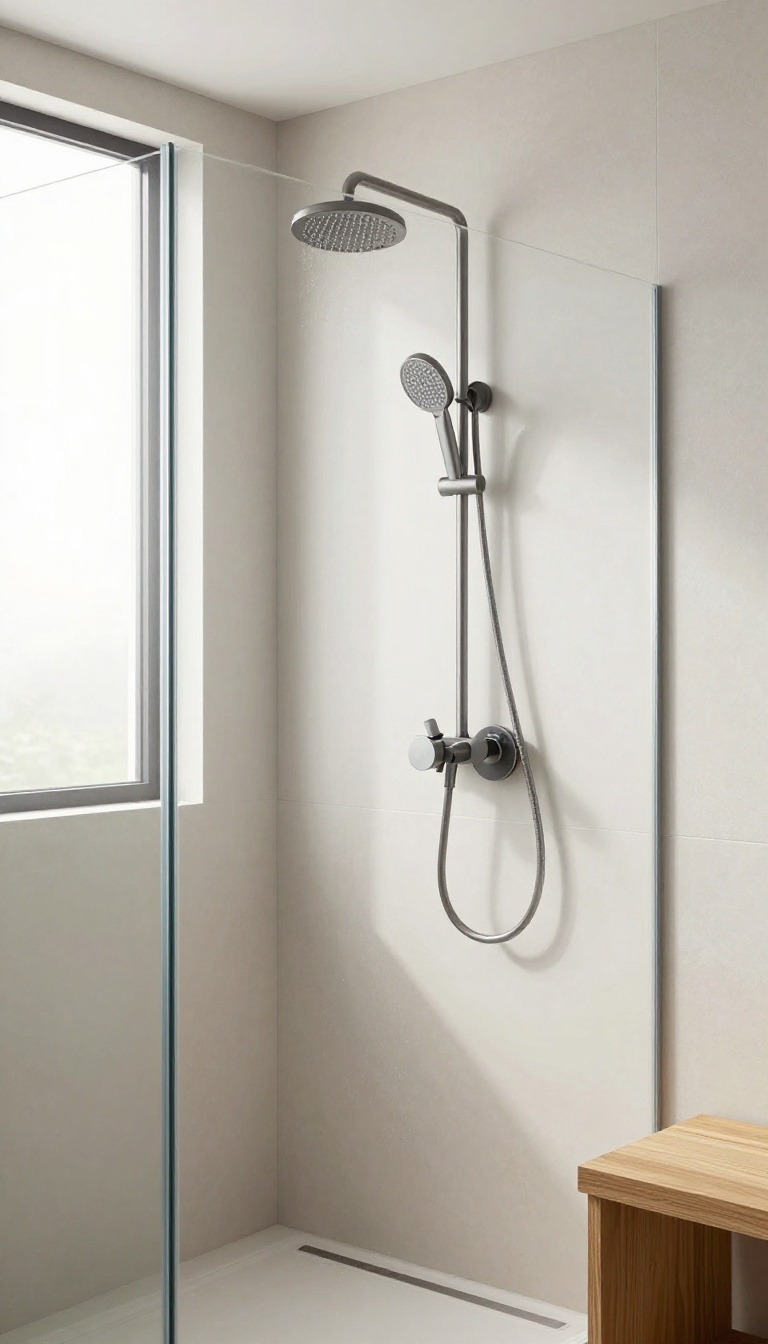
Nothing ruins a relaxing shower faster than a sudden blast of cold water or a scalding hot surprise. Thermostatic mixing valves solve this by keeping the water temperature steady, no matter what else is happening in the house. It's a small upgrade that makes a big difference in comfort and safety.
A thermostatic valve blends hot and cold water to a set temperature before it reaches the showerhead. Once you dial in your preferred heat, the valve automatically adjusts to maintain it, even if someone flushes a toilet or runs the washing machine. This means no more surprise temperature swings that can startle you or, worse, cause burns.
For families with kids, older adults, or anyone with sensitive skin, this peace of mind is priceless. Plus, it adds a touch of luxury—imagine stepping into a shower that's always just right, every single time.
How It Works
The valve uses a wax thermostat or a similar mechanism that expands and contracts with temperature changes. When cold water pressure drops, the valve opens more hot water to compensate, and vice versa. It's a simple, reliable system that doesn't require electricity, so it works even during power outages.
Safety First
Many thermostatic valves come with a built-in anti-scald feature that limits the maximum temperature to around 120°F (49°C). This is especially important if you have young children or elderly family members who might not react quickly to hot water. Some models also have a pause button that stops the flow temporarily, saving water while you lather up.
Installation Tips
If you're handy, you can replace an existing shower valve with a thermostatic model, but it's often easier to have a professional do it, especially if you need to adjust the plumbing behind the wall. Look for models with a separate volume control and temperature dial for the most precise adjustments. And don't forget to choose a finish that matches your shower fixtures—brushed nickel, chrome, or matte black all work well.
10. Glass Enclosures: Light and Airy
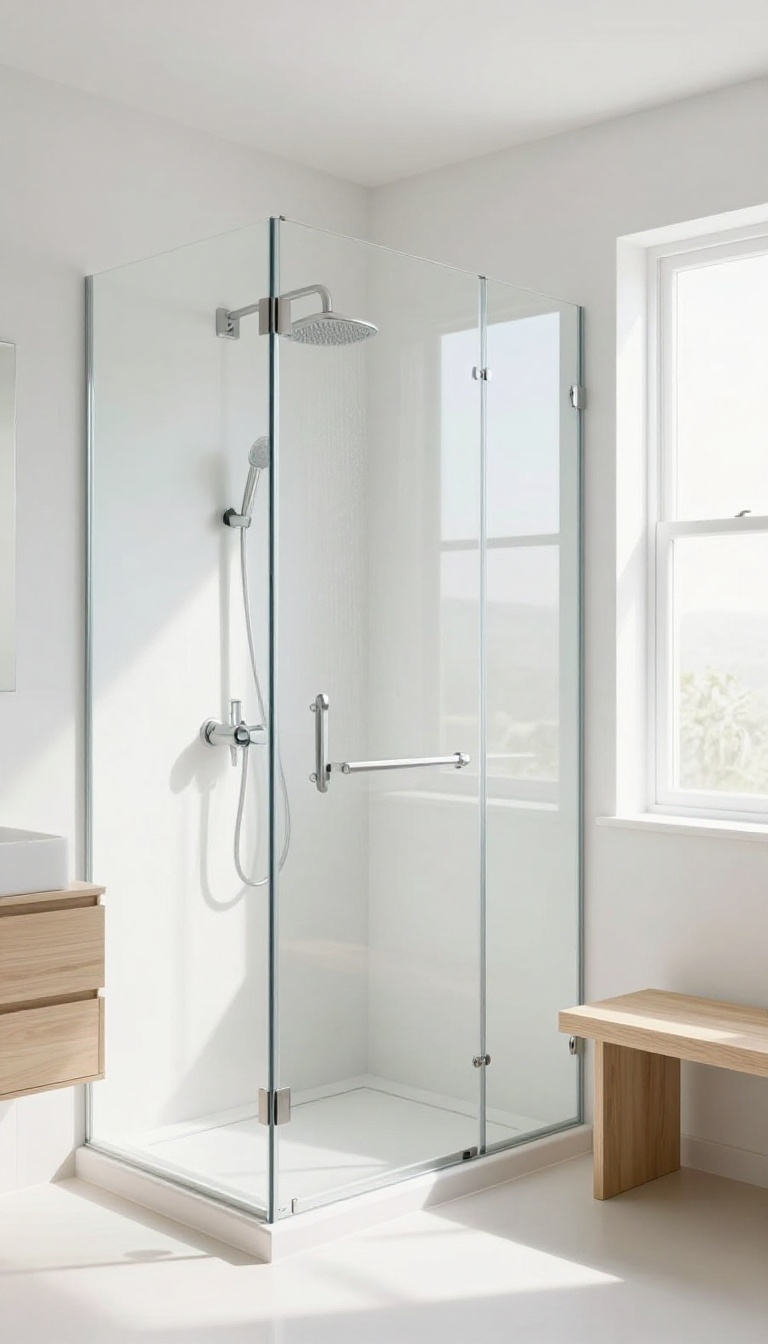
A frameless glass enclosure can transform a walk-in shower from a functional necessity into a stunning focal point. By letting light pass through, it keeps the space feeling open and connected to the rest of the bathroom, even when the shower is in use. If you've ever felt closed in by a shower curtain or a bulky framed door, this idea might be exactly what you need.
Glass enclosures are a popular choice for modern walk-in showers because they visually expand the bathroom and allow natural light to flow freely. Unlike opaque curtains or frosted panels, clear glass maintains a seamless look that makes the entire room appear larger and more inviting. Plus, they're easier to clean than you might think—just a squeegee after each use keeps them sparkling.
Frameless Vs. Semi-frameless
Frameless glass uses thick tempered panels and minimal hardware, creating a sleek, uninterrupted appearance. Semi-frameless designs have a few metal supports along the edges, which can be a budget-friendly option while still offering a modern look. Both styles keep water contained effectively, but frameless gives that truly open, spa-like feel.
Glass Thickness And Safety
Tempered glass is a must for shower enclosures—it's four to five times stronger than regular glass and shatters into small, blunt pieces if broken. Standard thicknesses range from 3/8 inch to 1/2 inch; thicker glass feels more substantial and reduces vibration, but it's also heavier and pricier. Always hire a professional for installation to ensure proper support and safety.
Maintenance And Cleaning Tips
Hard water spots and soap scum can dull glass quickly. A daily or weekly wipe-down with a squeegee or a microfiber cloth keeps it clear. For stubborn buildup, a mixture of white vinegar and water works wonders without harsh chemicals.
Some enclosures come with a protective coating that repels water and makes cleaning even easier.
11. Smart Storage Solutions
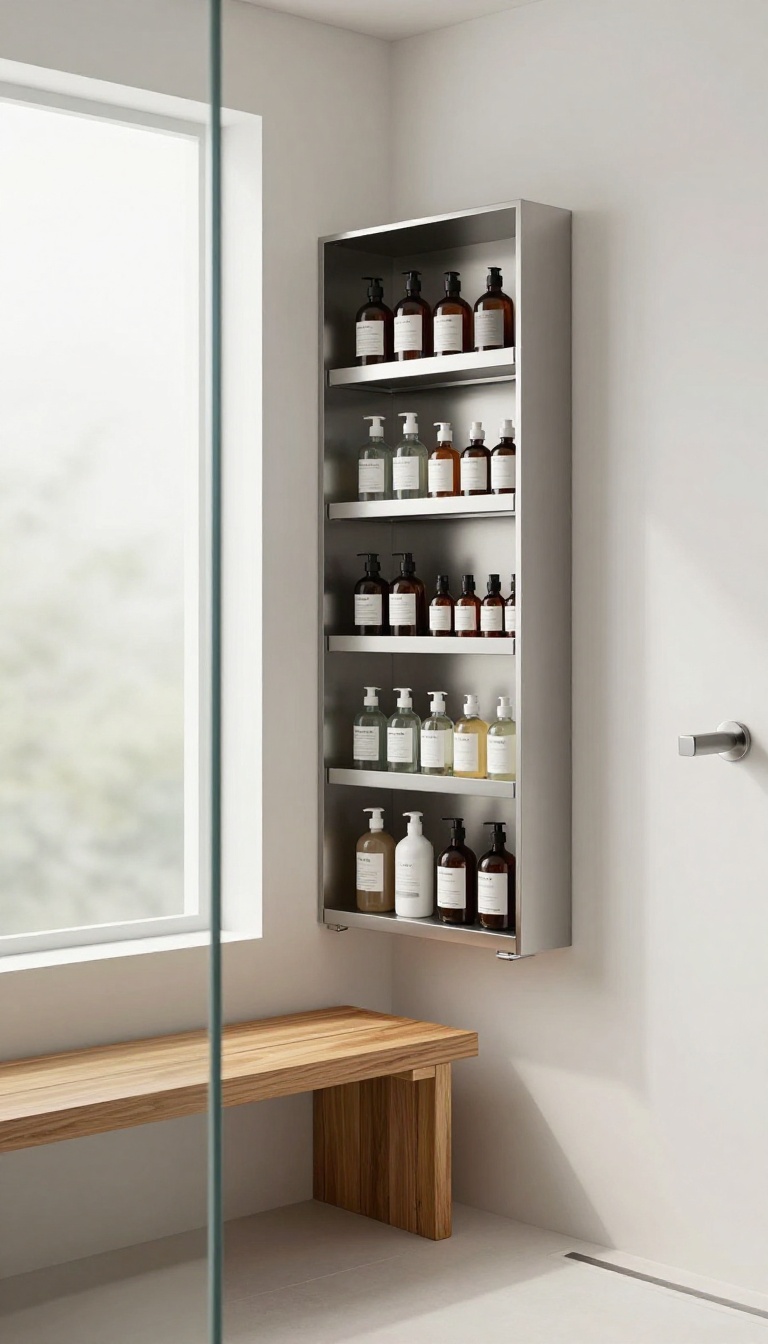
Clutter can quickly turn a walk-in shower into a chaotic mess. Without proper storage, bottles and loofahs end up on the floor or in corners, creating tripping hazards and visual noise. Smart storage fixes that by keeping everything organized and within reach, so your shower stays safe, tidy, and enjoyable.
The key is to think vertically and use moisture-resistant materials. A corner caddy fits neatly into unused space, while a built-in niche keeps bottles flush with the wall. For a touch of luxury, a teak bench with storage underneath offers both seating and hidden compartments.
These solutions not only reduce clutter but also make your shower feel more spacious and intentional.
Corner Caddies And Shelves
Corner caddies are a simple way to add storage without taking up floor space. Look for rust-proof finishes like stainless steel or aluminum, and choose designs with multiple tiers. For a sleeker look, install a floating shelf in a corner or along a wall.
Just make sure it's angled slightly to let water drain off.
Built-in Niches And Recessed Shelves
Built-in niches are a game-changer for walk-in showers. They blend seamlessly into the wall, offering a clean, minimalist look. Place them at waist height for easy access, and consider adding a small ledge for a soap dish.
If you're remodeling, this is the perfect time to add one—it's easier than you think and adds real value to your bathroom.
Teak Benches With Storage
A teak bench isn't just for sitting—it can double as a storage unit. Many designs feature a hinged top or pull-out drawers underneath, perfect for stashing extra towels, shampoo bottles, or bath toys. Teak is naturally water-resistant and adds a warm, spa-like touch to any shower.
Just remember to clean and oil it occasionally to keep it looking its best.
FAQ
What is a walking shower?
A walking shower is a shower designed with a low or no threshold, allowing you to walk directly in without stepping over a high curb or tub wall. It's often curbless and may include features like grab bars and seating for enhanced accessibility.
Are walking showers more expensive to install?
Costs can vary. Curbless showers may require more subfloor work to ensure proper drainage, but they can also save on materials like a shower pan. Overall, they can be comparable to traditional showers, especially if you're already remodeling.
Do walking showers need a door?
Not necessarily. Many walking showers are open or use a fixed glass panel to prevent splashing. A door can be added for warmth and privacy, but it's not a requirement.
The key is to have a barrier-free entry.
How do I prevent water from splashing out of a curbless shower?
Proper slope of the floor toward the drain is crucial. You can also use a linear drain at the entry, a slight pitch, or a glass panel to contain water. Choosing the right showerhead and positioning can also minimize splashing.
Can I convert my existing shower into a walking shower?
In many cases, yes. It depends on your current setup and the subfloor. A contractor can assess whether the floor can be sloped properly and if the plumbing can be adjusted.
It's often easier during a full remodel.
Conclusion
Designing a walking shower is about more than just accessibility—it's about creating a space that feels open, safe, and tailored to your needs. With these ideas, you can transform your bathroom into a modern retreat that welcomes everyone, regardless of age or mobility.
Start with the essentials like a curbless entry and non-slip flooring, then layer in the details that make it your own. Whether you opt for a full renovation or a few simple upgrades, every step toward a more accessible shower is a step toward a more comfortable home.