15 DIY Camping Shower Ideas for Easy Outdoor Freshening
A hot shower after a long hike feels like a luxury, but you don't need a campground hookup to enjoy one. With a few simple supplies, you can set up a refreshing rinse right at your campsite, whether you're car camping or backpacking.
These 15 DIY shower ideas range from ultralight hacks to full-pressure setups, so you can pick what fits your trip style and budget.
No more feeling grimy or relying on baby wipes—just clean, comfortable skin under the open sky.
1. Solar Shower Bag: The Classic No-Fuss Option
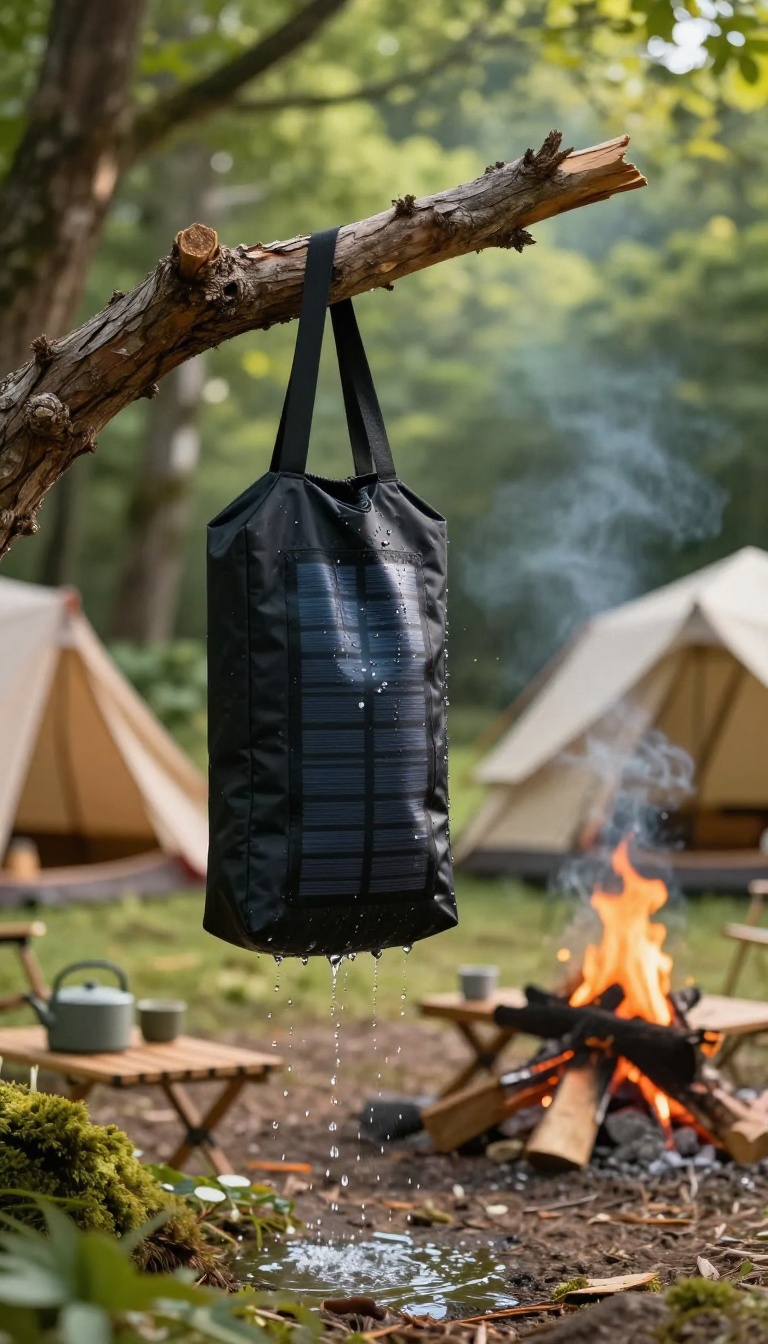
When you're camping and need a quick rinse, the solar shower bag is the go-to for many. It's basically a heavy-duty PVC bag that you fill with water and leave in the sun. After a few hours, you've got warm water ready for a gravity-fed shower.
No pumps, no moving parts, just simple and effective.
The beauty of a solar shower bag is its simplicity. You hang it from a tree branch, your car's roof rack, or a sturdy tripod, and the water flows down through a hose with a nozzle. You can control the flow with a simple valve, and the whole setup takes less than five minutes.
It's perfect for car camping or any basecamp where you don't mind carrying a bit of extra weight.
How It Works
Fill the bag with water, leaving a little room for the water to heat. Place it in direct sunlight for a few hours. The black side absorbs heat, and the water warms up.
Once it's ready, hang it and use the hose to rinse off. The water flow is gentle, but you can adjust the nozzle for a more focused spray.
What To Look For
When choosing a solar shower bag, check the capacity—5 to 10 gallons is common. Look for a bag with a sturdy handle and a reliable on/off valve. Some come with a temperature gauge, which is handy.
Also, consider the material: thicker PVC lasts longer but adds weight. A roll-up design saves space when empty.
Pros And Cons
The main advantage is cost and simplicity. You can get a decent bag for under $20, and there's almost nothing to break. The downside is that water temperature depends on the sun, so cloudy days mean cooler showers.
Also, you need a place to hang it, and the water pressure is low compared to pump systems.
2. Pressurized Camp Shower with a Weed Sprayer
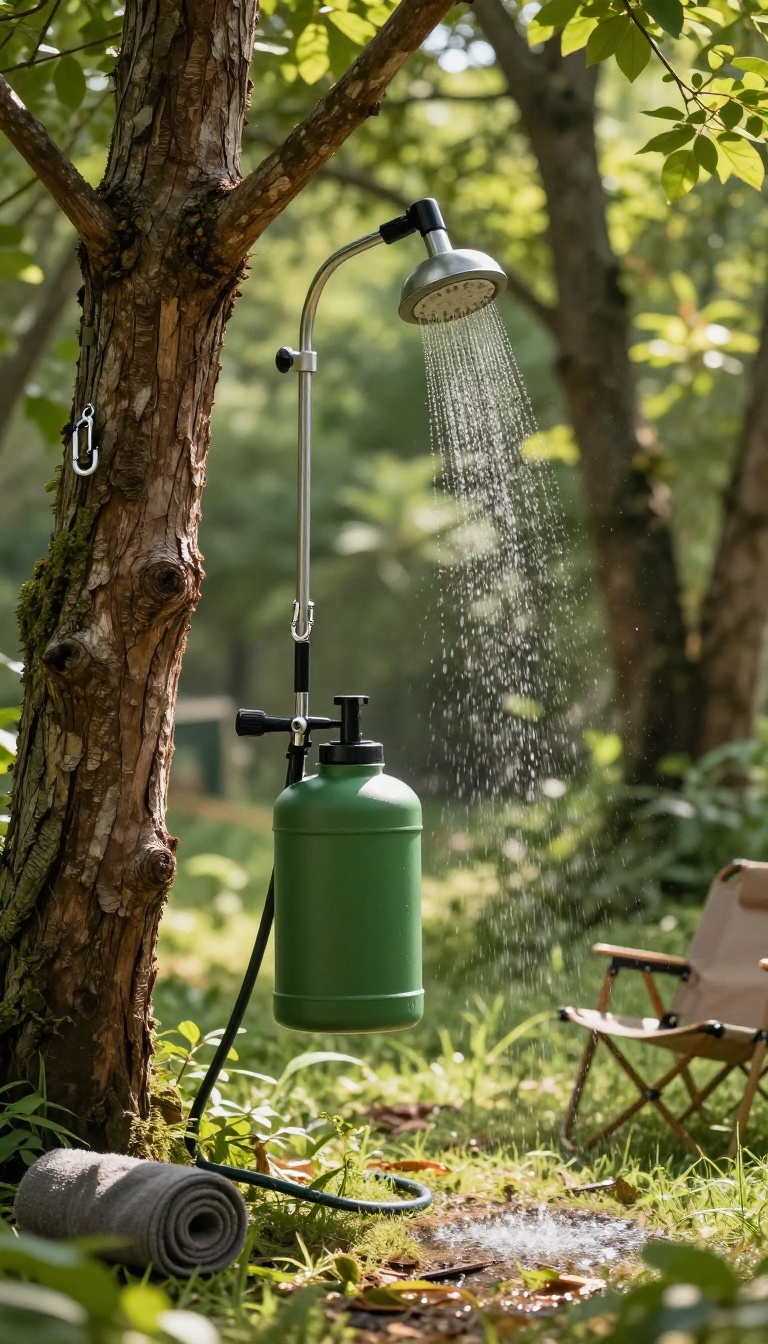
A weed sprayer might seem like an odd shower companion, but it's actually one of the smartest DIY camp shower hacks out there. The built-in pump gives you steady water pressure, so you get a real rinse instead of a dribble. Plus, it's cheap, durable, and easy to find at any hardware store.
This setup works surprisingly well for car camping or basecamp adventures where weight isn't a huge concern. The sprayer's tank holds a few gallons, which is plenty for a quick shower. You can adjust the nozzle from a fine mist to a stronger stream, making it easy to rinse off soap and shampoo without wasting water.
What You'll Need
Grab a 2-gallon garden sprayer (the kind with a hand pump), a shower head attachment that fits the hose, and some Teflon tape for a leak-free seal. You'll also need a way to hang it, like a sturdy carabiner or a rope tied to a tree branch. Most sprayers come with a long hose, so you can place the tank on the ground and still shower comfortably.
Setting It Up
First, clean the sprayer thoroughly to get rid of any chemical residue. Fill it with warm water (not too hot, as plastic can warp), then pump the handle to build pressure. Attach the shower head to the hose—if it doesn't fit perfectly, use the Teflon tape to seal the threads.
Hang the tank from a branch or your vehicle's roof rack, and you're ready to rinse.
Tips For Best Results
Pump the sprayer a few extra times for a stronger flow, but don't overdo it or you'll have to release pressure mid-shower. Use a foot-operated pump if you want to avoid bending down. For privacy, set up a pop-up changing tent or hang a tarp around your shower spot.
And always test the water temperature before you start so you don't get a cold surprise.
3. Portable Privacy Shower Tent
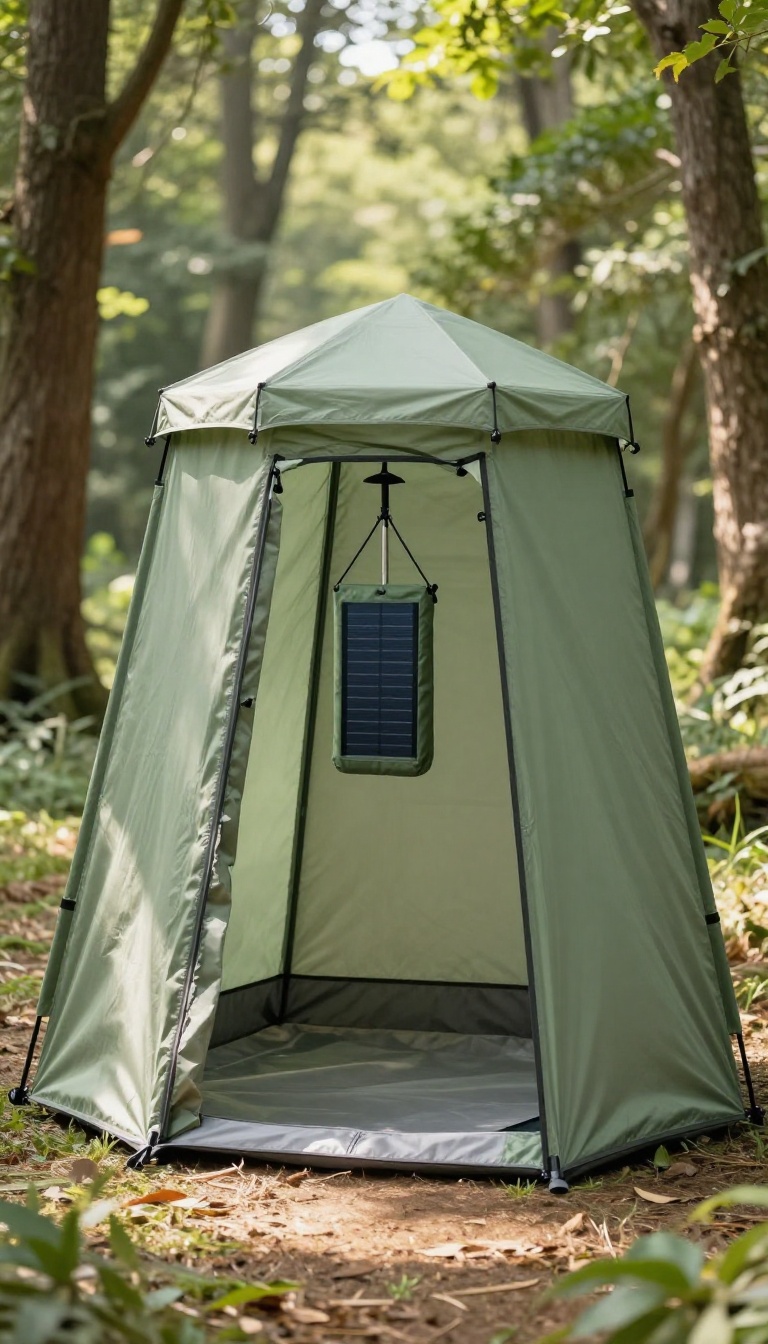
Campground showers can be a gamble—long lines, questionable cleanliness, and zero privacy. A pop-up privacy tent solves that by giving you a dedicated spot to rinse off without an audience. These lightweight shelters fold flat in seconds and set up in under a minute, making them a no-brainer for car campers and even some backpackers.
The beauty of a portable privacy tent is its simplicity. You just pop it open, stake it down, and hang your shower bag or portable shower head inside. Many models come with a top loop for hanging, plus a floor that keeps mud and debris out.
When you're done, it collapses into a compact circle that fits in your trunk or backpack.
Choosing The Right Size
Privacy tents come in various sizes, from compact one-person models to roomy standing-room versions. If you're tall or want extra space for changing, look for one with a center height of at least 6 feet. A wider base also gives you room to move without knocking over your gear.
Setting It Up For Maximum Stability
Wind can turn a lightweight tent into a kite, so always stake it down or weigh the base with your backpack or water jugs. Some models include guylines for extra security. Position the door away from prevailing winds and choose a flat, clear spot to avoid puncturing the floor.
Pairing It With Your Shower System
You can use almost any DIY shower setup inside a privacy tent—solar bags, pressurized sprayers, or gravity-fed systems. Hang your water source from the built-in loop or a nearby tree branch. For a hands-free experience, hook a portable shower head to the tent's frame using a carabiner or clip.
4. Bucket Shower with a Spigot
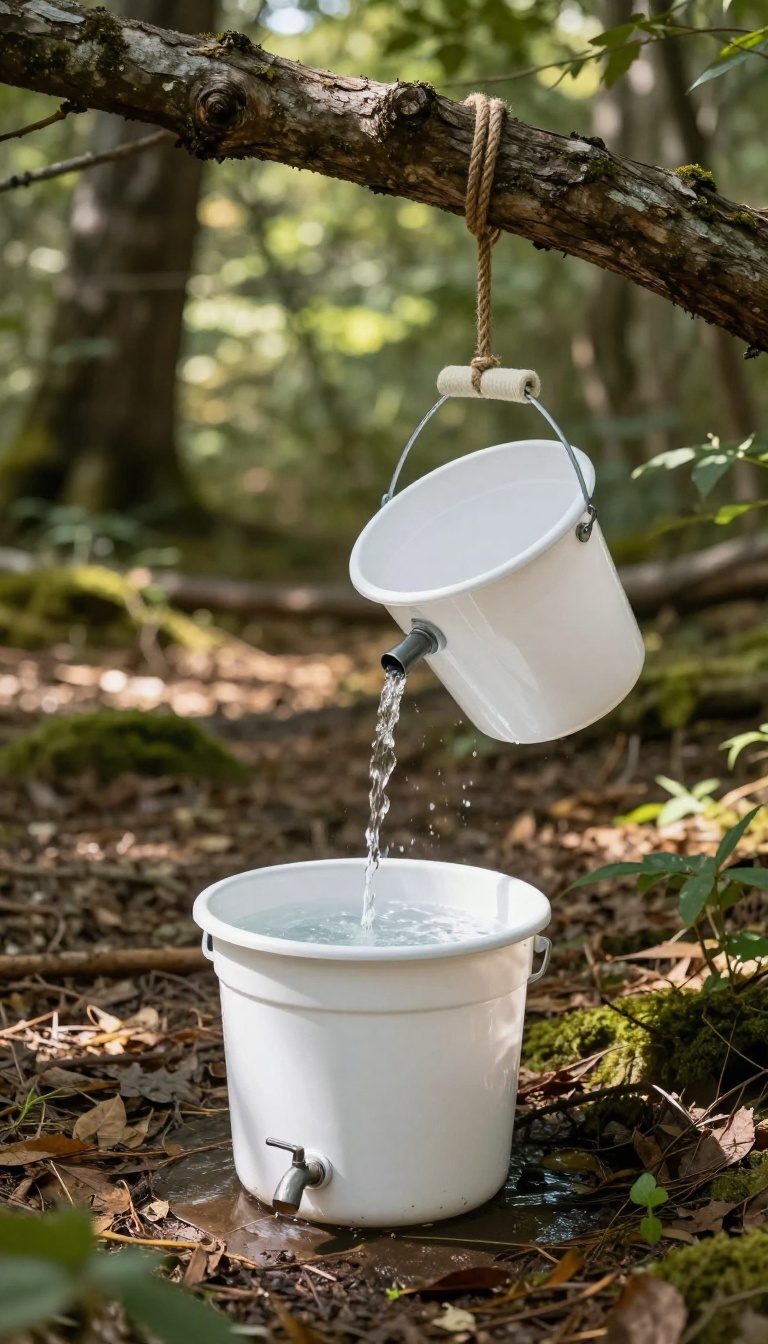
Sometimes the simplest tools get the job done best. A five-gallon bucket with a spigot is about as straightforward as it gets—no pumps, no fancy valves, just gravity doing the work. You probably already have a bucket lying around, and adding a spigot takes only a few minutes and a couple of bucks.
This setup shines when you're car camping or base camping, where weight isn't a big deal. Hang it from a sturdy branch or a roof rack, fill it with water warmed by the sun, and you've got a reliable shower that won't quit. It's not flashy, but it's effective and easy to repair if something goes wrong.
A bucket shower with a spigot is the kind of project that feels almost too easy. You take a standard five-gallon bucket, install a spigot near the bottom, fill it with water, and let gravity handle the rest. The flow is gentle but steady, perfect for a quick rinse or a full soap-down if you're careful with your water usage.
The beauty of this design is its simplicity. There are no moving parts, no batteries, and no complicated assembly. If the spigot ever leaks or breaks, you can replace it in under a minute.
Plus, you can use the same bucket for hauling water, storing gear, or even as a camp seat when it's empty.
What You'll Need
Gather a five-gallon bucket with a lid, a 1/2-inch bulkhead fitting or a simple spigot kit (available at most hardware stores), a drill with a hole saw or spade bit, and some plumber's tape. Optionally, grab a short length of hose or a shower head attachment for a more comfortable spray. Most spigot kits come with rubber washers and nuts, so you won't need any special skills.
If you want to go extra fancy, you can add a small PVC pipe inside the bucket to act as a standpipe, which helps keep the water flowing smoothly until the very last drop.
How To Build It
Start by drilling a hole near the bottom of the bucket, about two inches from the base. The hole should match the size of your spigot's threaded stem. Insert the spigot through the hole from the outside, then secure it with the included washer and nut on the inside.
Tighten firmly, but don't overdo it—you don't want to crack the plastic. If you're using a bulkhead fitting, follow the same steps but make sure the rubber gaskets are seated properly to prevent leaks. Once the spigot is in place, test it with water before you head out.
That way, you'll know if you need extra plumber's tape or a tighter seal.
Tips For A Better Shower
To get warm water, fill the bucket and let it sit in the sun for a few hours. A black bucket absorbs heat faster than a white one, so if you have a choice, go dark. You can also heat a smaller pot of water and mix it in just before showering to boost the temperature.
Hang the bucket from a sturdy branch or a portable stand. Make sure the spigot is facing down and the bucket is level. If you're using a shower head attachment, connect it with a short hose and secure it with a clip so you don't have to hold it the whole time.
And always test the water temperature on your wrist before stepping under—nobody wants a surprise cold blast.
5. PVC Pipe Stand Shower
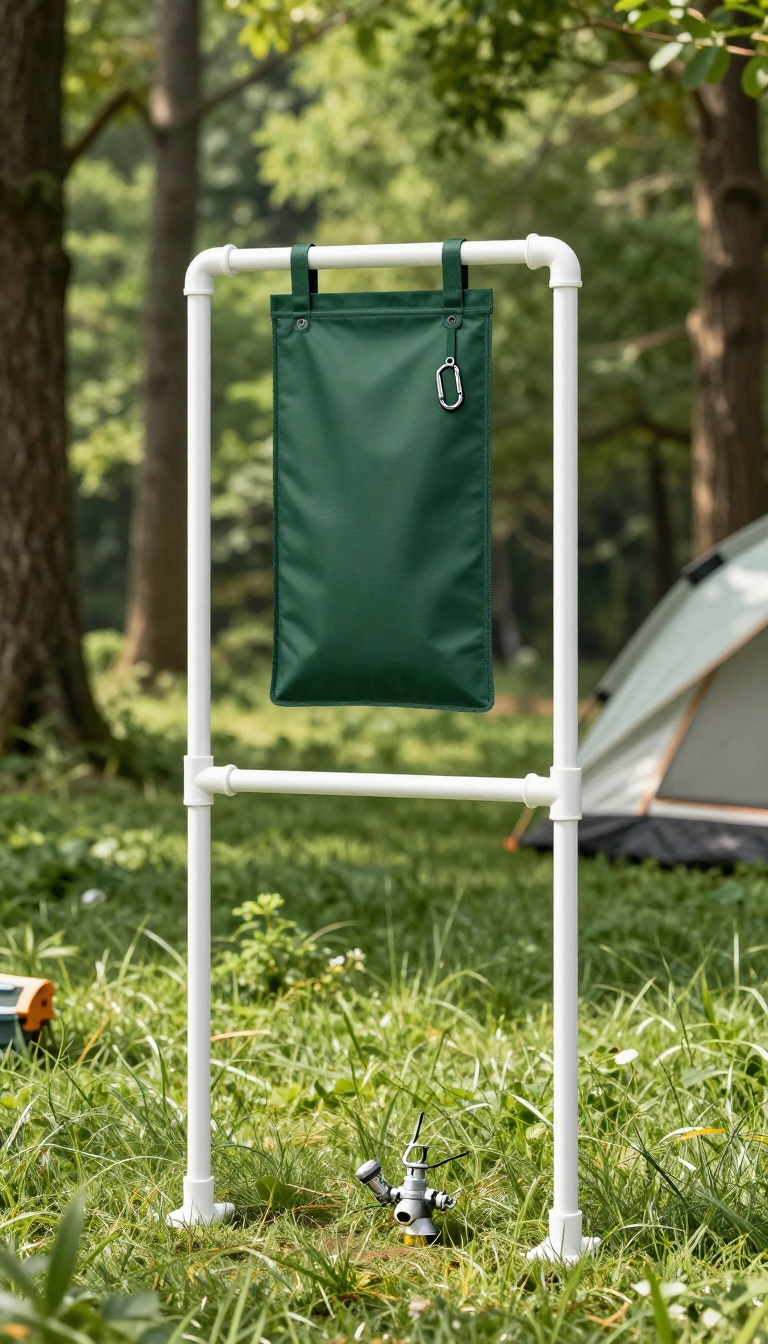
Building a PVC frame gives you a stable, hands-free shower that's easy to set up and take down. You can position the shower head exactly where you want it, and the foot valve means you don't have to fumble with a twist valve while soapy. It's a great weekend project that pays off every time you camp.
Why A Stand Beats A Tree Branch
Hanging a shower bag from a tree sounds simple, but it rarely works out. Branches are often too high, too low, or in the wrong spot. A PVC stand gives you full control over height and placement.
You can set it up on level ground, away from overhanging limbs, and even use it on a picnic table if needed. Plus, it's collapsible, so it packs flat in your car.
What You'll Need
Gather 1-inch PVC pipes, four elbows, four tees, and two end caps. You'll also need a PVC cutter or saw, primer and cement (or just friction-fit if you want to disassemble it), and a shower bag with a hose. The foot valve is a small add-on—a push-button valve that connects to your shower hose.
You can find these at RV supply stores or online.
Step-by-step Build
Cut the PVC into two vertical legs (about 6 feet each) and two horizontal crossbars (about 3 feet each). Connect the legs with the crossbars using tees to form a rectangle. Attach elbows at the top corners to create a frame.
Add end caps to the bottom legs for stability. To hang the bag, use a carabiner or a small hook at the top center. Connect the foot valve to the hose, and you're ready to shower.
Tips For A Better Setup
Paint the PVC with dark green or brown spray paint to blend into the campsite. Add a small sandbag or weight to the base legs if you're on uneven ground. For warmer water, leave the bag in the sun for a few hours before you need it.
And always test the valve before you get soapy—nothing worse than a stuck valve when you're covered in suds.
6. Hand Pump Shower for Off-Grid Comfort
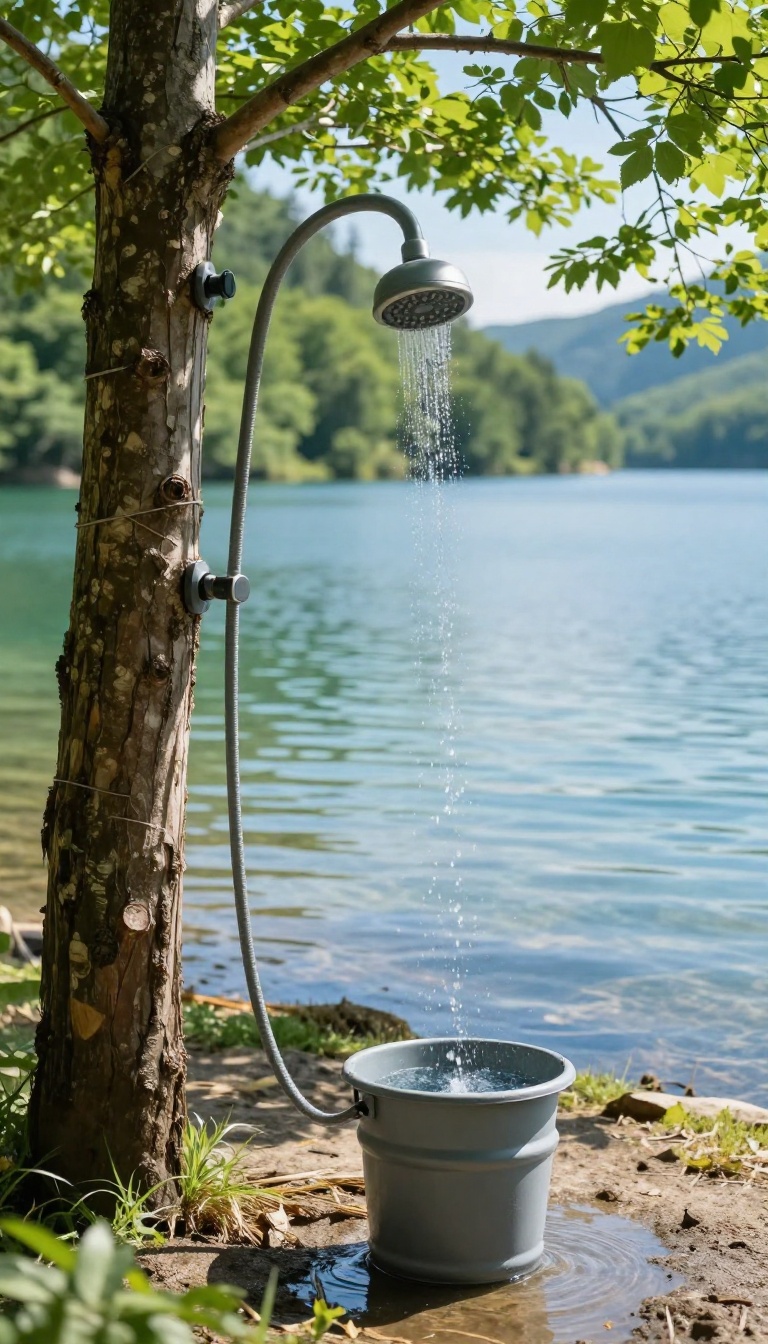
When you're miles from the nearest spigot, a hand pump shower turns any lake, stream, or even a bucket of river water into a refreshing rinse. This simple tool uses suction and pressure to deliver a steady spray without batteries or electricity, making it a favorite among minimalist campers and overlanders. It's lightweight, compact, and surprisingly effective for a quick cleanup after a day on the trail.
A hand pump shower works by drawing water through a hose and pressurizing it with a hand lever. You can place the intake hose directly into a water source, or drop it into a collapsible bucket if you prefer to pre-warm water in the sun. The pump action gives you control over the flow, so you can conserve water while still getting a decent rinse.
Most models come with a shower head that produces a fine spray, and some even include a foot pump option for hands-free operation.
Choosing The Right Pump
Look for a pump with a durable hose and a comfortable handle. Some models have a built-in filter to keep debris out, which is handy when using natural water. Check the flow rate—around 2 to 3 liters per minute is ideal for a satisfying shower.
Also, consider the length of the hose; a longer intake hose gives you more flexibility in positioning the pump.
Setting Up Your Shower Station
Find a private spot near your water source. If you're using a bucket, fill it with water and let it warm in the sun for a few hours for a more comfortable temperature. Place the pump on a stable surface, submerge the intake hose, and secure the shower head to a branch or a simple hook.
You can also use a portable shower tent for privacy and to keep your gear dry.
Tips For An Efficient Rinse
Wet yourself down, turn off the flow, lather up with biodegradable soap, then rinse off. This saves water and ensures you're not leaving soap residue in the environment. Pump steadily and use short bursts to control water usage.
After your shower, drain the pump and hoses to prevent mildew and keep them in good shape for the next trip.
7. DIY Camp Shower Enclosure from a Tarp
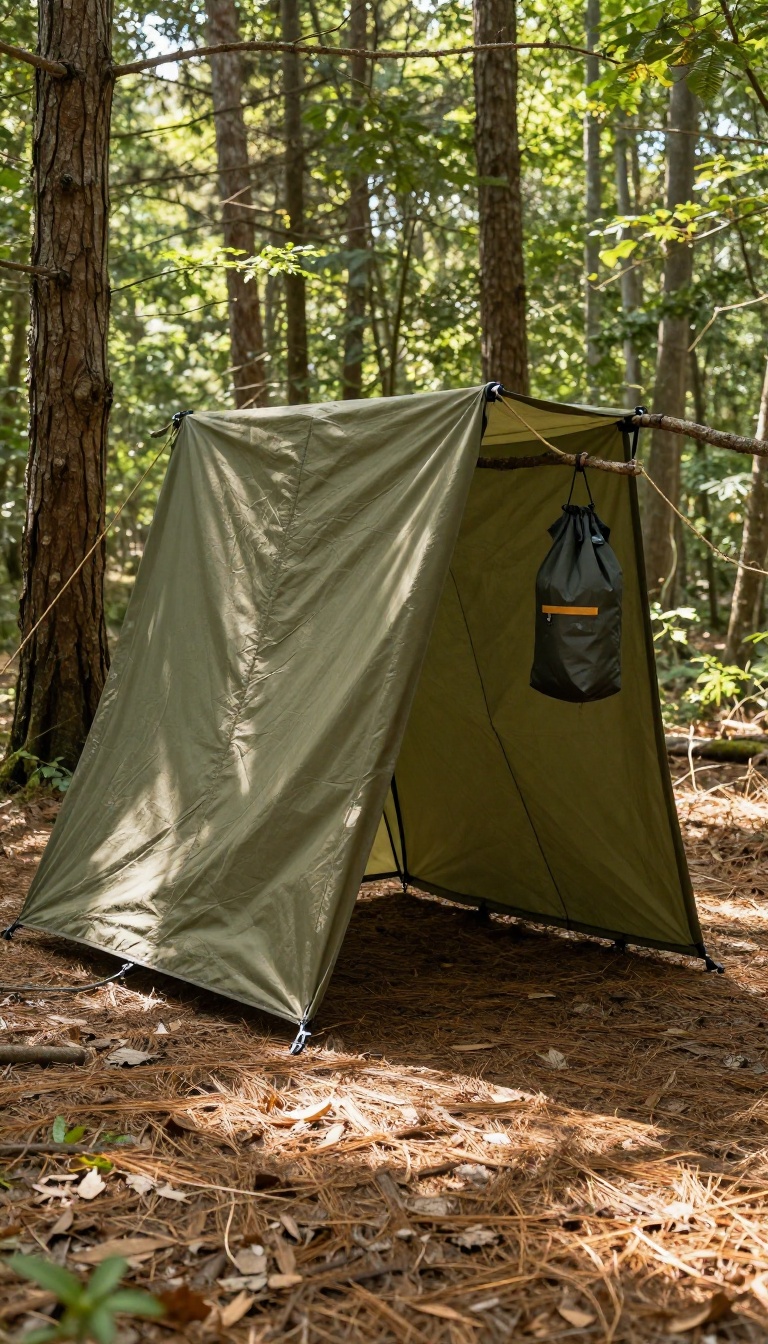
Privacy is often the missing piece when you're showering outdoors. A simple tarp and a bit of rope can turn any open spot into a personal changing room and shower stall. This setup is lightweight, packs down small, and works whether you're at a crowded campground or deep in the backcountry.
You don't need a fancy shower tent to get some privacy. A basic tarp, a length of rope, and a few stakes or trees are all it takes. The key is choosing the right tarp size and knowing a few simple knots to hang it securely.
With this enclosure, you can rinse off without worrying about who's watching, and it doubles as a windbreak and sunshade.
Choosing The Right Tarp
A 6×8-foot tarp is a good all-around size for a shower enclosure. It gives you enough coverage to stand and move without feeling cramped. If you're taller or want more room, go with an 8×10-foot tarp.
Look for one with reinforced grommets at the corners and edges—they make hanging much easier. A lightweight polyester tarp is easy to pack, while a heavier canvas tarp offers more durability and wind resistance.
Hanging Methods And Knots
The simplest way to hang the tarp is to string a rope between two trees, then drape the tarp over it. Use a taut-line hitch on one end to adjust tension, and a trucker's hitch on the other for a tight, secure line. If trees aren't available, you can use trekking poles or a couple of sturdy branches stuck into the ground.
Tie the tarp's corners to the poles with a simple bowline or clove hitch. Make sure the tarp is angled so water runs off to the side, not into your shower area.
Setting Up For Privacy And Convenience
Position the tarp so it blocks the most visible side of your shower spot, and leave the opening facing away from trails or other campers. Use a couple of stakes or heavy rocks to hold the bottom corners down—this keeps the tarp from flapping in the wind and gives you a stable floor area. If you're using a solar shower, hang it from a branch or a hook attached to the tarp's ridgeline.
You can also add a small tarp or ground cloth inside to keep your feet clean and dry.
8. Recycled Bottle Shower for Ultralight Trips
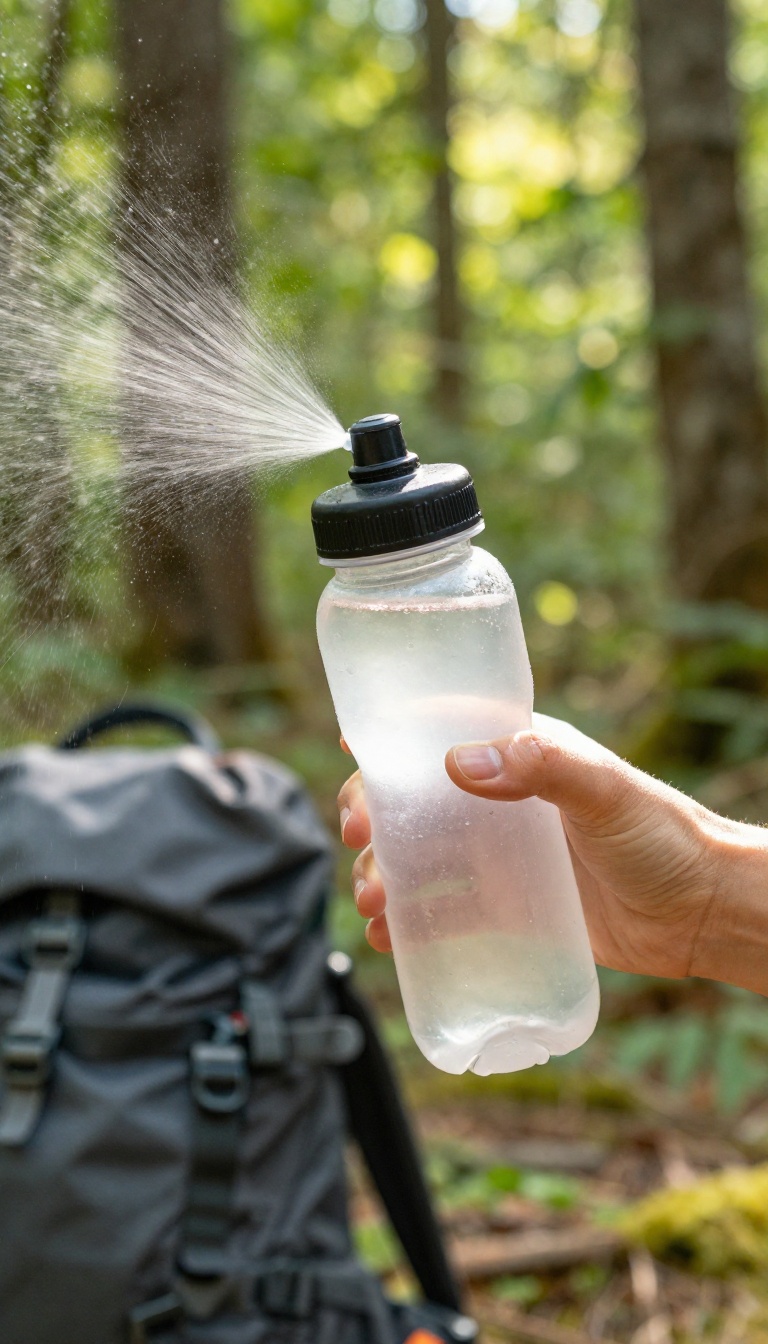
Poke holes in a plastic bottle for a minimalist, weight-saving shower that works in a pinch. This is the ultimate no-frills solution for backpackers who count every ounce and don't mind a quick rinse over a full scrub. It's not fancy, but it gets the job done with almost zero gear.
The recycled bottle shower is about as simple as it gets. You take a standard plastic water bottle, poke a few holes in the cap, fill it with water, and squeeze. The result is a gentle spray that's perfect for rinsing off after a sweaty day on the trail.
It's lightweight, free, and uses something you'd likely have anyway. Plus, it doubles as a regular water bottle when you're not showering, so you're not carrying extra gear.
How To Make It
Grab a clean plastic bottle with a tight-fitting cap. Use a thumbtack or a small nail to poke 5-10 holes in the cap, depending on how strong you want the spray. Fill the bottle with water, screw the cap on, and you're ready.
If you want a finer mist, use a pin for tiny holes; for a stronger stream, go with a larger nail.
Best Ways To Use It
This works best for spot-cleaning rather than a full shower. Use it to rinse off your face, armpits, and feet, or to wash away trail dust after a long day. You can also warm the bottle in the sun for a few hours if you want a less shocking temperature.
For a more thorough clean, pair it with biodegradable soap and a small cloth.
Pros And Cons To Keep In Mind
The biggest plus is weight—you're carrying almost nothing extra. It's also free and easy to replace if you lose it. On the downside, the water capacity is limited, so you'll need to refill often.
And without pressure, it's more of a drip than a spray, so it takes patience. But for ultralight trips where every gram counts, this little hack is a lifesaver.
9. Solar Heated Shower with a Black Tank
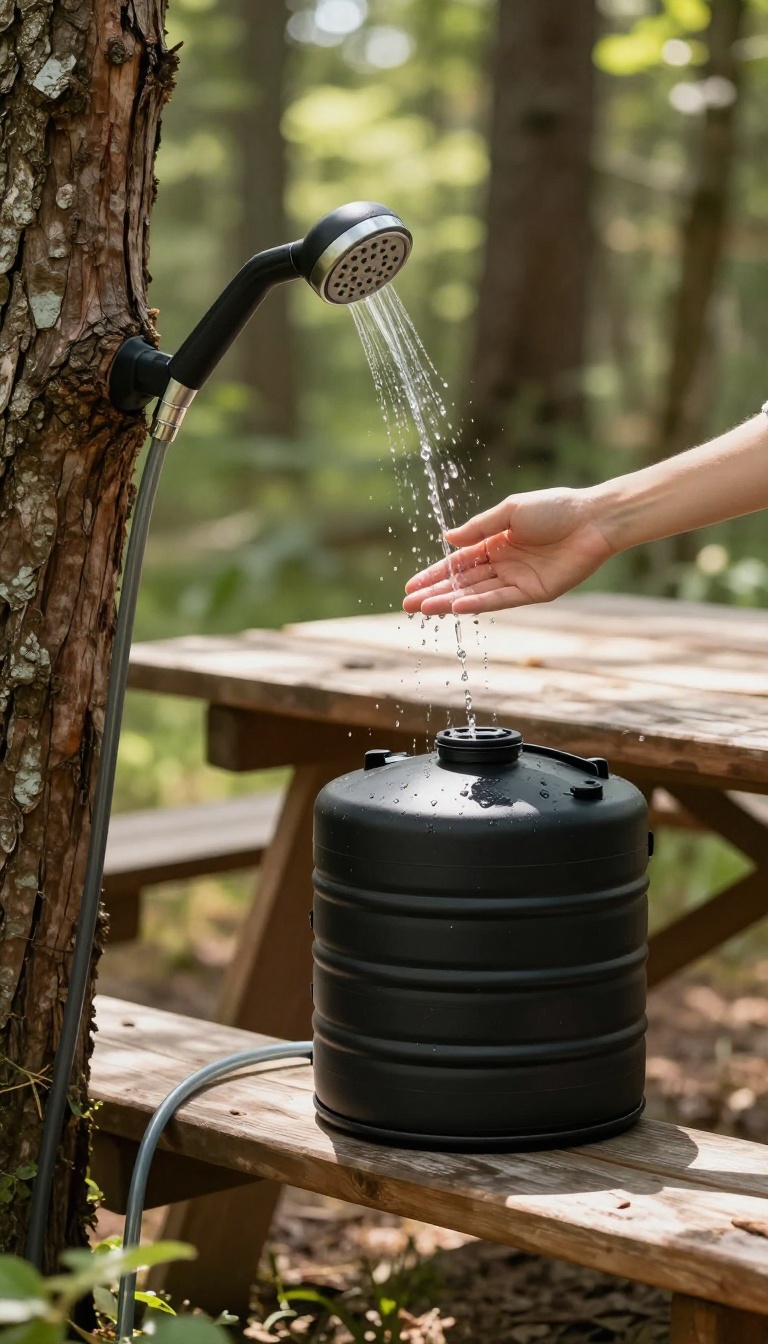
A black tank soaking up the sun all day can turn a cold rinse into a warm, comfortable shower. It's one of the easiest ways to add a little luxury to your campsite without any extra fuel or electricity. All you need is a collapsible water container or a simple PVC pipe frame with a black bladder, and you're set.
By the time you're ready to wash up, the sun will have done the heating for you.
This setup is perfect for car campers or anyone who doesn't mind a bit of extra gear. The key is letting the sun work its magic—just fill the tank, leave it in a sunny spot, and enjoy a warm rinse after a long day outdoors.
Choosing The Right Tank
Pick a tank that's dark in color or paint it black to absorb maximum heat. Collapsible water containers work well, but you can also use a rigid plastic tank. Make sure it's food-grade and safe for drinking water if you plan to use it for that too.
A 5-gallon tank is a good size for a quick shower.
Setting Up The Shower
Hang the tank from a sturdy branch or a DIY stand, and attach a hose with a showerhead. You can use a gravity-fed system or add a small pump for more pressure. Position it so the water flows away from your camp, and you're ready to rinse off.
Maximizing Heat Absorption
Place the tank in direct sunlight for at least a few hours before you plan to shower. If the weather's cool, you can also wrap the tank in a dark cloth or place it on a dark surface to help it warm up faster. In hot climates, you might even get water that's too warm—just mix in some cold water to get the perfect temperature.
10. Camp Shower with a Foot Pump
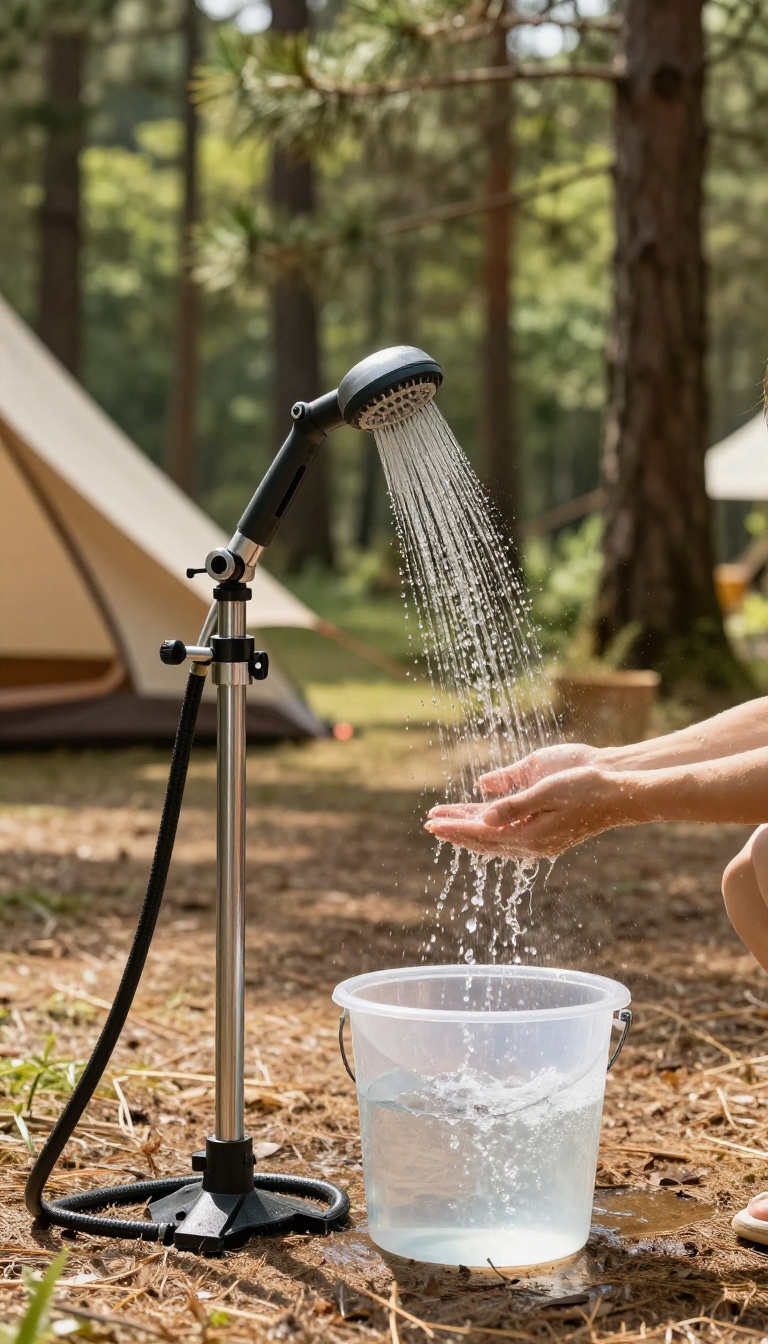
A foot pump shower is a game-changer when you want a steady stream without using your hands. It’s simple: you pump with your foot to pressurize the water, leaving your hands free to soap up or rinse off. This setup is perfect for campers who want a bit more convenience without the bulk of a battery-powered unit.
This idea works best with a dedicated foot pump shower kit, which usually includes a hose, a spray nozzle, and a pump that sits on the ground. You can also rig your own with a garden sprayer and a foot pump, but the ready-made versions are affordable and compact. The key is to place the water source—like a bucket or a collapsible container—at a level where the pump can draw water easily.
Once you get the hang of it, you’ll enjoy a hands-free rinse that feels almost like a real shower.
Why You’ll Love It
The biggest plus is the steady, continuous flow. Unlike a squeeze bottle or a gravity bag, the foot pump gives you a consistent spray that doesn’t weaken as the water level drops. Plus, your hands stay free, so you can scrub your hair or wash your body without juggling.
It’s also a great workout for your foot, but that’s a bonus!
Setting It Up
Position the pump on flat ground, attach the hose to your water container, and place the nozzle where you need it. You can hang the nozzle from a tree branch or a shower tent hook. Pump a few times to build pressure, then adjust your rhythm to control the flow.
It takes a little practice, but after a few uses, you’ll find a steady cadence.
Best Use Cases
This shower shines when you’re car camping or at a base camp where you don’t mind carrying a bit of extra gear. It’s also handy for rinsing off sandy feet or washing dishes. If you’re backpacking, the extra weight might not be worth it, but for a weekend trip with the family, it’s a solid choice.
11. DIY Shower Mat for Mud-Free Feet
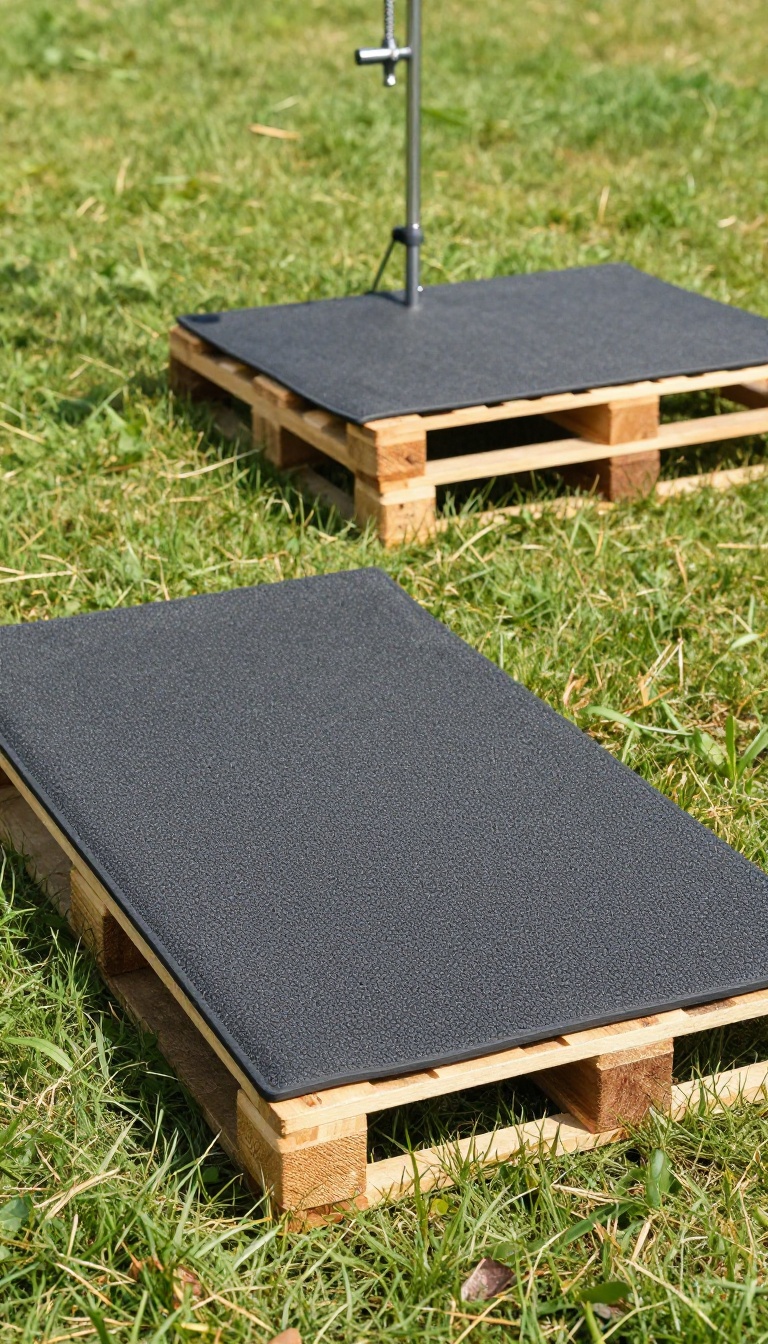
Stepping out of a camp shower onto bare ground often means trading one mess for another. Mud, pine needles, and dirt cling to wet feet, undoing all that fresh feeling. A simple DIY shower mat solves this by giving you a clean, stable surface to stand on while you rinse off.
It's a small addition that makes a big difference in keeping your campsite tidy and your feet comfortable.
Building your own shower mat is quick and uses materials you might already have. The goal is to create a surface that lets water drain away while keeping your feet off the ground. You'll want something durable enough for outdoor use but lightweight enough to pack or move around camp.
Wooden Pallet Mat
A wooden pallet mat is a classic choice for car campers. Find a small pallet that's roughly 2 feet by 3 feet, sand down any rough edges, and you're set. The slats allow water to flow through, and the raised design keeps your feet above mud and puddles.
For extra comfort, you can add a layer of outdoor carpet or a rubber mat on top, but even bare wood works well. Just remember to let it dry before packing it away.
Rubber Mat Option
If you prefer something lighter and easier to store, a rubber mat is a great alternative. You can use a commercial truck mud flap, a rubber door mat, or even a recycled tire mat. Cut it to your preferred size, and punch a few holes for drainage if needed.
Rubber mats are flexible, slip-resistant, and easy to clean—just hose them off and hang them to dry. They're also gentler on your feet than rough wood.
Adding Grip And Comfort
No matter which base you choose, adding a bit of grip can prevent slips when soap gets involved. Look for mats with a textured surface or apply a non-slip spray. For extra comfort, place a small towel or a piece of outdoor foam on top.
Just make sure whatever you add is quick-drying and can handle being wet.
12. Hot Water Heater for Camp Showers
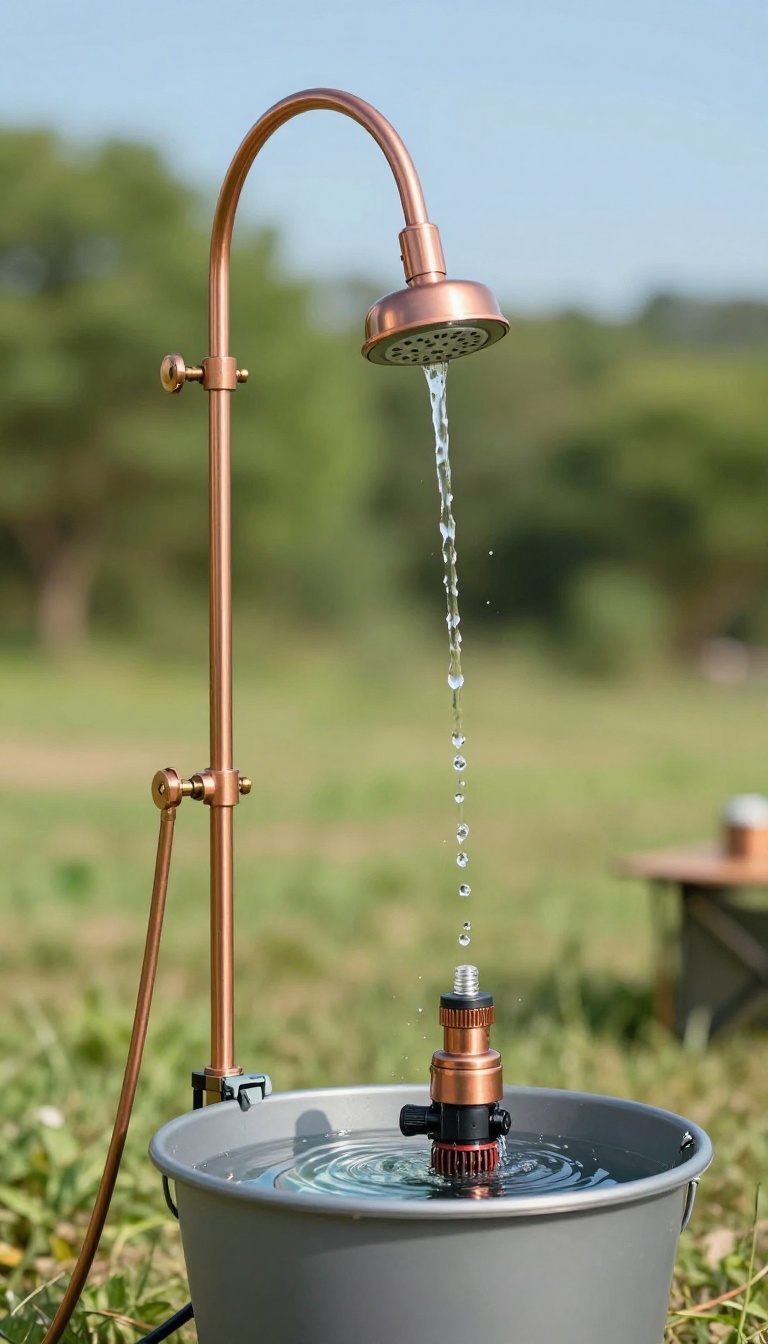
A truly hot shower in the backcountry is a game-changer, especially after a chilly day. You don't need a fancy RV water heater—just a few basic parts and a camp stove can give you a steamy rinse. This DIY setup is perfect for car campers who want a bit of luxury without the bulk.
Building a portable water heater is simpler than it sounds. You'll need a length of copper tubing, a small pump, and a heat source like a camp stove. The idea is to circulate water through the coil heated by the stove, so it comes out warm at your showerhead.
It's a fun weekend project that pays off with every use.
What You'll Need
Gather a 20-foot roll of soft copper tubing (1/4 inch works well), a 12-volt submersible pump, a bucket or reservoir, a camp stove, and a showerhead attachment. You'll also need some hose clamps and a battery or power source for the pump. Most items are available at hardware stores or online.
How To Assemble It
Coil the copper tubing around a frame that sits above the stove, leaving enough room for the flame. Attach one end of the tubing to the pump outlet and the other to your showerhead. Submerge the pump in your water bucket, light the stove, and let the water circulate.
In a few minutes, you'll have warm water flowing.
Safety And Efficiency Tips
Always keep the stove on a stable, level surface away from flammable materials. Monitor the water temperature to avoid scalding, and consider adding a thermometer. To improve efficiency, insulate the bucket and tubing with foam or a towel.
Also, use a heat exchanger design if you want to avoid direct flame contact.
Making It Your Own
You can adapt this design to fit your needs. For a more permanent setup, mount the coil inside a metal box with a viewing window. Or go ultralight with a titanium coil and a small backpacking stove.
The key is to test it at home before your trip so you know how long it takes to heat up.
13. Gravity Shower with a Shower Head
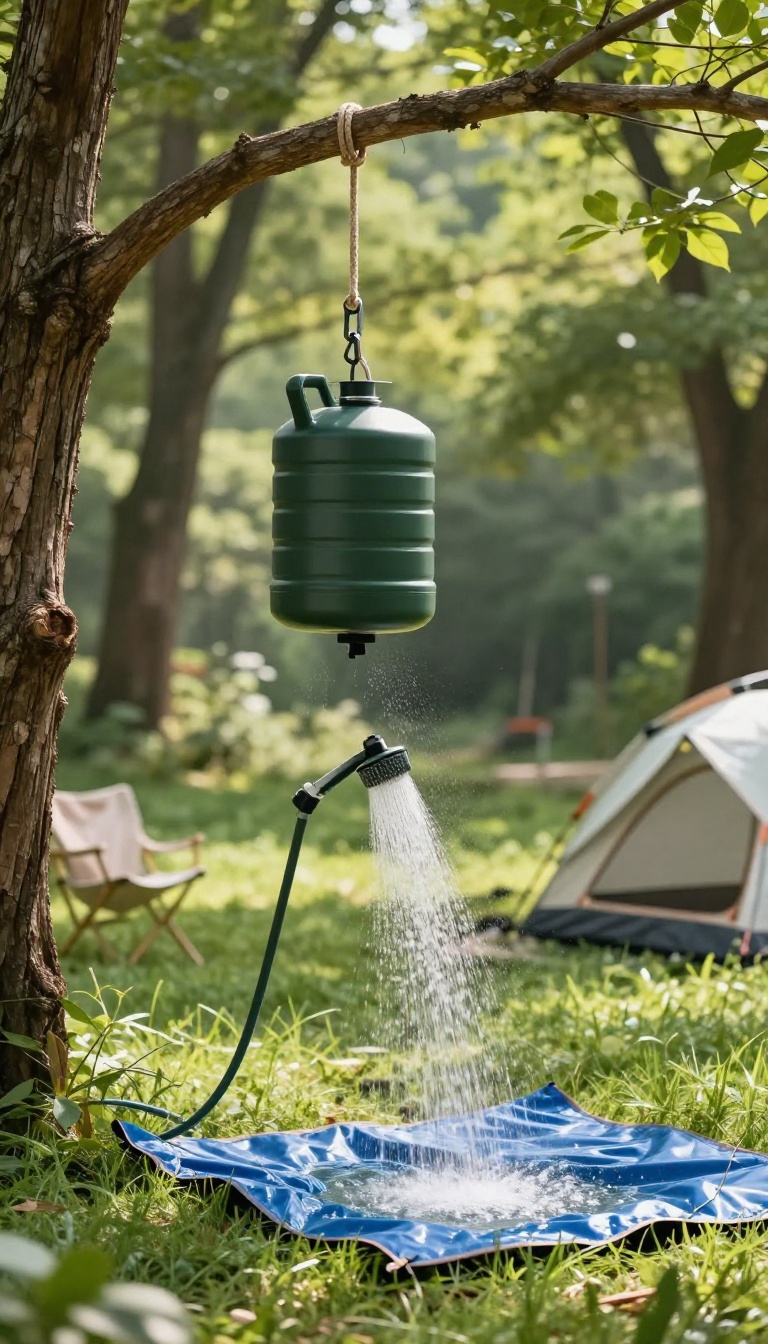
Upgrading your gravity shower with a real shower head is a small change that makes a big difference. Instead of a simple drip or spray from a hose, you get a more natural water flow that rinses soap and dirt off faster. This setup works great for car campers who don't mind a little extra gear but want a more comfortable rinse.
This idea is all about swapping the basic nozzle for an actual shower head, which gives you better coverage and a more pleasant experience. You'll need a water container with a hose attachment, like a 5-gallon bucket or a portable shower bag, plus a shower head that connects to a standard garden hose fitting. The key is to keep the container elevated—hang it from a tree branch or a sturdy pole—so gravity does the work.
The result is a steady, even spray that feels closer to home, making it easier to get fully clean.
What You'll Need
Gather a water container with a hose outlet (like a Reliance or Coleman model), a shower head with a hose, and a way to hang the container. A carabiner or rope works well. Make sure the shower head has an on/off valve to conserve water, and consider a quick-connect fitting for easy setup.
Setting It Up
Fill the container with water and let it warm in the sun if you'd like a warmer shower. Attach the hose and shower head, then hang the container at least five feet off the ground. Test the flow before getting in—if it's too weak, raise the container higher.
Position a tarp or shower tent underneath to catch runoff and keep your feet clean.
Tips For A Better Rinse
Use a shower head with multiple spray settings to adjust pressure. For longer showers, have a second container ready. To save water, wet down, turn off the water, soap up, then rinse.
And don't forget to pack a small foot mat or a few flat stones to stand on.
14. Camp Shower with a 12V Pump
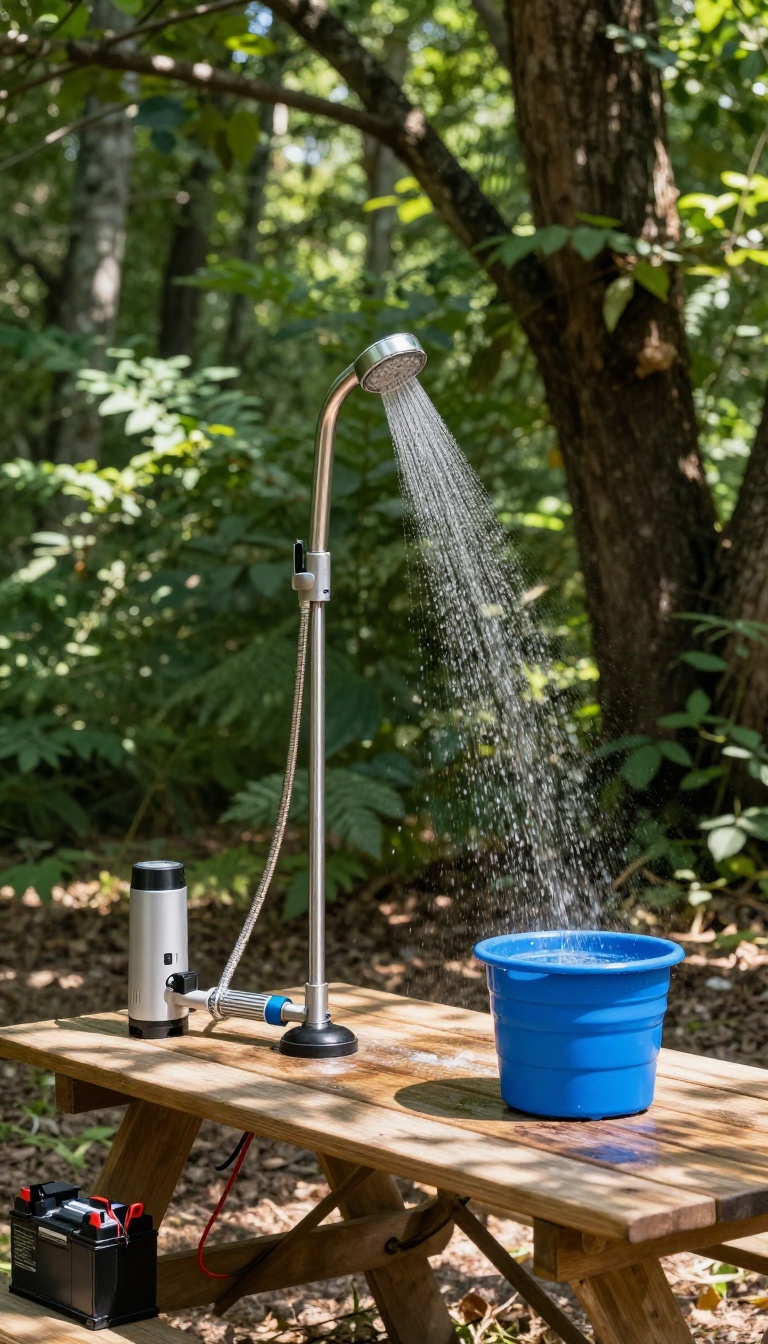
If you want a shower that feels almost like home, a 12V pump setup is the way to go. It gives you a steady, pressurized stream without needing to pump by hand or hang a bag. This rig works great for car campers or anyone with access to a vehicle battery or a small solar setup.
A 12V pump shower is a clever upgrade from the basic gravity bag. The pump draws water from any container—a bucket, a collapsible basin, or even a portable water tank—and pushes it through a shower head with real pressure. You get a consistent flow that rinses soap and shampoo quickly, which means you use less water overall.
It's a practical choice for families or groups where several people need to freshen up.
What You'll Need
The core components are simple: a 12V water pump (like those used in RVs or boats), a battery (car battery or deep-cycle), a shower head with a hose, and a water source. You'll also want a switch or a momentary push button to control the flow, and some tubing to connect everything. Many pumps come with a filter to keep debris out, which is handy when using natural water sources.
Setting It Up
Place your water container near your shower spot, then connect the pump's inlet hose to the container (make sure it's submerged). Attach the outlet hose to the shower head. Connect the pump's wires to the battery—red to positive, black to negative.
A switch in line lets you turn it on and off easily. For a hands-free experience, you can mount the pump to a board or hang it from a tree, but placing it on the ground works fine.
Powering It Smartly
A standard car battery can run the pump for many showers, but if you're off-grid for a while, consider a small solar panel and a charge controller to keep the battery topped up. Or use a portable power station with a 12V output. To save battery, keep your showers short and turn the pump off while soaping up.
This way, you can stretch your power over several days.
15. Eco-Friendly Camp Shower with Biodegradable Soap
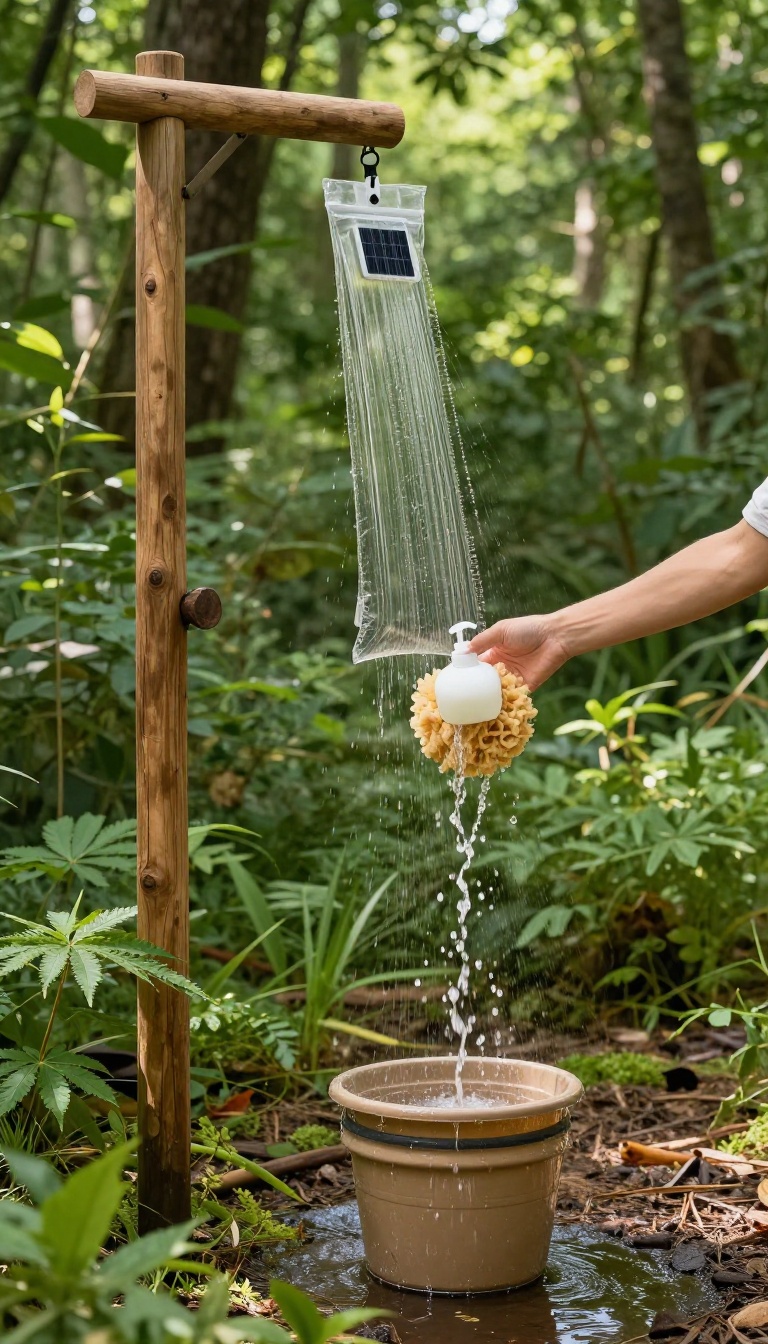
Being kind to the planet doesn't mean skipping your shower. A few small swaps can turn your DIY setup into a low-impact rinse that leaves no trace. Pairing biodegradable soap with a simple greywater collection system keeps your campsite clean and the environment happy.
Choosing The Right Biodegradable Soap
Not all soaps are created equal. Look for biodegradable and eco-friendly options that are phosphate-free and fragrance-free. Camping-specific brands like Dr.
Bronner's or Sea to Summit are designed to break down safely in nature. Avoid regular dish soap or body wash, which can harm plants and wildlife.
Setting Up A Greywater Collection System
A simple catch basin or a foldable bucket under your shower catches the runoff. You can also dig a small sump pit away from water sources, as recommended by Leave No Trace. This keeps soapy water from spreading across your campsite and lets you dispose of it properly later.
Dispensing Soap Efficiently
Using a squeeze bottle or a small pump dispenser helps you control how much soap you use. A little goes a long way. You can also mix a few drops of soap into your shower water to avoid over-soaping.
This reduces waste and makes rinsing easier.
Drying And Disposing Responsibly
After your shower, let the greywater settle and strain out any solids before disposing of it. Scatter the water over a wide area, at least 200 feet from any water source. Pack out any solid waste, including food particles, to leave no trace.
FAQ
How do I heat water for a camping shower without electricity?
You can use a solar shower bag, heat water on a camp stove and mix it with cold water, or create a simple heat exchanger using a coil of tubing and a fire.
What is the best DIY camping shower for backpacking?
For backpacking, a lightweight option like a recycled bottle shower or a small hand pump shower is ideal because it adds minimal weight and pack size.
How can I make a camping shower private?
Use a pop-up privacy tent, hang a tarp around a tree, or bring a lightweight changing room that doubles as a shower enclosure.
Can I use regular soap in a camping shower?
It's best to use biodegradable soap specifically designed for outdoor use to minimize environmental impact. Always follow Leave No Trace principles.
How do I dispose of greywater from a camping shower?
Collect greywater in a basin or bucket and dispose of it at least 200 feet away from water sources, or use a designated dump station if available.
Conclusion
A good camping shower doesn't need to be fancy—it just needs to work when you're grimy and tired. Pick one or two ideas that fit your gear and trip style, and you'll be surprised how much fresher you feel. Start with the simplest setup that solves your biggest pain point, whether that's privacy, water pressure, or packing light.
Even a basic rig can turn a dusty afternoon into a comfortable, clean end to the day. Get out there, stay fresh, and enjoy the wild without the grime.