10 Kids Backyard Ideas for Fun and Active Outdoor Play
Kids sleep better when they spend real time outside, and a backyard built for play makes that easy. You do not need a playground budget or a perfect lawn to pull it off. A few smart additions turn an ordinary patch of grass into the spot your kids run to first.
The best setups mix movement, mess, and a little imagination. Climbing, digging, splashing, and building all burn energy in different ways, so kids stay busy longer. Rotating through a handful of zones also keeps things interesting week after week.
Here are ten backyard ideas that work for small yards and big ones alike. Most come together in a weekend with basic tools and materials.
1. Build a Simple Obstacle Course
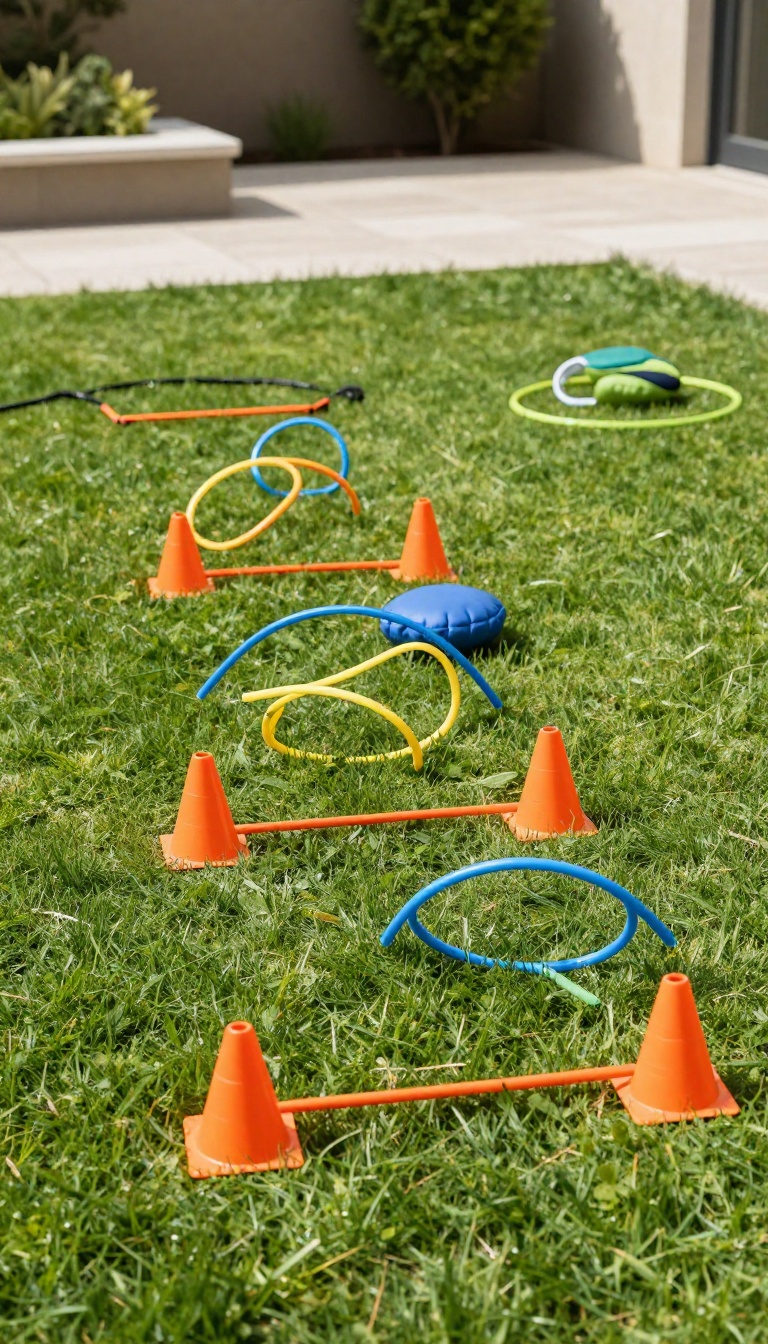
An obstacle course turns your yard into a mini adventure zone without any permanent construction. The best part is that you can rearrange it in minutes, so kids never get bored with the same setup. All you need are a few lightweight items that store easily when playtime is over.
Pool noodles, cones, and ropes are the building blocks for a course that challenges balance, speed, and coordination. You can set it up on grass, patio, or a mix of both. The goal is to create a path that kids navigate from start to finish, with each station offering a different physical challenge.
Gather Your Gear
Start with six to eight pool noodles, a set of plastic cones, and two or three jump ropes. Add a few hula hoops or beanbags if you have them. These items are cheap, colorful, and safe for all ages.
Design The Course
Lay out stations in a loop or zigzag. Use cones as markers for weaving, ropes as lines to balance on, and noodles as hurdles or tunnels. Space them so kids can move quickly from one to the next.
Switch It Up
After a few runs, change the order or add a new challenge like carrying a beanbag on a spoon. Rearranging keeps the course fresh and lets you adjust difficulty for different ages.
2. Install a Climbing Dome or Geo Dome
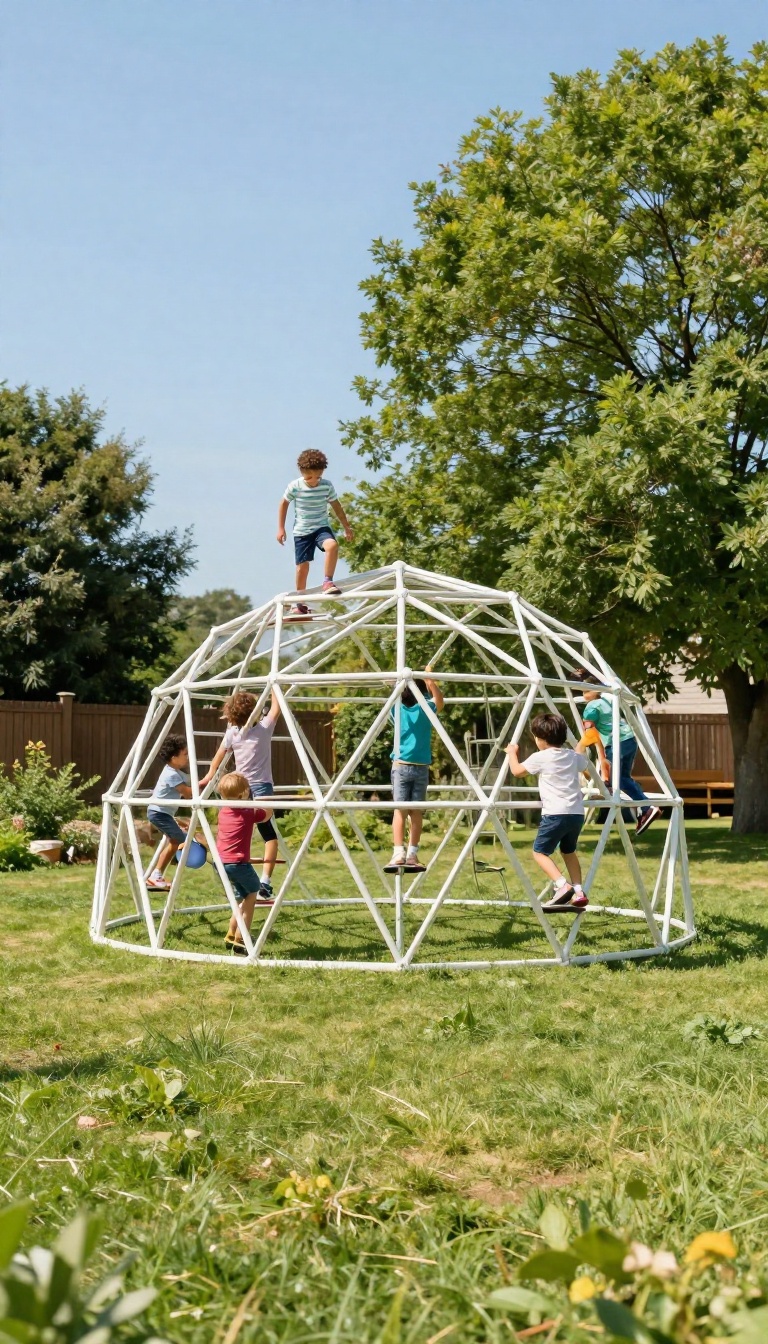
A climbing dome gives kids a vertical challenge without eating up the whole yard. It is basically a jungle gym in the round, and it fits in a corner or beside a patio. The dome shape invites kids to climb up, over, and around from every angle, so they stay engaged longer than they would on a straight ladder.
The beauty of a dome is that it meets kids at their level. Younger children can start low and work their way up, while older kids test their balance on the upper bars. Because there are no dead ends, they naturally create games like king of the hill or follow the leader.
It also builds grip strength and coordination without feeling like exercise. Most models are made from powder-coated steel and come in sizes from 4 to 8 feet wide. A 6-foot dome fits nicely in a small yard and still gives enough room for two or three kids to climb at once.
You can set it on grass, mulch, or rubber tiles. Just make sure the ground is level and you leave a safety zone around it. Assembly usually takes an hour or two with basic tools.
Many kits include ground stakes, but for extra stability you can anchor it into concrete footings if you live in a windy area. Once it is up, it needs almost no maintenance beyond a quick wipe-down and a check for loose bolts every few months.
Choosing The Right Size And Spot
Measure your space before you buy. A dome needs at least 3 feet of clear space on all sides so kids can fall safely. Put it on a flat area away from fences, trees, and swing sets.
If your yard is sloped, build a small level pad with landscape timbers and gravel.
Safety And Surface Options
Grass is fine, but it wears down fast under constant climbing. Mulch, rubber mulch, or interlocking rubber tiles give better shock absorption. Avoid concrete or hard-packed dirt.
Check the dome for sharp edges or rust spots, and tighten any bolts that work loose over time.
Games That Keep Kids Climbing
Turn the dome into a pirate ship, a space station, or a mountain. Challenge kids to climb from one side to the other without touching the ground. Time them, or have them pass a ball over the top.
Simple rules keep the dome interesting for years.
3. Set Up a Mud Kitchen for Sensory Play
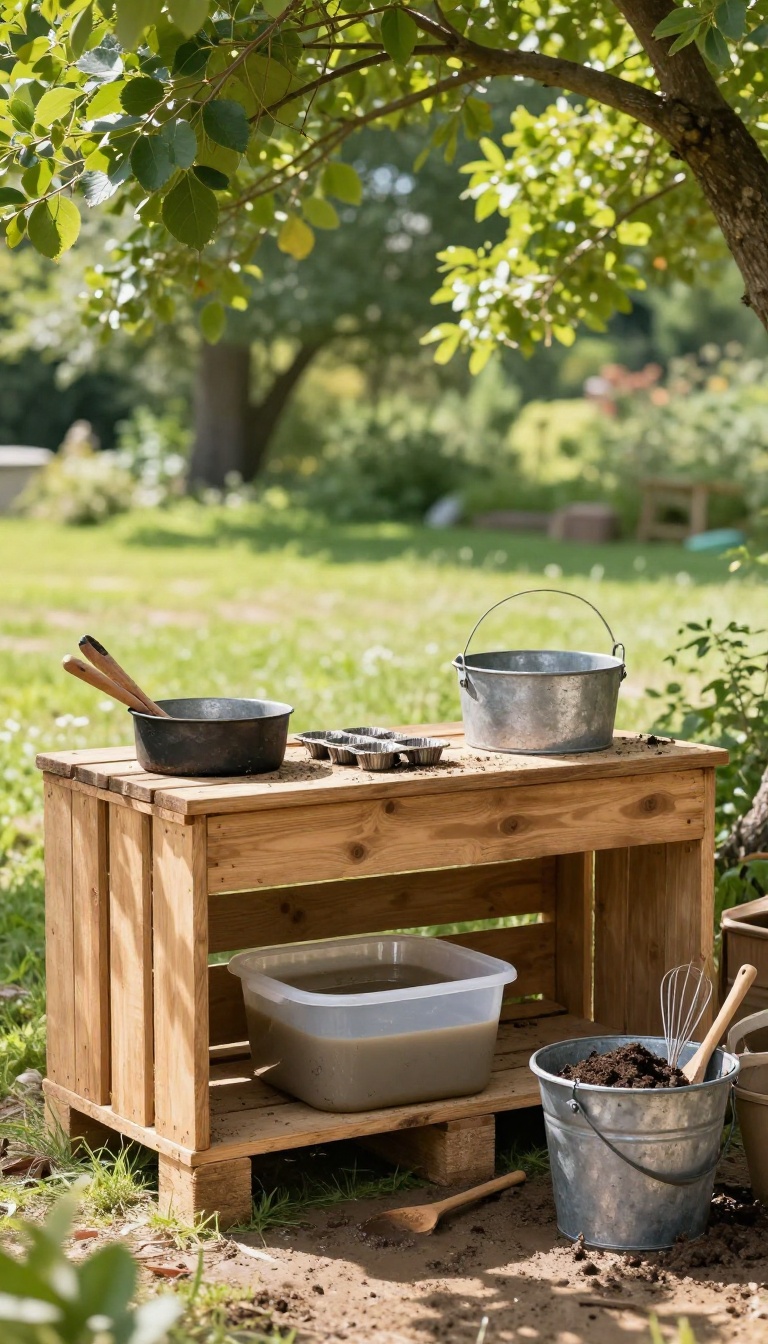
A mud kitchen gives kids permission to get gloriously messy while they cook up imaginary feasts. It taps into the same instinct that makes them dig holes and stomp puddles, but channels it into something they can return to again and again. The best part?
You can build one from stuff you probably already have lying around.
The setup does not need to be fancy. A couple of sturdy crates, an old pot, and a patch of dirt will do the trick. Kids do not care about matching utensils or a Pinterest-perfect layout.
They care about scooping, stirring, pouring, and squishing. Once it is up, the play tends to run long. Mud pies, stone soup, and leaf salads keep them busy because there is no wrong way to do it.
And yes, they will get dirty. That is the whole point.
What You Need To Get Started
Start with a low table or a few stacked pallets as a counter. Add a plastic tub for water, a bucket of dirt, and a few old kitchen tools like spoons, whisks, and muffin tins. Thrift stores and your own junk drawer are gold mines here.
If you want a dedicated spot, pick a corner of the yard that is already a little bare and easy to hose down.
Setting Up A Mud-friendly Zone
Choose a spot near a water source but away from the main play area if you can. A patch of dirt or a shallow sandbox works great as the base. Add a small bench or log for sitting, and hang a few hooks for aprons or towels.
If the ground stays wet, toss down some wood chips or mulch to keep it from turning into a swamp.
Keeping The Mess Manageable
Keep a hose or a bucket of clean water nearby for quick rinses. A plastic bin for dirty tools and a change of clothes on the porch make cleanup painless. You can also set a rule like 'mud stays in the kitchen' to keep the rest of the yard from turning into a mudslide.
At the end of the day, a quick spray-down and a hand wash is usually all it takes.
4. Create a Zipline or Slackline Adventure
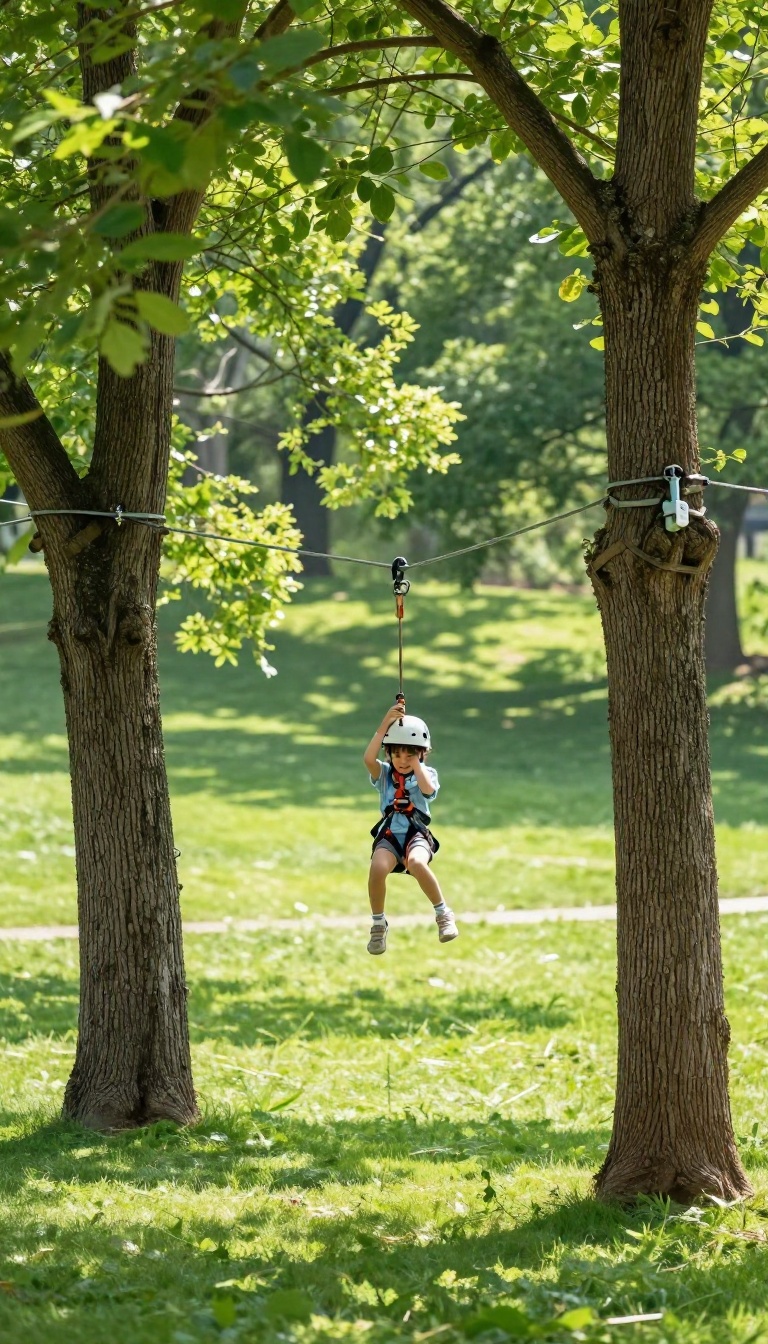
Few backyard additions deliver an instant adrenaline rush like a zipline or slackline. They turn a simple stretch of grass into a mini adventure park that kids want to tackle again and again. Both options build core strength, balance, and confidence without feeling like exercise.
A zipline gives kids a short burst of speed and a sense of flying, while a slackline challenges them to slow down and focus. You can install either one in a weekend with basic tools and a couple of sturdy trees. The key is picking the right spot and setting it up safely so the fun lasts for years.
Choosing Between A Zipline And A Slackline
A zipline works best if you have two strong trees or posts about 30 to 50 feet apart and a slight downhill slope. It delivers a fast, thrilling ride that even older kids love. A slackline needs just two anchor points and a flat area, and it appeals to kids who like a quieter challenge.
If your yard is small, a slackline takes up less space and stores easily. For a bigger yard with a slope, a zipline adds a wow factor that draws kids outside every day.
Safety First: Anchors, Height, And Gear
Never attach a zipline or slackline to a tree that is dead, damaged, or less than 8 inches in diameter. Use tree straps to protect the bark and distribute weight. For a zipline, keep the ride height between 3 and 5 feet off the ground and add a braking system at the end.
A slackline should sit no more than 12 to 18 inches high for beginners. Always check hardware for wear before each use, and set clear rules about one rider at a time.
Building Skills And Confidence
Start kids on a slackline with a helping hand or a nearby wall to steady themselves. As they improve, they can try walking backward or turning around. On a zipline, begin with short rides and gradually increase the distance.
Celebrate every attempt, not just successful ones, to keep the mood light. These small wins build balance, coordination, and a willingness to try hard things.
Maintenance And Weather Tips
Take down or loosen slacklines when not in use to prevent tree damage. Check zipline cables and pulleys monthly for rust or fraying. After rain, wipe down handles and seats to avoid slippery surfaces.
In winter, store removable parts indoors to extend their life. A quick weekly once-over keeps everything safe and ready for spontaneous play.
5. Design a Nature Scavenger Hunt Trail
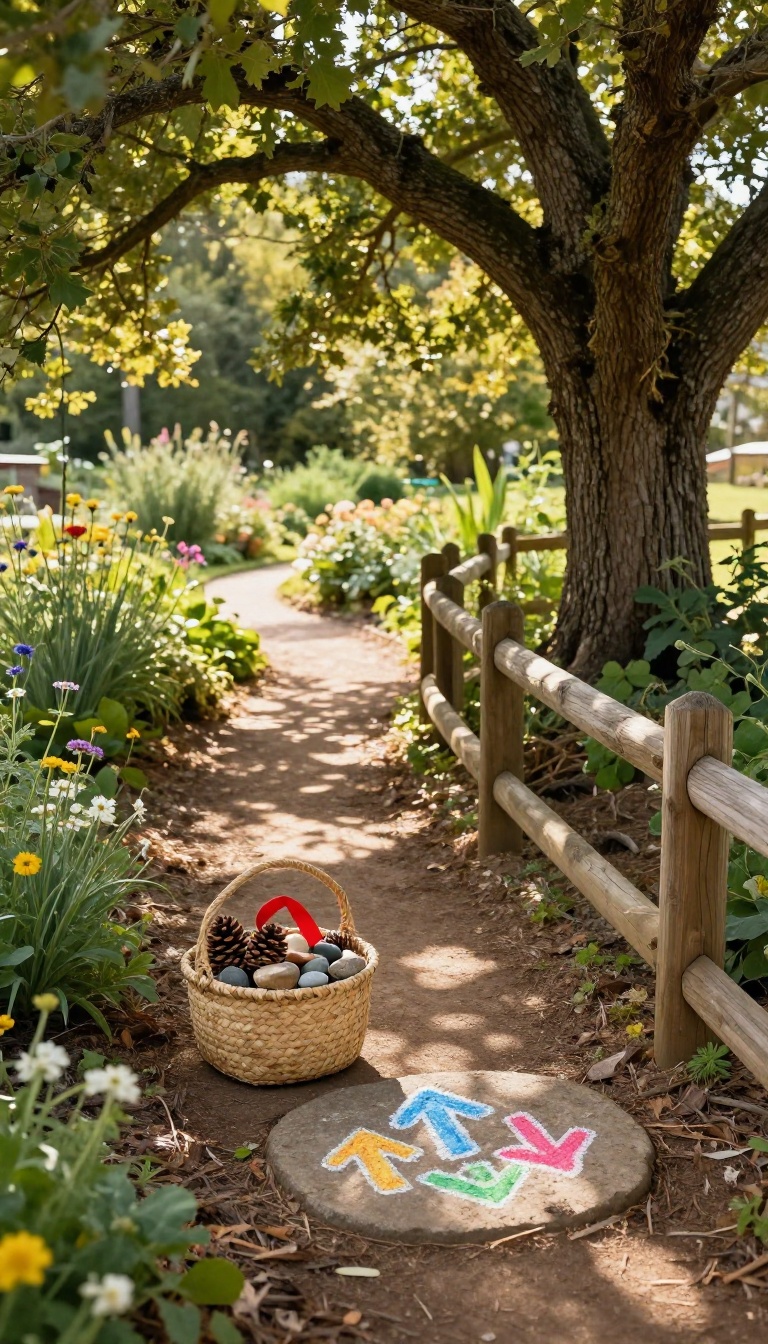
A nature scavenger hunt trail turns your yard into a discovery zone where kids slow down and actually notice what's around them. You don't need a forest or a park—just a few hidden items and a simple path. It's a quiet kind of active play that keeps kids moving, thinking, and exploring.
The setup is flexible. You can make it as simple or as elaborate as you want, and you can change it up every time to keep kids coming back. The goal is to get them observing, moving, and having fun without realizing they're learning.
Setting Up The Trail
Pick a route through your yard—around trees, along a fence, through a garden bed. Hide a mix of natural and man-made items along the way: pinecones, smooth stones, a bright ribbon, a toy animal. Aim for 10 to 15 stops so it feels like a real adventure but doesn't take forever to set up.
Creating Clues And Challenges
For older kids, write simple clues on index cards or use chalk arrows to point the way. You can also add mini challenges at each stop: count the petals on a flower, find something rough and something smooth, or balance on a log for five seconds. These little tasks add movement and keep the hunt engaging.
Keeping It Fresh
Change the theme each time—a color hunt, a texture hunt, or a letter hunt where kids find items starting with each letter of their name. Rotate the hidden items and rearrange the path so it feels new. You can also let kids take turns hiding items for each other, which adds a layer of ownership and excitement.
6. Add a Sandbox with a Digging Zone
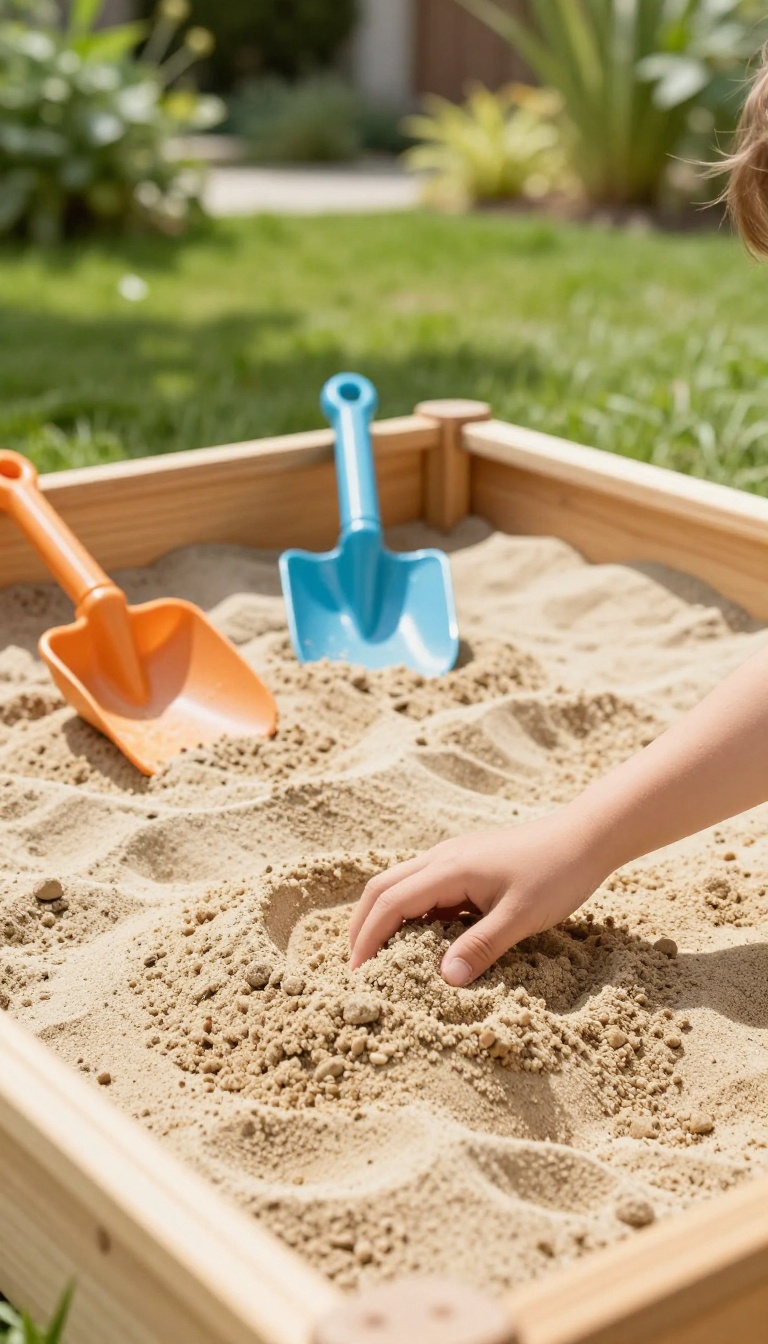
Digging is one of those activities kids never really outgrow. Give them a dedicated patch of sand and a few cheap tools, and they will happily tunnel, build, and bury things for an entire afternoon. A sandbox works because it hits that sweet spot between free play and focused play.
It is open-ended enough to spark imagination, but structured enough to keep little hands busy. Set it up right and it becomes the most-used corner of the yard.
The beauty of a sandbox is how little it asks of you. You need a contained space, clean play sand, and a handful of tools. That is it.
Where you place it matters more than how fancy it looks. Pick a spot that gets partial shade during the hottest part of the day, and keep it within sight of the house or a seating area so you can supervise without hovering. A digging zone takes the classic sandbox up a notch.
Instead of one shallow box, you create a deeper area where kids can really dig in, plus a wider section for building and molding.
Pick The Right Spot And Size
Aim for at least a 4×4 foot box for one or two kids, and go bigger if you have the room. Shade is non-negotiable in summer, so tuck it under a tree or add a simple canopy. Keep it away from the swing set landing zone and any low windows.
You want a clear buffer so flying sand does not end up where it should not.
Build Or Buy A Simple Frame
You can build a basic box from four rot-resistant boards in an afternoon. Cedar and pressure-treated lumber both hold up well outdoors. No tools?
A plastic clamshell sandbox or a repurposed kiddie pool works fine and costs less. Just make sure whatever you choose has a cover to keep out rain, leaves, and neighborhood cats.
Stock It With The Right Tools
Skip the flimsy dollar-store set. A few sturdy shovels, a couple of buckets, and some silicone molds will survive real use. Add a small sieve, a plastic trowel, and a short-handled rake.
These open up digging, sifting, and smoothing, which keeps play going longer than a single shovel ever could.
Keep It Clean And Ready
Rake the sand every week or two to catch debris and clumps. A quick pass with a covered box keeps it fresh and inviting. Refresh the sand every couple of seasons, and store tools in a nearby bin so kids can grab them without asking.
Low friction means more play.
7. Hang a Tire Swing or Rope Swing
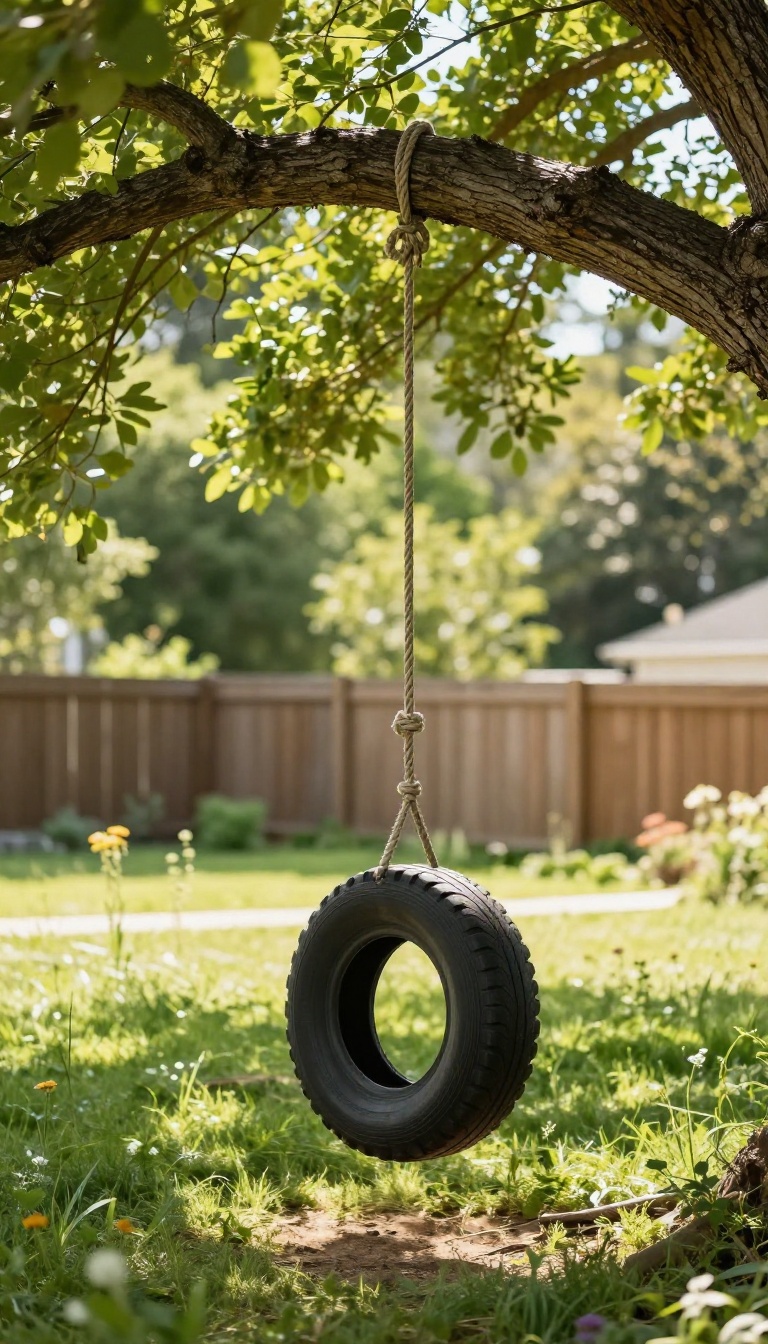
A swing is one of those rare backyard additions that costs almost nothing and gets used every single day. Kids line up for turns, push each other, and invent games that go way beyond back-and-forth. It also quietly builds grip strength, balance, and coordination while they are just having fun.
You do not need a fancy play set to make it happen. One sturdy branch or beam and a good rope can create hours of motion, laughter, and friendly competition. The best part is that a swing grows with your kids, from gentle toddler pushes to wild jumps and spins.
A tire swing or rope swing turns a single anchor point into a hub for active play. It works in tight yards, under big trees, or attached to an existing swing set frame. Once it is up, kids treat it like a challenge, a ride, and a hangout spot all at once.
Choosing The Right Spot
Look for a strong, healthy branch at least 8 to 10 inches thick and high enough to clear the ground. Aim for a clear swing zone of about 6 feet in every direction so kids do not clip fences or tree trunks. If you do not have a suitable tree, a heavy-duty swing set frame or a wooden beam between two posts works just as well.
Tire Swing Or Rope Swing?
A classic tire swing gives kids a wide seat for sitting, spinning, and lying back. It is heavier, so it needs a very solid branch and a swivel to prevent rope twist. A simple rope swing with a wooden disc or knot is lighter, faster to set up, and easier for younger kids to grab.
Many families hang both if they have the space.
Safe Hanging Basics
Use a rope rated for at least twice your heaviest rider, and check it for fraying every few weeks. Hang the swing so the seat sits about 2 feet off the ground for easy mounting and a soft landing. Add a knot or stopper at the bottom so little hands have something to hold, and keep the area underneath free of rocks or roots.
Games That Keep Them Swinging
Turn swinging into a challenge with simple games like who can touch the highest leaf or who can swing without stopping for a full minute. Older kids love a gentle push-and-catch game, where one person pushes and the other tries to grab a ball mid-swing. You can also time them and let them beat their own record, which keeps the energy up without any extra gear.
8. Make a Water Play Station
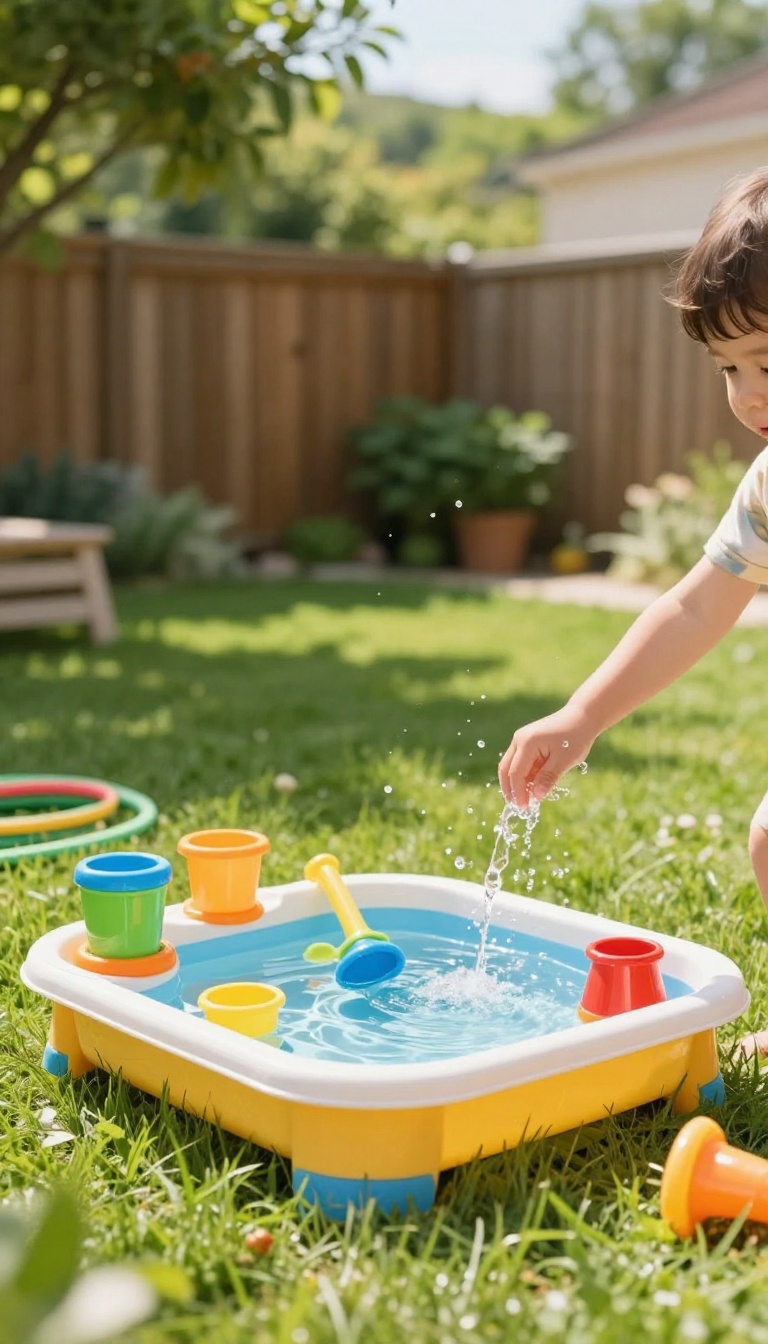
When the temperature climbs, water becomes the most powerful motivator in your backyard. A dedicated water play station gives kids a reason to stay outside, move around, and cool off without turning your lawn into a swamp. You can start simple with a store-bought table or go full custom with PVC pipes and a hose hookup.
Either way, the goal is the same: splash, pour, and repeat until nap time.
Water play covers a lot of ground. It can be calm and sensory for younger kids or wild and competitive for older ones. The best stations have a few things in common: easy water access, a place to stand or sit, and enough variety to keep kids experimenting.
You do not need a pool to make it work.
Start With A Simple Water Table
A basic water table is the easiest entry point. Fill it with a few inches of water, add cups, funnels, and floating toys, and toddlers will stay busy for an hour. Look for one with a drain plug so you can empty it without tipping the whole thing over.
If you already have a sandbox, a separate water table keeps the two from turning into one giant mud pit.
Build A Diy Pvc Pipe System
For older kids, a homemade PVC pipe station is a hit. Connect pipes and fittings into a maze that runs from a hose hookup to a spout or sprinkler. Kids can rearrange the pieces to change the water flow, which turns it into a puzzle as much as a toy.
Use food-grade PVC and a shutoff valve so you control the pressure. A quick search for 'PVC water wall' will give you plenty of plans to copy.
Add A Sprinkler Or Splash Pad
Sometimes the simplest option wins. A classic oscillating sprinkler or a flat splash pad gets kids running and laughing with almost no setup. Place it on a flat, grassy spot away from sliding doors so the mud stays outside.
For extra fun, hook up a sprinkler under a small pop-up tent or a hula hoop for a makeshift car wash or rainbow tunnel.
Keep It Safe And Easy To Maintain
Always supervise water play, even shallow water. Empty buckets and tables after each session to avoid mosquitoes and algae. If you use a PVC system, store it in a shed or garage to keep it from getting brittle in the sun.
A few towels by the door and a designated 'wet zone' will save your floors and your sanity.
9. Set Up a Ball Game Zone
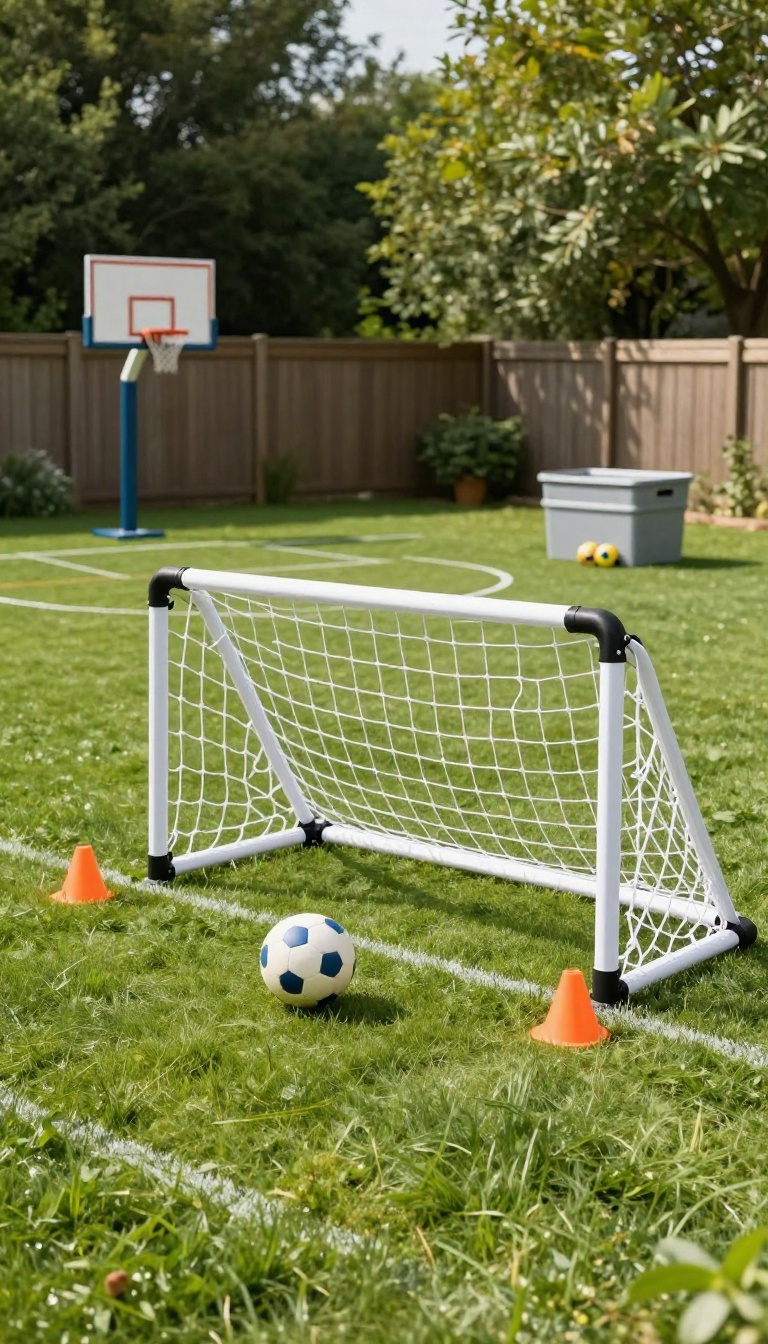
A dedicated ball zone gives kids a place to kick, shoot, and swing without chasing balls into the neighbor's yard. It also cuts down on the "there's nothing to do" complaints because the equipment is always ready. You don't need much space—just a clear area and a few key pieces.
Start by picking a spot away from windows and fragile plants. A flat patch of grass or a paved corner works fine. The goal is to create a boundary that keeps play contained and safe.
Pick The Right Spot
Look for a level area at least 15 feet wide. If your yard slopes, choose the flattest section. Keep it away from swing sets and garden beds to avoid collisions.
Choose Your Equipment
A small soccer goal, a portable basketball hoop, or a t-ball set covers most ages. Pick one to start, then add more as your kids grow. Make sure the gear is sturdy enough to handle daily use.
Add Simple Boundaries
Use cones, painted lines, or a low net to mark the play area. This helps kids know where to aim and keeps balls from rolling off. It also makes the zone feel like a real field.
Keep It Ready To Play
Store balls in a bin nearby so kids can grab them without asking. Check the equipment for wear every few weeks. A quick tighten or patch keeps the zone safe and fun.
10. Create a Fort Building Area
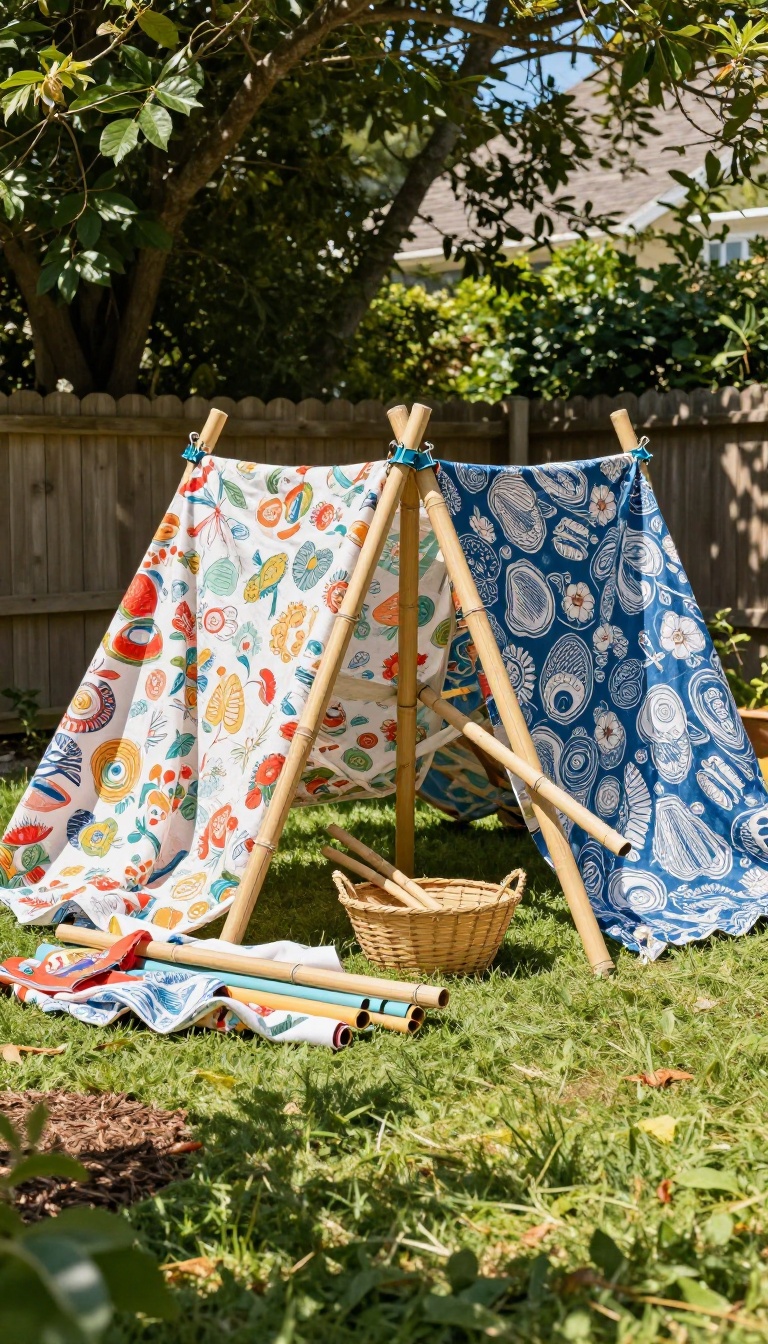
A fort building area gives kids the raw materials to construct whatever their imagination dreams up. It is not about a finished structure, but about the process of building, tearing down, and rebuilding something new. With a few simple supplies, your backyard becomes a rotating construction site where kids call the shots.
You do not need a fancy playhouse or a kit with instructions. What you need is a stash of poles, fabric, and clips that kids can grab and use however they want. This kind of open-ended play sparks creativity and gets kids moving as they haul, lift, and rearrange materials.
It also changes every time they use it, so boredom rarely sets in.
Gather The Right Materials
Start with a set of lightweight poles. Bamboo stakes, PVC pipes, or even sturdy cardboard tubes work well. Old bedsheets, curtains, or large pieces of fabric become walls and roofs.
Binder clips, clothespins, or velcro straps hold everything together. Keep it all in a bin or basket that kids can access easily.
Set Up A Base Zone
Pick a spot in the yard that can handle some chaos. A corner with a fence or a few trees gives kids anchor points to tie ropes or lean poles. If you have a flat area, even better.
Just make sure it is away from fragile plants and windows. A patch of grass or mulch works fine.
Let Kids Lead The Build
Resist the urge to design the fort for them. Let them figure out how to balance poles and drape fabric. They might make a tunnel, a castle, or a hideout.
The goal is not perfection. It is about problem-solving and teamwork. You can offer a hand if they ask, but otherwise, step back and watch.
Keep It Fresh With Challenges
To keep the fort area exciting, occasionally throw out a challenge. Can you build a fort with two rooms? Can you make one that stands up to a gentle breeze?
Or one that uses every single clip? These little prompts push kids to think differently and stay engaged.
FAQ
What age are these backyard ideas suitable for?
Most ideas work for kids ages 3 to 12, but you can adjust based on your child's abilities. Younger kids may need simpler setups like a sandbox, while older kids enjoy obstacle courses and ziplines.
How can I keep backyard play safe?
Always supervise, check equipment regularly, and use soft surfaces like mulch or grass under climbing structures. Set clear rules and teach kids how to use each item properly.
Do I need a large backyard for these ideas?
Not at all. Many ideas like mud kitchens, water stations, and fort areas work in small yards. You can also rotate equipment to keep things fresh without needing more space.
What are some low-cost backyard play ideas?
Obstacle courses, scavenger hunts, and fort building use items you likely already have. A sandbox or water station can be made with basic materials for under $50.
How do I encourage kids to play outside more?
Make the backyard inviting and let kids choose activities. Rotate toys and setups regularly, and join in the fun yourself to show that outdoor play is a priority.
Conclusion
Turning your backyard into an active play zone doesn't require a major overhaul. Start with one or two ideas that fit your space and your kids' interests. You'll quickly see how a little setup leads to hours of healthy, happy play.
Keep things simple, safe, and flexible. The best backyard is one where kids feel free to run, climb, and imagine. With these ideas, you're well on your way to making that happen.