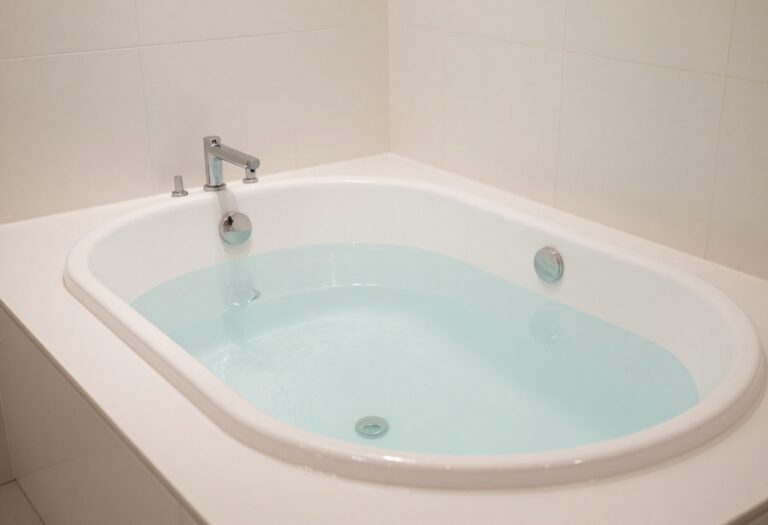
11 Shower Over Bath Ideas That Make Shared Spaces Work
A shower over bath isn't a compromise—it's a smart solution for busy households. When one bathroom has to serve kids, guests, and morning routines, this setup delivers both a quick rinse and a relaxing soak.
The trick is choosing the right fixtures and layout so it feels intentional, not makeshift. From sleek glass screens to handheld showers that actually stay put, these ideas turn your tub into a dual-purpose powerhouse.
No more wrestling with a curtain that sticks to your legs or a showerhead that drenches the floor. Here's how to make shared spaces work without the hassle.
1. Install a Sliding Shower Screen for a Clean Look
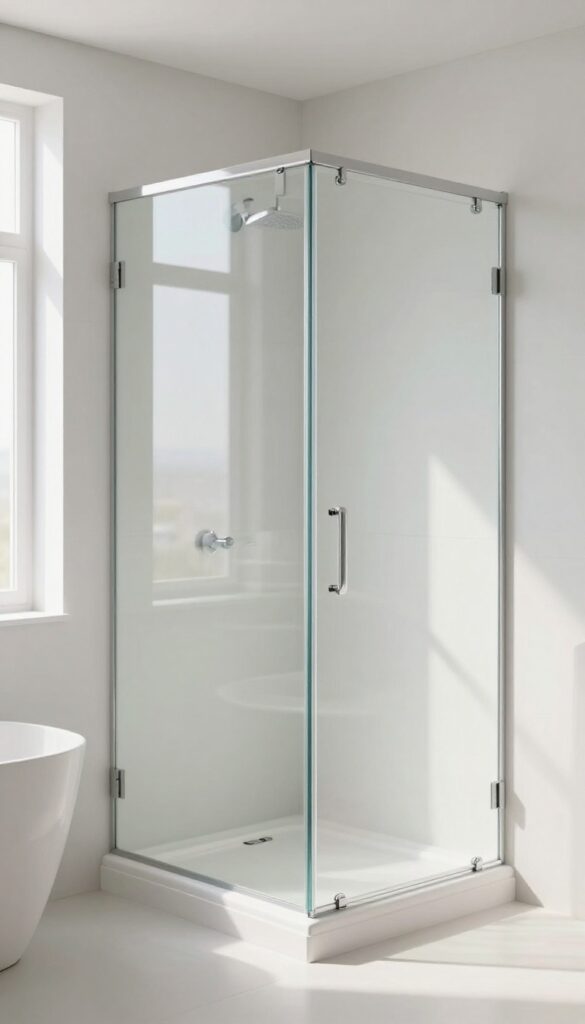
A frameless glass screen keeps water in without the visual clutter of a curtain. It makes the bath area feel larger and easier to clean. Plus, it adds a modern touch that works with any bathroom style.
Why Frameless Glass Beats Curtains
Curtains can feel cramped and collect mildew fast. A frameless screen gives you an open, airy look while still containing splashes. It's also a breeze to wipe down—no fabric to wash or replace.
Installation Tips For A Secure Fit
Measure your tub rim carefully before ordering. Most screens mount with brackets that clamp onto the tub edge—no drilling into tile. Make sure the screen overlaps the tub by at least two inches to prevent leaks.
Keeping The Glass Spotless
Use a squeegee after every shower to avoid hard water stains. A daily spray of vinegar and water keeps it clear. For a streak-free shine, try a microfiber cloth with a drop of dish soap.
2. Choose a Handheld Showerhead with a Docking Station
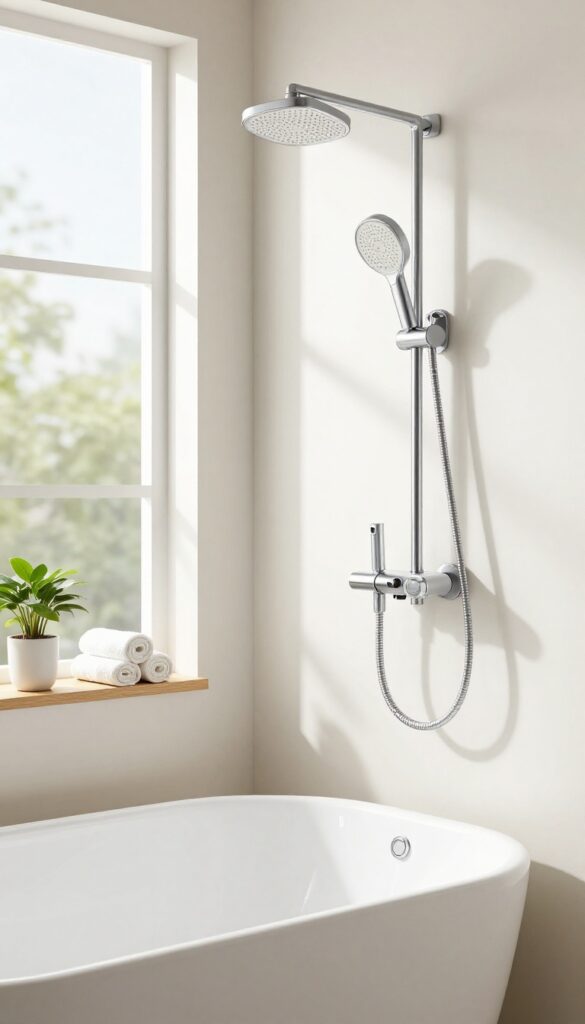
A handheld showerhead might sound like a small detail, but it can transform how your shower-over-bath works. The key is finding one that clicks securely into a wall-mounted docking station—so it stays put when you need a fixed shower, but detaches easily for rinsing kids, washing the tub, or reaching those hard-to-clean corners.
Why Docking Matters
A handheld that just hangs from a hose can flop around or get knocked off its hook. A docking station locks it firmly in place, giving you the same stable water flow as a fixed showerhead. No more wrestling with a sprayer that wants to point at the ceiling.
Flexibility For Family Baths
With a handheld, you can direct water exactly where it's needed—perfect for rinsing shampoo out of a toddler's hair or cleaning the tub after a bath. It also makes it easier to wash pets or fill buckets without splashing everywhere.
Installation Tips
Look for a model with a slide bar or adjustable bracket so you can set the height for different users. Some docking stations also include a diverter valve, letting you switch between the handheld and a fixed overhead shower without hassle.
3. Add a Corner Shelf for Shower Essentials
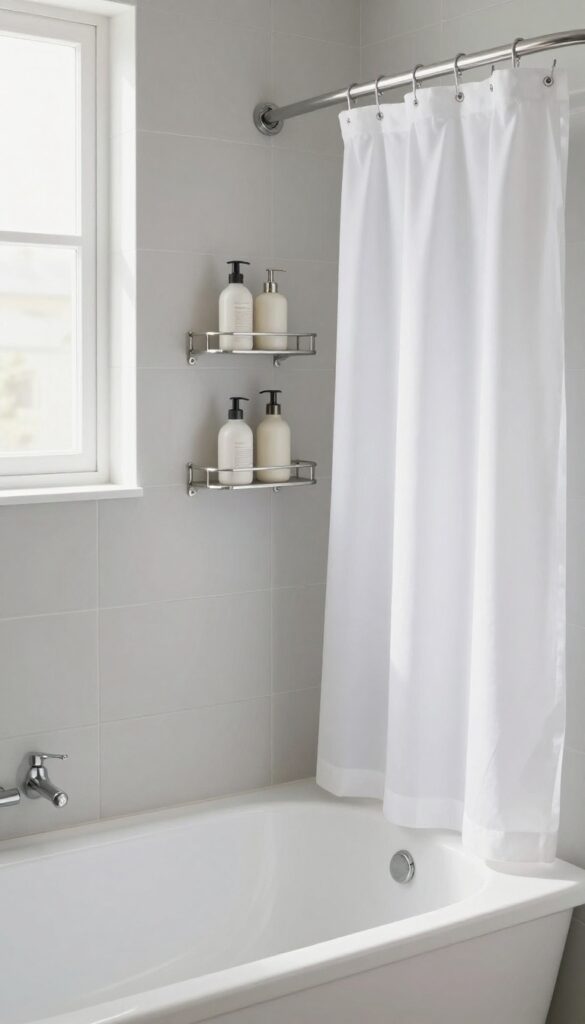
Keeping shampoo, soap, and conditioner within easy reach without cluttering the tub edge is a common struggle in shower-over-bath setups. A corner shelf solves this neatly by using vertical space that would otherwise go unused. Whether you choose a built-in tile shelf or a no-drill adhesive option, it keeps everything organized and within arm's reach.
A corner shelf is a small addition that makes a big difference in daily use. It frees up the tub edge, reducing clutter and making the space feel larger. Plus, it keeps bottles off the floor, so you don't have to bend down mid-shower.
Built-in Vs. Adhesive Shelves
If you're renovating, a built-in tile shelf is a seamless choice that blends with your wall and never needs replacing. For existing bathrooms, adhesive corner shelves are quick to install and come in materials like stainless steel, tempered glass, or plastic. Just make sure the adhesive is strong enough for wet conditions.
Placement Tips
Install the shelf at shoulder height so you can easily reach bottles without stretching. Position it on the wall opposite the showerhead to keep items dry and prevent water from pooling on the shelf. If you have a handheld shower, angle the shelf away from the spray.
Material Considerations
Choose rust-proof materials like stainless steel or coated aluminum for longevity. Glass shelves look sleek but require regular cleaning to avoid water spots. Plastic shelves are budget-friendly but may warp over time.
For a natural look, consider teak or bamboo with proper sealing.
4. Use a Tension Rod with a Water-Repellent Curtain
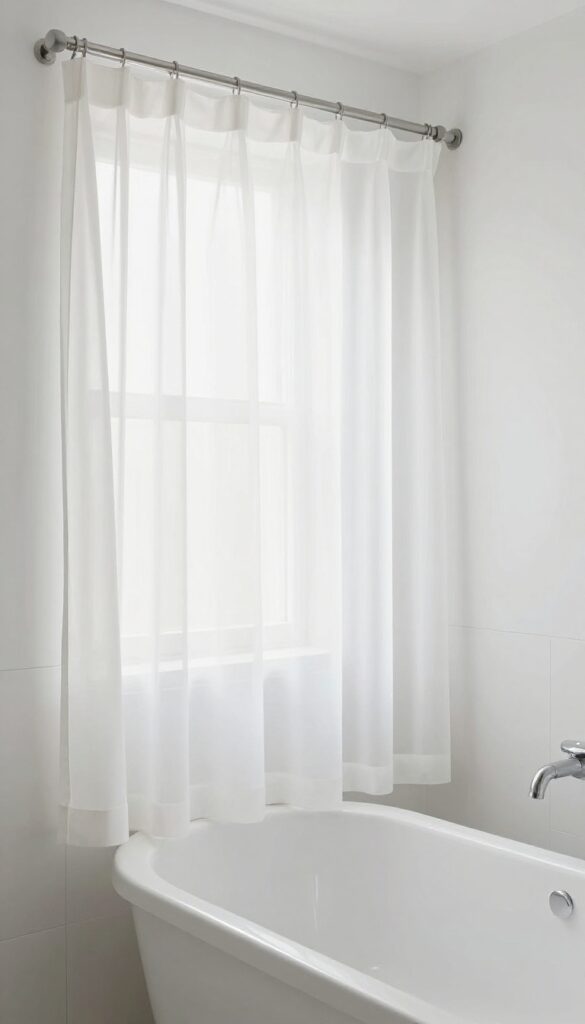
A curved tension rod pushes the curtain outward, giving you more elbow room. It's a simple swap that makes a big difference in a shower-over-bath setup. Pair it with a quick-dry fabric liner to prevent mildew and keep things fresh.
A standard straight rod forces the curtain to cling to the tub edge, which can feel cramped and cause water to pool. A curved tension rod bows outward, creating extra space at shoulder height. This means less curtain sticking to your body and more room to move.
The tension design also means no drilling—perfect for renters or anyone who wants an easy upgrade.
Why Curved Beats Straight
A curved rod adds about 6 to 8 inches of interior space. That extra room reduces the chance of the curtain touching you while showering. It also helps keep water inside the tub because the curtain hangs away from the edge.
Choosing The Right Curtain And Liner
Look for a fabric curtain with a water-repellent coating—polyester or nylon blends work well. Avoid vinyl liners that trap moisture and promote mildew. A quick-dry fabric liner dries between uses, cutting down on cleaning.
Many come with built-in magnets or weights to keep the bottom in place.
Installation Tips
Measure your tub width first. Tension rods typically fit 55 to 72 inches. Extend the rod slightly longer than the space, then twist to lock it in place.
Test the tension by giving it a gentle tug. For extra stability, use a rod with rubberized ends.
5. Upgrade to a Thermostatic Mixer Tap
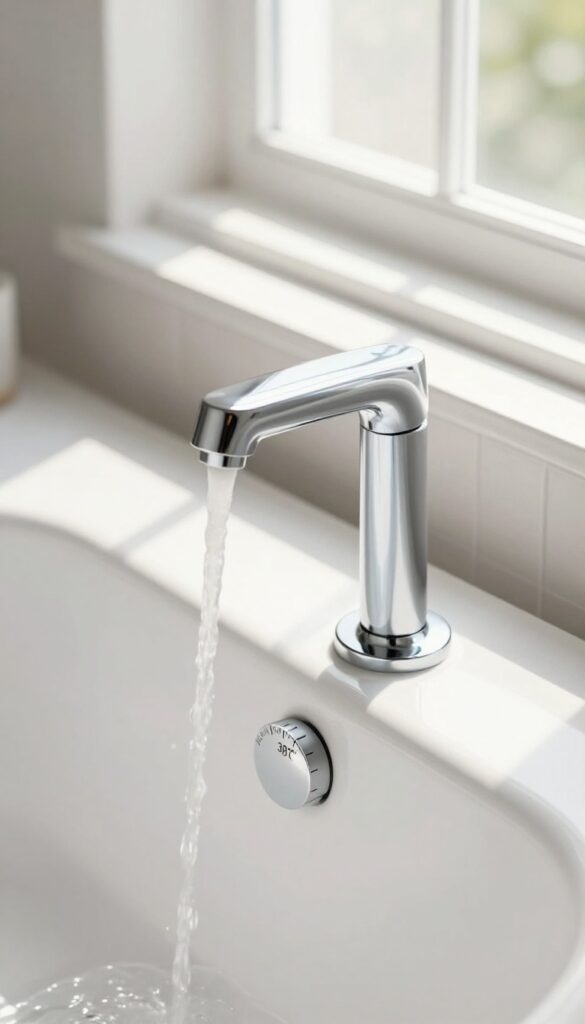
Temperature swings are one of the biggest annoyances in a shared bathroom. Someone flushes the toilet, and suddenly the shower turns scalding hot or freezing cold. A thermostatic mixer tap solves this by keeping the water temperature steady no matter what else is happening in the house.
It's a small upgrade that makes a huge difference in comfort and safety.
A thermostatic mixer tap has a built-in sensor that adjusts the hot and cold water flow to maintain your set temperature. Even if the water pressure changes—say, from another tap or a toilet flush—the shower temperature stays consistent. This is especially valuable in a shower-over-bath setup where multiple people use the same bathroom throughout the day.
No more sudden yelps or rushed rinses. Installation is straightforward if you have access to the pipework behind the bath, and many models fit standard bath filler holes. Look for one with a clear temperature dial and a safety stop that prevents the water from going above a certain temperature, typically 38°C (100°F).
That's a game-changer for families with kids or elderly users.
How Thermostatic Valves Work
Inside the tap, a wax or bi-metal element expands or contracts in response to temperature changes. This moves a piston that balances the hot and cold water flow. If cold water pressure drops, the valve automatically reduces hot water to keep the mix stable.
The result is a consistent temperature within about 1°C, even when other appliances are running.
Installation Considerations
You'll need to replace your existing bath filler or shower mixer. Most thermostatic taps require a separate hot and cold water supply, so check your pipework. If you're comfortable with basic plumbing, it's a DIY job.
Otherwise, a plumber can do it in a couple of hours. Make sure the tap has a built-in check valve to prevent backflow and a removable cartridge for easy maintenance.
Top Features To Look For
Choose a model with a clear temperature scale, preferably with large numbers for easy reading. A safety button or child lock is essential if you have little ones. Some taps also have an eco mode that limits flow to save water.
And don't forget a long, flexible hose if you plan to use a handheld shower—it makes rinsing the bath and washing kids much easier.
6. Install a Grab Bar That Doubles as a Towel Rail
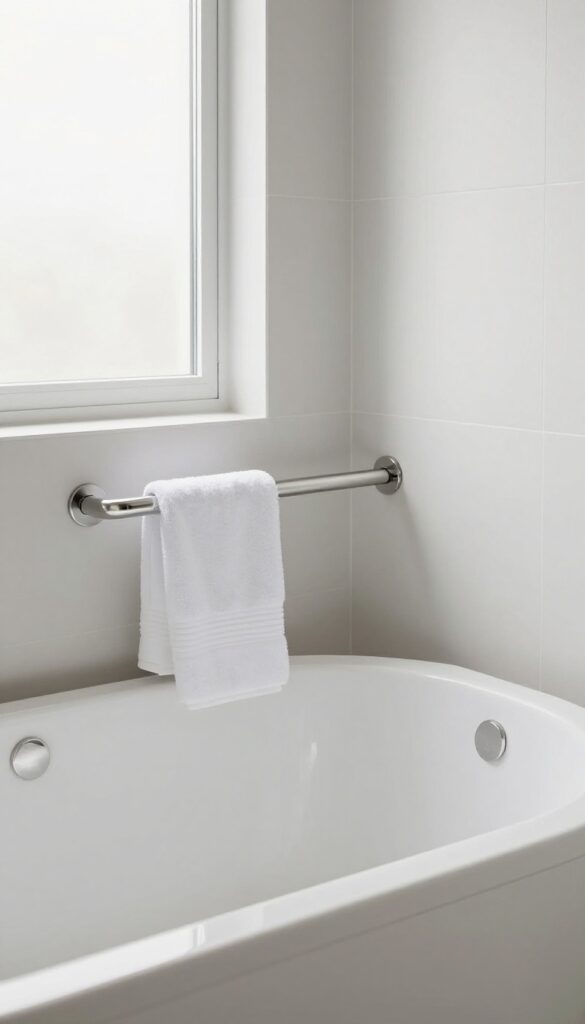
Safety and style don't have to be at odds. A grab bar near the tub is essential for older family members or anyone who needs extra stability, but it doesn't have to look clinical. Choose a model that pulls double duty as a towel rail, and you've got a safety feature that also keeps towels within arm's reach.
A grab bar near the tub is essential for older family members or anyone who needs extra stability, but it doesn't have to look clinical. Choose a model that pulls double duty as a towel rail, and you've got a safety feature that also keeps towels within arm's reach.
Pick The Right Material
Stainless steel or brass grab bars with a towel-rail design are durable and moisture-resistant. Avoid plastic—it can feel flimsy and won't hold up to daily use. Look for a bar with a textured grip or a slight curve to make it easy to hold, even with wet hands.
Placement Matters
Mount the grab bar horizontally or at a slight angle near the tub's entry point. That way, it's easy to grab when stepping in or out. Position it so a towel draped over it doesn't block the grip.
A height of 33 to 36 inches from the floor works for most adults.
Style It Right
Choose a finish that matches your other fixtures—chrome, brushed nickel, or matte black. A towel draped over the bar softens the utilitarian look. Rolled towels or a small hook underneath can add extra hanging space without cluttering the bar.
7. Opt for a Low-Profile Bath Tray
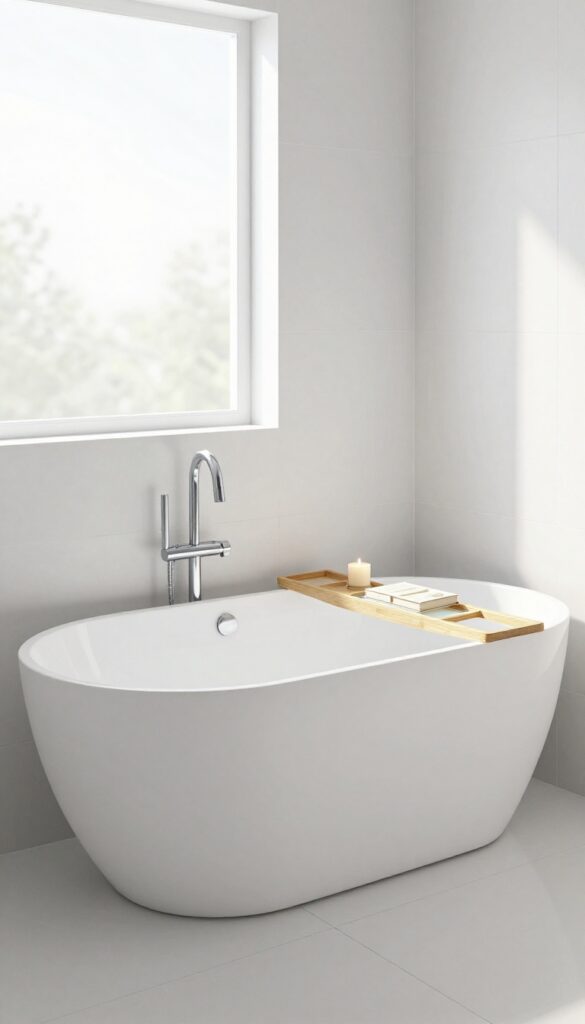
A bath tray is a classic accessory for soaking, but in a shower-over-bath setup, it needs to be slim and removable. A bulky tray can get in the way when you're standing up to shower, or collect water and become a slippery hazard. The solution is a low-profile bamboo or teak tray that sits across the tub but can be lifted off in seconds.
When you choose a tray that's just wide enough to hold a book or tablet, it won't intrude on your shower space. Look for models with raised edges to keep items dry and a cutout for a glass or cup. After your bath, simply set the tray aside on a towel rack or shelf, and the tub is clear for showering.
This small swap makes the bathroom feel more organized and versatile.
Why Low-profile Matters
Standard bath trays are often too wide or have tall legs that make them unstable when you're standing. A low-profile tray sits flush with the tub edges, so you can step over it easily. It also reduces the risk of knocking it off or slipping on a wet surface.
Look for trays with rubber grips on the ends to keep them in place during a bath but allow quick removal.
Material And Maintenance
Bamboo and teak are popular because they resist water damage and look warm in a bathroom. Avoid metal trays that can rust or scratch the tub. After each use, wipe the tray dry or let it air out on a towel.
Some trays come with a built-in slot for a tablet or phone, but make sure it doesn't block your shower caddy or showerhead.
Where To Store The Tray
You need a dedicated spot for the tray when it's not in use. A small wall-mounted shelf near the tub works well, or you can hang it on a hook. If space is tight, look for a tray that folds flat or has a handle for easy carrying.
Keeping it off the floor prevents tripping and keeps the bathroom tidy.
8. Add a Waterproof Shower Caddy Over the Tap
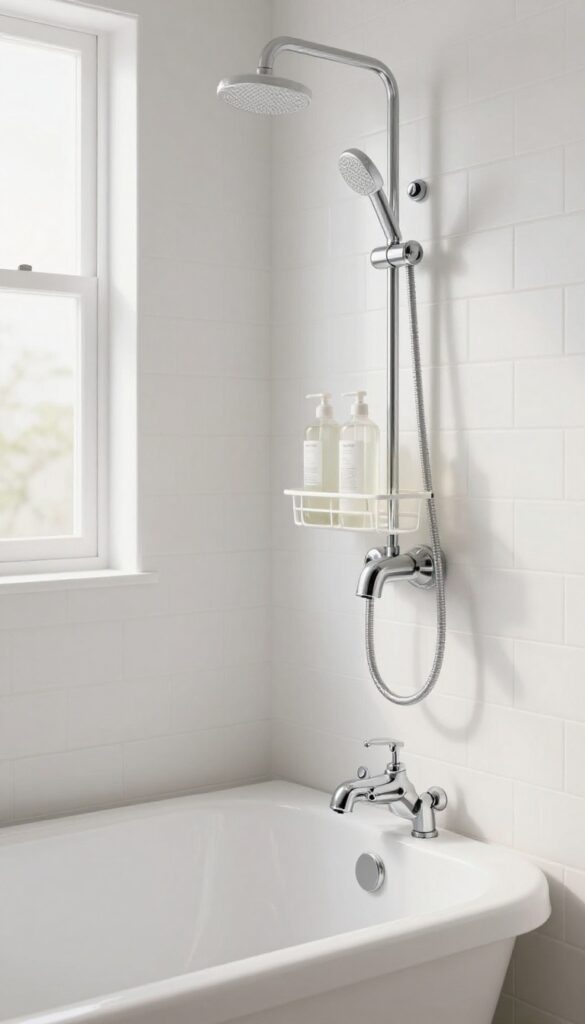
If your tub surround is tile, you might hesitate to drill holes for a permanent caddy. A tap-mounted caddy solves that without any damage. It hooks securely over the bath tap, keeping bottles off the floor and within easy reach.
A tap-mounted caddy is a simple upgrade that makes a big difference in a shared shower-over-bath. It keeps your products organized and off the tub floor, where they can get slippery or clog the drain. Plus, it's easy to remove for cleaning or when you want a clear tub for a bath.
Easy Installation, No Tools Required
Most tap caddies just hook over the spout and tighten with a simple screw or clamp. No drilling, no adhesive, no permanent changes. That means you can take it with you if you move, or swap it out whenever you want a new look.
Keeps The Tub Floor Clear
Bottles on the tub floor are a tripping hazard and a magnet for soap scum. A tap caddy lifts everything up, so you can wipe down the tub in seconds. It also stops bottles from floating around during a bath, which is a nice bonus.
Choose The Right Size For Your Tap
Not all tap caddies fit all taps. Measure the width and height of your spout before buying. Look for adjustable models with rubber grips that won't scratch the finish.
Some even have swivel arms so you can position the baskets exactly where you need them.
9. Choose a Bath with a Built-in Seat
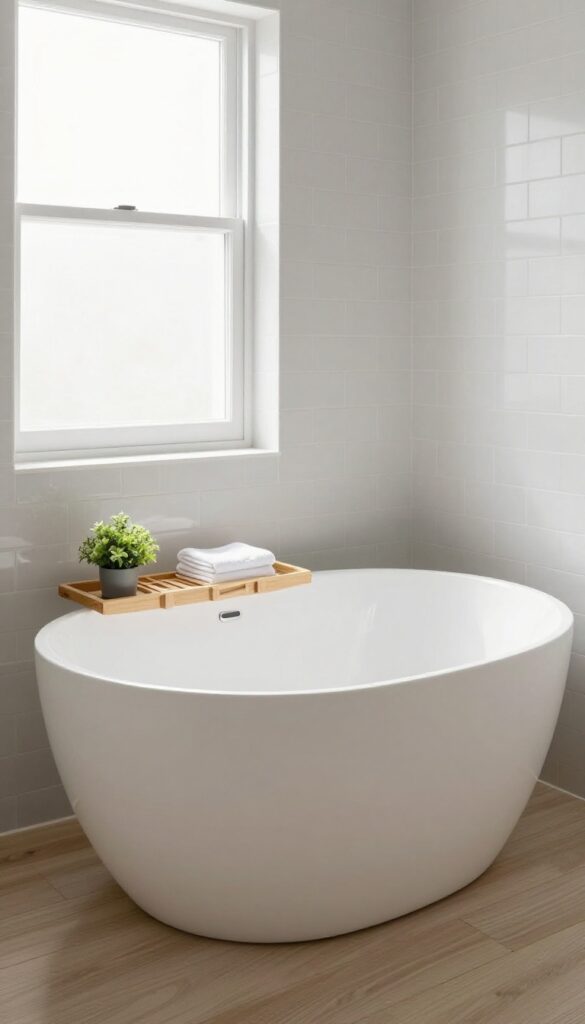
A tub with a small molded seat offers a place to sit while showering—great for kids, elderly users, or anyone who prefers a seated rinse. This feature turns your shower-over-bath into a safer, more versatile space without sacrificing style. Built-in seats are common in walk-in tubs, but more standard soaking tubs now include them as an option.
They're especially handy in shared bathrooms where different family members have different needs.
A built-in seat makes the shower portion of your tub more accessible and comfortable. Kids can sit safely while you rinse their hair, and older adults can shower without standing on a slippery surface. It also doubles as a shelf for bath products during a soak.
When choosing a tub with a seat, look for one that's molded from the same material as the tub for easy cleaning. Avoid seats that are added as an afterthought—they should feel integrated and seamless.
Safety First
A built-in seat reduces the risk of slips and falls. You can sit down to shower, which is especially helpful for those with balance issues. Some models include a textured surface on the seat for extra grip.
Comfort For All Ages
Kids can sit comfortably while you wash their hair without them slipping. Elderly family members or anyone with mobility concerns will appreciate the option to shower seated. It's a small feature that makes a big difference in daily use.
Style Integration
Modern tubs with built-in seats come in sleek designs that don't look clinical. Choose a model with clean lines and a finish that matches your bathroom aesthetic. The seat should blend into the tub's shape, not stick out awkwardly.
10. Use a Non-Slip Bath Mat That Stays Put
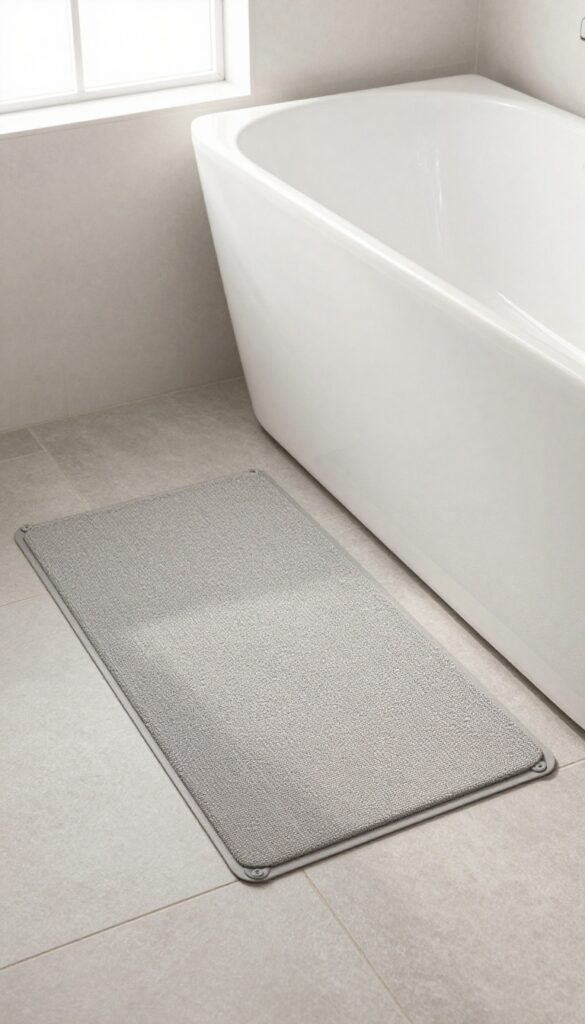
Safety is a big deal when you're stepping out of a wet tub, especially in a shared bathroom where the floor can get slippery fast. A non-slip bath mat with suction cups grips the floor firmly, so you don't have to worry about it sliding around. The best part?
It's easy to roll up and store after a bath, keeping the shower area clear for the next person.
Look for mats made of rubber or silicone with strong suction cups that adhere to tile or acrylic tubs. Test the suction before buying—some cheap mats lose grip quickly. A neutral color like gray, beige, or white blends with most bathrooms and won't clash with your decor.
Wash the mat regularly to prevent mold and mildew, and replace it when the suction starts to weaken.
Why Suction Cups Matter
Not all non-slip mats are created equal. Mats with suction cups stay put even when wet, while rubber-backed mats can still slide on smooth surfaces. Suction cups create a tight seal that prevents the mat from shifting underfoot.
For shared bathrooms, this means no one has to reposition the mat before stepping in.
Choosing The Right Size And Color
Measure your tub floor before buying. A mat that's too small won't cover the slip zone, while one that's too large can bunch up. Stick to neutral colors—gray, beige, or white—so the mat doesn't stand out.
If you want a pop of color, choose a muted tone that complements your bathroom palette.
Maintenance Tips For Longevity
Rinse the mat after each use to remove soap residue, which can weaken suction. Hang it to dry or roll it loosely to prevent mildew. Once a week, scrub with a mild cleaner to keep the suction cups clean.
Replace the mat every 6 to 12 months, or as soon as you notice slipping.
11. Install a Ceiling-Mounted Shower Arm
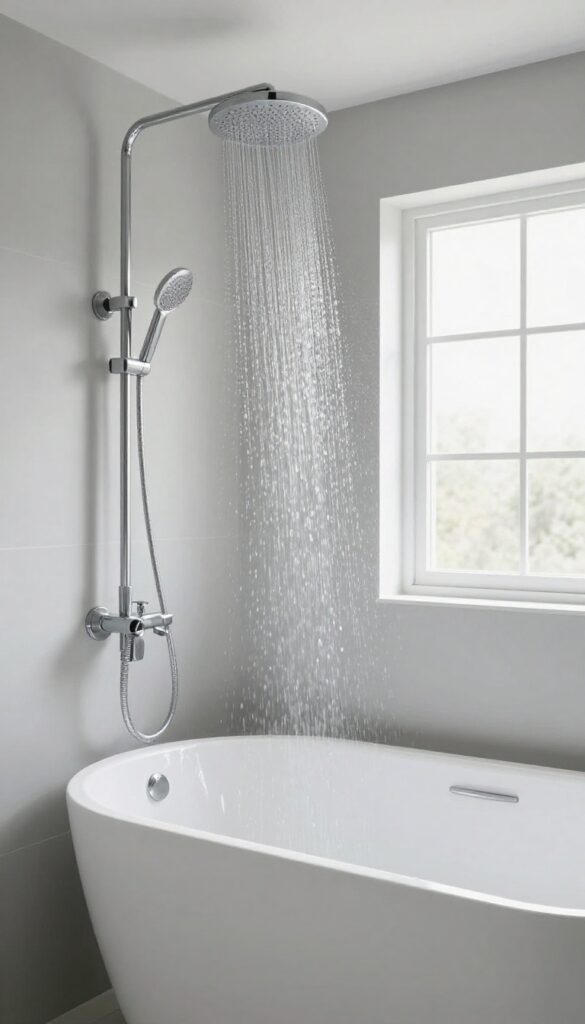
A ceiling-mounted rain shower head does more than look sleek—it changes how water behaves in a shower-over-bath setup. Because the water falls straight down from above, it stays centered over the tub, which means less splash against the walls and onto the floor. That's a huge win for shared bathrooms where every surface gets used hard.
Why It Works So Well Over A Tub
Standard wall-mounted shower heads often spray at an angle, which can send water bouncing off the tub edge or curtain onto the floor. A ceiling-mounted arm positions the head directly above you, so the stream drops straight down. This keeps the water inside the tub and reduces the mess you'd otherwise have to wipe up after every shower.
What To Look For When Buying
Not all ceiling-mounted arms are created equal. Look for one with an adjustable swivel joint so you can tilt the head slightly if needed—perfect for fine-tuning the spray direction. Also check the arm length: a longer arm gives more clearance from the ceiling, which helps taller users stand comfortably under the stream.
Installation Tips For Shared Bathrooms
Installing a ceiling-mounted shower arm requires access to the ceiling joists for support, especially if you're adding a large rain head. If you're not comfortable cutting into the ceiling, hire a plumber. For a simpler retrofit, some models use a drop-down arm that attaches to an existing shower riser—no ceiling work needed.
FAQ
Is a shower over bath a good idea for a family bathroom?
Yes, it's a space-saving solution that works well for families. It allows for quick showers and relaxing baths without needing two separate fixtures.
How do I prevent water from splashing onto the floor?
Use a shower curtain with a weighted hem or a glass screen. Ensure the curtain or screen extends at least a few inches past the tub edge.
Can I install a shower over a freestanding bath?
It's possible but tricky. You'll need a ceiling-mounted shower arm and a custom screen or curtain track to contain water. Consult a professional.
What type of showerhead is best for a shower over bath?
A handheld showerhead with a wall bracket is versatile. For a fixed option, a ceiling-mounted rain shower head minimizes splash.
How do I keep the bath clean when used for showers?
Rinse the tub after each shower to remove soap residue. Use a squeegee on glass screens and wash the curtain or liner regularly.
Conclusion
Shared bathrooms don't have to mean compromise. With the right shower-over-bath setup, you get the best of both worlds: a relaxing soak when you need it and a quick rinse when you don't.
Start with one idea that solves your biggest pain point—whether it's storage, safety, or style. Small changes can make your shared space feel custom-made for everyone who uses it.