How to Clean Mold in Shower Grout in 13 Safe Steps
You step into the shower, and that musty smell hits you again. Dark spots are creeping along the grout lines, and no amount of scrubbing seems to help. Mold in shower grout is not just unsightly—it can also be a health hazard.
The good news is you don't need harsh chemicals or a professional to get rid of it. With the right approach and a little patience, you can restore your grout to its original color. This guide walks you through 13 safe, effective steps to banish mold for good.
Each step is practical, easy to follow, and uses common household items. Let's get your shower looking clean and fresh again.
1. Gear Up for Safety
Mold might look harmless, but once you start scrubbing, those spores can float right into the air. Breathing them in or getting them on your skin can cause coughing, sneezing, or worse. That's why the first step isn't grabbing a brush—it's grabbing the right gear.
A few minutes of prep will keep you safe and make the whole process a lot smoother.
Why Protection Matters
Mold releases tiny spores that are invisible to the eye. When you disturb the grout, those spores become airborne. Inhaling them can irritate your lungs, especially if you have allergies or asthma.
Skin contact can also cause rashes. So gloves, a mask, and goggles aren't overkill—they're essential.
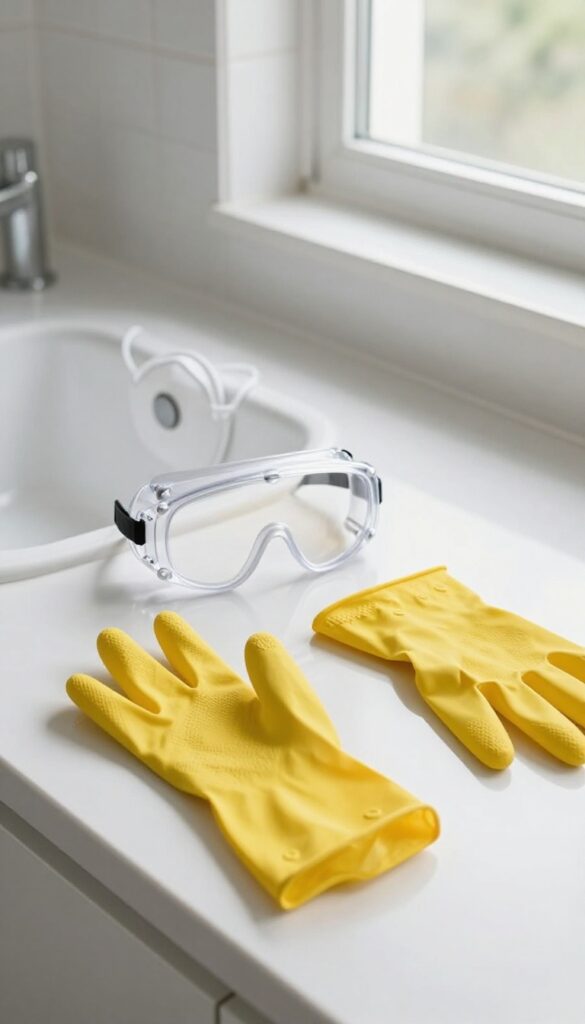
What You'll Need
Grab a pair of rubber gloves—dishwashing gloves work fine. For a mask, an N95 or any respirator rated for mold is best. If you don't have one, a standard dust mask is better than nothing.
Safety goggles keep spores out of your eyes. And don't forget ventilation: open a window or turn on the exhaust fan to keep fresh air flowing.
Set Up Your Workspace
Clear the shower of bottles, razors, and anything else that might get in the way. Lay down an old towel or mat to catch drips. Make sure your fan is on or a window is cracked open.
Good airflow helps dry the area faster and keeps mold from settling back in.
2. Identify the Mold Type
Before you start cleaning, take a closer look at those dark spots. Not everything that looks like mold actually is—some are just dirt, soap scum, or mildew. Knowing what you're dealing with saves time and helps you choose the right cleaning method.
Mold typically appears as black, green, or brown patches that are fuzzy or slimy to the touch. Mildew, on the other hand, is usually gray or white and powdery. Dirt and soap scum are often patchy but not fuzzy.
If you see spots that spread or have a musty smell, it's likely mold. For large infestations covering more than a few square feet, consider a professional mold test to rule out toxic varieties like Stachybotrys.
Visual Clues
Mold often has a fuzzy or slimy texture and grows in irregular patches. It can be black, green, brown, or even orange. Mildew is typically flat, powdery, and lighter in color.
Dirt and soap scum are usually smooth and wipe away easily with a damp cloth.
Smell Test
Mold produces a distinct musty, earthy odor. If your shower smells damp and unpleasant even after cleaning, mold is likely hiding in the grout. Mildew has a milder, sour smell, while dirt and soap scum are generally odorless.
When To Call A Pro
If the mold covers a large area (more than 3 feet by 3 feet) or you suspect toxic black mold (Stachybotrys), it's best to have a professional test it. Also, if anyone in your home has respiratory issues or allergies, a pro can ensure safe removal.
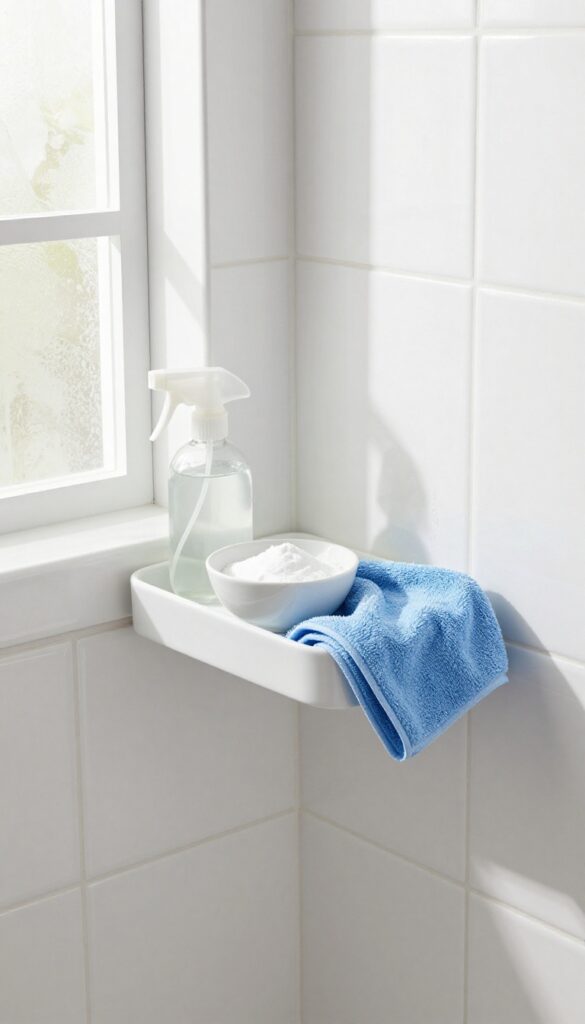
3. Choose Your Cleaning Solution
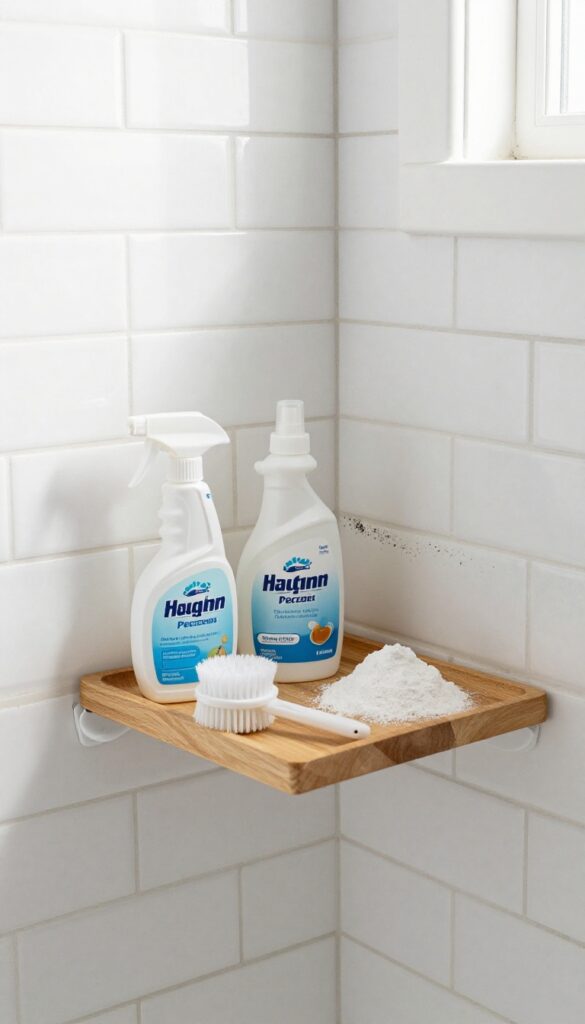
Not all mold cleaners are created equal, and the best one for your shower depends on your grout type and personal preferences. You have several effective options, from pantry staples to store-bought products. Each has its strengths, so let's break them down so you can pick the right tool for the job.
White Vinegar: The All-rounder
White vinegar is a mild acid that kills about 82% of mold species. It's safe for most grout types, including cement-based grout. Simply spray undiluted vinegar onto the moldy grout, let it sit for 10–15 minutes, then scrub with a brush.
The smell fades as it dries. Avoid using vinegar on natural stone tiles like marble or travertine, as the acid can etch them.
Hydrogen Peroxide: Best For Porous Surfaces
Hydrogen peroxide (3% concentration) is a powerful oxidizer that penetrates porous grout and kills mold at the root. It's also bleach-free, so it won't damage colored grout. Spray it directly on the mold, wait 10 minutes, then scrub.
It's especially effective for stubborn black mold. Test on a small area first to ensure it doesn't lighten the grout.
Baking Soda Paste: Gentle Abrasive
Mix baking soda with a little water to form a thick paste. This is a great option if you want a non-toxic scrub that won't release harsh fumes. Apply the paste to the grout, let it dry slightly, then scrub with a damp brush.
For extra mold-killing power, add a splash of vinegar after the paste is on—just be ready for fizzing.
Commercial Mold Cleaners: When You Need Heavy Duty
If DIY solutions aren't cutting it, a commercial mold cleaner can be a good choice. Look for products labeled safe for grout and follow the instructions carefully. Many contain bleach or other strong chemicals, so ensure proper ventilation and wear gloves.
These are best for severe infestations or when you want a quick fix.
4. Test on a Small Area
Before you go all in with your cleaning solution, take a moment to test it on a hidden spot. Some cleaners can bleach or damage certain grout types, especially if it's colored or unsealed. A quick patch test saves you from a bigger headache down the line.
Choose an inconspicuous area, like behind the shower door or in a corner. Apply a small amount of your cleaner and let it sit for 10 minutes. Wipe it off and inspect for any discoloration, etching, or other damage.
If the grout looks fine, you're good to proceed. If not, switch to a milder option or dilute the solution further.
Why Testing Matters
Grout is porous and can absorb chemicals quickly. Harsh cleaners like bleach or hydrogen peroxide may lighten colored grout or weaken the material over time. A test ensures your grout stays intact while the mold gets eliminated.
How To Perform The Test
Mix a small batch of your cleaner according to the instructions. Use a cotton swab or a soft cloth to apply it to a hidden grout line. Let it sit for the recommended dwell time (usually 10–15 minutes).
Rinse thoroughly and dry the area. Check under good lighting for any changes in color or texture.
What To Look For
After the test, look for fading, whitening, or a rough surface. If the grout appears unchanged and the mold is visibly reduced, your cleaner is safe. If you notice any damage, switch to a gentler option like baking soda and vinegar or a commercial grout cleaner labeled as safe for your grout type.
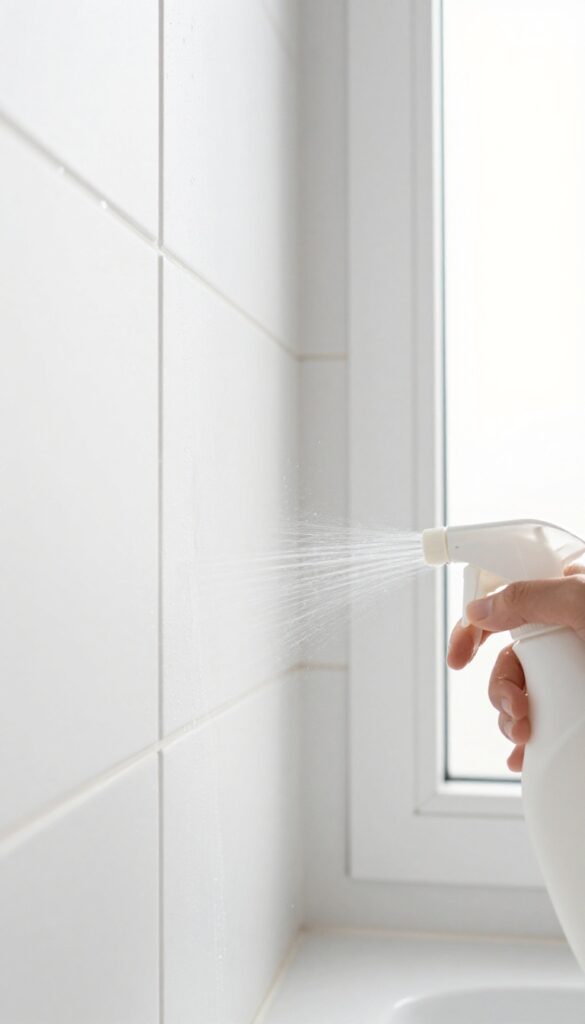
5. Apply the Cleaner Generously
Now that you've chosen and tested your cleaner, it's time to put it to work. The key here is saturation. Mold hides deep in the porous grout, so a light spritz won't cut it.
You need to drench those grout lines so the solution can penetrate and break down the mold from the inside out.
Spray or apply your solution directly onto the moldy grout. Make sure it's fully saturated. For thick mold, let it sit for 15-20 minutes to break down the spores.
Don't let it dry out—reapply if needed.
Why Saturation Matters
Mold roots itself into the porous surface of grout. A quick spray only wets the surface, leaving the roots untouched. By saturating the grout, you allow the cleaner to seep into every tiny crevice, killing mold at its source.
This step saves you from repeated scrubbing later.
How Long To Let It Sit
For light surface mold, 5-10 minutes is enough. But if you're dealing with thick, dark growth, give it a full 15-20 minutes. The longer dwell time gives the cleaner time to dissolve the mold's structure.
Set a timer so you don't forget—but don't let it dry out completely.
Reapplying If Needed
If you notice the solution evaporating before the time is up, mist on a bit more. Dry cleaner won't work. Keep the grout visibly wet throughout the dwell period.
A spray bottle makes this easy—just give it a quick spritz whenever the grout starts looking dry.
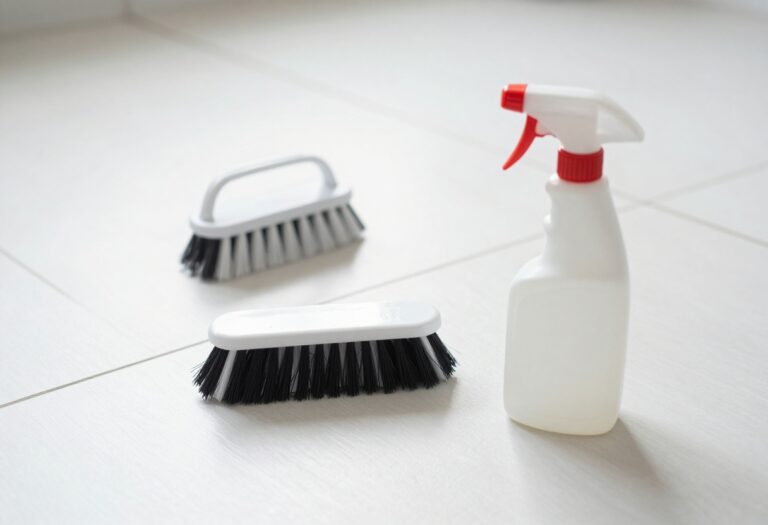
6. Scrub with the Right Tool
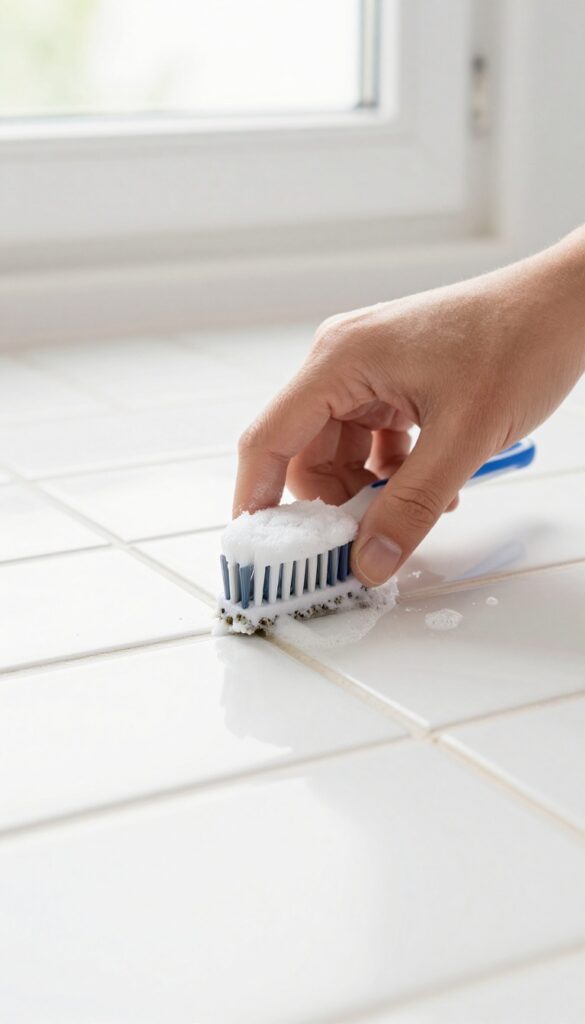
Your cleaning solution needs a little elbow grease to do its job. The tool you use makes a big difference in how effectively you can lift mold from grout without damaging it. A soft sponge won't cut it—you need something with more bite.
Why Stiff Bristles Work Best
Grout is porous, so mold settles deep into the crevices. A stiff-bristled brush, like an old toothbrush, gets into those narrow grooves and dislodges the mold. The firm bristles scrub away the top layer and agitate the cleaner so it can penetrate deeper.
Choosing The Right Brush
For standard grout lines, a toothbrush is perfect. If the grout is wider or the mold is stubborn, a grout brush with thicker bristles or a scrub pad with a rough side works better. Avoid wire brushes—they can scratch tiles and damage grout.
The Best Scrubbing Motion
Scrub in a circular motion rather than back and forth. Circles help the bristles work into the pores from multiple angles, lifting more mold. Apply firm but controlled pressure—too much force can erode the grout over time.
7. Rinse Thoroughly
You've scrubbed away the mold, but you're not done yet. That cleaning solution sitting on the grout needs to go. If you leave any residue behind, it can attract dirt and even cause the grout to break down over time.
Rinsing thoroughly is a small step that makes a big difference in how long your clean grout stays clean.
After scrubbing, rinse the area with warm water. Use a spray bottle or a damp cloth to remove all cleaning residue. Leftover cleaner can attract dirt or cause grout to deteriorate over time.
Why Rinsing Matters
Cleaning products are designed to break down mold and grime, but they're not meant to stay on the surface. Many contain acids or bleach that can weaken grout if left too long. Rinsing neutralizes the cleaner and stops any ongoing chemical reaction.
It also prevents a sticky film that grabs onto soap scum and dust.
Best Way To Rinse
Use a spray bottle filled with warm water to mist the grout lines, then wipe with a clean, damp cloth. For larger areas, you can use a handheld showerhead on a gentle stream. Avoid blasting water directly into the grout, as high pressure can force moisture deeper into the wall.
Repeat until no suds or residue remain.
Check For Residue
After rinsing, run your finger along the grout. If it feels slippery or tacky, you've still got cleaner left. Wipe again with a fresh damp cloth until the surface feels clean and slightly rough.
A quick visual check under good light helps—look for any white or colored streaks.
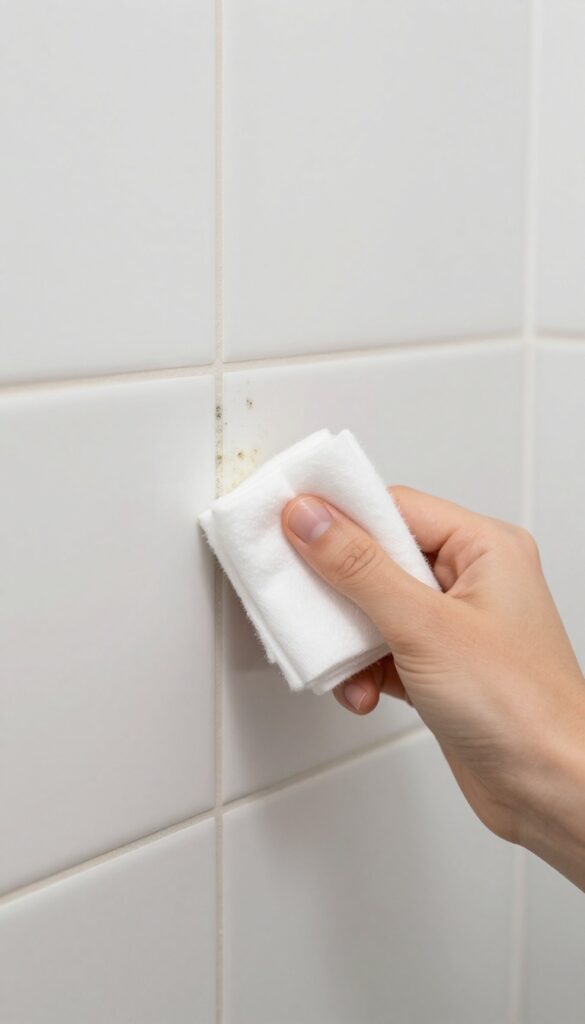
8. Dry the Grout Completely
Moisture is mold’s best friend. If you leave the grout wet after cleaning, you’re basically inviting the mold to come right back. Drying thoroughly is a simple but often overlooked step that makes all the difference.
Once you’ve rinsed away the cleaning solution, grab a clean towel or microfiber cloth. Blot the grout lines gently to soak up excess water. Avoid rubbing too hard—you don’t want to push moisture deeper into the porous grout.
After blotting, leave the bathroom fan running or prop the door open. Let the grout air dry for at least an hour before using the shower again. For extra insurance, you can point a small fan directly at the grout.
Why Drying Matters
Mold spores can survive on damp surfaces and start growing again within hours. By removing moisture, you break the cycle. Dry grout also helps prevent new stains and keeps the shower smelling fresh.
Best Tools For Drying
Microfiber cloths are ideal because they absorb more water than regular towels and leave less lint. If you have a squeegee, use it on the tiles first to reduce the amount of water that seeps into the grout.
How To Speed Up Air Drying
Turn on the exhaust fan or open a window to improve airflow. In humid climates, a small portable fan aimed at the grout can cut drying time in half. Avoid using the shower for at least 24 hours if possible.
9. Apply a Mold-Killing Sealant
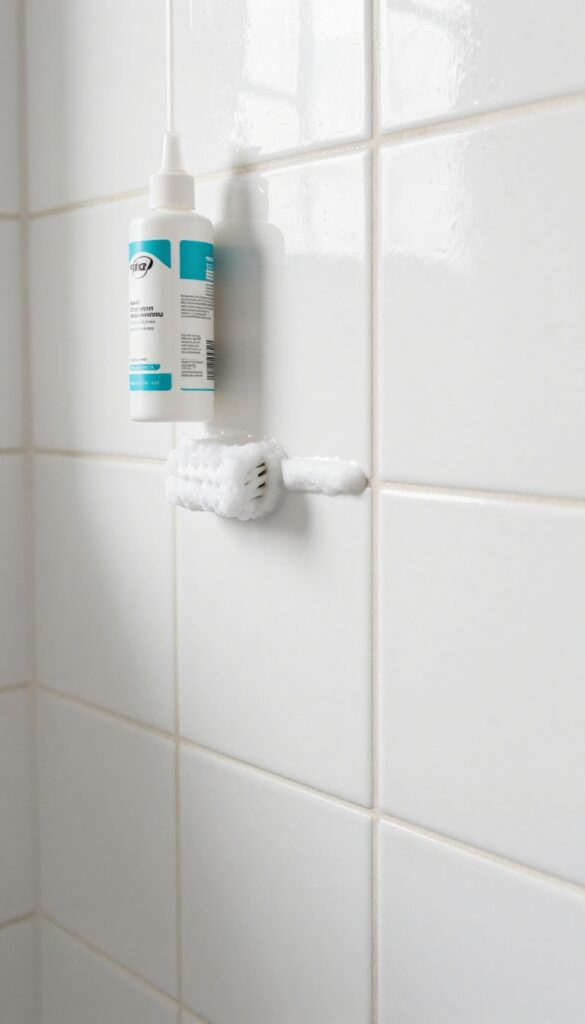
You've scrubbed, rinsed, and dried the grout. Now it's time to lock in all that hard work. Applying a sealant with antimicrobial properties creates a shield that mold finds hard to penetrate.
This step is often skipped, but it's the one that keeps your grout clean for months longer.
Choose The Right Sealant
Not all sealants are created equal. Look for one labeled "antimicrobial" or "mold-resistant. " These contain additives that actively discourage mold growth.
For shower grout, a penetrating sealer works best because it soaks into the porous material rather than sitting on top. Avoid surface sealants that can peel or yellow over time.
Apply Evenly And Carefully
Use a small brush or a foam applicator to work the sealant into the grout lines. Don't rush—make sure every bit of grout gets covered. Wipe away any excess from the tile surface immediately, or it will dry into a hazy film.
Work in small sections so you don't miss spots.
Let It Cure Fully
Patience is key. Most sealants need 24 to 48 hours to cure completely. During that time, keep the shower dry and avoid any moisture.
Check the product label for exact drying times. Once cured, your grout will be much more resistant to mold and easier to clean in the future.
10. Improve Bathroom Ventilation
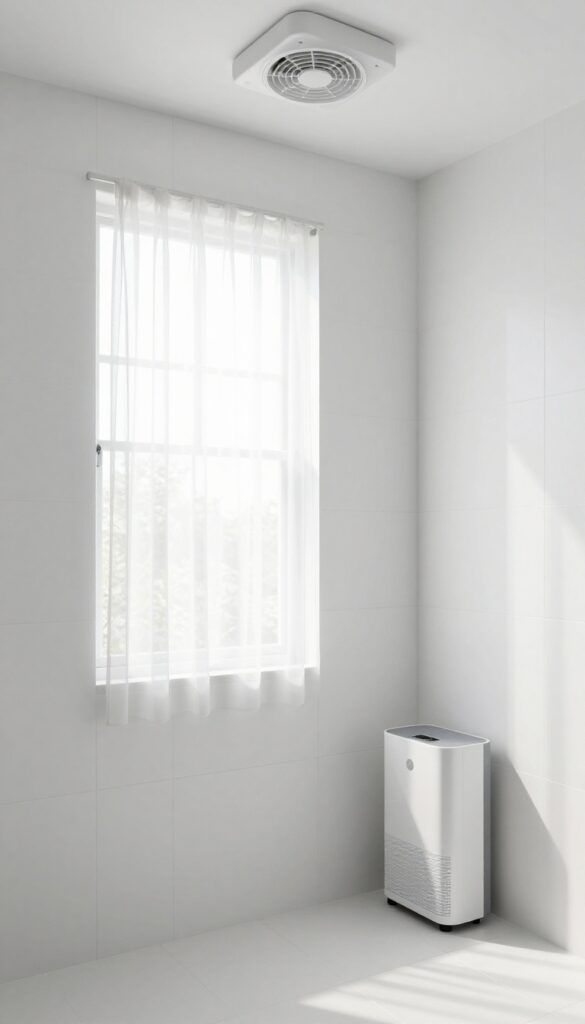
You've scrubbed, rinsed, and dried the grout. But if the bathroom stays damp, mold will be back before you know it. The secret to long-term success is cutting off the moisture supply.
Good ventilation is your best defense against mold regrowth.
Mold thrives in humid environments. After a hot shower, moisture lingers on every surface, including grout. By improving airflow, you speed up drying and make it hard for mold to take hold again.
This step is simple but crucial for lasting results.
Run The Exhaust Fan
Turn on the bathroom exhaust fan before you start showering and leave it running for at least 30 minutes after you're done. This pulls humid air out and brings in drier air from outside. If your fan is weak or noisy, consider upgrading to a higher CFM model.
Clean the fan cover regularly to keep it efficient.
Open A Window Or Door
If you don't have an exhaust fan, open a window or door during and after showers. Cross-ventilation works wonders—crack the window and leave the bathroom door open to let air circulate. Even a small gap helps reduce humidity levels significantly.
Use A Dehumidifier
In bathrooms with persistent moisture issues, a portable dehumidifier can be a game-changer. Place it in the room or just outside the door. Aim to keep relative humidity below 50%.
Many dehumidifiers have built-in hygrometers, so you can monitor levels easily.
Wipe Down Surfaces After Each Shower
After your shower, use a squeegee or a microfiber cloth to wipe down tiles and grout. This removes standing water that would otherwise evaporate into the air. It takes just a minute but dramatically reduces drying time and mold-friendly moisture.
11. Use a Daily Shower Spray
After all that scrubbing, the last thing you want is mold creeping back. A daily spray routine is the easiest way to keep grout clean between deep cleans. It takes just seconds and stops mold before it starts.
A quick spritz after every shower prevents soap scum and mold spores from settling on the grout. You can use a simple DIY mixture or a commercial daily cleaner. The key is consistency—make it a habit and your grout stays fresh.
Diy Spray Recipe
Mix equal parts white vinegar and water in a spray bottle. For extra cleaning power, add a few drops of tea tree oil, which has natural antifungal properties. Shake well before each use.
How To Apply
After your shower, while the walls are still damp, spray the grout lines thoroughly. Let it sit for a few minutes, then rinse with warm water or leave it if your cleaner is no-rinse. No scrubbing needed.
Commercial Options
If you prefer a store-bought product, look for daily shower sprays labeled as mold or mildew preventers. Avoid harsh chemicals that can damage grout over time. Test on a small area first.
12. Schedule Regular Deep Cleans
Consistency is the secret weapon against mold. A quick wipe after each shower helps, but it's not enough to stop mold from taking hold in porous grout. That's where a monthly deep clean comes in—it breaks the mold cycle before it gets a chance to spread.
Set a recurring reminder on your phone for the first weekend of every month. This isn't a full restoration; it's a preventive scrub that keeps your grout looking fresh and stops mold from gaining a foothold. A simple baking soda and vinegar paste is all you need for this routine maintenance.
Why Monthly Matters
Mold spores are always present in bathrooms, but they need moisture and nutrients to grow. Grout is porous, so it traps soap scum and body oils—perfect mold food. A monthly deep clean removes that buildup, starving any potential mold before it becomes visible.
The 15-minute Routine
Mix baking soda with a little water to form a paste, then spread it over the grout. Let it sit for 5 minutes, then spray with white vinegar. The fizzing action lifts dirt and kills mold spores.
Scrub with a soft brush, rinse, and dry with a microfiber cloth. That's it.
Staying On Track
Life gets busy, so make it easy. Keep your cleaning supplies in a caddy under the sink. Pair the task with something you already do—like changing your toothbrush head or washing your bath mat.
Soon it'll become a habit you don't think twice about.
13. Know When to Regrout
Sometimes, no matter how thorough you are, mold keeps coming back. That's a sign the grout itself is compromised. Old grout can become porous, cracked, or stained beyond repair, giving mold a permanent home.
When cleaning stops working, it's time to consider regrouting.
Regrouting is a bigger project than a simple scrub, but it's the only way to fix deeply embedded mold. You'll remove the old grout, clean the area, and apply new mold-resistant grout. This eliminates the porous surface where mold thrives, solving the problem for good.
It's a weekend job that pays off with a fresh, clean look.
Signs It's Time To Regrout
Look for crumbling or missing grout, persistent mold even after deep cleaning, or grout that feels soft or spongy. If water soaks into the grout instead of beading on the surface, it's too porous. These signs mean the grout can't be saved.
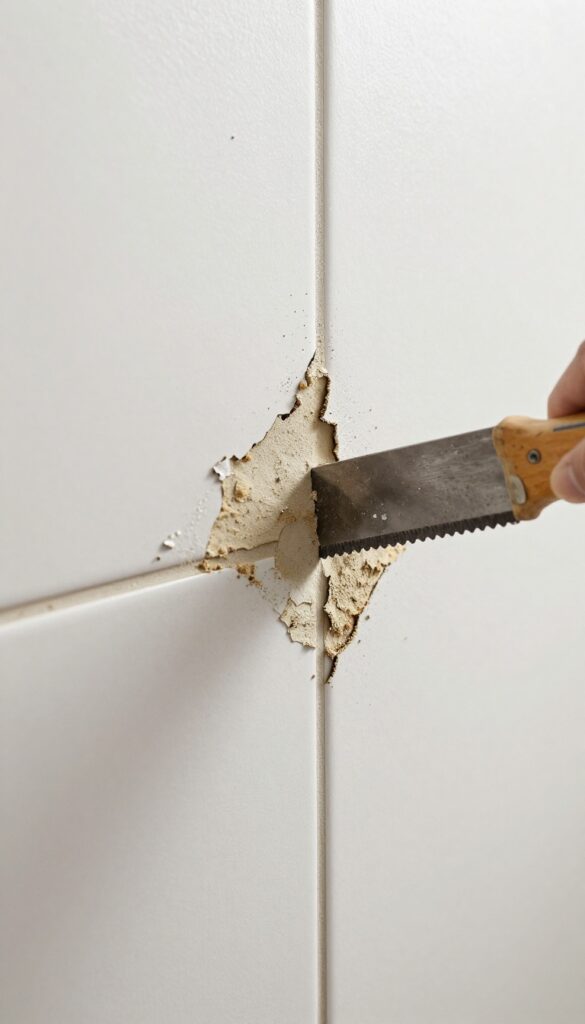
How To Regrout Shower Grout
Start by removing the old grout with a grout saw or oscillating tool. Clean the gaps thoroughly and let them dry. Mix your new mold-resistant grout according to the package directions, then press it into the joints with a rubber float.
Wipe away excess with a damp sponge, then let it cure for 24 to 48 hours before using the shower.
Preventing Future Mold After Regrouting
Once you've regrouted, seal the grout with a high-quality grout sealer. This creates a barrier that repels moisture and makes cleaning easier. Reapply the sealer every year or as recommended.
Also, improve ventilation in your bathroom to keep humidity low.
FAQ
Can bleach remove mold from grout?
Bleach can kill surface mold, but it doesn't penetrate porous grout, so mold often returns. It can also damage grout over time. Safer alternatives like vinegar or hydrogen peroxide are more effective for deep cleaning.
How often should I clean shower grout to prevent mold?
Aim for a deep clean once a month. Daily use of a shower spray can help maintain cleanliness. If you notice mold starting, address it immediately to prevent spread.
Is mold in shower grout dangerous?
Yes, especially for people with allergies, asthma, or weakened immune systems. Mold spores can cause respiratory issues. It's important to clean it promptly and take preventive measures.
What natural remedies work best for mold on grout?
White vinegar (undiluted) and hydrogen peroxide (3%) are both effective. Baking soda mixed with water into a paste also works well for scrubbing. These are safe and environmentally friendly.
How do I keep grout mold-free after cleaning?
Seal the grout with a mold-resistant sealer, improve ventilation, and use a daily shower spray. Keep the bathroom dry and address any leaks promptly. Regular maintenance is key.
Conclusion
Cleaning mold from shower grout doesn't have to be a daunting task. With these 13 steps, you can tackle the problem safely and effectively, using items you probably already have at home. Remember, consistency is your best defense—regular cleaning and good ventilation will keep mold from making a comeback.
Your shower will look cleaner, smell fresher, and be a healthier place for you and your family. So grab your gloves and get started—a mold-free shower is just a few steps away.