How to Clean a Shower in 13 Simple No Stress Steps
You step into the shower expecting a fresh start, but instead you're greeted by soap scum and grime. It's a common frustration, but cleaning your shower doesn't have to be a weekend ordeal. With the right approach, you can tackle it quickly and keep it looking great.
These 13 steps break down the process into manageable tasks. No harsh chemicals or complicated routines—just practical methods that work. Whether you have glass doors, a curtain, or tiles, this guide covers it all.
Ready to make your shower shine without the stress? Let's get started.
1. Clear the Deck: Remove Everything from the Shower

Before you can scrub, you need space. Grab a laundry basket or a tote bag and clear out every bottle, razor, loofah, and shampoo bar. This step is simple but crucial—it gives you full access to every nook and cranny.
Plus, it keeps your products from getting in the way or accidentally knocked over while you work.
Clearing out the shower is the first step to a thorough clean. It might seem obvious, but many people skip it and end up cleaning around items, missing spots. By removing everything, you can see exactly what needs attention, from the soap scum on the tile to the mildew in the corners.
It also prevents your products from getting wet and messy during the cleaning process.
What To Remove
Take out all bottles, cans, bars of soap, razors, pumice stones, loofahs, washcloths, and any decorative items like plants or shells. Don't forget the shower caddy or organizer if it's removable. If you have a shower curtain or liner, take it down too—you can wash it separately.
Where To Put Everything
Place items in a basket or bin and set them outside the bathroom. This keeps them dry and out of the way. If you have a lot of products, sort them as you go: toss empty bottles, group duplicates, and set aside anything that needs a wipe-down before going back.
Why This Matters
A clear shower means you can reach every surface without obstruction. It also lets you spot problem areas like hidden mold or grime buildup. Plus, it's safer—no tripping over bottles or knocking them into the drain.
Starting with a clean slate makes the whole process faster and more effective.
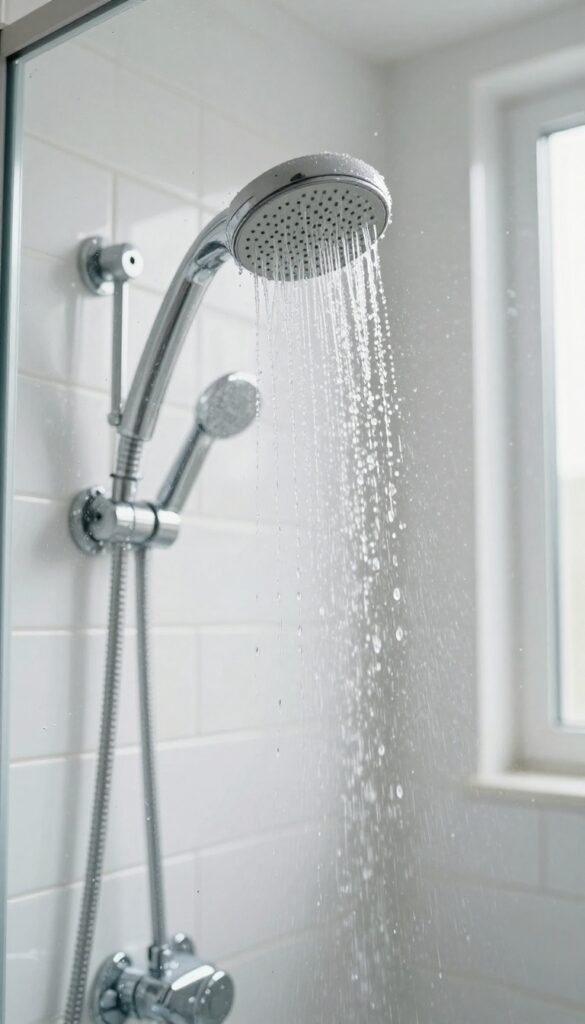
2. Give It a Quick Dry Rinse
Before you bring out the scrubbing tools, a simple warm water rinse can make a big difference. It loosens the surface dirt and soap scum, so your cleaner can work more effectively. Think of it as a warm-up for your shower—quick, easy, and it sets you up for success.
Why Rinse First?
A quick rinse with warm water helps to soften and lift loose grime, dirt, and product residue. This makes the actual cleaning step faster and more efficient. You'll use less elbow grease and get better results.
How To Do It Right
Use your showerhead's spray setting to wet all surfaces—walls, floor, and doors. Focus on corners and crevices where buildup tends to hide. Keep the water warm, not hot, to avoid damaging any seals or finishes.
What To Avoid
Don't use cold water—it won't loosen dirt as well. And skip the soaking step if you have a lot of standing water; just a light rinse is enough. Over-wetting can dilute your cleaner, so keep it brief.
3. Tackle Soap Scum with a DIY Spray
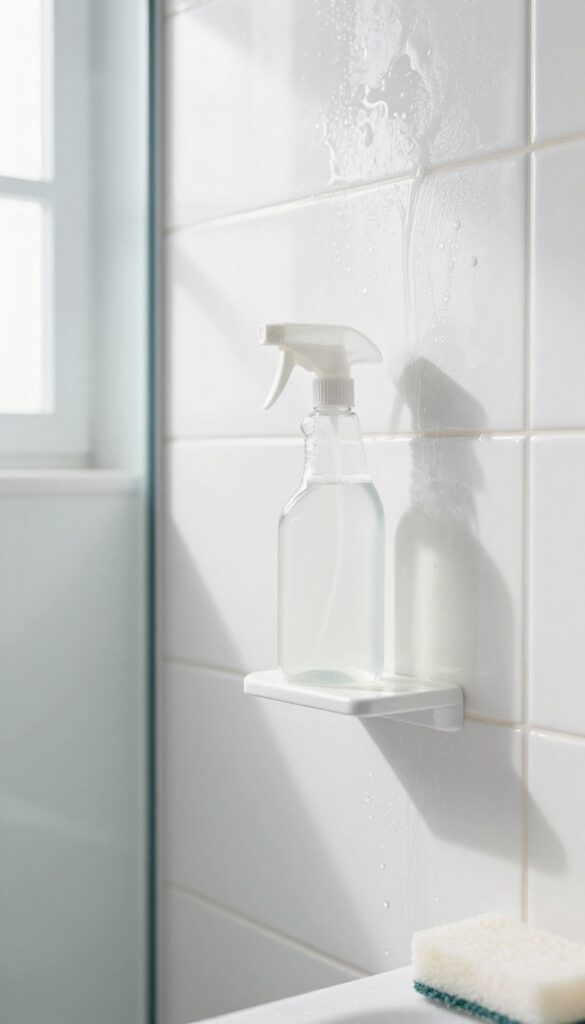
Soap scum builds up fast on glass doors and tiles, turning your shower from clean to cloudy. Instead of buying a harsh commercial cleaner, you can make a simple spray that cuts through the grime without the fumes. This DIY mix is cheap, effective, and uses ingredients you probably already have in your kitchen.
Mix equal parts white vinegar and dish soap in a spray bottle. Shake gently to combine, then spray it generously on the affected areas. Let it sit for 5-10 minutes so the vinegar can break down the minerals and the soap can lift the residue.
Then wipe away with a damp cloth or sponge. For stubborn spots, scrub gently with a soft brush before rinsing.
Why This Combo Works
Vinegar is acidic, which dissolves the hard water minerals that bond soap scum to surfaces. Dish soap cuts through the greasy part of the scum. Together, they create a powerful but gentle cleaner that won't damage glass or tile.
Tips For Best Results
Use a spray bottle with a fine mist to cover evenly. Avoid letting the spray dry on the surface—wipe it off within 10 minutes. If your water is very hard, you might need to let it sit a bit longer.
Rinse thoroughly after wiping to prevent streaks.
When To Avoid This Spray
Don't use this on natural stone like marble or granite—the acid can etch them. Also avoid it on any surface with a wax or sealant coating. For those, stick to a mild soap-and-water solution.
4. Scrub Grout Lines with a Soft Brush
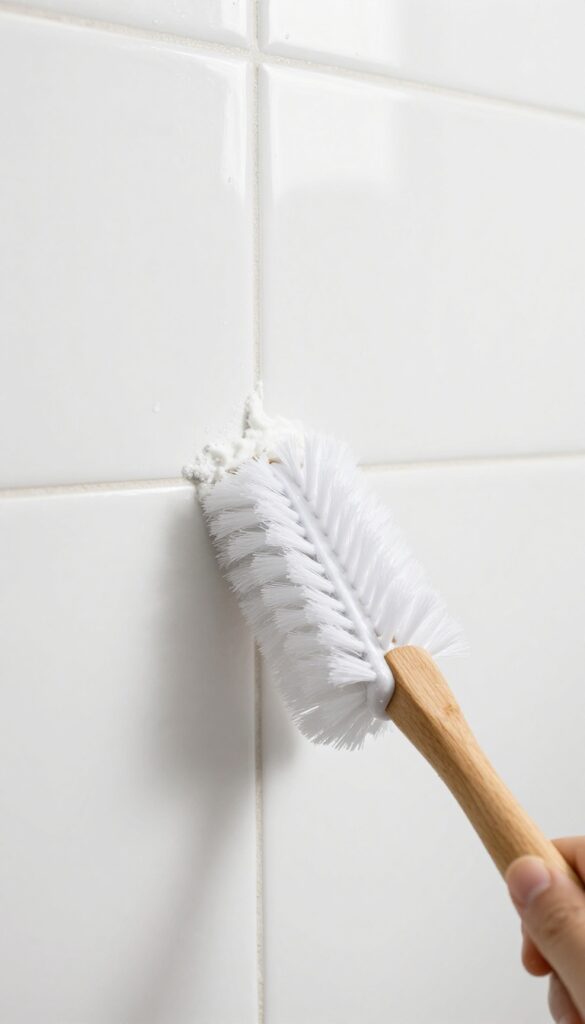
Grout lines are often the first place to show discoloration and grime. They're porous, so they trap dirt and soap residue easily. But you don't need harsh chemicals or a power tool to get them clean again.
A simple paste of baking soda and water, paired with a soft brush, does the job gently and effectively. This method lifts stains without damaging the grout or surrounding tiles. Plus, it's cheap and non-toxic.
Mix Your Cleaning Paste
Combine three parts baking soda with one part water in a small bowl. Stir until it forms a thick, spreadable paste. Adjust the ratio if needed—you want it to stick to the grout without being too runny.
This paste is mildly abrasive, so it scrubs away grime without scratching.
Apply And Let It Sit
Use a small brush (an old toothbrush or a grout brush works great) to dab the paste onto the grout lines. Work it into the stained areas. Let it sit for 5–10 minutes.
This gives the baking soda time to break down the buildup.
Scrub Gently And Rinse
After the paste has sat, scrub the grout lines with the brush using small circular motions. Focus on the darkest spots. You don't need to press hard—let the paste do the work.
Once you're satisfied, rinse the area thoroughly with warm water. A handheld showerhead makes this easy. Wipe away any residue with a damp cloth.
5. Clean the Showerhead with a Vinegar Soak
A clogged showerhead can turn a relaxing rinse into a frustrating trickle. Mineral deposits from hard water build up over time, blocking the nozzles and reducing water pressure. Fortunately, you don't need a plumber or harsh chemicals—just a simple vinegar soak can restore full flow.
This method uses the natural acidity of vinegar to dissolve calcium and lime scale without scrubbing. It's gentle on most finishes and costs pennies compared to commercial descalers. The key is giving the vinegar enough time to work its magic.
What You'll Need
Grab a sturdy plastic bag (like a zip-top or grocery bag), white distilled vinegar, and a rubber band or twist tie. That's it. No special tools required.
If your showerhead is particularly large, you might need a bigger bag or two bags taped together.
Step-by-step Soak
Fill the bag about halfway with vinegar. Carefully position it over the showerhead so the nozzles are fully submerged. Secure the bag with a rubber band or twist tie around the neck of the shower arm.
Let it sit for 30 minutes—longer if buildup is heavy. After soaking, remove the bag and run the shower for a minute to flush out loosened deposits.
Tips For Stubborn Deposits
For thick crusts, leave the vinegar on for up to an hour. If your showerhead is fixed or hard to bag, you can also unscrew it and soak it in a bowl of vinegar. Avoid using vinegar on brass or gold-plated fixtures—check manufacturer guidelines.
For plastic showerheads, vinegar is safe, but avoid scrubbing with abrasive pads.
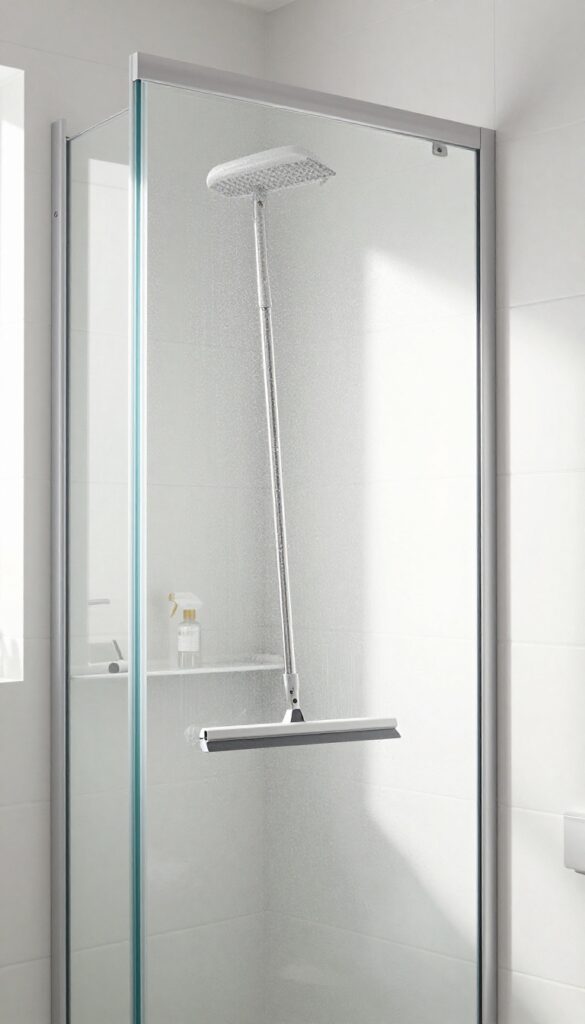
6. Wipe Down Glass Doors for Streak-Free Shine
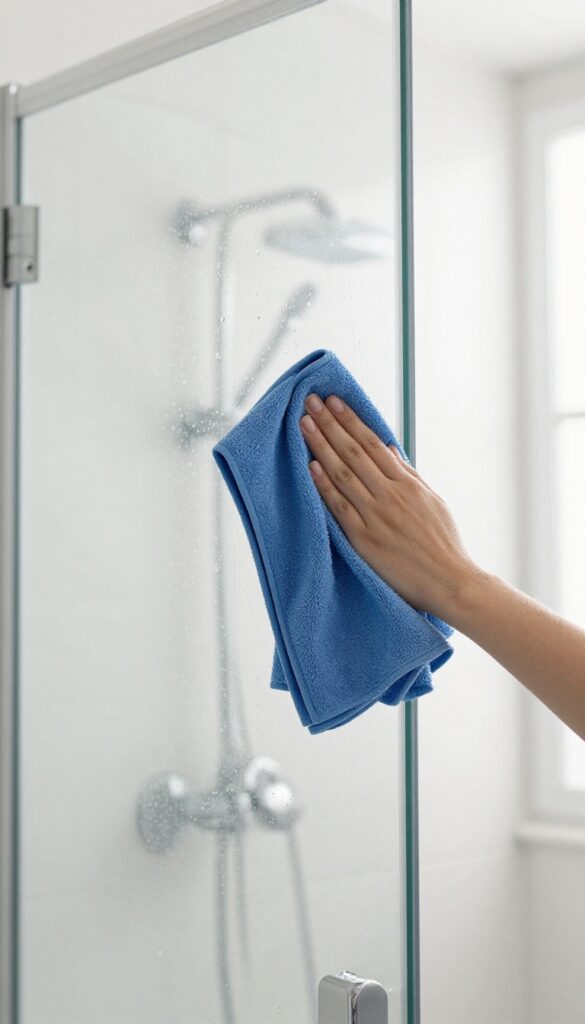
Glass doors look great when they're crystal clear, but water spots and soap residue can dull them fast. The secret to a streak-free shine is drying them after every shower. It takes less than a minute and saves you from scrubbing later.
Once you've cleaned the glass, grab a squeegee or a microfiber cloth. Start at the top and work your way down in overlapping strokes. This removes water before it dries and leaves minerals behind.
For extra sparkle, follow up with a dry cloth to buff away any remaining moisture.
Why Drying Matters
Hard water contains minerals that form spots when water evaporates. By drying the glass immediately, you prevent those minerals from bonding. It also stops soap scum from building up, so your next cleaning session is much easier.
Best Tools For The Job
A squeegee with a rubber blade works wonders on large glass panels. Keep it hanging in the shower so it's always handy. Microfiber cloths are great for smaller doors or curved surfaces.
Avoid paper towels—they leave lint and streaks.
Quick Routine For Maintenance
Make drying a habit after each shower. If you skip a day, don't worry—just give the glass a quick wipe with a vinegar solution next time. For stubborn spots, a mixture of equal parts water and white vinegar sprayed on and wiped off works like magic.
7. Wash the Shower Curtain or Door Track
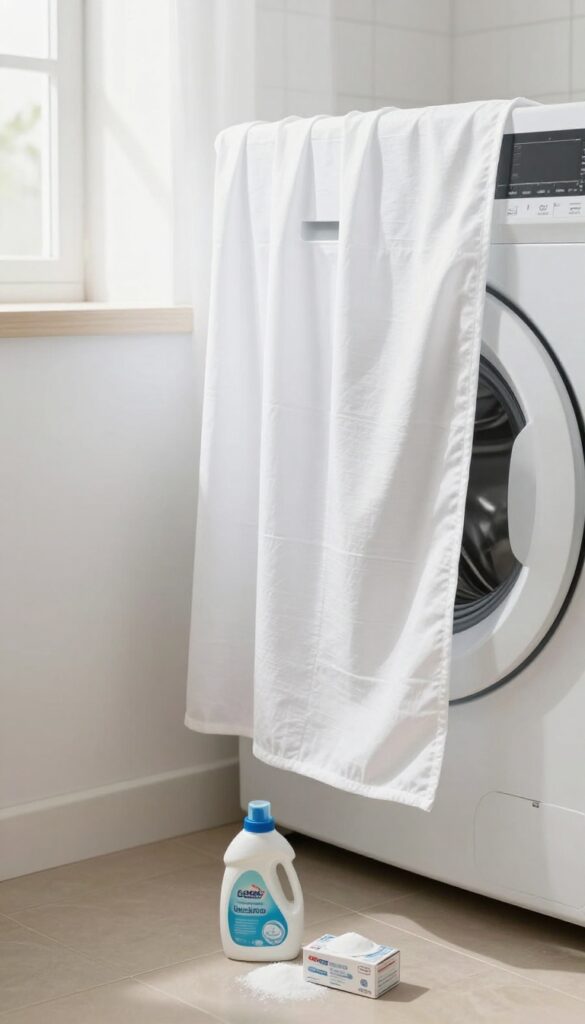
Your shower curtain or door track might not be the first thing you notice, but it can harbor soap scum, mildew, and grime. Fabric curtains collect residue and odors, while plastic liners and door tracks trap gunk in hard-to-reach spots. A quick clean makes the whole shower feel fresher and keeps mold at bay.
Fabric Curtains: Toss In The Wash
Remove the fabric curtain and check the care label—most can go in the washing machine. Use a gentle cycle with warm water and a small amount of detergent. Add a half cup of baking soda to the wash to help remove odors and brighten the fabric.
Tumble dry on low or hang it back up to air dry. Never use bleach unless the label says it's safe, as it can weaken the fabric over time.
Plastic Liners: Wipe With Vinegar
Plastic liners are easier to clean than you think. Mix equal parts white vinegar and water in a spray bottle. Spray the liner generously, then scrub with a soft sponge or cloth.
For stubborn soap scum, let the vinegar solution sit for 10 minutes before wiping. Rinse with warm water and hang to dry. If your liner is heavily mildewed, it might be time for a replacement—they're inexpensive.
Door Tracks: Scrub With A Toothbrush
Shower door tracks collect a surprising amount of gunk. Start by removing any loose debris with a vacuum crevice tool or a damp cloth. Then dip an old toothbrush in a mixture of baking soda and water (or straight vinegar) and scrub along the track grooves.
Focus on corners and built-up grime. Rinse by pouring warm water through the track, then wipe dry with a cloth. Repeat every few months to prevent hard buildup.
8. Disinfect with a Gentle Bleach Solution
Mold and mildew love damp shower corners. A mild bleach solution kills them without harsh fumes. You only need a few minutes and basic safety steps.
Mix 1 part bleach with 10 parts water in a spray bottle. Spray onto grout, corners, and any mold-prone areas. Let it sit for 5 minutes, then rinse thoroughly with warm water.
Wear gloves and open a window or turn on the fan.
Why Dilution Matters
Full-strength bleach can damage grout and irritate skin. A 1: 10 ratio is strong enough to kill mold but gentle on surfaces. Always test on a small hidden area first.
Target The Right Spots
Focus on grout lines, caulk seams, and the bottom edge of shower curtains. These areas trap moisture and are prime spots for mildew. Avoid spraying on metal fixtures or colored surfaces.
Rinse Thoroughly
Residual bleach can leave a slippery film or discolor surfaces. Use warm water and a handheld sprayer or cup to rinse everything well. Wipe down with a microfiber cloth to prevent water spots.
9. Rinse Everything Thoroughly
You've scrubbed, sprayed, and wiped, but the job isn't done until every trace of cleaner is gone. Leftover soap or cleaning solution can leave a sticky film, cause skin irritation, or even dull your fixtures. A thorough rinse is the final step that makes all your hard work pay off.
Grab your handheld showerhead or a large bucket of clean water. Starting from the top, rinse all surfaces—walls, floor, doors, and fixtures. Pay extra attention to corners and crevices where suds can hide.
If you used a strong cleaner, do a second rinse to be safe. You'll know you're done when water runs clear and no bubbles remain.
Why Rinsing Matters
Skipping the rinse might save a minute, but it can lead to residue buildup that attracts dirt and grime faster. Harsh chemicals left on surfaces can also irritate sensitive skin or eyes. A clean, residue-free shower means fewer cleanings in the long run.
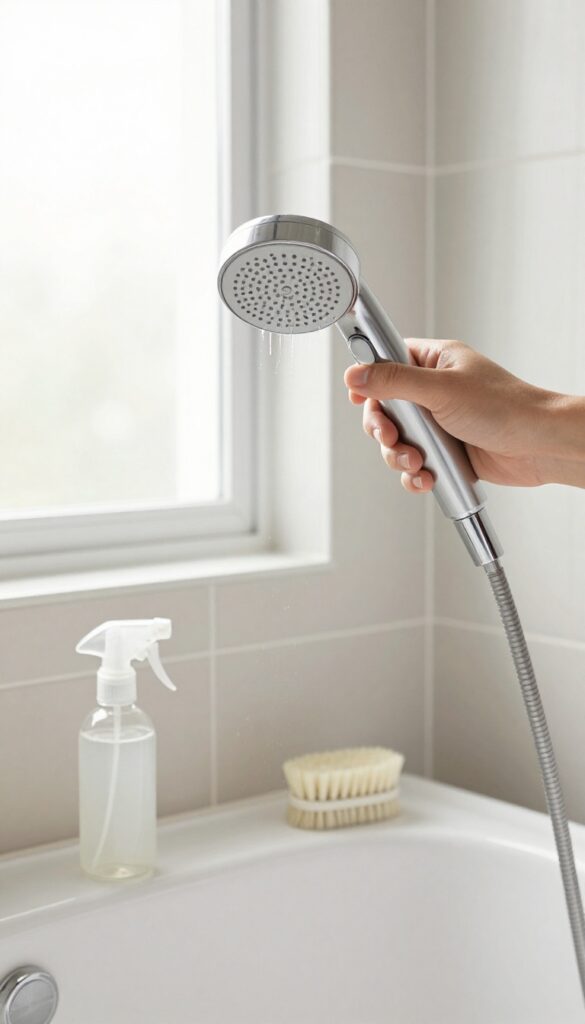
Best Rinsing Tools
A handheld showerhead gives you control and pressure to blast away suds. If yours doesn't detach, a bucket and a large cup work just as well. For glass doors, a squeegee after rinsing prevents water spots and speeds up drying.
Don't Forget Hidden Spots
Check the showerhead itself, soap dishes, and any ledges. Rinse inside the shower caddy and under bottles. These areas trap cleaner and can drip onto clean surfaces later.
A quick spray and wipe ensures everything is fresh.
10. Dry Surfaces to Prevent Water Spots
Wiping down your shower after each use might sound like extra work, but it actually saves you time in the long run. Water spots and mineral deposits form when droplets dry on their own, leaving behind cloudy marks. A quick dry prevents that buildup and keeps your shower looking fresh.
Drying your shower surfaces is the final step that locks in all your hard work. It’s simple, takes just a minute, and dramatically reduces how often you need to deep clean. Plus, it stops water spots before they even start.
Why Drying Matters
Hard water contains minerals like calcium and magnesium. When water evaporates, these minerals are left behind as white, crusty spots. Drying the surface removes the water before evaporation happens, so no spots form.
It also prevents soap scum from bonding to the surface.
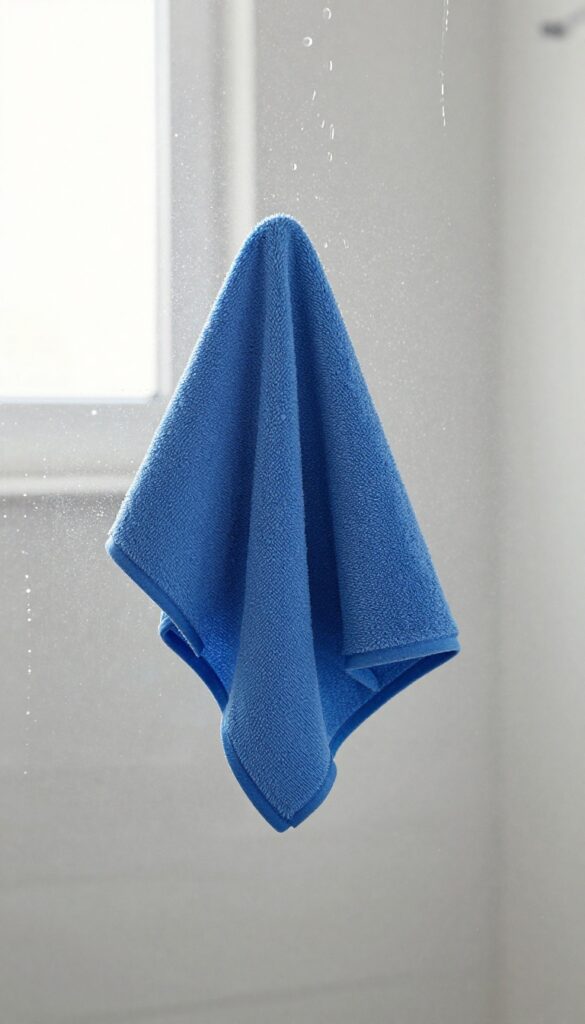
Best Tools For The Job
A clean microfiber cloth works best because it absorbs water without leaving lint. Keep one dedicated cloth in the bathroom for this purpose. For glass doors, a squeegee is even faster—just pull it across after each shower.
Avoid using old towels, as they can leave fibers or streaks.
Quick Drying Routine
After your shower, give the walls, glass, and fixtures a quick wipe. Start at the top and work your way down so drips don't land on already-dry areas. Don't forget corners and edges where water tends to pool.
This takes less than a minute and keeps your shower looking spotless.
11. Replace Items with a Quick Wipe
You've scrubbed the walls, the floor, and the glass. But if you put back shampoo bottles and soap dishes without a quick clean, all that grime just comes right back. It's a small step that makes a big difference in keeping your shower fresh longer.
Before you put anything back in the shower, take a moment to wipe down each item. A damp microfiber cloth is all you need to remove the film of soap scum and mildew that builds up on bottles and caddies. This simple habit prevents dirt from transferring back onto your clean surfaces, so your shower stays sparkling for days.
Why Bottles Get Grimy
Shampoo, conditioner, and body wash bottles sit in a warm, humid environment. Soap residue and hard water minerals cling to them, creating a sticky layer that attracts dust and mildew. Over time, this grime can drip down and stain your shower floor or shelves.
How To Wipe Efficiently
Keep a dedicated microfiber cloth near your cleaning supplies. After you've cleaned the shower, quickly wipe each bottle, the soap dish, and any loofahs or brushes. Pay attention to the bottoms and caps where gunk hides.
If the buildup is stubborn, a dab of white vinegar on the cloth cuts through it easily.
Organize As You Go
Use this opportunity to declutter. Toss empty bottles, combine half-full ones, and group items you use daily. A tidy shower caddy not only looks better but also makes future cleaning faster.
Consider a rust-proof caddy with drainage holes to minimize moisture buildup.
12. Set Up a Daily Maintenance Routine
A little daily effort goes a long way in keeping your shower sparkling. The key is consistency, not intensity. By spending just 30 seconds after each shower, you can prevent soap scum, hard water stains, and mildew from taking hold.
This routine is so quick it barely feels like cleaning, but it saves you from deep scrubbing later.
Squeegee The Glass
Keep a squeegee in your shower or hang it on a hook nearby. After your shower, run it across the glass doors or panels in long, overlapping strokes. This removes water droplets that would otherwise dry into mineral deposits.
If you don't have a squeegee, a microfiber cloth works too—just make sure it's dry.
Spray A Daily Cleaner
Use a daily shower spray that's designed to break down soap scum and prevent mildew. You can buy one or make your own with equal parts water and white vinegar, plus a few drops of dish soap. Spritz the walls, floor, and glass after each use.
No rinsing needed—just let it sit. Over time, this keeps surfaces fresh.
Air It Out
After you've squeegeed and sprayed, leave the shower door or curtain open slightly to let air circulate. This helps moisture evaporate quickly, discouraging mold and mildew growth. If you have a bathroom fan, run it for 10–15 minutes after your shower.
Good ventilation is your best ally.
13. Schedule a Monthly Deep Clean
You've followed the daily and weekly steps, but there's one more habit that seals the deal: a monthly deep clean. This isn't about scrubbing for hours—it's a focused session that prevents buildup from taking hold. By marking your calendar for the first weekend of each month, you ensure your shower stays fresh without overwhelming effort.
A monthly deep clean is your secret weapon against stubborn soap scum, hard water stains, and hidden mold. It takes about 30 minutes and uses the same steps you've already learned, but with a bit more elbow grease on the areas that need extra attention. Consistency is key: when you do this regularly, each session becomes quicker because there's less grime to tackle.
What To Focus On
During your monthly deep clean, give extra attention to the showerhead, grout lines, and door tracks. These spots accumulate residue that daily wipes miss. Use a soft brush or old toothbrush for tight corners, and consider a vinegar soak for the showerhead to dissolve mineral deposits.
Set A Reminder
Life gets busy, so set a recurring reminder on your phone or calendar. Pick a time that works for you—maybe Sunday morning with a podcast on. Treat it like a non-negotiable appointment.
After a few months, it'll become a habit that keeps your shower looking like new.
FAQ
How often should I clean my shower?
For best results, do a quick wipe-down after each use and a deep clean once a month. This prevents soap scum and mold from building up.
Can I use vinegar on all shower surfaces?
Vinegar is safe for glass, tiles, and metal fixtures, but avoid it on natural stone like marble or granite, as it can etch the surface.
What's the best way to remove hard water stains?
A paste of baking soda and vinegar works well. Apply it to the stain, let it sit for 15 minutes, then scrub gently and rinse.
How do I prevent mold in the shower?
Keep the bathroom ventilated, use a squeegee after showers, and clean grout regularly. A weekly spray with a mold-inhibiting cleaner also helps.
Is it safe to mix bleach and vinegar?
No, never mix bleach and vinegar—they create toxic chlorine gas. Use them separately and rinse thoroughly between applications.
Conclusion
Cleaning your shower doesn't have to be a dreaded chore. By breaking it down into these 13 simple steps, you can maintain a sparkling clean shower with minimal effort. The key is consistency: a little daily care goes a long way.
Remember, a clean shower isn't just about appearances—it's about creating a fresh, inviting space to start and end your day. Stick with this routine, and you'll wonder why you ever stressed over it.