11 Small Shower Tile Ideas That Add Depth Without Clutter
A small shower doesn't have to feel flat or forgettable. With the right tile choices, you can add depth and character without overwhelming the space.
These 11 ideas focus on patterns, textures, and layouts that create visual interest while keeping things clean and uncluttered. From vertical stacking that draws the eye upward to subtle hexagon shapes that add dimension, each approach works with compact footprints.
The goal is simple: make your shower feel bigger and more intentional, not busier. Let's look at smart tile moves that deliver big impact in tight quarters.
1. Vertical Stacking for Height
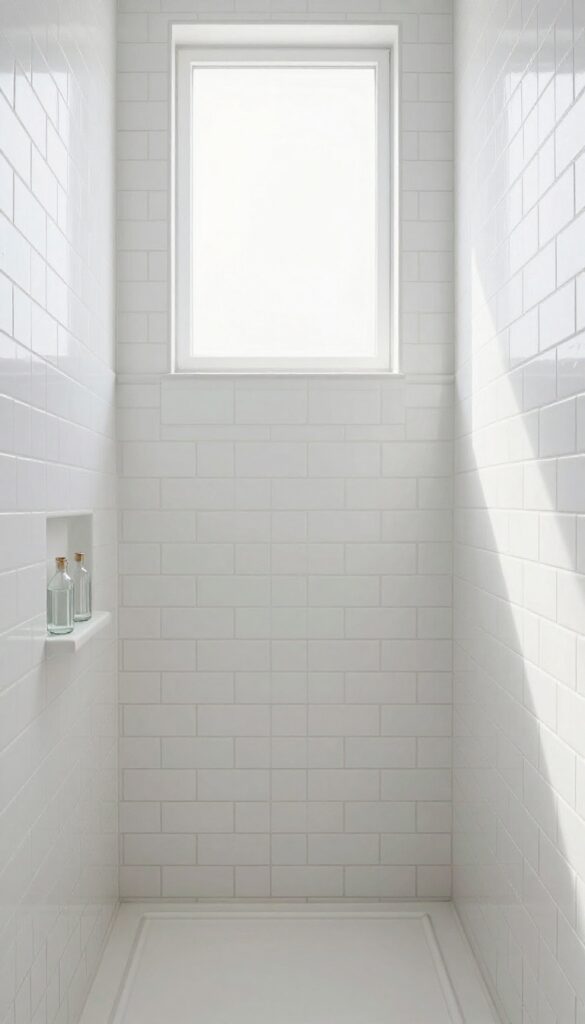
Switching the orientation of your subway tile is one of the easiest ways to change the feel of a small shower. Instead of the classic horizontal brick pattern, laying tiles vertically draws the eye upward and tricks the brain into seeing more height. It's a subtle shift that makes a big difference, especially in showers with standard eight-foot ceilings.
Vertical stacking works best with rectangular tiles like the classic 3×6 subway or longer planks. The narrow vertical lines create a sense of elongation, making the shower feel taller and less boxy. This layout also pairs well with other design elements—like a vertical niche or a tall shower caddy—to reinforce the upward flow.
For maximum effect, carry the vertical pattern all the way from the floor to the ceiling without a horizontal break.
Best Tile Shapes For Vertical Stacking
Long, narrow tiles amplify the vertical effect. Think 3×12 or 4×16 subway tiles, or even longer plank tiles. The longer the tile, the more dramatic the lift.
Avoid square tiles, as they won't create the same elongating illusion.
Grout Color Matters
To keep the vertical lines clean and uninterrupted, use a grout color that closely matches your tile. This minimizes visual breaks and lets the vertical movement shine. Contrasting grout can work, but it will create a grid pattern that reduces the height-enhancing effect.
Pairing With Other Elements
Reinforce the vertical theme with other design choices. Install a tall, vertical niche for shampoo bottles, or choose a shower curtain with vertical stripes. Even a long, vertical mirror outside the shower can echo the look and make the whole bathroom feel taller.
2. Herringbone Pattern for Movement
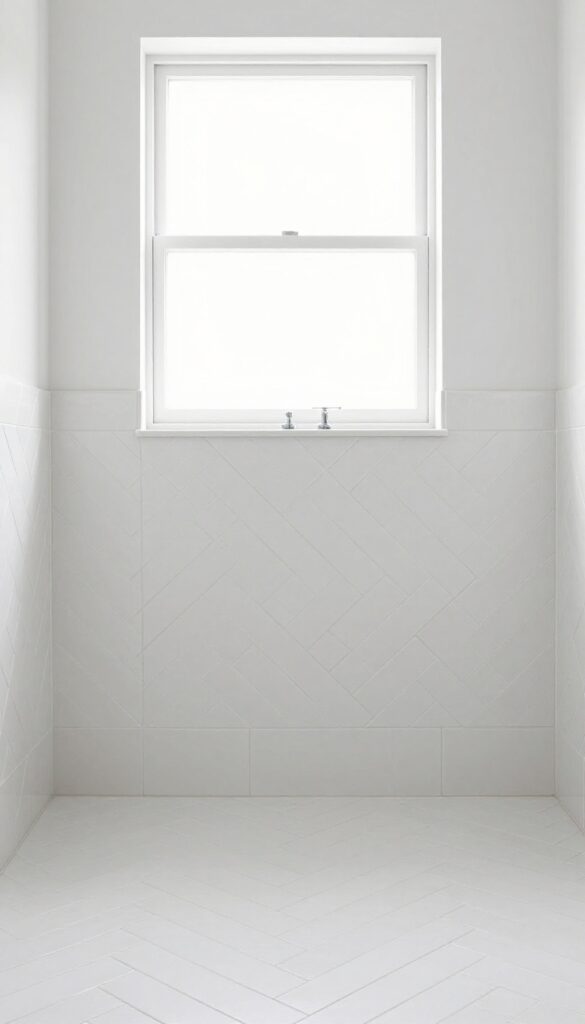
If you want to add serious visual energy without making things feel busy, herringbone is your answer. This classic layout uses small rectangular tiles set at 45-degree angles, creating a zigzag flow that naturally draws the eye across the wall. It adds depth and texture without adding a single extra object, making it perfect for a small shower that needs personality without clutter.
Herringbone works because the angled lines break up the monotony of straight grout lines, giving the wall a woven, dimensional look. The pattern tricks the eye into seeing more surface area, so the shower feels larger and more dynamic. Even with neutral tiles, the layout itself becomes the feature.
Why Herringbone Works In Small Showers
The diagonal lines create a sense of movement that makes the space feel less boxed in. Unlike horizontal or vertical stacking, herringbone scatters the visual focus, so no single wall feels too short or too narrow. It also pairs beautifully with simple fixtures, letting the tile shine without competing for attention.
Tile Size And Color Tips
Stick with narrow, elongated tiles — think 3×6 or 2×4 inches — to keep the pattern crisp and proportional. Lighter colors like white, cream, or soft gray maximize the airy feel, while a matte finish reduces glare and keeps the focus on the pattern. If you want contrast, use a grout color that's slightly darker than the tile to make the zigzags pop.
Installation Considerations
Herringbone takes more time and skill to install than a straight lay, so budget for a pro unless you're experienced. Plan for extra tile waste because of the angled cuts. But the payoff is a custom look that feels expensive and intentional, even on a modest budget.
3. Large-Format Tiles with Fewer Grout Lines
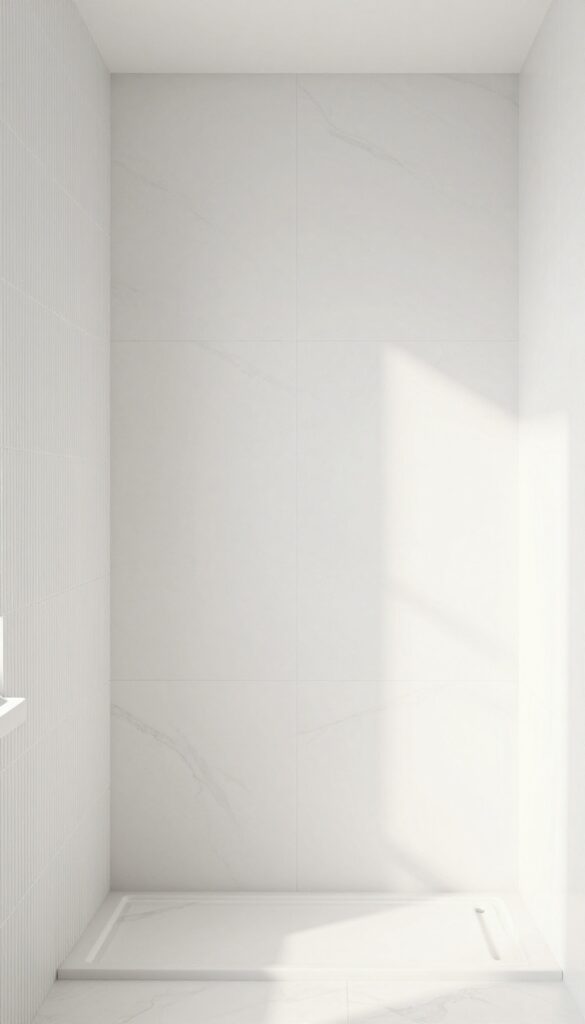
When your shower is small, every visual line matters. That's why large-format tiles are a smart choice: fewer grout lines mean less visual clutter, and the expansive surface tricks the eye into seeing more space. Instead of a busy grid, you get a smooth, almost seamless look that feels calm and open.
Large tiles, typically 12×24 inches or bigger, work especially well in compact showers. They minimize the number of joints, which not only looks cleaner but also makes cleaning easier. Plus, the continuous surface reflects light better, giving the shower a brighter, airier feel.
Choose a neutral tone like soft gray, warm beige, or matte white to maximize the effect.
Choose Light Colors For Maximum Openness
Light-colored large tiles bounce light around the shower, making it feel bigger. Stick with whites, creams, or pale grays. A subtle veining or slight texture adds interest without breaking up the surface.
Avoid dark grout—match it closely to the tile for that seamless look.
Vertical Or Horizontal Layout?
You can lay large tiles horizontally to widen the space visually, or vertically to draw the eye upward and make the ceiling feel higher. Both work well, but vertical stacking is especially effective in showers with lower ceilings. Just keep the pattern simple—no offset or brick lay needed.
Pair With A Feature Wall For Depth
To add depth without clutter, use large tiles on three walls and a single accent wall with a contrasting texture or pattern. For example, a vertical stack of large marble-look tiles on the main walls, and a small section of ribbed or zellige tiles behind the shower bench. This creates a focal point without overwhelming the space.
4. Mosaic Accent Strip for Texture
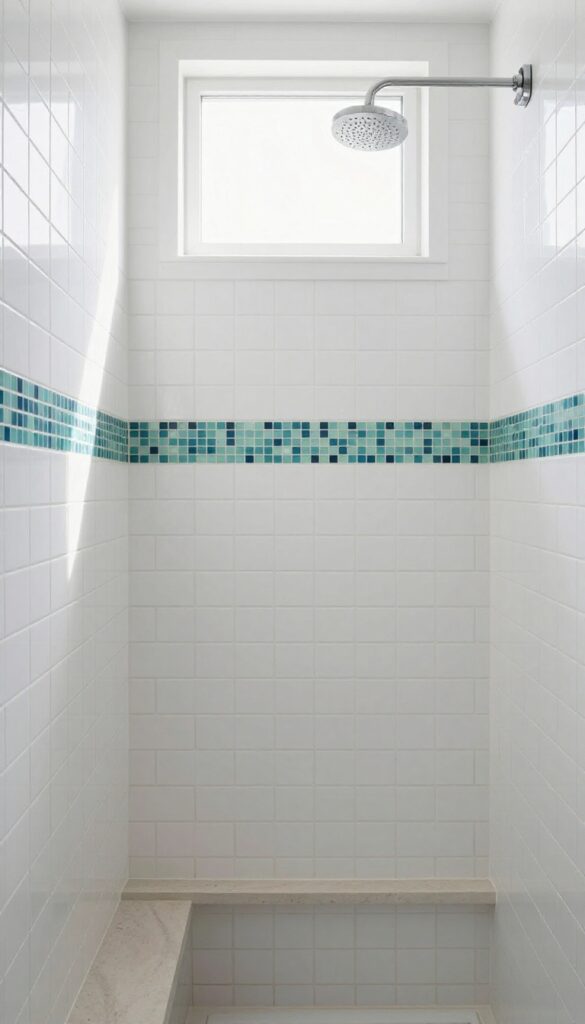
A narrow strip of mosaic tiles running at eye level can break up a solid wall of tile without adding visual clutter. It’s a small detail that draws the eye and gives the shower a custom, layered look. Think of it as a subtle highlight that adds texture and depth without competing with the rest of the design.
Mosaic strips work especially well in small showers because they create a focal point without taking up much space. You can place them horizontally across the middle of the wall, or even vertically in a corner for a more unexpected touch. The key is to keep the strip narrow—just a few rows of small tiles—so it reads as an accent, not a pattern.
Where To Place The Strip
Eye level is the sweet spot. That’s where you’ll naturally look, so the strip feels intentional and balanced. If your shower has a niche, you can also run the mosaic strip along the bottom or top edge of the niche to tie everything together.
Another option is to wrap the strip around the entire shower at the same height, creating a continuous line that makes the space feel wider.
Mosaic Material Options
Glass mosaics are a popular choice because they catch light and add a subtle shimmer. Stone or pebble mosaics bring an organic, spa-like texture. For a more modern look, try metallic or matte ceramic mosaics.
The material should complement your main tile—if your field tile is glossy, a matte mosaic adds nice contrast, and vice versa.
Color And Contrast Tips
You don’t need high contrast to make an impact. A mosaic strip in a slightly darker or lighter shade of your main tile creates depth without drawing too much attention. If you want a bolder statement, choose a complementary color or a metallic finish.
Just keep the strip narrow so it remains an accent, not a distraction.
5. Hexagon Tiles for Subtle Dimension
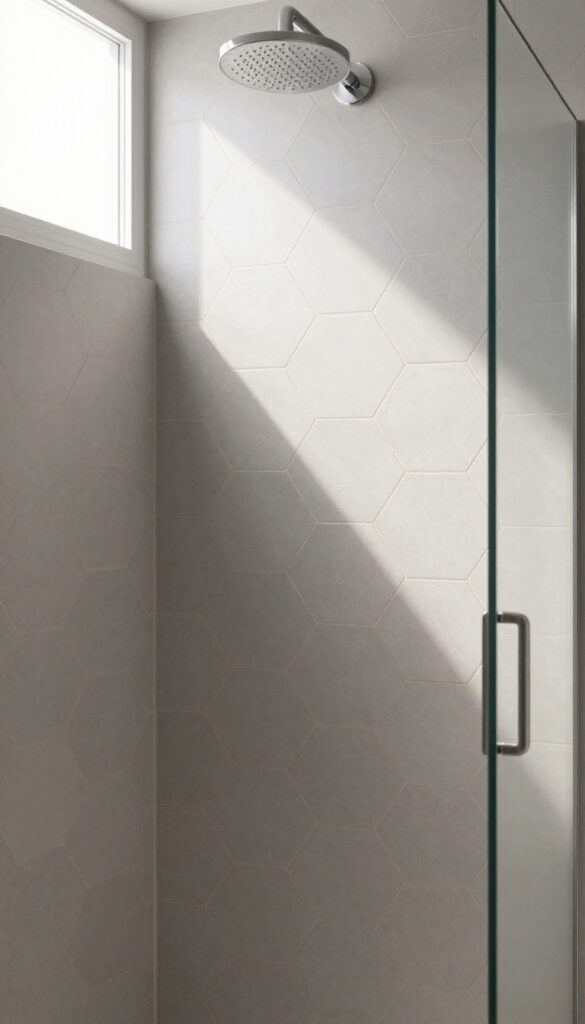
Hexagon tiles bring a soft geometric touch that feels modern without being loud. Their six-sided shape catches light differently than squares or rectangles, creating subtle shifts in tone across the wall. In a small shower, that gentle variation adds depth without needing bold patterns or busy layouts.
Matte-finish hexagons work especially well here. The lack of glare keeps the eye moving smoothly across the surface, while the angled edges pick up just enough light to define each tile. The result is a wall that feels dimensional but calm—ideal for a compact space where you want interest, not chaos.
Scale Matters
Small hex tiles (around 1 to 2 inches) read as a fine texture from a distance, almost like a woven surface. Larger hexagons (4 to 6 inches) make a bolder statement but still keep that honeycomb softness. For a small shower, medium-scale hexes around 3 inches strike a nice balance—visible enough to notice, subtle enough not to overwhelm.
Color And Grout Pairing
Pairing light hex tiles with a slightly darker grout accentuates each shape, making the geometry pop. White hexagons with a warm gray grout, for example, create a clean but dimensional look. If you prefer a more seamless feel, match the grout to the tile color—the hex pattern still adds texture, just more quietly.
Placement Ideas
Using hex tiles on just one wall—say, the shower floor or the back wall—keeps the look intentional. You can also run them as a vertical strip down the center of a shower niche or behind the faucet. That focused placement draws the eye without covering the whole space in pattern.
6. Stacked Subway with Contrast Grout
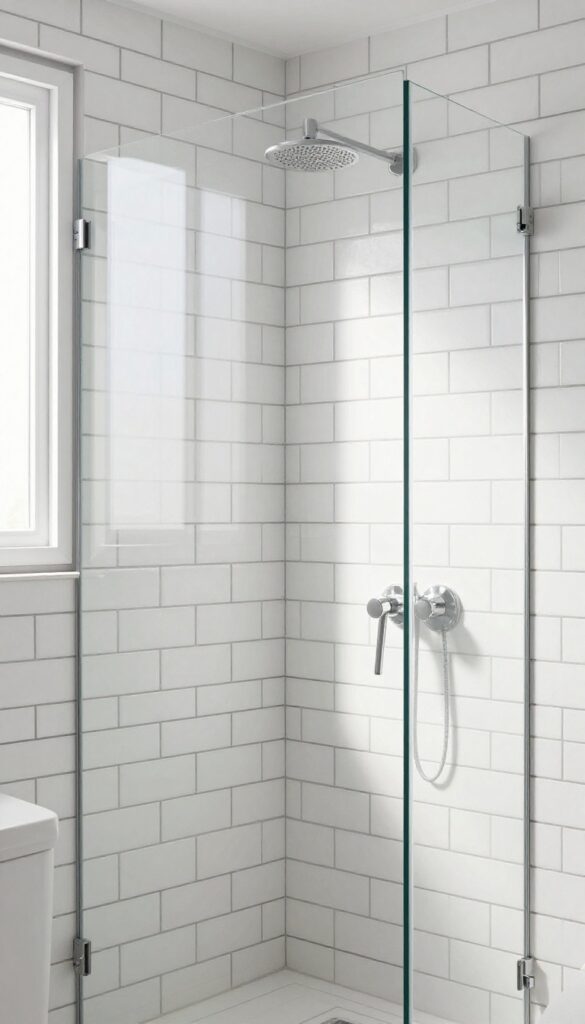
Subway tile is a classic choice, but stacking it vertically instead of the traditional running bond gives it a fresh, modern look. When you add a contrasting grout color—like dark gray or black against white tile—the vertical lines become even more pronounced. This simple trick creates a graphic, almost architectural effect that adds depth without any extra bulk.
The combination of vertical stacking and high-contrast grout draws the eye upward, making a small shower feel taller and more spacious. It's a minimal way to introduce pattern and texture without overwhelming the space. Plus, the clean lines are easy to maintain and never go out of style.
Choosing Your Grout Color
Dark grout on light tile is the most dramatic option, but you can also try a lighter grout on dark tile for a subtler look. For a softer contrast, use a grout color that's just a few shades darker than your tile. The key is to make the vertical lines stand out without being jarring.
Tile Size Matters
Standard 3×6 subway tiles work well, but longer tiles like 4×12 or 3×9 can emphasize the vertical lines even more. The longer the tile, the fewer grout lines you'll have, which keeps the look clean and streamlined. Just make sure the proportions fit your shower's scale.
Installation Tips
Stacked subway tile requires precise alignment to keep the vertical lines straight. Use a level and spacers to ensure each tile is perfectly aligned. If you're not confident in your DIY skills, hire a professional—the payoff is worth it for that crisp, graphic look.
7. Penny Rounds for a Vintage Touch
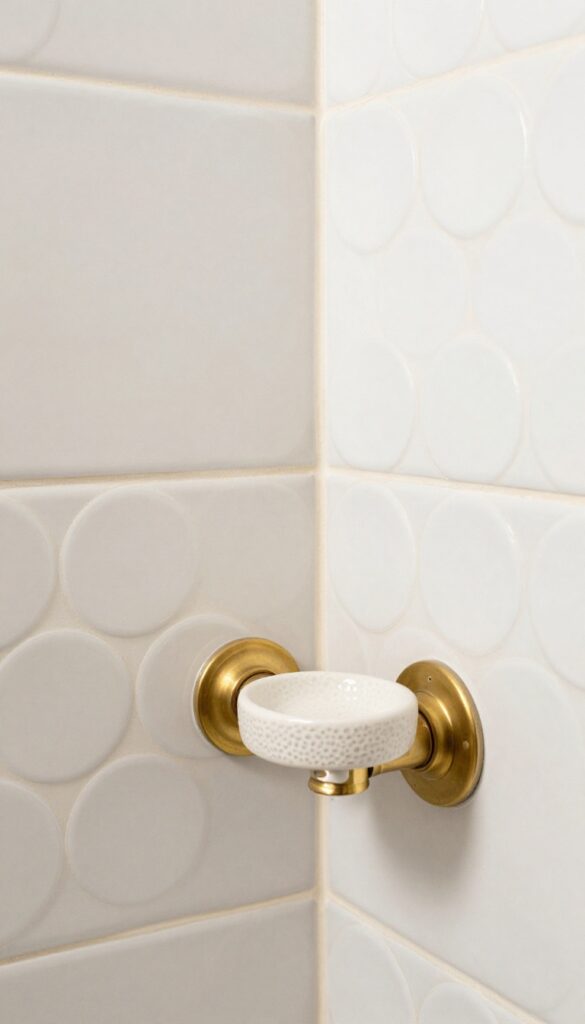
Penny round tiles bring a soft, nostalgic feel that makes a small shower feel cozy and lived-in. Their small circular shape creates a textured surface that catches light differently across each tile, adding depth without busy patterns. This look works especially well in older homes or any bathroom aiming for a timeless, slightly rustic charm.
The key to penny rounds is their subtle, pebbled texture. Unlike larger tiles that create strong lines, these small circles scatter reflections and soften the overall look. They make the shower feel warmer and more inviting, while still keeping the space visually calm.
Because they're so small, they also adapt easily to curved walls or niches, reducing awkward cuts.
Choosing The Right Grout
Grout color dramatically affects the final look. White or light gray grout keeps the surface airy and blends the tiles into a cohesive sheet. Dark grout, like charcoal, emphasizes each penny round and creates a more graphic, dotted effect.
For a vintage feel, a warm ivory or beige grout complements the nostalgic vibe without looking too stark.
Where To Use Them
Penny rounds shine on accent walls or shower floors. On a single wall behind the shower bench or as a backsplash, they add interest without overwhelming. For the floor, their small size and many grout lines provide excellent slip resistance.
Avoid covering all four walls, as that can feel too busy in a compact space.
Pairing With Other Tiles
Combine penny rounds with larger, simpler tiles for balance. For example, use large white subway tiles on the main walls and penny rounds on the back wall or floor. This contrast highlights the texture of the penny rounds while keeping the overall design clean.
A horizontal band of penny rounds at eye level also breaks up large tiles nicely.
8. Diagonal Layout for Optical Illusion
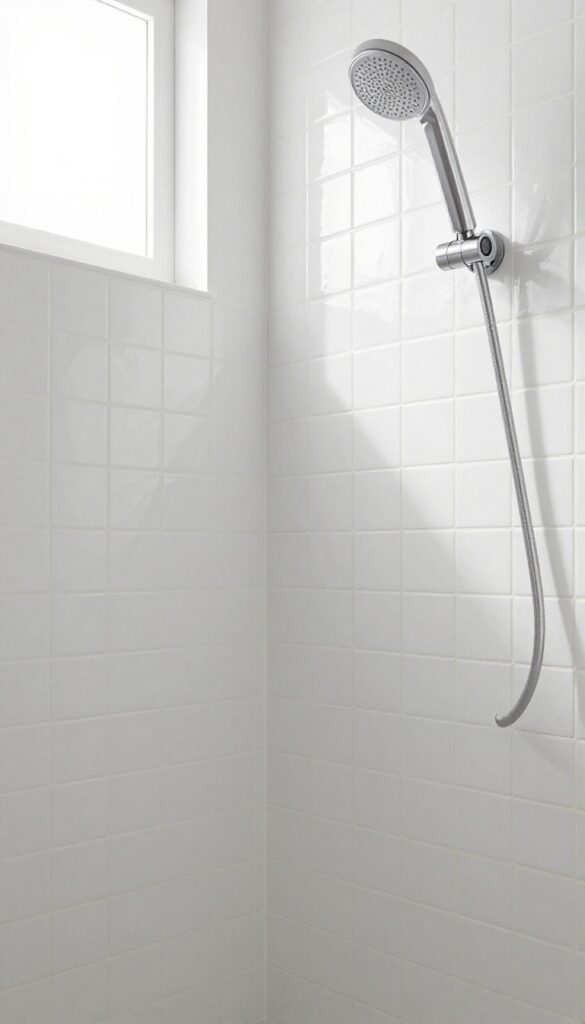
Changing the angle of your tile layout costs nothing extra but can completely transform how spacious the shower feels. A diagonal (or diamond) pattern naturally draws the eye along the longest lines of the space, creating a subtle optical illusion of extra width and length.
When tiles are set at a 45-degree angle, the grid breaks up and the eye follows the diagonal lines instead of stopping at vertical or horizontal edges. This continuous movement tricks the brain into perceiving more square footage. The effect is especially strong in narrow showers, where a straight layout can emphasize the cramped width.
Diagonal installation also adds a dynamic, custom look that feels intentional and upscale without adding busyness.
Best Tile Shapes For Diagonal Layout
Square tiles are the most natural choice for diagonal installation because their corners align perfectly. Large-format squares (6×6 or 8×8 inches) work best; tiny mosaics can look chaotic on an angle. Rectangular tiles can also be laid diagonally, but you'll need careful planning to keep the pattern consistent.
Where To Use It For Maximum Effect
Focus the diagonal pattern on one accent wall, like the shower floor or the wall opposite the entrance. Pairing a diagonal floor with straight-laid walls creates contrast without overwhelming the space. In very small showers, running the diagonal pattern on all walls can make the room feel larger than it is.
Grout Color Matters
To let the diagonal lines do the work, choose a grout color that blends with the tile. A contrasting grout will emphasize the grid and can make the pattern feel busy. For a seamless optical illusion, match grout to the tile color so the diagonal lines remain subtle.
9. Mixed Materials for Contrast
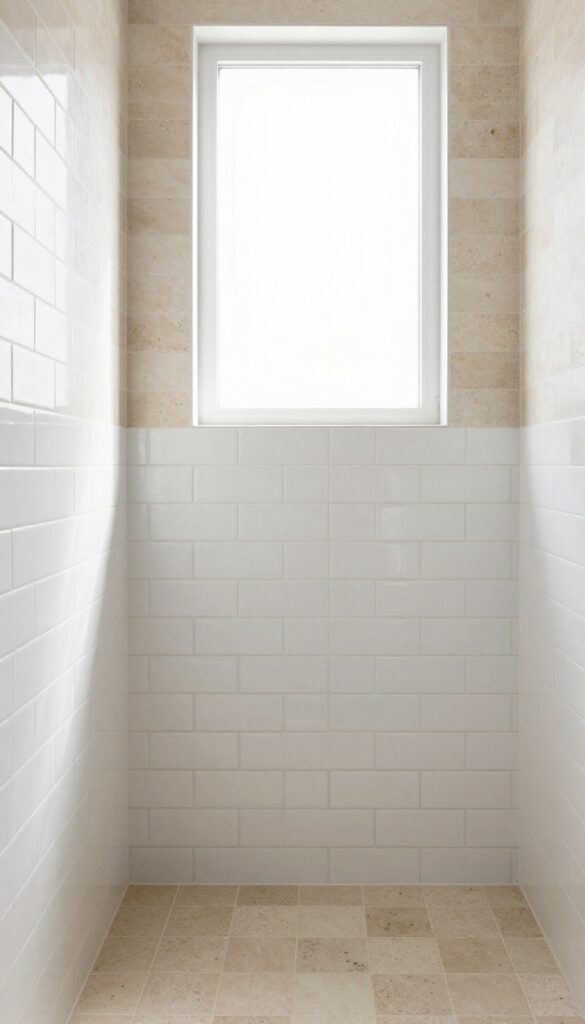
Combining two different tile materials in a simple pattern is an easy way to add depth without going overboard. The contrast between textures and colors creates visual interest that feels intentional and refined.
Pairing ceramic with natural stone, or matte with glossy finishes, gives your shower a layered look. Stick to a straightforward layout like alternating columns or a checkerboard to keep the design clean. The mix of materials adds enough character without needing busy patterns or extra accents.
Texture Play
Choose one material with a smooth finish and another with a rough or textured surface. For example, glossy ceramic subway tiles paired with honed marble hexagons create a subtle but noticeable contrast. The light catches each surface differently, adding depth that changes throughout the day.
Color Harmony
Keep the color palette simple to avoid visual noise. Stick to two tones that complement each other, like warm beige stone with white ceramic, or cool gray slate with soft blue tiles. The contrast comes from the material difference, not clashing colors.
Placement Strategy
Use the mixed materials in a defined zone, such as a vertical band at eye level or a horizontal stripe near the shower head. This focuses the contrast where it's most visible and keeps the rest of the shower calm. Avoid scattering the mix everywhere to maintain a clean look.
10. Vertical Herringbone for Drama
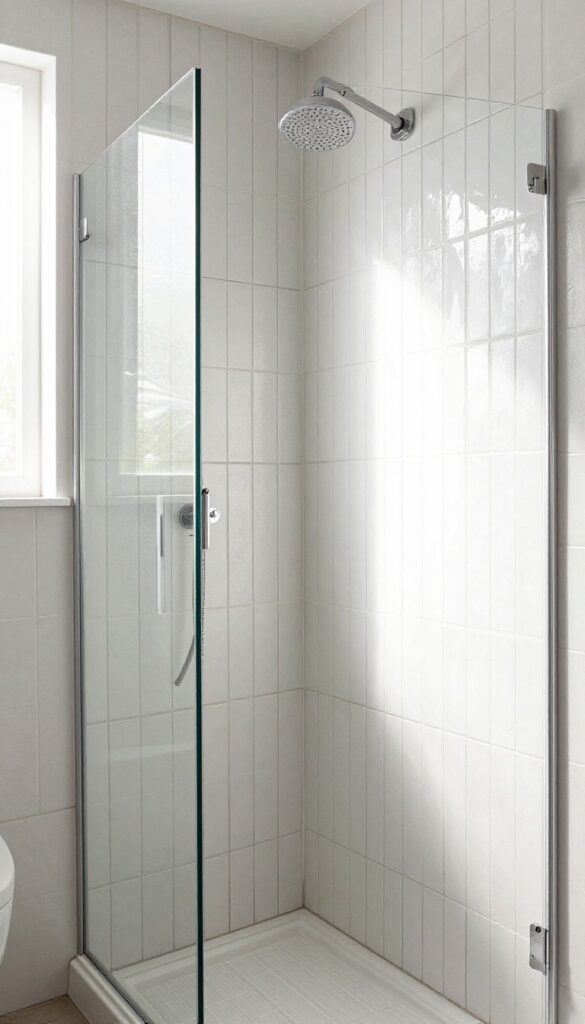
Herringbone is a timeless pattern, but when you rotate it vertically, it takes on a whole new energy. Instead of the classic horizontal zigzag, vertical herringbone draws the eye upward, making the shower feel taller and more spacious. The angled lines add movement and texture without requiring any extra accessories or decor.
Vertical herringbone works especially well in showers with lower ceilings or narrow footprints. The pattern tricks the eye into seeing more height, which is exactly what a small shower needs. Choose elongated subway tiles or slim rectangular tiles to emphasize the vertical lines.
For a subtle look, stick with a single neutral color; for more drama, go with a contrasting grout that highlights the zigzag pattern.
Why It Works In Small Showers
The vertical orientation elongates the walls, creating the illusion of a taller space. The herringbone pattern itself adds visual interest without needing additional elements, keeping the shower clean and uncluttered.
Tile And Grout Choices
Use long, narrow tiles (like 3×12 or 4×16 inches) for a pronounced herringbone effect. A matte finish reduces glare and keeps the focus on the pattern. For grout, choose a color that contrasts with the tile to make the zigzag pop, or match it closely for a more subtle, seamless look.
Installation Tips
Vertical herringbone requires careful layout planning to ensure the pattern aligns properly, especially around corners and fixtures. Hire a skilled installer or use tile sheets with pre-arranged patterns to simplify the process. Start from the center of the wall and work outward for a balanced appearance.
11. Glossy and Matte Combination
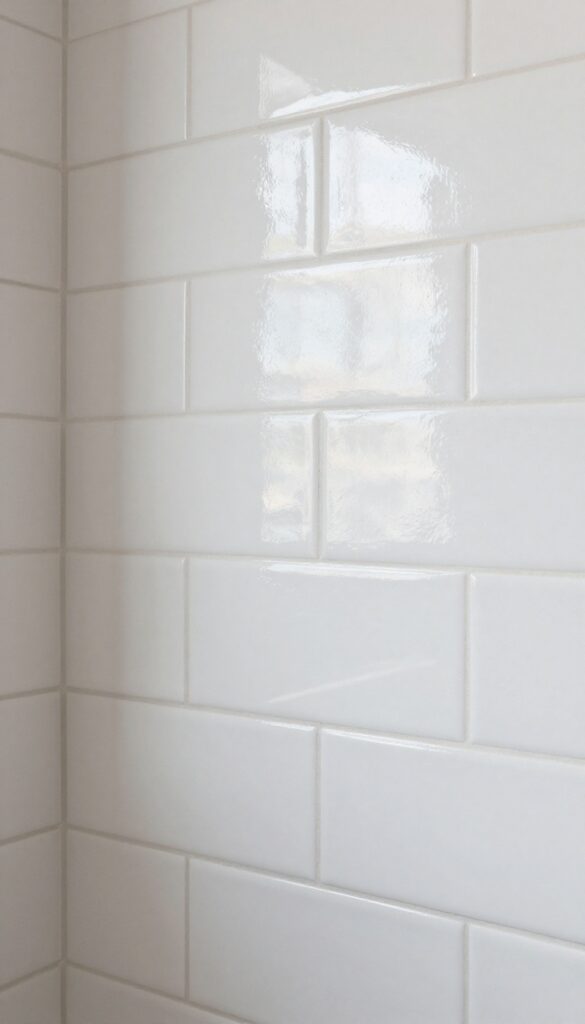
Playing with light reflection is one of the easiest ways to add depth in a small shower. Pairing glossy tiles with matte ones in the same color family creates subtle contrast through texture rather than color. This approach keeps the space feeling calm and cohesive while adding visual interest that changes as light hits different surfaces.
The glossy tiles catch light and make the shower feel brighter and more open, while the matte tiles absorb light and add a grounded, soft touch. Together, they create a layered look that feels intentional but not busy. You can use this combination in many ways, from a simple checkerboard pattern to a more random layout.
The key is sticking to one color palette so the contrast comes from finish, not hue.
Where To Place Each Finish
A common approach is to use glossy tiles on the main wall or as an accent strip and matte tiles on the lower half or surrounding areas. This draws the eye to the glossy section while the matte parts recede, making the shower feel taller or wider. You can also alternate tiles in a vertical stripe pattern for a modern, elongating effect.
Best Tile Shapes For This Technique
Rectangular subway tiles work beautifully because the long shape emphasizes the contrast. Square tiles also give a clean, grid-like look. For a softer feel, consider hexagonal or scalloped tiles in both finishes.
The shape stays consistent, so the finish difference becomes the star.
Grout Color Matters
To keep the look seamless, choose a grout color that matches the lighter tile or the matte tile. Contrasting grout can work but may make the pattern feel busier. A matching grout helps the glossy and matte tiles blend into a unified surface, letting the texture do the talking.
FAQ
What tile size is best for a small shower?
Large-format tiles (12×24 inches or larger) work best because they minimize grout lines and create a seamless look. However, small tiles like mosaics can also work if used as accents.
Should I use light or dark tiles in a small shower?
Light colors reflect more light and make the space feel larger, but dark tiles can add depth and drama if balanced with good lighting and lighter grout.
How can I make a small shower look taller?
Use vertical stacking or vertical herringbone patterns to draw the eye upward. Also, consider taking tiles all the way to the ceiling.
What grout color should I choose for a small shower?
Matching grout to the tile color creates a seamless look, while contrasting grout can add a graphic element. For depth, a slightly darker grout than the tile works well.
Can I mix tile patterns in a small shower?
Yes, but keep it simple. Use one dominant pattern on the main walls and a subtle accent strip or niche to avoid visual clutter.
Conclusion
Small shower tiles prove that less really can be more. By choosing the right size, shape, and layout, you add visual depth without overwhelming the space.
Pick one idea that speaks to your style and start there. A few square feet of thoughtful tile can transform your daily shower into something that feels both open and intentional.