13 Shower Ceiling Ideas That Complete the Space Overhead
Most shower remodels stop at the walls and floor, leaving the ceiling as an afterthought. Yet that overhead surface is a prime opportunity to add warmth, light, or a bold design statement—without eating up any square footage.
Whether you're dealing with a steamy alcove or a walk-in enclosure, the right ceiling treatment can tie the whole room together and make it feel more finished. From quick DIY fixes to full-on structural changes, these 13 ideas cover every budget and style.
Let's look at how to turn that blank space above your head into a feature you'll actually notice.
1. Classic White Paint with a Twist
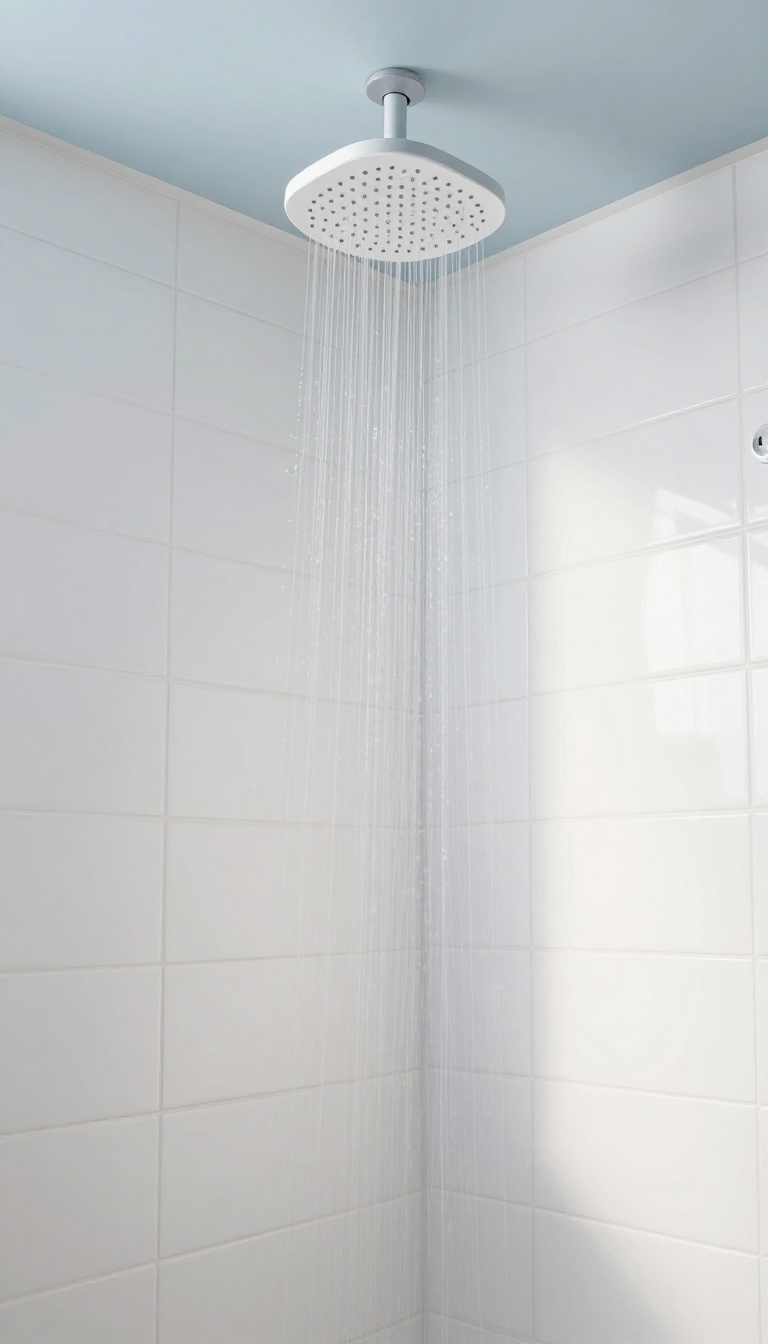
White ceilings are a timeless choice for showers—they bounce light around and make the space feel airy. But plain white can feel a bit flat, especially when the rest of the bathroom has personality. The fix?
Give that classic white a subtle upgrade that doesn't cost much or require a full renovation.
A high-gloss white paint is a smart pick for shower ceilings because it reflects light and stands up to humidity. Yet you can take it a step further with a soft gray tint or a hint of blue to add depth without going bold. This simple tweak keeps things clean and bright while giving the ceiling a touch of character that ties the room together.
Why Glossy Beats Flat
Glossy finishes are your friend in a shower. They repel moisture better than flat paint, so you'll see less peeling and staining over time. Plus, the shine helps bounce both natural and artificial light around, making the whole space feel larger and more open.
Picking The Right Tint
If pure white feels stark, try a warm off-white with a hint of cream or beige. Or go for a cool gray with a blue undertone to complement white or marble tiles. Test a few samples on the ceiling first—lighting in a bathroom can change how colors look, so what works in the store might not work at home.
Application Tips For A Smooth Finish
Prep is key: clean the ceiling to remove any soap scum or mildew, then apply a primer designed for bathrooms. Use a roller with a medium nap to get an even coat, and don't skip the second coat—it ensures durability and that nice, uniform sheen.
2. Moisture-Resistant Wood Planks
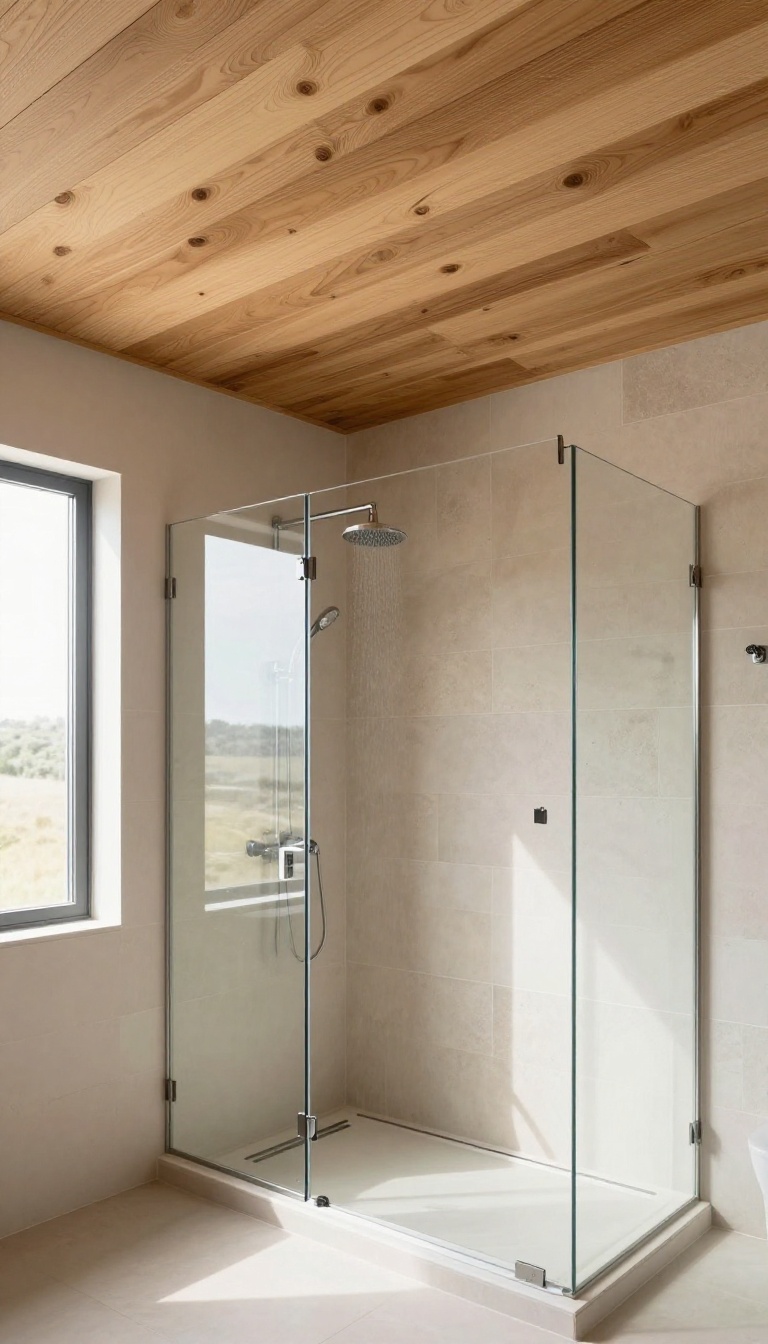
Wood in a shower might sound risky, but with the right species and proper sealing, it can look stunning and last for years. Cedar and teak are natural choices because they handle moisture well and bring a warm, spa-like vibe to the space. The key is to use tongue-and-groove boards and finish them with a marine-grade sealant to keep the steam out.
When you think of wood in a shower, you might picture warped boards and mold. But moisture-resistant species like cedar and teak are naturally rot-resistant and can handle the humidity. The trick is to seal them properly and allow for ventilation.
With the right installation, wood planks add warmth and texture that tile just can't match.
Why Cedar And Teak Work
Cedar has natural oils that repel moisture and insects, making it a go-to for outdoor furniture and saunas. Teak is even more durable, with a high oil content that resists water damage. Both are stable enough to withstand the constant temperature changes in a shower.
Plus, they age beautifully, developing a silvery patina if left unfinished, or you can keep them golden with a protective coat.
Sealing And Maintenance Tips
Sealing is non-negotiable. Use a penetrating sealer or a marine-grade varnish that's designed for wet areas. Reapply every year or two to keep the protection strong.
Clean the planks with a mild soap and water, avoiding harsh chemicals that can strip the finish. With this simple upkeep, your wood ceiling will stay looking fresh for years.
Installation Considerations
Tongue-and-groove boards are the way to go because they fit tightly and hide the fasteners. Leave a small gap along the edges to allow for expansion. Also, consider adding a vent fan to reduce humidity levels.
If you're not comfortable with the installation, it's worth hiring a pro to ensure everything is sealed and secured properly.
3. Beadboard for a Cozy Cottage Vibe
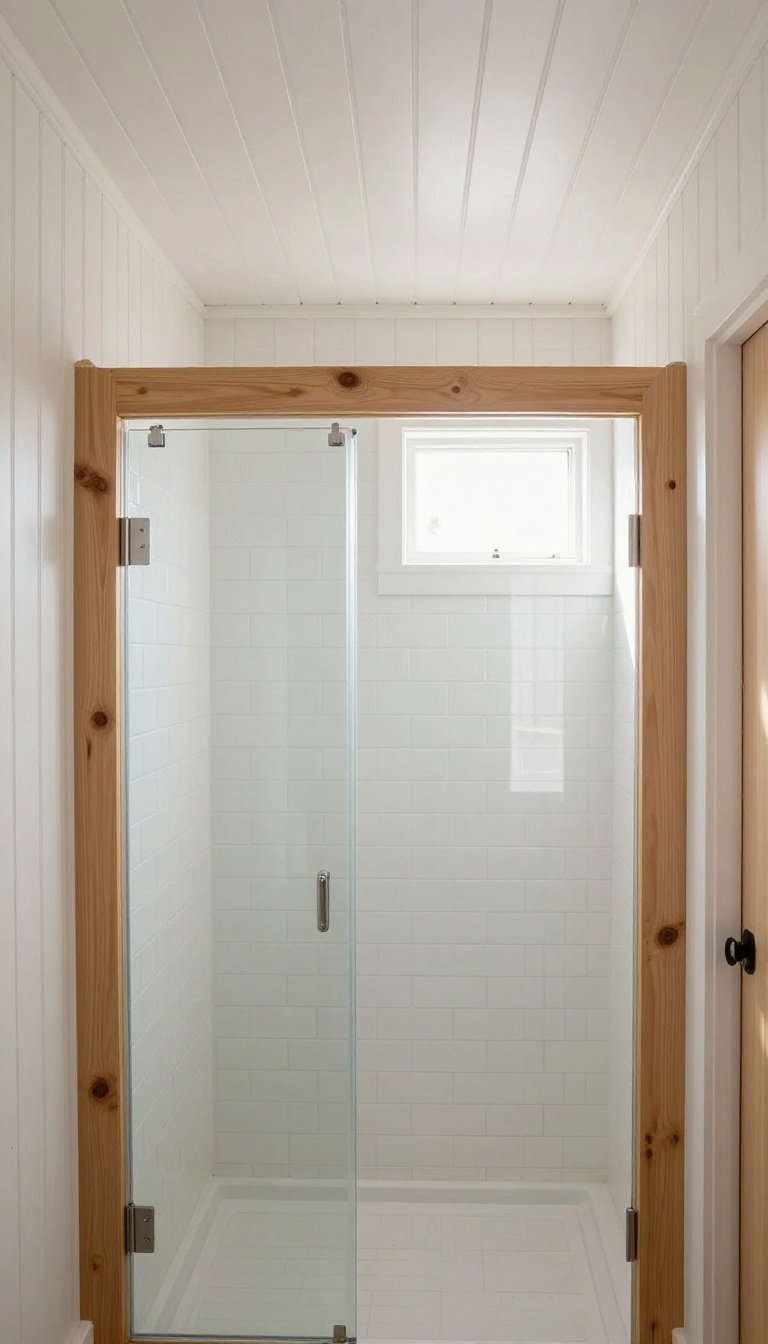
Beadboard instantly brings to mind quaint cottages and breezy coastal homes. It’s a classic material that adds texture and warmth without a lot of fuss. Plus, it’s budget-friendly and straightforward to install, making it a favorite for DIYers.
Beadboard is essentially narrow wooden planks with a small ridge (or bead) between each one. When installed on a shower ceiling, it creates a series of subtle vertical lines that draw the eye upward and make the space feel taller. The texture also helps soften the harshness of typical bathroom surfaces like tile and glass, giving the room a more inviting, lived-in feel.
You can paint beadboard any color you like—white for a crisp, clean look, or a soft pastel for a hint of charm. It’s also relatively inexpensive compared to other ceiling treatments, so you can achieve a high-end look without overspending.
Choosing The Right Material
For a shower ceiling, you’ll want moisture-resistant options. Look for PVC or fiberboard beadboard that’s specifically rated for wet areas. Real wood can work if it’s properly sealed, but it requires more maintenance.
PVC beadboard is lightweight, easy to cut, and won’t warp or rot, making it a smart choice for a steamy environment.
Installation Tips
Start by ensuring your ceiling is clean and dry. You can install beadboard directly over drywall or furring strips. Use a construction adhesive and finish nails to secure each panel, and make sure the seams are tight.
Once all the panels are up, fill any gaps with caulk and paint over everything with a high-quality semi-gloss or satin paint that can handle moisture.
Style Pairings
Beadboard pairs beautifully with other cottage-inspired elements like shiplap walls, vintage fixtures, or a clawfoot tub. If you want a more modern twist, paint the beadboard a dark charcoal or navy for a dramatic contrast against white tile. The texture alone will add visual interest even if you keep the rest of the bathroom simple.
4. Skylight or Sun Tunnel
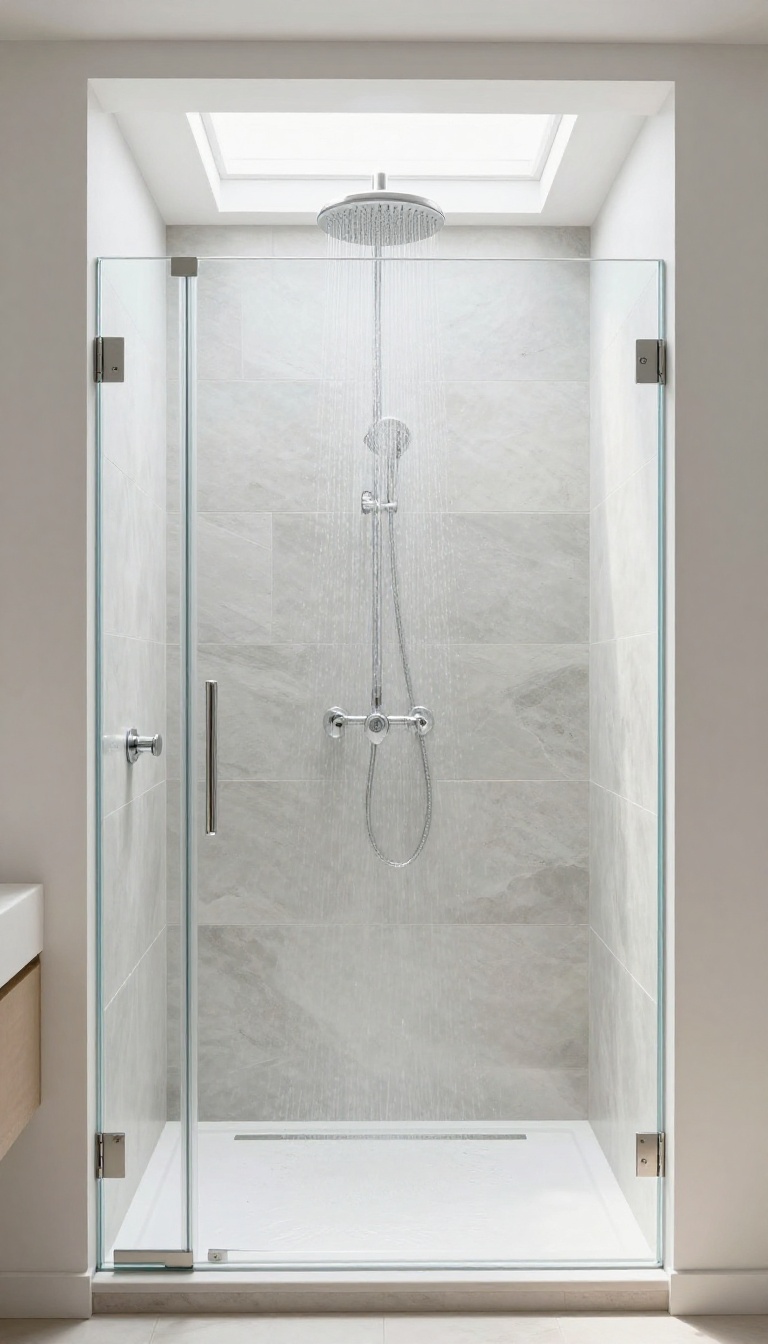
A shower with natural light from above feels less like a utilitarian space and more like a private retreat. If you have the budget and the roof access, a skylight or sun tunnel can flood the enclosure with soft, diffused daylight that makes even a compact shower feel expansive. This is a structural upgrade, but the payoff in mood and brightness is hard to beat.
Plus, you’ll cut down on the need for harsh artificial lighting during the day.
Before you start cutting into your ceiling, it’s worth understanding the two main options: a traditional skylight and a sun tunnel. A skylight is a framed window that opens directly to the sky, while a sun tunnel uses a reflective tube to channel light from the roof down through the ceiling. Both have their place, and the right choice depends on your roof type, the shower’s location, and how much light you want.
If you’re not ready for a full remodel, a sun tunnel is often the easier retrofit because it can be installed with minimal disruption to your existing ceiling. Skylights, on the other hand, require more structural work but offer better ventilation options and a wider view of the sky. Whichever route you take, the key is to work with a professional who understands waterproofing and flashing.
A poorly sealed skylight can lead to leaks, which is the last thing you want above your shower.
Choosing Between A Skylight And A Sun Tunnel
A skylight is the classic choice if you want an actual window overhead. It can be fixed or operable, and it lets in more light than a sun tunnel. Operable skylights also provide ventilation, which helps control steam and humidity.
Sun tunnels are smaller and more flexible. They’re ideal for showers that are tucked into interior areas of the house, where a traditional skylight isn’t feasible. They also cost less and are quicker to install, making them a practical option for many homeowners.
Placement And Size Considerations
Position the skylight or sun tunnel directly over the shower area, but not necessarily centered on the ceiling. Offsetting it slightly can reduce the chance of water pooling on the glass and make cleaning easier. For size, a 14-inch sun tunnel can brighten a small shower, while a 22-inch model works better for larger enclosures.
Skylights can range from 2×2 feet to 4×4 feet or more, depending on the span and your aesthetic preference.
Ventilation And Moisture Control
If you choose an operable skylight, you can crack it open during or after a shower to let steam escape. This helps prevent mold and mildew and keeps the bathroom from feeling stuffy. For sun tunnels, ventilation isn’t an option, but you can still manage moisture with a good exhaust fan.
Make sure the fan is sized appropriately for the bathroom’s square footage and is positioned to pull humid air away from the shower.
Lighting And Glazing Options
The type of glass or acrylic you choose affects both light quality and privacy. Frosted or prismatic glazing diffuses light and obscures the view, which is handy if you have close neighbors or want a softer glow. Consider low-E coatings to reduce heat gain in summer and heat loss in winter.
This keeps the shower comfortable year-round and helps with energy efficiency.
5. Recessed Lighting with Dimmers
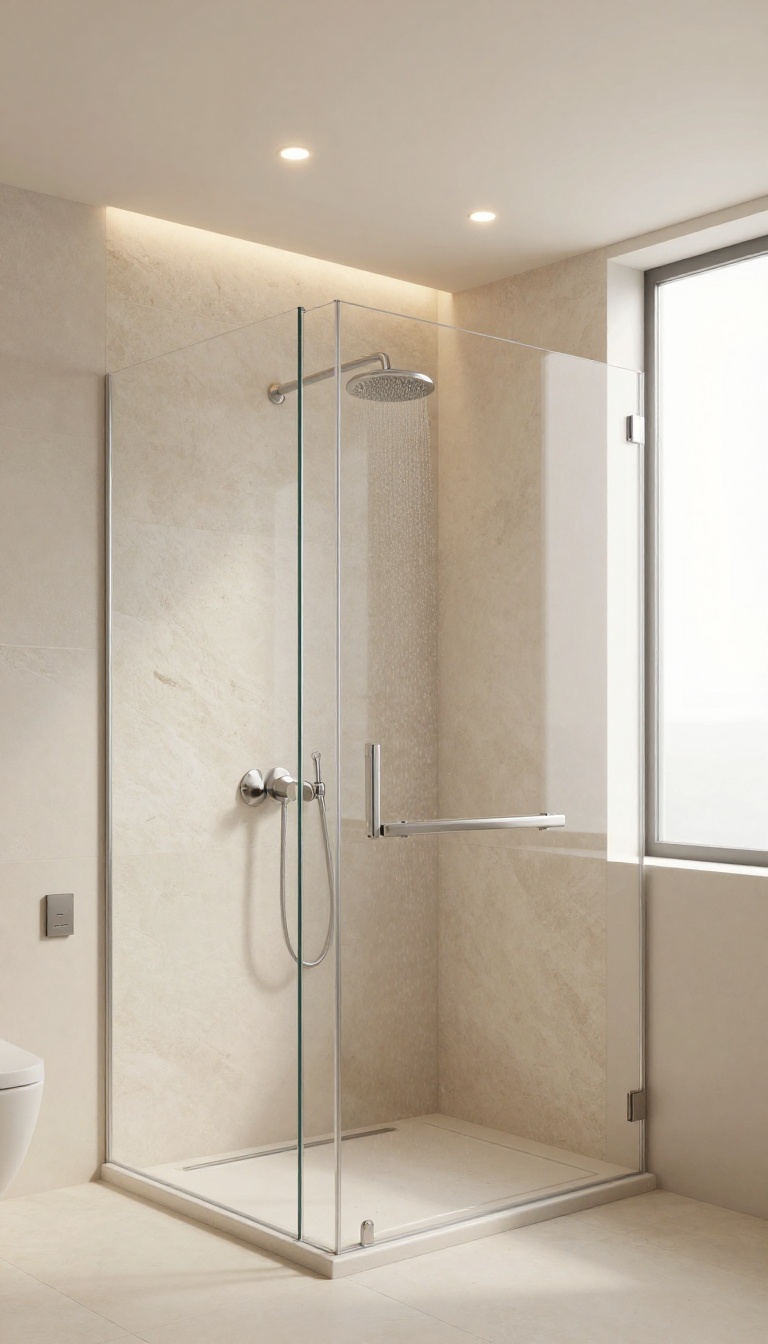
Recessed lighting is a classic choice for showers because it keeps the ceiling clean and uncluttered. But the real magic happens when you pair it with a dimmer switch. Suddenly, you can go from a bright, invigorating morning rinse to a soft, spa-like evening soak with just a twist of a dial.
Recessed lights are a smart, low-profile way to illuminate your shower without hanging fixtures that might get in the way. Adding a dimmer takes it a step further, giving you total control over the mood. Whether you need task lighting for shaving or a gentle glow for winding down, dimmers make it happen.
Just be sure to choose wet-rated fixtures and a dimmer designed for damp locations—safety first.
Placement Tips
Position the lights to avoid casting shadows on your face. A common trick is to place them slightly in front of where you stand, rather than directly overhead. If you have a shower niche or a feature wall, aim a light at it to create depth and interest.
Spacing them evenly helps prevent dark spots, and using multiple lights on the same dimmer ensures consistent brightness.
Choosing The Right Bulbs
LED bulbs are the go-to for recessed lighting because they're energy-efficient and last a long time. Look for bulbs with a color temperature around 2700K to 3000K for a warm, flattering light. Make sure they're rated for enclosed fixtures and are dimmable.
If you want to get fancy, some smart bulbs let you adjust color temperature, so you can switch from cool morning light to warm evening glow.
Installation Considerations
If you're remodeling, recessed lighting is straightforward. But if you're retrofitting, you'll need to access the ceiling from above or use remodel housings that fit through a hole. Always check local codes and use fixtures rated for wet or damp locations—showers are considered wet areas.
If you're not comfortable with electrical work, hire a licensed electrician to ensure everything is safe and up to code.
6. Statement Tile Pattern
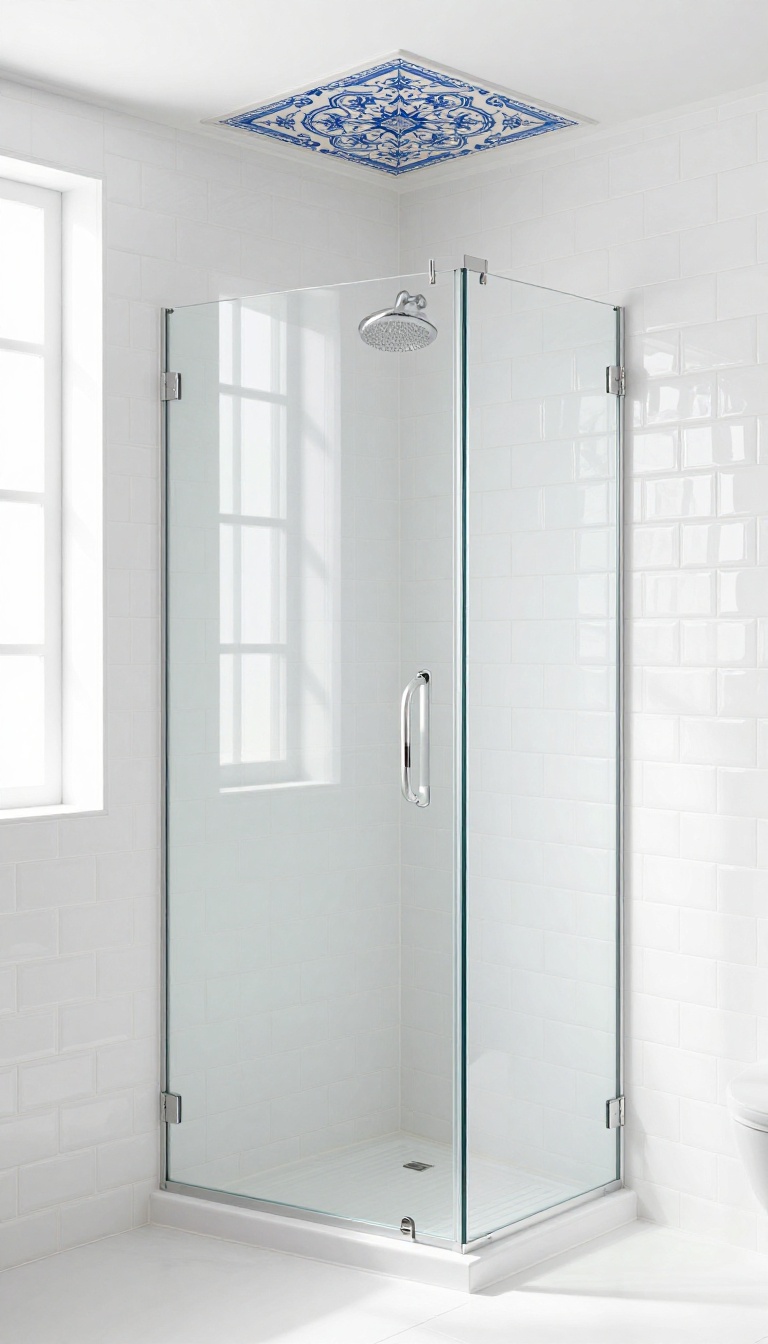
When you walk into a shower, your eyes naturally go to the walls, but the ceiling is the one surface you see every time you look up. Using tile up there changes the whole feel of the space—it adds texture, color, and a sense of intention that plain drywall just can't match. Whether you go for a subtle geometric repeat or a bold Moroccan-inspired design, tiling the ceiling makes the overhead area part of the room's story instead of an afterthought.
Tiling a shower ceiling isn't as complicated as it sounds, but it does require some planning. The key is to choose a tile that's not too heavy, since the ceiling needs proper support. Porcelain and ceramic tiles are excellent choices because they're durable, moisture-resistant, and come in endless patterns.
You'll also want to think about the layout—starting from the center and working outward ensures a balanced look, and using a level and spacers keeps everything straight. If you're not comfortable doing it yourself, a professional tiler can handle the job, but the result is worth the effort.
Choose The Right Tile
For ceilings, stick to lighter materials like ceramic or porcelain. Large-format tiles (12×24 inches or bigger) create a clean, seamless look, while smaller mosaics add intricate detail. Avoid heavy natural stone unless you reinforce the ceiling, as the weight can be a concern.
Also, consider the finish: matte tiles reduce glare and hide water spots better than glossy ones.
Play With Patterns
Geometric patterns like hexagons, arabesques, or herringbone add visual interest without overwhelming the space. Moroccan-inspired tiles with bold colors or intricate designs can turn the ceiling into a true focal point. If you prefer a subtle look, use a monochromatic palette with a pattern that reads as texture rather than loud decoration.
Installation Tips
Before tiling, make sure the ceiling is clean, dry, and primed. Use a high-quality thin-set mortar designed for ceilings, and apply it evenly with a notched trowel. Work in small sections so the adhesive doesn't dry out.
Use a tap and level to ensure each tile is flush, and let everything cure fully before grouting. Sealing the grout is essential to prevent moisture damage.
7. Wood Slat Accent
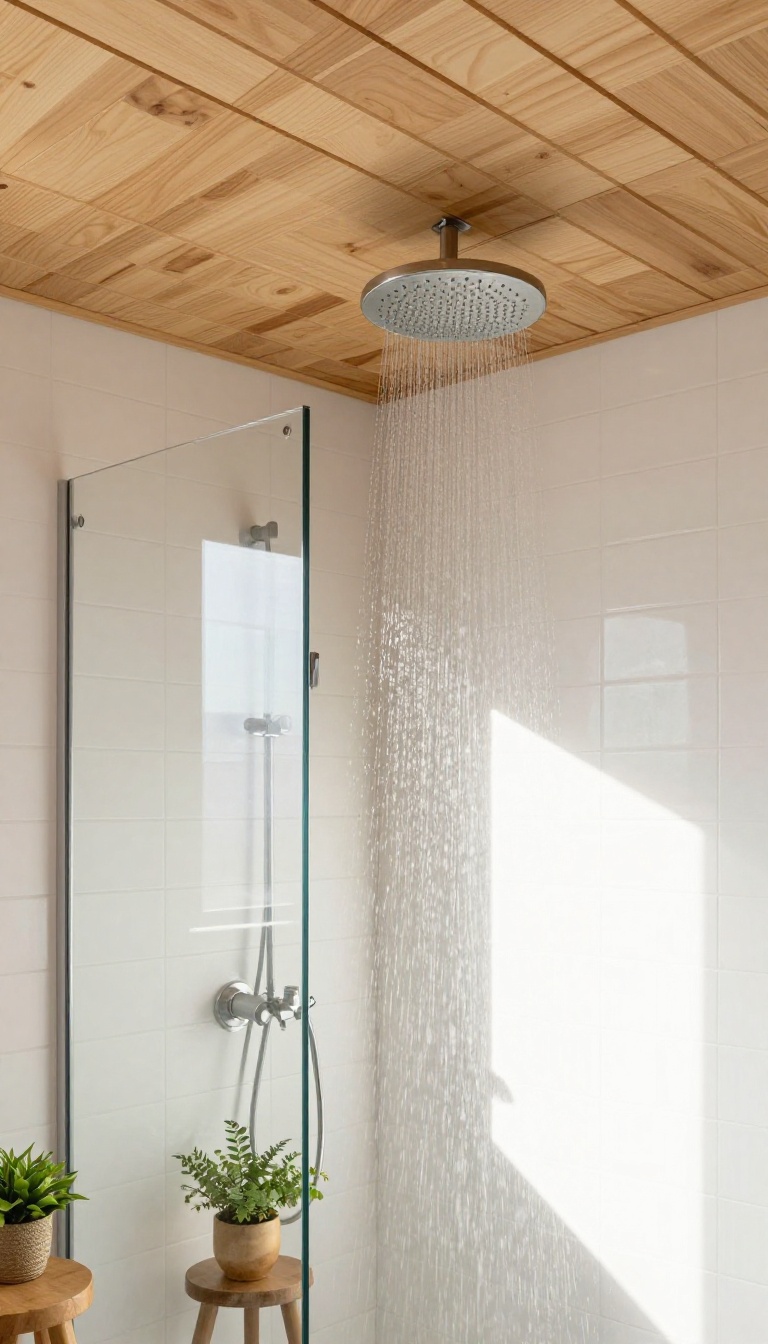
Wood slats bring a natural, spa-like feel to a shower ceiling, and they’re easier to install than you might think. The key is choosing the right wood and sealing it properly to handle moisture. When done right, this look adds warmth and texture without making the space feel heavy or closed in.
Wood slats can be arranged in a few different ways, each giving a distinct vibe. A parallel layout is clean and modern, while a herringbone pattern adds visual interest and movement. You can also mix wood with other materials, like a white ceiling with a wood slat feature strip, to keep things subtle.
Pick The Right Wood
Not all wood is suited for a wet environment. Cedar and teak are naturally resistant to moisture and rot, making them top choices. Thermally modified wood is another great option because it’s more stable and less likely to warp.
Avoid softwoods like pine unless they’re properly sealed and you’re okay with extra maintenance.
Seal It Well
Even moisture-resistant woods need a good sealant. Use a marine-grade varnish or a waterproof sealer designed for saunas or showers. Apply multiple coats, and reapply every year or two to keep the wood looking fresh.
This step is non-negotiable if you want the slats to last.
Installation Tips
You can install slats directly over a drywall ceiling, but make sure the surface is smooth and primed. Use waterproof adhesive and stainless steel screws or nails to avoid rust. Leave a small gap between slats for airflow, which helps prevent moisture buildup.
If you’re not confident in your DIY skills, a professional can handle it quickly.
8. Metallic or Copper Panels
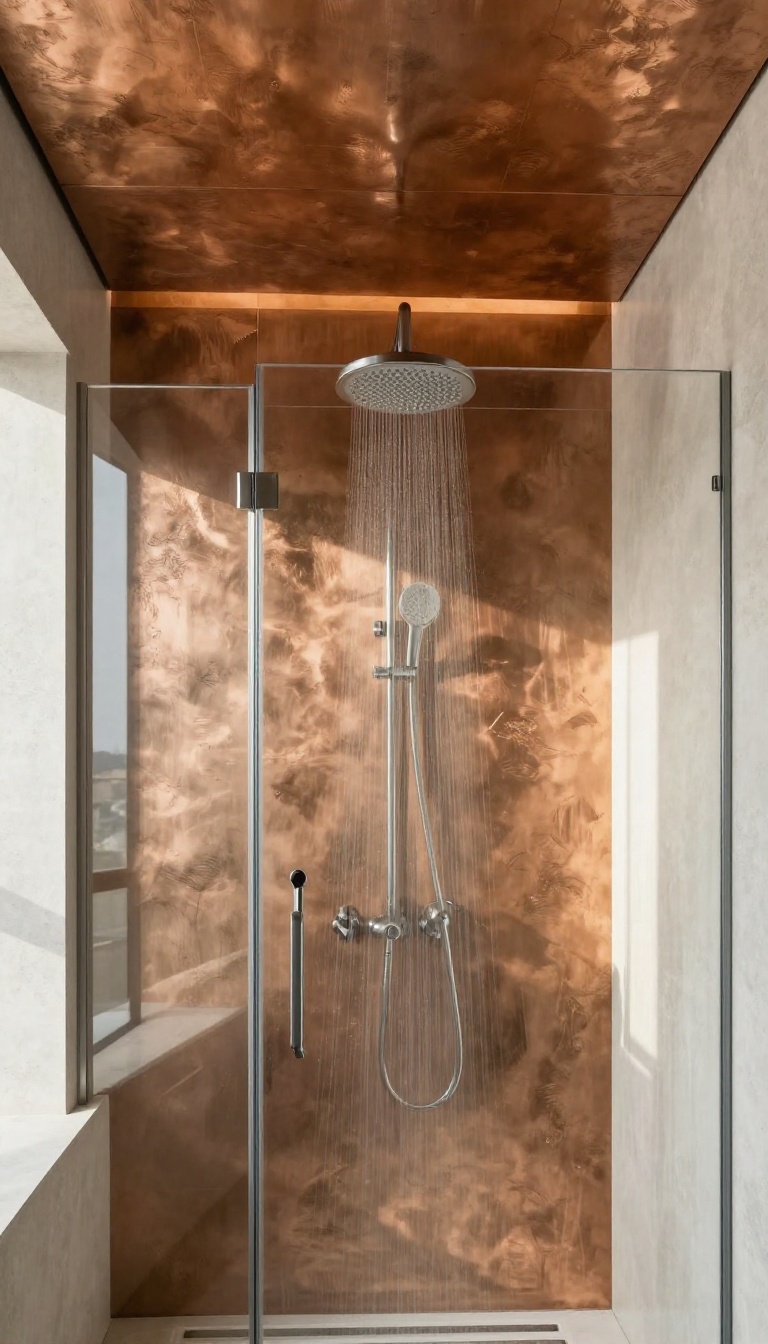
If you want a ceiling that feels both industrial and luxurious, metallic panels are a bold way to go. Copper, in particular, brings a warm, living finish that changes as it ages, while brushed nickel offers a cooler, more consistent sheen. These materials aren't just about looks—they're built to handle the constant moisture and steam of a shower without warping or rusting.
Metallic panels turn a shower ceiling into a focal point. They reflect light, making the space feel larger and more open, and their unique textures add depth that paint or drywall can't match. Whether you choose large sheets or smaller tiles, the effect is striking and unexpected.
Why Copper Works In A Shower
Copper is naturally antimicrobial, which is a huge plus in a damp environment. It also develops a patina over time—a greenish-brown layer that many people find beautiful. If you prefer to keep the shiny look, you can seal it with a clear lacquer.
Just be aware that unsealed copper will change, so decide which look you want before installing.
Brushed Nickel: A Subtle, Modern Alternative
Brushed nickel has a soft, satin finish that doesn't show fingerprints or water spots as easily as polished metals. It gives a more uniform, contemporary feel compared to copper's rustic vibe. Nickel panels are also highly resistant to corrosion, making them a low-maintenance choice for a shower ceiling.
Installation And Maintenance Tips
Metallic panels can be installed directly over drywall or on furring strips for a floating effect. Use adhesive or screws with washers, and seal the seams with a flexible silicone caulk to prevent moisture from getting behind the panels. For cleaning, a damp cloth and mild soap are all you need—avoid abrasive cleaners that can scratch the finish.
9. Faux Tin Tiles
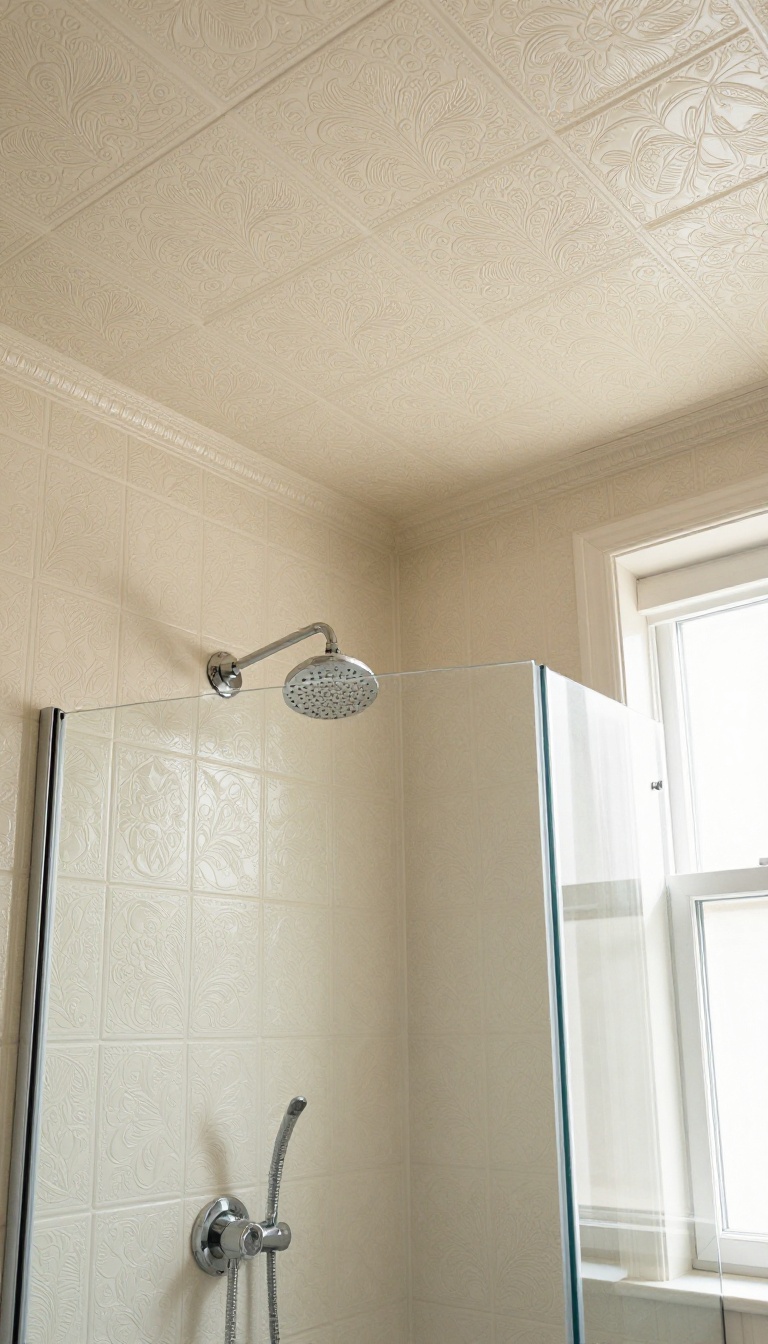
Faux tin tiles bring that old-world, pressed-metal look to your shower ceiling without the heavy cost or complicated installation. Made from lightweight PVC or metal, they mimic the real thing so convincingly that most people won't know the difference. Plus, they're a fraction of the weight, which makes them a practical choice for overhead use.
Faux tin tiles are a smart way to add texture and character to a shower ceiling. They come in a wide range of patterns, from classic damask to geometric designs, so you can match any style from vintage to modern. The best part?
They're easy to install with adhesive, so you can skip the messy mortar and heavy lifting.
Why Choose Faux Over Real Tin?
Real tin tiles are beautiful but heavy and prone to rust in humid environments. Faux options, especially PVC, are moisture-resistant and won't corrode. They're also much lighter, which means you don't need extra structural support.
And because they're so easy to cut and fit, even a DIY beginner can handle the job.
Installation Tips For A Seamless Look
Start with a clean, dry ceiling. Apply a strong construction adhesive to the back of each tile, then press firmly into place. Use spacers to keep the gaps even, and wipe away any excess adhesive right away.
For a polished finish, add trim or molding around the edges to hide any cuts.
Design Ideas To Try
Go for a monochromatic look with white or cream tiles to keep the ceiling bright. Or make a statement with a bold metallic finish like copper or bronze. You can also mix patterns for a custom, eclectic feel.
Just remember to seal the tiles if you use metal, to protect them from moisture.
10. Acoustic Panels for Sound Control
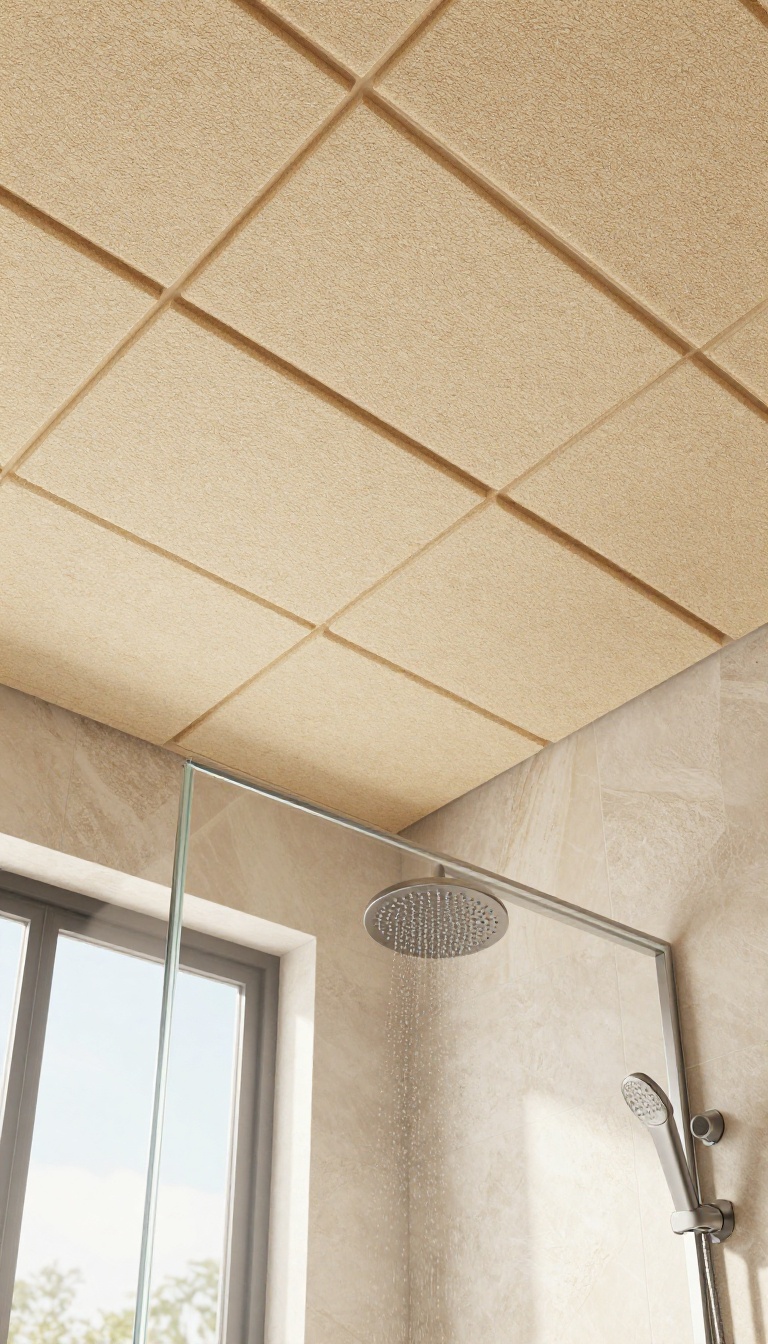
Showers can be surprisingly loud, especially in tiled enclosures where sound bounces off every hard surface. If you're tired of the echo or want to keep the noise from traveling to the rest of the house, acoustic panels offer a smart solution. They're not just for recording studios—modern moisture-resistant versions are built to handle humid environments like your shower.
Acoustic panels absorb sound waves, reducing echo and reverberation. In a shower, they can make the space feel calmer and more private. Plus, they come in a variety of colors and textures, so you can create a pattern that adds visual interest overhead.
The key is choosing panels rated for high humidity and installing them correctly to avoid moisture damage.
Choosing The Right Panels
Look for acoustic panels made from closed-cell foam or PET felt that are specifically designed for damp areas. Avoid standard fiberglass panels, as they can absorb moisture and grow mold. Check the product specs for water resistance and consider panels with a smooth, cleanable surface.
Some brands offer peel-and-stick options, which are easier to install and remove if you ever want a change.
Installation Tips For Moisture Safety
Before installing, ensure the ceiling is clean, dry, and free of any existing moisture issues. Use a waterproof adhesive or mechanical fasteners that won't rust. Leave a small gap between panels for air circulation, and consider applying a clear waterproof sealant around the edges.
If you're unsure about the installation, consult a professional to ensure the panels stay secure and mold-free.
Design Ideas For A Patterned Look
Acoustic panels don't have to be boring. Arrange them in a grid, stagger them like bricks, or create a geometric pattern with different colors. You can also mix panel shapes—squares, rectangles, or hexagons—for a custom look.
Keep the pattern simple to avoid overwhelming the space, and pair the panels with soft lighting to enhance the texture.
11. Painted Mural or Decorative Finish
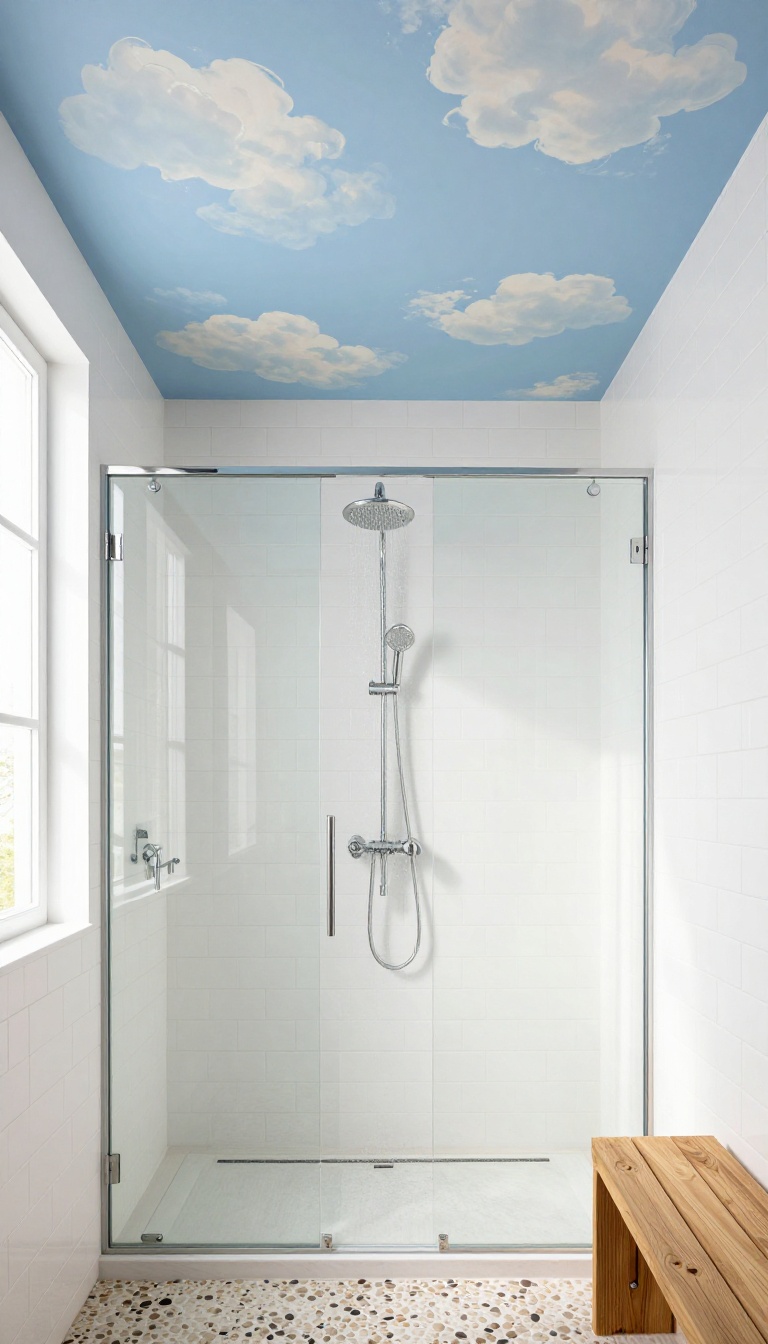
A hand-painted mural or a faux finish like marble or clouds can turn your shower ceiling into art. Use moisture-resistant paints and sealants to protect it. This is the ceiling idea for anyone who wants a one-of-a-kind focal point without adding structural weight or complexity.
The shower ceiling is a blank canvas that most people ignore. A painted mural or decorative finish changes that completely. Whether you hire an artist or try a DIY faux technique, the result is a ceiling that feels intentional and personal.
Because the shower is a wet environment, the key is using the right materials and sealing everything properly so the art lasts.
Choose A Design That Works In A Wet Space
Clouds and soft skies are classic shower ceiling murals because they add a sense of openness. Marble veining or subtle metallic finishes also work well and feel more upscale. Avoid heavy, dark colors that can make the shower feel smaller.
Lighter tones and airy patterns reflect light and keep the space bright.
Use The Right Paint And Sealant
Regular wall paint won't survive the humidity. Use a high-quality acrylic or epoxy paint rated for bathrooms or damp areas. After the paint dries, apply a clear, moisture-resistant sealant designed for showers.
This protects the artwork from steam and water splashes. Reapply the sealant every couple of years to keep it looking fresh.
Hire A Pro Or Try A Diy Faux Finish
If you're not confident in your freehand skills, hire a muralist who has experience with bathroom environments. For a budget-friendly option, try a faux marble technique using a sponge or rag. There are also stencils that make it easy to add a decorative border or pattern.
Whichever route you choose, test the design on a piece of cardboard first.
12. Exposed Ductwork or Beams
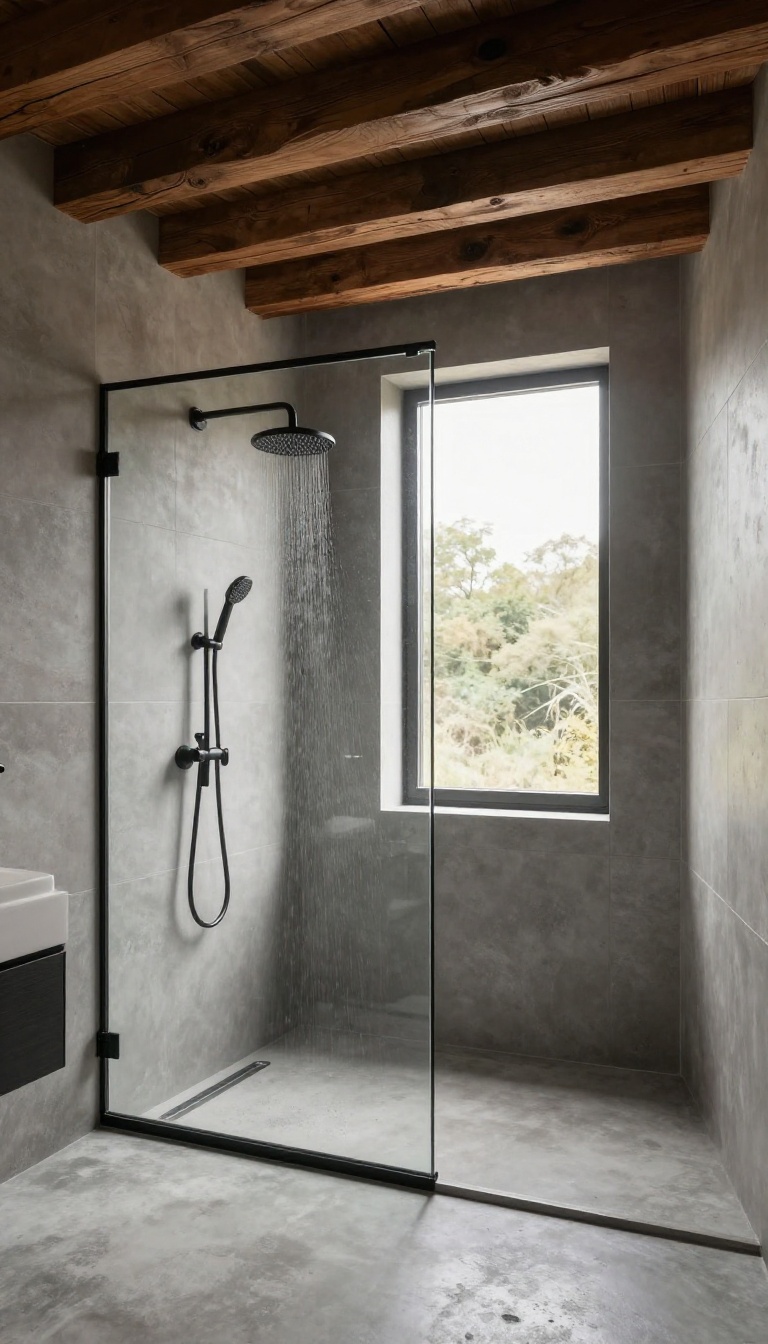
Leaving the structural elements overhead visible is a bold move that pays off in the right setting. Exposed ductwork or wooden beams bring an industrial or rustic charm that feels intentional and raw. This approach works best in showers with high ceilings, where there's plenty of vertical space to play with.
It also cuts down on material costs since you're skipping the drywall and finish work.
Exposing the ceiling's bones can make your shower feel more spacious and architecturally interesting. The key is to treat the exposed elements as design features, not afterthoughts. You can paint the ductwork to match the room's palette or leave it in its natural metallic state for an authentic industrial vibe.
For beams, consider staining or whitewashing them to complement the overall aesthetic. This look pairs well with concrete floors, matte black fixtures, and large-format tiles.
Why It Works
Exposed ductwork or beams add instant character and a sense of history to a space. They break up the monotony of a flat ceiling and draw the eye upward, making the shower feel taller and more dramatic. Plus, it's a budget-friendly option because you're not covering the structure with additional materials.
Design Considerations
Before you go this route, check your local building codes and make sure the exposed elements are properly sealed and insulated to prevent moisture issues. Also, think about maintenance: exposed surfaces will need occasional dusting and may show water spots. A clear sealant can protect wood beams, while ductwork can be painted with a moisture-resistant coating.
Style Pairings
This look shines in industrial, farmhouse, or modern rustic bathrooms. Pair it with a rainfall showerhead, black metal accents, and concrete or stone tiles. For a warmer feel, add wood elements elsewhere, like a teak bench or a wooden shower mat.
Keep the rest of the space simple so the ceiling remains the focal point.
13. Integrated Ventilation with Hidden Grille
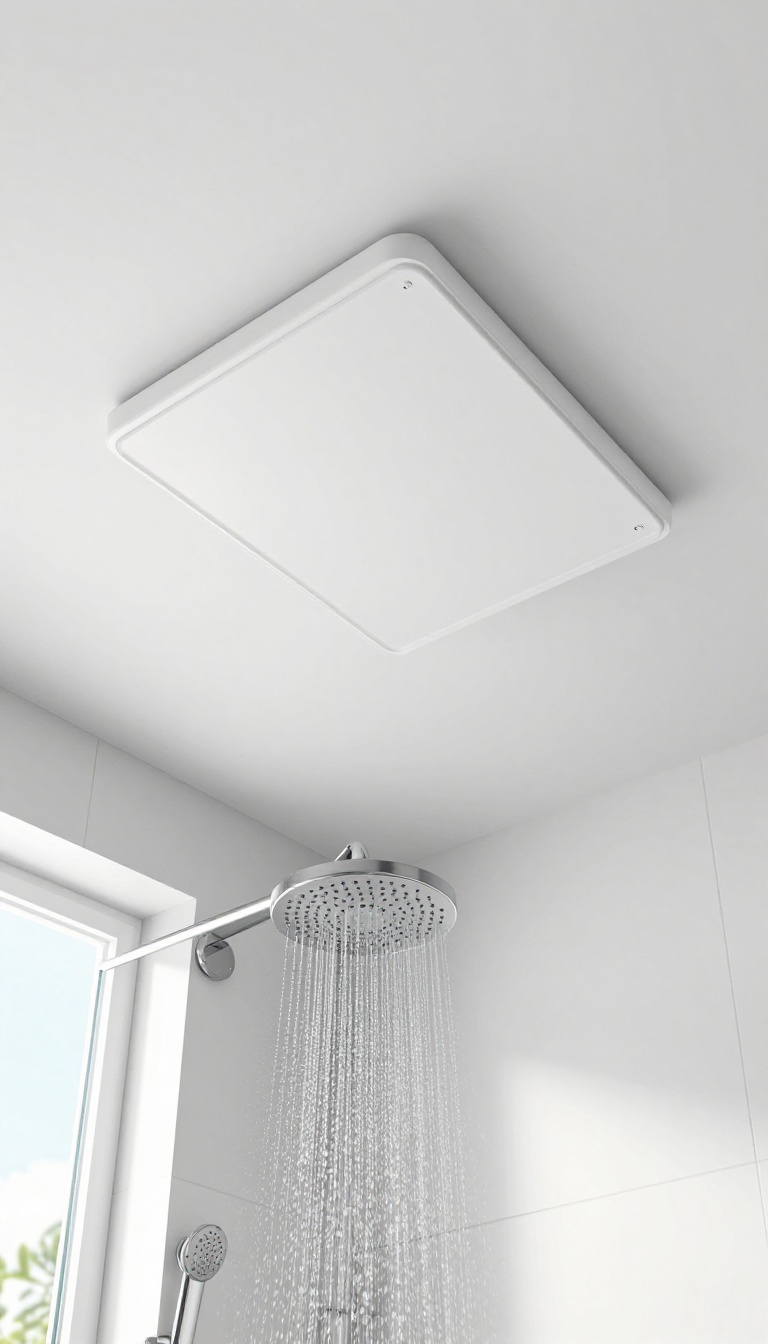
A shower ceiling often hides the exhaust fan, but that necessary vent doesn't have to be an eyesore. Integrated ventilation with a hidden grille keeps the space looking clean and polished while still doing its job. By choosing a grille that blends with the ceiling or is recessed, you can maintain a seamless overhead look.
It's a small detail that makes a big difference in how finished the room feels.
When you're designing a shower ceiling, ventilation is a must-have to control moisture and prevent mold. But the standard plastic fan cover can clash with your aesthetic. Integrated ventilation solves this by hiding the fan behind a grille that matches the ceiling surface, whether it's painted drywall, wood, or tile.
This approach works in both new builds and remodels. For existing showers, you can swap out the old cover for a recessed grille that sits flush with the ceiling. For new construction, you can plan the ductwork so the fan is tucked away, with only a slim, unobtrusive vent visible.
The key is to choose a grille that's subtle and functional. Look for models with a high CFM rating to ensure proper airflow, and consider a humidity sensor that turns the fan on automatically. With the right setup, you'll barely notice the vent—until you need it.
Choosing The Right Grille
The grille is the only visible part of the ventilation system, so it should complement your ceiling. For painted ceilings, pick a grille that's paintable to match exactly. For wood or tile, choose a grille in a coordinating finish, like brushed nickel or matte black, to blend in or add a subtle accent.
Recessed grilles are ideal for a flush look. They sit slightly below the ceiling line, creating a clean, shadow-free appearance. Some models even have a removable insert for easy cleaning, which is a plus in a humid environment.
Installation Tips
If you're handy, you can install a hidden grille yourself. Start by turning off the power and removing the old fan cover. Measure the opening and select a grille that fits.
For recessed models, you may need to adjust the fan housing to sit flush with the ceiling. For a truly seamless look, consider using a drywall ring that allows the grille to be recessed. This involves cutting a precise hole and finishing the edges.
If that sounds like too much work, a surface-mount grille that matches your ceiling color is a simpler option that still looks tidy.
Maintenance And Efficiency
A hidden grille doesn't mean you can forget about maintenance. Clean the grille regularly to remove dust and lint, which can reduce airflow. Most grilles pop off easily for wiping or washing.
Efficiency matters too. Make sure the fan is properly sized for your bathroom. A fan with a humidity sensor is a smart upgrade—it turns on automatically when the moisture level rises, so you don't have to remember to flip the switch.
This keeps your ceiling dry and prevents mold, all while staying out of sight.
FAQ
What is the best material for a shower ceiling?
The best materials are moisture-resistant and easy to clean, such as PVC panels, fiberglass, or specially sealed wood. Avoid drywall unless it’s covered with a waterproof coating.
Can I install a skylight in my shower ceiling?
Yes, but it’s a significant project that requires proper waterproofing and structural support. Consider a sun tunnel as a simpler alternative that still brings in natural light.
How do I prevent mold and mildew on my shower ceiling?
Use moisture-resistant materials, ensure proper ventilation, and apply mold-resistant paint. Regularly clean with a mildewcide and keep the area dry after use.
What is the most budget-friendly shower ceiling idea?
Painting your ceiling with a high-quality, moisture-resistant paint is the most affordable option. Adding a simple pattern or a second color can make it look custom without much cost.
Do I need a special type of paint for a shower ceiling?
Yes, use a paint labeled as bathroom or kitchen grade, which contains mildewcide and is more resistant to moisture. High-gloss or semi-gloss finishes are easier to clean.
Conclusion
Upgrading the ceiling above your shower is one of those details that quietly pulls the whole room together. You don't need a full renovation—just pick one idea that fits your style and moisture tolerance, and start there. Whether it's a wood-look panel or a simple beadboard, the right ceiling makes the space feel finished.
Take a moment to check your ventilation and materials before committing. A little planning now saves you from peeling paint or mold later. Choose something you'll enjoy looking at every day, and your shower will feel more like a retreat and less like an afterthought.