11 Backyard Privacy Ideas for a More Peaceful Retreat
Your backyard should feel like a retreat, not a stage for the neighbors. Whether you rent or own, there are plenty of ways to carve out privacy without blowing your budget.
Some fixes take an afternoon, others a weekend, but all of them make your outdoor space feel more like yours. We've rounded up 11 ideas that actually work, from quick screens to long-term landscaping.
Each one solves a different problem, so you can pick what fits your yard, your climate, and your wallet. No fancy tools required, just a little planning and maybe a trip to the hardware store.
1. Grow a Living Wall with Clumping Bamboo
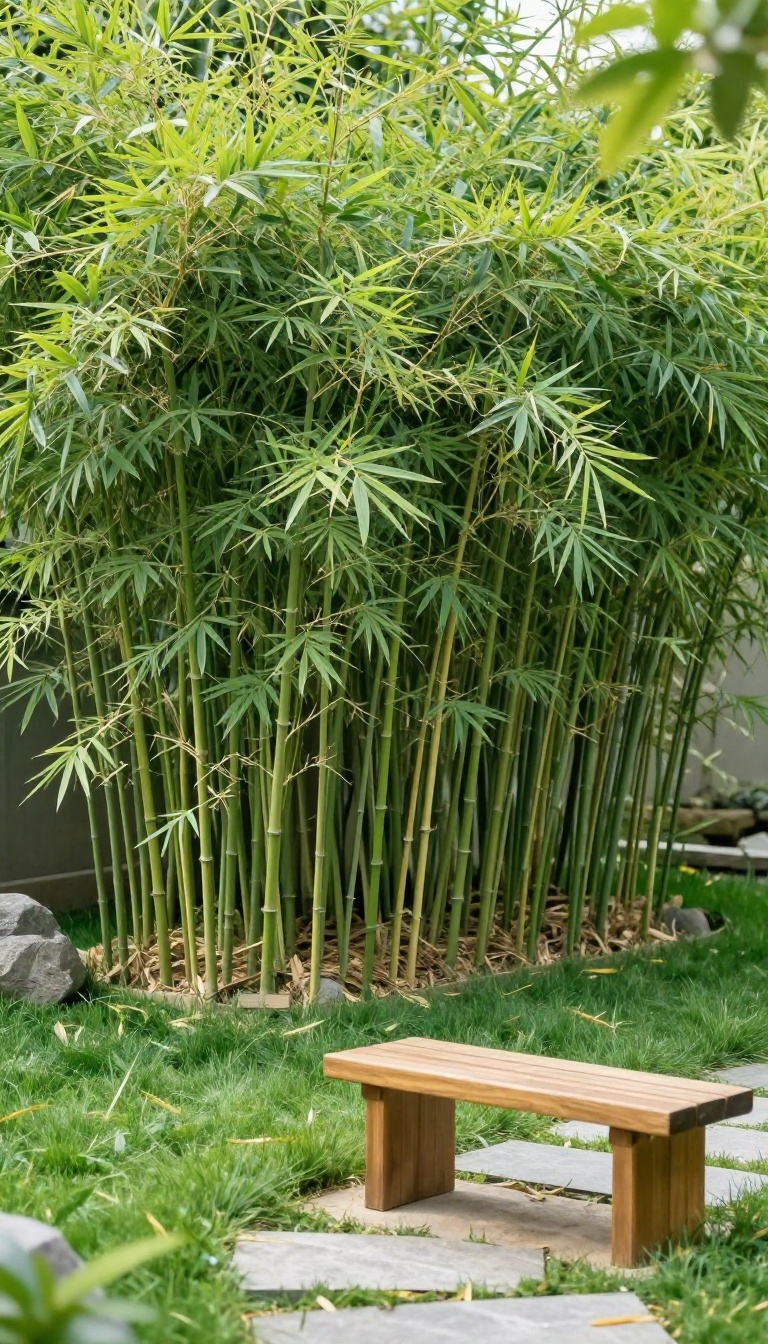
Bamboo gets a bad reputation, and honestly, most of it is deserved. Running bamboo will take over a yard faster than you can say "invasive species. " But clumping bamboo is a different story.
It grows in tight, well-behaved clusters that stay where you put them, which makes it one of the best natural privacy screens you can plant.
Clumping bamboo fills in fast, usually within two or three seasons, and it gives you that soft, green wall that blocks sightlines without the hard edges of a fence. It also moves in the breeze, so your yard feels alive instead of walled off. The best part?
Once it's established, it mostly takes care of itself. You'll want to pick a variety that matches your climate. Some clumping types handle cold snaps, others thrive in heat, and a few stay compact enough for small yards.
A quick check with a local nursery will save you a lot of guesswork. Plant it where you want the screen to live for the long haul, because moving mature bamboo is a chore. Give it room to spread its clump, water it well the first year, and you'll have a privacy wall that looks better every season.
Choosing The Right Variety
Look for clumping types like Fargesia for cooler zones or Bambusa for warmer ones. Heights range from 6 to 20 feet, so match the mature size to the gap you're trying to cover. If you're unsure, ask a local grower what survives winters in your area.
Planting And Spacing
Dig a hole twice as wide as the root ball but no deeper. Space plants 3 to 5 feet apart so the clumps can merge into a solid screen without crowding. Add compost, water deeply, and mulch to keep moisture in.
Keeping It Tidy
Clumping bamboo doesn't need much pruning, but you can thin out dead culms in early spring. Trim the lower branches if you want a cleaner look near the base. A little shaping once a year keeps the screen looking sharp.
2. Install Reed or Willow Fencing for Instant Coverage
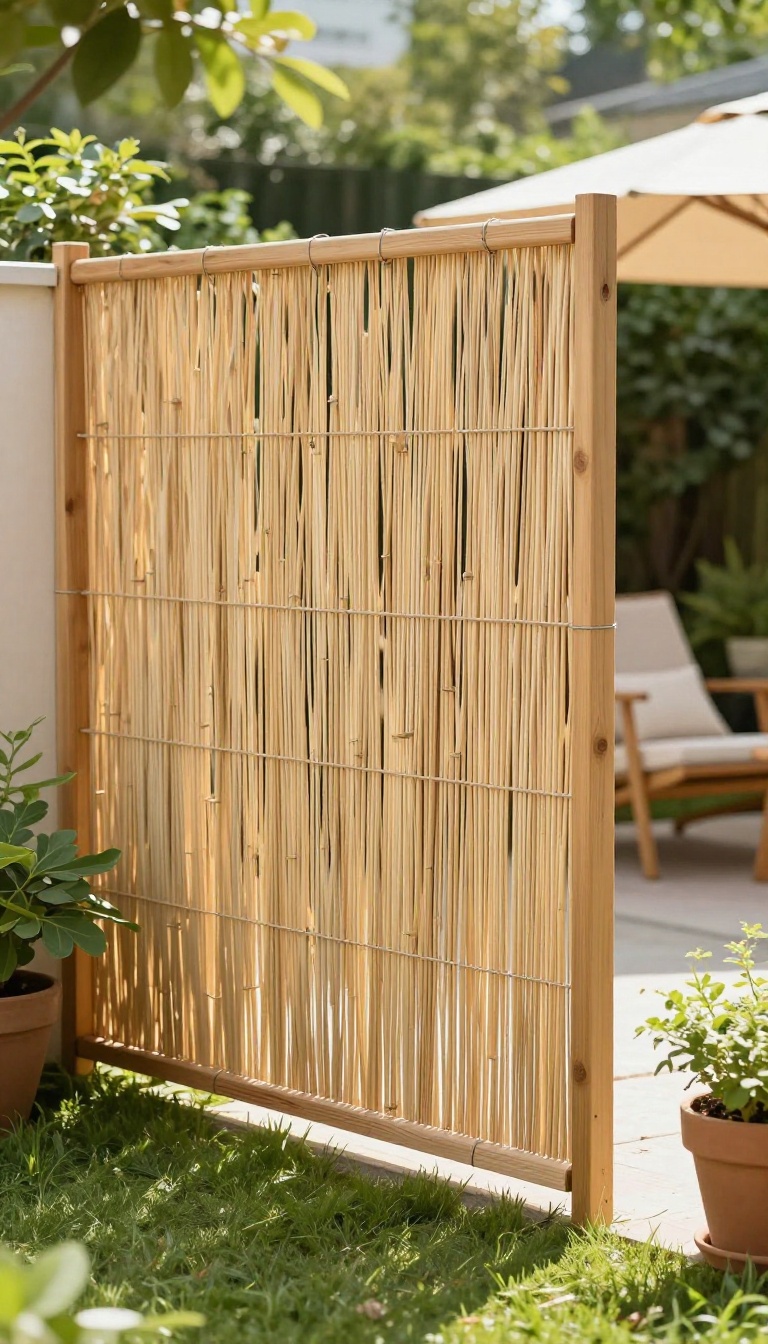
Reed and willow fencing come in rolled panels that you can unroll and attach to almost anything. They're made from natural materials, so they look warm and organic instead of plastic and sterile. The best part?
You can get real privacy in about an hour, no digging or concrete required.
These rolls are typically made from thin reeds or willow branches woven together with wire. They're lightweight, flexible, and surprisingly durable for the price. You'll find them at garden centers, home improvement stores, and online for around $30 to $80 per roll, depending on height and width.
Because they're so easy to install, they're perfect for renters or anyone who doesn't want to commit to a permanent structure. You can attach them to an existing chain-link fence, a balcony railing, or even a simple frame you build yourself. They also work great as a temporary screen around a patio or hot tub.
One thing to keep in mind: reed and willow fencing won't last forever. With proper care, you'll get a few years out of them, but they do weather over time. That said, the natural look and instant privacy make them a worthwhile trade-off for many yards.
How To Attach Them Without Damaging Your Fence
Zip ties are your best friend here. They're cheap, strong, and won't leave holes in metal or vinyl. For wood fences, you can use a staple gun, but go easy so you don't split the slats.
If you're attaching to a railing, plastic-coated wire or heavy-duty twine works well and blends in. Measure twice before you start. Unroll the fencing and let it relax for a few hours so it doesn't curl.
Then attach it at the top, middle, and bottom for a clean, even look. Trim any excess with wire cutters, and tuck the cut ends behind the roll so they don't poke out.
Making It Last Through The Seasons
Reed and willow will fade and dry out over time, but you can slow that down. A coat of clear sealant or linseed oil once a year helps protect against moisture and UV damage. Just make sure the fencing is completely dry before you apply anything.
If you live in a wet climate, consider raising the bottom edge a few inches off the ground. That keeps it from sitting in puddles and rotting. In snowy areas, you might want to take the rolls down for winter and store them in a dry shed or garage.
Where It Works Best (and Where It Doesn't)
This stuff shines on balconies, rental patios, and small city yards where you need a quick fix. It's also great for adding a decorative layer on top of an ugly existing fence. But if you need serious security or sound blocking, it won't do the job.
It's a visual screen, not a fortress. For windy spots, go with a denser weave and secure it tightly. Loose rolls can flap and tear in strong gusts.
And if you're covering a large area, expect to buy multiple rolls. Measure your space and add 10% for overlap and waste.
3. Build a Simple Wooden Privacy Screen
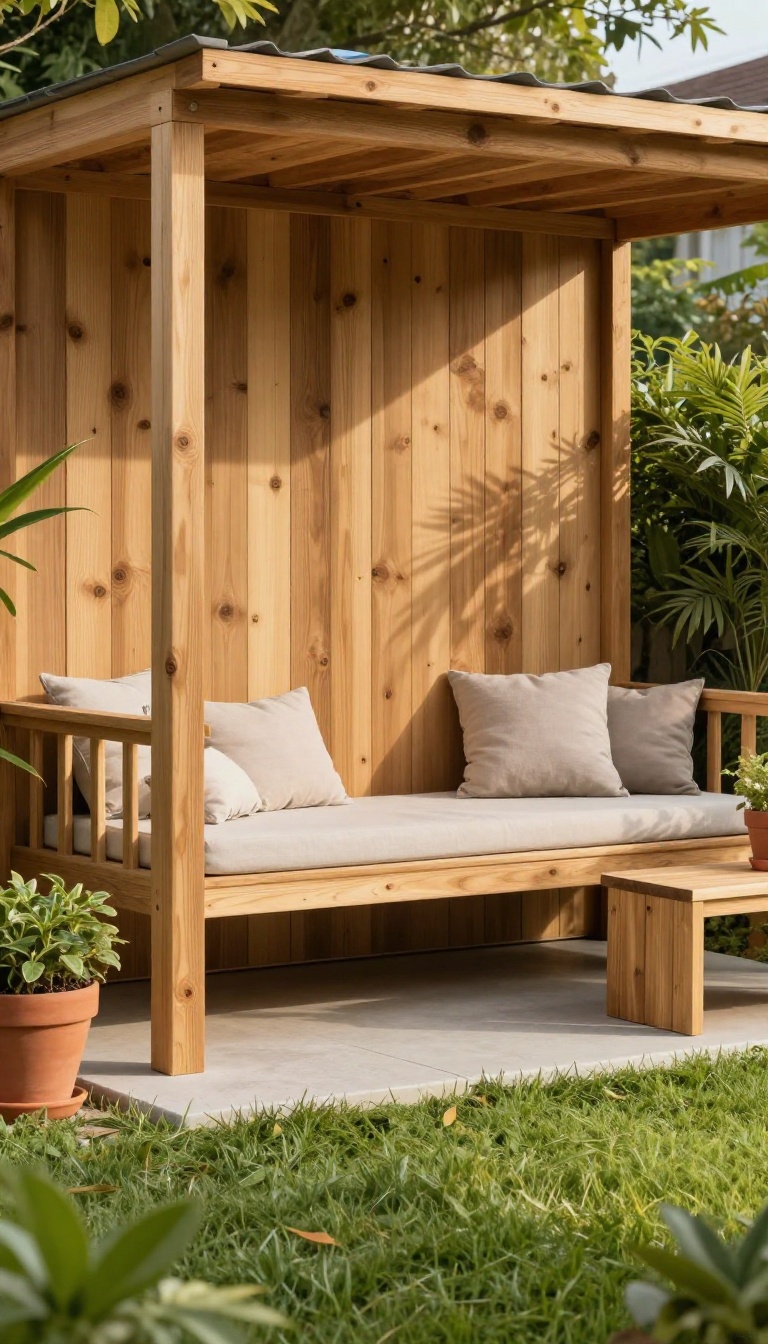
A freestanding wooden screen gives you privacy without committing to a full fence. It's a weekend project that anyone with basic tools can handle. Cedar planks and posts are all you need to hide a hot tub, seating area, or utility corner.
This screen stands on its own, so you can move it if you change your mind. It's ideal for renters or anyone who wants a quick fix. Plus, it looks good from both sides.
What You'll Need
You'll need cedar planks, posts, and basic hardware. Cedar resists rot and looks great naturally. A saw, drill, and level are the main tools.
You can buy pre-cut planks to save time.
Step-by-step Build
Start by setting your posts in the ground or in concrete footings. Then attach horizontal rails between them. Finally, nail or screw the planks to the rails, leaving small gaps for airflow.
Stain or seal it if you want extra protection.
Placement Tips
Put the screen where you need privacy most, like around a hot tub or seating area. Make sure it's stable and won't tip in wind. If you're renting, use removable footings so you can take it with you.
4. Use Tall Grasses and Ornamental Plants as a Soft Barrier
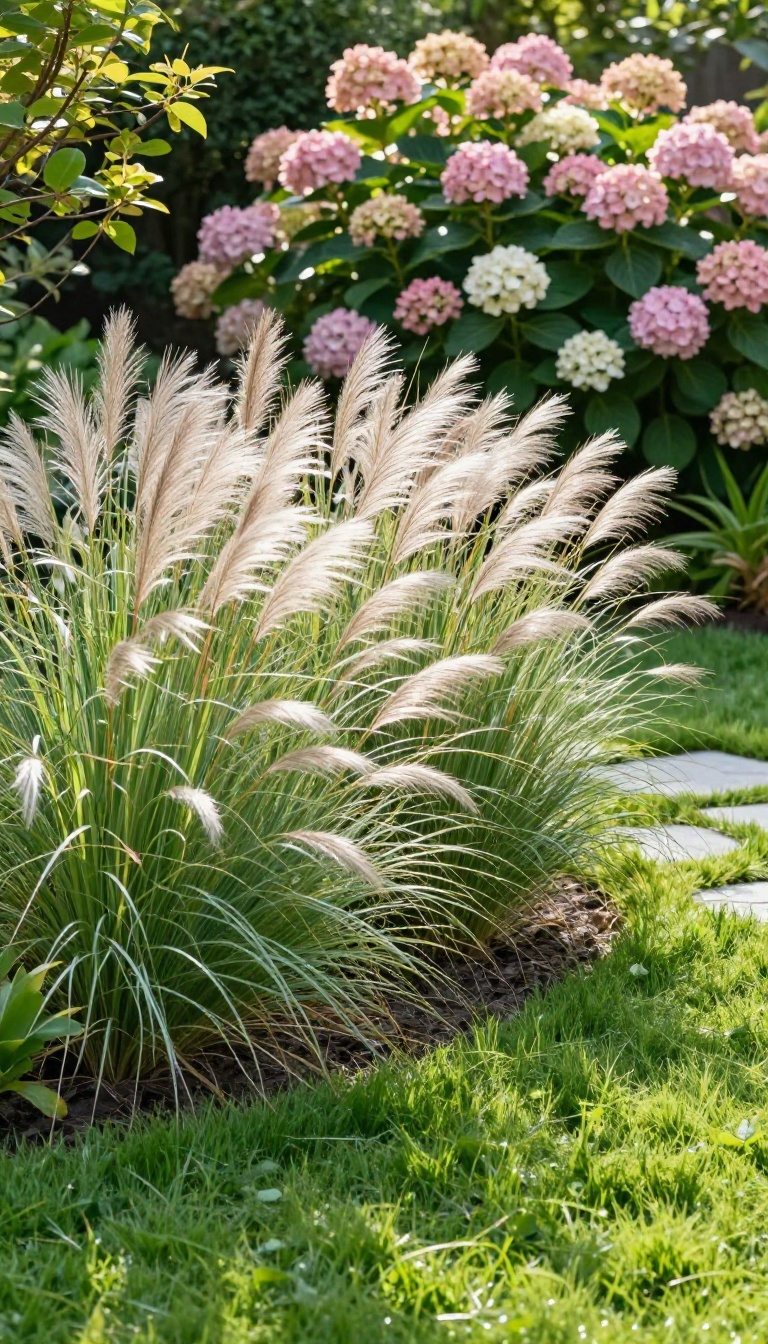
Tall grasses and ornamental plants offer a privacy screen that feels alive and effortless. They sway with the breeze, soften hard edges, and give your yard a calm, natural rhythm. Unlike rigid fences, they blend into the landscape and never look out of place.
These plants are workhorses in the garden. They grow quickly, need little water once established, and come back year after year. You can plant a single row for a subtle divider or double up for a denser block.
Either way, you get privacy that looks intentional and feels organic.
Best Grasses For Quick Coverage
Pampas grass is a classic for a reason: it shoots up fast and forms a thick, feathery wall. Miscanthus is another favorite, with silvery plumes that catch the light. For smaller spaces, try fountain grass or switchgrass.
These varieties top out between 3 and 6 feet, so they block sightlines without towering over you. Plant them in spring or early fall, water deeply for the first season, and they'll take off.
Mixing In Flowering Shrubs
Grasses alone can look a bit one-note. Add shrubs like hydrangea, viburnum, or rose of Sharon for color and structure. They fill in the gaps and extend your privacy screen lower to the ground.
Choose varieties that bloom at different times so something is always happening. This mix also supports pollinators, which is a nice bonus.
Planting And Care Tips
Space plants according to their mature width, not their nursery size. That gives roots room to spread and avoids a crowded look. Mulch around the base to keep weeds down and moisture in.
In late winter or early spring, cut back grasses before new growth appears. This keeps them tidy and encourages fresh, upright stems.
5. Hang Outdoor Curtains for Flexible Privacy
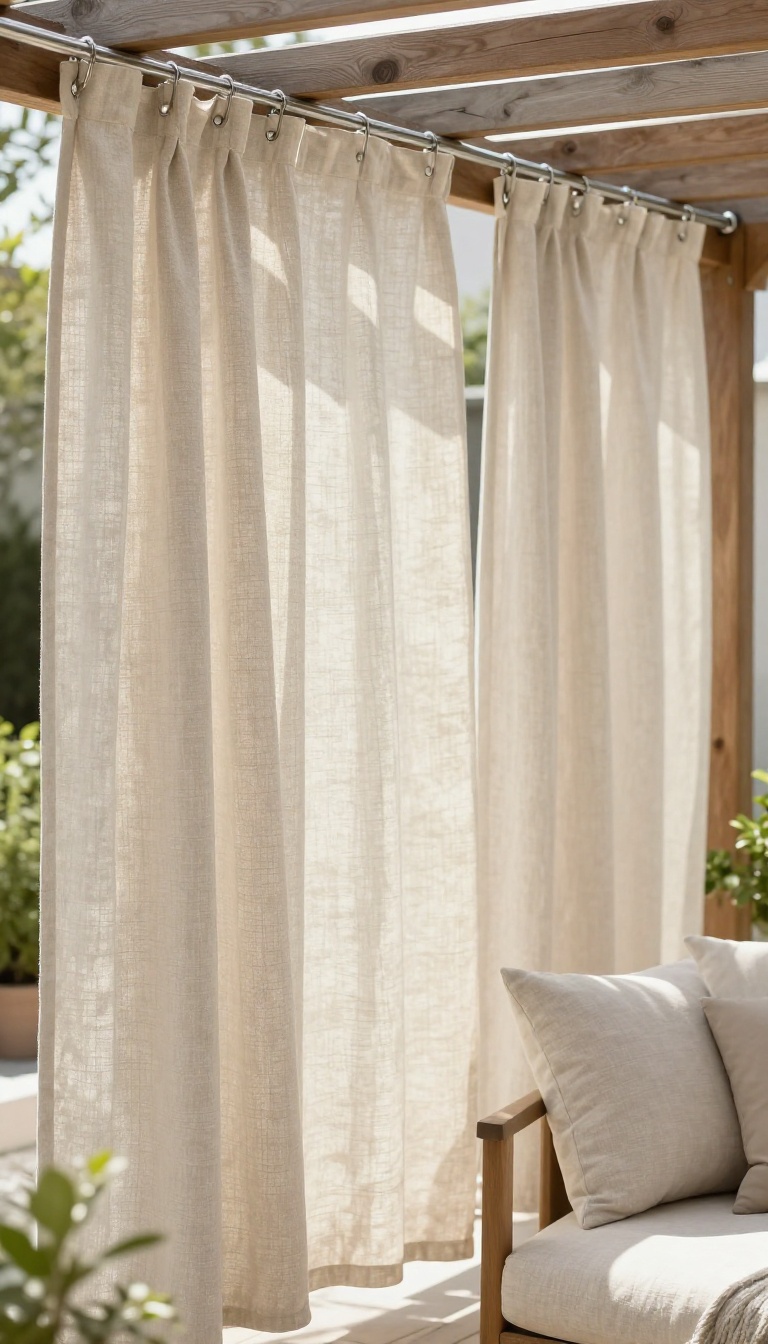
Outdoor curtains give you privacy on demand. Unlike a fence or a wall of shrubs, they can be pulled shut in seconds and opened just as fast when you want more sun or a better view. They work best on a pergola, gazebo, or covered patio where you already have a frame to hang them from.
If your yard gets a lot of wind, look for weighted hems or tie-downs to keep them from flapping. The best part? You don't need a contractor.
A few hooks, a rod, and a free afternoon are usually enough to get them up.
Pick The Right Fabric For Your Climate
Not all outdoor curtains are built for the same weather. In sunny, dry areas, solution-dyed acrylic holds color well and resists fading. In humid or rainy climates, look for mold- and mildew-resistant fabrics like polyester blends treated for outdoor use.
If you live somewhere windy, choose a heavier fabric or one with a weighted hem. Lightweight curtains will whip around and wear out fast. Also check the label for UV resistance, especially if the curtains will face direct sun most of the day.
Mounting Options That Actually Hold Up
You can hang curtains from a pergola beam, a gazebo frame, or a dedicated curtain rod. For wood beams, use stainless steel eye hooks and a cable or rod that won't rust. For metal frames, clamp-on rod brackets work without drilling.
If you don't have a structure, a freestanding curtain rod or a pair of tall posts set in concrete can do the job. Just make sure the mounting point can handle wind gusts. When in doubt, go with hardware rated for outdoor use and check it after big storms.
How To Use Curtains Without Killing The View
The beauty of curtains is that you can open them when you want to. On cool mornings, pull them back and let the sun in. When the neighbors are out or the afternoon sun gets harsh, close them for instant shade and privacy.
You can also use them to define a space. Hang them at the corners of a patio to create a cozy room-like feel. Tie them back with outdoor-safe ties or magnets so they stay put when open.
Just avoid leaving them bunched up for long periods in wet weather, since trapped moisture can cause mildew.
6. Add a Trellis with Climbing Vines
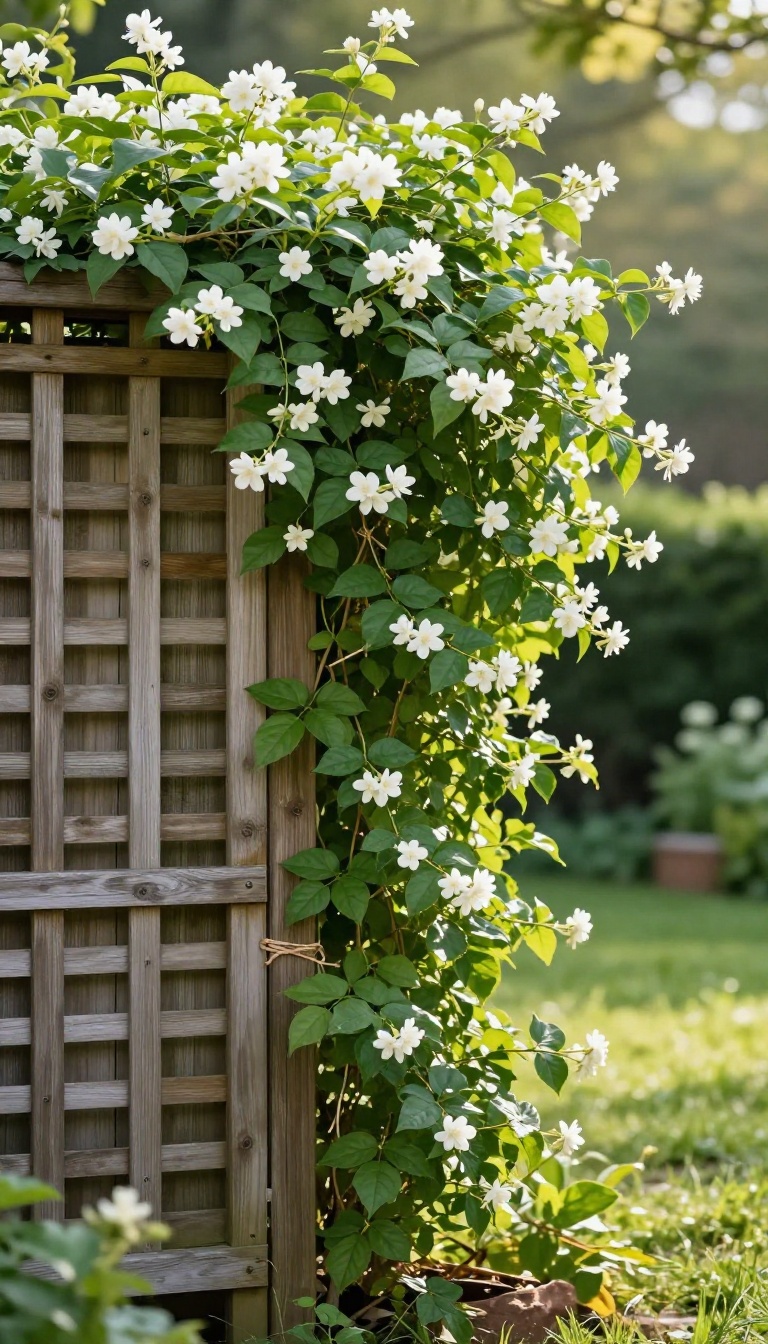
A trellis with climbing vines turns a bare wall or fence line into a living, breathing privacy screen. It's one of those rare upgrades that looks better as it ages, filling in thicker and taller with each season. Plus, it adds texture and fragrance that a plain wood or metal panel just can't match.
The basic idea is simple: you give vines something to climb, and they do the rest. Over time, they weave together into a dense green wall that blocks sightlines and softens the hard edges of your yard. It's a classic approach for a reason, and it works in almost any climate if you pick the right plant.
Choosing The Right Vines
Fast growers like jasmine, clematis, and climbing hydrangea are popular for a reason. They cover a trellis quickly and many of them bring flowers or fragrance along for the ride. Just check your growing zone first, since some vines thrive in full sun while others prefer a bit of shade.
If you want year-round coverage, consider a mix of evergreen and deciduous varieties.
Trellis Styles And Placement
Trellises come in wood, metal, and even expandable plastic, so you can match your home's style without much effort. Mount one directly to a fence or wall, or use a freestanding panel if you're renting. For maximum privacy, place it where you need the screen most, like along a patio edge or near a seating area.
A little planning now saves you from wrestling with vines later.
Training And Maintenance
Vines need a little guidance at first. Tie them loosely to the trellis with soft twine or plant ties, and they'll take off on their own. After that, a seasonal trim keeps things tidy and encourages denser growth.
Don't skip watering during dry spells, especially in the first year. A well-tended vine wall can last for years with minimal fuss.
7. Stack Planters to Create a Portable Green Screen
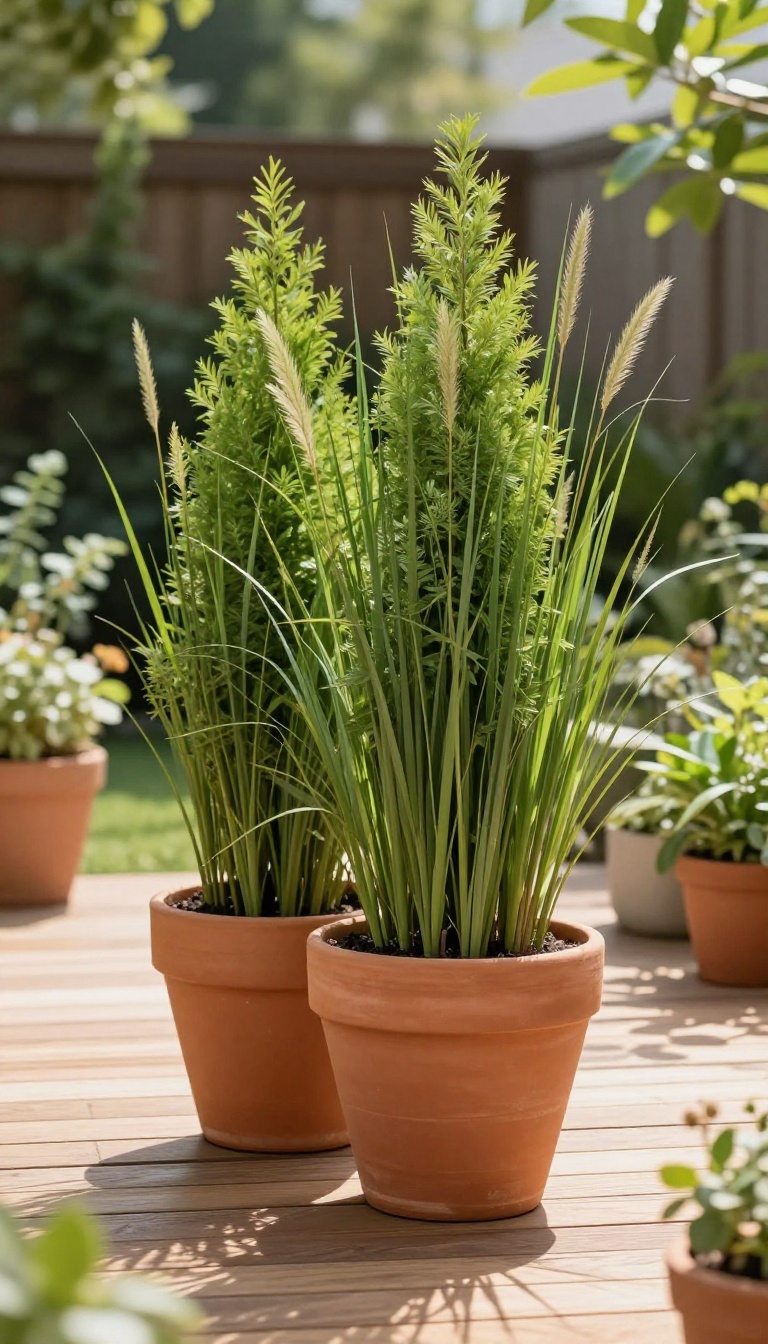
Stacked planters give you a privacy screen that moves when you do. Fill them with tall shrubs or ornamental grasses, and you've got a living wall that's ready to rearrange whenever the mood strikes. This approach works especially well for renters or anyone who likes to switch up their layout.
No digging, no permits, just pots and plants doing the heavy lifting.
Stacked planters are exactly what they sound like: two or more containers placed on top of each other to add height. You can use a tiered planter stand, or simply set a smaller pot on top of a larger one. The result is a column of greenery that blocks sightlines without a permanent fence.
The key is choosing plants that grow tall but stay manageable in containers. Bamboo, arborvitae, and tall grasses are solid picks. You'll also want to think about weight and stability, since a stack of wet pots can get top-heavy.
Pick The Right Plants For Height And Density
You want plants that grow upward, not outward, so they form a narrow screen. Columnar evergreens like 'Emerald Green' arborvitae work great, as do clumping bamboos and tall feather reed grass. Avoid anything that spreads aggressively or needs constant pruning.
Density matters too. A single spindly plant won't block much. Choose varieties that stay full from top to bottom, or plant multiple stems in one pot for a thicker look.
Build A Stable Stack
Start with a heavy, wide base pot. A 20-inch diameter planter filled with soil won't tip easily. Set a smaller pot on top, but make sure it's centered and secure.
You can use a pot feet or a brick between them to prevent wobbling. If you're stacking three high, consider a tiered metal stand instead. They're designed to hold multiple pots at different heights and keep everything stable, even on a patio.
Move It Where You Need It
Add casters to the bottom pot if you want to roll your screen around. Otherwise, place it on a dolly or simply lift it with a friend. This flexibility is the whole point: block the neighbor's deck during a party, then shift it to shade a reading nook.
Just remember that wet soil is heavy. A 15-gallon pot can weigh over 100 pounds, so plan your moves before you fill it.
Keep It Looking Good
Container plants need more water than in-ground ones, especially in summer. Check moisture daily and feed with a slow-release fertilizer in spring. Rotate the pots every few weeks so all sides get even sun.
In winter, move the stack to a sheltered spot or wrap the pots to prevent cracking. If you use evergreens, they'll keep screening year-round in mild climates.
8. Erect a Fence with Decorative Panels
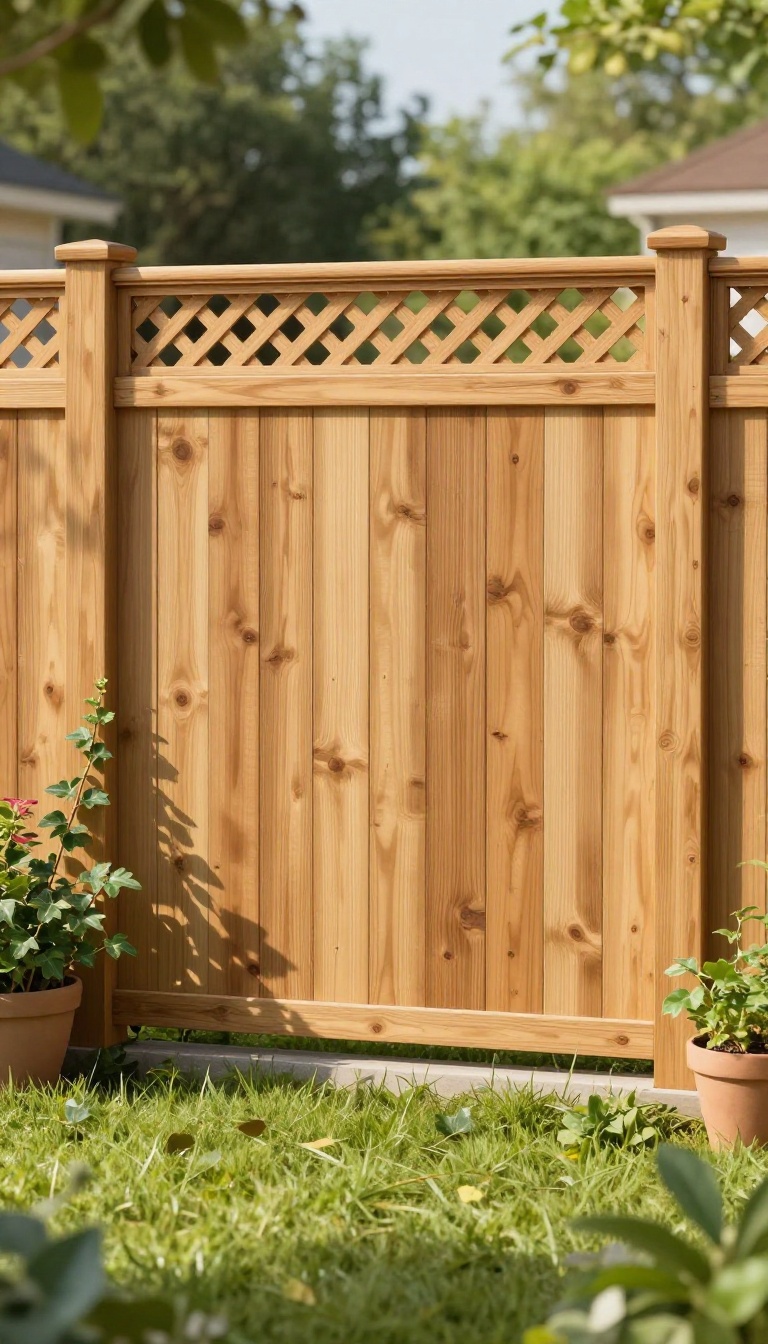
A classic fence does more than mark property lines. When you add decorative panels or lattice tops, it becomes a design feature that also blocks sightlines. You get solid privacy and a look that complements your home.
This approach works for almost any yard because you can customize height, material, and style. Just check local rules before you dig. A well-built fence can last for decades and instantly make your backyard feel more secluded.
A fence with decorative panels gives you the best of both worlds: serious privacy and genuine curb appeal. Unlike a plain stockade fence, the decorative elements turn a utilitarian barrier into a thoughtful part of your landscape. You can choose from wood, vinyl, composite, or metal, and mix in lattice, shadowbox, or patterned panels to soften the look.
The key is to balance height and style with your local regulations and your relationship with neighbors. Too tall, and you might block breezes or create a fortress vibe. Too short, and you lose the privacy you wanted.
The sweet spot is usually 6 to 8 feet, but that varies by area. Decorative panels also let you add personality without painting the whole fence. A row of lattice tops, for example, adds visual interest while letting a little light through.
Or you can use alternating panel designs to create a rhythm that draws the eye. Either way, you end up with a boundary that feels intentional, not just functional.
Pick The Right Panel Style
Decorative panels come in a few common styles. Lattice tops are the classic choice: they add a decorative band above solid boards and let some air and light pass through. Shadowbox fences alternate boards on each side, so you get privacy without a flat, solid wall.
You can also find panels with geometric cutouts, woven patterns, or even metal inserts. Think about how much privacy you need. If you want to block all sightlines, go with solid panels and add a decorative top.
If you only need to break up the view, a semi-open pattern works and looks lighter. The style should match your home's architecture. A modern home pairs well with horizontal slats, while a traditional cottage looks great with lattice or picket details.
Check Height And Local Rules
Before you buy materials, call your city or county planning office. Most places have height limits for fences, often 6 feet in front yards and 6 to 8 feet in backyards. Some neighborhoods or HOAs have stricter rules.
You might also need a permit, especially if the fence is over a certain height or near a property line. Also, talk to your neighbors. Even if you're within your rights, a quick heads-up can prevent tension.
If you're on good terms, you might even split the cost of a shared fence. And don't forget to check for utility lines before you dig post holes. A quick call to 811 can save you from a costly mistake.
Install For Longevity
A fence is an investment, so build it to last. Use pressure-treated or rot-resistant wood for posts, and set them in concrete below the frost line. If you choose vinyl or composite, follow the manufacturer's instructions for spacing and expansion.
Metal fences need rust-resistant coatings and proper anchoring. Decorative panels can be heavy, so make sure your posts and rails are up to the task. Add a cap rail or trim to protect the top edge from water.
And if you want extra privacy, consider adding a climbing vine or a row of shrubs along the base. That softens the hard lines and boosts the seclusion even more.
9. Use Shade Sails or Fabric Screens for Overhead Privacy
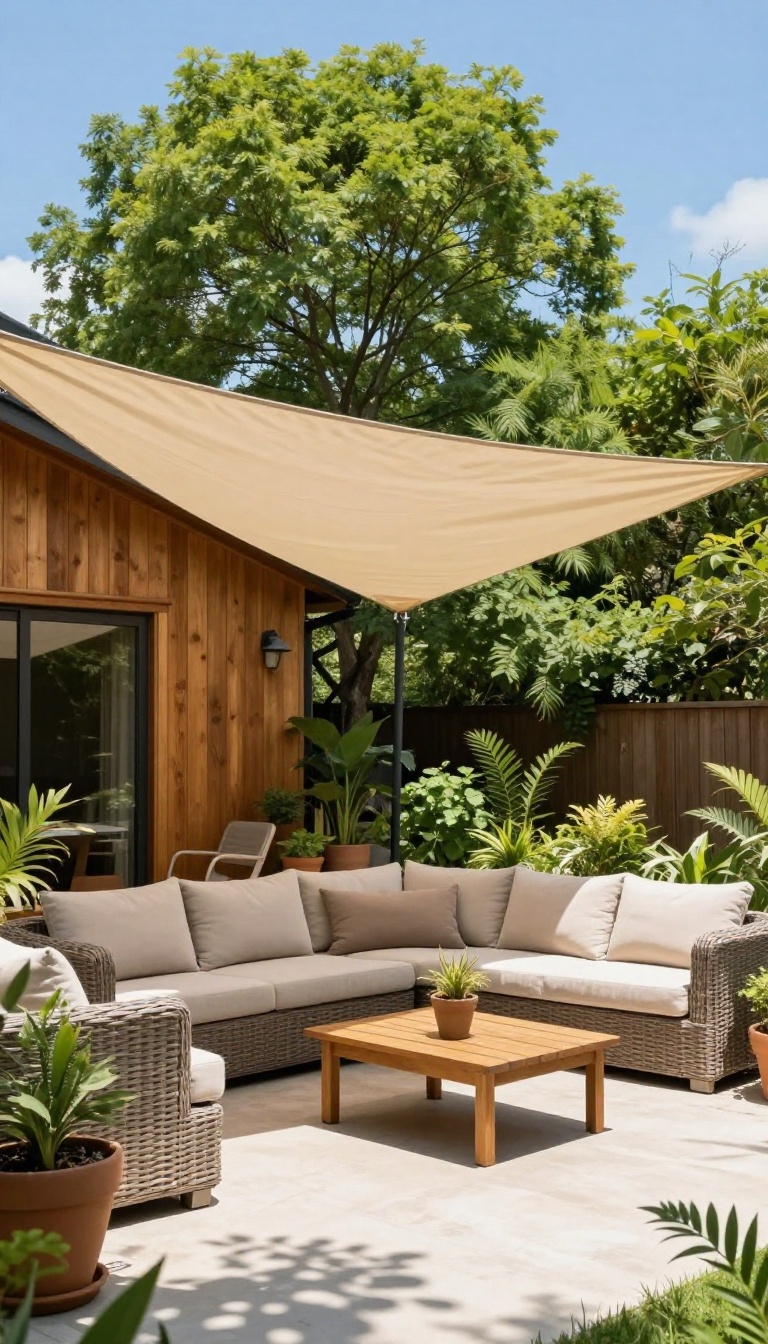
Most privacy ideas focus on what's at eye level, but the real problem often comes from above. Neighbors with second-story windows, balconies, or even a raised deck can see straight down into your yard. Shade sails and fabric screens solve that by covering the space overhead, not just the sides.
They're lightweight, modern-looking, and usually cost less than a traditional pergola or fence extension.
Shade sails are those taut, triangular or square pieces of fabric you've probably seen stretched between posts or from a house to a freestanding frame. They block upward views while letting air move through, so your yard stays comfortable instead of stuffy. Fabric screens work the same way, just with a different look.
You can mount them horizontally like a canopy or angle them to block a specific window's sightline. Both options install with basic hardware and don't require a contractor.
Choosing The Right Fabric And Shape
Shade sails come in triangle, square, and rectangle shapes, and the shape you pick depends on where you need coverage. A triangle works well for corner spots, while a rectangle covers a seating area more evenly. Look for UV-resistant, waterproof fabric like HDPE or marine-grade canvas.
Cheaper fabrics fade and tear within a season, so spending a little more upfront saves you a replacement later. Color matters too: light tones reflect heat, dark tones absorb it and create more shade.
Mounting Without A Major Build
You don't need a full pergola to hang a shade sail. Attach one corner to your house and the opposite corners to sturdy posts set in concrete. For a renter-friendly version, use weighted bases or existing fence posts with heavy-duty brackets.
Keep the fabric taut so it doesn't flap in the wind or collect water. A turnbuckle on each corner makes tensioning easy and lets you tighten things up after a storm.
Layering With Side Screens
Overhead coverage handles the view from above, but you might still want side protection for low angles. Fabric screens with grommets can hang vertically from the same posts, creating a semi-enclosed feel without walls. Choose a breathable outdoor fabric so breezes still pass through.
This combo gives you shade, privacy, and a bit of wind blocking, all without turning your yard into a solid box.
Maintenance And Seasonal Care
Shade sails and fabric screens aren't permanent structures, so treat them like seasonal gear. Take them down before heavy winter storms or hurricane season if you live in a windy area. Hose them off a few times a year to prevent mildew, and let them dry fully before storing.
Most quality fabrics last three to five years with basic care. Check the tension and hardware each spring, and replace any frayed straps or rusted hooks right away.
10. Plant a Hedge of Evergreen Shrubs
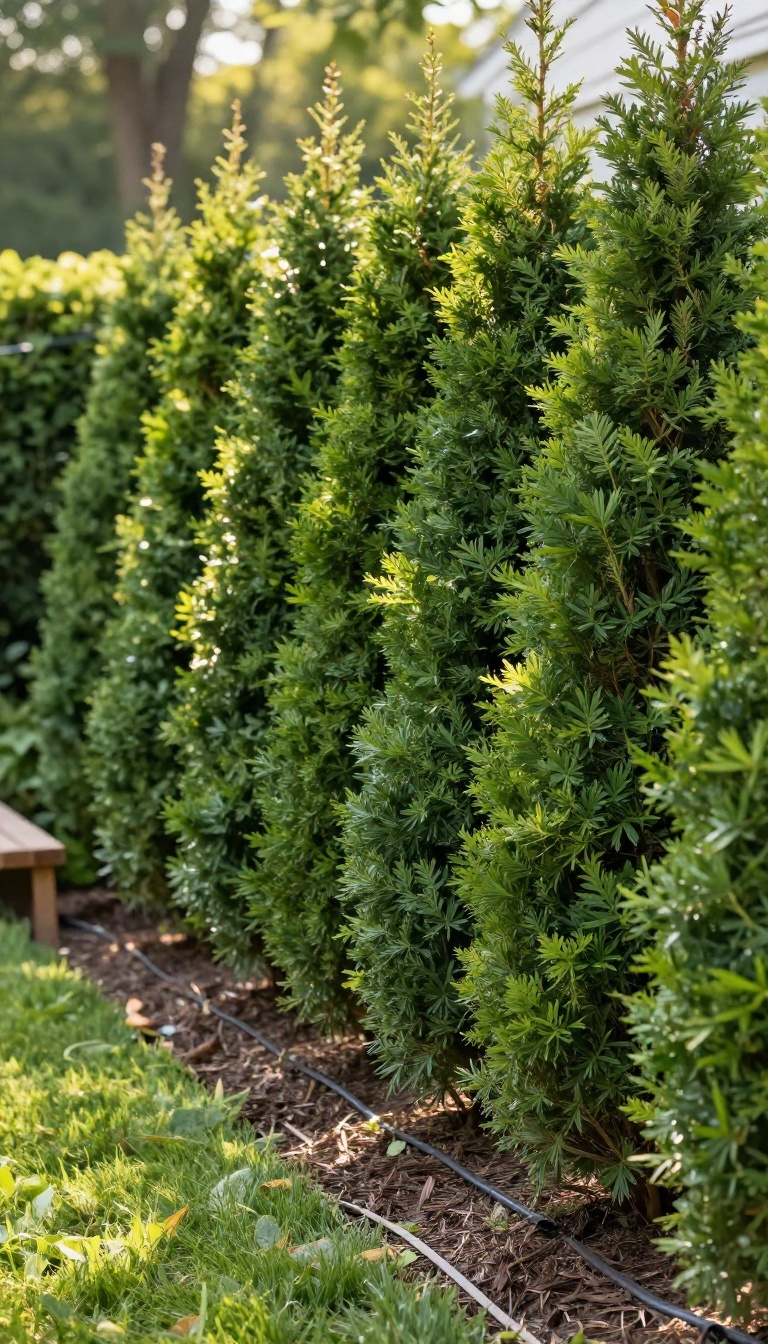
Evergreen shrubs like arborvitae, boxwood, or holly give you a living wall that stays green all year. They block sightlines, muffle noise, and add a soft, natural look that a fence can't match. The trade-off is time: most hedges need a few years to fill in, but once they do, they're nearly effortless.
A shrub hedge works for almost any yard because you can shape it to your space. Plant a single row along a property line, or double it up for extra density. The key is picking the right variety and giving it room to grow.
Unlike a fence, a hedge absorbs sound and filters dust. It also cools the air slightly and provides habitat for birds. And because it's living, it increases your property value as it matures.
Maintenance is minimal once established. You'll water regularly for the first couple of years, then mostly just trim once or twice a year. No painting, no staining, no replacing broken boards.
Choosing The Right Evergreen
Arborvitae grows fast and stays narrow, making it ideal for tight spaces. Boxwood is slower but dense and formal, perfect for a low border. Holly and cedar offer different textures and berry color in winter.
Match the mature height and width to your space so you're not constantly pruning.
Planting And Spacing
Dig a hole twice as wide as the root ball but no deeper. Space shrubs according to their mature width—usually 2 to 4 feet apart for a tight hedge. Water deeply after planting and add a layer of mulch to retain moisture.
A drip line makes watering easier and more consistent.
Long-term Care
Feed your hedge in early spring with a slow-release fertilizer. Prune lightly after the first flush of growth to encourage density. Avoid heavy shearing in late fall, which can leave plants vulnerable to winter damage.
With a little patience, your hedge will become a permanent privacy screen.
11. Create a Sunken or Raised Seating Area with Built-In Barriers
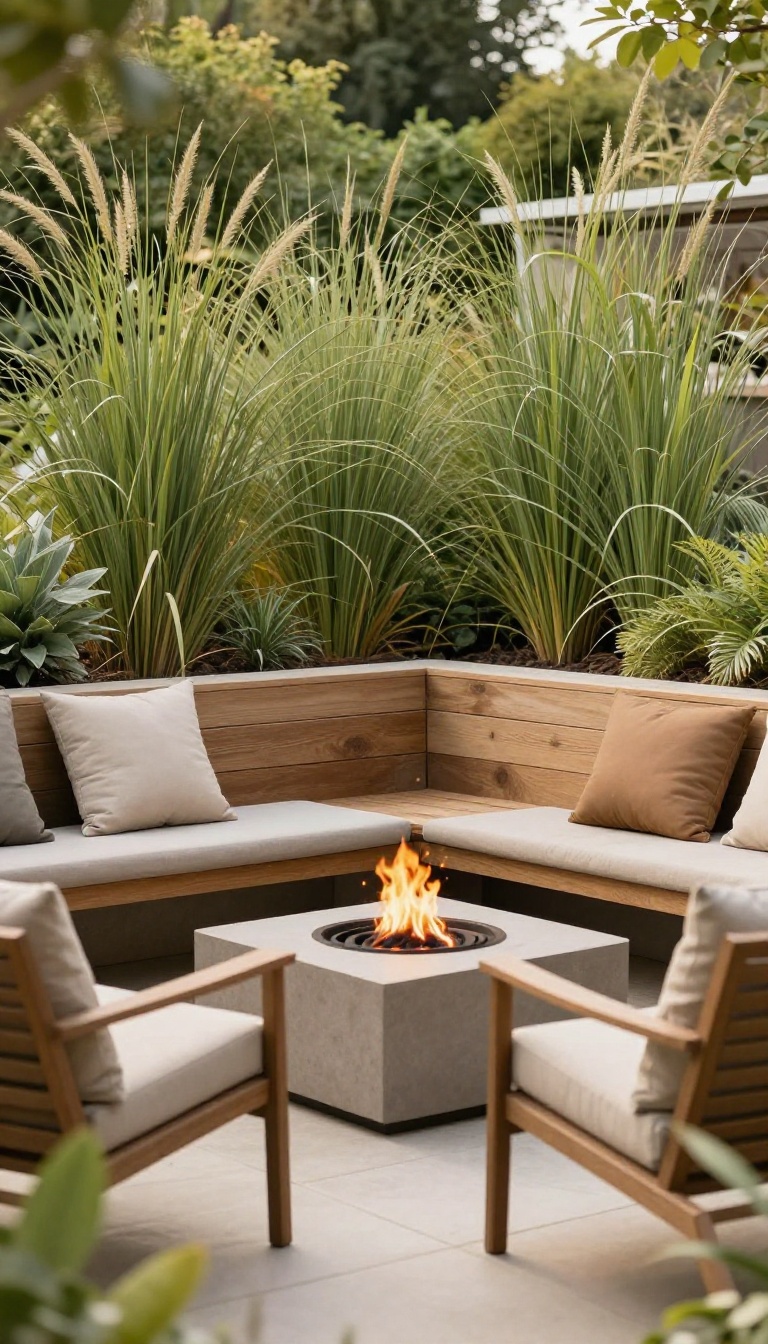
Changing the elevation of your seating area does more for privacy than almost any screen you can buy. A sunken patio sits below grade, so surrounding walls, planters, or even the earth itself block sightlines from the street or your neighbor's second-story window. A raised deck does the same thing from the opposite direction, lifting you above fences and shrubs while its built-in railings and planters add another layer of separation.
Both options require more planning and budget than a simple trellis, but they turn a flat, exposed yard into a destination that feels intentionally tucked away.
If you're handy or willing to hire a contractor, this is the kind of project that pays you back every time you step outside. The key is to think of the seating area and the barrier as one design, not two separate add-ons. That way, the privacy feels natural instead of tacked on.
Sunken Patios: Dig Down For Natural Screening
A sunken patio is exactly what it sounds like: you excavate a section of the yard and build a patio at a lower level. The surrounding soil acts as a natural wall, and you can top it with retaining walls, built-in benches, or tall planters. From inside the sunken area, you're looking up at the garden, which feels cozy and enclosed.
From the street or a neighbor's view, you're mostly hidden below the grade line. Just make sure you plan for drainage so rainwater doesn't pool in your new retreat. A French drain or a slight slope toward a dry well will keep things dry.
Raised Decks: Elevate Your View And Your Privacy
A raised deck lifts your seating area above the fence line, which can actually improve your view while blocking others from seeing in. The trick is to add built-in barriers like solid railing panels, tall planters along the perimeter, or a pergola with climbing vines. These features block sightlines from below and create a sense of enclosure.
If you go this route, check local building codes for height restrictions and railing requirements. A raised deck also gives you storage space underneath, which you can enclose with lattice or horizontal slats for extra screening.
Built-in Barriers That Do Double Duty
The best part of a sunken or raised area is that the barriers can serve multiple purposes. A retaining wall can double as a bench. A planter wall can grow privacy shrubs while providing a backrest.
A pergola overhead can support vines and shade. Think about how each element can work harder for you. For example, a low wall around a sunken patio can be topped with a trellis for climbing plants, giving you privacy without a tall fence.
On a raised deck, a built-in bench with a tall back can block wind and prying eyes at the same time.
Budget, Permits, And Practical Tips
This is a bigger investment, so set a realistic budget before you start. Sunken patios require excavation, retaining walls, and drainage, which can add up quickly. Raised decks need framing, decking, and railings.
In many areas, you'll need a permit for either project, especially if it's attached to your house or over a certain height. Call your local building department early to avoid surprises. If you're not confident in your DIY skills, hire a contractor for the structural work and save money by doing the finishing touches yourself, like staining or planting.
FAQ
What's the fastest way to get privacy in my backyard?
Reed fencing or outdoor curtains are the quickest options. You can install them in an afternoon and they provide immediate coverage.
Are there rental-friendly privacy ideas?
Yes. Rolled reed fencing, stacked planters, and freestanding screens don't require permanent changes and can move with you.
How do I choose between a fence and plants?
Fences give instant, solid privacy and last for years. Plants take time to grow but offer a softer look and can be cheaper upfront.
What plants grow fast for privacy?
Clumping bamboo, arborvitae, and tall grasses are fast growers. Check your local climate to pick the best variety for your area.
Can I combine multiple privacy ideas?
Absolutely. Layering a fence with vines or adding curtains to a pergola can boost privacy and look more polished.
Conclusion
You don't need to build all eleven ideas at once. Pick the one that fixes your biggest annoyance, whether that's a nosy neighbor, a bare fence, or a patio that feels exposed. Live with it for a week before adding more.
Privacy grows in layers, not in one frantic weekend of planting and drilling. Let each change settle, then notice what still feels open. Your backyard gets calmer through steady, thoughtful moves, one quiet corner at a time.