10 Shower Bathroom Ideas for a Clean and Cohesive Design
A clean, cohesive shower design doesn't happen by accident. It's the result of deliberate choices—from tile size to drain placement—that work together to create a seamless look. The best part?
Many of these ideas are budget-friendly and easy to implement, whether you're renovating or just refreshing. Neutral palettes, consistent hardware finishes, and smart storage solutions can transform a chaotic bathroom into a calm retreat. Even small details like grout color or lighting placement make a big difference in how polished the space feels.
These 10 ideas focus on practical, visually unified upgrades that reduce visual clutter and maintenance. No gimmicks, just smart design choices that help your shower look and function better for years to come.
1. Stick to a Neutral Tile Palette
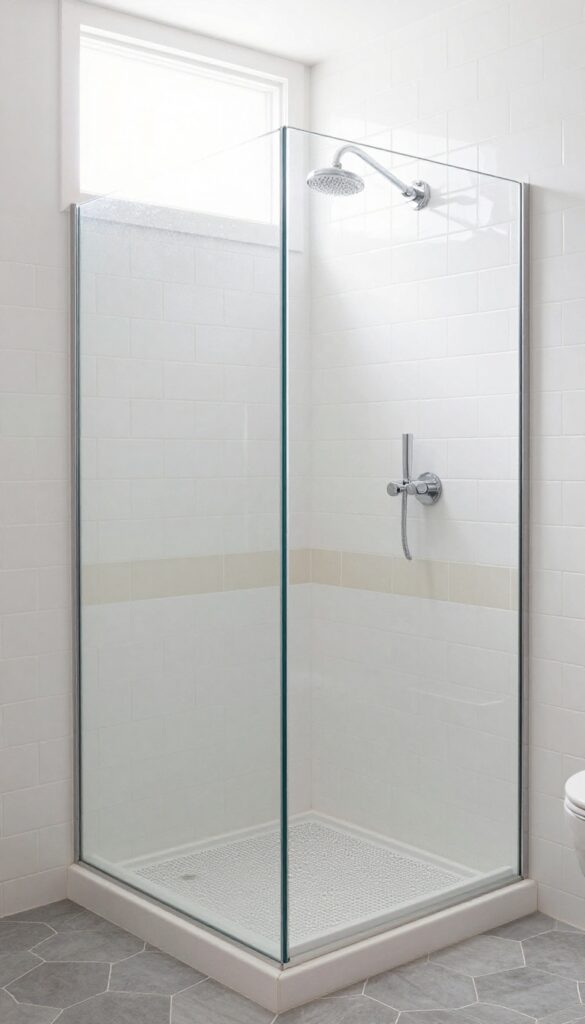
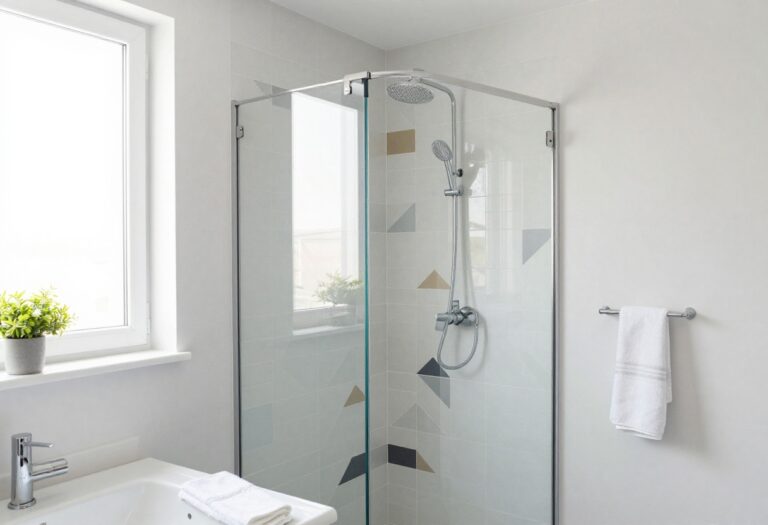
A neutral tile palette is the backbone of a clean, cohesive shower design. Whites, grays, and beiges create a calm backdrop that never feels dated. The trick is to introduce one accent tile—maybe a soft hexagon or a subtle stripe—to add visual interest without breaking the harmony.
Neutral tiles make the space feel larger and brighter, especially in smaller bathrooms. They also give you flexibility to change accessories or towels later without clashing. When choosing your main tile, go for a large-format option to minimize grout lines, which means less cleaning and a smoother look.
Why Neutrals Work So Well
Neutrals reflect light, making the shower feel airy and open. They also hide soap scum and water spots better than dark tiles. Plus, they pair effortlessly with any metal finish—brass, chrome, or matte black—so you can switch up hardware later without retiling.
How To Add An Accent Without Overdoing It
Pick one area for a contrasting tile: a niche, a vertical strip behind the showerhead, or the floor. Use a similar shape and size to keep the flow. For example, pair large white subway tiles on the wall with a small gray hexagon on the floor.
This adds texture without visual chaos.
Grout Color Matters Too
Match your grout to your tile for a seamless look, or go slightly darker to define each tile. Avoid white grout with white tile—it shows dirt fast. A warm gray or beige grout is forgiving and still looks clean.
2. Install a Frameless Glass Shower Door
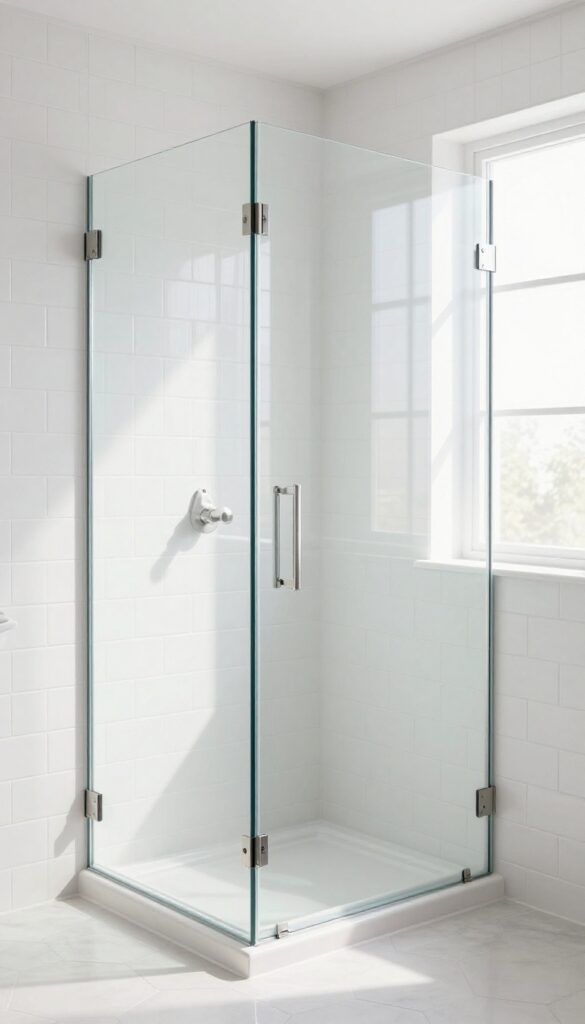
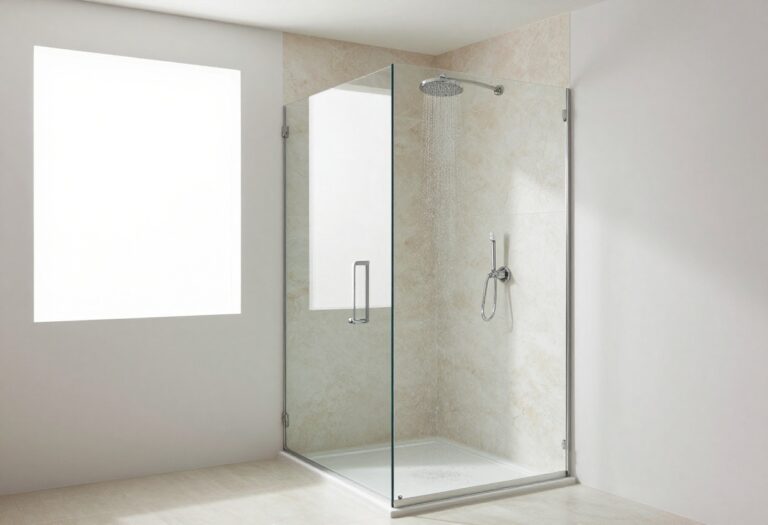
Few upgrades change the look and feel of a bathroom as dramatically as swapping a bulky framed shower door for a frameless glass version. The difference is instant: the room feels larger, brighter, and more open. Frameless doors rely on thick tempered glass and minimal hardware, so there are no metal tracks or frames to collect soap scum and mildew.
That means less scrubbing and a cleaner appearance every day.
Frameless glass doors are a worthwhile investment for a modern, seamless look. They eliminate visual barriers, making even small bathrooms feel spacious. The heavy-duty glass and concealed hinges add a touch of luxury without being flashy.
Plus, the lack of frames means no more struggling to clean those hard-to-reach corners where grime loves to hide.
Why Frameless Works
Without a metal frame, light flows freely through the glass, brightening the entire shower area. This openness helps the tile work and fixtures stand out, reinforcing a cohesive design. The minimal hardware—usually just hinges and a handle—keeps the focus on the materials you chose, not the door itself.
Cleaning Made Simple
Frameless doors are far easier to keep spotless. No tracks means no buildup of soap residue or mold. A simple squeegee after each shower keeps the glass clear.
For deeper cleans, a mixture of vinegar and water works wonders without harsh chemicals.
What To Look For
Choose 3/8-inch or 1/2-inch tempered glass for safety and stability. Opt for clear glass to maintain openness, though a subtle frosted option can add privacy if needed. Make sure the hinges are high-quality stainless steel or brass to prevent rust.
Professional installation is recommended to ensure a perfect fit and watertight seal.
3. Add a Built-In Niche for Storage
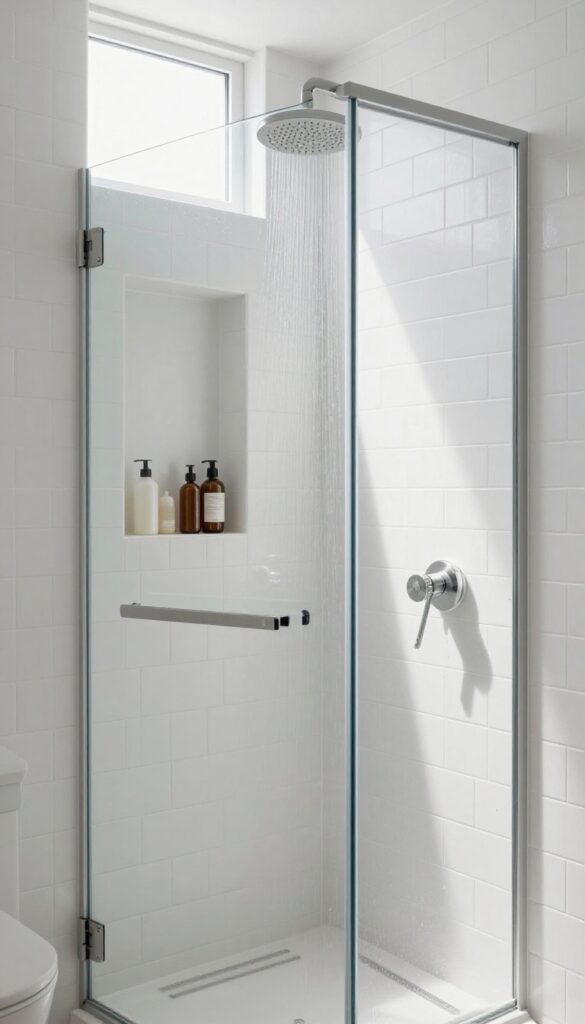
Shower shelves and caddies can start looking messy fast. A built-in niche solves that by giving your shampoo and soap a permanent, tidy home right in the wall. It's one of those upgrades that feels luxurious but doesn't have to break the bank, especially if you plan it during a renovation.
A recessed shelf keeps bottles off the floor and out of the way, making your shower easier to clean and more spacious. The key is integrating it seamlessly—matching the tile, grout lines, and depth so it looks like it was always meant to be there. You can even add a slight slope to prevent water pooling.
Plan The Size And Placement
Think about what you'll actually store. A standard niche is about 12 to 14 inches tall and wide enough for a large bottle. Place it at waist height on a wall that won't interfere with plumbing or studs.
Centering it between two studs makes installation straightforward.
Match Your Tile Layout
For a cohesive look, align the niche's grout lines with the surrounding tile. If you're using subway tile, for example, continue the same pattern inside the niche. This small detail makes the niche feel intentional rather than an afterthought.
Add A Subtle Slope
Water can collect in a flat niche, leading to soap scum and mildew. Ask your contractor to slope the bottom slightly toward the shower. A 1/8-inch drop per foot is enough to let water drain without bottles sliding off.
4. Choose a Single Finish for Hardware
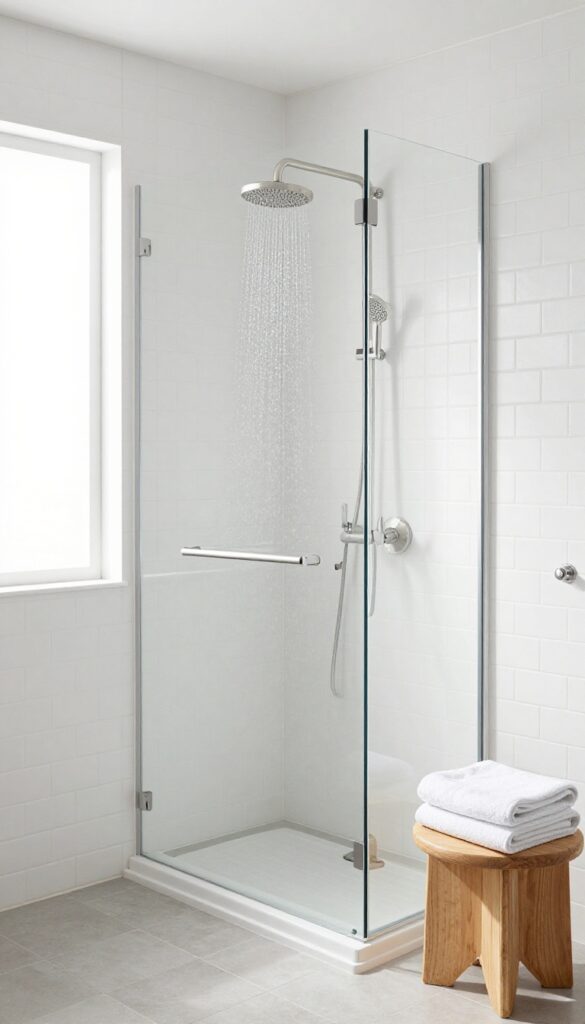
Mixing metal finishes can unintentionally make a bathroom feel busy. Sticking to one finish—like brushed nickel, matte black, or polished chrome—creates a unified, intentional look. It's a simple rule that pays off in visual harmony.
Why Consistency Matters
When every metal piece matches, the eye glides over the space without stopping. Faucets, showerheads, towel bars, and cabinet pulls all speak the same visual language. This subtle repetition reinforces the overall design without shouting.
How To Pick Your Finish
Consider your tile and vanity colors. Cool gray or white tiles pair well with chrome or brushed nickel. Warm wood or beige tones look great with brass or oil-rubbed bronze.
Matte black adds a modern edge and hides water spots better than shiny finishes.
Don't Forget The Small Stuff
Include everything: shower caddy hooks, toilet paper holder, even the drain cover. A mismatch in tiny details can break the illusion. If you're on a budget, swap out one or two pieces at a time—start with the most visible items like the faucet and showerhead.
5. Use Large-Format Tiles for Fewer Grout Lines
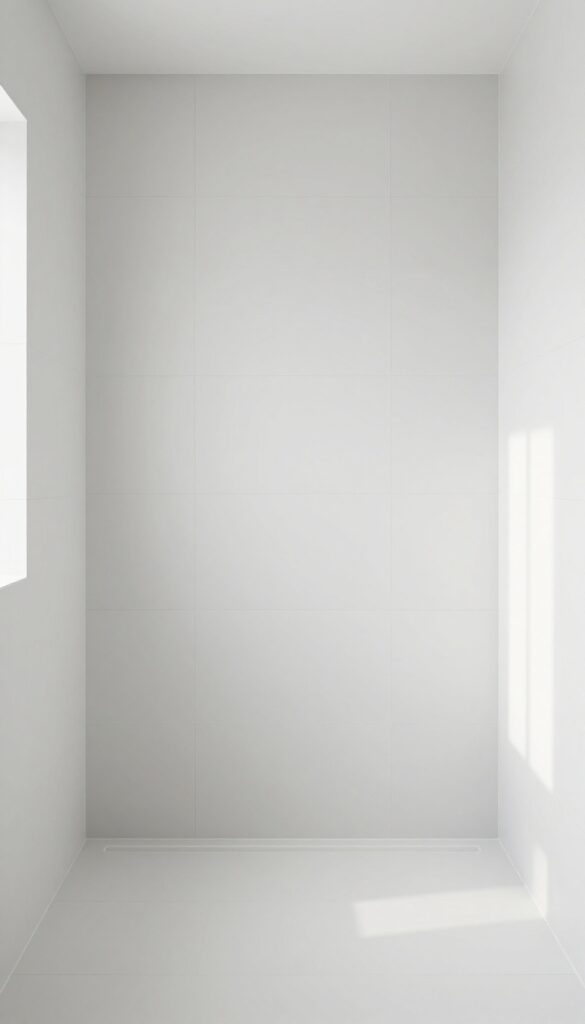
Big tiles bring big benefits to a shower. They cut down on grout lines, which means less scrubbing and a cleaner look over time. Plus, large-format tiles trick the eye into seeing more space, making even a compact shower feel airy and open.
Why Less Grout Matters
Grout is the most high-maintenance part of any tile shower. It stains easily, harbors mold, and requires regular sealing. Fewer grout lines mean less surface area for dirt to collect, so your shower stays cleaner longer.
Large tiles also create a smoother visual flow, which is the foundation of a cohesive design.
Making A Small Shower Feel Bigger
Small tiles with many grout lines can make a tiny shower feel busy and cramped. Large-format tiles, on the other hand, reduce visual breaks and create an uninterrupted surface. This continuity makes the walls appear to recede, giving the illusion of a larger space.
For maximum effect, use the same large tile on both walls and floor.
Installation Tips To Get It Right
Large tiles require a perfectly flat substrate—any dips or bumps will be obvious. Use a leveling system during installation to keep tiles flush. Also, choose a grout color that closely matches the tile tone to further minimize visible lines.
A matte finish on the tile helps hide minor imperfections and reduces glare.
6. Incorporate a Linear Drain
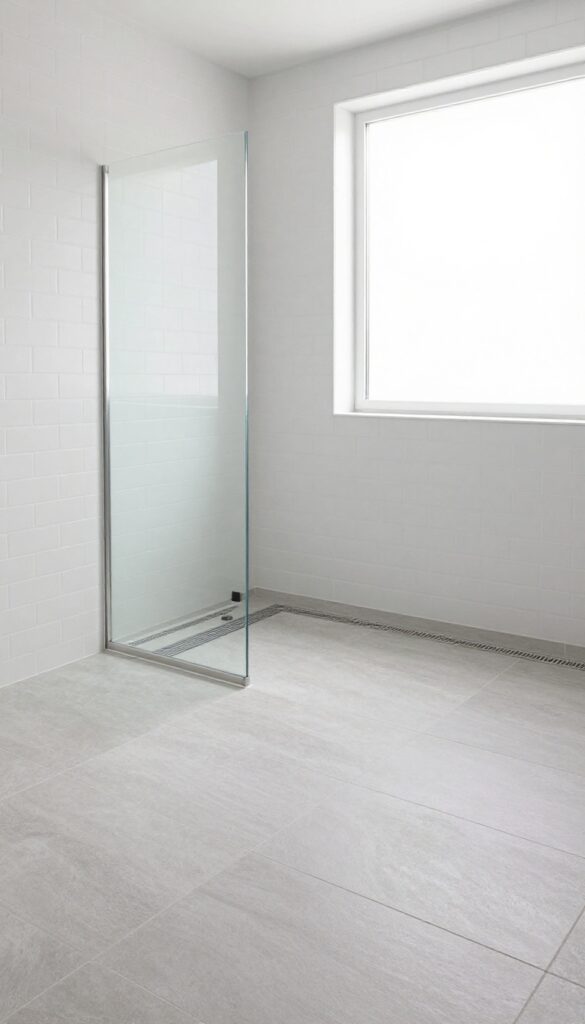
Linear drains are a game-changer for modern shower design. Unlike traditional round drains, they sit flush along one edge of the shower floor, allowing you to create a completely flat, curbless entry. The result is a sleek, minimalist look that feels more spacious and open.
Plus, they're easier to clean and offer better drainage performance.
A linear drain does more than just remove water—it removes visual clutter. By eliminating the need for a curb, you can extend your tile seamlessly from the bathroom floor into the shower, creating a truly cohesive look. This is especially effective in small bathrooms where every inch counts.
The long, narrow grate also serves as a subtle design element, available in various finishes to match your hardware.
Seamless Accessibility
A curbless shower with a linear drain is a smart choice for aging-in-place or universal design. Without a step to trip over, it's safer for everyone—kids, seniors, and anyone with mobility issues. You can even roll a shower chair right in without a bump.
The flat floor also makes cleaning a breeze, as there's no corner for grime to hide.
Slope And Installation Tips
Proper slope is critical with linear drains. The floor should pitch gently toward the drain, usually about 1/4 inch per foot. Work with an experienced tile setter to ensure the pan is sloped correctly.
For best results, place the drain along the back wall or at the shower entrance, so water flows away from the doorway. Use large-format tiles to minimize grout lines and enhance the clean look.
Styling The Grate
Don't overlook the drain cover—it's a design opportunity. Choose a brushed nickel or matte black grate to complement your faucet and showerhead. Some linear drains come with tile-insert grates, letting the drain blend into the floor for an almost invisible finish.
This is perfect for a truly seamless aesthetic. Just make sure the grate is removable for easy cleaning.
7. Add a Bench or Corner Seat
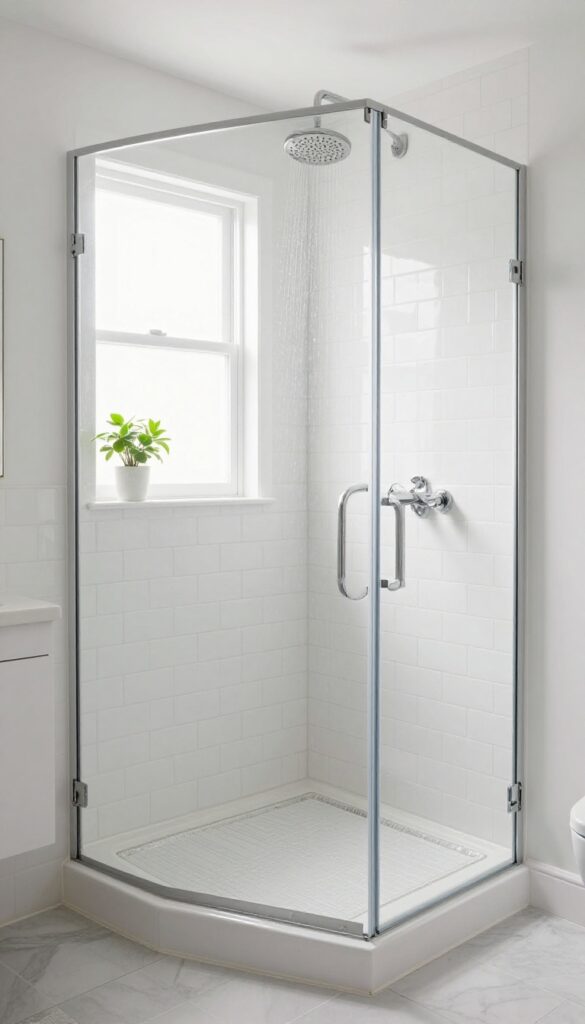
A shower bench does more than just give you a place to sit. It breaks up large tile expanses, adds a natural focal point, and makes the space feel more like a spa. Whether you choose a built-in tiled bench or a standalone teak stool, the extra seating instantly upgrades both form and function.
A shower bench is a practical addition that also enhances the visual flow of your shower. It provides a spot to rest a foot while shaving, a safe place for elderly family members, or simply a perch to pause and enjoy the steam. By interrupting tall vertical tile patterns, it adds a horizontal line that can make the shower feel wider and more balanced.
Choose materials that complement your overall palette—teak for warmth, marble for luxury, or the same tile as your walls for a seamless look.
Built-in Vs. Freestanding
A built-in bench, usually made of tile or stone, creates a permanent, cohesive look that blends with the shower walls. It requires planning during construction but offers a smooth, easy-to-clean surface. Freestanding options like teak or stone stools are more flexible—you can move them around or remove them entirely.
They also add a natural, organic texture that contrasts nicely with sleek tile.
Placement And Size Tips
Place the bench on the wall opposite the showerhead to keep it dry when not in use. A depth of 15–18 inches is comfortable for sitting, while length can vary from a compact 20-inch corner seat to a full 48-inch bench that doubles as a shelf. Corner seats are great for small showers because they save space while still providing a place to sit.
Material Considerations
Teak is a classic choice for its water resistance and warm hue, but it requires occasional oiling to prevent graying. Stone or tile benches are low-maintenance and can be matched to your shower finish, though they can feel cold. For a budget-friendly option, consider a molded resin bench that mimics stone without the weight or cost.
8. Use a Consistent Grout Color
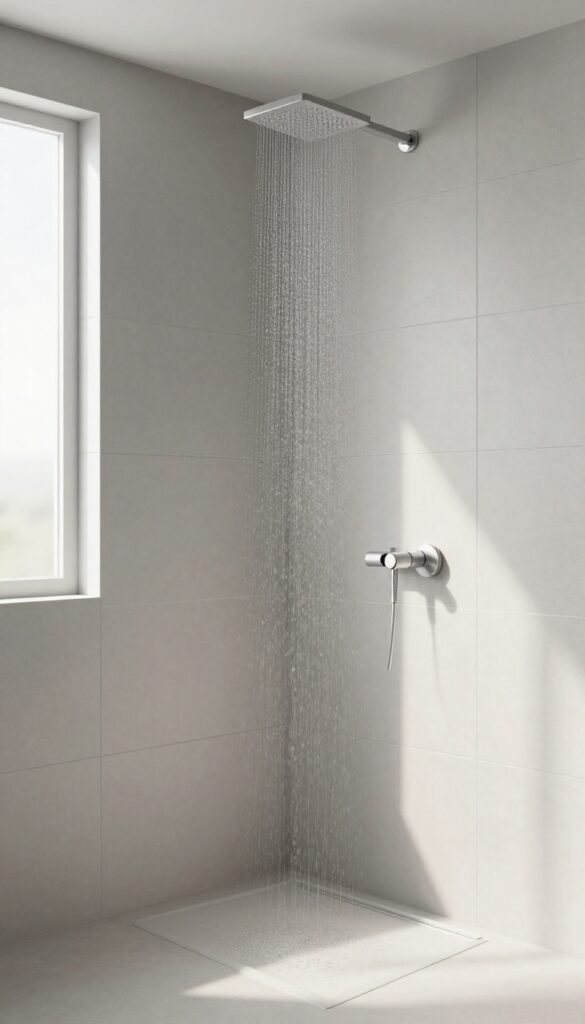
Grout might seem like a background player, but it actually has a huge impact on how clean and cohesive your shower looks. When the grout color matches your tile, the surface reads as one continuous plane, which minimizes visual noise and makes the space feel larger. On the flip side, a contrasting grout can add intentional definition—just make sure the color complements the tile rather than competing with it.
Choosing the right grout color is a small decision with big visual consequences. Here’s how to get it right for a polished, cohesive shower.
Match Grout To Tile For A Seamless Look
Using grout that closely matches your tile color creates a smooth, monolithic appearance. This is especially effective with large-format tiles or natural stone, where you want the material to shine without grid-like interruptions. It also helps hide dirt and wear, making maintenance easier over time.
Go Contrasting For Definition
If you prefer a more graphic look, choose a grout color that contrasts with the tile. Dark grout with light subway tile, for example, emphasizes the pattern and adds a crisp, modern edge. Just be sure the contrast feels intentional—test samples in your actual lighting before committing.
Stick With One Grout Color Throughout
For a truly cohesive design, use the same grout color on all tiled surfaces in the shower—walls, floor, and niche. Mixing grout colors can break the visual flow and make the space feel disjointed. A single color ties everything together and simplifies future cleaning.
9. Install a Rain Showerhead
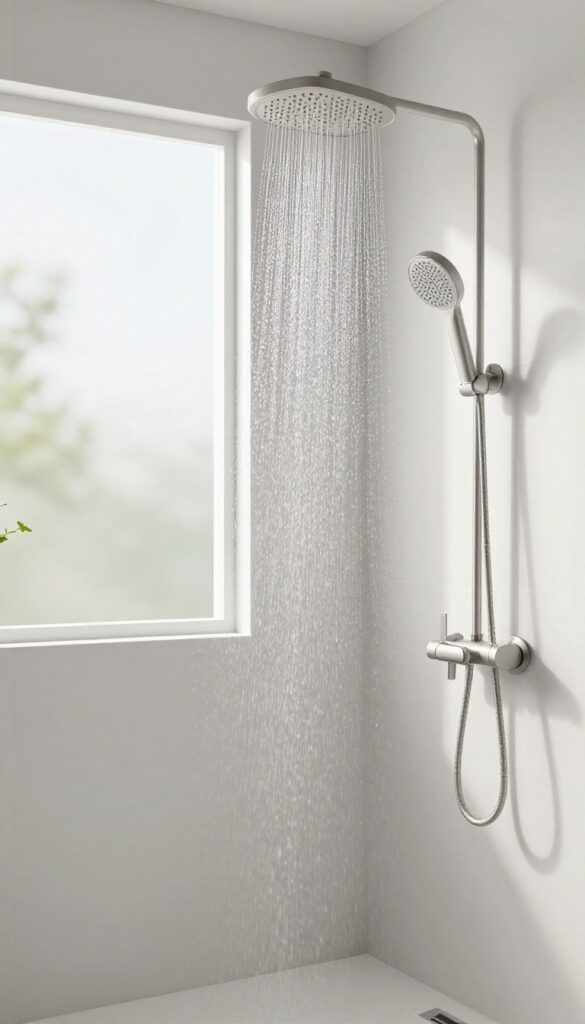
Switching to a rain showerhead is one of the quickest ways to add a spa-like feel to your shower. The wide, gentle flow mimics natural rainfall and instantly upgrades your daily routine. Best of all, most models fit standard shower arms, so you don't need major plumbing work.
Choose The Right Size
Rain showerheads come in diameters from 6 to 12 inches or more. For a cohesive look, match the size to your shower space—larger heads work well in bigger showers, while compact ones suit smaller enclosures without overwhelming the area.
Pair With A Handheld
A rain showerhead alone can make rinsing tricky. Adding a handheld sprayer gives you flexibility for washing off, cleaning the shower, or helping kids and pets. Look for a diverter valve that lets you switch between the two easily.
Finish And Style
Stick with your bathroom's existing hardware finish—brushed nickel, matte black, or chrome—to keep the design cohesive. A rain showerhead with a clean, round or square profile blends well with modern and transitional bathrooms alike.
10. Add Indirect Lighting
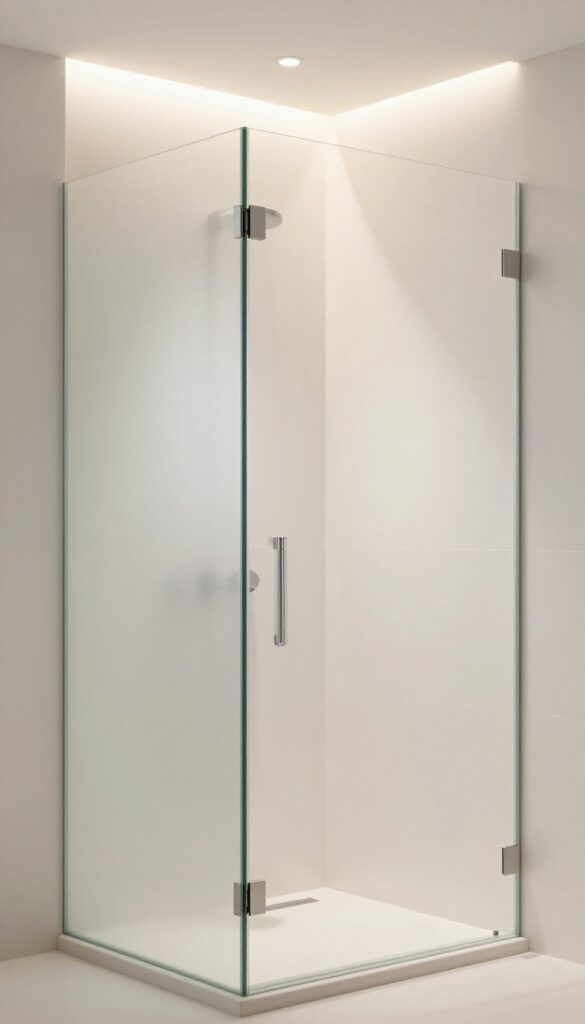
Lighting can make or break a shower's atmosphere. Harsh overhead fixtures cast unflattering shadows, while indirect lighting creates a soft, spa-like glow. By placing lights behind frosted glass panels or in recessed niches, you can make the space feel larger and more inviting without adding visual clutter.
Indirect lighting is all about hiding the source while bathing the shower in a warm, even light. It reduces glare and harsh shadows, making the shower feel more spacious and relaxing. Plus, it adds a layer of sophistication that ties the whole design together.
Choose The Right Fixtures
For a truly seamless look, opt for recessed LED fixtures or waterproof LED strip lights. Look for fixtures with a high IP rating (at least IP65) to ensure safety in wet areas. Warm white (2700K–3000K) creates a cozy feel, while cool white (4000K) keeps things crisp and clean.
Placement Matters
The best indirect lighting comes from multiple angles. Install strips along the ceiling perimeter, behind a floating bench, or inside a niche. Backlighting a frosted glass panel or a translucent wall tile creates a stunning focal point.
Avoid placing lights directly above the showerhead—it can create unflattering shadows.
Pair With Dimmers
Adding a dimmer switch gives you control over the mood. Bright light for shaving or washing, dim light for a relaxing evening shower. Make sure your dimmer is compatible with LED fixtures to avoid flickering.
FAQ
What is the most cost-effective way to update a shower?
Refinishing existing tile, replacing hardware, and adding a new shower curtain or door can refresh the look for under $500.
How do I make a small shower look bigger?
Use large-format tiles, a frameless glass door, and light colors. A linear drain also helps by eliminating the curb.
Should I match shower hardware to bathroom fixtures?
Yes, sticking to one finish throughout the bathroom creates a cohesive, intentional design.
What tile size is best for a shower floor?
Small mosaic tiles (1×1 or 2×2 inches) are ideal because they conform to the slope and provide good traction.
How can I add storage without a built-in niche?
Use a corner caddy, a tension pole shelf, or a hanging organizer. Look for rust-resistant materials like stainless steel or coated aluminum.
Conclusion
Bringing these ten ideas together, you can create a shower that's both clean and cohesive without a full renovation. Start with one or two changes that address your biggest pain points—whether it's better storage, improved lighting, or a fresh tile accent.
Small upgrades add up to a space that feels intentional and easy to maintain. The best shower design is one that works for your daily routine and makes you look forward to stepping in.