12 Clever Kitchen Gas Stove Ideas for a Home That Feels Easy to Use
Cooking on a gas stove is a joy, but the surrounding chaos can quickly turn that joy into frustration. Spatulas disappear, splatters harden, and knobs get sticky. The good news is that a few smart tweaks can make your stove area work for you, not against you.
These 12 ideas focus on real-world problems: clutter, cleaning, safety, and efficiency. Each one is simple to implement and doesn't require a full remodel.
Whether you're a daily cook or a weekend warrior, these tips will help you enjoy your kitchen more. Let's dive into practical solutions that make your gas stove a pleasure to use, every single day.
1. Install a Magnetic Spice Rack on the Side Panel
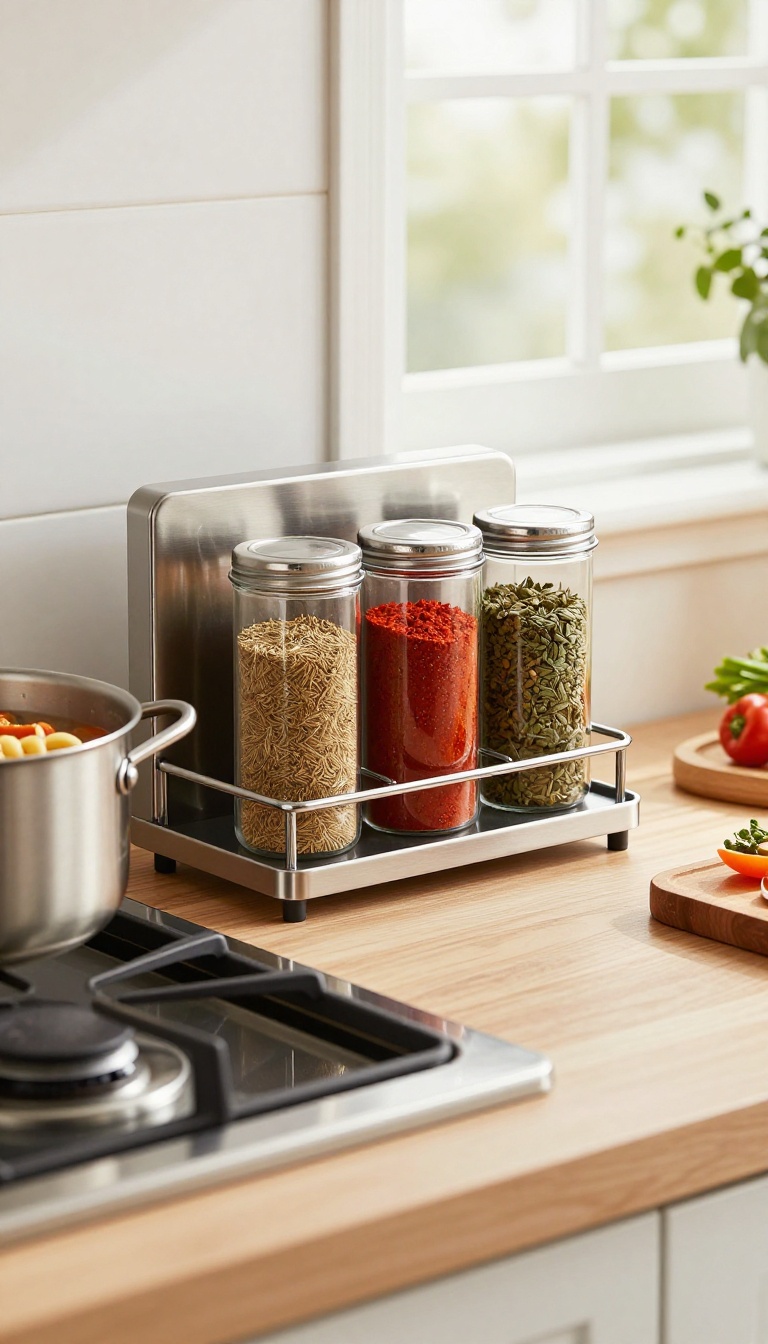
Reaching across the stove for a jar of cumin while your pasta boils over is a classic kitchen fiasco. A magnetic spice rack mounted on the side panel of your gas stove puts your most-used seasonings right where you need them. This simple upgrade clears counter space and speeds up your cooking flow.
Magnetic spice racks come in a few styles: a single long strip that holds metal tins, a set of small magnetic jars, or a shelf with a magnetic back. The key is to choose one that matches your cooking habits. If you use the same five spices daily, go for a small strip with tins.
If you like having a broader selection, a tiered magnetic shelf might work better. Installation is straightforward. Most racks come with adhesive strips or screws.
For the side of a stove, adhesive is usually enough, but make sure the surface is clean and dry. Let the adhesive cure for at least 24 hours before loading it with spices. If your stove has a textured side, screws are a safer bet.
One thing to watch: keep the rack away from heat sources. The side panel is usually cool enough, but avoid placing it directly above a burner or near the oven vent. Also, consider the height—you want it within easy reach, but not in the way when you're reaching for pots on the back burners.
Choosing The Right Magnetic Rack
Think about how many spices you actually use daily. A 3-jar set might be enough for some, while others need a 12-jar system. Metal tins with clear lids let you see what's inside, and they refill easily.
Magnetic jars with shaker tops are convenient for sprinkling directly into the pan. Look for racks with strong magnets—test them with your jars before buying.
Placement And Safety Tips
The side panel is the obvious spot, but you can also mount the rack on the front of the stove if there's a flat area. Avoid placing it near the oven door handle or anywhere you frequently grab. Make sure the rack doesn't interfere with opening the oven door or reaching the control knobs.
Always double-check that the adhesive is rated for metal surfaces and can handle the weight.
Keeping It Clean And Organized
Spices near the stove can get greasy. Wipe the jars and rack regularly with a damp cloth. Use a small label maker or write on the lids with a permanent marker to keep things identifiable.
Rotate your spices periodically—use the oldest ones first to keep them fresh. A tidy rack makes cooking more enjoyable.
2. Use a Splatter Guard with a Built-In Grease Catcher
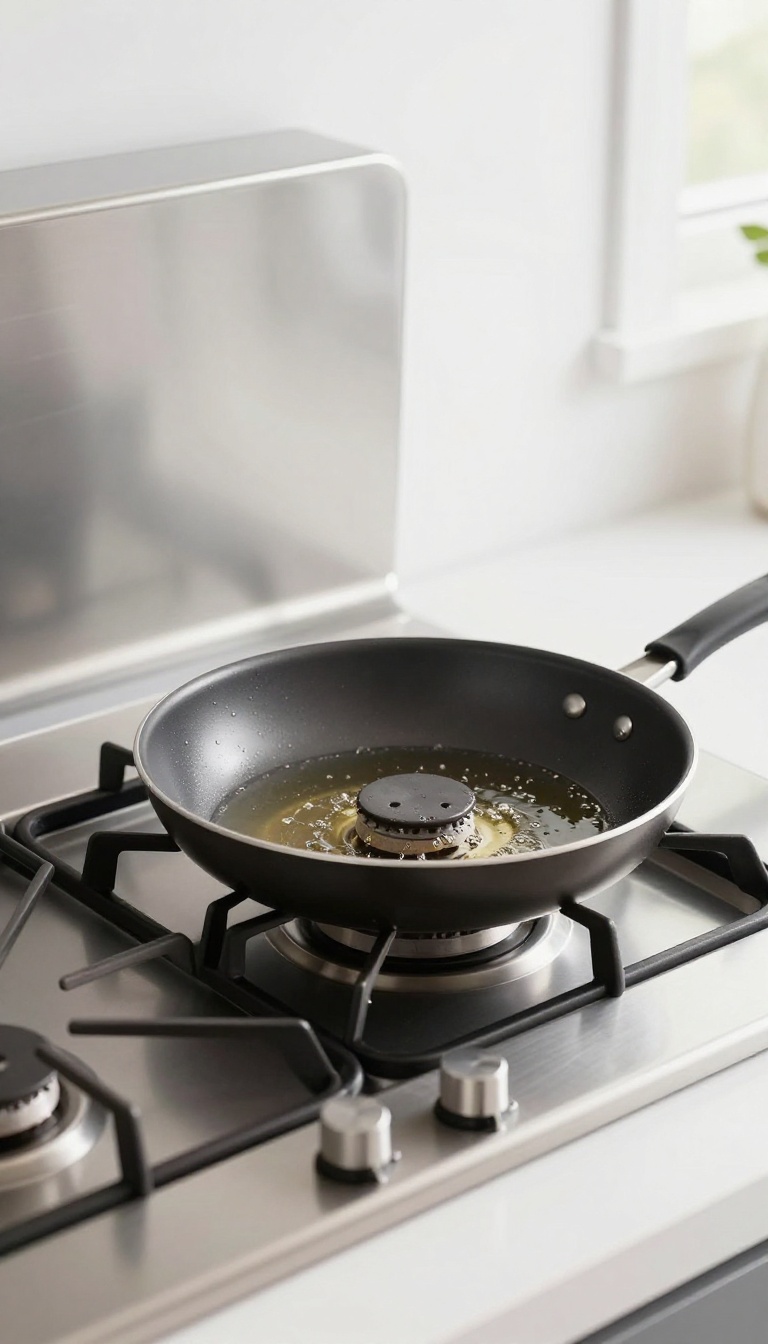
You know that post-cooking ritual of scrubbing dried grease off the stovetop? It’s nobody’s favorite. A splatter guard with a built-in grease catcher can change that.
This simple tool sits over your burner and catches oil and food bits before they become a crusty mess. It’s a small change that makes cleanup feel almost effortless.
Instead of letting splatters land everywhere, a splatter guard with a grease tray keeps the mess contained. The tray slides out for easy dumping, and the guard itself wipes clean in seconds. It’s perfect for frying, sautéing, or anything that tends to spit.
You’ll spend less time scrubbing and more time actually enjoying your meal.
How It Works
The guard is a metal or mesh shield that fits around the burner, with a removable tray underneath. As oil pops and splatters, the guard catches the larger droplets, and the tray collects the runoff. After cooking, you just lift the tray and toss the grease.
No more scraping or soaking.
Choosing The Right One
Look for a guard that fits your burner size and is easy to take apart. Stainless steel is durable and dishwasher-safe, while some have non-stick coatings for even easier cleaning. Check if the tray is deep enough to hold a good amount of grease without overflowing.
Simple Maintenance
Rinse the guard under hot water or pop it in the dishwasher. The grease tray can be wiped with a paper towel or washed with soapy water. Doing this right after cooking prevents buildup and keeps the guard working well.
A minute of upkeep saves you from a long scrub session later.
3. Add a Stove Top Cover That Doubles as a Cutting Board
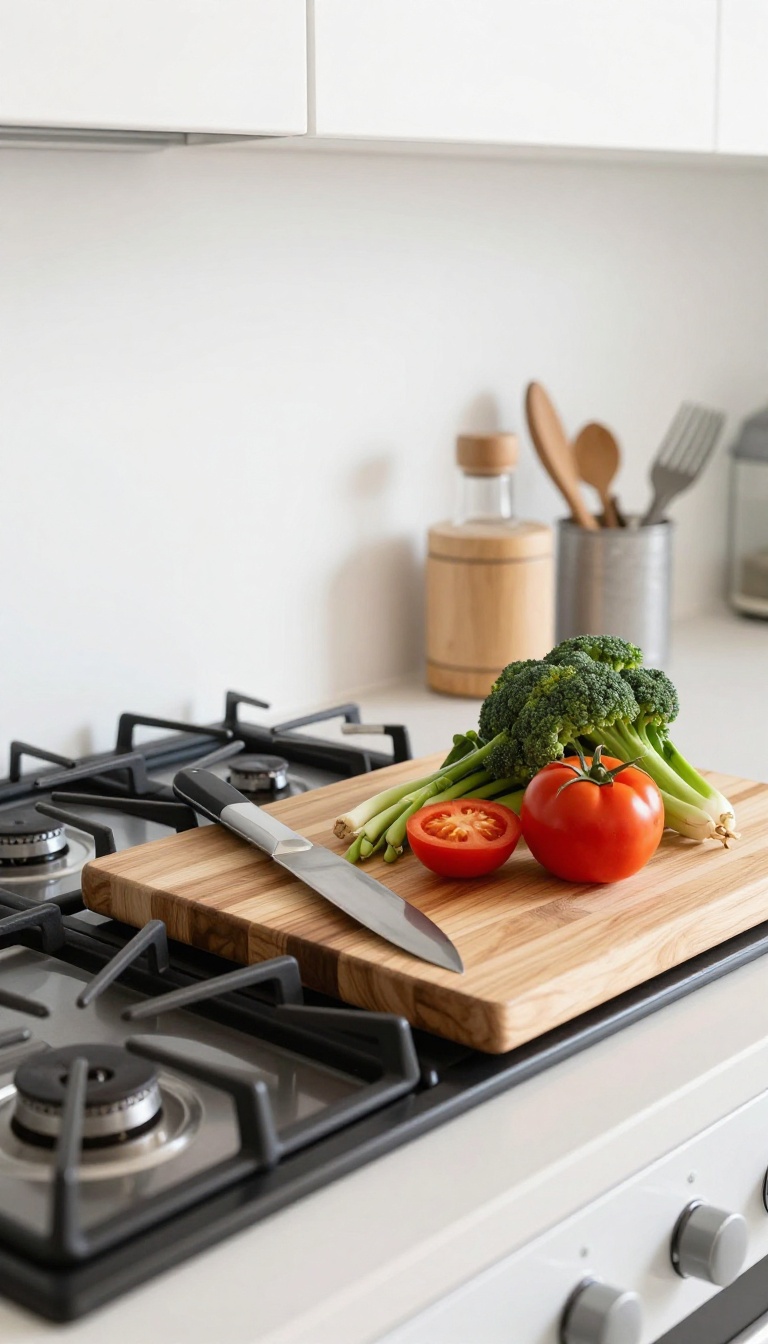
If your kitchen counter space is always at a premium, a stove top cover is a game-changer. It slides right over the burners, giving you a flat, sturdy surface for chopping, rolling dough, or setting down hot pans. Plus, it keeps dust and splatters off the stove when you're not cooking.
A custom-fit wooden or bamboo cover turns your stove into extra counter space when not in use, and it protects the burners from dust and scratches. It's a simple addition that instantly makes your kitchen feel more flexible and less cluttered.
Why You'll Love It
The biggest win is the extra workspace. You can prep veggies right over the stove, which is super handy when you're multitasking. It also keeps the stove clean, so you don't have to wipe it down as often.
And if you have kids, a cover prevents curious fingers from reaching the knobs or burners.
Choosing The Right Material
Wood and bamboo are popular because they're gentle on knives and look warm and natural. Make sure the cover fits snugly over your burner grates and is thick enough to handle chopping. Some covers come with a heat-resistant surface, which is a bonus if you want to set hot pots on it.
Safety And Maintenance Tips
Always let the stove cool completely before placing the cover on top. Wipe it down after use, and occasionally treat wooden covers with food-safe mineral oil to keep them from drying out. Store it upright or flat when not in use, so it doesn't warp.
4. Swap Out Knobs for Easy-Clean Silicone Covers
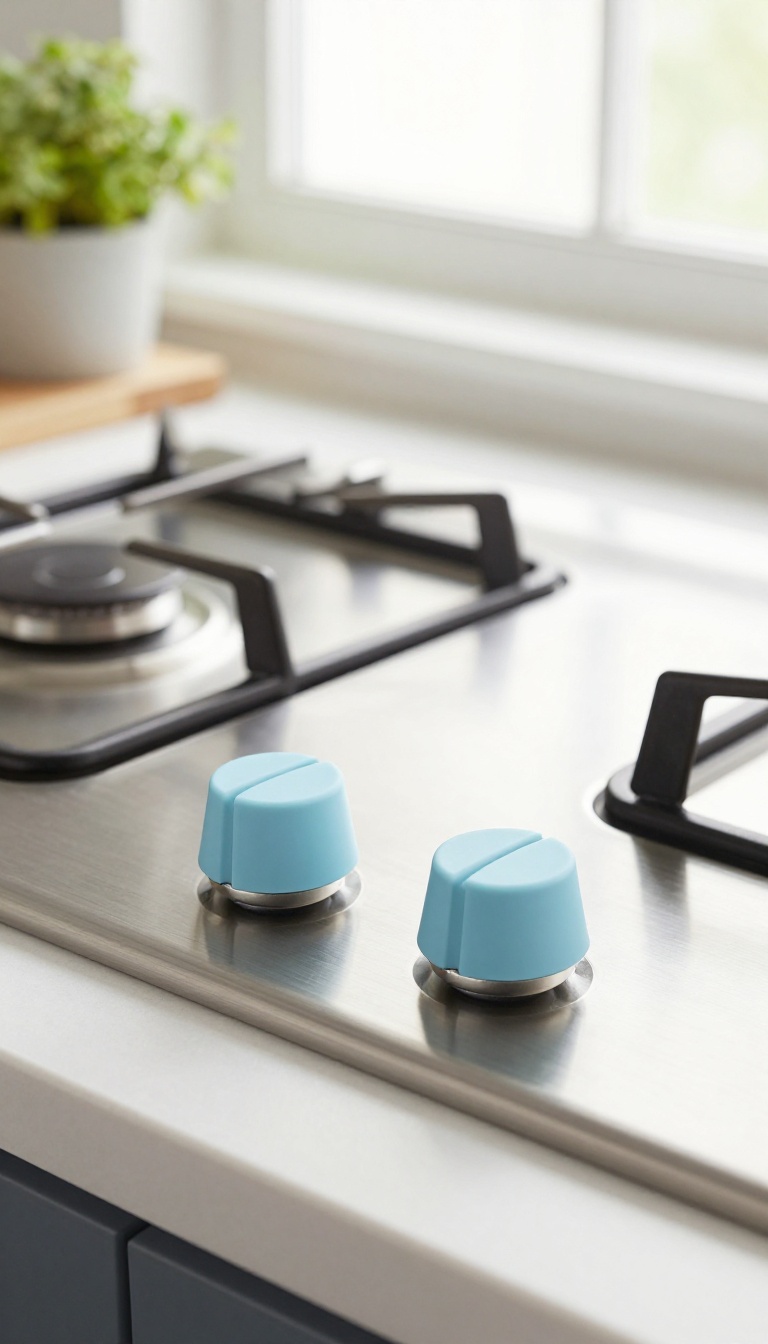
Those little gaps around your stove knobs are grease magnets. Every time you cook, oil and grime sneak in, and cleaning them out with a cotton swab is nobody's idea of fun. But you don't have to live with that hassle.
Swapping your knobs for silicone covers is a small change that makes a big difference in your daily cleanup routine.
Silicone knob covers are designed to fit snugly over your existing knobs, creating a smooth, non-porous surface that wipes clean in seconds. They're flexible, heat-resistant, and come in a variety of colors to match your kitchen. The best part?
They're removable and dishwasher-safe, so you can just pop them off and toss them in the dishwasher for a thorough clean. No more scrubbing around crevices or using toothpicks to dig out baked-on gunk.
Why Silicone Beats Bare Knobs
Bare knobs, especially the ridged or textured ones, are a nightmare to clean. Grease and grime settle into every groove, and over time, they can become sticky and hard to turn. Silicone covers smooth over those imperfections, giving you a surface that's easy to wipe with a damp cloth.
Plus, they add a bit of grip, so your fingers won't slip when they're wet or oily.
How To Choose The Right Covers
Not all silicone covers are created equal. Look for covers that are specifically designed for your stove brand and model, or opt for universal ones that stretch to fit. Check that they're made from food-grade, BPA-free silicone and are heat-resistant up to at least 450°F.
You'll also want to consider the color—lighter shades show stains more easily, while darker ones hide them better.
Installation And Care Tips
Installing silicone covers is a two-minute job. Just pull off your old knobs, slip on the covers, and press them into place. For cleaning, remove them and either hand-wash with soapy water or place them on the top rack of your dishwasher.
Let them air-dry completely before putting them back on to prevent any moisture from getting trapped underneath.
5. Install a Pot Filler Faucet Next to the Stove
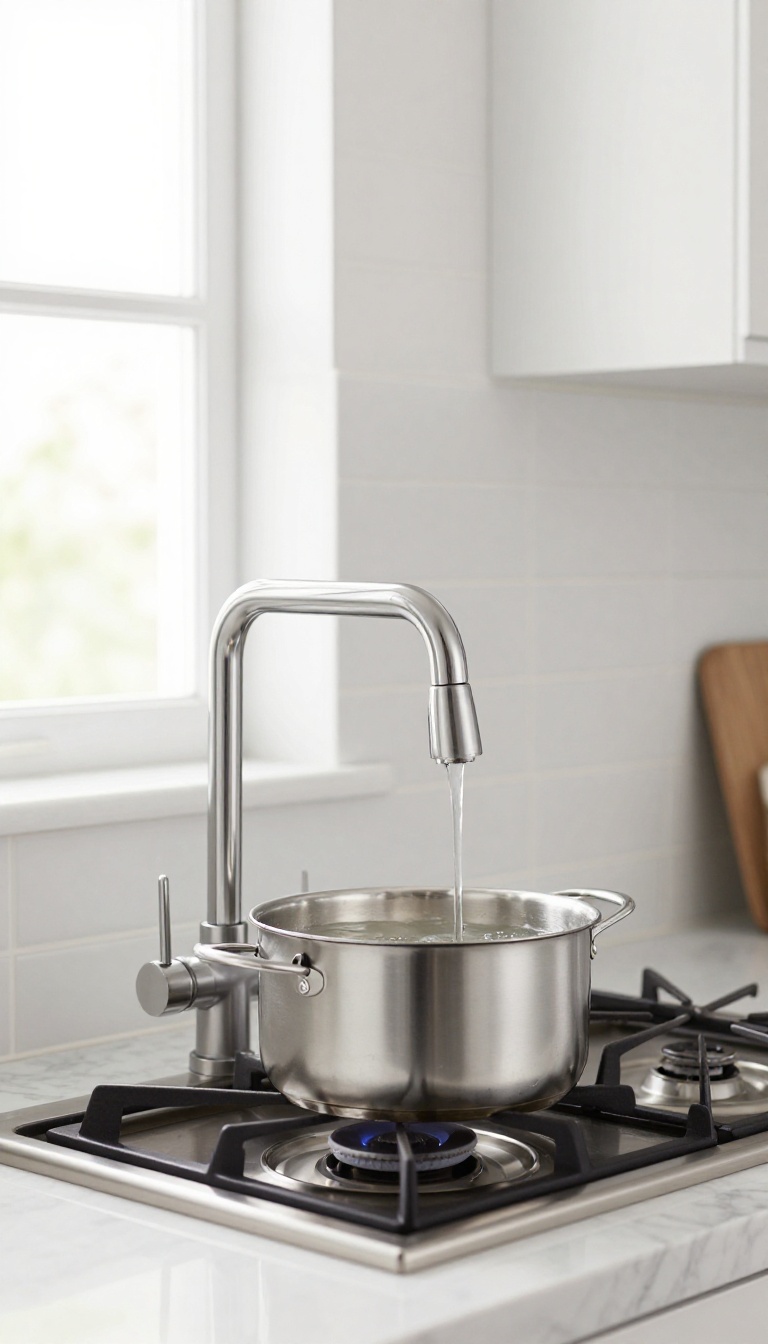
Lugging a heavy pot full of water from the sink to the stove is a workout nobody asked for. A pot filler faucet mounted on the wall behind your stove solves that problem in the simplest way possible. You fill the pot right where you need it, no lifting, no dripping water across the floor.
A pot filler faucet is a long, articulated spout that swings over your stove, letting you add water directly to pots and pans. It’s a favorite among serious cooks because it cuts out the most awkward step in pasta, soup, or stock making. Once you have one, you’ll wonder why every kitchen doesn’t come with it.
Why It’s A Game-changer
The biggest win is saving your back and your floors. You don’t have to carry heavy pots, and you avoid sloshing water all over the counter. It also speeds up tasks like filling a stockpot for canning or boiling corn for a crowd.
What To Look For
Choose a faucet with a dual-jointed arm so it can reach different areas of the stove. Go for a brushed stainless or matte black finish to match your kitchen. Make sure it has a secure locking mechanism to keep it in place when not in use.
Installation Tips
You’ll need a plumber to run a water line behind the wall, which is easier if you’re remodeling. If that’s not feasible, consider a countertop model that connects to your existing sink supply. Always check local plumbing codes before starting.
6. Create a Dedicated Utensil Caddy on the Stove Backsplash
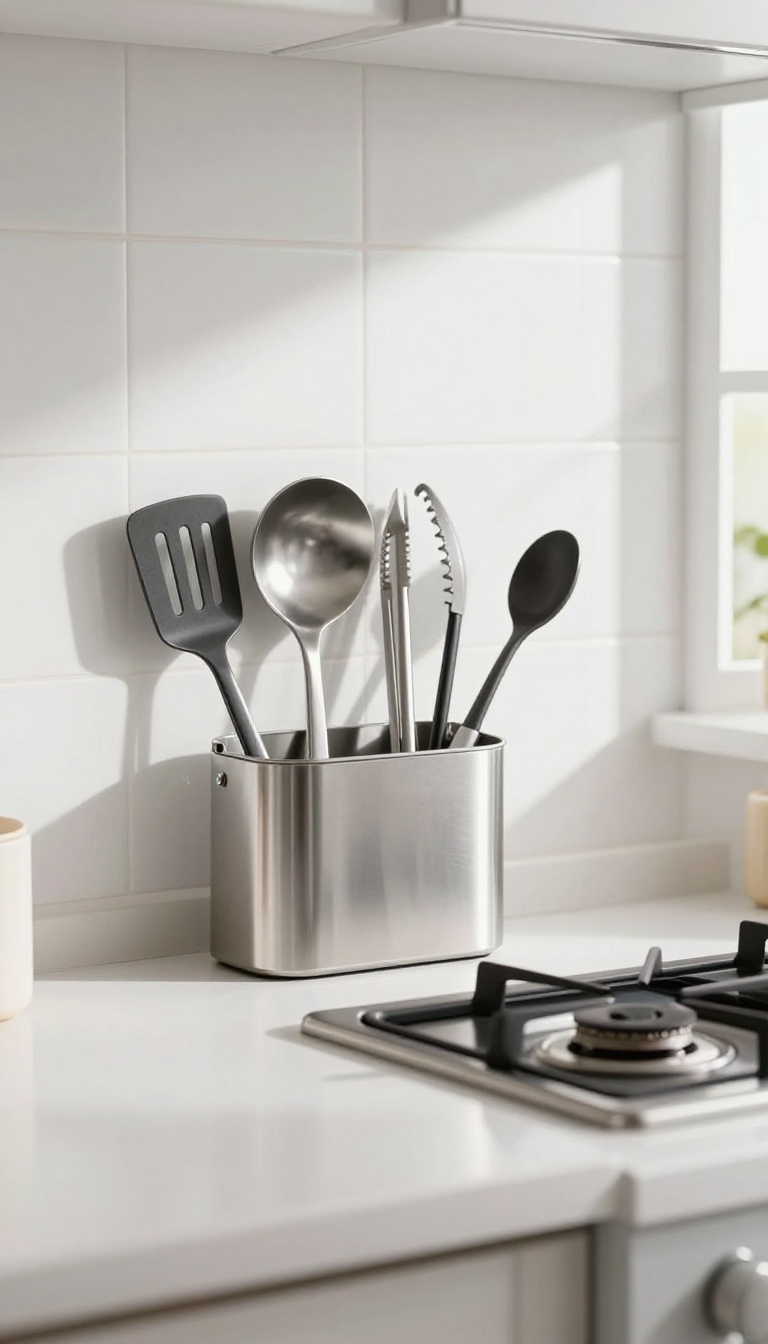
Hunting for a spatula while your onions sizzle is a surefire way to burn dinner. If your countertops are already crowded with oil bottles and spice jars, the backsplash is the last untouched real estate. A dedicated caddy there puts your most-used tools exactly where you need them—right next to the burner.
Think of the backsplash as your stove's personal assistant. It's within arm's reach, out of the way, and perfect for holding the utensils you grab dozens of times per meal. You'll stop digging through drawers and wiping greasy handles off the counter.
Plus, it keeps those tools from cluttering your precious prep space.
Pick The Right Caddy Or Hooks
You don't need a fancy setup. A simple stainless steel caddy with a few compartments works, or you can go with adhesive hooks rated for kitchen heat. Look for hooks that hold a few pounds—most spatulas and tongs are light.
If you're worried about drilling, strong adhesive strips work on tile and glass, but make sure they're heat-resistant.
Arrange By Frequency Of Use
Place the tools you reach for most—spatula, tongs, ladle—in the front or on the most accessible hooks. Less-used tools like a whisk or meat thermometer can go further back. This way, you're not fumbling around when your pasta is about to boil over.
Keep the caddy within 12 inches of the front burner for easy grabbing.
Keep It Clean Without The Hassle
A caddy does collect grease splatter, but it's easier to wipe down than a whole drawer. Choose materials that are easy to clean: stainless steel, silicone, or plastic that can go in the dishwasher. Give it a quick wipe with a damp cloth during your weekly kitchen cleanup, and it'll stay looking sharp.
7. Use a Stove Gap Cover to Eliminate Crumbs and Spills
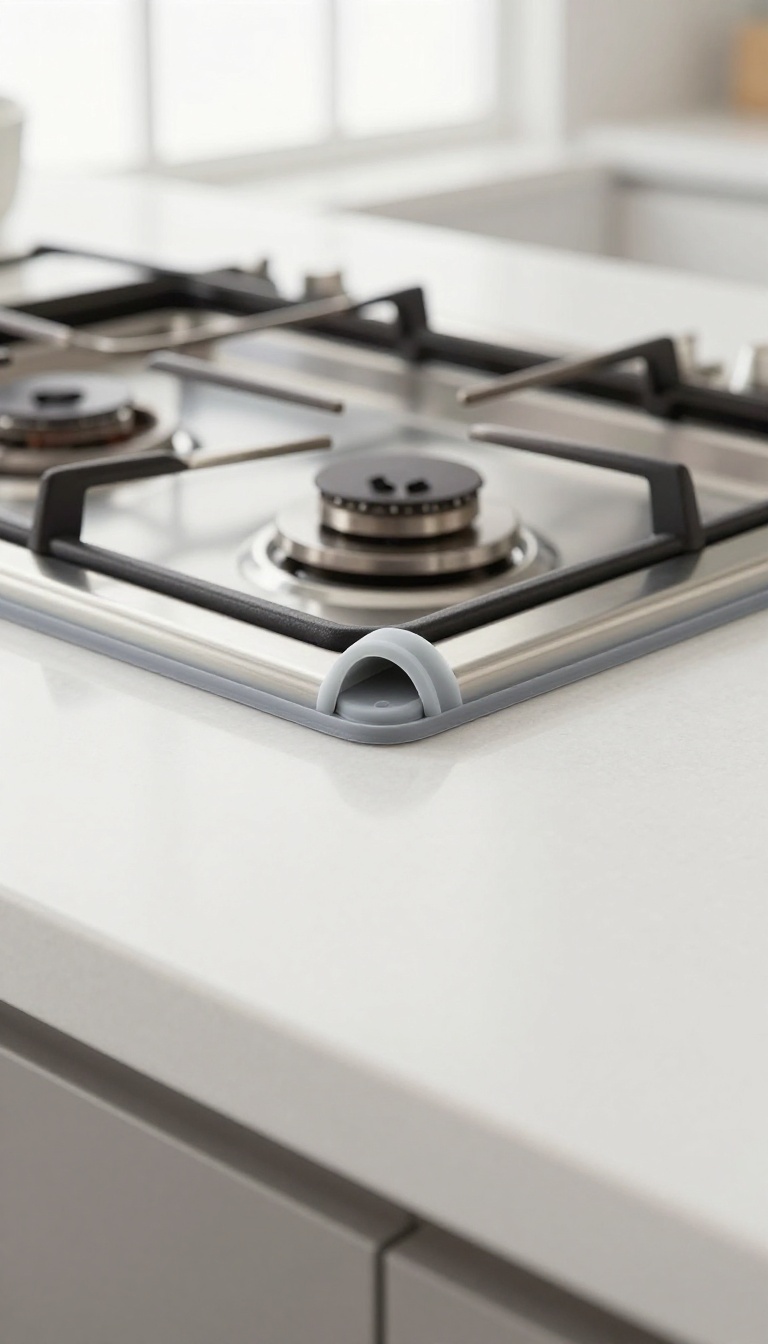
That thin crack between your stove and countertop is a crumb magnet. Every bit of spilled rice, stray herb, or splattered sauce seems to find its way into that dark crevice, where it lingers until you muster the energy to dig it out. A silicone gap cover slides right into that space, sealing it off and turning a frustrating cleaning spot into a non-issue.
Why The Gap Is A Magnet For Mess
The gap between your stove and countertop is exactly the right size to catch crumbs, grease, and small utensils. It's also a place where liquids can seep and create sticky, hard-to-clean residue. Once food gets in there, it's tough to remove without pulling the stove out or using a thin tool to scrape it out.
A gap cover blocks that entire zone, so messes stay on the surface where you can wipe them up in seconds.
What To Look For In A Gap Cover
Silicone is the best material because it's flexible, heat-resistant, and easy to clean. Look for a cover that fits snugly but can be removed for washing. Many come in neutral colors that blend with your kitchen, and some are designed to be cut to size if your gap isn't standard.
A good cover should also be durable enough to withstand the heat from the stove without warping or melting.
Easy To Install, Easy To Clean
Installing a gap cover takes less than a minute—just slide it into the gap and press down. When it gets dirty, you can pull it out and rinse it in the sink or toss it in the dishwasher. That's a lot easier than scrubbing a narrow crevice with a toothbrush.
Plus, it keeps crumbs and spills from hiding where you can't see them, so your kitchen stays cleaner overall.
8. Add a Fold-Down Shelf for Extra Prep Space
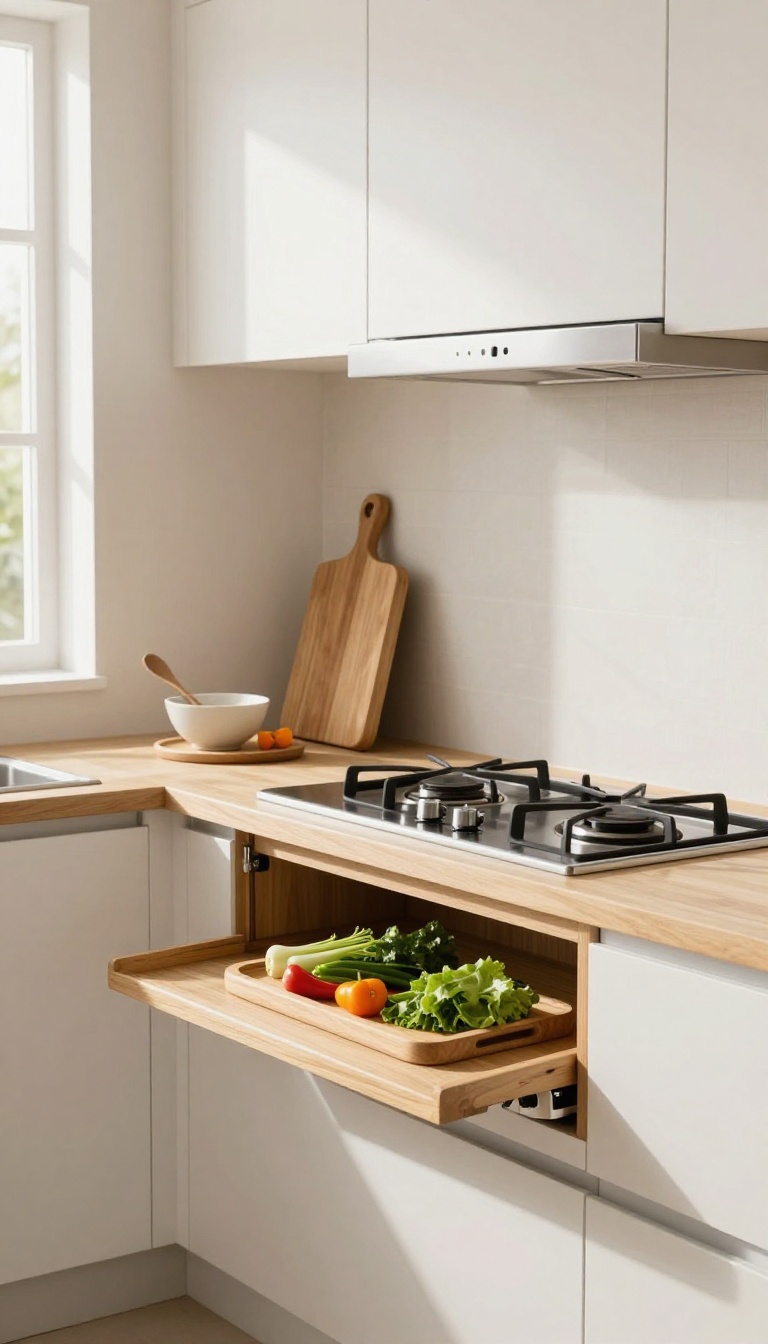
Counter space is a luxury, especially around the stove. You need a spot to rest a hot pot lid, a spoon rest, or a cutting board, but the counters are already full. A fold-down shelf mounted beside the stove gives you a dedicated landing zone that disappears when you don't need it.
It's a simple, space-saving solution that makes cooking feel much less chaotic.
A fold-down shelf is a hinged board that attaches to the side of your cabinets or wall, right next to the stove. When you need extra room, flip it down. When you're done, tuck it back up and out of the way.
It's perfect for small kitchens where every inch counts.
Why It Works
It adds temporary counter space without permanently eating into your floor plan. You can place hot pots, lids, or a bowl of prepped ingredients right within arm's reach. It also keeps the main counter clear for chopping and mixing.
Plus, it's an easy DIY project if you're handy with a drill.
Where To Mount It
The ideal spot is on the side of a cabinet or wall that's flush with the front of the stove. Mount it at the same height as your countertop so it feels like an extension of your work surface. Make sure it doesn't interfere with the stove knobs or the oven door when it's open.
Measure carefully before you drill.
Style And Material Options
You can buy a ready-made fold-down shelf or make your own. Choose a material that matches your kitchen: wood for a warm look, bamboo for a natural touch, or stainless steel for a modern, easy-to-clean surface. Add a hinge that locks in place for stability, and consider a notch to hold a spoon or utensil.
9. Install a Downdraft Vent for Powerful Smoke Removal
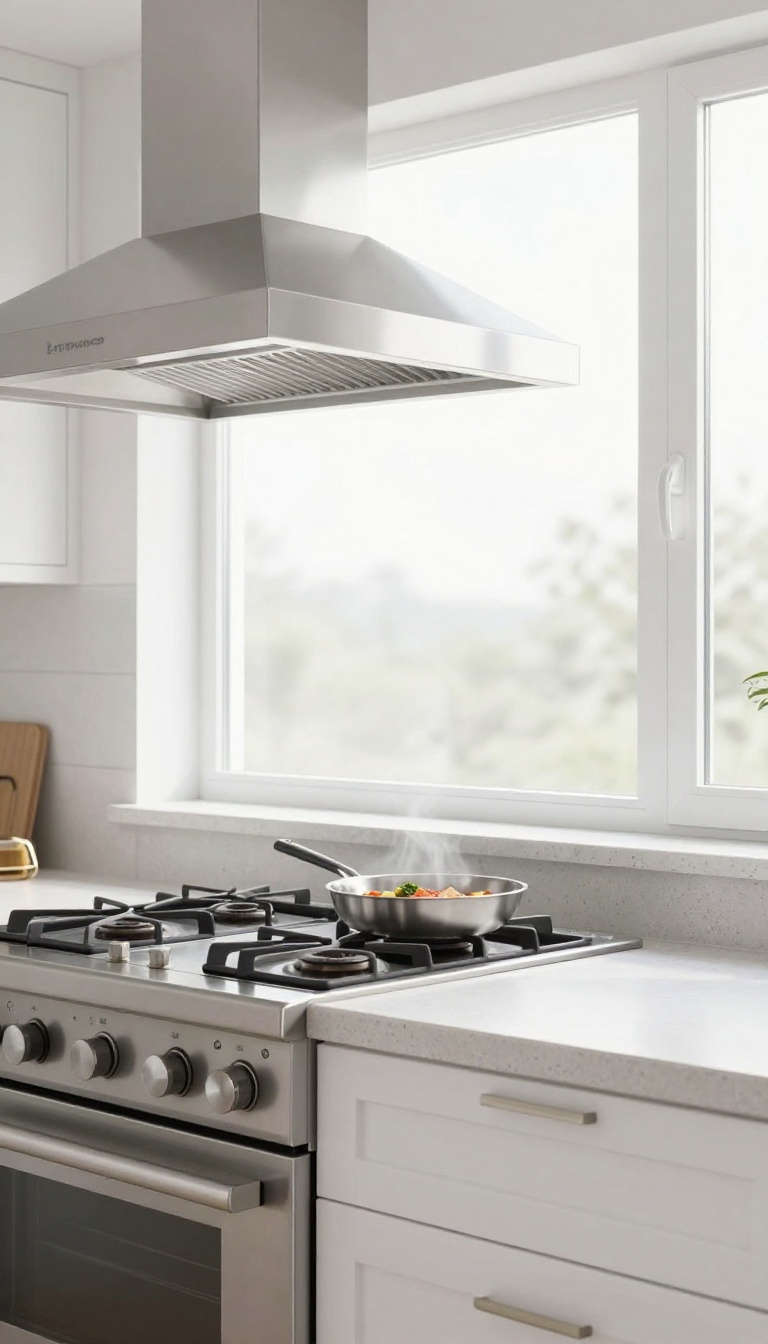
Smoke and grease from high-heat cooking can linger long after the pan cools, especially if your overhead hood is weak or awkwardly placed. A downdraft vent built into the stove or countertop pulls smoke and odors downward, eliminating the need for a bulky overhead hood. It's a sleek, modern solution that keeps your kitchen feeling open and airy while still handling the mess.
Downdraft vents are a game-changer for kitchens where an overhead hood isn't practical—think islands or stoves placed against a wall. They rise from the back of the cooktop when you need them and disappear when you don't. This means you get powerful ventilation without sacrificing your line of sight or cluttering your visual space.
Plus, they're often quieter than traditional hoods, so you can actually hear the sizzle and your conversation at the same time.
Why Skip The Overhead Hood?
Overhead hoods can be bulky, hard to clean, and sometimes they just don't catch the smoke that rises straight up from a front burner. Downdraft vents sit right where the action is, pulling smoke and steam downward before they spread. This is especially handy for island cooktops, where an overhead hood would block sightlines and make the space feel closed in.
If you've ever bumped your head on a low-hanging hood, you'll appreciate the clean, open feel of a downdraft system.
Types Of Downdraft Vents
You'll find two main styles: fixed and pop-up. Fixed vents are built into the cooktop and always sit slightly above the surface, ready to work. Pop-up vents rise automatically when you turn on a burner or press a button, then retract flush when you're done.
Pop-up models are more discreet, but fixed ones are simpler and have fewer moving parts. Both come in different widths to match your stove, and some even include a built-in blower for extra power.
Installation And Placement Tips
Downdraft vents work best when installed on the back edge of the cooktop, closest to the cooking zones you use most. If you're remodeling, place the vent so it's within reach of the front burners—that's where most smoke is generated. You'll need to run ductwork down through the cabinet and out to the exterior, or use a ductless model with charcoal filters.
A professional can help you decide which setup fits your kitchen's layout and your cooking style.
Maintenance And Care
Keeping your downdraft vent in top shape is straightforward. Wipe the surface regularly to prevent grease buildup, and clean or replace the filters as recommended by the manufacturer—usually every few months, depending on how often you cook. Pop-up models may need occasional lubrication on the lift mechanism.
A little routine care goes a long way in keeping the vent quiet and efficient.
10. Use a Stove Top Griddle for Versatile Cooking
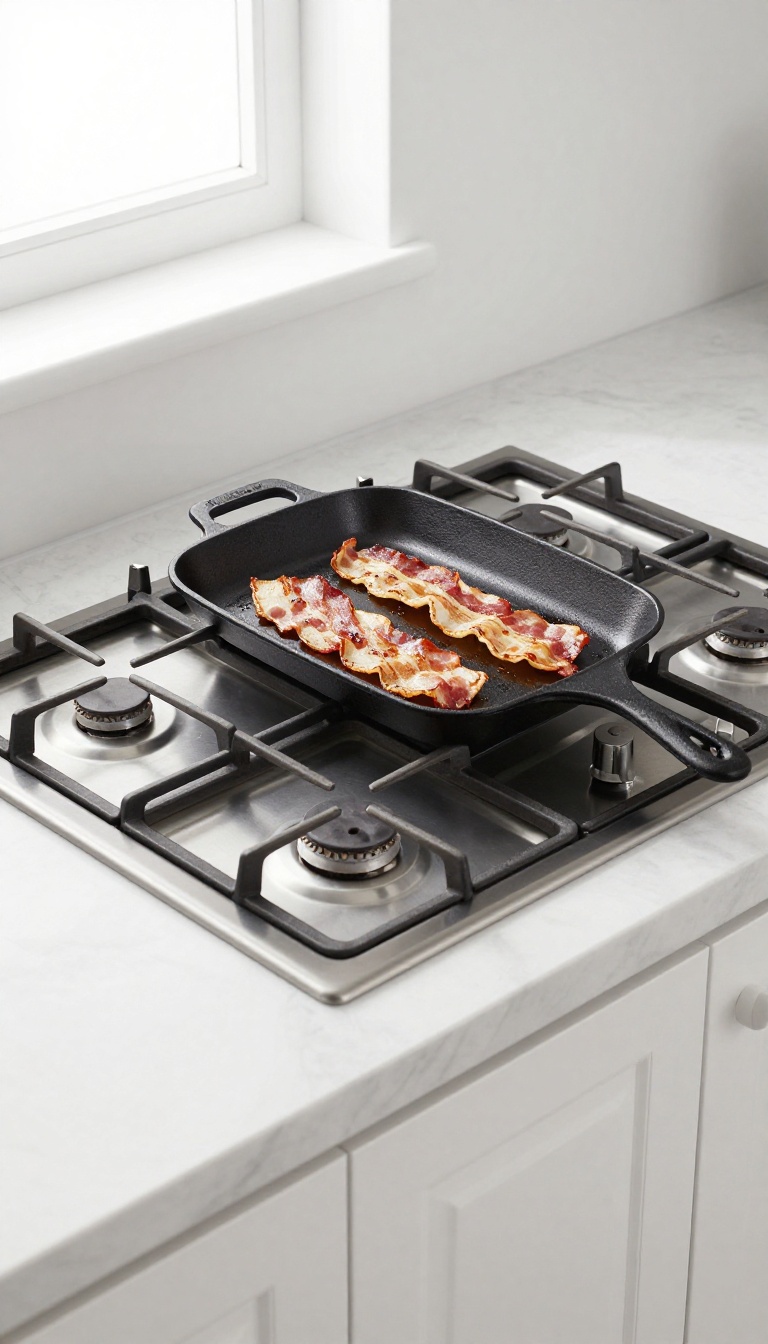
If your stove mostly sees pots and pans, you're missing out on a whole category of cooking. A griddle that spans two burners opens up a flat, even surface perfect for foods that don't love tall sides. Think pancakes, grilled cheese, bacon, or even veggies that need a good sear.
A griddle turns your gas stove into a flat-top grill, giving you more options without buying another appliance. It's especially handy for breakfast-for-dinner nights or when you're feeding a crowd. Plus, it's easy to store and clean, making it a practical addition to any kitchen.
Why A Griddle Changes The Game
Pancakes and eggs cook more evenly on a flat surface than in a pan with curved sides. You can also cook multiple items at once, like bacon and eggs, without juggling pans. A griddle makes it simple to flip and slide food around, and it's great for reheating tortillas or toasting buns.
Choosing The Right Griddle
Cast iron holds heat well and gives you a nice sear, but it's heavy and needs seasoning. Nonstick griddles are lighter and easier to clean, but they can't take high heat. Look for one that fits your burner size and has a drip tray or channel to catch grease.
A griddle with a lip on the edges helps contain splatters.
Tips For Getting The Most Out Of It
Preheat the griddle slowly so it heats evenly. Use a little oil or butter to prevent sticking, and don't overcrowd the surface. Keep a spatula and a paper towel nearby to manage grease.
When you're done, let it cool before washing—cast iron especially should be hand-washed and dried right away.
11. Add a Heat-Resistant Mat Under the Stove
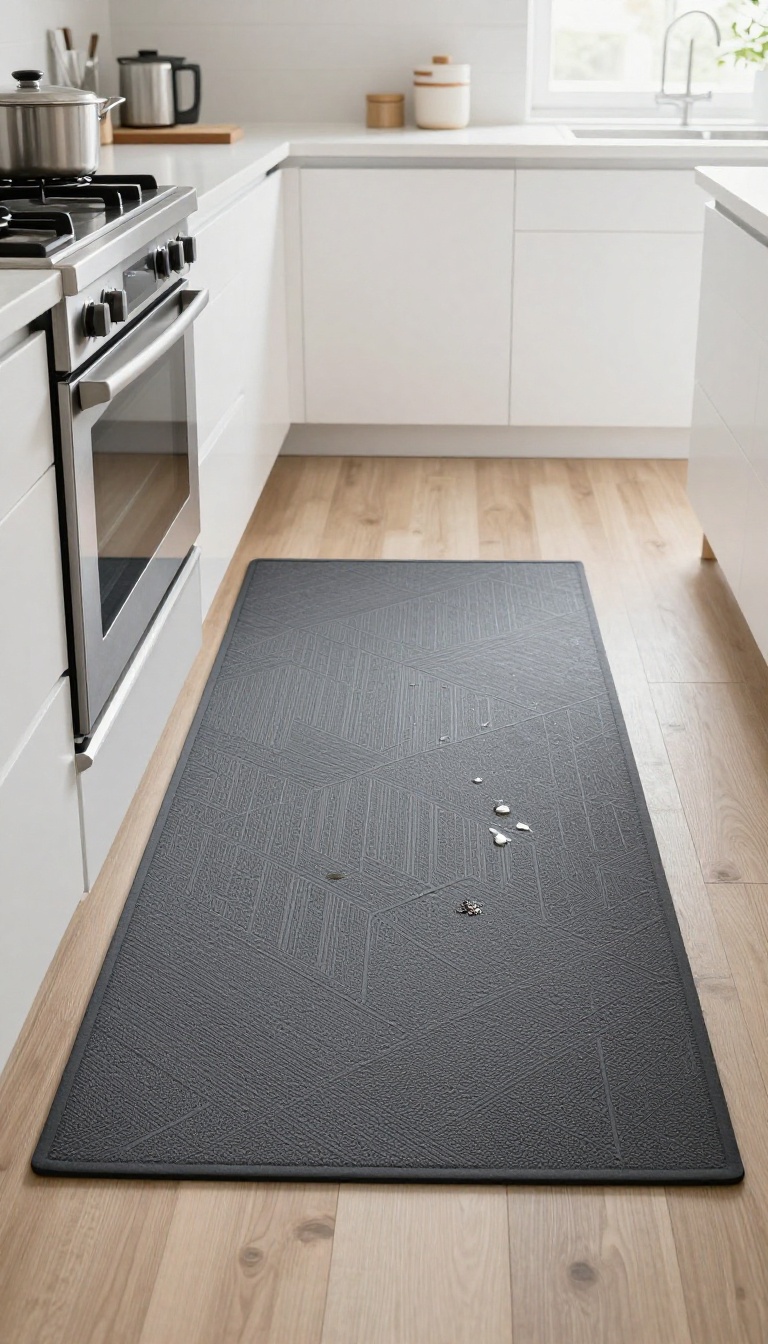
Spills and splatters are part of cooking, but they don't have to ruin your flooring. A heat-resistant mat under the stove catches drips, protects against heat damage, and makes cleanup a breeze. It's a simple addition that works quietly in the background, keeping your kitchen looking fresh with minimal effort.
A heat-resistant mat is a practical shield for the area beneath your gas stove. It handles hot spills, stray oil splashes, and even dropped utensils without letting them reach your floor. Plus, when things get messy, you can just lift the mat and wipe it down or toss it in the wash, depending on the material.
Why It Matters
Your stove area takes a beating. Grease splatters, boiling over, and accidental drips happen more often than you'd think. Over time, these can stain or warp your flooring, especially if you have vinyl, laminate, or wood.
A mat adds a protective layer that's easy to replace if it gets too worn, saving you from costly floor repairs.
Choosing The Right Mat
Not all mats are created equal. Look for one that's specifically rated for high heat and is large enough to cover the space in front of your burners. Materials like silicone, rubber, or PVC with a non-slip backing work well.
Make sure it's easy to clean—some are dishwasher-safe, while others just need a quick wipe. Avoid mats with a rough texture that can trap crumbs.
Easy Maintenance
The best part is how simple it is to keep clean. Most mats can be wiped down with a damp cloth or rinsed in the sink. For deeper cleaning, check the care instructions—many are machine washable or can be hosed off outside.
This means you can keep your stove area looking spotless without scrubbing the floor on your hands and knees.
12. Install a Smart Stove Knob Lock for Child Safety
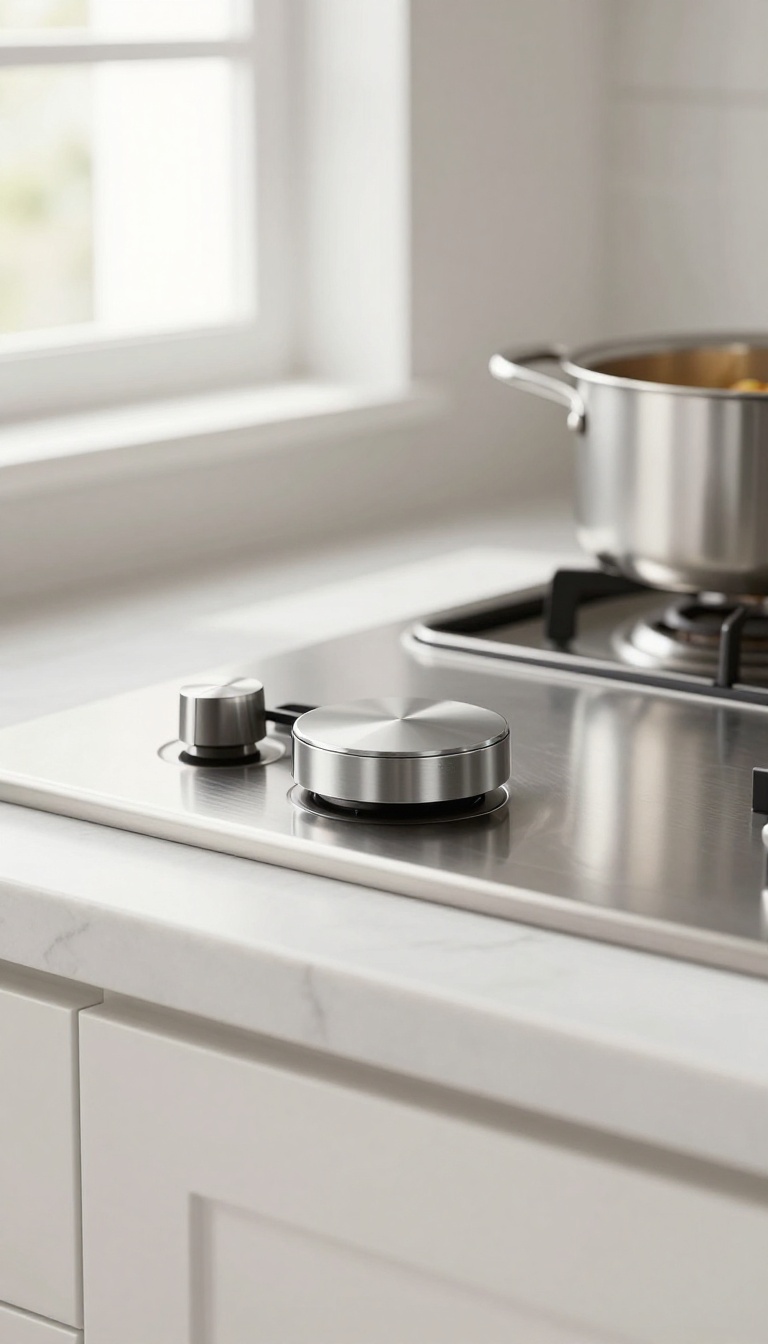
If you have little ones at home, the stove knobs are probably one of your biggest worries. They sit right at kid height, and curious fingers can turn them in a second. A smart knob lock solves that problem without making the stove harder for you to use.
These aren't the bulky plastic covers from the past. Modern versions are sleek, magnetic, or push-button, and they blend right into your kitchen. You get safety without the struggle.
The best part about these locks is that they don't slow you down. Most require a simple press or a quick magnetic swipe to release, so you can still adjust the flame with one hand while you're stirring a pot. And when the kids are older or you're cooking without them around, you can easily remove the locks or leave them unlocked.
Think of it as a small investment that pays off in peace of mind. You won't have to hover over the stove every time you turn your back, and you can teach your kids that the stove is off-limits without constant reminders.
Why A Simple Cover Isn't Enough
Plastic covers that snap over the knob are cheap, but they're also annoying. They pop off at the worst moments, get lost, and can be a hassle to remove every time you cook. A smart lock is attached to the stove itself, so it's always there when you need it.
Plus, most smart locks don't require any tools to install. They stick or clamp onto the knob, and you can adjust them to fit different knob sizes. No drilling, no permanent changes.
Choosing The Right Lock For Your Stove
Look for a lock that's compatible with your knob style. Some are designed for round knobs, others for rectangular or push-button models. Check the reviews to see how easy they are to use with one hand.
Also, think about how the lock releases. Magnetic locks are quick and intuitive, while push-button locks might need a bit more force. If you have arthritis or limited hand strength, test a few options to find one that feels comfortable.
Installation And Daily Use Tips
Installation is usually a five-minute job. Clean the knob area first so the adhesive sticks well, then attach the base and click the lock into place. Once it's on, practice using it a few times to get the hang of it.
Keep the lock on the 'locked' position when the stove isn't in use. When you're cooking, just unlock it as you need it. Some people even leave it unlocked during the whole cooking session and relock it when they're done – whatever works for your routine.
FAQ
Are silicone stove knob covers safe to use?
Yes, silicone covers are heat-resistant and designed to fit snugly over your existing knobs. They don't interfere with the knob's function and are easy to remove for cleaning.
Can I install a pot filler faucet myself?
Installing a pot filler requires plumbing work, so it's best to hire a professional plumber to ensure proper installation and avoid leaks. It's a worthwhile investment for serious cooks.
Will a stove top cover affect the stove's performance?
No, as long as you remove the cover before using the stove. The cover is designed to sit flush and protect the burners when not in use, but it must be lifted off for cooking.
How do I clean a splatter guard with a grease catcher?
Most splatter guards are dishwasher-safe, but you can also hand wash them with warm soapy water. The grease catcher tray can be emptied and wiped clean after each use.
Do downdraft vents work as well as overhead hoods?
Downdraft vents are effective for light to moderate cooking, but they may not capture as much smoke and steam as a powerful overhead hood. They're a great space-saving option for kitchens with limited overhead space.
Conclusion
A gas stove can be more than just a cooking surface when you tweak a few details. The ideas above focus on making everyday tasks simpler, from keeping burners clean to adding storage that actually works. Pick one or two that fit your routine and test them out.
Small changes often make the biggest difference in how smoothly your kitchen runs. Once you start, you will likely spot other ways to make your stove area work harder for you. The goal is a kitchen that feels less like a chore and more like a space you enjoy using every day.