13 Backyard Decoration Ideas for a More Inviting Space
A few small changes can turn a plain backyard into the spot everyone gravitates toward. You don't need a full remodel to make it happen. The right mix of lighting, seating, and greenery does most of the heavy lifting.
Start by thinking about how you actually use the space. Do you host dinners, read on weekends, or just want a calm view from the kitchen window? Your answer shapes which ideas below matter most.
Each idea here is simple to pull off and easy to adapt. Pick a few, layer them over a weekend, and watch the whole yard feel more welcoming.
1. Layer Your Lighting for Evening Warmth
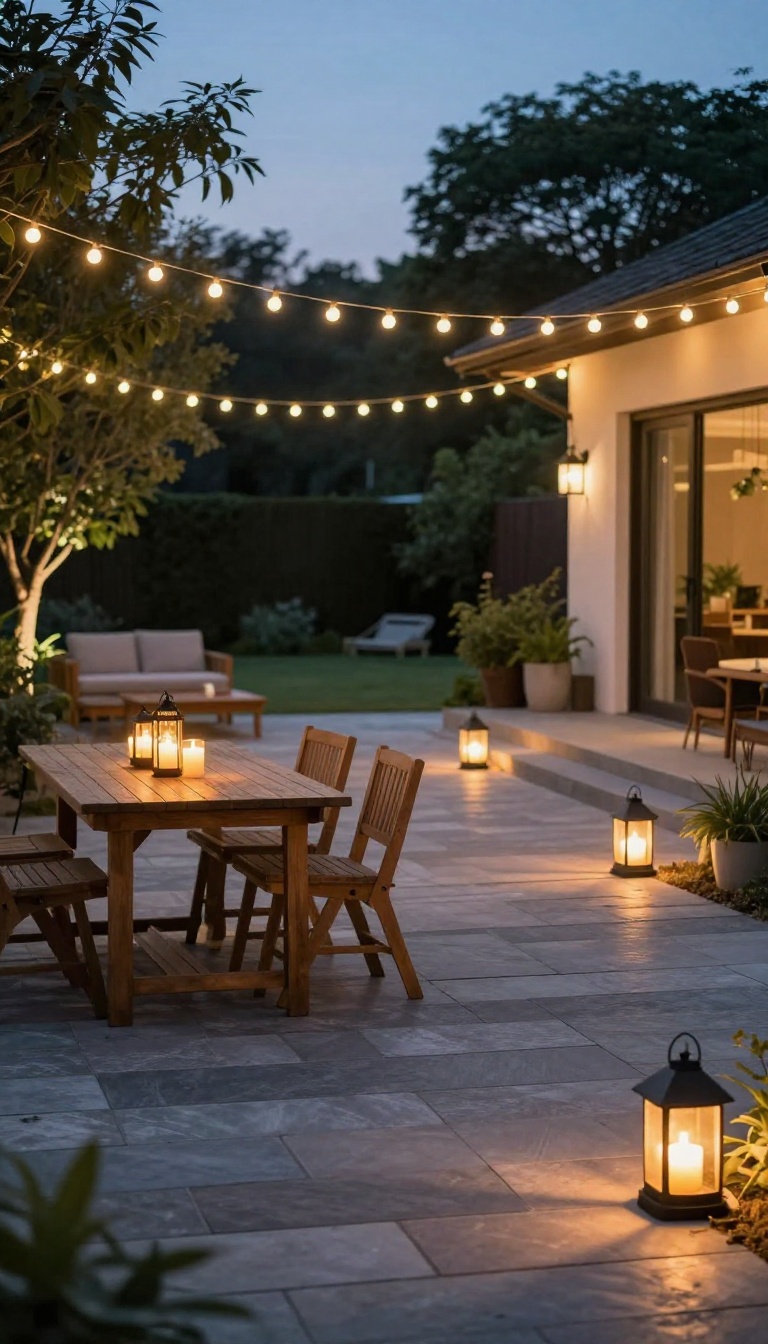
As the sun goes down, your backyard shouldn't disappear into the dark. Layering different light sources creates a warm, inviting glow that makes the space feel cozy and usable long after sunset. The trick is to mix ambient, task, and accent lighting so every corner has its own purpose.
Start with a base layer of soft ambient light, like string lights strung across a patio or fence. Then add task lighting where you need it, such as lanterns on a dining table or path lights along walkways. Finally, use accent lights to highlight trees, sculptures, or architectural features.
This combination gives depth and warmth without feeling harsh.
String Lights: The Easy Ambiance
String lights are the quickest way to add instant charm. Hang them in a zigzag pattern over your seating area or wrap them around tree trunks. Choose warm white bulbs for a cozy feel, and use a dimmer if you want to adjust the brightness.
Solar-powered options save energy and avoid extension cords.
Lanterns And Candles: Portable Glow
Lanterns bring a soft, flickering light that feels intimate. Place them on tables, steps, or hang them from hooks. Battery-operated candles are safe and easy to move around.
For a rustic touch, use mason jars with fairy lights inside.
Path Lights: Guide The Way
Solar path lights line walkways and define areas without wiring. They turn on automatically at dusk, adding safety and style. Space them evenly along paths or around garden beds.
Look for ones with warm white LEDs to match your other lights.
2. Create a Cozy Seating Zone
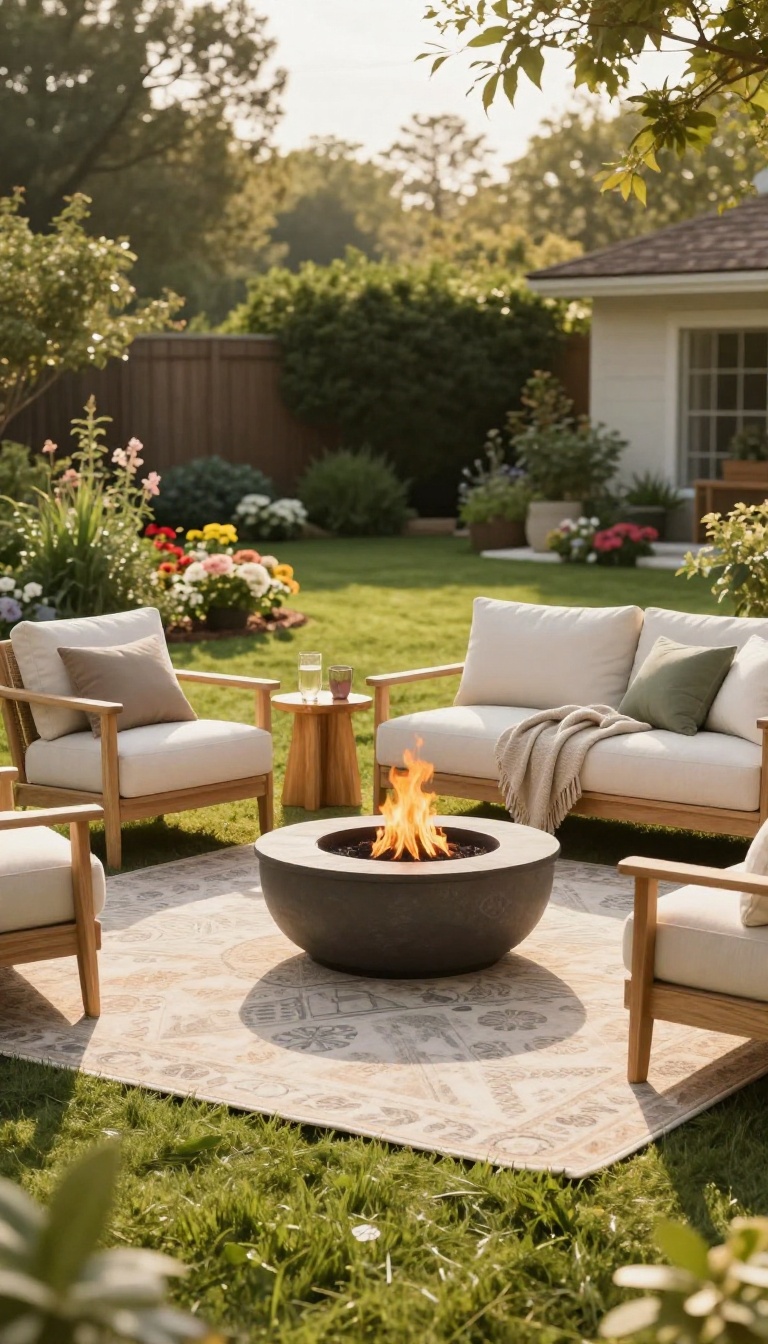
A seating area gives your backyard a clear purpose. Without one, even a beautiful yard can feel like something you just look at instead of use. The fix is simple: arrange comfortable chairs, a small sofa, or a bench around a focal point.
That focal point can be anything—a fire pit, a fountain, a garden bed, or even a nice view. The key is to give people a reason to sit down and stay awhile. Once you do, the space instantly feels more inviting.
You don't need a lot of room. A corner, a deck edge, or a patch of grass can all work. The goal is to create a spot that feels intentional, not accidental.
Start by choosing the right spot. Look for a level area that's close to the house or a natural gathering point. You want it to be easy to reach and away from busy walkways.
Next, pick your focal point. This is what draws the eye and anchors the seating. It could be a fire pit, a small water feature, a sculpture, or a cluster of plants.
Even a single tree can work. Then arrange your seating. Pull chairs and sofas into a loose circle or U-shape facing the focal point.
Keep conversation distances close—about 8 to 10 feet apart—so people can talk without shouting. Finally, add comfort details. Cushions, throws, and a side table for drinks make the zone feel lived-in.
A rug underneath ties everything together and defines the space.
Pick A Natural Spot
Look for a level area that's close to the house or a natural gathering point. You want it to be easy to reach and away from busy walkways. A corner of the patio or a shady spot under a tree often works well.
Choose A Focal Point
This is what draws the eye and anchors the seating. It could be a fire pit, a small water feature, a sculpture, or a cluster of plants. Even a single tree can work.
Arrange For Conversation
Pull chairs and sofas into a loose circle or U-shape facing the focal point. Keep conversation distances close—about 8 to 10 feet apart—so people can talk without shouting.
Add Comfort Details
Cushions, throws, and a side table for drinks make the zone feel lived-in. A rug underneath ties everything together and defines the space.
3. Add an Outdoor Rug to Define the Space
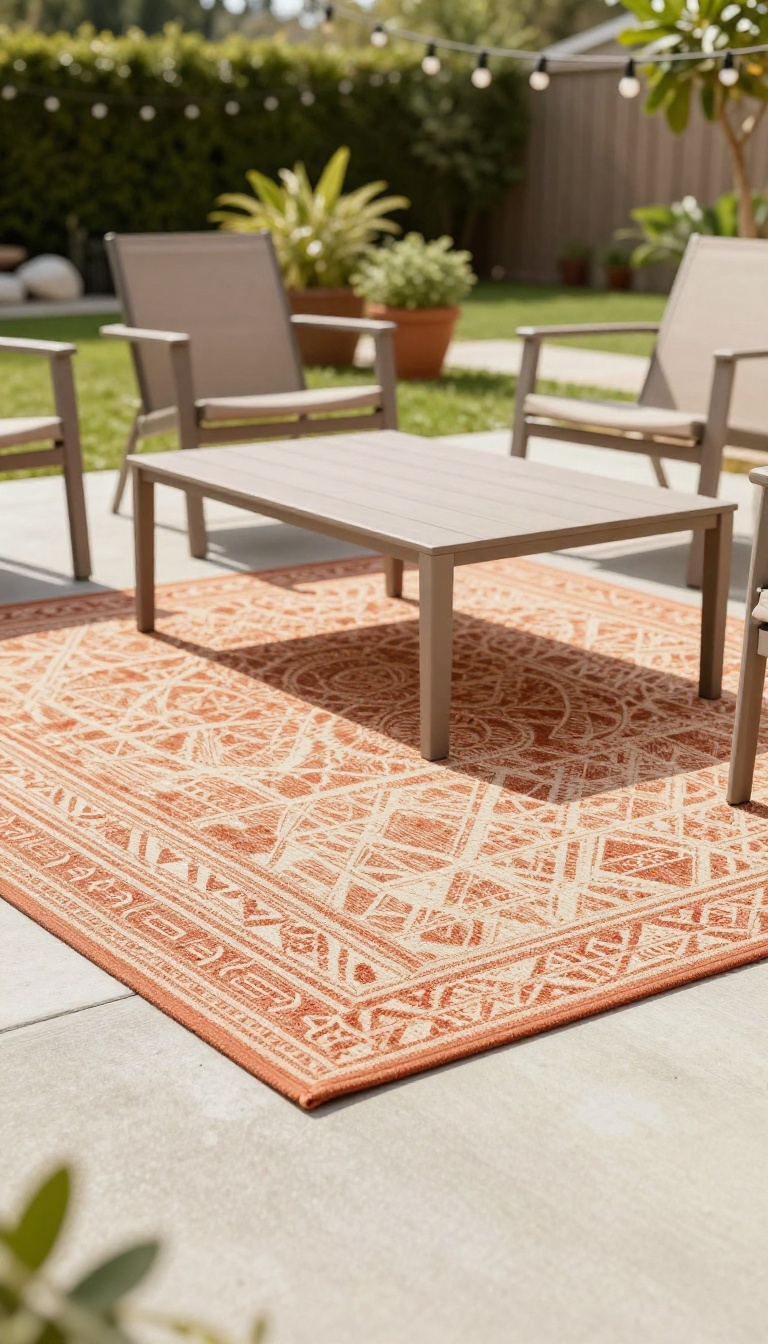
An outdoor rug does more than just cover up a boring patio floor. It creates a clear boundary that tells your brain, "this is a room, " even though it has no walls or ceiling. Suddenly, that random collection of chairs and a table feels like a deliberate, cozy hangout spot.
Plus, it adds color and texture that make the whole area feel more finished and inviting.
The best part? You don't need to spend a fortune. A simple weather-resistant rug can transform a plain concrete slab or wooden deck into something that feels intentional and comfortable.
It's one of those small changes that makes a big difference in how you use and enjoy your backyard.
Why An Outdoor Rug Works
Rugs anchor furniture. Without one, chairs and tables can look like they're floating in space. A rug pulls everything together and gives your seating area a clear focal point.
It also makes the space feel softer underfoot, which is a nice bonus when you're barefoot in the summer.
Choosing The Right Rug
Look for materials like polypropylene, nylon, or recycled plastic. They handle sun, rain, and spills without fading or molding. Size matters too: your rug should be big enough that all furniture legs sit on it, or at least the front legs.
A 5×8 or 8×10 is a good starting point for most patios.
Styling Tips That Work
Pick a pattern or color that contrasts with your furniture and floor. If your patio is dark, go lighter; if it's light, a deeper tone adds depth. Layer a smaller rug over a larger one for extra texture, or add an outdoor pouf or two for a relaxed, bohemian vibe.
Just make sure the rug is easy to clean—hose it down and let it dry in the sun.
4. Plant in Layers for Year-Round Interest
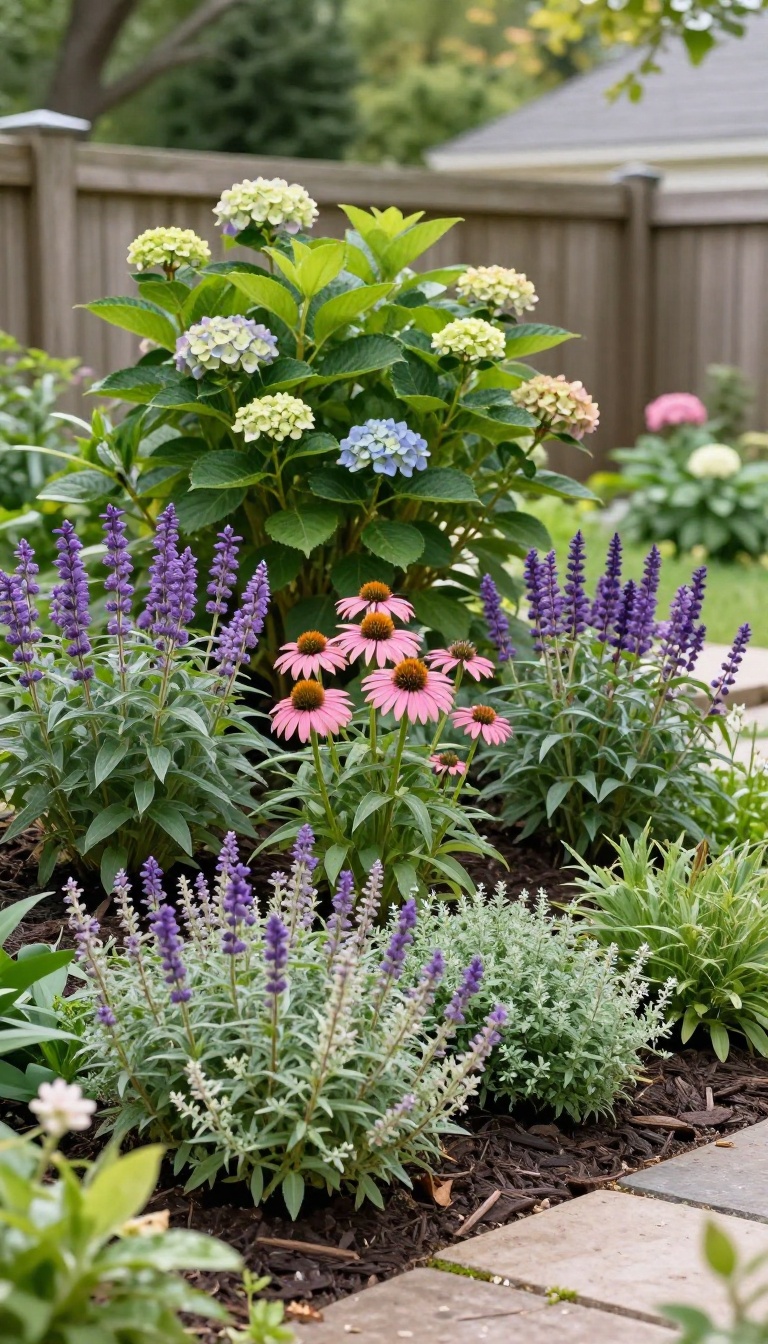
A backyard that only looks good in July isn't pulling its weight. Layering plants fixes that by stacking height, texture, and color so something interesting is always happening. Think of it like building a small landscape instead of lining up pots along a fence.
The trick is to work in three tiers: tall shrubs at the back, mid-size perennials in the middle, and low ground covers up front. Each layer supports the others, and the whole bed reads as fuller and more intentional. You also get color in every season, not just one big spring flush.
Start With The Tall Backbone
Anchor the back of your beds with shrubs that hold their shape all year. Evergreens like boxwood, arborvitae, or dwarf holly give you structure even in January. Mix in one flowering shrub, such as hydrangea or viburnum, for a seasonal pop.
Space them based on their mature size, not how they look at the nursery. Crowding is the fastest way to undo a good layered plan.
Fill The Middle With Perennials
Mid-height perennials bridge the gap between shrubs and ground covers. Aim for a mix of bloom times so the bed shifts from spring to fall. Coneflowers, salvia, and sedum are reliable picks that return year after year.
Plant in odd-numbered clusters of three or five. Groups read better than single plants scattered around, and they fill in faster.
Finish With Ground Covers
Low growers knit everything together and cut down on weeds. Creeping thyme, ajuga, and low sedum work well in sunny spots, while hostas and ferns handle shade. Let them spill slightly over edges for a softer look.
A thin layer of mulch between plants keeps moisture in and makes the whole bed look finished.
Repeat Colors And Textures
Pick two or three colors and repeat them across all three layers. A purple salvia next to a purple-leaf shrub ties the bed together visually. Repeat a texture, like fine grasses or broad leaves, for the same effect.
Repetition is what makes a layered bed look designed instead of random.
5. Hang Curtains or Shades for Instant Privacy
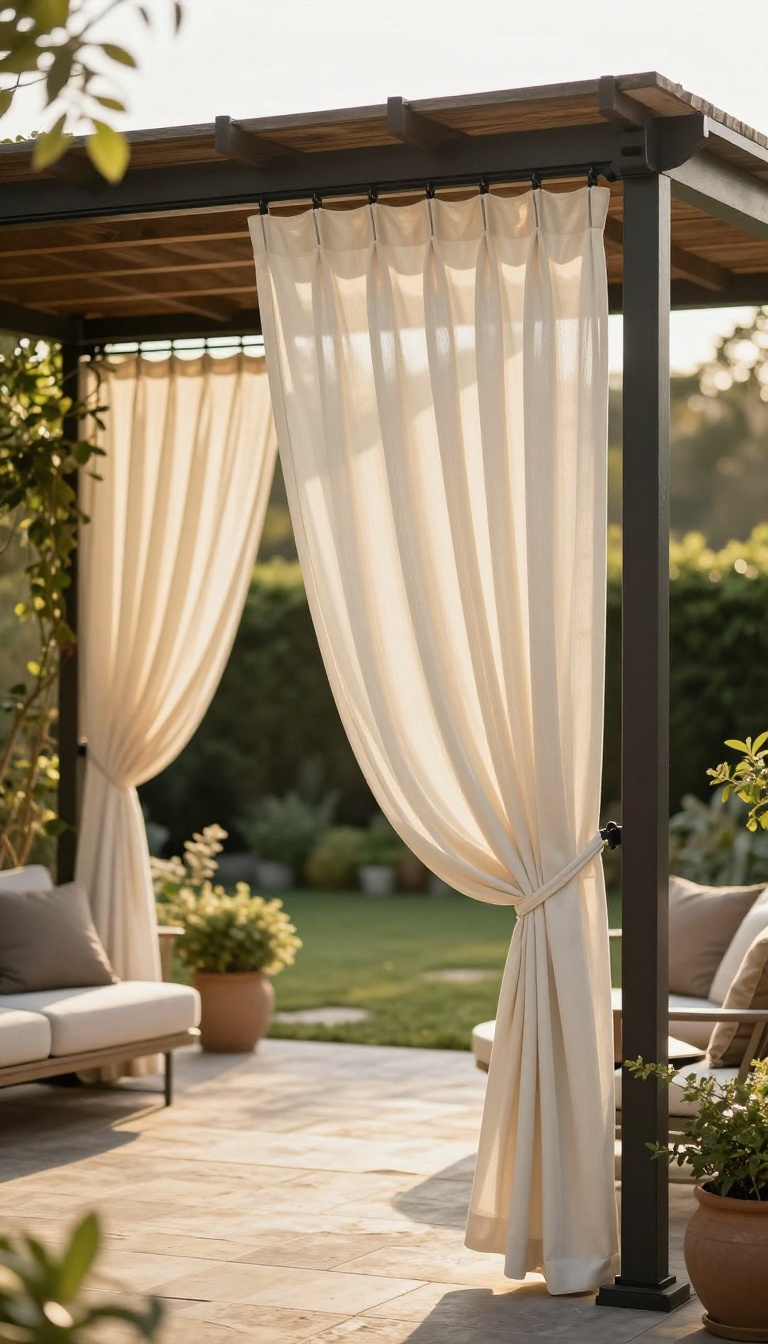
A fence takes a weekend and a permit. Outdoor curtains take an afternoon and a drill. Hang them on a pergola or gazebo and you get privacy that also looks soft and intentional.
They block the neighbor's second-story window view without walling you in. You can open them wide for parties or close them for a quiet morning coffee. That flexibility is why they work in almost any yard.
The trick is choosing the right fabric and hardware for outdoor life. Indoor curtains will fade and mildew within a season. Look for solution-dyed acrylic or treated polyester made for patios.
They cost a bit more but last for years. Mount them on a sturdy rod or cable system rated for wind. A simple track with ceiling mounts works under a pergola beam.
For a gazebo, use tie-back hooks so you can gather panels neatly. Measure twice, then add a few extra inches of width for soft folds. Once they're up, treat them like any other outdoor textile.
Hose them down, let them dry in the sun, and take them inside before the first hard freeze if you live in a cold climate.
Pick The Right Fabric
Solution-dyed acrylic resists fading and mold better than cotton or basic polyester. It feels like canvas and comes in dozens of colors. If you want a lighter look, choose a treated indoor-outdoor sheer that still offers some screening.
Mount Them For Wind
A flimsy tension rod will sag or pop off in a gust. Use a metal track or a cable system anchored into wood or metal beams. Add a center support for spans wider than eight feet.
Tie-backs keep panels from whipping around on breezy days.
Style And Seasonal Care
Hang curtains so they just brush the floor or hover an inch above it. That keeps them from soaking up rain. In winter, take them down, wash them, and store them dry.
They'll be ready to rehang when the warm weather returns.
6. Set Up a Fire Feature for Gathering
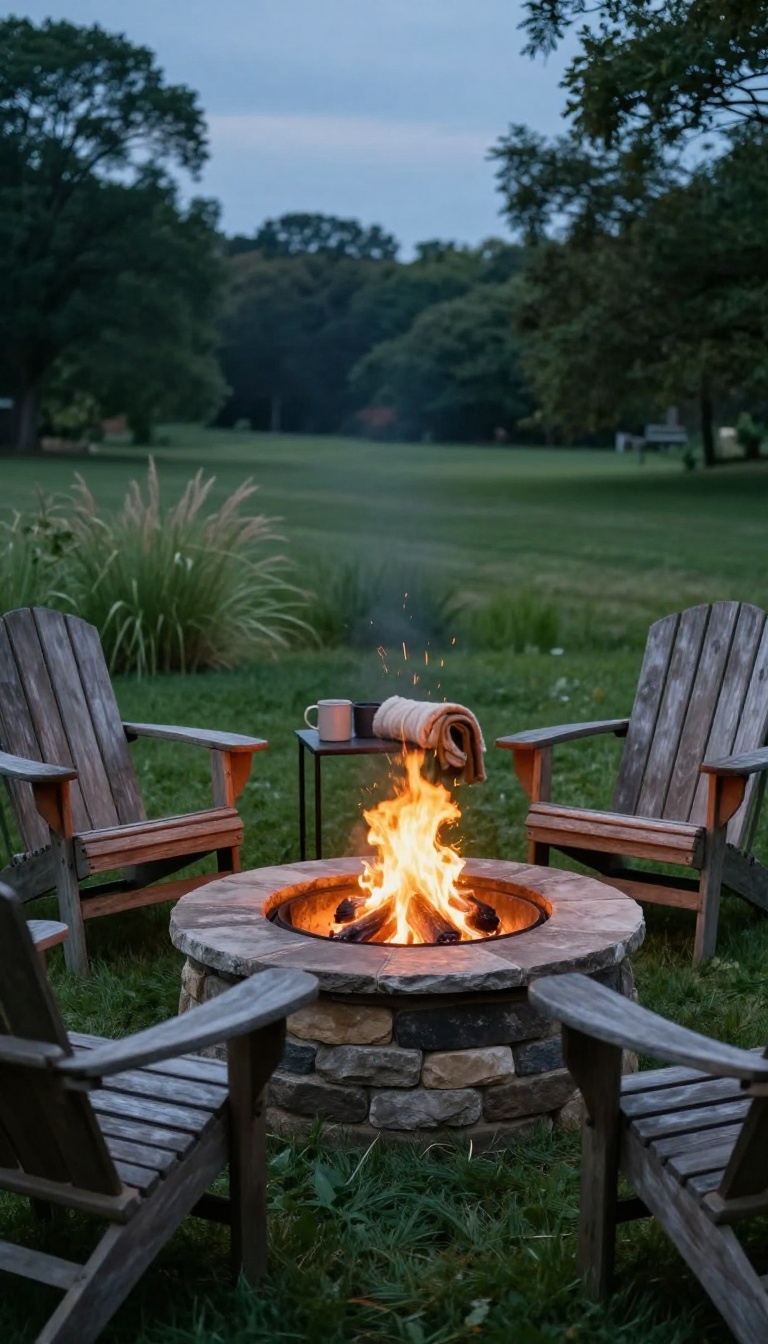
A fire feature changes how people use your backyard after dark. It gives everyone a natural place to sit, talk, and stay a little longer. And it stretches your outdoor season into fall and even mild winter nights.
You don't need a massive built-in fireplace to get the effect. A simple fire pit or chiminea does the job. The key is placing it where people can gather comfortably without smoke chasing them around.
Pick The Right Spot
Choose a flat, open area away from low branches, fences, and anything flammable. You want at least 10 feet of clearance overhead and around the sides. If smoke tends to blow toward your seating, shift the pit so the wind carries it away from where people sit.
Choose Your Fuel
Wood gives you crackle, smell, and that classic campfire feel. Propane or natural gas lights instantly and skips the ash and smoke. If you want low effort, go gas.
If you want atmosphere, stick with wood and keep a bucket of water nearby.
Build Around It
Arrange seating in a loose circle so conversation flows. Add a couple of side tables for drinks and marshmallow sticks. A small basket of blankets nearby makes cool evenings feel cozy instead of chilly.
Stay Safe And Simple
Keep a fire extinguisher or hose within reach, and never leave flames unattended. For wood pits, let ashes cool completely before you dump them. A spark screen and a sturdy lid make cleanup easier and safer.
7. Use Planters to Add Color and Structure
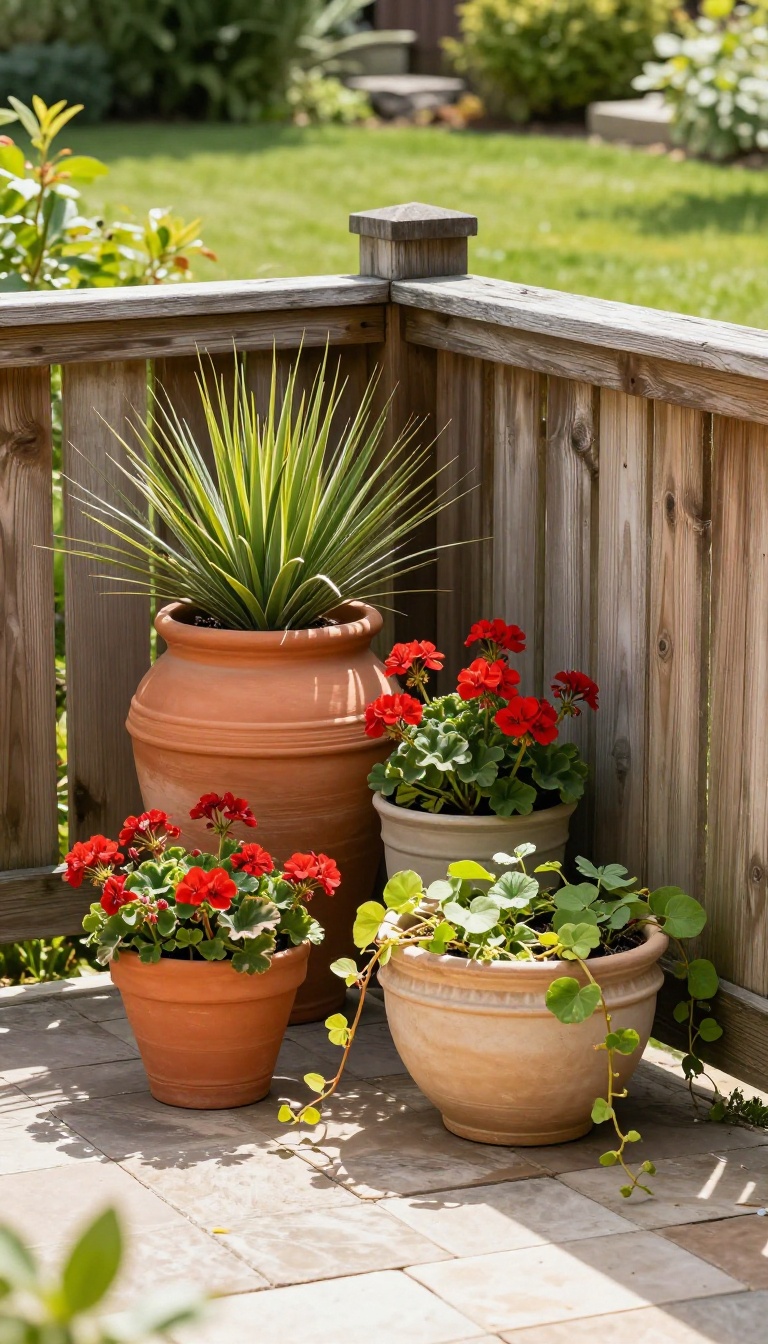
Planters are the easiest way to add life to a bare corner without digging a single hole. They bring color, height, and a bit of structure wherever you need it most. Group a few pots together and you instantly fill awkward gaps near steps, fences, or the grill.
The best part? You can move them around whenever the mood strikes or the seasons change. Think of planters as furniture for your plants.
They anchor the space, soften hard edges, and give your backyard a layered, lived-in feel.
Mix Heights And Sizes
A single pot can look lonely, but a cluster of three or five in different heights creates a mini garden. Use a tall planter as the anchor, then flank it with medium and low bowls. Vary the widths too.
A wide, shallow bowl balances a skinny, tall pot. This combo adds visual interest and keeps the group from looking like a matching set from a big-box store. Stagger them slightly forward and back so the arrangement feels natural, not lined up like soldiers.
Pick Plants That Pop
Color comes from what you plant, so choose varieties that thrive in your light. Sunny spots love geraniums, lantana, or ornamental grasses. Shade calls for coleus, ferns, or caladiums.
For structure, add a small evergreen shrub or a spiky dracaena in the center. Then tuck in trailing plants like sweet potato vine or ivy to spill over the edges. Change out the annuals each season for a fresh look.
Spring bulbs, summer blooms, and fall mums keep the display interesting year-round.
Place Them With Purpose
Empty corners are prime real estate for a planter grouping. Tuck a trio where two fences meet, or place a single large pot beside a bare wall. Use planters to guide foot traffic, too.
A pair of matching pots on either side of a step or path creates a welcoming entry. Just make sure they don't block the walkway. If you have a deck or patio, cluster pots near the seating area to bring greenery within arm's reach.
They soften the hard lines of railings and furniture.
Keep Them Looking Good
Container plants dry out faster than garden beds, so check moisture every couple of days. Water until it runs out the drainage hole, then empty the saucer to prevent root rot. Feed with a slow-release fertilizer at planting time, then switch to a liquid feed every few weeks for annuals.
Deadhead spent blooms to keep the color coming. In winter, move fragile pots to a shed or garage if you live in a cold climate. Or plant them with cold-hardy evergreens and winterberry for off-season interest.
8. Incorporate a Water Element for Calm
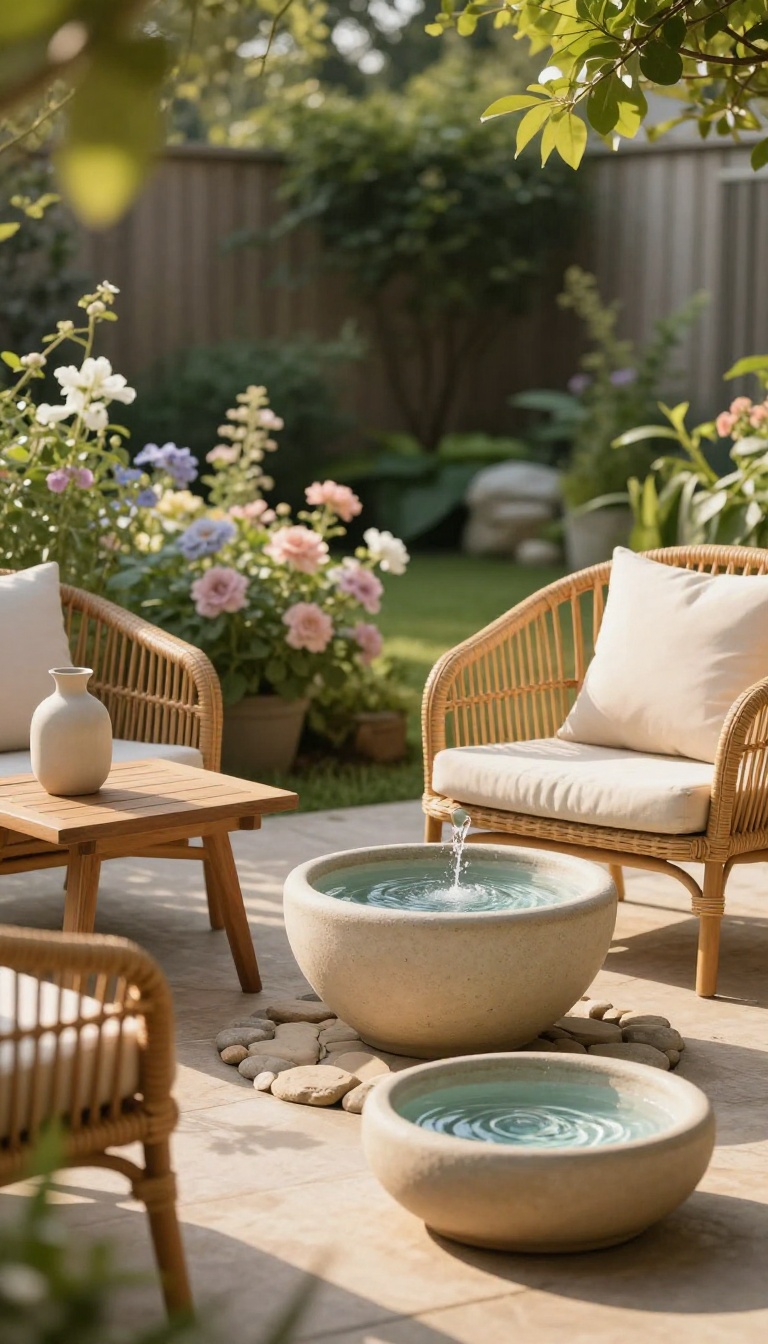
Water has a way of settling a space without asking for much in return. A small fountain or a simple birdbath adds a gentle sound that drowns out traffic and neighborhood noise. It also pulls in birds and butterflies, so the yard feels alive instead of static.
You don't need a pond or a plumber to get the effect. A plug-in fountain or a ceramic basin does the job in an afternoon.
The trick is to keep it small and place it where you'll actually hear it. A fountain tucked against the fence looks nice, but one near your seating area earns its keep. Think of it as a sound feature first and a visual one second.
That shift in thinking makes the whole project easier to pull off.
Pick The Right Spot
Put the water feature within earshot of where you sit most. A corner near the patio or beside a reading chair works better than the far end of the lawn. If you host often, place it close to the table so the sound covers conversation gaps.
Keep it away from bedroom windows if you sleep with them open. The goal is calm, not a constant drip you can't escape.
Keep It Simple To Maintain
Small fountains and birdbaths need less care than a full pond. Refill them every few days and scrub the basin once a month to keep algae down. A drop of mosquito dunk keeps larvae from taking over in summer.
If you live where it freezes, bring a ceramic birdbath inside for winter. Solar fountains skip the cord and run on their own, which makes them an easy first pick.
Let Wildlife Do The Rest
Birds need shallow water, so keep the depth under two inches. Add a few flat stones as landing spots and they'll show up within days. Moving water attracts more visitors than still water because they can hear it.
You'll get finches, robins, and the occasional butterfly stopping by. That activity is what makes the yard feel lived-in rather than staged.
9. Define Pathways with Stepping Stones
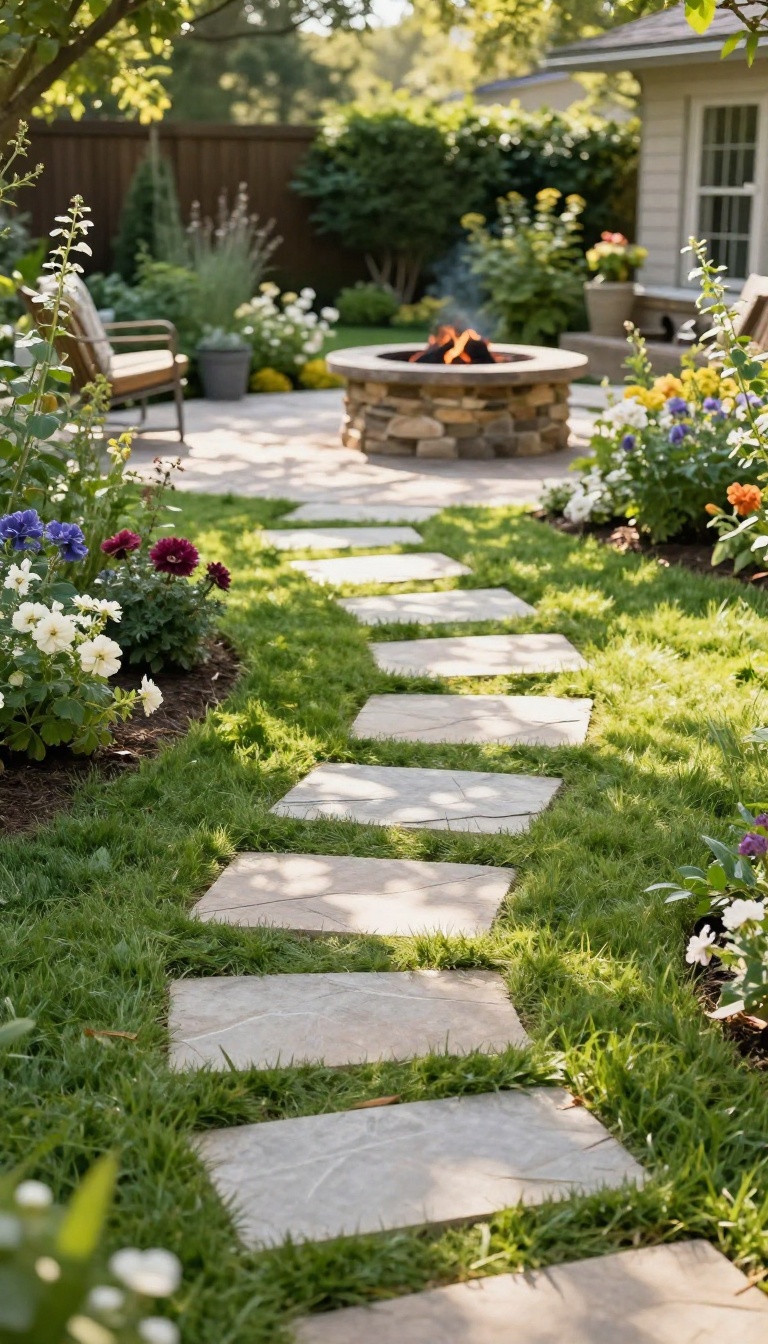
A clear path tells guests where to go without a single sign. Stepping stones do that job quietly, guiding feet from the patio to the fire pit or from the gate to the back door. They also keep people off soggy grass and out of garden beds.
The best part? You can lay a simple path in an afternoon with stones you pick up locally.
Stepping stones work because they give the eye a line to follow. That line connects zones that might otherwise feel disconnected, like a deck, a vegetable patch, and a seating area under a tree. When the path is easy to read, the whole yard feels intentional instead of pieced together.
You do not need a perfect straight line, either. A gentle curve often looks more natural and slows people down just enough to take in the space.
Pick Stones That Fit Your Ground
Flat, wide stones work best for walking. Look for flagstone, bluestone, or concrete pavers if you want something uniform. For a looser look, use irregular slate or fieldstone and let the gaps do the talking.
Just make sure each stone sits stable underfoot. If a stone rocks when you step on it, it will annoy you every single day.
Space Them For A Natural Stride
Set stones about 18 to 24 inches apart, center to center. That is roughly one comfortable step for most adults. If you space them too far, people will stretch or step on the grass between them.
Too close, and the path looks like a runway. Test the spacing by walking it yourself before you commit. Adjust as you go, and trust your feet more than a tape measure.
Set Them Without A Big Dig
You do not need to excavate the whole yard. For each stone, cut a shallow bed with a spade, about an inch or two deep. Add a thin layer of sand or fine gravel, then set the stone and wiggle it level.
Tamp it down with a rubber mallet or just your weight. For a softer look, let grass or creeping thyme grow between the stones. It fills in over time and makes the path feel like it has always been there.
Connect The Zones That Matter
Think about where people actually walk. The route from the back door to the grill, or from the gate to the patio, is usually the first path worth building. Add a short spur to a bench or a birdbath if you want people to linger.
Keep the main line obvious and let side paths branch off naturally. When the path matches how you live, it stops being decoration and starts being useful.
10. Add a Vertical Garden or Trellis
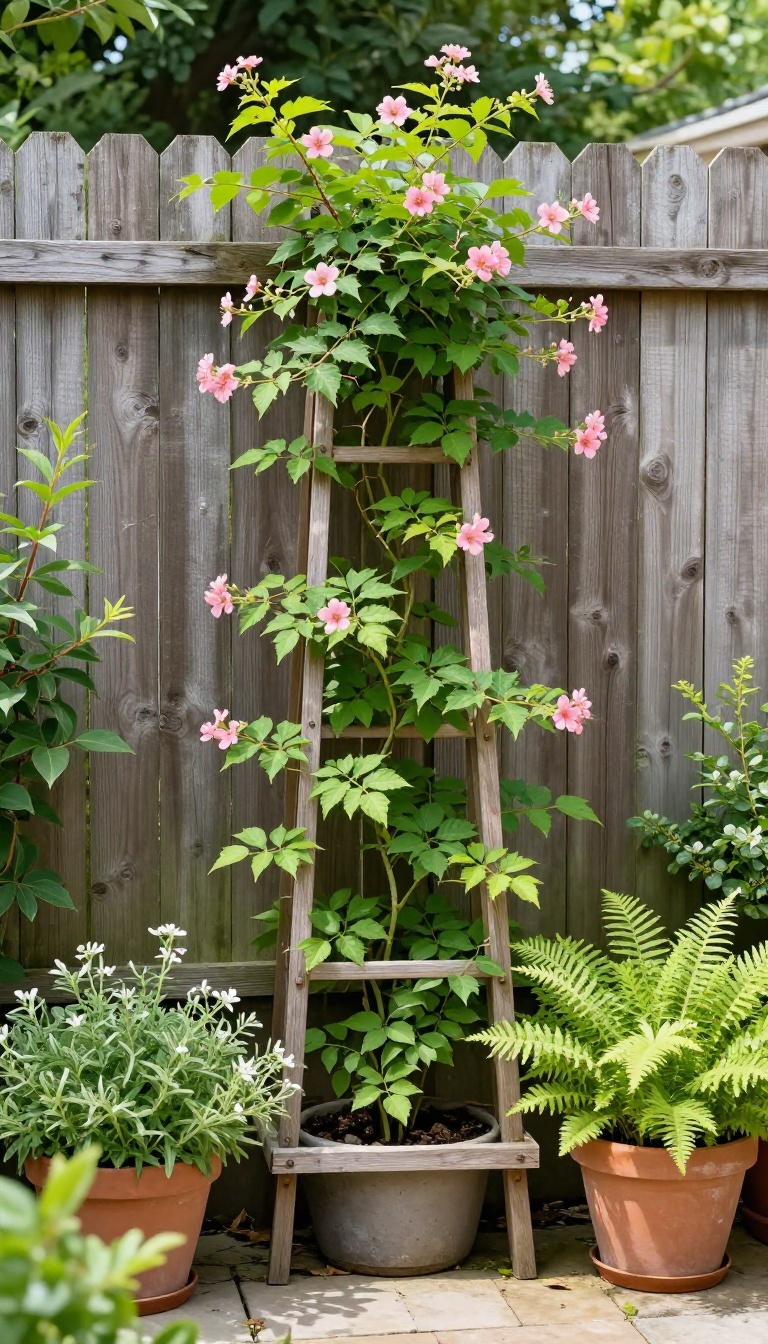
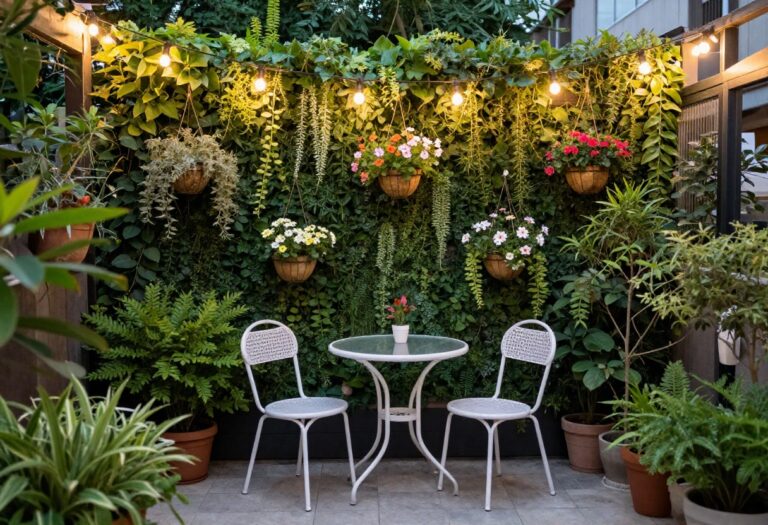
Ground space runs out fast in a small yard, but walls and fences sit there doing nothing. A trellis or vertical garden puts that empty vertical real estate to work, giving you more greenery without sacrificing an inch of patio or lawn. It also creates a living backdrop that makes the whole space feel finished and intentional.
The best part is how flexible it is. You can go simple with a single climbing vine on a wooden frame, or go all-in with a modular wall of herbs, succulents, and flowering annuals. Either way, you get a lush look that softens hard edges and adds privacy over time.
Vertical growing works because most climbing plants want to go up anyway. Give them a little guidance and they'll cover a bare fence, frame a doorway, or hide an ugly utility wall within a season or two. You're basically borrowing height you already have.
You don't need a big budget or a contractor. A basic trellis kit, a few wall planters, and some good potting mix will get you started. The main thing is matching the structure to the plant and the wall to the weight.
Pick The Right Structure
A freestanding trellis works great for annual vines like morning glories or climbing nasturtiums. It's portable, so you can move it around until you find the spot that looks best. For something permanent, mount a wooden or metal trellis directly to a fence or exterior wall.
Just make sure it's anchored into studs or masonry, not just siding. A heavy vine like wisteria or climbing hydrangea needs serious support once it matures.
Choose Plants That Earn Their Keep
Climbing roses, jasmine, and clematis give you flowers and fragrance. Ivy and creeping fig give you fast, dense green coverage. Edible options like pole beans, cucumbers, and grapes pull double duty if you like the idea of snacking while you lounge.
If you want low maintenance, go with succulents in a vertical pocket planter. They need almost no water and stay neat year-round. Just avoid mixing thirsty plants with drought-tolerant ones in the same wall system.
Keep It Looking Good
Vertical gardens need a little training at first. Tie stems loosely to the trellis with soft twine or plant clips, and guide them where you want them to go. Once they grab on, they mostly take care of themselves.
Water more often than you would for in-ground plants. Wall planters dry out fast, especially in full sun. A drip irrigation line on a timer solves that problem and keeps everything thriving without daily fuss.
11. Choose Weatherproof Accent Pillows and Throws
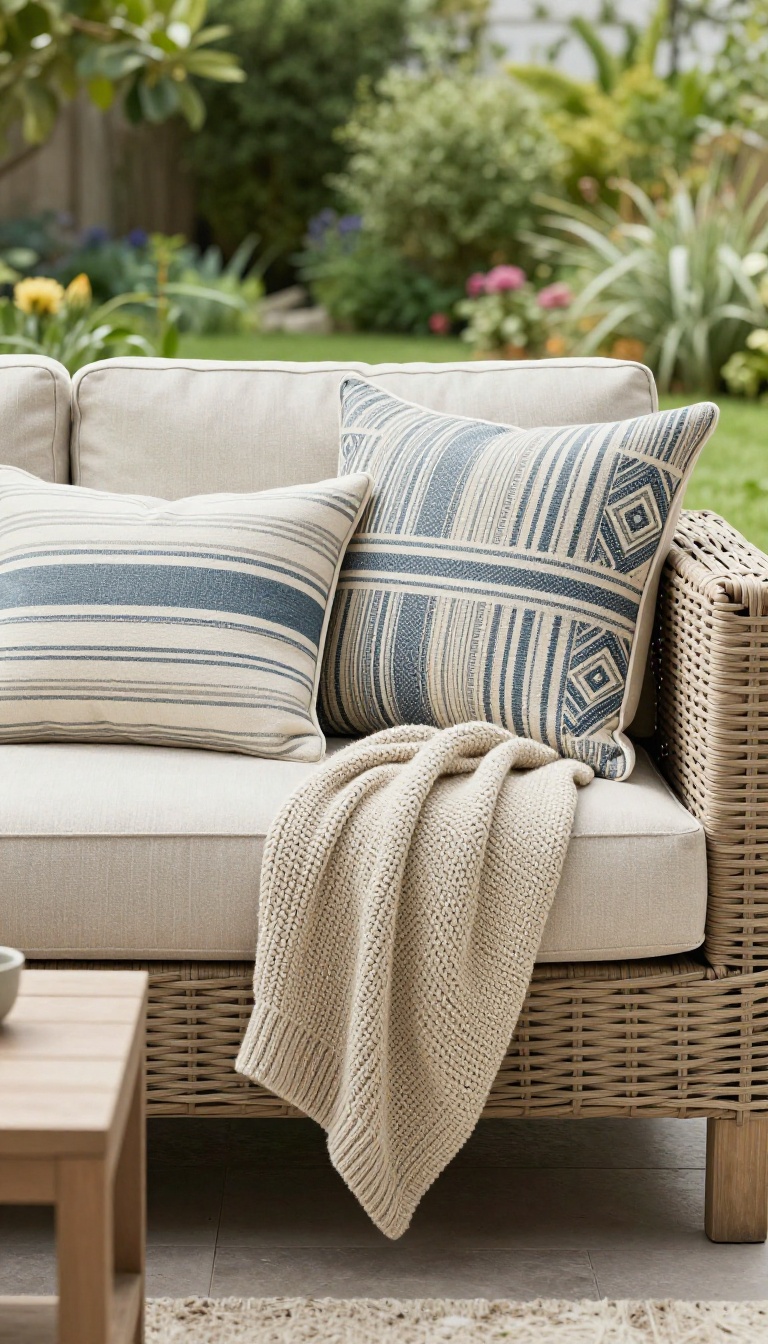
Outdoor seating gets a lot more inviting when you add softness. But regular pillows and throws will soak up rain, fade in the sun, and turn into a soggy mess. The fix is simple: use fabrics made for the outdoors.
They look and feel like indoor textiles, but they handle weather without a fuss. That means you can leave them out, enjoy them daily, and skip the constant back-and-forth.
Outdoor fabrics have come a long way. You can find pillows and throws that are soft, stylish, and tough enough to stay outside. They resist moisture, block UV rays, and clean up with a quick wipe or a hose-down.
That makes them a smart swap for any backyard seating area. The best part? They add color and pattern that make your space feel finished and cozy.
Here's how to pick and use them well.
Pick The Right Fabrics
Look for solution-dyed acrylic, olefin, or polyester blends. These hold up to sun and rain without fading or mildewing. Solution-dyed acrylic is the gold standard for outdoor cushions and pillows because the color goes all the way through the fiber.
Olefin is lightweight and quick-drying, great for throws. Avoid cotton and rayon unless you plan to bring them inside every time. A quick touch test: if it feels like canvas or a smooth outdoor rug, it's probably a good bet.
Mix Patterns And Textures
Solid colors are safe, but patterns add personality. Try a stripe, a geometric, or a subtle floral to break up plain furniture. Mix two or three patterns in the same color family for a pulled-together look.
Don't forget texture: a chunky knit outdoor throw or a nubby pillow adds depth. Just keep scale in mind—large patterns on big pillows, smaller ones on lumbar styles. And vary sizes: a 20-inch square, a 12×20 lumbar, and a round pillow make a nice trio.
Make Swapping Easy
Even weatherproof fabrics last longer if you store them during harsh months. Use a deck box or a storage bench near your seating. That way, you can toss pillows in when a storm rolls in or when the season ends.
It also lets you switch up colors for parties or holidays. Keep a small stash of different covers—they take up little space and change the whole mood. A quick swap is faster than dragging furniture around.
Care And Cleaning
Most outdoor fabrics clean up with mild soap and water. For deeper stains, use a soft brush and a diluted bleach solution if the fabric allows. Rinse well and air dry.
Don't put them in the dryer—heat can damage the fibers. Check zippers and seams for wear now and then. If you spot mildew, treat it right away with a vinegar spray.
Regular shaking and a quick wipe keep them fresh between washes.
12. Hang a Hammock or Swing for Relaxation
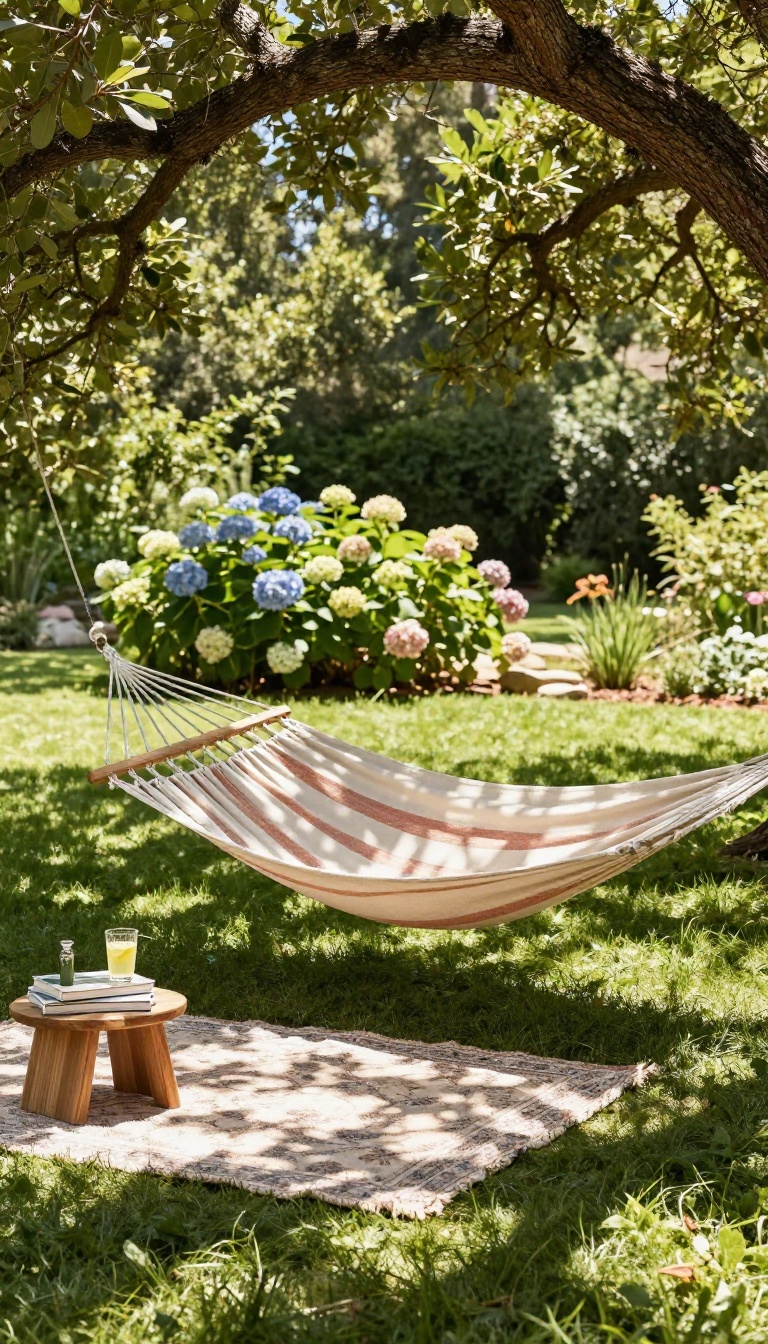
Nothing says 'slow down' quite like a hammock swaying between two trees. It's an instant invitation to nap, read, or just stare at the clouds. A swing chair does the same trick on a porch or under a pergola, adding a gentle motion that makes any corner feel like a mini vacation.
The beauty of a hammock or swing is that it works in almost any yard, big or small. You don't need a tropical setting—just two sturdy anchor points or a strong branch. Once it's up, you've created a destination that pulls people outside without any effort.
Pick The Right Spot
Look for shade during the hottest part of the day. A spot under a large tree or beside a wall that blocks the afternoon sun will get used far more often. Make sure the ground below is soft—grass, mulch, or a small rug—so it's easy to step in and out.
Hammock Vs. Swing Chair
Traditional hammocks need two trees or a stand, and they're great for full-body lounging. Swing chairs hang from a single point and take up less room, making them perfect for porches or small decks. Both offer that soothing back-and-forth motion, so choose based on your space and how you like to relax.
Mount It Safely
If you're hanging from trees, use wide straps to protect the bark. For porch ceilings or beams, install a heavy-duty eye bolt rated for at least 300 pounds. Always check the hardware and ropes before each season—a quick tug test can save you from a surprise drop.
Add Comfort And Style
A few pillows and a lightweight throw make it cozier and encourage longer stays. Choose weather-resistant fabrics so you don't have to drag everything inside every time it rains. A small side table for a drink or a book completes the setup.
13. Personalize with Art, Signs, or Decor
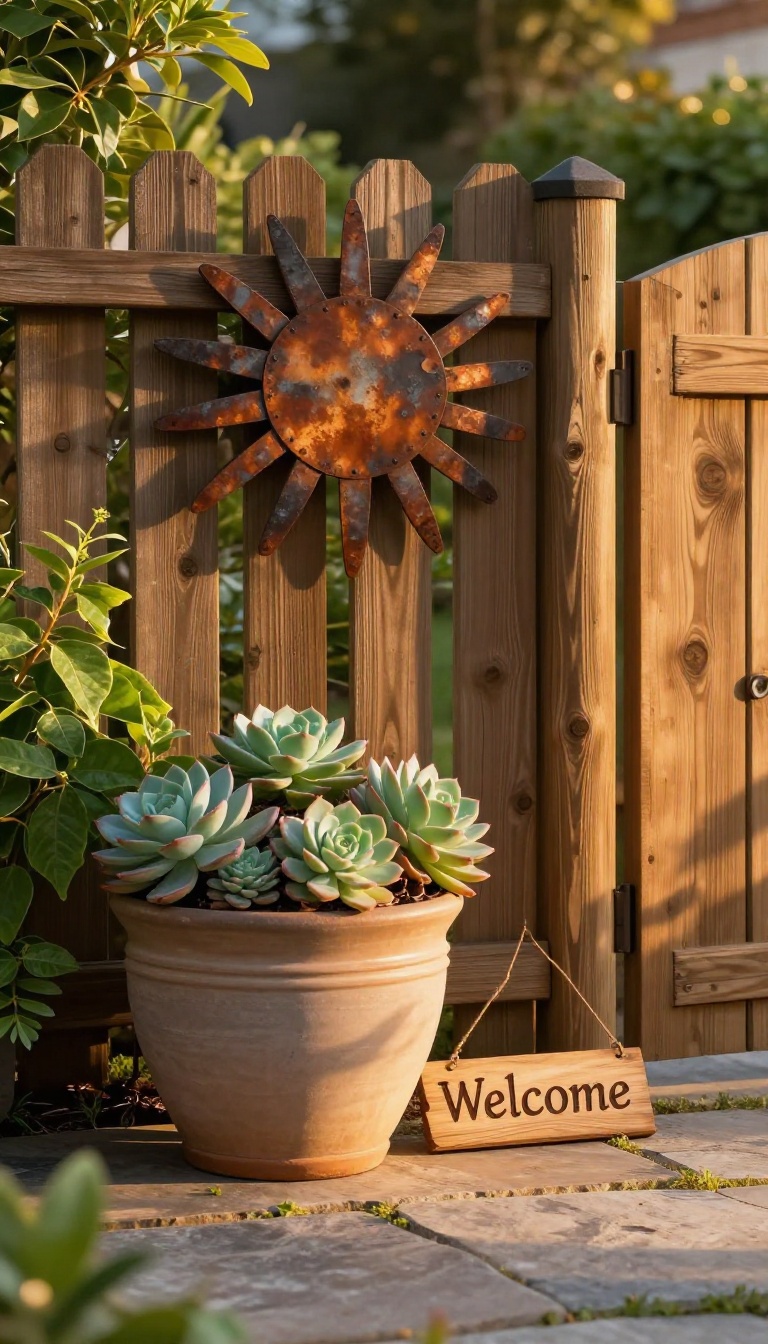
A backyard can look nice and still feel like it belongs to anyone. The fix is simple: put something in it that could only be yours. Art, signs, and handmade touches tell guests a little about who lives here, and they make the space feel finished instead of staged.
You don't need a gallery wall or a custom commission. One well-placed piece does more than a cart full of generic accessories. The goal is personality, not perfection.
Think of this step as signing your yard. A metal wall art piece on a fence, a funny sign by the gate, or a handmade planter on the patio all do the same job. They break up the store-bought look and give the eye something worth landing on.
Start with one spot you see most often, like the wall by your back door or the fence behind the grill. That's where a personal piece pays off the fastest.
Pick A Focal Wall
Fences, shed walls, and garage exteriors are prime real estate for art. A large metal piece, a painted wooden sign, or a cluster of smaller items can anchor the whole view. Measure the wall first so the piece doesn't look lost or crowded.
Hang it at eye level, roughly five to six feet up, so it reads from the patio and from inside the house.
Signs That Say Something
A quirky sign works best when it sounds like you, not a gift shop. A family name, a running joke, or a simple 'Welcome to the chaos' does more than a generic 'Live, Laugh, Love' ever will. Weatherproof metal or sealed wood holds up through rain and sun.
Mount it near the gate, the bar cart, or the pool entrance where people actually pause to read.
Handmade Beats Store-bought
Anything you make yourself carries a different kind of weight. A painted pot, a mosaic stepping stone, or a repurposed tool turned into a hook all count. Kids' painted rocks lined along a garden bed add color and a story.
These pieces don't need to match. A little mismatch is what makes a yard feel lived in rather than catalog-perfect.
Keep It Weather-ready
Outdoor decor takes a beating, so choose materials that can handle it. Metal, treated wood, ceramic, and sealed concrete last far longer than paper or thin fabric. Bring delicate pieces in before winter or heavy storms.
A quick coat of clear sealant once a year keeps colors from fading and metal from rusting.
FAQ
What is the cheapest way to make my backyard more inviting?
Start with lighting and seating. String lights and a few comfortable chairs cost little and make a huge difference in how the space feels.
How do I decorate a small backyard?
Focus on vertical space and multi-use pieces. Hang plants, use folding furniture, and choose a few large planters instead of many small ones.
Do I need a pergola or can I use something else?
A pergola is nice but not required. A patio umbrella, a shade sail, or even tall plants can create the same cozy, defined feel.
How can I make my backyard cozy at night?
Layer warm-white lights at different heights, add a fire pit or candles, and use soft outdoor textiles like pillows and throws.
What are some low-maintenance backyard decoration ideas?
Go with solar lights, faux plants if you travel a lot, weather-resistant furniture, and gravel or mulch instead of a lawn.
Conclusion
Making your backyard more inviting doesn't require a big budget or a lot of time. Pick a couple of ideas that fit your space and start there. Even one change, like adding lights or a comfy chair, can shift how the whole yard feels.
As you layer in more touches, the space becomes a natural extension of your home. Soon you'll find yourself lingering outside longer, and that's the real goal.