11 Fresh Guest Bathroom Ideas to Upgrade Function and Style
Guest bathrooms often get the bare minimum: a toilet, a sink, maybe a shower. But when you have visitors, that small space can make a big impression. A few thoughtful upgrades can turn it into a room they actually enjoy using.
The trick is to focus on both function and style without blowing your budget. You don't need a full remodel to make a difference. Simple swaps, clever storage, and a little attention to detail can go a long way.
Here are 11 fresh ideas to help you create a guest bathroom that feels welcoming and works hard. Whether you're dealing with a tiny powder room or a full bath, there's something here for you.
1. Swap in a Towel Warmer for a Spa-Like Touch
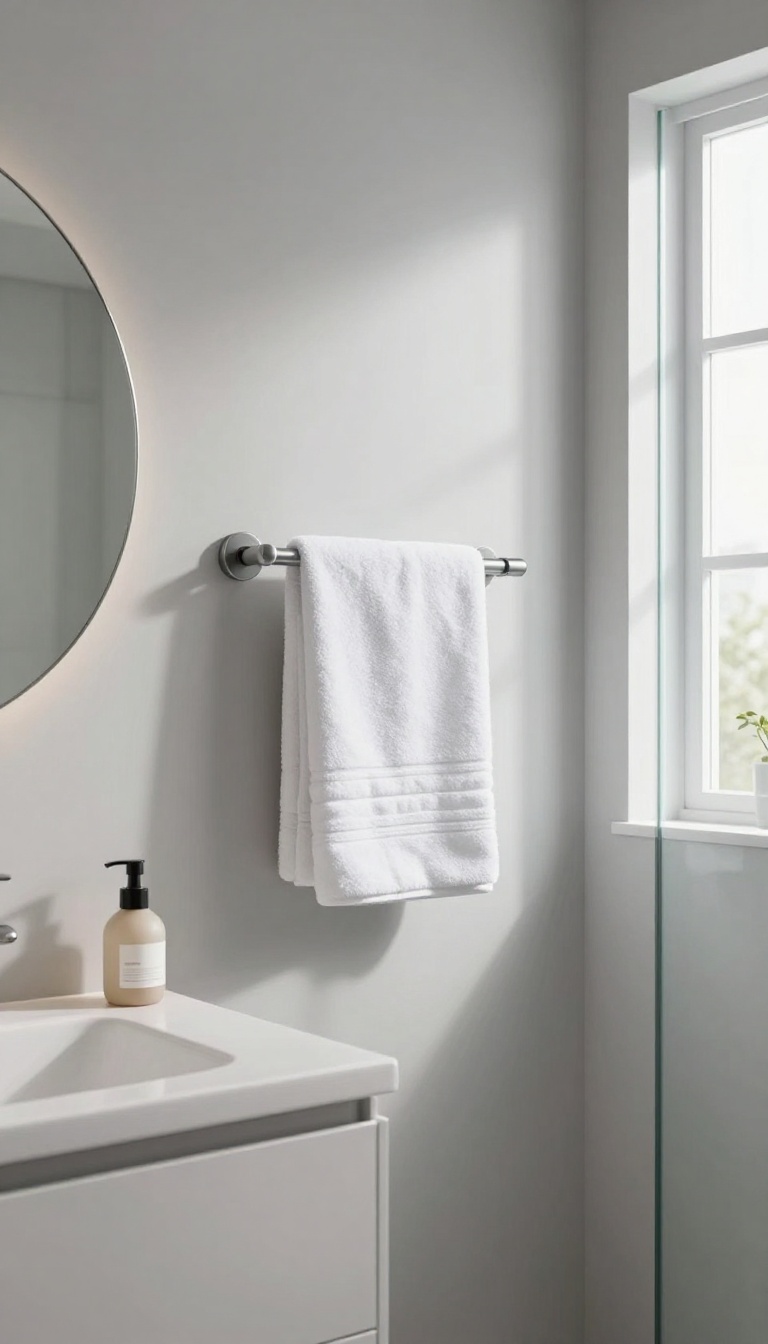
There’s a quiet luxury in stepping out of a shower and wrapping yourself in a warm, fluffy towel. It’s the kind of detail that makes guests feel pampered without any extra effort on their part. A towel warmer brings that spa-like comfort into your guest bathroom, and it’s more practical than it sounds.
Towel warmers aren’t just for high-end hotels. They come in a range of styles and prices, so you can find one that fits your space and budget. Wall-mounted models save floor space, while freestanding units add a touch of classic elegance.
Either way, they’re a simple upgrade that pays off in guest comfort.
Pick The Right Type For Your Space
If your guest bathroom is tight on floor space, a wall-mounted towel warmer is a smart choice. It attaches to the wall like a radiator and keeps towels off the floor. For a more traditional look, a freestanding ladder-style warmer works well and can double as a drying rack.
Measure your available wall or floor area before you buy to ensure a good fit.
Choose The Best Heating Method
Towel warmers come in two main types: hydronic and electric. Hydronic models connect to your home’s heating system and are energy-efficient, but they require professional installation. Electric models plug into an outlet and heat up quickly.
They’re easier to install and often come with timers, so you can have warm towels ready right when your guests need them.
Install It Where It’s Most Useful
Place the towel warmer near the shower or bathtub for easy reach. If you have a larger bathroom, consider placing it next to the sink so guests can warm their hand towels too. Make sure it’s not blocking any doors or cabinets.
A little planning goes a long way in making the warmer feel like a natural part of the room.
2. Upgrade to a Water-Saving Showerhead
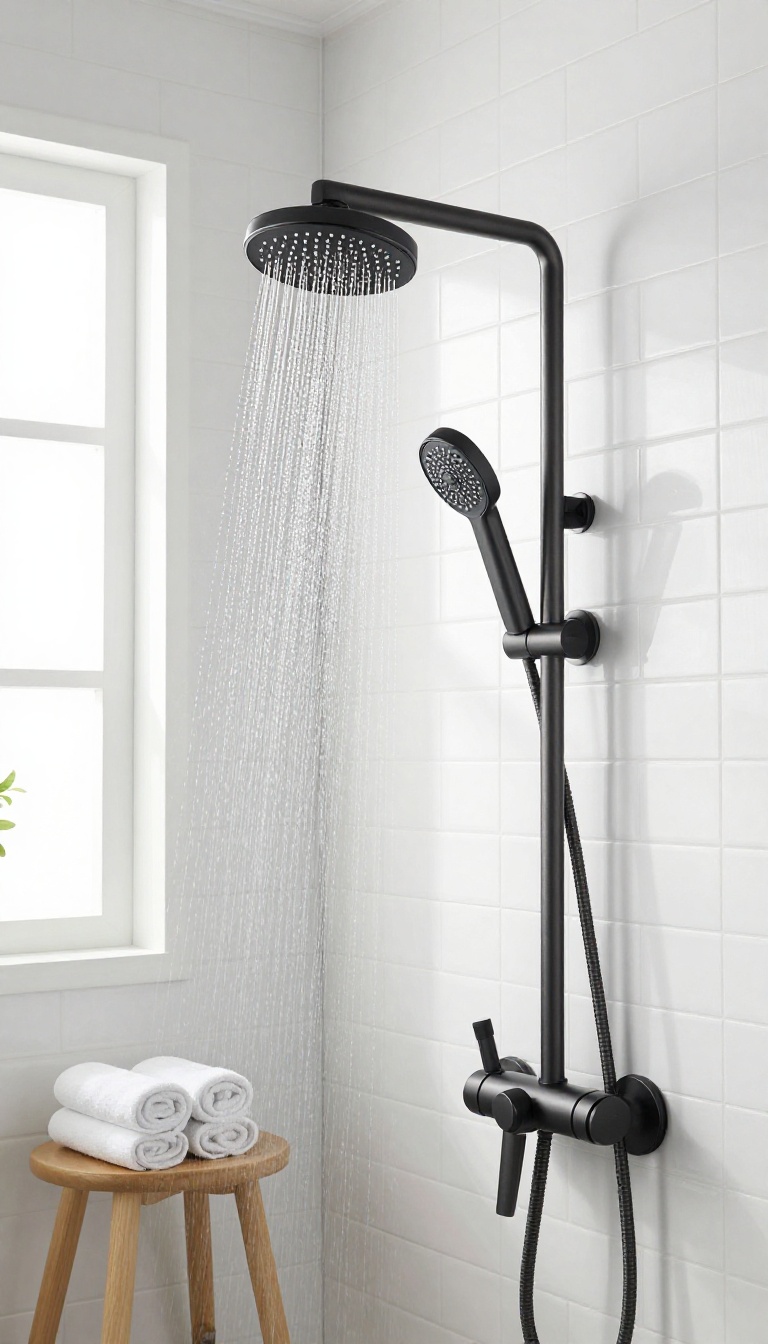
A showerhead might not be the first thing you think of when upgrading a guest bath, but it’s one of the easiest swaps with the biggest payoff. A modern water-saving model can boost water pressure, cut utility bills, and make showers feel more luxurious. Plus, installation is often a simple DIY that takes minutes.
When guests step into your shower, the last thing they want is a weak, uneven spray. Older showerheads can waste water while delivering a disappointing experience. Swapping to a water-saving model solves both problems at once.
Many new designs use aerating technology to mix air with water, creating a full, satisfying spray while using less water. That means your guests get a better shower, and you save money on your water bill—a win-win.
What To Look For In A Showerhead
Not all water-saving showerheads are created equal. Look for models with multiple spray settings—like rainfall, massage, or mist—so guests can pick their preference. Check the flow rate: a standard is 2.
5 gallons per minute (gpm), but water-saving models go as low as 1. 5 gpm without sacrificing pressure. Also, consider the finish and style to match your bathroom decor.
Chrome and brushed nickel are classic, while matte black adds a modern touch.
Easy Installation Tips
Most showerheads are straightforward to install. You’ll need an adjustable wrench and some plumber’s tape. First, remove the old showerhead by turning it counterclockwise.
Clean the threads on the shower arm, wrap them with Teflon tape, and screw on the new head. Tighten by hand, then use the wrench for a final quarter turn—but don’t overtighten. Test for leaks before you call it done.
If you’re nervous, watch a quick tutorial online; it’s a job most people can finish in under 30 minutes.
Bonus: Add A Handheld Option
Consider a handheld showerhead instead of a fixed one. It’s great for rinsing the tub, washing pets, or making showering easier for guests with mobility issues. Many handheld models come with a slide bar, so you can adjust the height.
This small upgrade adds flexibility and comfort, making your guest bath more accessible without looking clinical.
3. Add a Slim Rolling Cart for Extra Storage
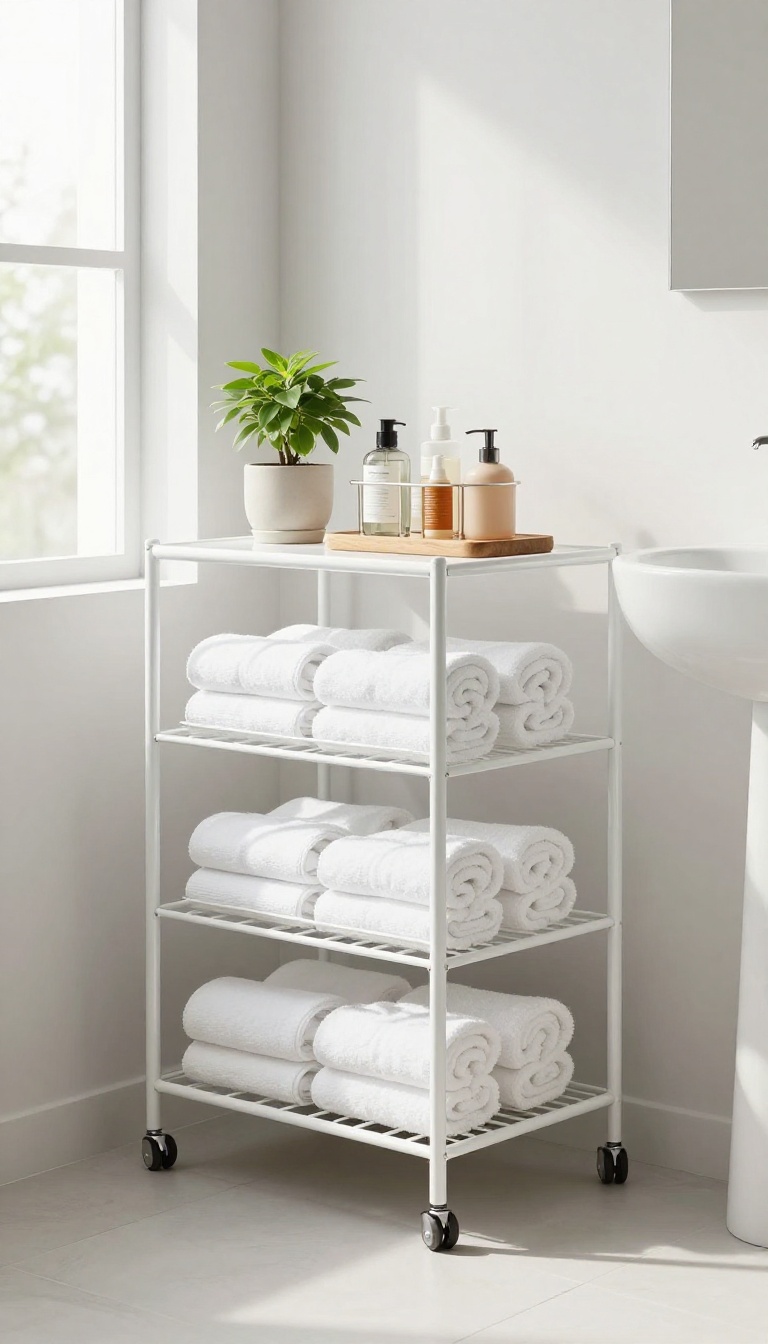
Guest bathrooms often miss out on storage, leaving you to balance towels and toiletries on the edge of the sink. A slim rolling cart slides into that awkward gap beside the toilet or between the vanity and the wall, turning dead space into a handy storage spot. Because it's on wheels, you can roll it out when you need it and tuck it away when you don't.
A rolling cart is like a secret weapon for small bathrooms. It gives you a place for the essentials—extra toilet paper, fresh towels, or a basket of travel-size toiletries—without taking up permanent floor space. And since it's mobile, you can move it to wherever it's needed most, whether that's next to the tub or outside the shower for a quick grab.
What To Store On It
Think about what your guests might need: extra rolls of toilet paper, a stack of clean hand towels, or a small tray with toothbrush holders and mini shampoo bottles. You can also use the top shelf for decorative items like a small plant or a pretty soap dispenser to keep it looking intentional.
Choosing The Right Cart
Look for a cart that's narrow enough to fit in tight spots—usually around 12 to 15 inches wide. Metal carts with wire shelves have an open, airy feel that works well in modern bathrooms, while wooden or bamboo carts add warmth. Make sure the wheels are smooth and lockable so it doesn't roll away when you don't want it to.
Styling Tips
Keep the cart from looking cluttered by using small baskets or bins to group items. Rolled towels in a neat stack look tidy and inviting. You can also add a hook on the side for a loofah or a small mirror.
The goal is to make it feel like a thoughtful addition, not just a storage dump.
4. Install a Motion-Sensor Night Light
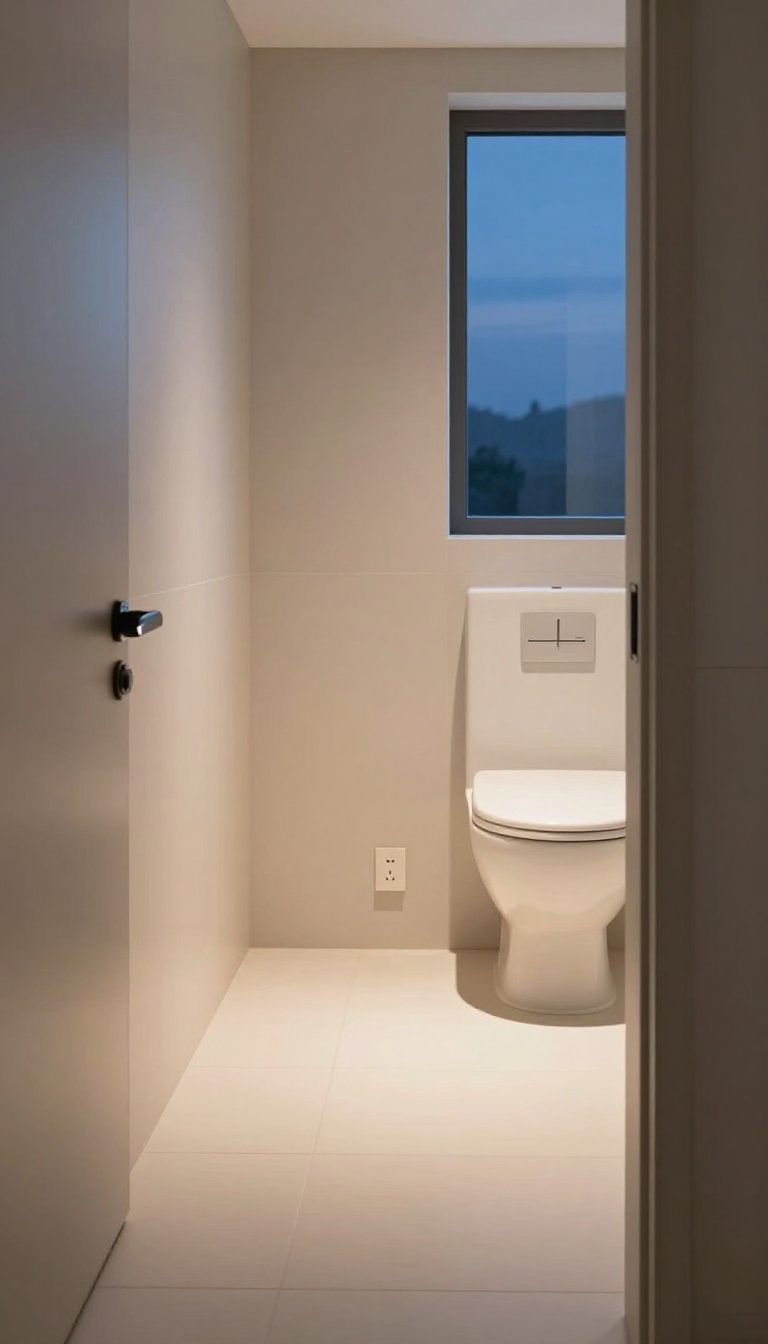
A guest bathroom can feel like a maze in the middle of the night. A motion-sensor night light solves that by automatically illuminating the path when someone enters. It’s a small, thoughtful addition that makes guests feel cared for without them having to ask.
Why It’s A Game-changer
Night lights aren’t just for kids. They help everyone avoid stubbed toes and fumbling for switches. Motion sensors mean the light only turns on when needed, saving energy and avoiding a constant glow that might bother light sleepers.
Where To Place It
The best spots are near the floor along the path from the door to the toilet, or near an outlet at baseboard height. Some models plug directly into an outlet and have a built-in sensor. You can also use a plug-in model that swivels to direct light where you need it.
Choosing The Right One
Look for warm, soft light that’s bright enough to see by but not harsh. LED options last long and use little power. Some have adjustable brightness and auto shut-off timers.
Pick one that blends with your bathroom’s style—many come in sleek, modern designs.
5. Refresh the Grout and Caulk
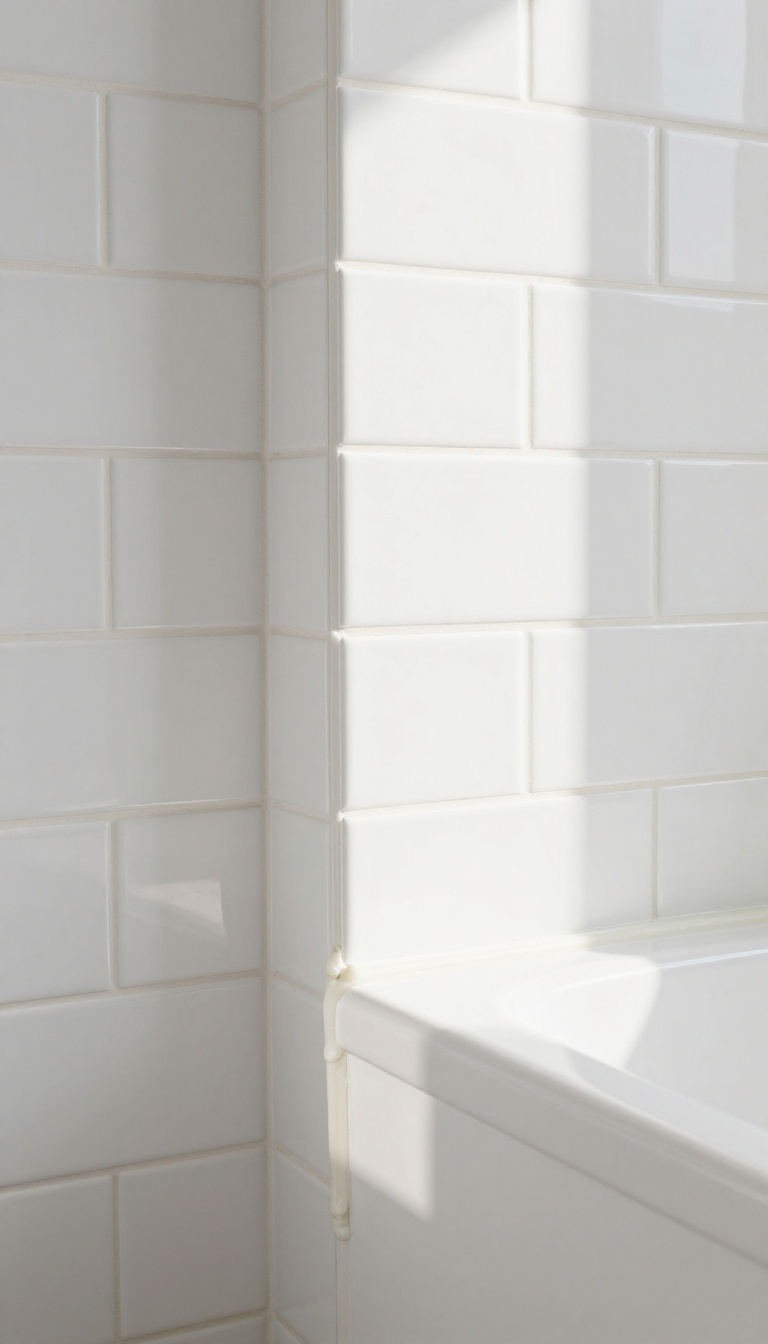
Grout and caulk are the unsung heroes of a bathroom's look. Over time, they can collect grime, mildew, and stains, making even a clean space feel dingy. The good news?
Refreshing them is a simple, budget-friendly project that delivers a noticeable upgrade.
Start by inspecting your grout lines and caulk seams. If you see cracks, gaps, or dark spots, it's time for a refresh. Re-grouting involves removing the old grout with a grout saw or oscillating tool, then applying fresh grout and sealing it.
Re-caulking is even simpler: scrape out the old caulk, clean the area, and apply a new bead of mildew-resistant silicone caulk. These tasks take a weekend but can make your guest bathroom look years newer.
Why Grout And Caulk Matter
Grout holds tiles in place, but it's also porous, so it easily absorbs moisture and stains. Caulk seals joints around tubs, showers, and sinks, preventing water from seeping into walls. When they're in bad shape, they not only look bad but can also lead to mold and water damage.
Fresh grout and caulk restore a clean, finished look and protect your bathroom's structure.
Diy Or Hire A Pro?
For small bathrooms, DIY is totally doable. You'll need a few tools and some patience. If you're dealing with large areas or intricate tile patterns, a professional might be worth the cost.
But for most guest baths, a weekend project is all it takes. Watch a few tutorials, grab the right materials, and you'll be surprised how professional the results look.
Choosing The Right Products
Opt for mildew-resistant grout and caulk to keep your bathroom fresher for longer. For grout, you can choose sanded or unsanded depending on your tile gap size. For caulk, 100% silicone is best for wet areas because it's flexible and waterproof.
Match the color to your tiles or go for a contrasting shade to add subtle style. Sealing the grout after it cures adds an extra layer of protection.
6. Add a Backsplash Behind the Sink
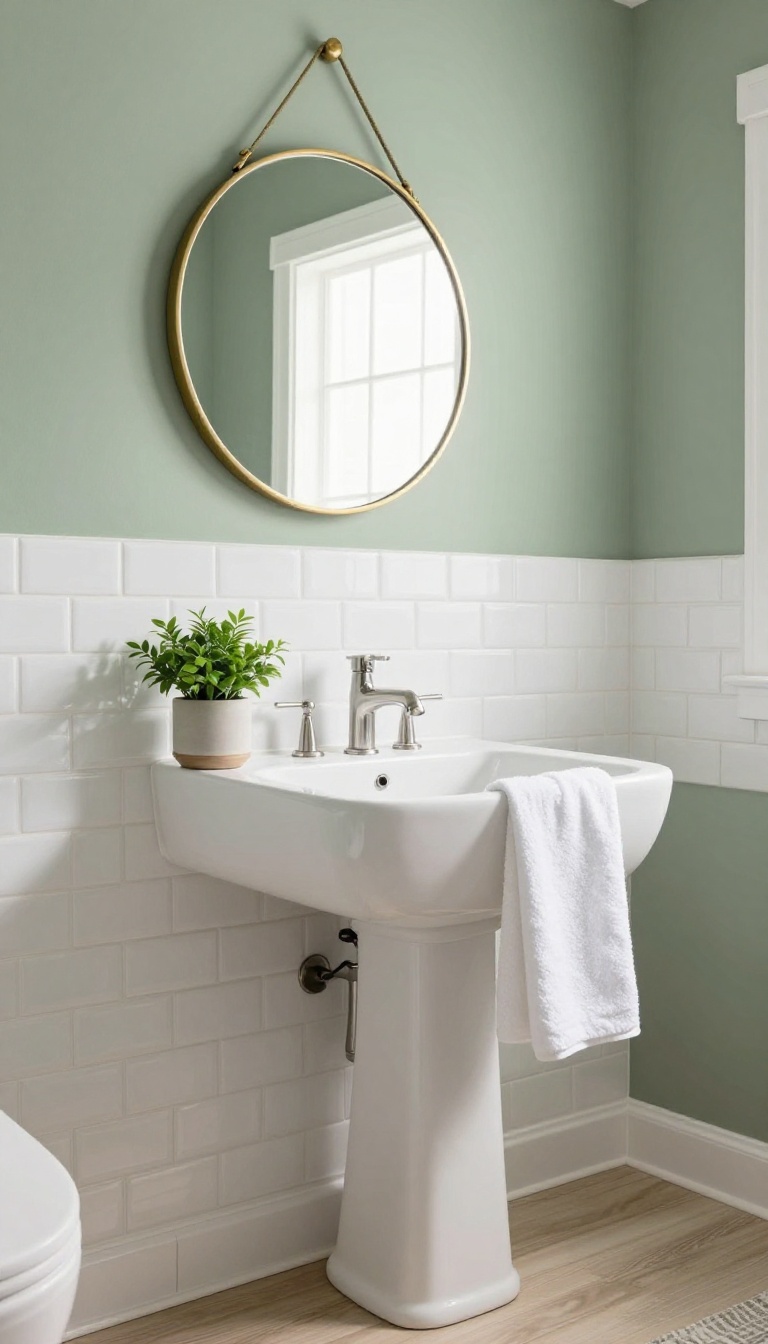
The wall behind the sink takes a lot of splashes and drips, and it often shows. A backsplash is a simple way to protect that surface while adding a pop of style. You don't need a contractor or a big budget—peel-and-stick tiles make this a weekend project even for renters.
A backsplash instantly makes a bathroom feel more finished and intentional. It’s also practical: it protects the wall from water damage and makes cleaning up splashes a lot easier. With the variety of peel-and-stick options available today, you can create a high-end look without the mess or commitment of traditional tile.
Why Peel-and-stick Works
Peel-and-stick tiles are self-adhesive, so you just peel off the backing and press them onto a clean, dry wall. They come in sheets or individual tiles, making them easy to cut with scissors or a utility knife. Best of all, they’re removable—perfect for renters or anyone who likes to change things up.
Just make sure the wall is smooth and free of dust before you start.
Choosing The Right Pattern
The pattern you pick can set the whole tone of the room. A classic subway tile in white or soft gray feels timeless and bright. If you want more personality, try a geometric pattern or a bold color that ties into your towels or accessories.
For a natural look, stone-look tiles add texture without the upkeep. Whatever you choose, keep the scale in mind—smaller tiles work well in tight spaces.
Installation Tips For A Clean Finish
Start by measuring the area and planning your layout so you avoid awkward cuts at the edges. Use a level to keep the first row straight, and work from the center outward. Press each tile firmly, and use a damp cloth to wipe off any excess adhesive.
Let it set for a few hours before using the sink. If you’re covering an outlet, turn off the power and remove the cover plate first.
7. Upgrade the Mirror with a Backlit Option
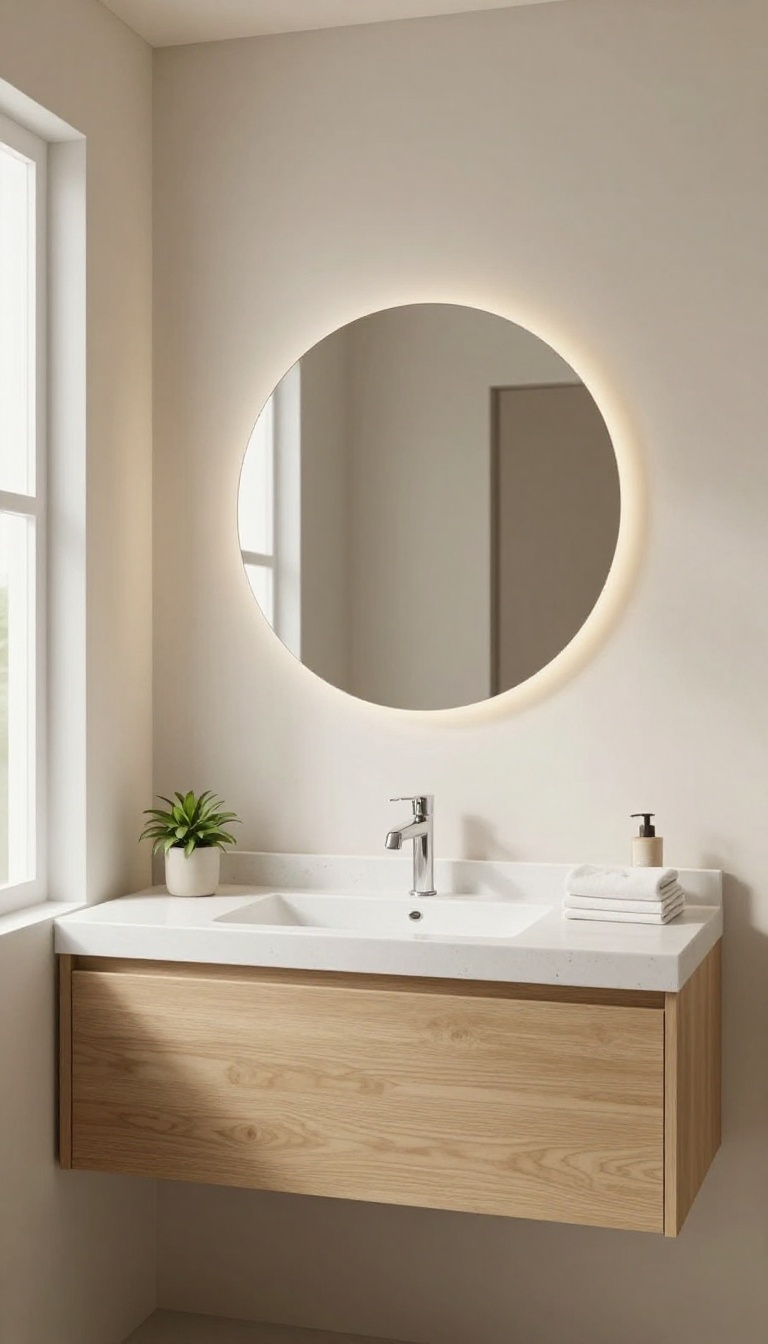
Mirrors are often an afterthought, but they’re one of the first things guests use. A standard mirror can leave faces half in shadow, making grooming a guess-and-check game. A backlit mirror fixes that by casting light evenly across your face—no more leaning in to see what you’re doing.
Beyond the practical boost, it adds a sleek, modern touch that feels custom. It’s a simple swap that upgrades the whole room’s vibe without touching the walls or fixtures.
Backlit mirrors aren’t just about looks—they solve real problems. They give you shadow-free lighting for shaving, makeup, or skincare routines, which guests will notice and appreciate. Plus, they free up counter space by combining the mirror and light into one unit, so you can ditch the bulky vanity light bar.
When shopping, look for features that make life easier: a dimmer lets you adjust the mood, and an anti-fog function keeps the mirror clear after a hot shower. These small details turn a basic bathroom into a thoughtful space.
Why Backlit Beats Overhead
Overhead lights cast shadows under your brow and chin, which is the worst for close-up tasks. Backlit mirrors place LEDs behind the glass, so light bounces forward evenly. That means no more squinting or tilting your head to find the right angle.
It’s a simple change that makes a big difference in how the room feels and functions.
What To Look For
Not all backlit mirrors are created equal. Check for a high color rendering index (CRI) of 90 or above to ensure colors look natural. A dimmer switch is handy for late-night visits, and anti-fog technology is a game-changer if your bathroom gets steamy.
Also, measure your space and decide between plug-in or hardwired—plug-in is easier if you’re not ready for electrical work.
Installation And Placement Tips
Most backlit mirrors are straightforward to install, but if you’re not handy, hire a pro. Place the mirror at eye level for the average user—usually around 5’5” to 5’7” from the floor. If you have a double sink, consider two smaller backlit mirrors instead of one giant one; it feels more balanced and gives each guest their own light.
8. Use a Caddy for Shower Organization
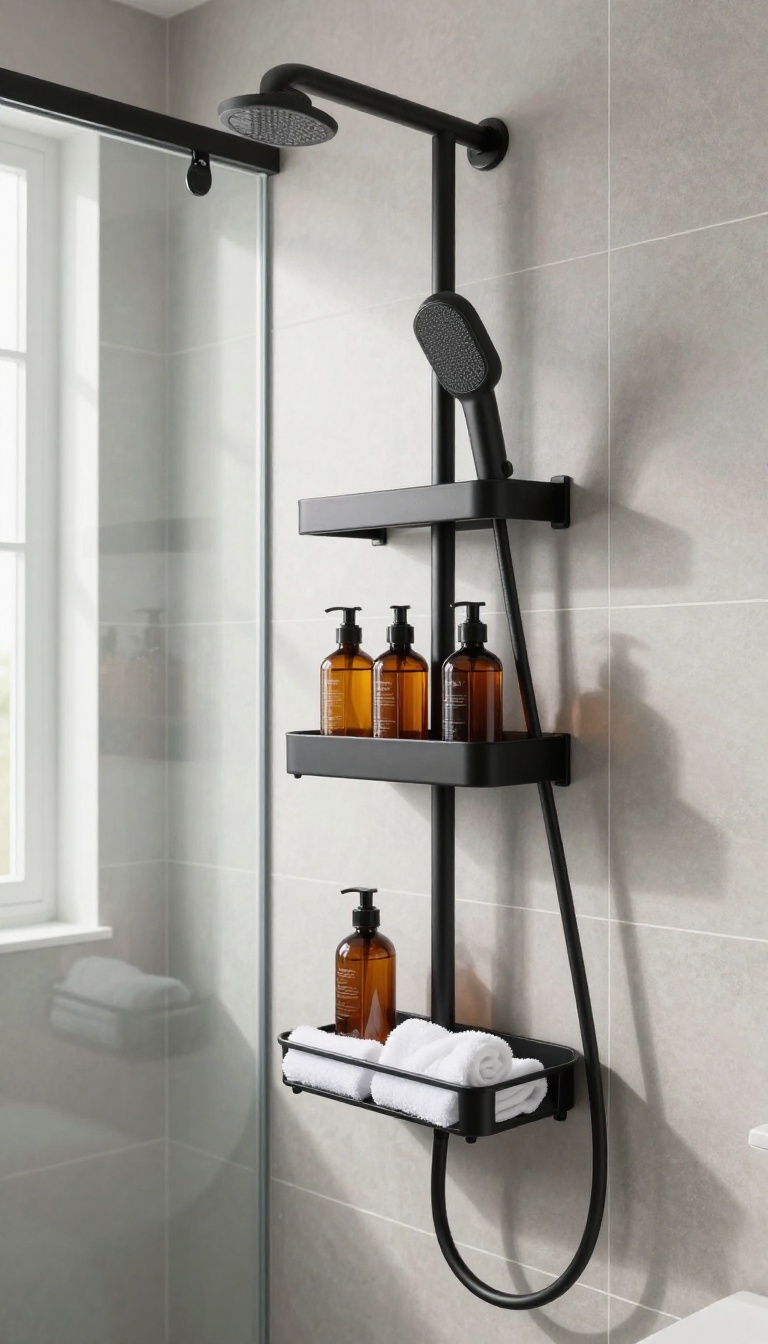
Shower caddies are a simple fix for the clutter that tends to pile up in a guest bathroom. Instead of leaving bottles and bars scattered on the edge of the tub or the floor, a caddy keeps everything in one neat spot. It's a small change that makes the space feel more put-together and easier for guests to navigate.
Pick The Right Style
There are several types of caddies to choose from, and the best one depends on your shower setup. Over-the-door models hook onto the top of the shower door or the edge of the tub, so they don't require any drilling. Corner caddies fit snugly into the corner and often have shelves for extra storage.
If you have a handheld showerhead, you can find caddies that attach directly to the pipe, which keeps them off the wall entirely.
Think About Materials
Bathrooms are humid, so you want a caddy that can handle moisture without rusting or peeling. Stainless steel and aluminum are solid choices, but make sure they're coated or treated for extra protection. Plastic caddies are lightweight and won't rust, but they can look less polished.
If you're going for style, look for a matte black or brushed nickel finish that matches your fixtures.
Keep It Simple For Guests
The whole point of a caddy is to make things easier, so don't overcomplicate it. Use it to hold the essentials: shampoo, conditioner, body wash, and maybe a loofah. Keep the caddy clean and wipe it down occasionally to prevent soap scum buildup.
If you're worried about guests bringing their own products, leave a small shelf or hook nearby where they can hang a toiletry bag.
9. Add a Heated Floor Mat for Cold Mornings
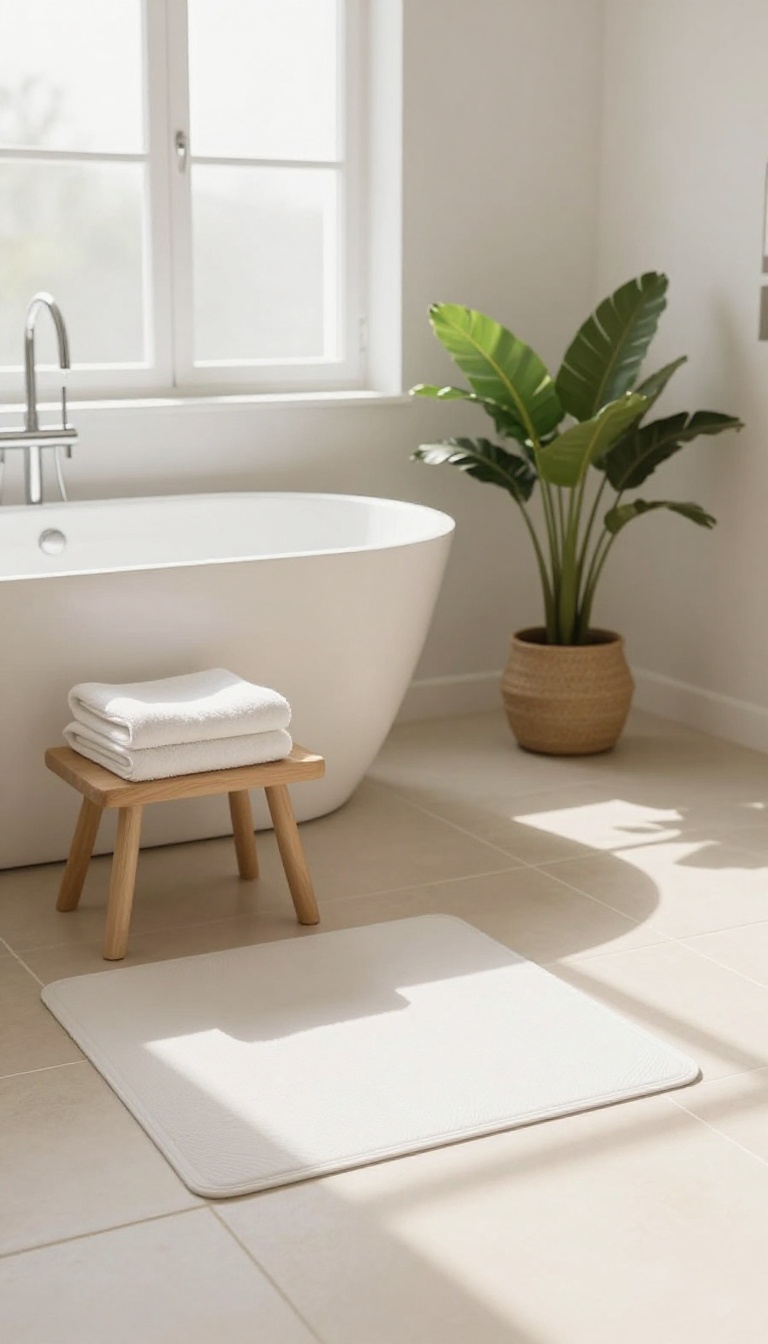
Stepping out of a warm shower onto a cold tile floor is a jolt nobody enjoys. A heated floor mat offers a simple, effective fix that guests will notice right away. It's a small luxury that makes the space feel more like a spa and less like a utility room.
Heated floor mats are portable, so you can place them exactly where they're needed most—right outside the shower or tub. They plug into a standard outlet and warm up quickly, providing a toasty surface for bare feet. Plus, they're easy to clean; just wipe them down or toss them in the wash if the manufacturer allows it.
Safety First
Choose a mat with a UL or ETL certification to ensure it meets safety standards. Look for features like auto shut-off and overheat protection. Always follow the manufacturer's instructions, and never place the mat in standing water or use it in a way that could cause tripping.
Placement And Style
Place the mat on a dry, flat surface near the shower or tub, but not directly under the water stream. You can find mats in various sizes, colors, and textures to match your bathroom decor. A plush, neutral-toned mat adds a cozy touch without overwhelming the space.
Maintenance And Care
Keep the mat clean by spot-cleaning with a mild detergent and a damp cloth. Some mats are machine-washable—check the label. Allow the mat to dry completely before plugging it back in.
With proper care, a quality heated mat can last for years.
10. Install a Water Filter for Better-Tasting Water
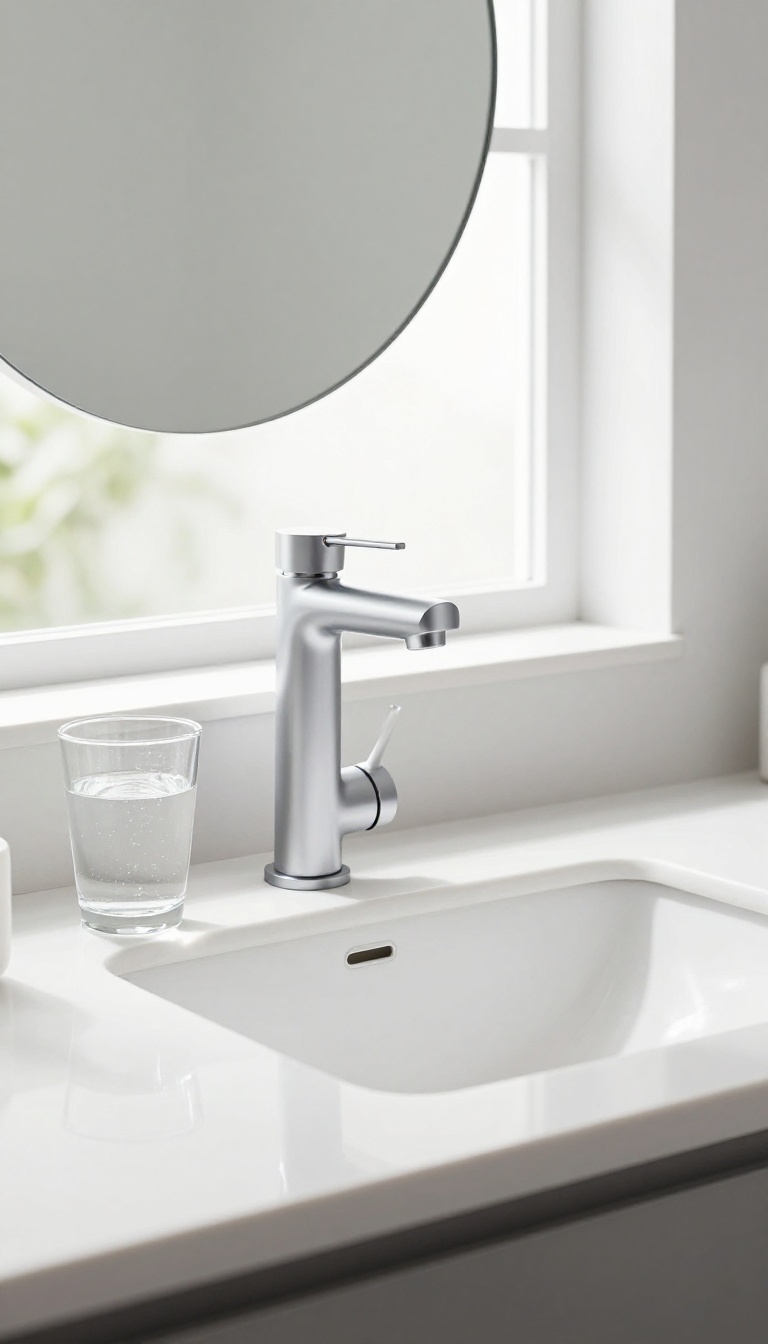
Tap water can carry a slight chlorine taste or mineral aftertaste that guests notice right away. A water filter fixes that quietly, making every glass of water taste fresh and clean. It's a small upgrade that adds a layer of care to your guest bathroom.
Guests often fill a glass or rinse their mouth after brushing, and the quality of that water matters more than you'd think. A filter removes common impurities and improves flavor, so the water feels like it came from a bottle. It's a practical touch that shows you've thought about their comfort.
Choose The Right Filter Type
Faucet-mounted filters are easy to install and visible, which reminds guests they have filtered water. Under-sink models are tucked away, keeping the counter clean and uncluttered. For a simpler option, a filtered water pitcher works too, but it takes up counter space and needs refilling.
Installation And Maintenance Tips
Most faucet-mounted filters twist on in minutes without tools. Under-sink models may require a bit more work, but they're still a DIY-friendly project. Check the filter's lifespan—usually every two to three months—and set a reminder to replace it.
Keep a spare cartridge in the cabinet so you never forget.
A Thoughtful Guest Experience
A water filter turns a basic bathroom into a more welcoming space. Guests can fill a glass right after arriving or take a sip after brushing without worrying about taste. It's a small detail that makes them feel looked after, and it's a conversation starter for eco-conscious visitors.
11. Add a Small Plant for a Pop of Life
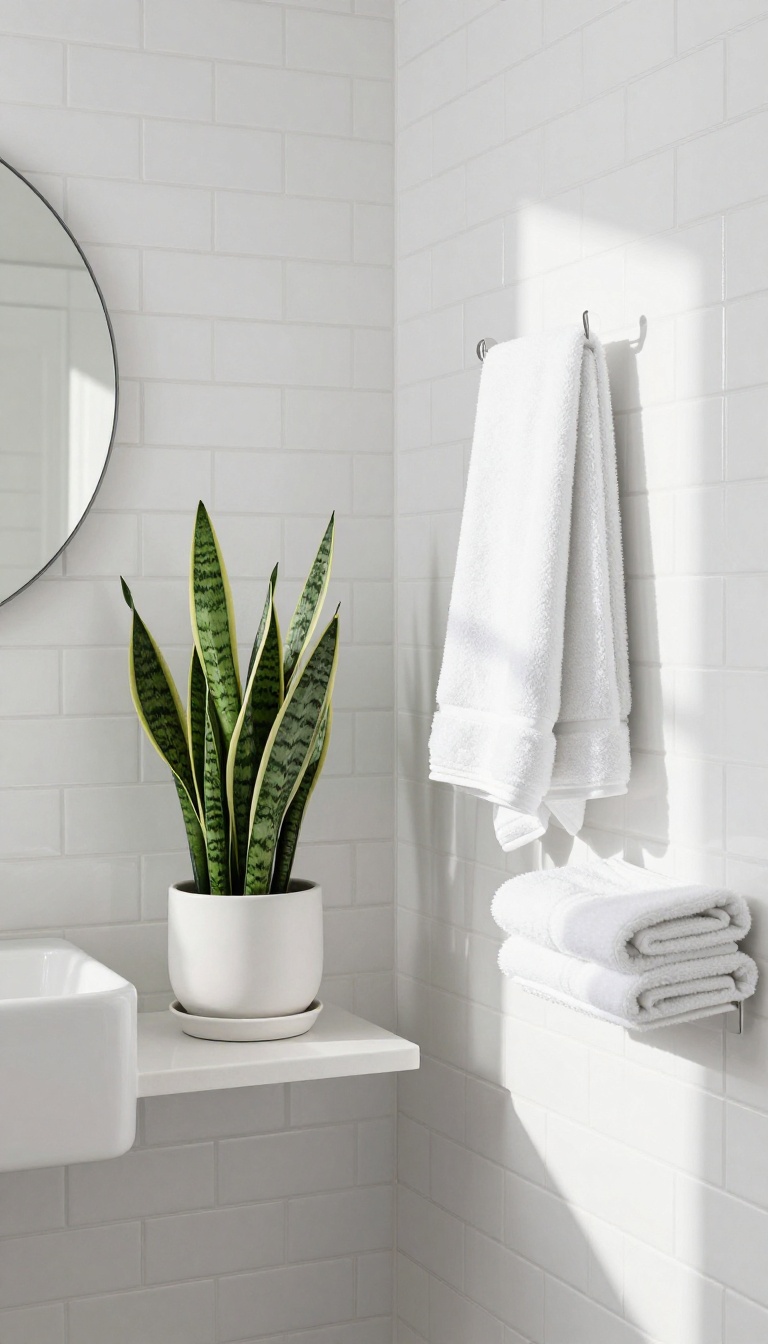
A guest bathroom can feel sterile and uninviting, even with the best towels and soap. The easiest fix? A small plant.
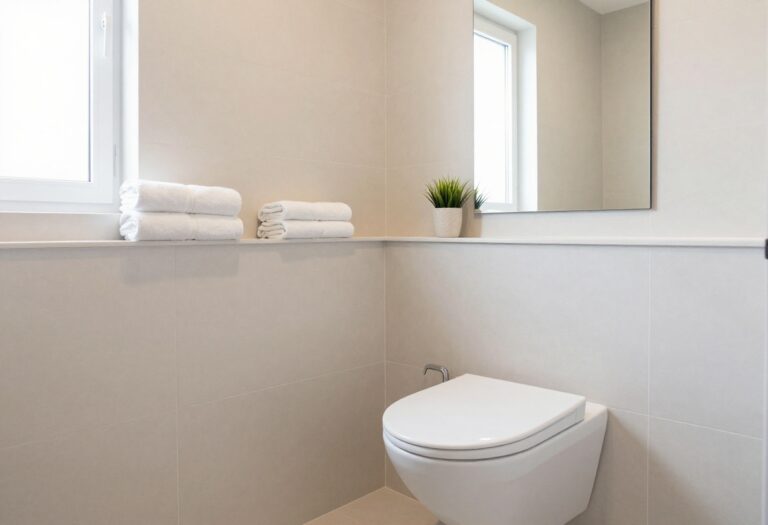
It adds a touch of nature, softens the hard surfaces, and makes the space feel more lived-in and welcoming. Plus, many houseplants are practically impossible to kill, so you don't need a green thumb to keep them thriving.
Bringing a plant into the guest bathroom is a low-effort, high-impact change. Not only does it add a fresh pop of green, but it also improves air quality by filtering out toxins. Guests will notice the difference, even if they can't quite put their finger on it.
The key is to choose a plant that tolerates the bathroom's humidity and low light conditions, and to place it where it won't get knocked over or splashed with water.
Choosing The Right Plant
For a guest bathroom, you want something that thrives in indirect light and can handle occasional neglect. Snake plants and pothos are top choices because they're forgiving and look great. Other options include peace lilies, ferns, or even air plants if you have a spot with bright, indirect light.
Avoid plants that need direct sun or constant moisture unless you're ready to commit to a watering schedule.
Placement And Pot Ideas
Place the plant on a counter, shelf, or windowsill where it gets some natural light but won't be in the way. Make sure the pot has drainage and a saucer to protect your surfaces. Choose a pot that matches your bathroom's style—ceramic for a classic look, terracotta for warmth, or a modern geometric planter for a contemporary vibe.
You can also hang a trailing pothos from the ceiling or a wall hook to save space.
Caring For Your Bathroom Plant
Most bathroom plants need watering once a week, but always check the soil first. If the top inch is dry, it's time to water. Overwatering is a common mistake, so let the soil dry out between waterings.
Wipe the leaves occasionally to keep them dust-free and happy. With minimal effort, your plant will stay lush and vibrant, adding life to the room for months.
FAQ
What is the most impactful guest bathroom upgrade on a budget?
Refreshing grout and caulk is one of the most impactful, low-cost upgrades. It instantly makes the bathroom look cleaner and newer, and you can do it yourself in a weekend.
How can I make a small guest bathroom feel larger?
Use light colors, add a large mirror, and keep clutter to a minimum. A glass shower door instead of a curtain can also open up the space visually.
Are there any guest bathroom upgrades that are renter-friendly?
Yes, many upgrades are renter-friendly, such as peel-and-stick tiles, a shower caddy, a towel warmer that plugs in, and a motion-sensor night light. Always check your lease for restrictions.
What is the best way to add storage to a guest bathroom without a lot of space?
Use vertical space with over-the-toilet shelves or a tall, narrow cabinet. A rolling cart is also a great option because it can be moved out of the way when not needed.
How can I make my guest bathroom more eco-friendly?
Install a water-saving showerhead and a faucet aerator, use a water filter, and switch to LED bulbs. You can also add a plant to improve air quality naturally.
Conclusion
Upgrading your guest bathroom doesn't have to mean a full remodel. Pick one or two ideas that solve your biggest pain point—whether that's storage, lighting, or a more welcoming feel—and start there. Small, thoughtful changes often make the biggest difference for visitors.
Once you see how a fresh towel hook or a better mirror changes the space, you'll want to keep going. Choose what fits your budget and routine, and your guests will feel the care the moment they step in.