9 Budget College Living Room Ideas for a Cozy Student Apartment
Your college living room is more than just a place to crash—it's where friendships form, study sessions happen, and memories are made. But let's be real: it often starts as a blank, boring box with mismatched furniture and terrible lighting.
The good news? You don't need a big budget or a designer eye to make it feel like home.
With a few clever tweaks, you can turn that space into somewhere you actually want to hang out, study, and show off. These nine ideas focus on quick wins that deliver visible impact without breaking the bank.
1. Layer Rugs to Define Zones and Add Warmth
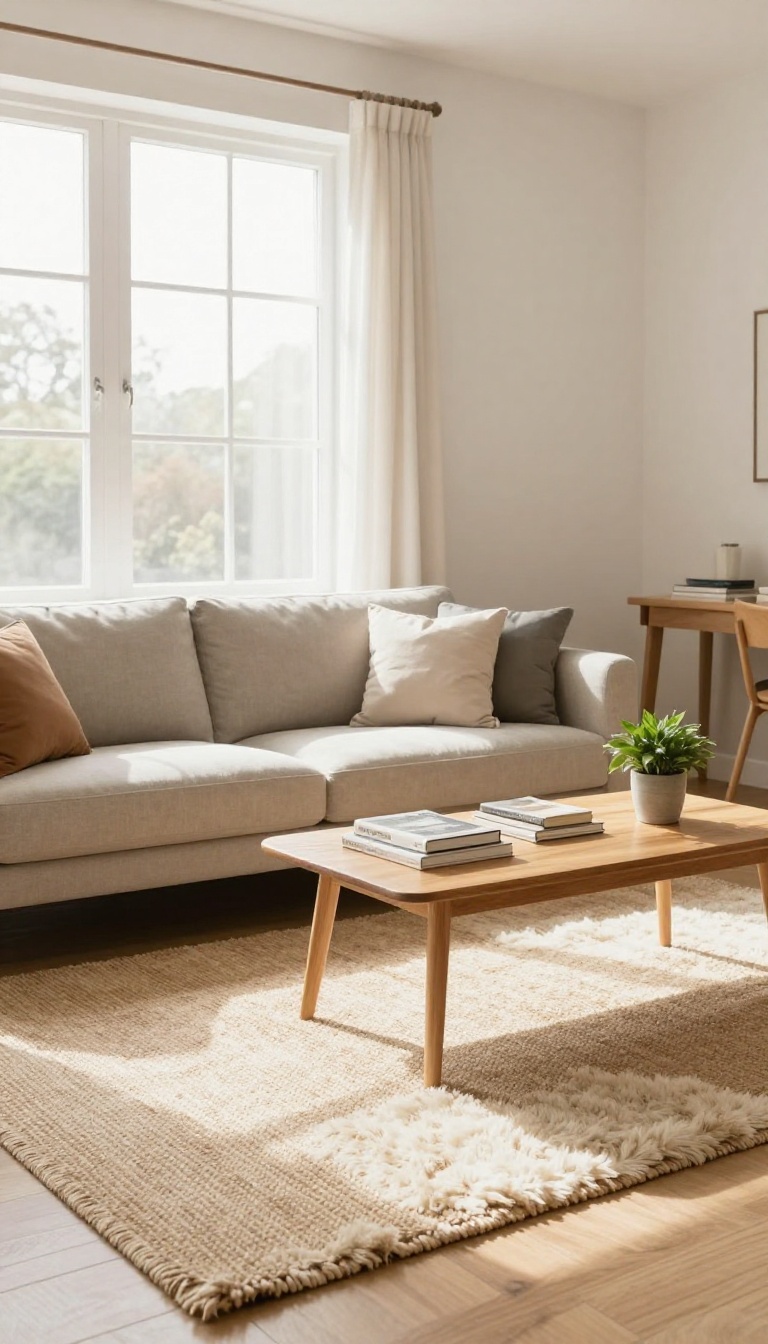
Rugs are the unsung heroes of dorm and apartment living rooms. They instantly soften hard floors, add color, and make the space feel more put-together. But you don't have to stop at one rug—layering them can completely transform how your room looks and functions.
Start with a large, neutral area rug that anchors the main seating area. Then, layer a smaller, patterned or textured rug on top—think a faux sheepskin, a flatweave kilim, or a fun graphic print. This creates visual interest and helps define specific zones within the room, like a cozy lounge corner or a dedicated study nook.
The best part? You can mix and match rugs from thrift stores or discount retailers without spending a fortune.
How To Choose The Right Rugs
Pick a base rug that's big enough to fit under the front legs of your sofa or chairs—this grounds the space. For the top layer, choose a rug that's about half the size of the base rug and has a different texture or pattern. If your furniture is neutral, go bold with the top rug; if your furniture is already colorful, keep the top rug more subtle.
Zone Creation Made Easy
Use rugs to carve out separate areas in an open layout. Place a rug under a couple of floor cushions or a beanbag to create a chill-out zone. Another small rug under a desk or a small table can visually separate a study area.
This trick makes the room feel more organized and intentional, even if it's just one big space.
Budget-friendly Rug Hacks
You don't need expensive rugs to pull off this look. Check out sales at big-box stores, browse Facebook Marketplace, or even use a flat sheet or a shower curtain as a temporary top layer. Another hack: use rug tape to keep layers from sliding around, especially if you have hard floors.
2. Maximize Wall Space with Vertical Storage
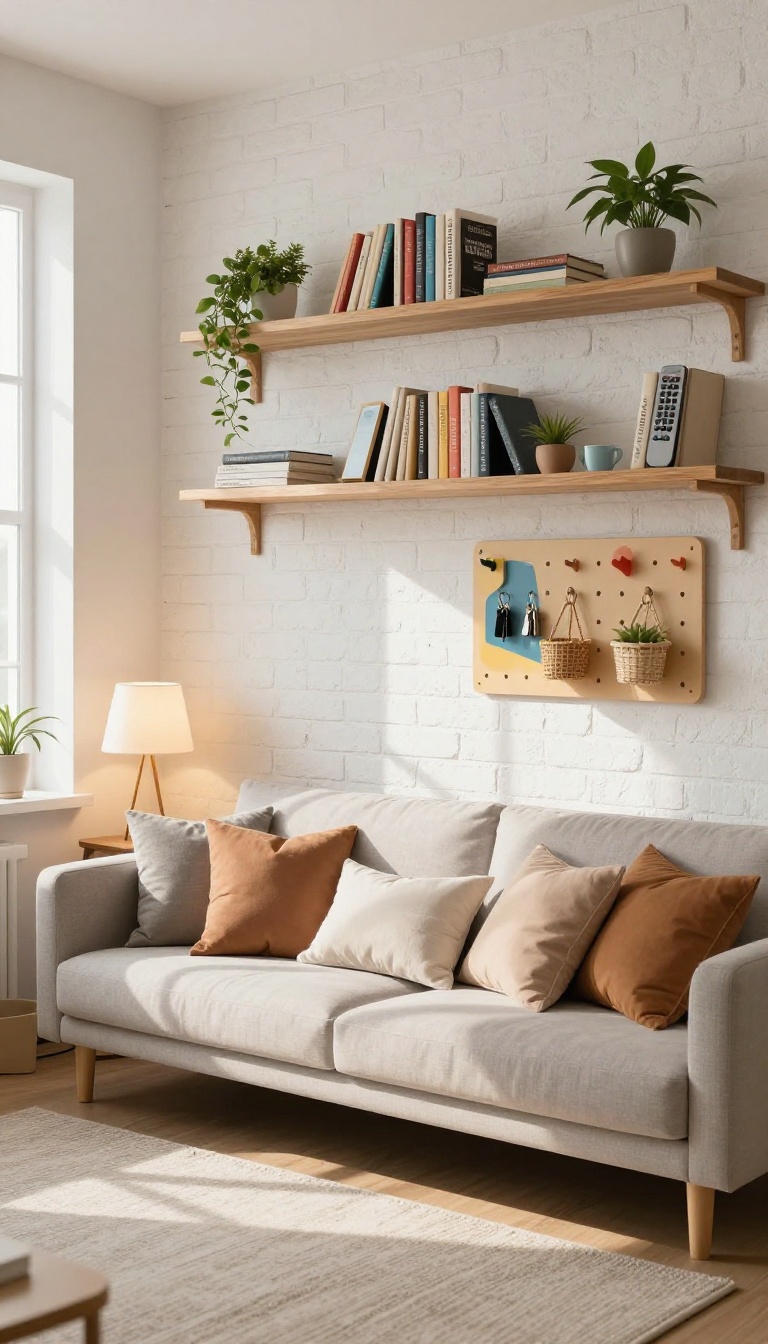
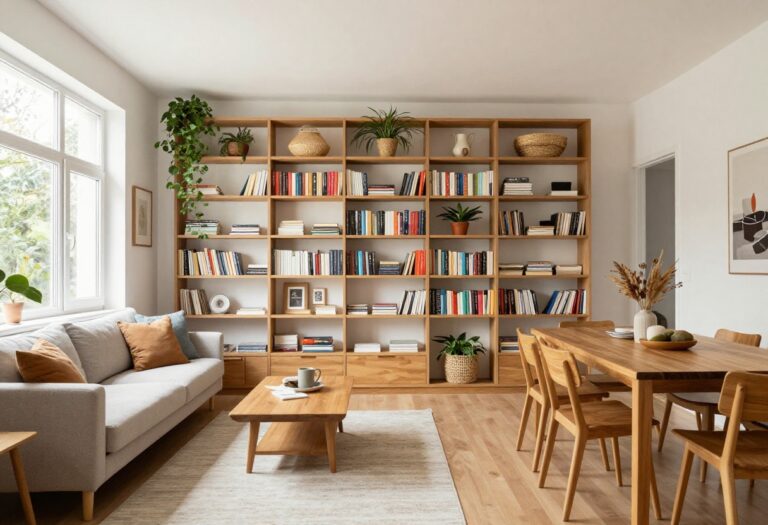
When floor space is tight, the walls become your best friend. Vertical storage not only clears clutter but also tricks the eye into seeing a bigger room. By drawing attention upward, you create the illusion of higher ceilings and a more open layout.
Floating Shelves For Display And Function
Floating shelves are a classic pick because they hold a lot without eating up square footage. Use them to stack books, show off plants, or keep everyday items like remotes and chargers within reach. Place them above the couch or TV stand where they won't interfere with walking paths.
Mixing shelf heights adds visual interest while keeping the look intentional.
Pegboards That Work As Organizers
Pegboards aren't just for garages anymore—they're a dorm-room lifesaver. Hang one near your desk or entryway to hook keys, headphones, or even small baskets for mail and snacks. The best part?
You can rearrange the pegs whenever you want, so the system adapts as your needs change. Paint it a fun color to double as wall art.
Over-the-door Storage For Hidden Clutter
Don't overlook the back of your door—it's prime real estate for vertical storage. Over-the-door racks with pockets are perfect for shoes, toiletries, or cleaning supplies. Use one on your closet or bedroom door to keep the living area looking tidy.
This trick works especially well in shared spaces where everyone needs a spot for their stuff.
3. Upgrade Lighting with String Lights and Lamps
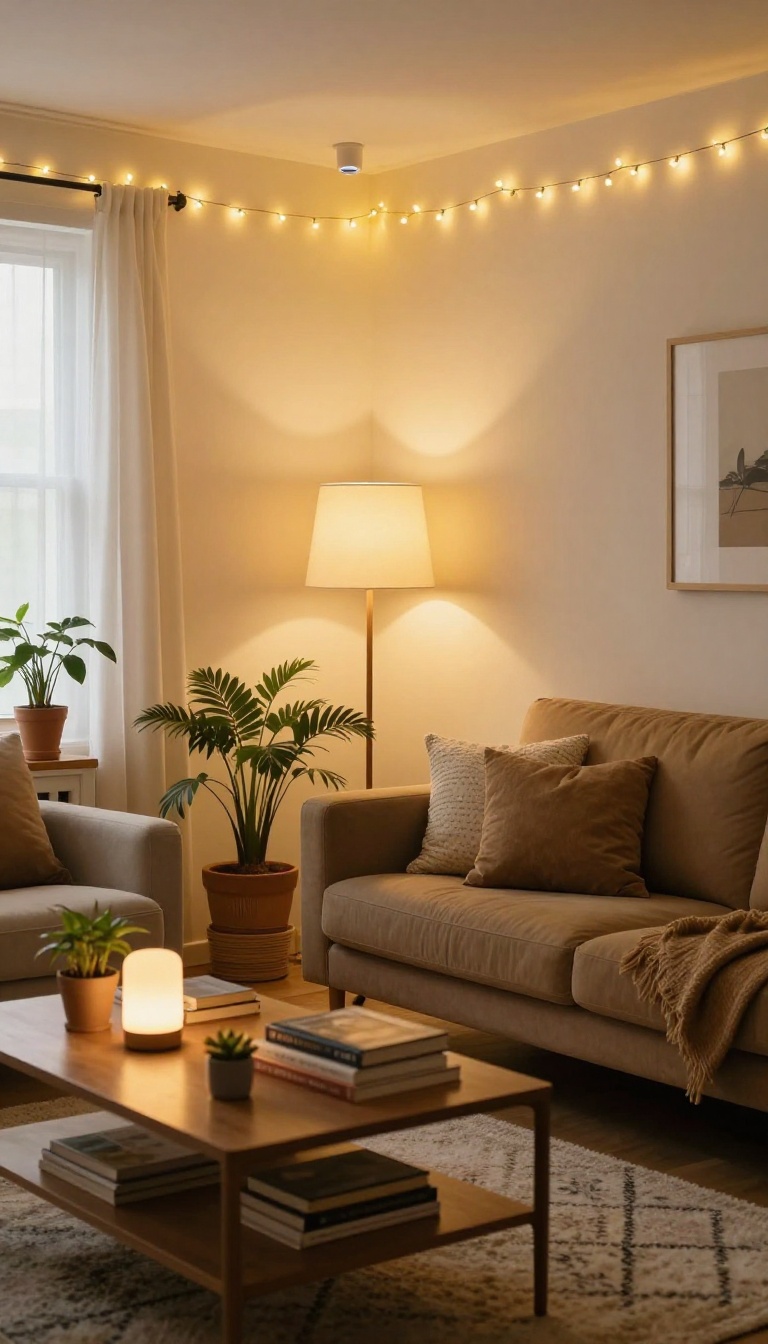
Overhead lighting can make any room feel like a waiting room. Harsh fluorescents or a single bare bulb don't do much for your vibe. Swapping them for softer, layered lighting changes the whole mood instantly.
String lights, floor lamps, and LED strips are cheap, easy to install, and make your living room feel cozy and intentional. You don't need to be an electrician—just plug in and play. Let's look at how to layer light like a pro.
The key is to avoid relying on one overhead light. Instead, mix different sources at different heights. This creates depth and warmth, making the space feel more inviting.
Plus, you can adjust the brightness to match your activity—bright for studying, dim for movie nights. Here are some simple ways to upgrade your lighting without a big budget.
String Lights: Instant Coziness
String lights aren't just for dorms or holidays—they add a soft glow that flatters any space. Drape them along walls, around windows, or across the ceiling. Choose warm white bulbs for a relaxed feel, or go with fun shapes like stars or mini lanterns for extra personality.
They're easy to put up with removable adhesive hooks and just as easy to take down. Best of all, they're super affordable and can be found at any dollar store or online.
Floor Lamps: Functional And Stylish
A floor lamp is a game-changer in a living room. It provides task lighting for reading or studying, but it also adds a design element. Look for a lamp with a dimmer switch or a three-way bulb so you can control the brightness.
Place it in a corner or next to your sofa to create a cozy reading nook. If you're short on space, try a slim, arched floor lamp that reaches over your seating area without taking up much floor space.
Led Strips: Modern Accent Lighting
LED strips are perfect for adding a modern touch. Stick them behind your TV, under a shelf, or along the baseboard for a subtle glow. Many come with remote controls and color options, so you can switch from warm white to cool blue or even party colors.
They're energy-efficient and last a long time. Just make sure to measure your space before cutting to fit, and use the included adhesive backing for easy installation.
4. Invest in Multi-Functional Furniture
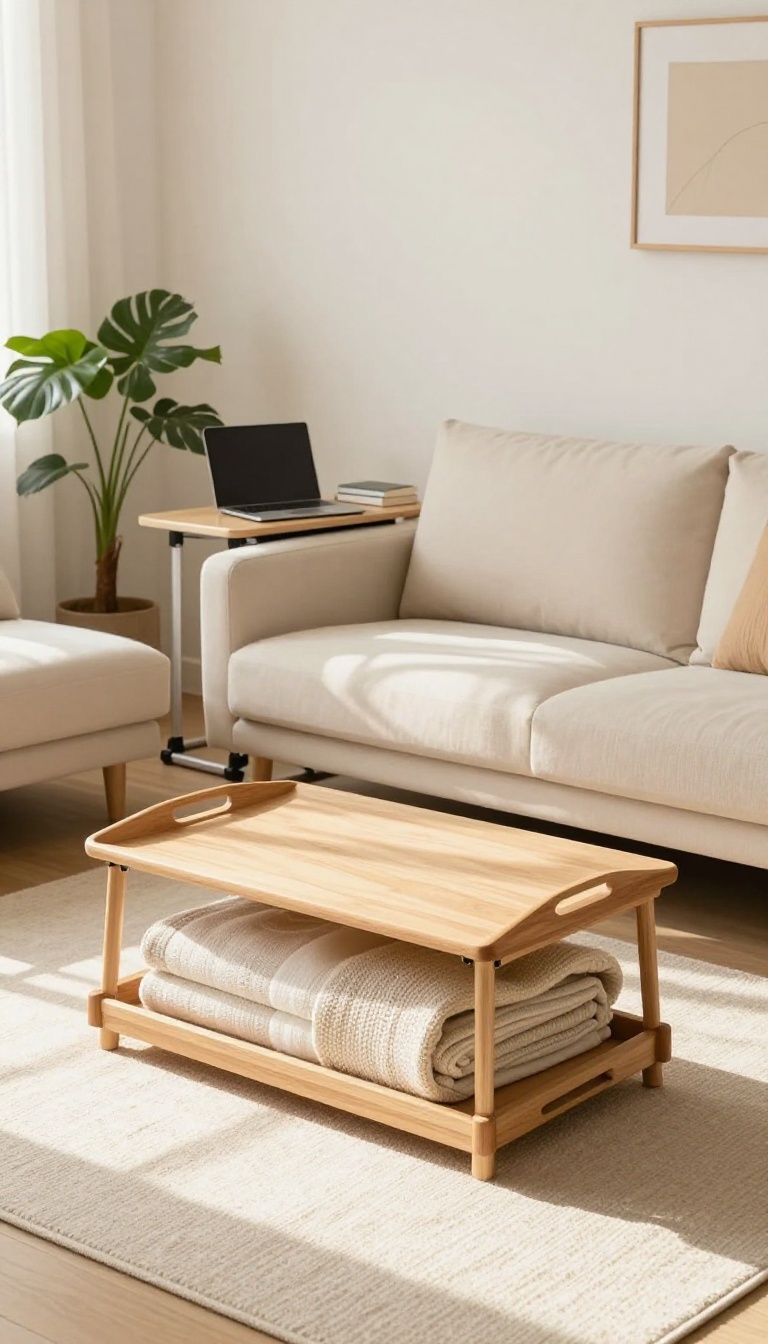
When you're living in a small space, every piece of furniture should earn its keep. Multi-functional pieces not only save space but also cut down on clutter, making your room feel bigger and more organized. Think ottomans that hide blankets, futons that double as guest beds, or desks that fold away when you need floor space for movie night.
Multi-functional furniture is a game-changer for college living rooms. It helps you maximize every square inch while keeping the room tidy and stylish. By choosing pieces that serve more than one purpose, you reduce the need for extra items, which means less visual noise and more room to move.
Ottomans With Hidden Storage
An ottoman with storage is a simple upgrade that works wonders. Use it as a footrest, extra seating, or a coffee table when topped with a tray. Inside, stash throw blankets, extra pillows, or board games.
This keeps the room looking neat without sacrificing comfort.
Futons And Sleeper Sofas
If you often have friends crashing over, a futon or sleeper sofa is a lifesaver. During the day, it's a comfortable couch for lounging or studying. At night, it transforms into a bed.
Many models are compact and stylish, so you won't have to compromise on looks.
Foldable Desks And Tables
A foldable desk or table is perfect for small living rooms. Use it as a study spot during the day, then fold it away to open up space for yoga or group hangouts. Some designs even mount on the wall, giving you a workspace without taking up floor area.
5. Add Greenery with Low-Maintenance Plants
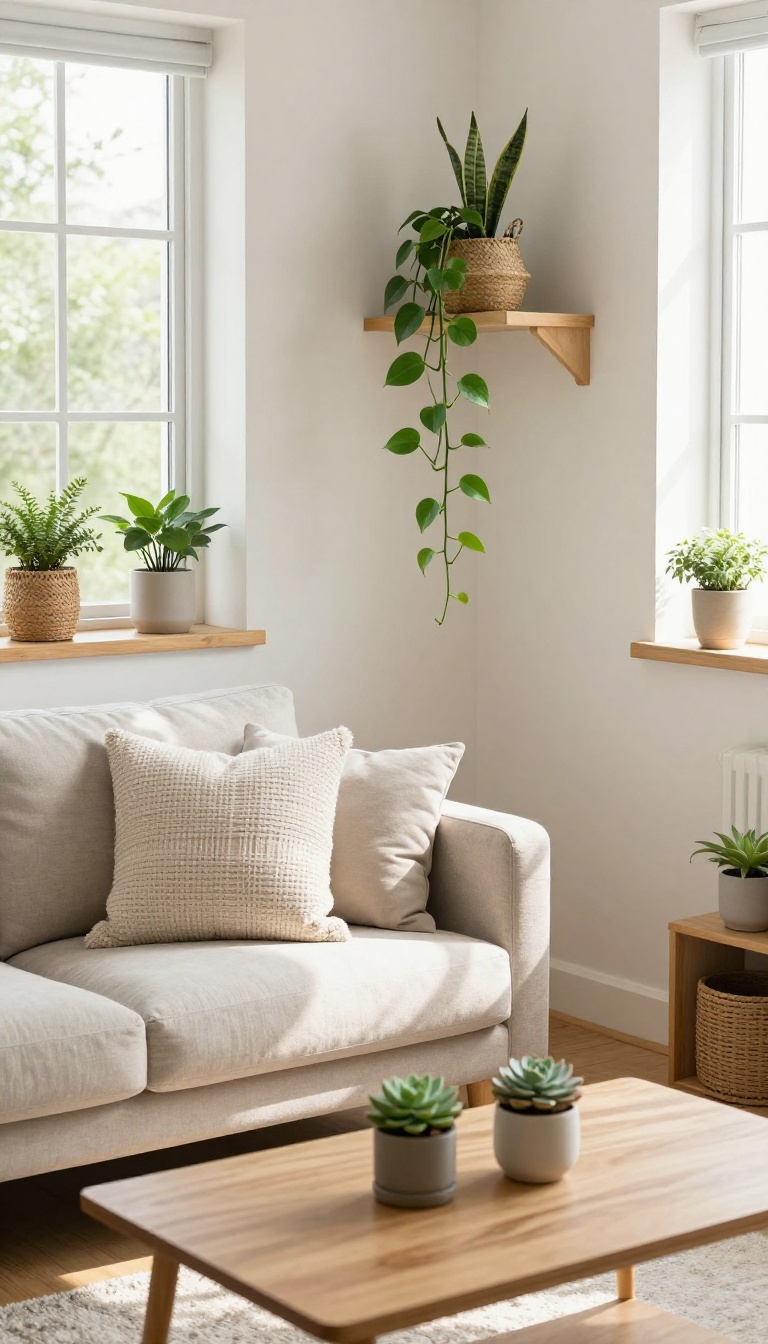
A few plants can completely change the vibe of a college living room. They add color, texture, and a sense of calm that’s hard to get any other way. Plus, they make the space feel lived-in and intentional, even if the rest of the decor is still a work in progress.
You don’t need a green thumb or a ton of time to keep them alive. Stick with hardy varieties that forgive forgetful watering and low light, and you’ll get all the benefits with almost no effort.
Plants are one of the easiest ways to make a rental or dorm living room feel less sterile. They soften hard edges, bring in a natural element, and can even help purify the air. Best of all, the right low-maintenance plants can survive a busy student schedule and less-than-ideal lighting.
Start with a few small pots on shelves or windowsills, then add a larger floor plant if you have the space. Mixing different heights and leaf shapes creates visual interest without looking cluttered. And don’t worry if you’re not naturally gifted at keeping things alive—these plants are practically indestructible.
Choose The Right Plants
Pothos, snake plants, and succulents are perfect for beginners. They tolerate low light, irregular watering, and general neglect. Pothos vines can trail from a shelf, snake plants stand tall and architectural, and succulents come in cool shapes and colors.
ZZ plants are another great option if you want something that thrives on almost complete neglect.
Pick Stylish Pots
The pot matters just as much as the plant. A plain plastic nursery pot can kill the aesthetic, but a simple ceramic or woven basket instantly elevates the look. You can find affordable pots at thrift stores, Target, or IKEA.
Match the pot colors to your room’s palette for a cohesive feel, or mix and match for an eclectic vibe.
Placement And Care Tips
Group plants in clusters to make a bigger impact. Put them near windows for natural light, but don’t stress if your room is on the darker side—snake plants and pothos handle low light well. Water only when the soil is dry to the touch, and make sure pots have drainage holes to avoid root rot.
Wipe leaves occasionally to keep them dust-free and looking fresh.
6. Create a Gallery Wall with Personal Touches
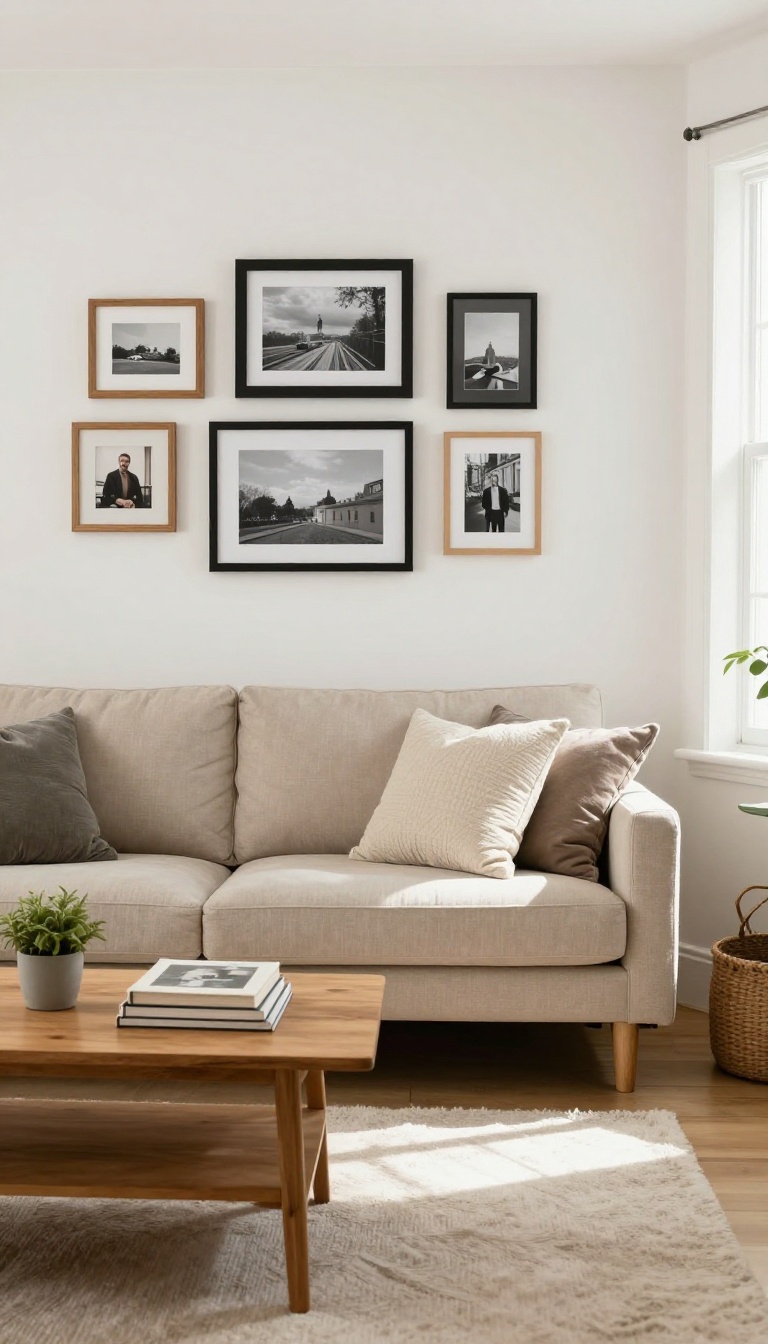
Blank walls can make a living room feel cold and impersonal. A gallery wall solves that by turning your space into a visual story of your life. It’s also one of the most budget-friendly ways to add character—you probably already have the photos and posters to start.
Start by gathering items that mean something to you: concert tickets, postcards, prints from your favorite artists, or snapshots with friends. Mixing different sizes and orientations adds visual interest, but keeping frames in a similar color or style ties it all together. Lay everything out on the floor first to experiment with arrangements before you commit to hammering nails.
Pick A Layout That Fits Your Wall
You don’t need to be an interior designer to create a balanced arrangement. The easiest trick is to use paper templates: cut pieces of paper to match your frames, tape them to the wall, and adjust until it feels right. For a clean look, align the outer edges of your gallery in a rectangle.
If you prefer a more relaxed vibe, let the arrangement flow organically from a central piece.
Mix Frames, But Keep A Common Thread
Matching frames can feel too uniform, but completely random frames can look chaotic. Find a middle ground: choose frames in the same color family (like all black or all wood) but vary the styles and sizes. Or, if you want to mix colors, stick to a consistent mat color to create cohesion.
This way, your wall feels curated rather than cluttered.
Add Depth With Non-frame Items
A gallery wall doesn’t have to be just frames. Throw in a small mirror, a woven wall hanging, or even a string of fairy lights to break up the rectangles. These elements add texture and make the display feel more dynamic.
Just keep the overall balance in mind—don’t let any single piece overpower the rest.
7. Use Throw Pillows and Blankets for a Pop of Color

Sometimes the smallest changes make the biggest difference. Adding throw pillows and blankets is one of the quickest ways to inject life into a dull living room. You can mix patterns, textures, and colors to match your personality without committing to a full redesign.
Start by picking a color scheme that complements your existing furniture. If your couch is neutral, go bold with vibrant hues. If it's already patterned, choose solids that pick up one of the accent colors.
Mixing sizes and shapes—like square and lumbar pillows—adds visual interest. Drape a chunky knit blanket over the arm of the sofa for a cozy, inviting look.
Mix Patterns Like A Pro
Don't be afraid to mix stripes, florals, and geometric prints. The trick is to keep a common color thread. For example, if you love a mustard yellow, use it in a striped pillow, a solid throw, and a subtle patterned accent.
This creates cohesion without looking chaotic.
Layer Textures For Depth
Beyond color, texture adds warmth. Combine a velvet pillow with a linen one, or a faux fur throw with a cotton blanket. These contrasts make the space feel more inviting and visually rich.
Plus, they're perfect for those chilly study nights.
Budget-friendly Finds
You don't need to splurge. Check out thrift stores, discount home goods, or even DIY pillow covers. A simple solid pillow can be transformed with fabric paint or stencils.
Swap covers seasonally to keep the room feeling fresh without buying new pillows.
8. Hide Cords and Tech Clutter
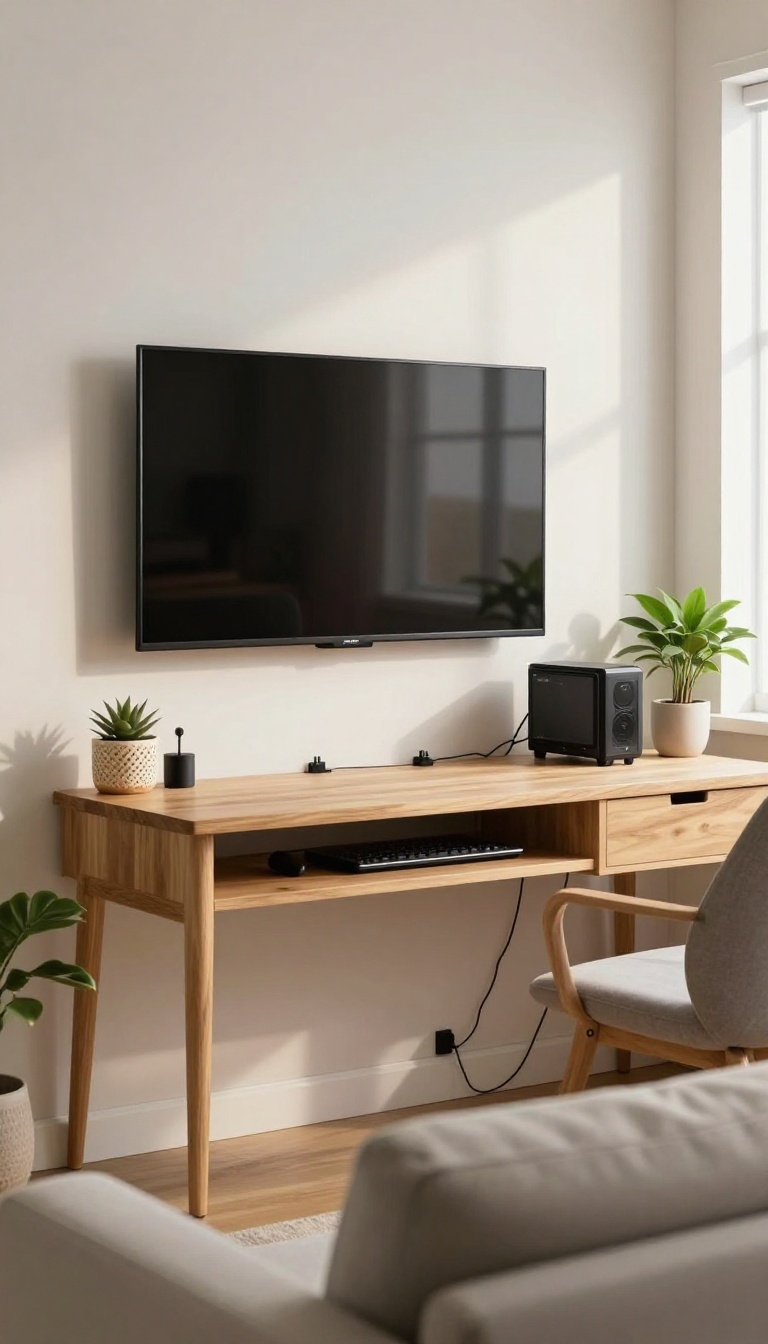
Tech is a big part of college life, but the tangle of cables behind your TV or desk can instantly make a room feel messy. Even if your furniture is stylish and your walls are decorated, visible cords can drag down the whole look. The fix isn't to get rid of your devices—it's to make their wires disappear or blend in.
Start by unplugging everything and sorting out what's actually in use. Then, group cords by where they go and use simple tools like cable clips, cord covers, or even binder clips to keep them in line. For the mess behind a TV stand or gaming setup, a few zip ties or Velcro straps can bundle cables neatly together.
If you want a more polished look, invest in a cord cover that runs along the wall or baseboard to hide wires entirely. Decorative boxes or baskets can also stash power strips and excess cable length, keeping them out of sight but still accessible.
Simple Cable Management Tricks
You don't need fancy kits to tame cords. Use binder clips on the edge of your desk to hold charging cables in place, or repurpose toilet paper rolls to organize loose wires in a drawer. Cable clips with adhesive backs are cheap and work great for routing cords along the back of furniture or down the side of a wall.
For a quick fix, twist ties from bread bags can bundle cords together, and a dab of hot glue can keep clips in place on surfaces where tape won't stick.
Diy Cord Covers And Camouflage
If you want a cleaner look without spending much, make your own cord covers. Cut a slit in a length of PVC pipe or use split loom tubing from a hardware store to encase multiple cables. Paint the cover to match your wall or furniture so it blends in.
Another trick: run cords along the edge of a rug or behind a piece of furniture, using the natural lines of the room to hide them. For a creative touch, weave cords through a decorative garland or use washi tape to secure them in a pattern on the wall.
Tech Zones That Keep Clutter Contained
Instead of letting chargers and cables scatter everywhere, create a dedicated tech zone. A small caddy or basket can hold your laptop charger, phone cables, and earbuds, so everything has a home. For a TV area, use a media console with built-in cable management holes or add a simple shelf to keep devices off the floor.
Label your cords with small tags or colored tape so you know which is which without unplugging everything. This not only looks better but also makes it easier to grab the right charger when you're rushing to class.
9. Add a Large Mirror to Open Up the Room
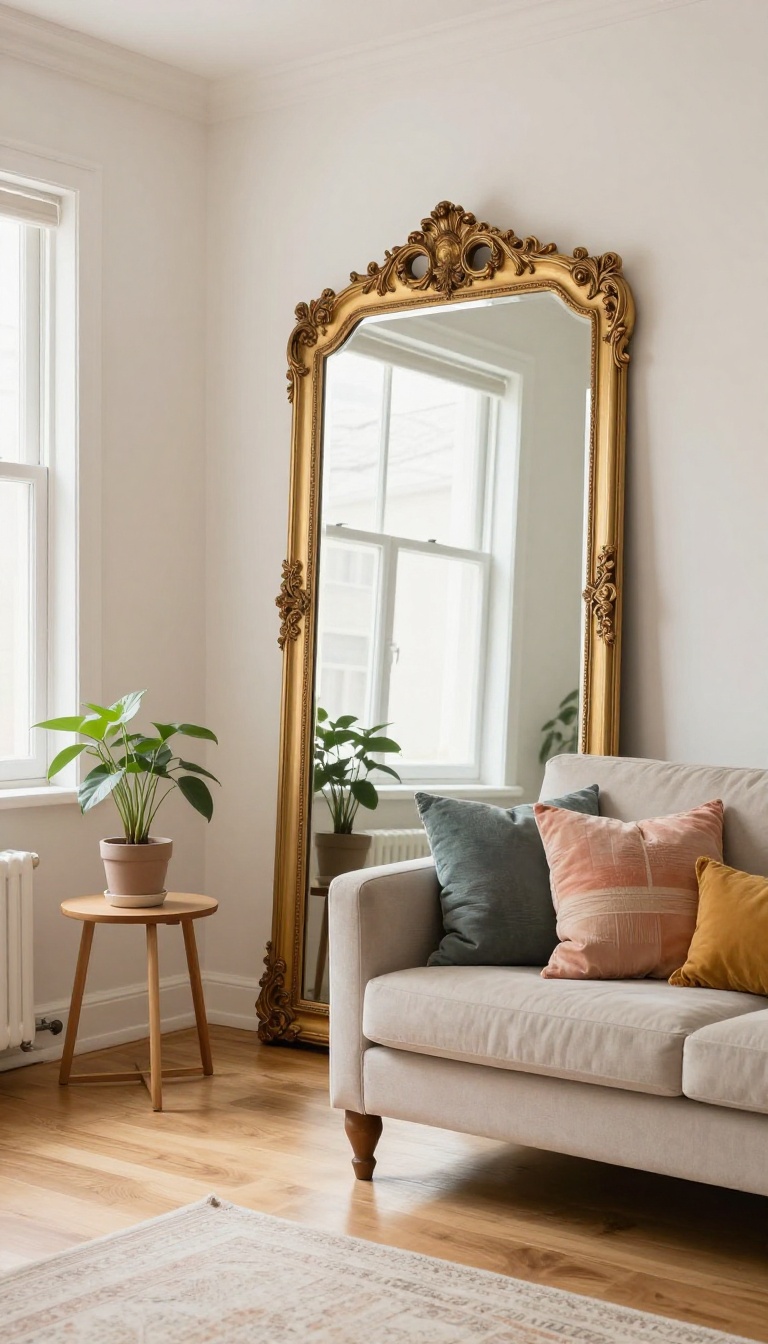
If your living room feels cramped or a bit gloomy, a large mirror might be the simplest fix you haven't tried yet. Mirrors are like magic for small spaces—they bounce light around and make the room feel twice as big. Plus, they double as decor, so you're solving two problems at once.
You can pick up a full-length mirror for pretty cheap, or even find one secondhand. The key is where you put it. Hang it opposite a window to reflect the outside light, or lean it against a dark wall to brighten that corner.
It's an instant upgrade that takes five minutes to set up.
Pick The Right Spot
The placement matters more than the mirror itself. Across from a window is the classic move—it pulls in natural light and makes the room feel airier. If your windows are small or blocked, aim for a spot near a lamp or floor light.
Dark corners are another great option; a mirror there will bounce light into the shadows and make the whole space feel more open.
Style It As Decor
Mirrors don't have to be boring. A round mirror adds a soft, modern touch, while a tall arched one gives off vintage vibes. You can lean it against the wall on a shelf or above a couch for a polished look.
If you're on a budget, thrift stores often have unique frames you can paint to match your room's color scheme.
Make It Work For You
Beyond the aesthetic, a mirror is super practical for a shared living room. It's perfect for quick outfit checks before heading out, and it can make the space feel less cluttered without actually decluttering. Just keep it clean—smudges and fingerprints can dull the effect.
A quick wipe with glass cleaner keeps it looking sharp.
FAQ
How can I make my college living room look bigger?
Use light colors on walls and furniture, add mirrors to reflect light, keep the floor clear with vertical storage, and choose furniture with exposed legs to create an airy feel.
What are budget-friendly ways to decorate a college living room?
Shop at thrift stores, use removable wallpaper or washi tape for accents, DIY art with canvases, and repurpose items like crates for storage. Also, check campus buy/sell groups for cheap finds.
How do I choose a rug for a small living room?
Pick a rug that fits under the main seating area, leaving about 12-18 inches of floor visible around the edges. Go for light colors or subtle patterns to avoid overwhelming the space.
Can I use LED strip lights in a dorm or rental?
Yes, but use removable adhesive strips and avoid damaging walls. Many LED strips are renter-friendly, but check your lease and use command hooks or clips to hang them.
How do I keep my living room organized with roommates?
Assign storage bins or shelves for each person, label them, and have a designated spot for shared items. Regular clean-ups and a simple organization system help maintain order.
Conclusion
Your college living room should feel like a place you actually want to hang out in, not just a holding area between classes. Start with one or two changes that tackle your biggest annoyance—maybe it's seating, lighting, or just making the space feel less temporary—and build from there.
Even swapping a bulky chair for floor cushions or adding a peel-and-stick backsplash can shift the whole vibe. Pick the idea that excites you most, gather a few supplies, and make it happen this weekend.