13 Unique Living Room Ideas to Instantly Refresh Your Space
Your living room doesn't need a full remodel to feel brand new. Sometimes a single swap—like changing your curtains or rearranging the furniture—can shift the entire mood of the room. The best part?
You can do most of these ideas in a weekend without hiring anyone. We've rounded up 13 unique living room ideas that range from nearly free to a modest splurge. Whether you rent or own, there's something here that fits your space and your budget.
No fancy tools or design degree required. Each idea focuses on one clear change you can actually pull off. Pick one, or mix a few, and watch your living room go from stuck to refreshed.
1. Swap Your Curtains for a Bold Color or Pattern
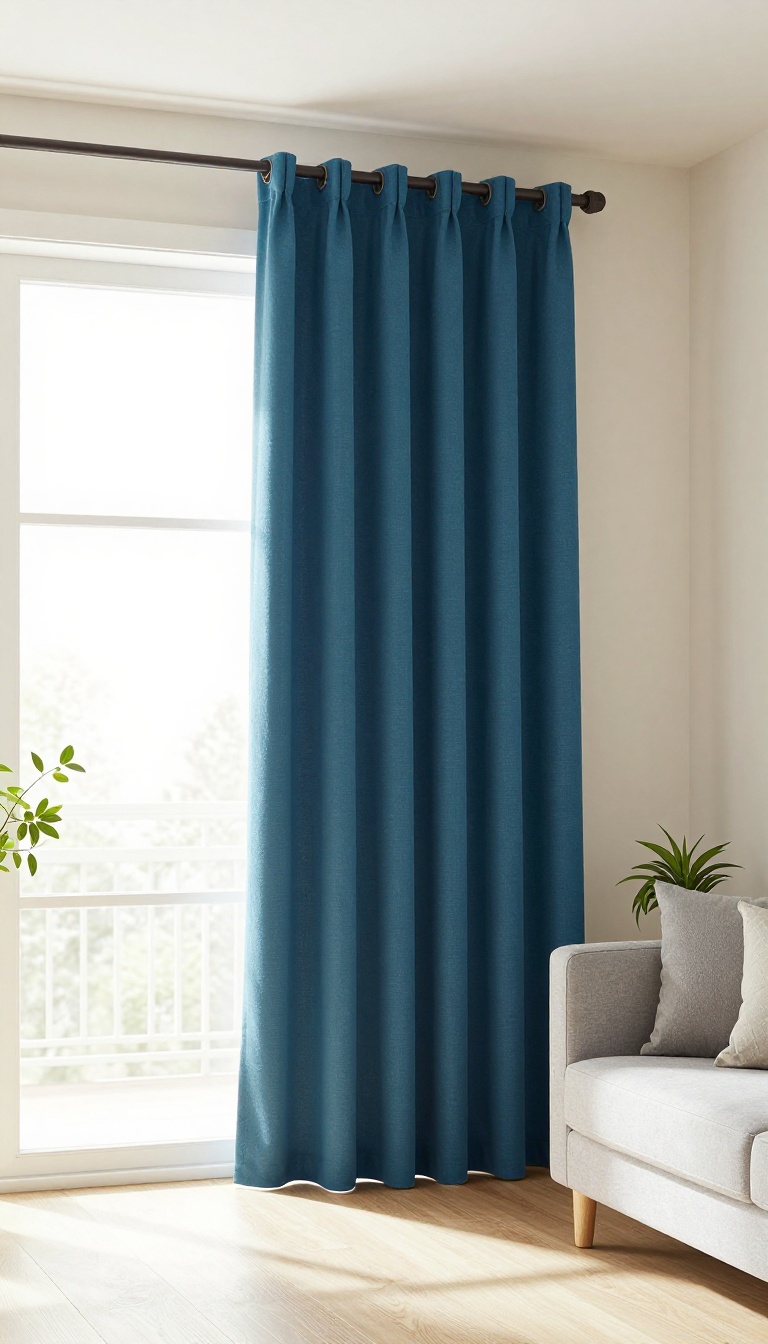
Curtains take up a lot of visual space, yet most of us default to beige or white without a second thought. Swapping them for a bold color or a subtle pattern is one of the fastest ways to inject energy into a tired room. It's a single change that shifts the light, the mood, and the whole backdrop of your living space.
Curtains act like the frame of a painting—they shape how you see everything inside. When you switch from neutral to something with punch, the room instantly feels more intentional. You don't need to replace the whole window treatment, just the panels.
And because curtains are easy to hang, this is a true weekend project.
Pick A Color That Plays Well With Your Walls
You want contrast, not clash. If your walls are warm white or cream, try deep teal, mustard, or terracotta. Cool gray walls pair beautifully with navy, emerald, or soft blush.
Hold a swatch near the wall in daylight before you buy. The right color should make the wall look better, not fight it.
Try A Pattern Without Going Overboard
A subtle geometric, thin stripe, or small-scale floral adds texture without overwhelming the room. Stick to two colors in the pattern—one that matches your wall and one that accents your furniture. If you already have a busy rug or artwork, keep the pattern simple.
The goal is interest, not chaos.
Hang Them Right For Maximum Impact
Mount the rod high—close to the ceiling—and extend it a few inches past the window frame. This makes ceilings look taller and windows wider. Let the panels just kiss the floor or puddle slightly.
Skip the heavy valance; clean lines let the color or pattern do the talking.
2. Create a Gallery Wall with Thrifted Frames
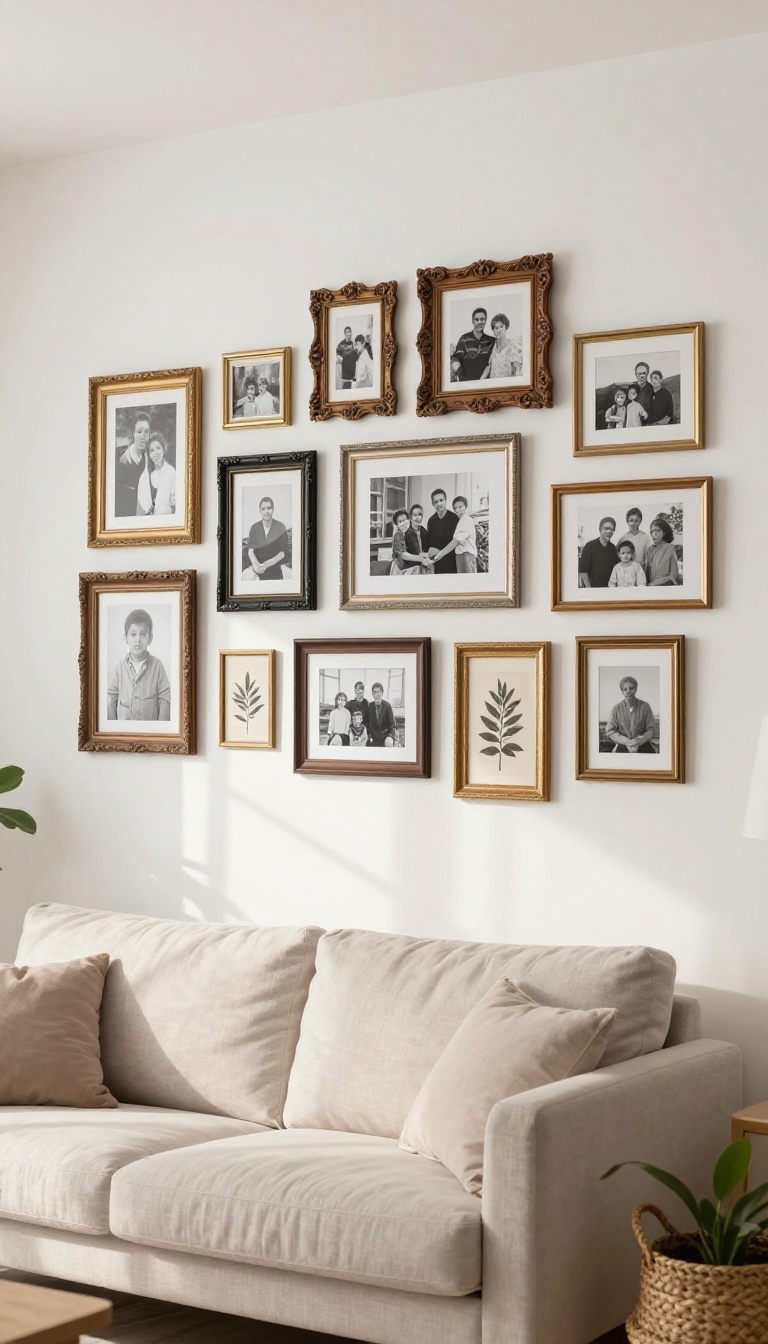
A gallery wall can be the star of your living room without costing a fortune. Thrift stores, flea markets, and estate sales are goldmines for interesting frames at a fraction of retail prices. Mixing different styles and sizes gives your wall a collected, personal feel that big-box art can't match.
Start by gathering a variety of frames—wood, metal, ornate, simple—in different sizes. You don't need to fill them all at once; hang empty frames first to play with the arrangement. Once you're happy, add art, photos, or even fabric scraps.
The goal is a cohesive look that still feels like you.
How To Find The Best Thrifted Frames
Check thrift stores regularly, especially on weekdays when new donations hit the floor. Look for solid construction and unique details like carved corners or aged finishes. Don't worry about the color—a quick coat of spray paint can unify mismatched frames.
Arranging Your Gallery Wall Like A Pro
Lay everything out on the floor first to find a balanced layout. Start with the largest piece as an anchor, then build outward with smaller frames. Keep 2–3 inches between frames for breathing room.
Trace each frame onto paper, tape the paper to the wall, and adjust before hammering any nails.
What To Put Inside Your Frames
Fill frames with personal photos, postcards, concert tickets, or even pages from old books. Mix black-and-white images with colorful ones for visual interest. If you're stuck, use a consistent mat color to tie everything together.
3. Layer Rugs for Instant Warmth and Texture
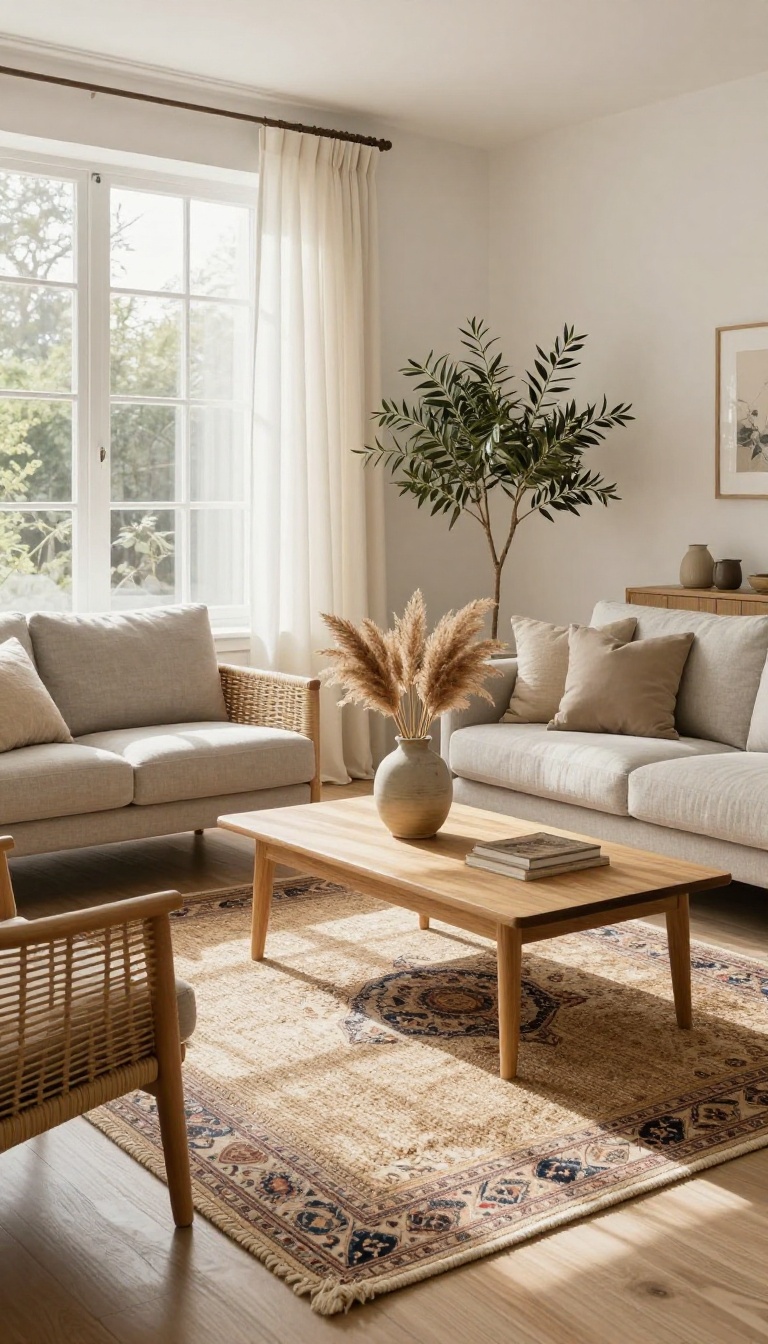
Rugs do more than cover bare floors. They anchor your furniture, soften noise, and add a layer of coziness that makes a living room feel lived-in. But if you only have one rug, you're missing an easy opportunity to add depth and personality.
Layering rugs is a designer trick that instantly makes a space look more custom. It's also practical: you get the comfort of a plush base with the style of a smaller accent rug on top. Best of all, you can do it with what you already own or with a budget-friendly find.
The idea is simple: place a smaller patterned or textured rug over a larger neutral one. The contrast in size, color, and material creates visual interest without overwhelming the room. Plus, it's a great way to test a bolder pattern without committing to a full-size rug.
Start with a large, neutral base rug that covers most of your seating area. Think jute, sisal, or a low-pile wool in a solid color. This rug should be big enough that all your furniture legs sit on it—or at least the front legs.
It acts as the foundation, so keep it calm and simple. Then, add a smaller rug on top. This is where you can have fun with pattern, color, or texture.
A vintage Persian, a Moroccan shag, or a geometric flatweave all work well. The key is to choose something that contrasts with the base—if the base is smooth, go for a shag; if it's dark, go for something light. Don't worry about perfect placement.
Slight angles and off-center positioning look intentional and relaxed. Just make sure the top rug doesn't slide around. A rug pad underneath the base rug helps, and you can use double-sided tape or a non-slip pad under the top rug for extra security.
If you're renting or on a tight budget, try layering a smaller rug you already have over a large, inexpensive jute rug. Or check thrift stores and online marketplaces for a patterned rug that's slightly worn—it adds character. One common mistake is making the top rug too big.
It should be noticeably smaller than the base, so the layering effect is clear. Also, avoid pairing two busy patterns. Let one rug be the star and the other play a supporting role.
When it comes to materials, mix things up. A sleek flatweave over a fluffy shag creates a nice tactile contrast. A woven leather rug over a cotton base adds an organic touch.
Just make sure the textures don't fight each other—you want harmony, not chaos. Finally, consider the shape. Rectangular over rectangular is classic, but you can also layer a round rug over a rectangular one for a softer look.
Or try a runner over a large square rug in a narrow space. The goal is to add dimension, so don't be afraid to experiment.
Choosing Your Base Rug
The base rug should be large and neutral. It needs to cover enough floor to ground your furniture. Jute and sisal are affordable and durable, while a solid wool rug feels more luxurious.
Stick to muted tones like beige, gray, or ivory so your top rug stands out.
Picking The Perfect Top Rug
This is your chance to add personality. Look for a pattern or color that complements your room's palette. A vintage rug adds instant character, while a modern geometric print feels fresh.
Just keep it smaller than the base—usually about two-thirds the size.
Styling And Securing The Layers
Place the top rug at a slight angle for a relaxed vibe. Use a non-slip pad or double-sided tape to keep it from shifting. If you have pets or kids, opt for low-pile rugs that are easy to clean.
And don't forget to vacuum both rugs regularly to keep them looking fresh.
4. Paint an Accent Wall or Arch Behind the Sofa
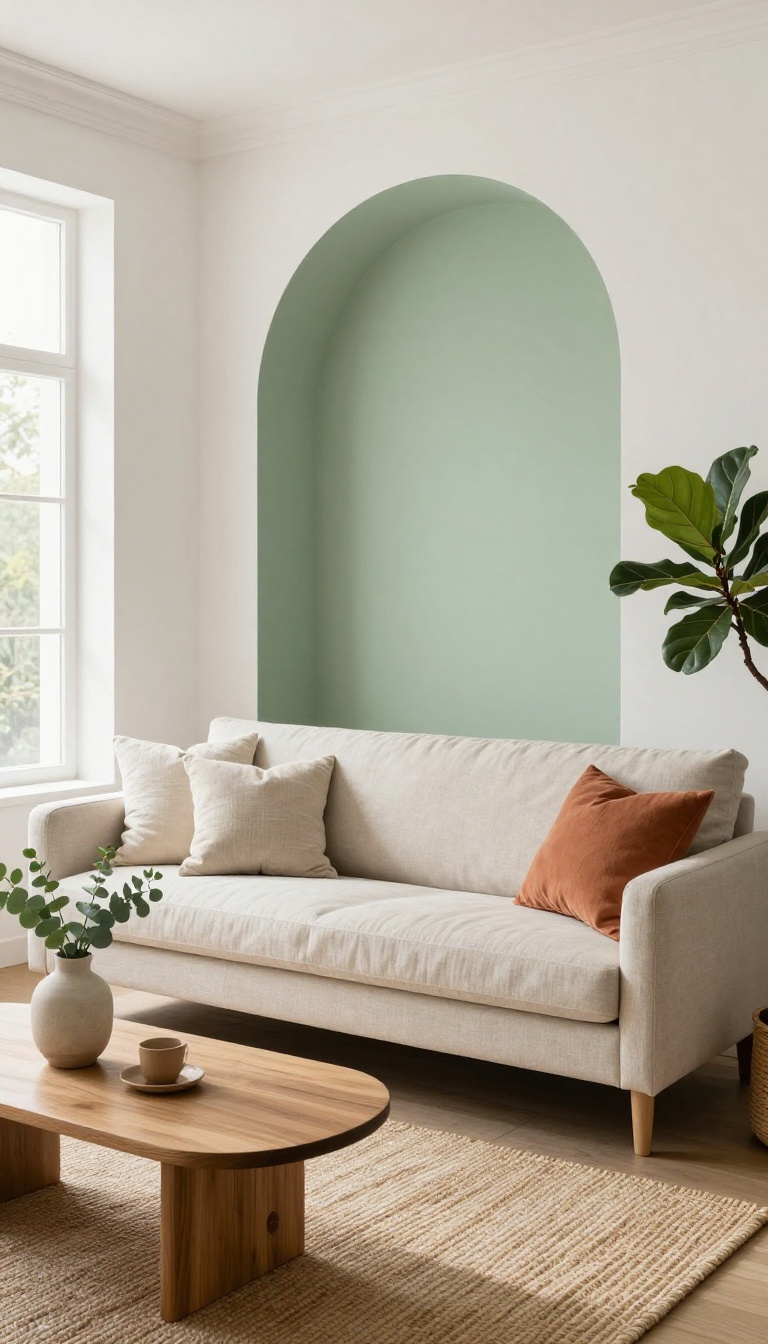
A single can of paint can do more for your living room than a truckload of new furniture. Painting an accent wall or a soft arch behind the sofa instantly defines the seating area and gives the room a designer touch. It’s a weekend project that costs less than a night out and makes a huge visual impact.
The best part? You don’t need to be a pro. With a little painter’s tape and a free afternoon, you can turn a plain wall into the focal point of the room.
Whether you go bold with a deep hue or keep it subtle with a tone-on-tone arch, the result feels intentional and fresh.
An accent wall behind the sofa is a classic trick for a reason: it anchors the furniture and draws the eye to the conversation zone. But you can take it a step further by painting an arch—a rounded shape that softens the room and adds architectural interest without any structural changes. This idea works in any size living room.
In a small space, a painted arch can create the illusion of a window or a niche. In a large room, a full accent wall adds warmth and coziness. The key is to pick a color that complements your existing decor and commit to the shape.
You’ll need painter’s tape, a roller, a brush, and a level. If you’re painting an arch, you can trace a half-circle using a string and pencil, or use a large bowl as a guide. The whole project can be done in a day, including drying time.
Choosing The Right Color
Go with a shade that contrasts with your sofa but still feels cohesive. Deep greens, navy blues, and warm terracottas are popular for a reason—they add depth without overwhelming. If you want something softer, try a muted sage or dusty pink.
Test a few swatches on the wall and look at them at different times of day before you commit.
How To Paint A Perfect Arch
Start by measuring the width of your sofa and marking the center point on the wall. Decide how high you want the arch to go—usually about 12 to 18 inches above the sofa back. Use a string tied to a pencil to draw a smooth half-circle, then tape along the line.
Paint the inside of the arch with a roller for large areas and a brush for edges. Remove the tape while the paint is still slightly wet for clean lines.
Styling Around Your New Focal Point
Once the paint is dry, rearrange your sofa to sit centered under the arch or accent wall. Add a couple of throw pillows in a complementary color to tie it together. Keep the wall itself relatively bare—maybe a single piece of art or a mirror inside the arch—so the paint color remains the star.
A floor lamp or a tall plant on one side balances the composition.
5. Switch Out Lamp Shades for a New Silhouette
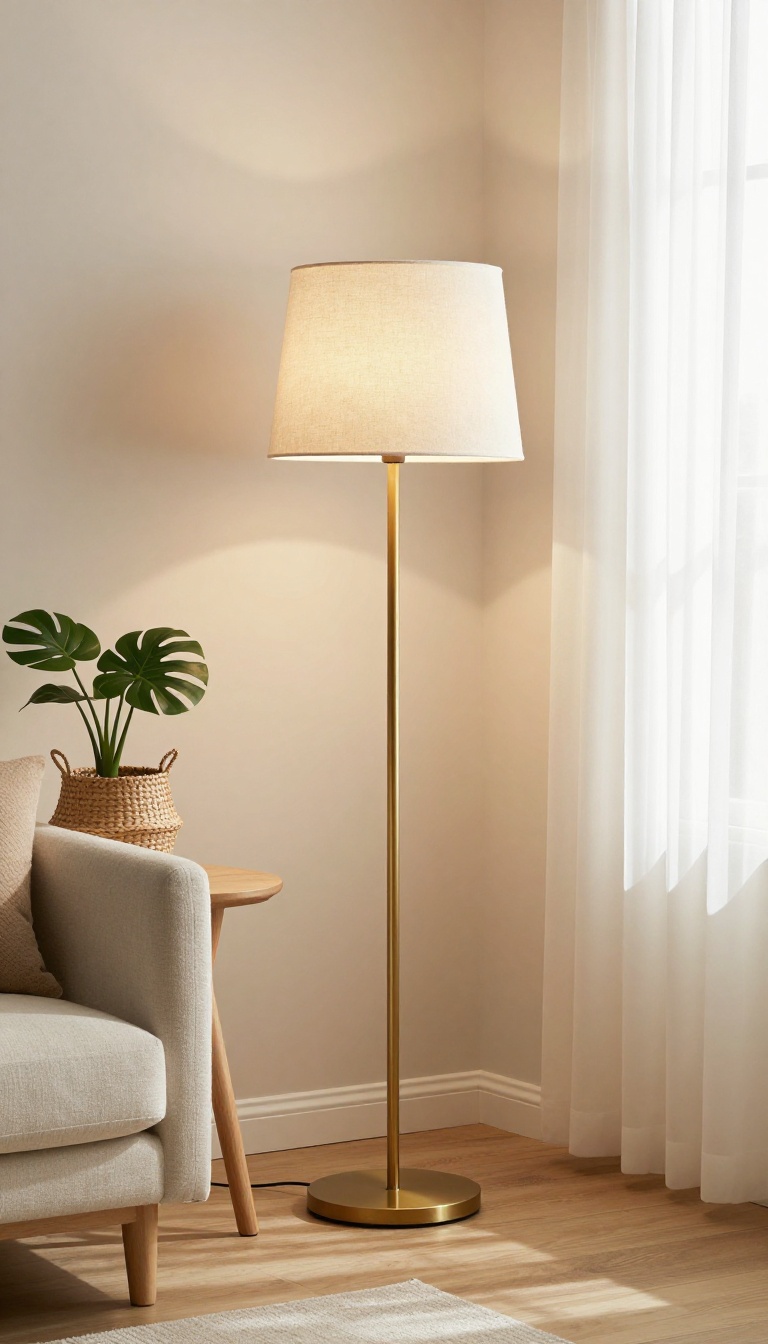
Lamp shades are like the haircut of your living room—they frame the light and set the tone. Swapping them out is one of the fastest, cheapest ways to change the whole vibe. You don't need new lamps, just new shades.
Most people never think about their lamp shades until they're dusty or torn. But the shape, size, and material of a shade completely change how light fills the room. A tall drum shade feels modern and clean, while a tapered empire shade adds a classic touch.
Even the color matters: a warm linen shade casts a cozy glow, while a crisp white one brightens things up. The best part? You can do this in minutes, and it costs a fraction of what new lamps would set you back.
Pick A Shape That Fits Your Style
Shade shapes do more than hold fabric—they direct light and define the lamp's silhouette. Drum shades are wide and cylindrical, giving off a soft, even glow that works in modern or transitional spaces. Empire shades taper toward the top, throwing light upward and downward for a more traditional look.
If you want something playful, try a coolie or bell shade. Just make sure the bottom of the shade sits around eye level when you're seated, so you're not staring into a bulb.
Play With Materials And Textures
Fabric isn't your only option. Woven rattan or bamboo shades add a breezy, natural feel and cast interesting shadows. Metal shades in brass or matte black give an industrial edge.
Even a simple paper shade can look sculptural and soft. Mixing textures—like a linen shade on a metal base—adds depth without overwhelming the room. Just avoid mixing too many busy patterns; one textured shade per lamp is plenty.
Get The Size Right
A shade that's too small looks stingy; too big and it swallows the lamp. As a rule, the shade should be about two-thirds the height of the lamp base and wider than the widest part of the base. For table lamps, the shade's bottom should hit somewhere between your chin and shoulder when you're sitting next to it.
Floor lamps need larger shades to balance their height. When in doubt, bring your lamp to the store or measure before you buy online.
6. Add a Sliding Barn Door or Room Divider
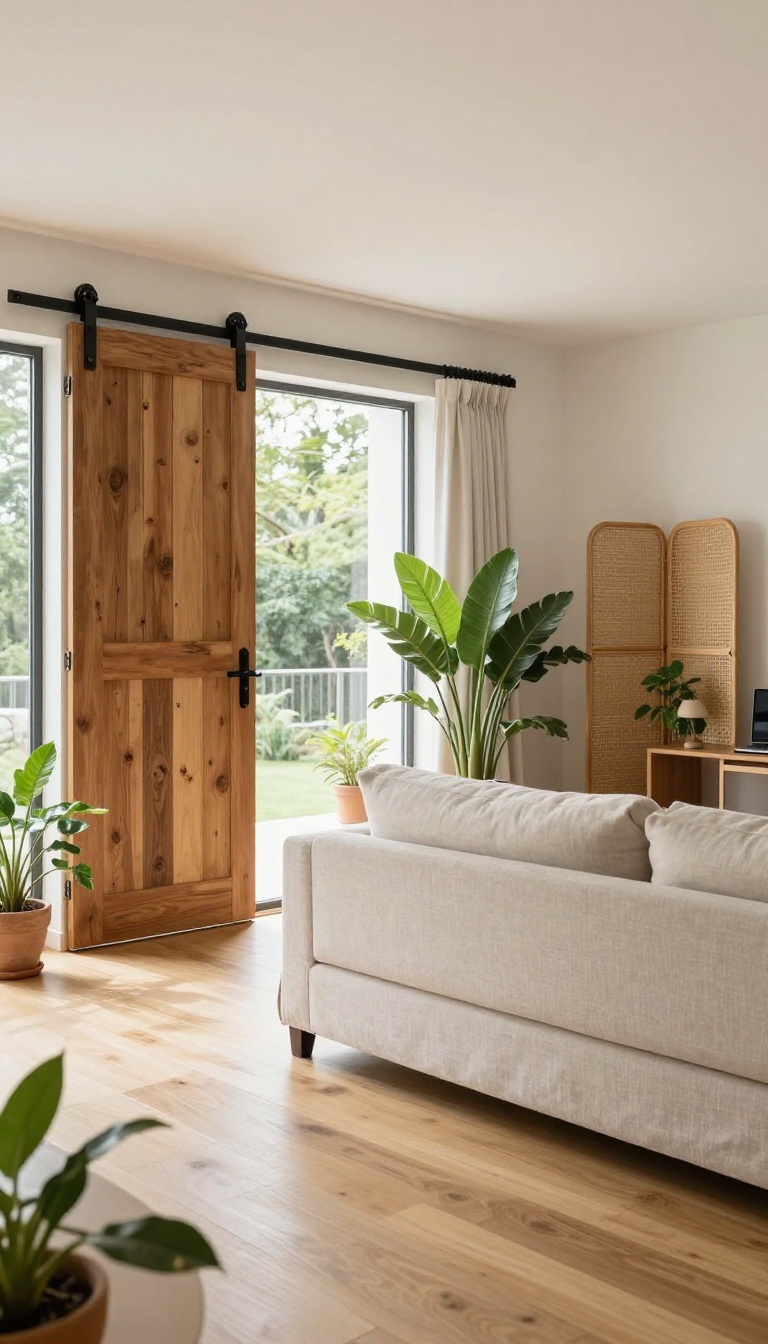
Open floor plans feel airy until you want a little privacy or need to hide a messy corner. A sliding barn door or freestanding divider gives you flexibility without a full remodel. It also adds a strong design statement, whether you lean rustic or modern.
The best part? You can install a sliding door on a track in an afternoon, or simply place a folding screen where you need it. Both options break up the space visually and functionally, making your living room feel more intentional.
Choose based on your budget, DIY comfort, and the vibe you want.
Sliding Barn Doors: Rustic Charm With Function
A sliding barn door rides on a metal track above the opening, saving floor space and adding instant character. You can buy a kit online or at a home improvement store, then mount it over a doorway or even a flat wall as a decorative feature. For a modern twist, choose a sleek black track and a solid core door painted in a bold color.
Rustic lovers can go with reclaimed wood and wrought-iron hardware. Just make sure the door slides smoothly and doesn't block light switches or outlets.
Freestanding Dividers: Flexible And Rental-friendly
If you rent or want something temporary, a folding screen or room divider is your best friend. It can section off a home office, create a cozy reading nook, or hide toys and clutter in seconds. Look for styles that match your decor—think woven rattan for boho vibes, glass panels for a modern look, or classic wood shutters.
Some dividers even have shelves or pockets for extra storage. Bonus: you can move it whenever the mood strikes.
Styling Tips For A Seamless Look
Treat your door or divider as part of the room's design, not an afterthought. Keep the surrounding area uncluttered so it stands out. If you choose a bold color or pattern, balance it with neutral furniture.
For barn doors, add a matching handle and consider a soft-close mechanism to avoid slamming. With dividers, play with height—a taller screen makes a bigger impact. And don't forget lighting: a small lamp or sconce near the divider can highlight the new zone.
7. Use a Bookshelf as a Room Divider
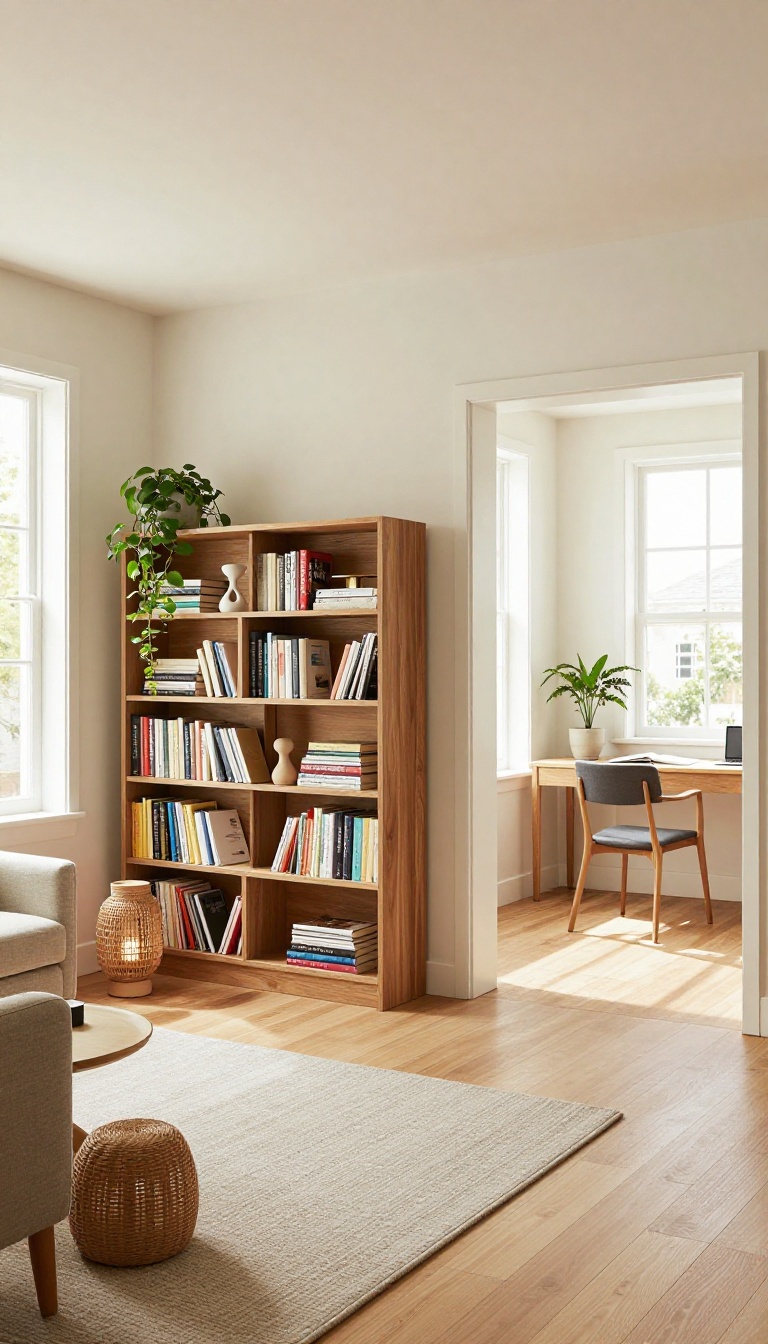
An open bookshelf placed perpendicular to the wall can split your living room into two distinct zones without making either feel closed off. It’s a simple way to add storage, display your favorite reads, and define a cozy reading nook or a home office corner. Because the shelves are open, light and air still move freely through the room, so you get separation without sacrificing that airy feel.
A room divider doesn’t have to be a folding screen or a heavy curtain. A freestanding bookshelf—especially one with open back—does double duty as storage and a subtle boundary. Position it so it extends out from the wall, creating a natural walkway on either side.
This works in studios, long living rooms, or any space where you want a little definition without building walls.
Pick The Right Shelf
Go for a unit that’s tall enough to feel substantial but not so deep that it blocks sightlines. A ladder-style shelf or a low, wide console works well if you want to keep things open. For more privacy, choose a taller bookcase with a solid back—just know it will block some light.
Measure your space first so you don’t end up with a divider that swallows the room.
Style It Like A Pro
Don’t just fill every shelf with books. Mix in a plant, a small sculpture, or a stack of magazines to keep it visually interesting. Leave some empty space so the shelf doesn’t feel cluttered.
If you want a more cohesive look, arrange items by color or theme. The goal is to make it look intentional, not like a storage unit.
Make It Functional
Use the side facing the main seating area for books and decor, and the back side for hidden storage baskets or office supplies. If you need a dedicated workspace, place a small desk against the back of the shelf. That way, the divider serves two purposes: it separates zones and gives you a spot to work or stash clutter.
8. Hang a Large Mirror to Double the Light
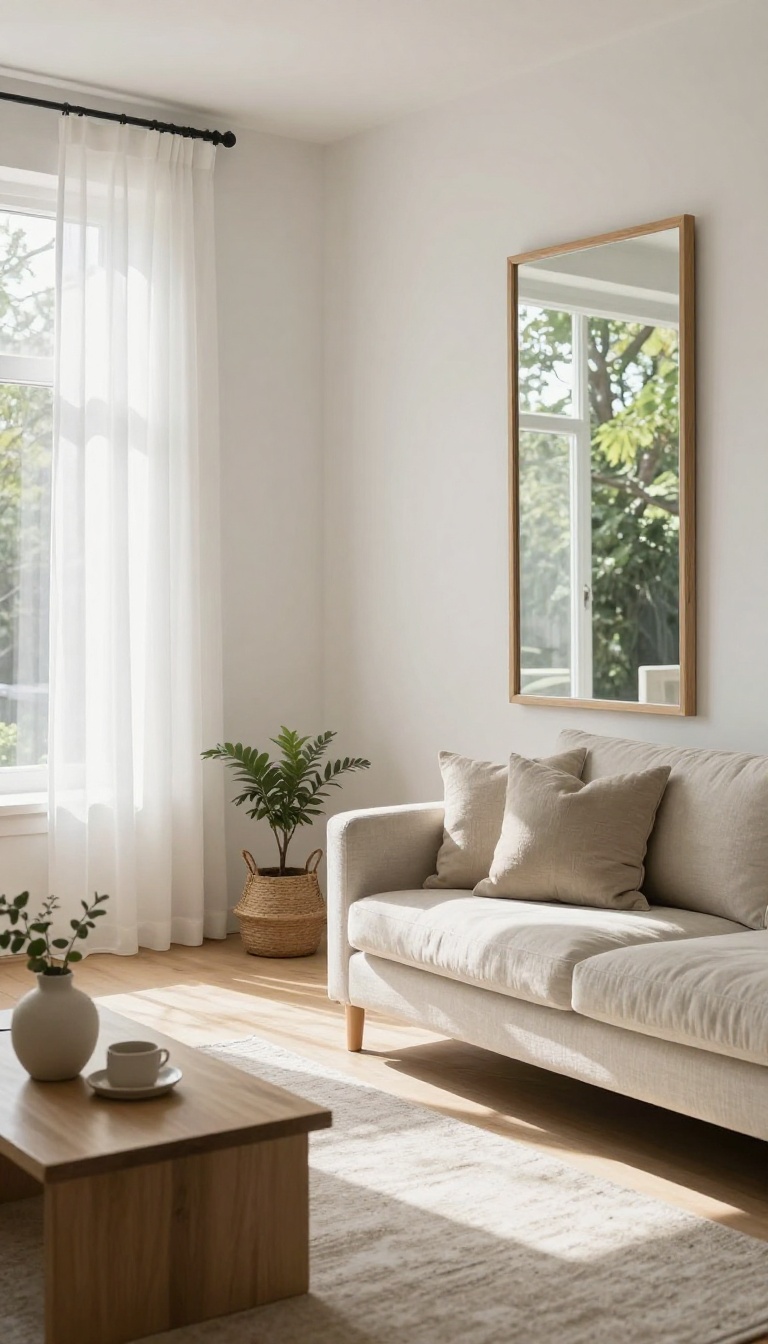
A mirror does more than let you check your hair on the way out. Hang a big one opposite a window and it bounces daylight around the room, making everything feel brighter and more open. It's one of the quickest ways to fake square footage without knocking down a wall.
The key is size and placement. A tiny mirror won't cut it—you want something large enough to reflect a good chunk of the view. And it has to face the light source, or you're just reflecting a blank wall.
Think of a mirror as a second window. When it's positioned correctly, it catches whatever light comes through your actual window and throws it back into the room. That doubles the visual light without adding a single lamp.
But not all mirrors are created equal. Shape, frame, and angle all play a role in how much light you gain and how the room feels. Here's how to get it right.
Pick The Right Spot
The best place for a large mirror is directly across from your main window. That way, it reflects the outdoors and any natural light pouring in. If you have two windows, choose the one that gets the most sun.
Avoid hanging it on a wall that gets direct sunlight all day—it can create glare. Also, make sure the mirror doesn't reflect a cluttered area. You want it to bounce light, not mess.
Choose A Size That Works
Bigger is usually better here. A mirror that's too small won't reflect enough light to make a difference. Aim for something at least three feet wide, or go floor-to-ceiling if you have the wall space.
Leaning a full-length mirror against the wall is a easy, renter-friendly option. Just secure it so it doesn't tip.
Frame It To Match Your Style
The frame matters as much as the glass. A thin metal frame keeps things modern and minimal, while a thick wood or ornate frame adds warmth and character. If you want the mirror to blend in, choose a frame that matches your wall color.
For a bold statement, pick a contrasting finish like black or brass.
Use Mirrors To Bounce Light From Other Sources
Windows aren't the only light source. If you have a floor lamp or a well-lit corner, angle a mirror to catch that glow. It works especially well in dark corners or hallways that connect to the living room.
Just avoid placing a mirror opposite a TV—you'll end up with distracting reflections.
9. Replace Your Coffee Table with an Oversized Ottoman
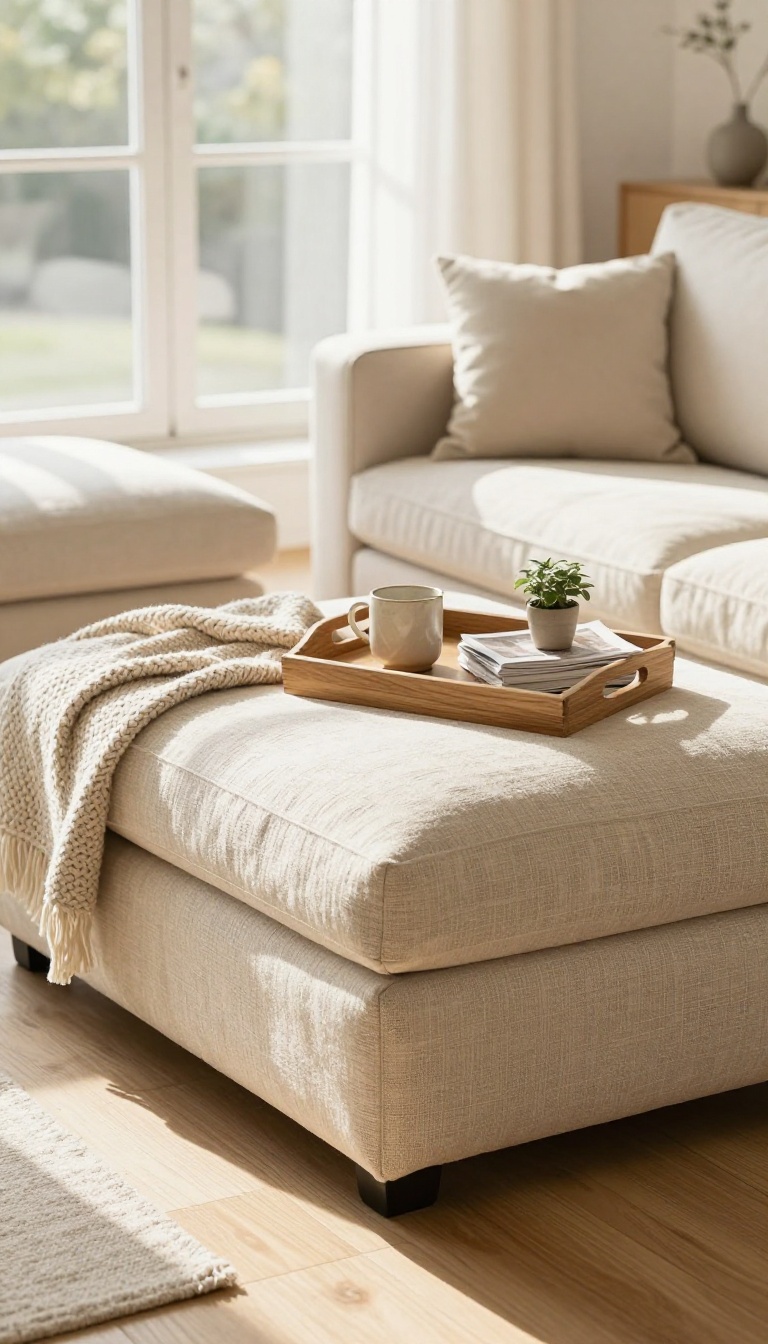
Coffee tables are great until someone bumps their shin or you need to clear the floor for a dance party. An oversized ottoman solves both problems while making your living room feel instantly cozier. It’s upholstered, so it’s soft on the legs, and it’s light enough to shove aside when you need open space.
Top it with a sturdy tray, and you’ve got a surface for drinks, remotes, and that stack of magazines you keep meaning to read.
The swap is simple: move your coffee table to another room or store it, then slide a large ottoman into its place. Look for one that’s roughly the same footprint as your old table—or slightly bigger if your sofa is long. A rectangular shape works well with sectionals, while a round or square one suits a standard three-seater.
The goal is to fill the space without crowding it, so measure before you buy.
Pick The Right Size And Shape
An ottoman that’s too small will look like a footstool lost in the middle of the room. Aim for one that’s at least two-thirds the length of your sofa. If you have a sectional, a square or rectangular ottoman can extend the seating area.
For smaller rooms, a round ottoman keeps the flow open and avoids sharp corners.
Use A Tray To Keep It Functional
A flat tray turns the ottoman into a stable surface for drinks and decor. Choose a tray with a lip or handles so it doesn’t slide when you set things down. You can also use a large hardcover book or a woven basket as a makeshift tray.
Just remember to remove the tray before you put your feet up.
Choose A Durable Fabric
Since this piece will get more traffic than a coffee table, pick a fabric that hides stains and wear. Performance velvet, leather, or a tight-weave cotton blend are good bets. Avoid light colors if you have pets or kids, unless you’re ready to clean it often.
A removable cover is a bonus for easy washing.
Style It Like A Coffee Table
Treat the top of the ottoman like you would a table: a small plant, a candle, and a couple of books. Keep it minimal so it doesn’t feel cluttered. When you need extra seating, just move the tray to the floor and you’ve got a spot for a guest.
10. Install a DIY Picture Ledge for Rotating Art
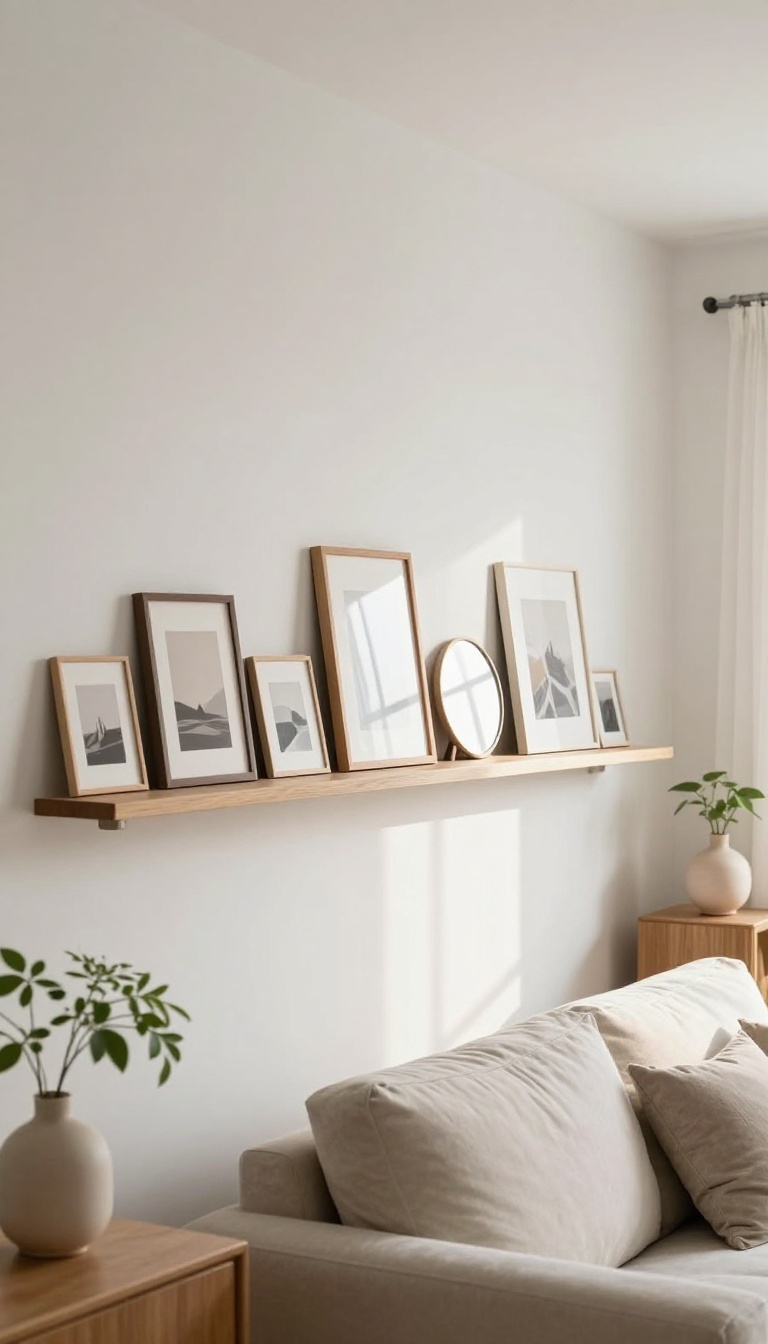
Nails and hooks lock you into one arrangement. A picture ledge flips that—art leans against the wall instead of hanging, so you can swap pieces in seconds. No patching holes, no leveling frustration, no commitment.
It's a small project with a big payoff for anyone who likes to change things up.
You can buy a ready-made ledge or build one from a single board and a small lip. Either way, it's one of the simplest weekend upgrades you can make. The ledge sits flush against the wall and holds frames, canvases, and prints at a slight angle.
That angle keeps everything from sliding forward, and it gives your display a relaxed, gallery-style look.
Pick The Right Spot And Size
A ledge works best on a wall that gets decent light but not direct sun, which can fade prints. Measure the width of your sofa or console and aim for a ledge that's about two-thirds that length. Mount it at eye level—typically 57 to 60 inches from the floor to the center of the ledge.
If you're unsure, hold a frame against the wall first and step back to check the height.
Build It Or Buy It
A basic ledge is just a 1×4 or 1×6 board with a 1×2 lip attached to the front. Cut the board to length, sand the edges, and paint or stain it to match your trim. Attach the lip with wood glue and finishing nails, then secure the whole thing to the wall using a stud finder and screws.
Pre-made ledges cost $20 to $50 and come in finishes like white, black, and natural wood.
Style And Rotate Your Art
Lean larger pieces in back and smaller ones in front for depth. Mix frames, canvases, and even a small mirror. Keep a few extra prints in a closet or drawer so you can rotate seasonally or whenever you get bored.
To avoid a cluttered look, leave a little breathing room between pieces and don't stack more than three deep.
11. Add a Bar Cart for Style and Function
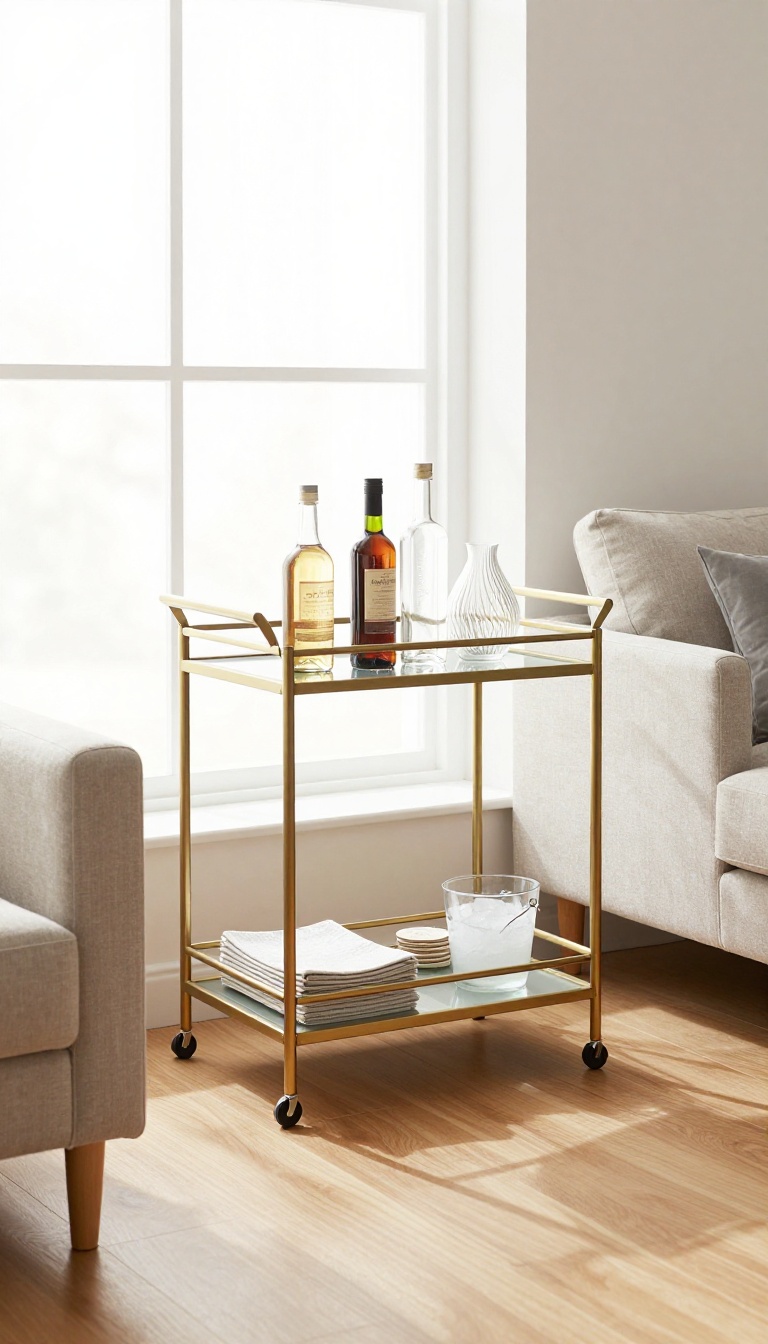
A bar cart pulls double duty in a way few pieces of furniture can. It holds your drinks, glassware, and a few pretty objects, and it rolls wherever the gathering moves. That mix of storage and flexibility makes it one of the easiest refreshes you can pull off in an afternoon.
You don't need a cocktail habit to justify one. A cart can hold coffee supplies, sparkling water, tea, or a rotating display of candles and books. The point is having a stylish, self-contained spot that keeps clutter off your surfaces and adds a little personality to the corner.
Pick A Cart That Fits Your Room
Measure the spot before you shop. A narrow cart works in tight corners, while a wider one can anchor the end of a sofa or fill an empty wall. Two tiers usually beat three for everyday use.
The top holds bottles and glasses, and the bottom catches napkins, a small ice bucket, or a stack of coasters. Think about materials, too. Brass and glass feel glam, wood and metal lean industrial, and a painted cart can match your existing color scheme without much effort.
Stock It Without Overloading It
Treat the cart like a display, not a storage unit. A few bottles, two or three glass styles, and one decorative object are plenty. Group similar items together so the cart reads as intentional.
Bottles on one side, glasses on the other, and a small tray to keep corkscrews and stirrers from rolling around. Leave some empty space. Gaps make the cart look curated instead of crowded, and they give you room to set down a drink when guests arrive.
Move It Where The Party Goes
The wheels are the whole point. Roll the cart next to the sofa for movie night, into the dining area for dinner, or onto the patio when the weather cooperates. Keep a clear path so moving it doesn't turn into a chore.
If the cart is heavy when loaded, empty the top tier before you roll it. A cart that travels also solves the awkward drink-table problem. No more balancing glasses on armrests or hunting for a coaster.
Style It Like A Real Corner
Add height with a tall vase or a slim lamp on the top tier. A small plant or a bowl of citrus brings color without competing with the bottles. Lean a framed print or a stack of books against the wall behind the cart.
It gives the setup a backdrop and makes the cart feel like part of the room. Swap the decor with the seasons. Fresh flowers in spring, warm-toned candles in fall, and a bowl of ornaments in winter keep the cart feeling new.
12. Create a Cozy Reading Nook with a Floor Lamp and Chair
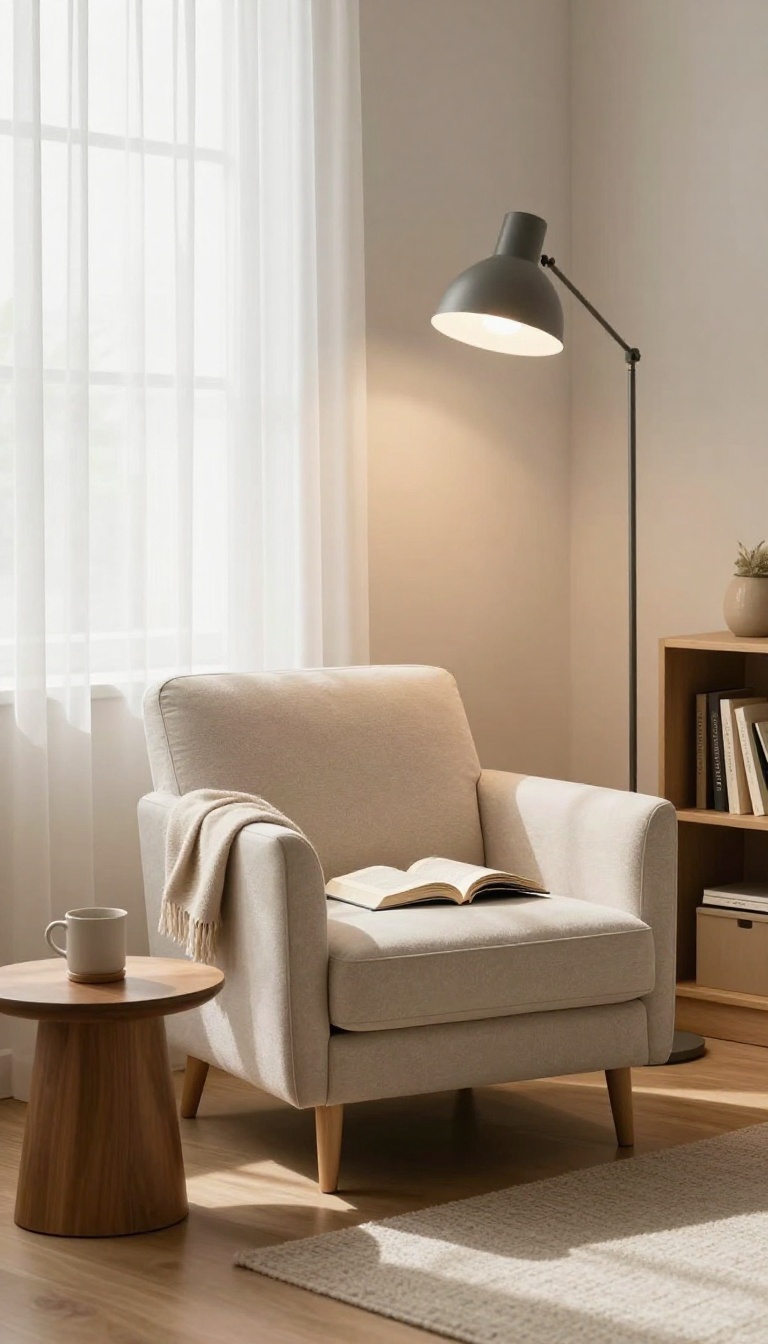
A corner that nobody uses is basically free real estate. Drop a comfortable chair there, add a floor lamp that throws light exactly where you need it, and suddenly you have the most fought-over seat in the house. The trick is keeping it simple.
One chair, one lamp, one small table. That's it. No matching set required, no contractor, no rewiring.
This works in big rooms and tiny apartments alike because you're not adding furniture so much as giving an empty pocket of space a job.
Start by finding the corner that already feels a little forgotten. Maybe it's beside a window, next to a bookshelf, or tucked behind the sofa. Any spot that's at least three feet wide can hold a reading nook.
You don't need a designated library or a spare room. You need a chair you actually want to sit in for an hour. That's the whole foundation.
Pick A Chair You'll Actually Sit In
The chair matters more than anything else here. A stiff dining chair will kill the vibe before you even open a book. Look for something with a cushioned seat and a back tall enough to lean into.
An armchair, a wingback, a swivel chair, or even a cozy accent chair with a throw blanket works. Secondhand stores and marketplace listings are goldmines for this. You want comfort first, looks second.
Let The Floor Lamp Do The Heavy Lifting
Overhead lights flatten a room. A floor lamp creates a pool of light that feels intentional and calm. Choose one with an adjustable arm or a shade that points downward so the light lands on your lap or book, not in your eyes.
Warm bulbs around 2700K keep things cozy. If your lamp has a dimmer, even better. You can go bright for reading and soft for winding down.
Add A Tiny Table And One Personal Touch
A small side table gives your coffee, phone, or glasses a home. It can be a stool, a plant stand, or a narrow console. Just keep it low-profile so the corner doesn't feel crowded.
Finish with one thing that makes you smile. A framed photo, a small plant, a candle, or a stack of two or three books. One item, not five.
The restraint is what makes it feel calm.
13. Bring in Plants at Different Heights
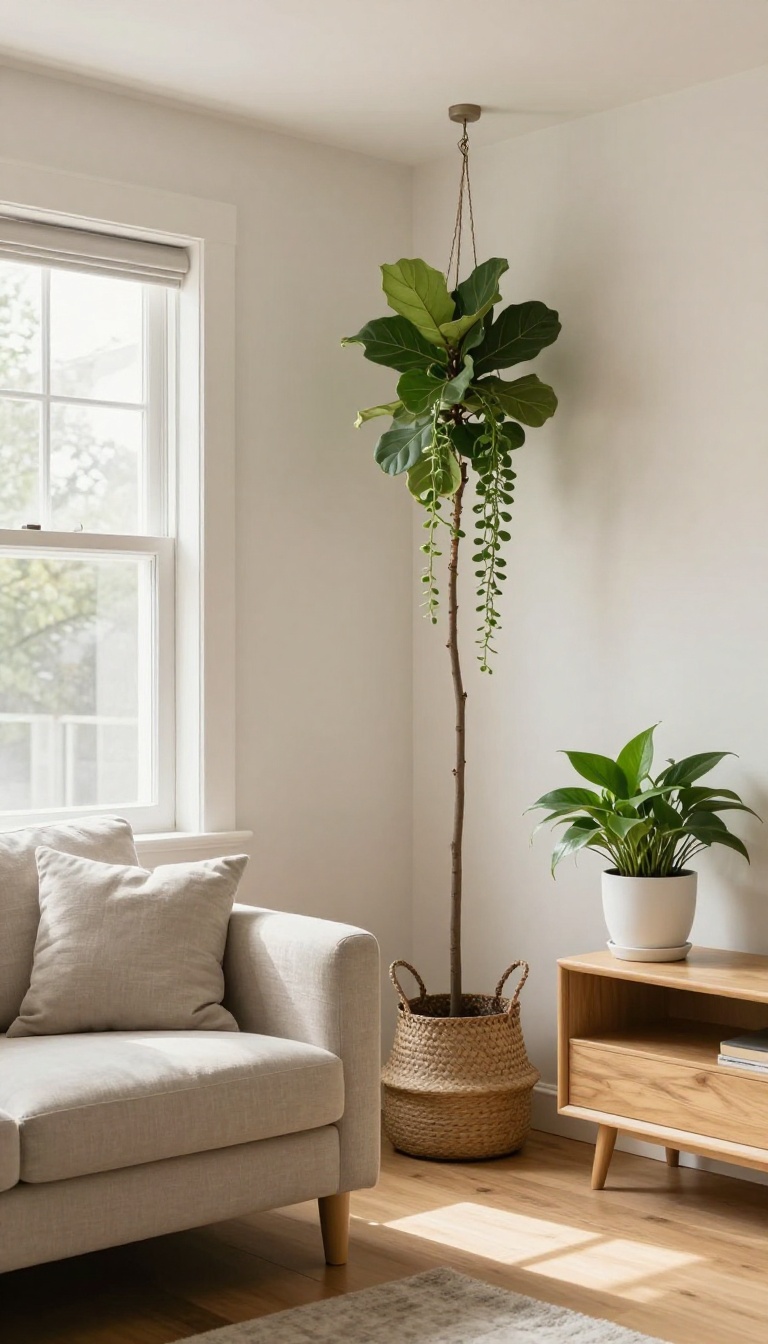
Plants already make a room feel alive, but the way you arrange them can change everything. If every pot sits at the same level, you get a flat green line that barely registers. Move them up, down, and everywhere in between, and suddenly your living room has depth, texture, and a little bit of drama.
The trick is to think vertically. Use the floor, a side table, a wall, and even the ceiling. Each height adds a new layer of interest without crowding your space.
You don't need a jungle to make this work. A few well-placed plants at different heights can transform a dull corner into a focal point. Start by looking at your room's vertical zones: floor, low surfaces, mid-level, and up high.
Then pick plants that fit each zone naturally. The goal is to guide the eye upward and around the room. When plants sit at varying levels, they create a sense of movement and balance.
You can go as minimal or as lush as you like, but the height variation is what makes it feel intentional.
Mix Floor, Table, And Hanging Plants
Start with a tall floor plant like a fiddle leaf fig or snake plant. It anchors the corner and adds instant height. Then place a medium plant on a side table or stool—something like a pothos or rubber tree.
Finally, hang a trailing plant like string of pearls or ivy from the ceiling or a wall bracket. This trio covers all three levels and creates a natural triangle of greenery.
Use Stands And Shelves To Create Layers
Plant stands are your secret weapon. A simple wooden or metal stand lifts a pot off the floor and adds a few extra inches of height. You can also use a ladder shelf or a floating wall shelf to stagger smaller plants.
Group two or three stands at different heights for a dynamic cluster that feels curated, not cluttered.
Choose Plants That Fit Your Light
Not every corner gets bright sun, so match the plant to the spot. Low-light areas can handle snake plants, ZZ plants, or pothos. Bright spots are perfect for succulents, palms, or monsteras.
If a spot is too dark, rotate a fake plant in—no shame in that. The height effect works whether the leaves are real or not.
Keep It Balanced, Not Busy
You want variation, not chaos. Stick to odd numbers—three or five plants per grouping—and repeat a few pot styles or colors to tie it together. Leave some empty space between plants so each one can breathe.
A little restraint keeps the look fresh instead of overwhelming.
FAQ
How can I refresh my living room without spending much money?
Focus on swaps you can do for free or cheap: rearrange furniture, shop your home for decor from other rooms, or swap curtains and lampshades. Thrift stores and online marketplaces are great for affordable finds.
What is the fastest way to update a living room?
Changing your lighting or adding a large mirror can instantly shift the mood. Swapping throw pillows and blankets is another quick win that takes minutes.
Do these ideas work for renters?
Yes, most are renter-friendly. Use removable hooks for gallery walls, freestanding room dividers, and leaning mirrors instead of mounting them. Always check your lease before painting.
How do I choose an accent wall color?
Pick a color that complements your existing furniture and rug. Test a sample on the wall and view it at different times of day before committing.
Can I mix patterns and textures in a small living room?
Absolutely. Keep the base neutral and layer in patterns through pillows, rugs, and art. Stick to a cohesive color palette to avoid visual clutter.
Conclusion
You do not need a full remodel to make your living room feel new again. Pick one or two ideas from this list, try them out, and see how quickly the space shifts. Start small if you want.
A new rug, a swapped lamp, or a single bold color can change the whole mood. The best living rooms reflect the people who actually live in them, so have fun with it and make it yours.