15 Big Backyard Ideas for Creating Functional Outdoor Zones
Most backyards end up as one big open space that does a little of everything and nothing especially well. You mow it, stare at it, and wonder why nobody uses it. Splitting the yard into clear zones fixes that fast, because each patch gets a job and a reason to walk out the door.
You don't need a landscape crew or a huge budget to pull it off. A few smart moves, like a defined cooking corner or a shaded spot to sit, change how the whole space feels.
The 15 ideas below cover everything from outdoor kitchens to quiet garden beds. Pick the ones that match your climate, your square footage, and how you actually spend your weekends.
1. Outdoor Kitchen and Prep Station
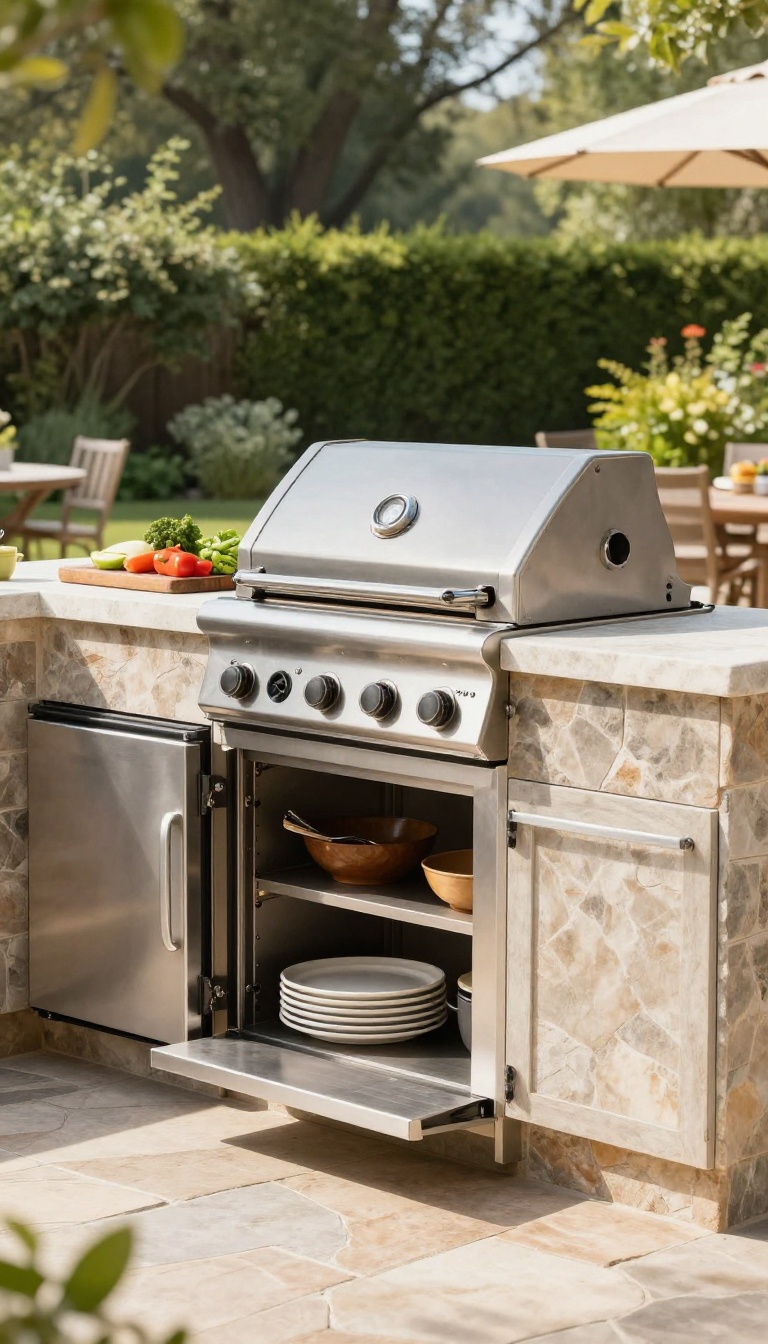
An outdoor kitchen turns a random patio corner into the hardest-working spot in the yard. You get a dedicated place to grill, chop, and plate without jogging back inside for every little thing. The setup can be as simple as a sturdy cart or as built-in as a full counter with cabinets.
Either way, the goal is the same: keep the mess, the heat, and the fun outside.
The magic of an outdoor kitchen is that it removes friction. When your prep space, tools, and serving area live together, cooking outside stops feeling like a project and starts feeling like the easy option. You will use the grill more, and you will spend less time wiping down your indoor kitchen after a backyard dinner.
Pick The Right Spot
Put your kitchen where you already hang out, not in a far corner you have to trek to. A spot near the dining area or patio door keeps the cook in the conversation. Watch the wind, too, because smoke that blows into the seating zone ruins a good evening fast.
Morning shade or afternoon shade can also make the space more comfortable depending on when you cook most.
Build The Core Three
Every functional outdoor kitchen needs three things: heat, surface, and storage. Heat means a grill, griddle, or pizza oven that fits how you cook. Surface means at least a few feet of counter for prepping and resting food.
Storage means a place for tools, fuel, and platters so you are not balancing everything on the grill lid.
Add Smart Extras
Once the basics are in place, small upgrades make a big difference. A mini fridge keeps drinks and marinades close without a trip inside. A trash pullout or hidden bin stops scraps from piling up on the counter.
A sink with a simple hose hookup makes cleanup way less annoying, especially if you are feeding a crowd.
Keep It Weather-ready
Outdoor kitchens take a beating from sun, rain, and temperature swings. Choose materials that can handle your climate, like stainless steel, sealed concrete, or weather-resistant wood. A grill cover and a small roof or pergola extend the life of everything and let you cook even when the weather is not perfect.
2. Covered Dining Pavilion
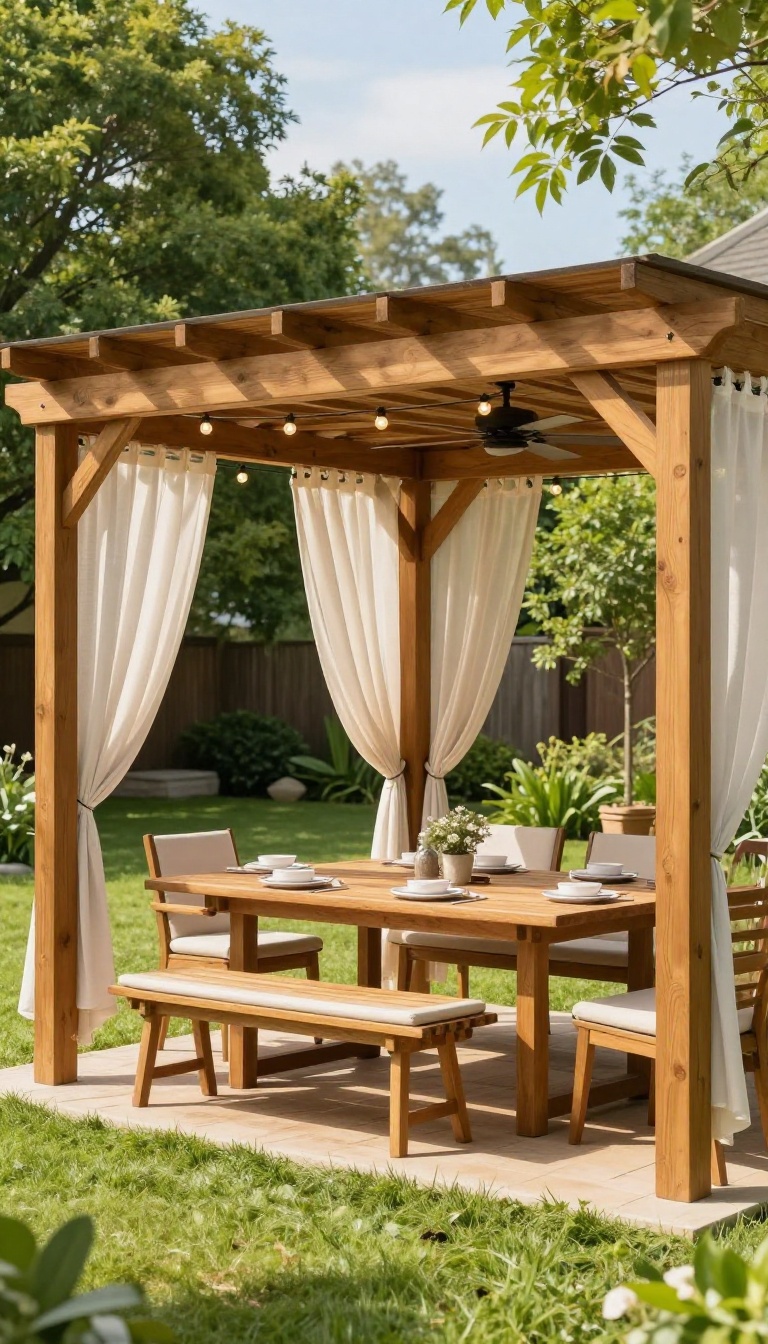
A covered dining pavilion solves a problem most patios can't: meals that get ruined by harsh sun or a passing shower. It gives you a dedicated spot to eat outside without squinting, sweating, or scrambling to carry plates back inside. Think of it as an outdoor room where the roof does the heavy lifting, so you can relax and stay put.
You don't need a full construction project to get the benefits. A simple pergola with a solid or slatted roof can define the dining zone and provide shade. Add curtains or roll-down screens if you want extra protection from wind and rain.
The key is picking a structure that matches your climate and how often you entertain.
Choosing Your Structure
Pergolas are the easiest entry point. They're open, airy, and you can add a retractable canopy for rainy days. A pavilion is more substantial, with a full roof and often electrical wiring for lights and fans.
If you want year-round use, go with a pavilion. For seasonal shade, a pergola works fine.
Sizing For A Crowd
Measure your table first, then add at least three feet of clearance on all sides for chairs and walking room. A 10×12-foot structure seats six to eight comfortably. If you host bigger groups, consider a 12×16 or larger.
Don't forget space for a buffet or drink station nearby.
Materials And Comfort
Wood is classic and warm, but needs staining every couple of years. Aluminum or vinyl won't rot and are low-maintenance. Add a ceiling fan to keep air moving, and string lights for evening ambiance.
A built-in bench along one side saves space and adds seating.
3. Sunken Fire Pit Lounge
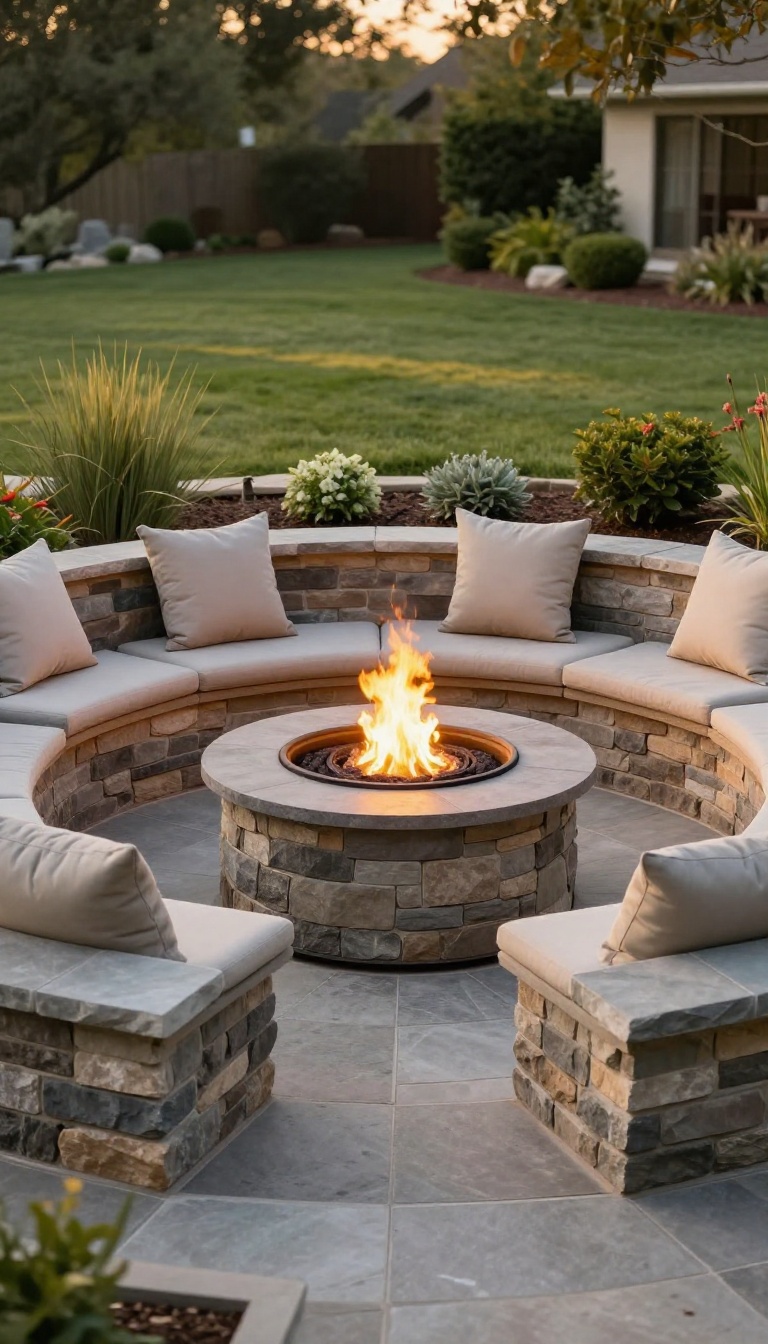
Digging the fire pit down a step or two does more than look cool. It blocks wind, traps warmth, and turns a flat patch of grass into a room without walls. Suddenly you have a reason to sit outside long after the sun drops.
A sunken fire pit lounge works because it changes the physics of hanging out. When you're sitting below grade, the surrounding earth and retaining walls cut the breeze and bounce heat back at you. That means you can stretch backyard evenings well into fall without huddling under blankets.
The seating is the other half of the magic. Instead of dragging folding chairs around, you build benches right into the pit wall. They stay put, they look intentional, and they hold a crowd.
Add cushions and you've got a spot that feels like a real room, just without a ceiling.
Sizing The Pit And The Circle
A fire pit that's too small feels cramped, and one that's too big pushes everyone so far back they stop talking. Aim for a fire ring about 36 to 44 inches across. Then leave roughly 30 inches of bench depth per person so elbows aren't fighting for armrest space.
A 10 to 12 foot diameter overall circle seats six to eight comfortably.
Built-in Seating That Lasts
Use the same material for the retaining wall and the bench for a clean look. Concrete block with a stone veneer holds up in every climate, while timber works if you're on a tighter budget. Cap the bench with a smooth, heat-tolerant surface like bluestone or poured concrete.
Leave a small gap at the back for drainage so water never pools against the wall.
Safety And Easy Upkeep
Check local rules before you dig, since some areas require a certain distance from fences, sheds, and property lines. Keep the fire at least 10 feet from anything flammable, and skip the sunken design if your yard floods. A removable grate and a bed of gravel under the pit make cleanup quick.
Cover the bowl when it rains and you'll avoid a soggy mess.
4. Dedicated Play Zone for Kids
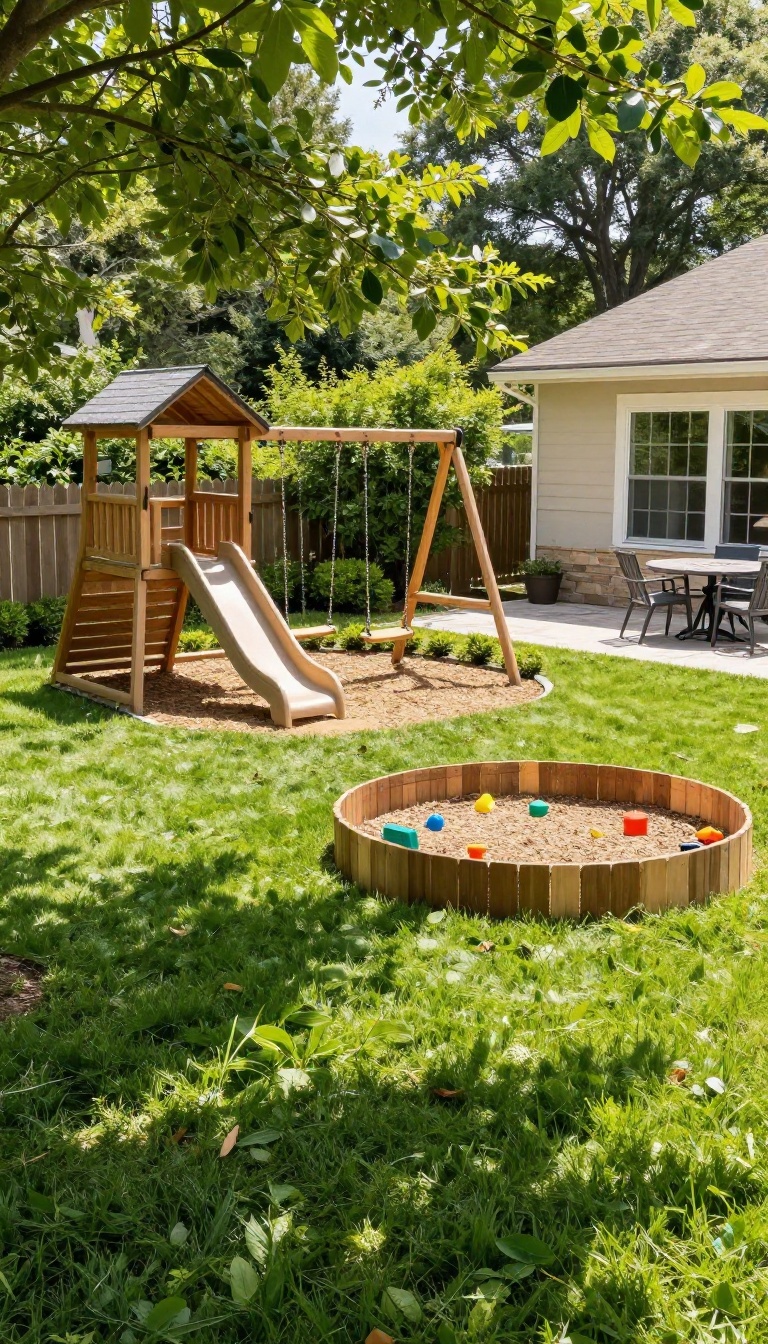
Give the kids a spot that's theirs, and suddenly the whole yard works better. A dedicated play zone keeps toys from migrating across the lawn and lets you keep an eye on things from the patio. It's one of the simplest ways to make your backyard more functional for everyone.
You don't need a commercial-grade playground. A swing set, a sandbox, or a climbing structure gives kids a clear home base. Pick a spot that's visible from the house and easy to supervise.
That way, you can cook or relax while they play.
Pick The Right Spot
Choose a level area with good sightlines from your kitchen window or patio. Avoid low spots that stay soggy after rain. A little shade in the afternoon keeps the equipment from getting too hot.
Contain The Chaos
Use borders like low fencing, landscape timbers, or even a ring of shrubs to define the play area. This keeps balls and toys from taking over the whole yard. It also gives kids a clear boundary to respect.
Safety And Surfaces
Install shock-absorbing surfacing under swings and climbing frames. Rubber mulch, wood chips, or engineered wood fiber work well. Check equipment regularly for loose bolts or sharp edges.
5. Adult Retreat with Spa or Plunge Pool
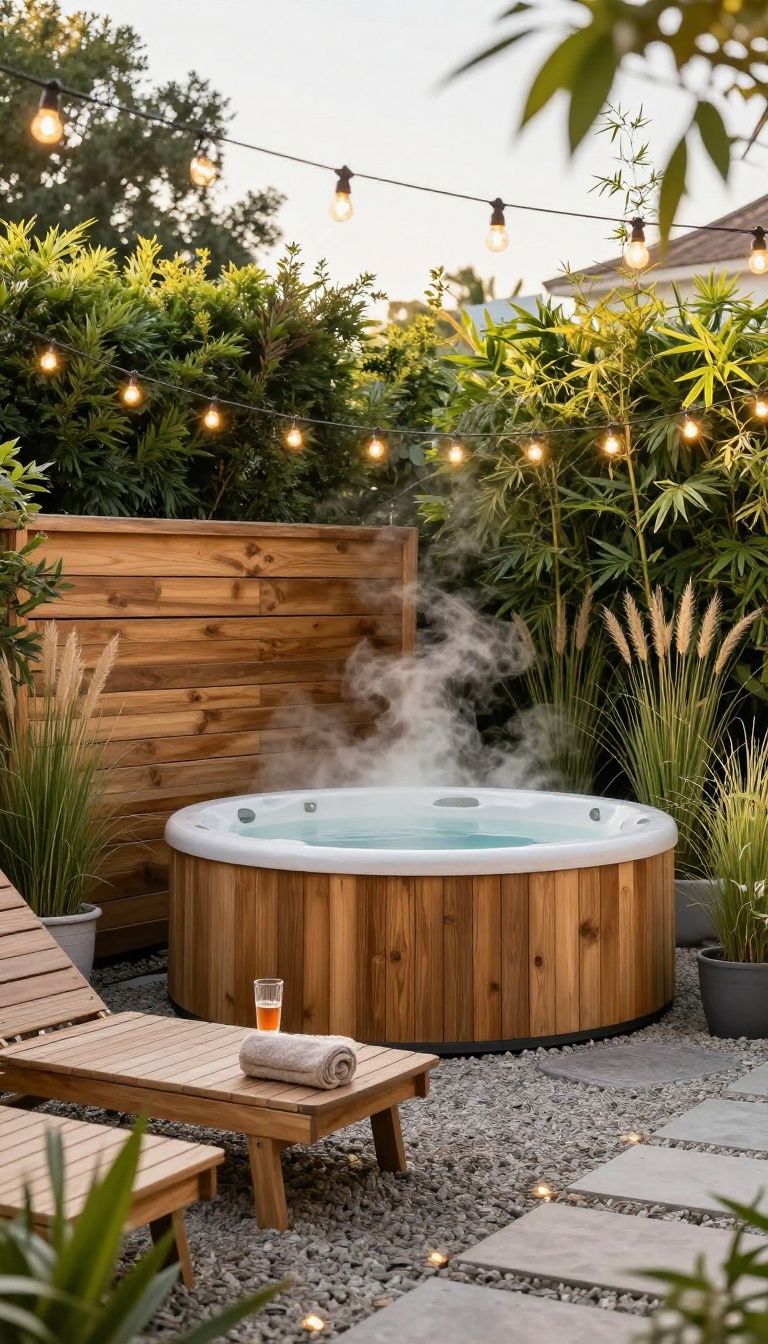
Adults need a corner of the yard that doesn't revolve around anyone else. A hot tub, cold plunge, or even a pair of good loungers gives you that. Tuck it away from the main hangout zones, and it becomes a genuine escape without leaving home.
The trick is separation. You want this zone to feel like a destination, not an afterthought next to the grill. A short screen, a change in level, or a simple hedge does the job.
Once it's tucked back there, the whole yard feels bigger because each area has its own purpose.
Pick Your Water Feature
Hot tubs win for year-round use in most climates, especially if you live somewhere with real winters. Cold plunges are having a moment for recovery and quick morning jolts. If both sound good, a combo spa with a chiller gives you hot and cold in one footprint.
Just check your electrical panel before you fall in love with a model.
Set The Mood With Screening And Light
Privacy makes or breaks this zone. A row of tall grasses, a slatted wood screen, or even a few potted bamboos blocks sightlines without walling you in. String lights on a dimmer and a couple of low path lights keep it cozy after dark.
Skip the floodlights here.
Add A Dry Landing Spot
You need somewhere to set a drink, a towel, or your phone that isn't the edge of the tub. A small side table, a built-in ledge, or a pair of weatherproof loungers solves it. A little deck or gravel pad keeps feet clean and gives the whole setup a finished look.
6. Vegetable and Herb Garden Beds
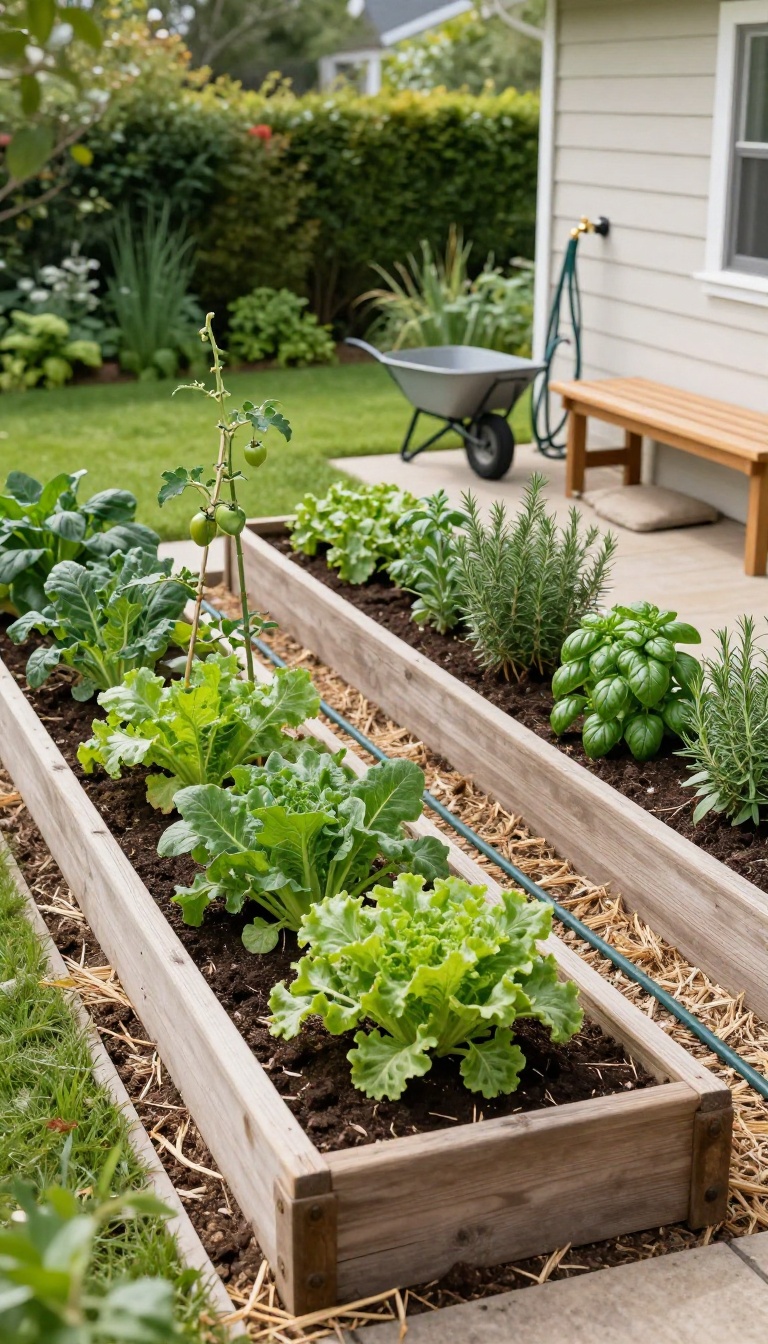
A vegetable and herb garden bed turns a sunny corner of your yard into a working food zone. You get fresh ingredients steps from the kitchen, plus a reason to be outside every day. Raised beds or in-ground rows both work, as long as you place them for easy watering and harvesting.
The best spot gets at least six hours of sun and sits close to a water source. You'll water more often than you think, so a hose bib nearby saves you from hauling cans. Keep the bed near the kitchen door too, because you'll harvest more when it's a short walk.
Raised Beds Vs. In-ground Rows
Raised beds give you control over soil quality and drainage, which helps in yards with clay or compacted ground. They also warm up faster in spring and are easier on your back. In-ground rows cost less and work fine if your soil is already decent.
Pick based on your soil, budget, and how much you want to bend.
Layout For Easy Access
Keep beds narrow enough to reach the middle from either side, usually three to four feet wide. Leave paths wide enough for a wheelbarrow or a kneeling pad. If you plant herbs, put them closest to the door since you'll snip them often.
Group thirsty crops together so you can water one area instead of five.
Watering And Maintenance
Drip irrigation or soaker hoses save time and put water at the roots instead of on the leaves. A simple timer takes it off your daily to-do list. Mulch cuts down on weeds and keeps moisture in.
Check plants every few days for pests, and harvest regularly to keep production going.
7. Native Pollinator Garden
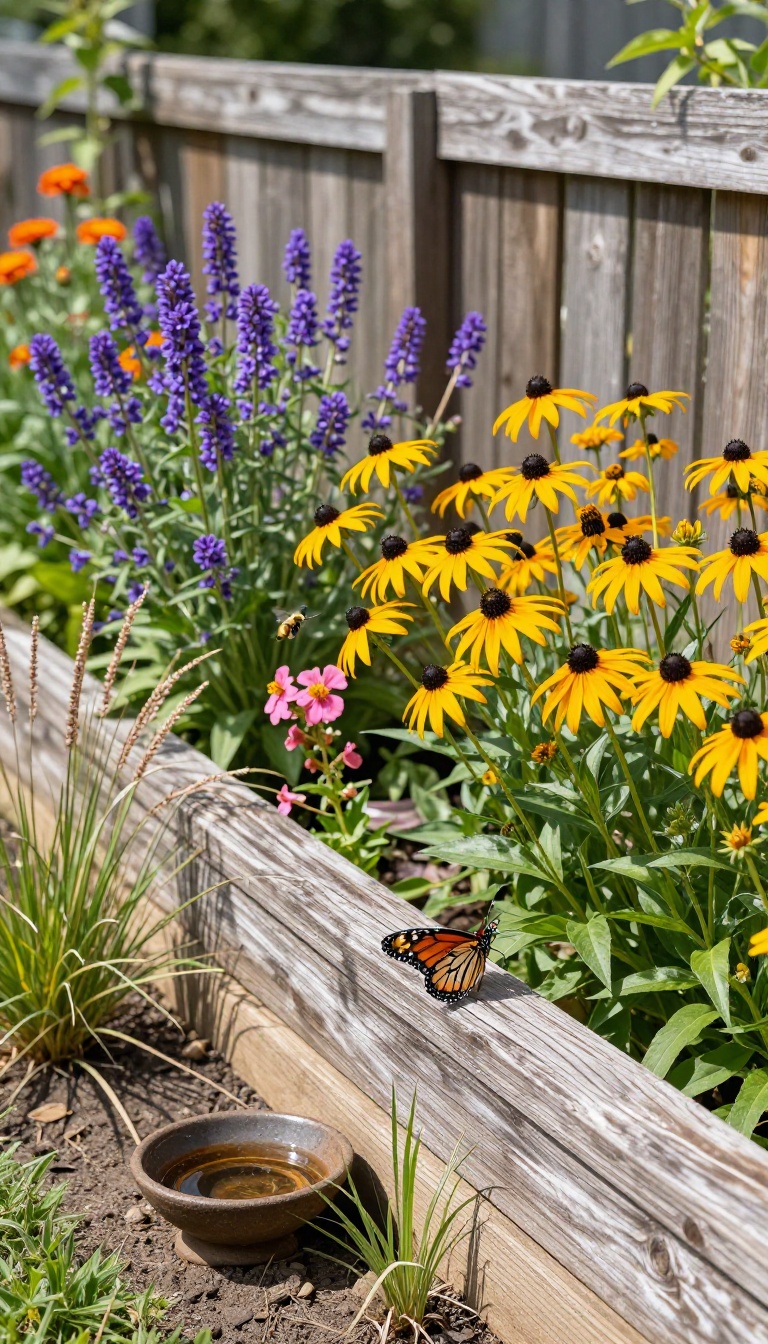
A native pollinator garden pulls its weight in more ways than one. It feeds bees, butterflies, and other beneficial insects while giving your yard color and texture that shifts with the seasons. Once it's established, it mostly takes care of itself, which is a nice change from the usual lawn-and-mow routine.
You don't need a meadow to make this work. A bed along a fence, a strip beside the driveway, or a corner you never figured out what to do with can all become a pollinator patch. The trick is picking plants that already belong in your region, because they've evolved to handle your weather, soil, and local bugs without babying.
Pick Plants That Belong
Native plants are the backbone of this idea. They need less water, fewer fertilizers, and almost no pest control once they settle in. Head to a local nursery or native plant sale and ask what thrives in your area.
Good starter picks often include coneflower, black-eyed Susan, milkweed, bee balm, and native grasses like little bluestem. Mix in a few early bloomers and some late-season flowers so something is always open for business.
Lay It Out For Impact
Plant in drifts or clusters rather than one-of-everything scattered around. Groups of three to five of the same plant read better from the house and give pollinators an easier target. Put taller species toward the back or center and shorter ones up front.
Leave a little bare ground or a small water dish nearby, since some native bees nest in soil and butterflies like a place to sip.
Keep It Low-maintenance
The first season is the fussy one. Water regularly until roots take hold, then back off. Skip the fall cleanup and leave stems and seed heads standing through winter.
They feed birds and give insects a place to overwinter. Come spring, cut back only what's truly dead. A light layer of mulch between plants keeps weeds down without smothering the soil.
8. Sports Court or Lawn Game Area
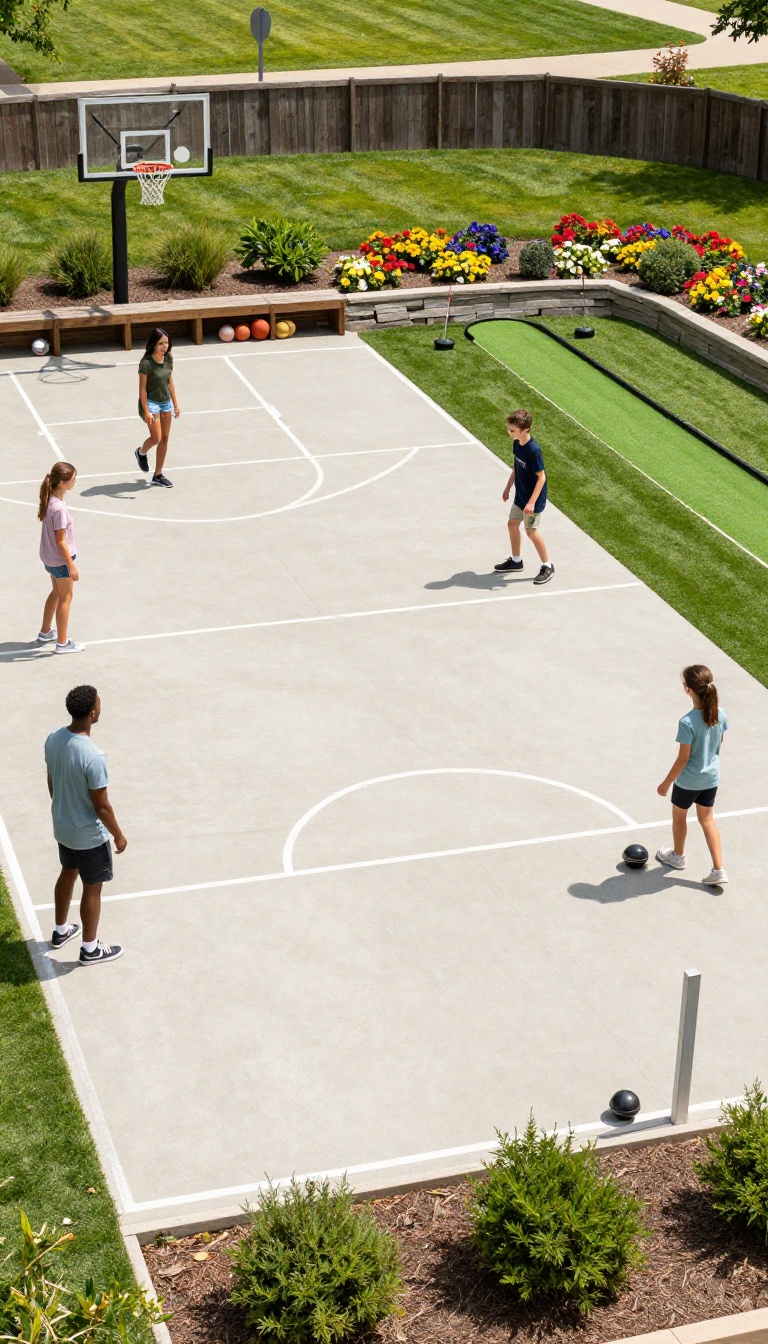
A flat, dedicated patch for sports keeps balls from rolling into your flower beds and gives kids a reason to get off the couch. You don't need a full basketball court to make it work. A half-court, a bocce lane, or even a small putting green can turn a forgotten corner into the busiest spot in the yard.
The key is level ground and a surface that can handle foot traffic. If your yard slopes, you'll need to grade it or build a low retaining wall. For basketball, a concrete pad works best, but you can also use interlocking tiles or poured rubber.
For lawn games like cornhole or bocce, a patch of well-drained turf or packed gravel is enough. A putting green needs a smooth, firm base and a quality artificial turf. Pick one primary activity and build around it, then add secondary games that use the same space.
Pick Your Surface
Concrete is durable but hard on joints. Rubber tiles are softer and come in colors. Artificial turf works for multi-sport use and stays green.
Gravel or crushed stone is cheap and great for bocce. Match the surface to the game and your budget.
Size And Layout
A half-court basketball pad needs about 30 by 30 feet. Bocce wants a lane roughly 60 feet long by 12 feet wide. Cornhole needs a clear area about 10 by 30 feet.
A putting green can be as small as 10 by 15 feet. Measure your space and mark it with string before you dig.
Add Boundaries And Storage
Low walls, landscape timbers, or netting keep balls in play. A simple bench or storage box holds balls, rackets, and shoes. If noise is a concern, plant shrubs along the edge to buffer sound.
9. Shaded Reading Nook
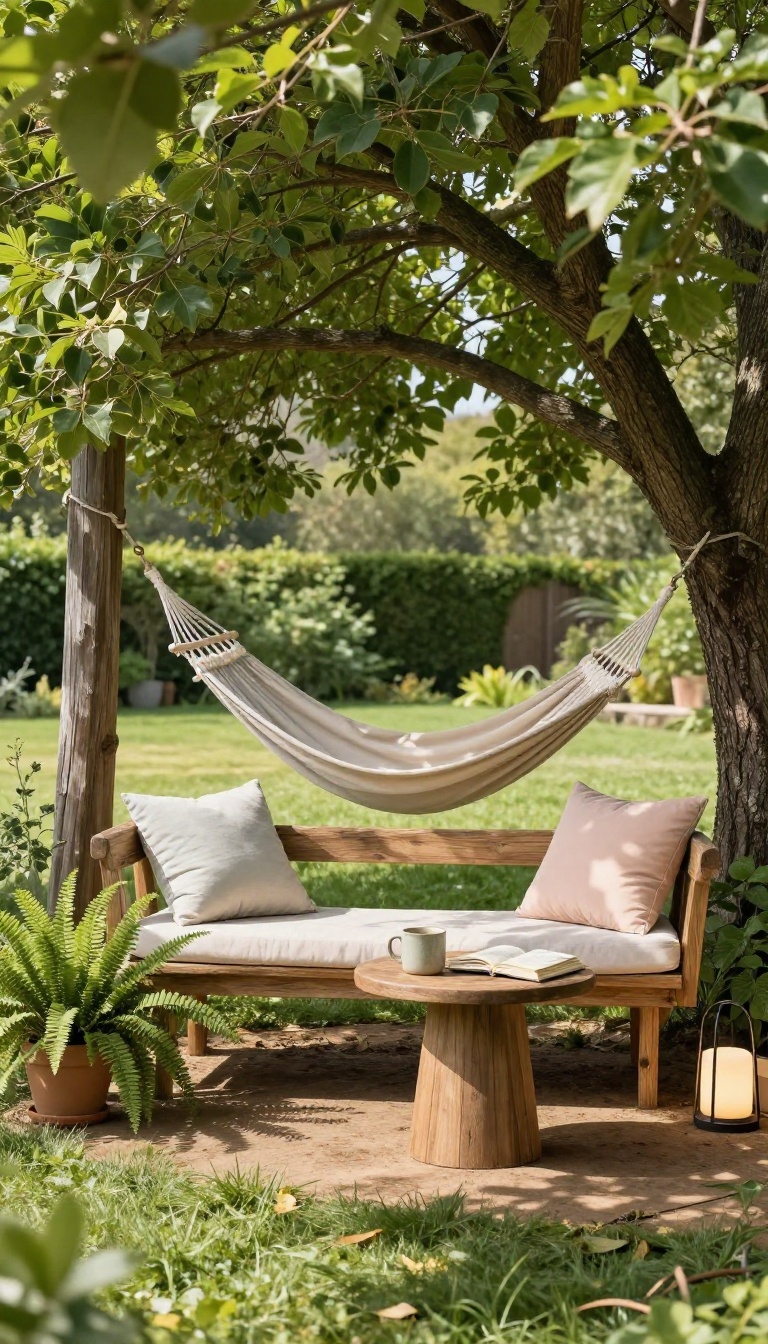
A shaded reading nook gives you a reason to step outside without a project or a plan. It's just a quiet pocket where you can sit, read a few pages, or close your eyes for twenty minutes. The shade does the heavy lifting, keeping the spot cool and comfortable even on hot afternoons.
You don't need a big tree or a fancy pergola to make this work. A hammock strung between two posts, a bench tucked under a branch, or a swing hanging from a sturdy limb all do the job. The key is picking a spot that already gets dappled light or afternoon shade, so you're not fighting the sun.
If your yard is mostly open, a sail shade or a simple umbrella can create the same effect. Anchor it where you want to lounge, and you've got an instant retreat. Add a small side table for your drink and a book, and the nook is ready.
Pick The Right Spot
Look for a corner that gets shade for most of the day, ideally from a tree or your house. Morning sun is fine, but you want relief in the afternoon. If you have a spot with a breeze, even better.
Choose Your Seating
Hammocks are great if you want to sway and nap. A bench or swing works if you prefer sitting upright with a book. Whatever you pick, make sure it's comfortable for at least thirty minutes of lounging.
Add Shade If Needed
No natural shade? A triangle sail shade or a cantilever umbrella can fix that. Mount it high enough that you can walk under it, and angle it to block the hottest part of the day.
Keep It Simple
A small table for your coffee or a book, and maybe a lantern for evenings. That's it. The point is to unplug, not to decorate.
10. Outdoor Movie and Entertainment Zone
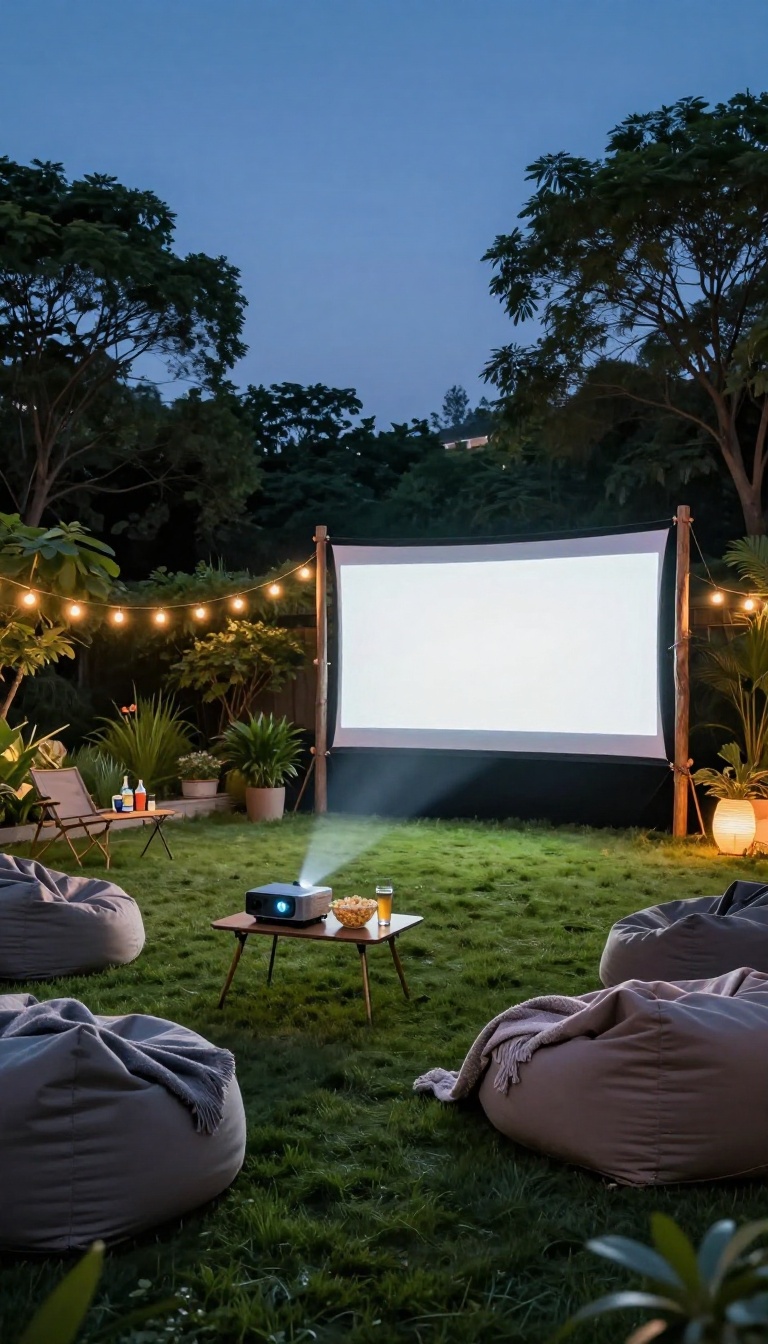
A blank stretch of lawn or a plain patio wall can pull double duty as a neighborhood theater once the sun drops. An outdoor movie and entertainment zone gives you a reason to stay outside after dinner, whether you're hosting a crowd or just watching a game with a couple of friends. The setup is simpler than it sounds, and you can scale it from a bedsheet screen to a permanent projection wall.
The trick is treating the zone like a mini venue: one focal point, comfortable seating, and a way to control light and sound. You don't need stadium gear. A decent projector, a flat surface, and a few smart accessories turn an ordinary yard into the spot everyone wants to hang out in on a Friday night.
Start with the screen and work outward from there.
Pick Your Screen And Projector
For a casual setup, a white bedsheet pulled tight between two posts works fine. If you want a sharper image, an inflatable movie screen or a roll-down outdoor projector screen gives you a wrinkle-free surface that stores easily. Projector brightness matters more than resolution outdoors, so look for at least 3, 000 lumens if you'll start before full dark.
A Bluetooth speaker or a soundbar keeps the audio from getting swallowed by open air.
Set Up Seating That People Actually Use
Beanbags, low camp chairs, and a few weatherproof blankets on the grass beat stiff patio furniture for movie watching. Arrange seats in a loose arc so everyone has a clear line to the screen. Keep a small side table or two within reach for drinks and snacks, and leave a walking path behind the seating so latecomers aren't climbing over laps.
Control Light And Power
String lights on a dimmer let you set a mood without washing out the picture. Skip the bug zapper glow and aim any pathway lights away from the screen. For power, run an outdoor-rated extension cord from a GFCI outlet, or use a portable power station if your yard is far from the house.
Test the whole setup once in daylight so you're not fumbling with cables in the dark.
Make It Work For Game Day And Concerts
The same screen handles playoff games, backyard concerts, and video game tournaments. Add a small riser or a low platform for a laptop or console, and keep a cooler nearby so you're not running inside every inning. A pop-up canopy over the seating area keeps light rain and heavy dew from ending the night early.
11. Pet-Friendly Run and Dig Area
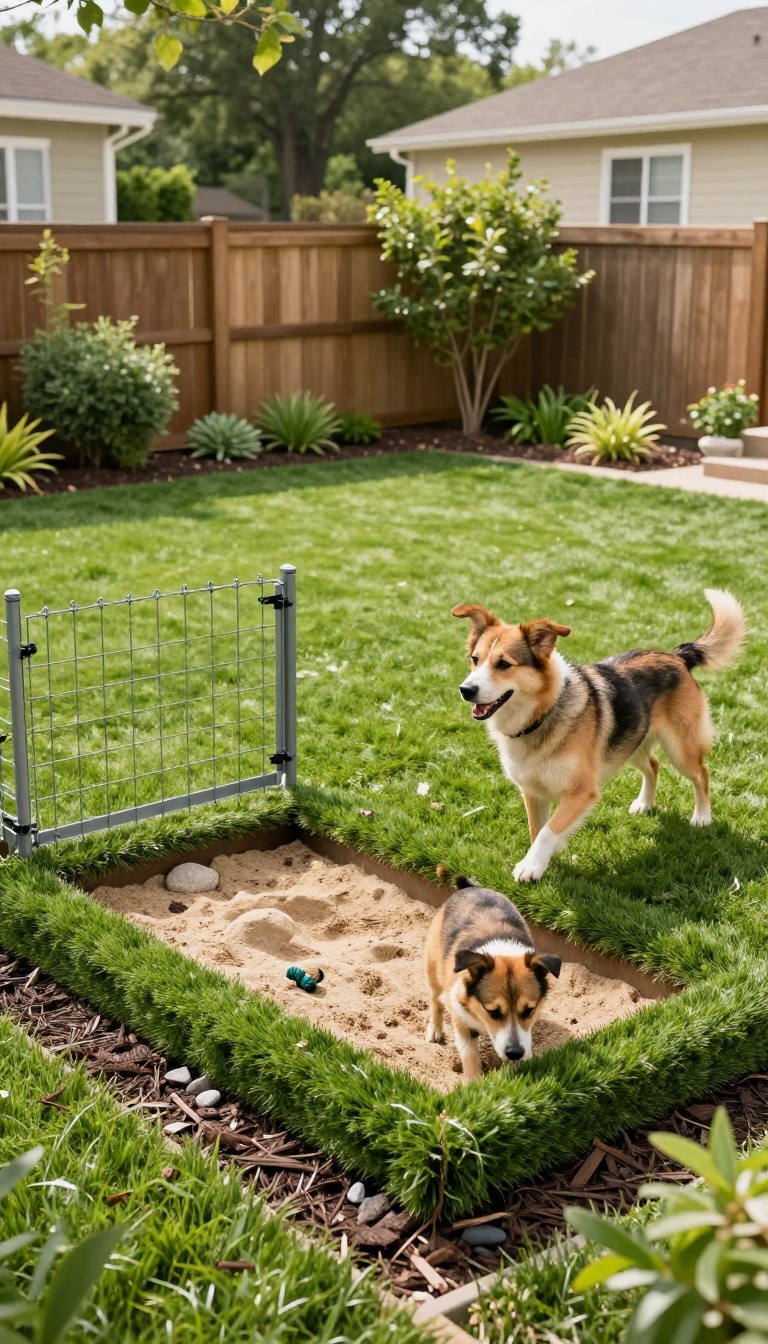
Dogs and nice lawns rarely stay friends for long. A dedicated run and dig zone gives them a place to sprint, scratch, and sniff without turning your whole yard into a mud pit. It's basically a dog park you own, minus the strangers and the questionable tennis balls.
The setup works for any size yard. Even a narrow side strip can become a legit dog zone if you pick the right surface and fence it off. Your grass gets a break, your dog gets a routine, and everyone stops arguing about the holes.
Pick A Surface That Survives Paws
Mulch and durable turf hold up best under constant traffic. Mulch drains well and stays cool, but it scatters, so top it off a couple times a year. Artificial turf costs more upfront and needs rinsing, yet it wipes clean and never turns to mud.
Skip gravel if your dog runs hard. It's rough on pads and a pain to rake. Whatever you choose, lay it over a base of packed crushed stone so digging doesn't tunnel straight into the soil.
Fence It Like You Mean It
A short decorative fence won't stop a determined digger. Go with welded wire or chain link at least four feet tall, buried a few inches below grade or lined with pavers at the bottom. That blocks the classic escape tunnel.
Add a gate you can latch one-handed while holding a leash. If the run sits against the house, use that wall as one side and fence the remaining three. Cheaper, faster, and it looks intentional.
Designate The Dig Pit
Dogs dig for reasons, so give them a sanctioned spot instead of fighting the behavior. Set aside a corner with loose sand or soft mulch and bury a toy or two to get them started. Praise them every time they use it.
Keep the pit away from fences and foundations. A cheap sandbox frame works fine as a border, and it keeps the mess contained when the digging gets serious.
Add Shade, Water, And Storage
A run with no shade is a hot plate in summer. A shade sail, a small tree, or an overhang off the garage keeps the zone usable in July. Add a tipped water bowl or a pet fountain so nobody has to beg at the back door.
A weatherproof bin near the gate holds bags, a rake, and a spare leash. Hose-down access matters too, so place the zone within reach of a spigot. Cleanup takes two minutes instead of twenty.
12. Zen Meditation or Yoga Corner
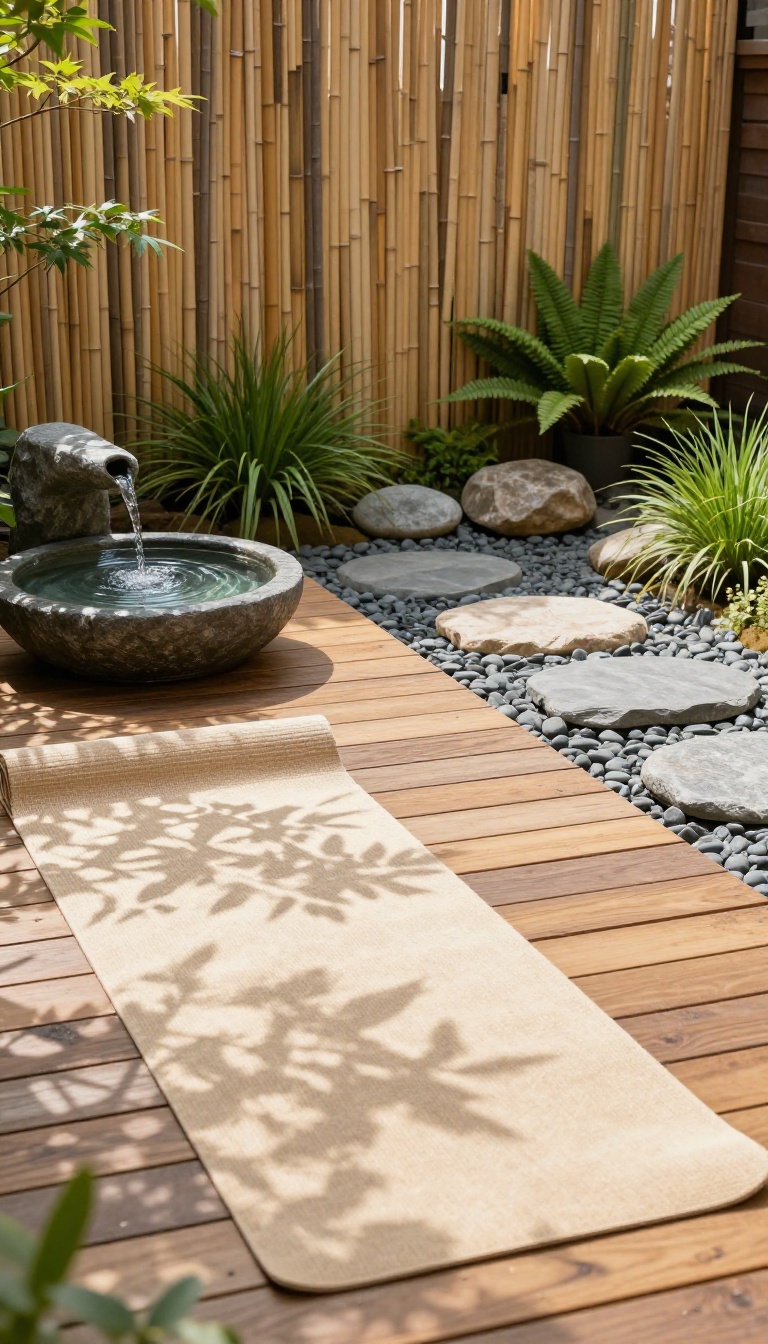
A Zen corner gives you a dedicated spot to breathe, stretch, and reset without leaving home. It doesn't need much room—just a quiet patch where the lawn mower and the hustle stay out of sight. The goal is simple: a calm, comfortable surface with a few sensory cues that tell your brain it's time to slow down.
Pick a corner that gets soft morning light and stays shaded by mid-day. Morning sun warms the space without baking you, and dappled shade keeps afternoon sessions comfortable. If your yard is small, even a 6-by-6-foot patch works.
Just make sure it's away from the grill, the dog run, and the main traffic path. A stable, level surface matters more than fancy materials. You can use a small wooden deck, a poured concrete pad, or compacted gravel with a few flat stepping stones.
Whatever you choose, it should feel solid underfoot and drain well after rain. Add a simple border—low grasses, river rocks, or a short bamboo screen—to define the zone without walls. Water and wind are your best allies for instant calm.
A tiny fountain, a bubbling urn, or even a small birdbath with a solar bubbler adds gentle sound that masks traffic noise. Wind chimes work too, but hang them where they catch a light breeze, not a constant gust. The sound should be occasional, not constant.
Build The Base
Start with a level surface that feels good under bare feet. A 4-inch base of compacted gravel topped with sand works for a gravel pad, or use interlocking foam tiles over concrete for a softer feel. If you go with wood, choose rot-resistant decking like cedar or composite.
Keep the edges clean so you don't trip while moving through a flow.
Add Sensory Anchors
One water feature and one wind element are plenty. A small recirculating fountain gives you the sound of water without a plumbing hookup—just plug it in and top it off weekly. For wind, try a single set of chimes or a soft fabric flag.
Avoid anything that clangs or rattles loudly. A few fragrant plants like lavender or mint near the edge add a subtle scent cue.
Keep It Ready To Use
Store a rolled-up mat, a cushion, or a folded blanket in a weatherproof bench or deck box right next to the space. That way you can step out and start in under a minute. A small side table holds a candle, a timer, or a glass of water.
If you practice yoga, leave a dedicated mat rolled up nearby so you never skip a session because you had to hunt for gear.
13. Potting Shed and Garden Workspace
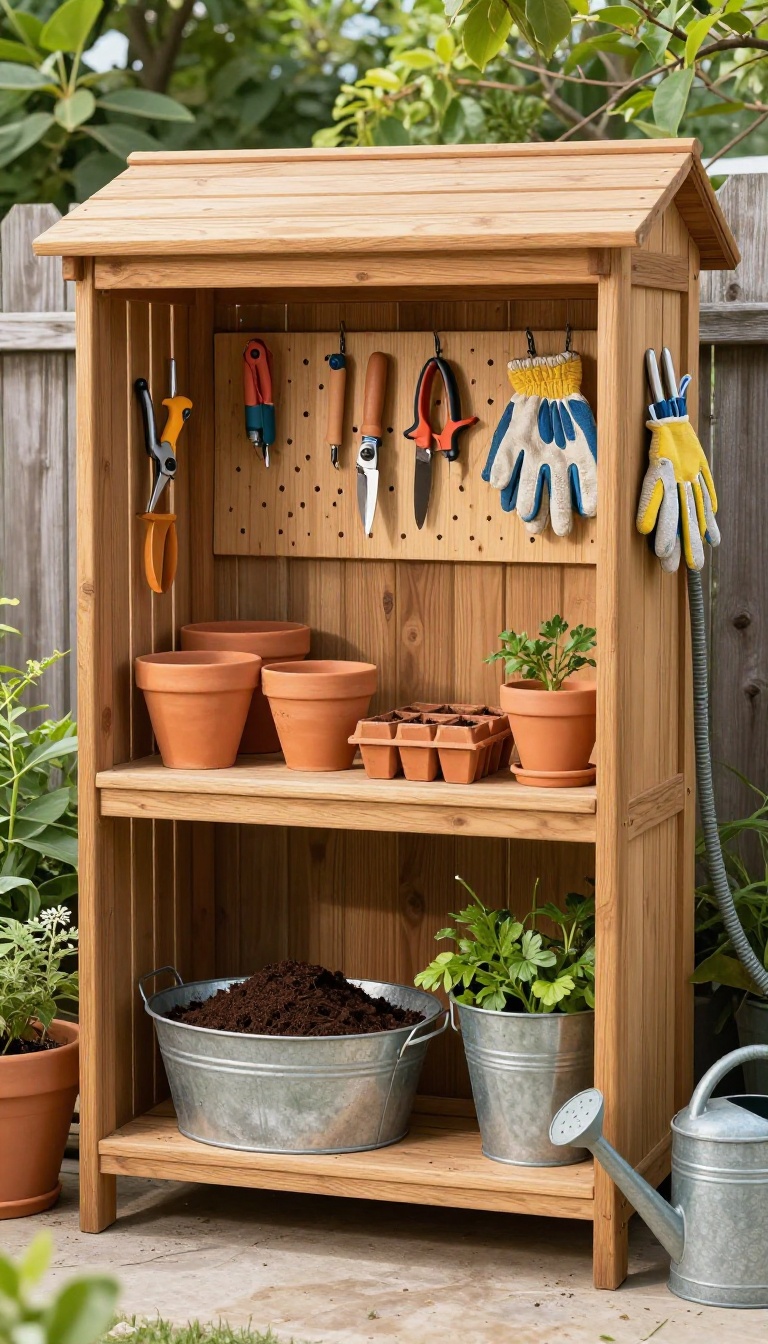
A potting shed gives every garden task a home base, so you stop dragging tools across the yard. Even a small bench and shelf setup can keep soil, pots, and pruners within arm's reach. The goal is a dedicated workspace that makes planting days easier and cleanup faster.
You don't need a full building to get the benefits. A covered bench against a fence or a corner of the garage works just as well. The key is creating a spot where mess is allowed and organization is built in.
Choose A Spot That Works
Put the workspace where you already garden most. A shaded side yard or the back of a garage keeps you out of harsh sun. Make sure there's room to stand, turn, and set down a tray without tripping.
Set Up The Basics
A sturdy bench at waist height saves your back. Add a shelf above for pots and a bin below for soil. Hang tools on a pegboard or hooks so they dry and stay visible.
Keep It Functional
Store seeds in a sealed box to keep them dry. Use a small bucket for weeds and trimmings so you can dump them later. A water source nearby, like a hose bib or rain barrel, makes cleanup quick.
14. Transitional Pathways and Lighting
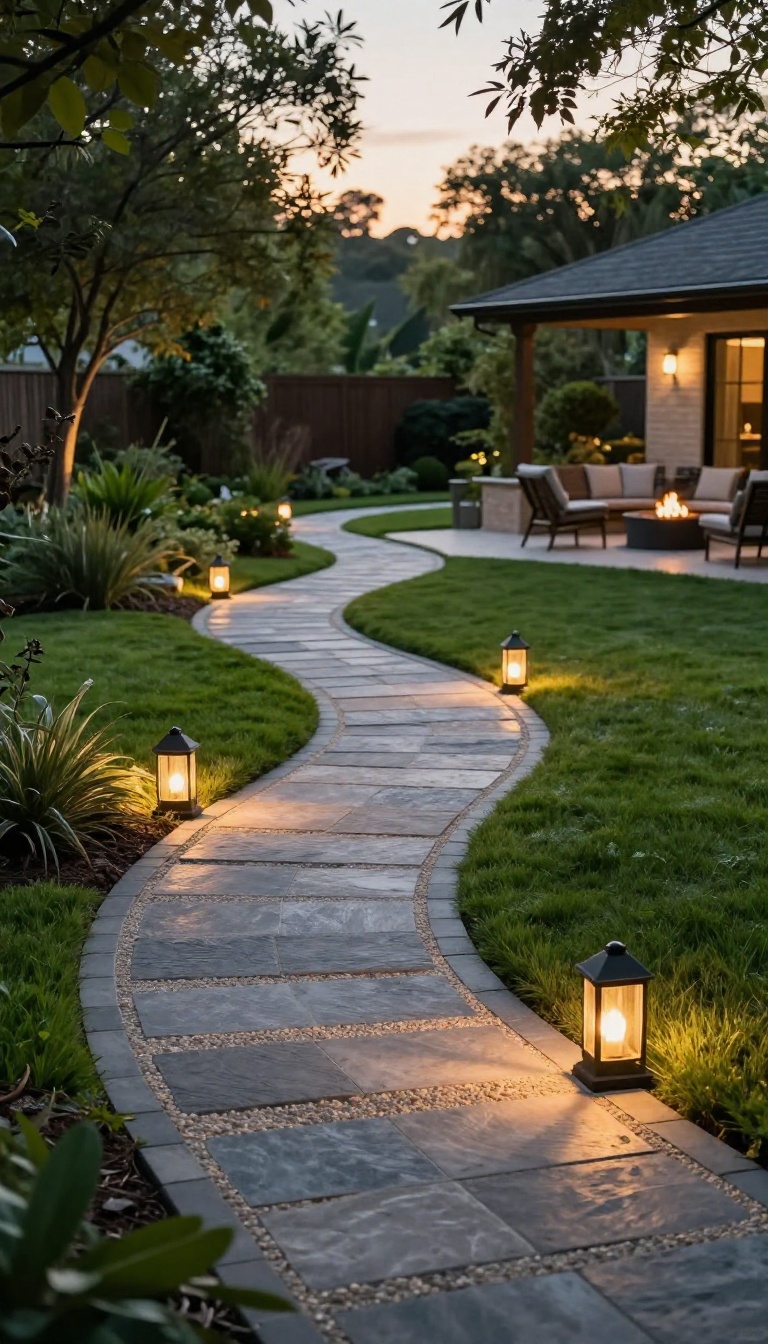
You can build the best outdoor zones on the block, but if people can't figure out how to move between them, the whole layout falls apart. Pathways and lighting are the connective tissue that turns a bunch of separate projects into one cohesive yard. Get them right, and your space feels intentional, safe, and inviting long after the sun goes down.
Start by mapping how you actually walk through your yard. Watch where people cut across the grass, where they hesitate, and where they trip. Those worn routes tell you exactly where paths belong.
Then layer in lighting that guides footsteps without turning your backyard into a runway.
Choose Path Materials That Fit Your Climate
Gravel is cheap and drains well, but it migrates into lawns and gets noisy underfoot. Flagstone looks timeless and handles freeze-thaw cycles, though it costs more and needs a stable base. In wet climates, consider permeable pavers or crushed shell that won't turn into a mud pit after a storm.
Whatever you pick, make the path at least three feet wide so two people can pass without stepping off.
Add Steps Where The Ground Changes
Even a six-inch drop can feel like a cliff in the dark. Wide, shallow steps with a slight tread overhang handle small grade changes and look better than a ramp. Set them into the slope with gravel or paver treads, and keep the rise consistent so nobody stumbles.
If you have a big drop, break it into two or three gentle flights instead of one steep run.
Layer Light For Safety And Mood
One floodlight on the back wall is harsh and casts weird shadows. Instead, mix three layers: low path lights every six to eight feet, step lights tucked into risers, and a few uplights aimed at trees or walls for ambiance. Warm bulbs around 2700K feel cozy, while cooler temps read as security lighting.
Put everything on a timer or smart plug so you're not fumbling for switches.
Keep Pathways And Lighting Low-maintenance
Paths lined with plants look great until weeds take over the joints. A quick pass with a string trimmer every few weeks keeps gravel and pavers tidy. For lighting, choose LED fixtures that last years and seal well against moisture.
Solar stake lights are fine for accents, but they dim fast in cloudy stretches, so use them as supplements, not your main source.
15. Multi-Use Lawn and Flexible Open Space
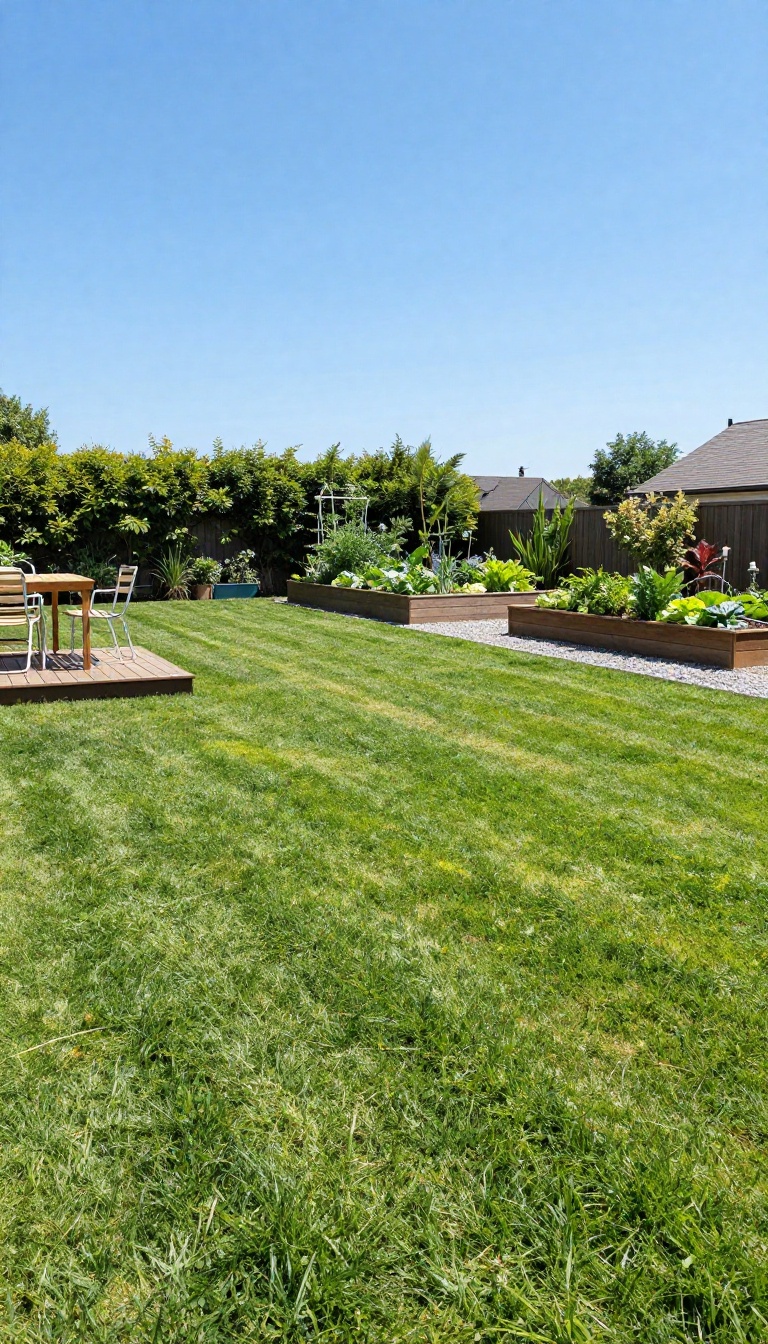
It's tempting to fill every square foot of your backyard with something permanent. But leaving a stretch of open lawn gives you room to adapt as life changes. That patch of grass can host a pickup game, extra seating, or a future project you haven't dreamed up yet.
A flexible lawn area keeps your yard from feeling overbuilt. It's the breathing room that makes the rest of your zones work better. You get a blank canvas for whatever comes next, without tearing anything out.
Why You Need A Blank Canvas
A patch of open grass is the Swiss Army knife of backyard design. It can be a play area for kids, a yoga spot for you, or a temporary dance floor for parties. When you don't lock every inch into a single purpose, you stay ready for anything.
How To Keep It Flexible
Avoid permanent structures like heavy planters or fixed benches in this zone. Instead, use lightweight, movable furniture that you can shift or store away. Keep the lawn healthy with regular mowing and watering so it stays usable year-round.
When To Use It (and When To Let It Rest)
This space shines during gatherings, outdoor workouts, or when you need overflow seating. But don't feel pressured to use it constantly. Sometimes the best use is letting it rest and recover, especially after heavy foot traffic or bad weather.
FAQ
How do I decide which zones my backyard needs most?
Start by listing how you actually use the yard. If you cook outside often, prioritize an outdoor kitchen. If kids rule the roost, put the play zone first.
Build around your daily habits, not a magazine spread.
What's the best way to separate outdoor zones without walls?
Use changes in ground cover, low plantings, pergolas, or slight level changes to define areas. These soft borders keep the yard open while giving each zone its own feel.
How much does it cost to create functional backyard zones?
Costs vary widely. You can start with a few hundred dollars for a fire pit and seating, or spend tens of thousands on a full outdoor kitchen and pavilion. Phase the work over time to spread out the expense.
Do I need a permit for structures like pergolas or sheds?
Often yes, depending on your local rules and the structure's size. Check with your city or county before building anything permanent, especially if it involves electrical or plumbing work.
How do I keep a large backyard from feeling overwhelming?
Break it into smaller, manageable zones and tackle one at a time. Add pathways to connect them, and don't feel pressured to fill every square foot right away. Leave room for flexibility.
Conclusion
A big backyard works best when it's broken into purposeful zones that match how you actually live. You don't need to build everything at once. Start with the area you'll use most, then add others as time and budget allow.
With a little planning, your yard can shift from an empty expanse to a collection of spaces you genuinely enjoy. Pick one idea from this list and make it happen this season.