10 Cheap Dog Run Ideas Backyard Spaces Can Easily Handle
A good dog run doesn't have to cost a fortune. With a few cheap materials and a free weekend, you can turn an unused corner of your yard into a safe space your dog actually wants to hang out in.
Most of these setups rely on stuff you can grab at a hardware store or find secondhand. Gravel, pallets, wire panels, and shade cloth do most of the work, and none of it requires a contractor.
Pick the option that fits your space, your dog's size, and how much digging you're willing to do. Every idea here stays budget-friendly and backyard-friendly.
1. Gravel and Mulch Pad Run
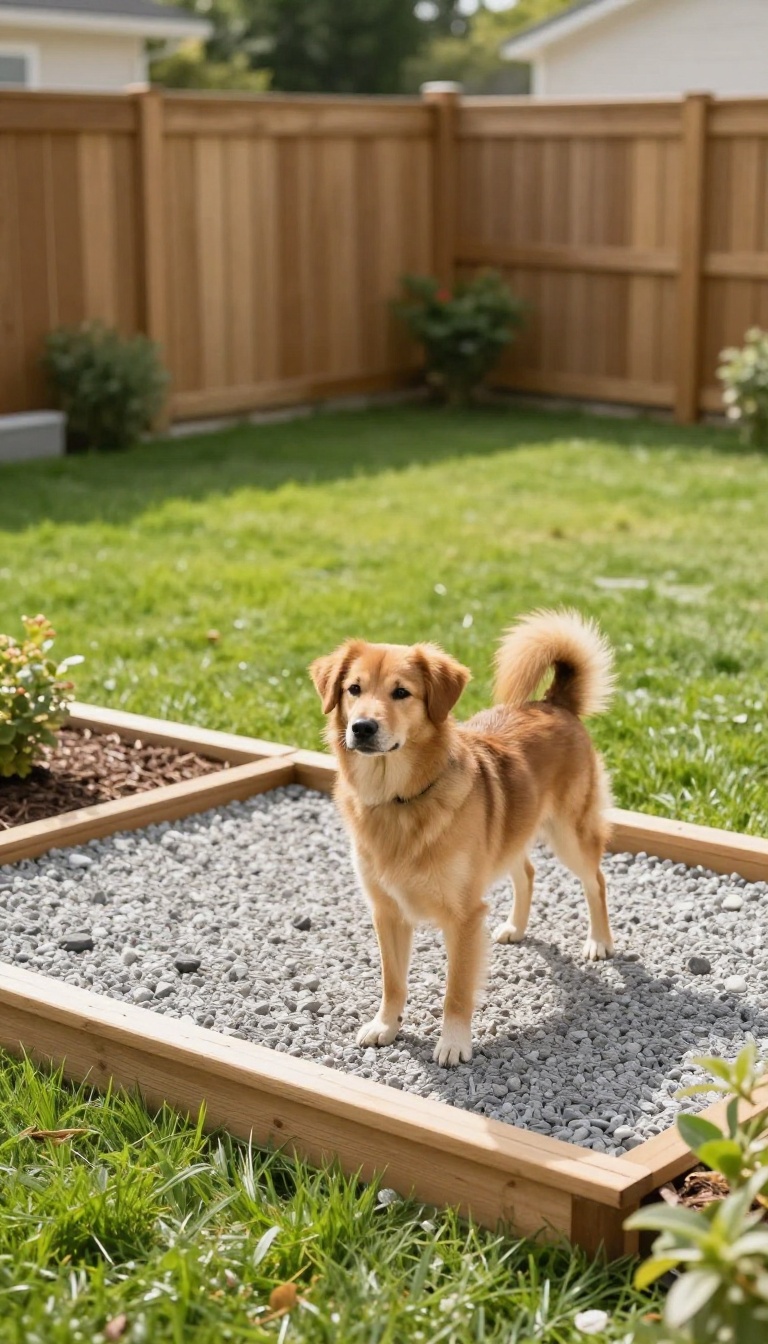
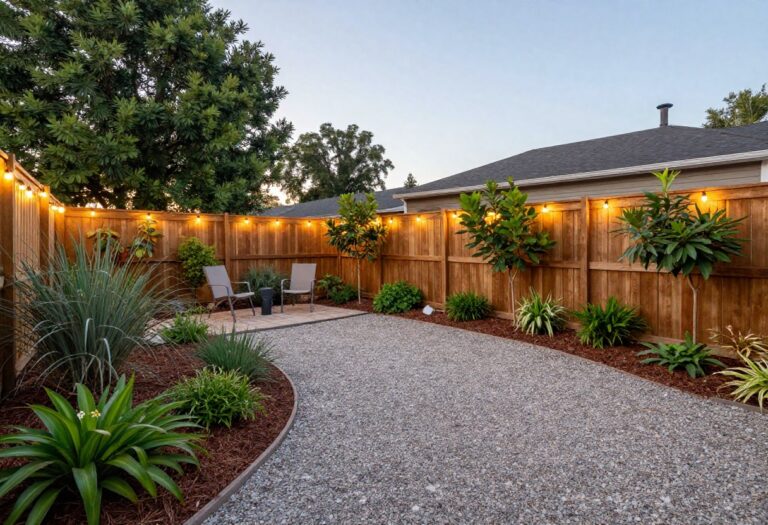
A gravel or mulch pad turns a muddy, patchy corner into a clean, usable dog run without much cash or effort. You're basically creating a defined surface that drains well and stands up to daily traffic. It's one of the simplest upgrades you can make, and it works in almost any backyard.
The concept is straightforward: pick a spot, clear it, and cover it with a material that lets water pass through instead of turning into a swamp. Gravel and mulch both do that job, and they're cheap by the bag or bulk. The key is to prep the ground so the pad stays level and doesn't sink after a few rains.
Choosing Your Material
Pea gravel is smooth and easy on paws, but it can scatter. Crushed stone locks together better and stays put, though it's rougher. Mulch is softer and cheaper, but it breaks down over time and needs topping off.
For a dog run, many people mix the two: a base of crushed stone for drainage, topped with a thinner layer of pea gravel or mulch for comfort.
Prepping The Ground
Start by removing grass, weeds, and any big rocks. Rake the area smooth and tamp it down. If the spot holds water, dig a shallow trench around the edge and fill it with gravel to help runoff.
A layer of landscape fabric under the pad keeps weeds from popping through and stops the gravel from sinking into the soil.
Laying The Pad
Spread your base material about two to three inches deep, then compact it with a hand tamper or a plate compactor if you have one. Add your top layer at another inch or two. Rake it even and you're done.
The whole job usually takes a few hours and costs less than a hundred bucks for a small run.
Keeping It Low-maintenance
Once it's down, maintenance is minimal. Rake it occasionally to level out spots your dog digs or runs on. Pick up waste daily, and hose it down if it gets smelly.
Every year or two, add a fresh layer of top material to keep it looking good. No mud, no fuss.
2. DIY Pallet Fence Enclosure
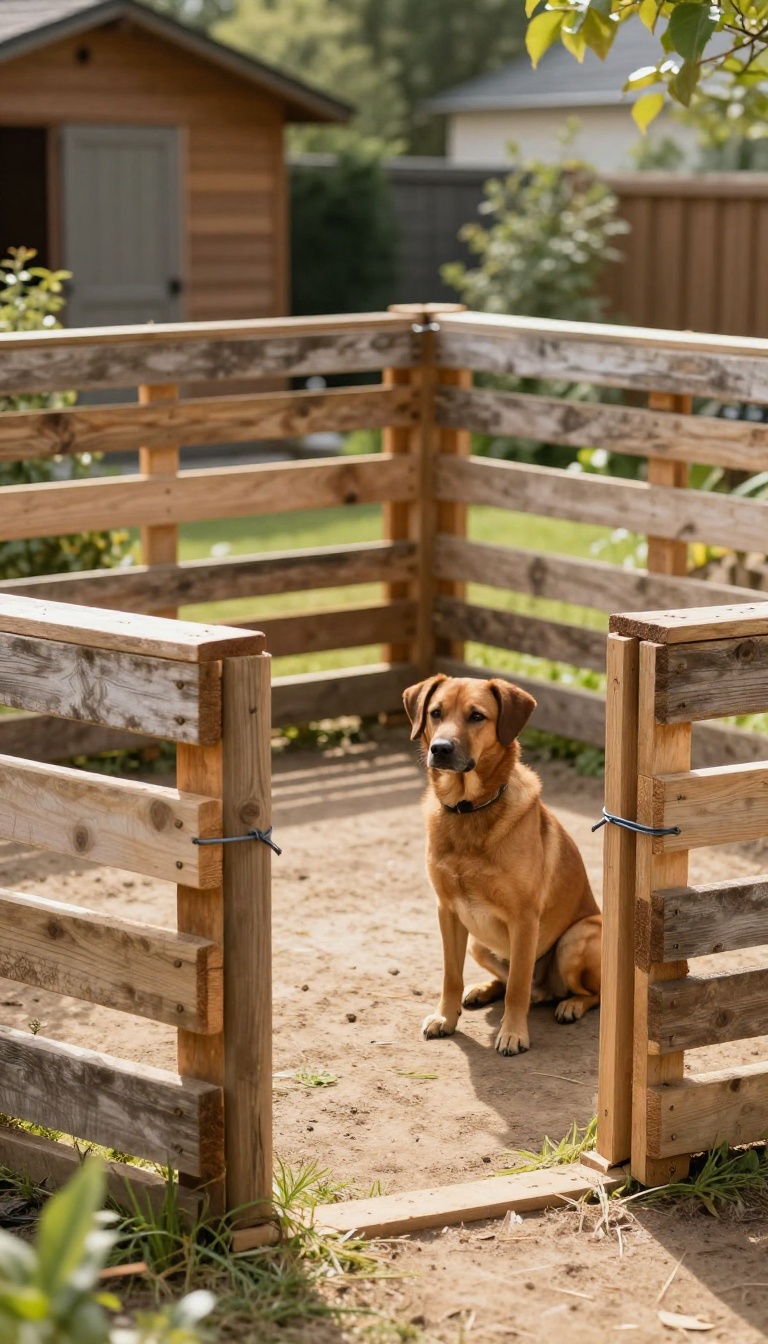
Pallets are the unsung heroes of budget backyard projects. You can often snag them for free from local businesses, and with a little muscle and a few basic tools, they transform into a sturdy fence in an afternoon. This setup works especially well for renters or anyone who needs a temporary run that won't break the bank or upset a landlord.
The idea is simple: stand pallets on their edges to form a perimeter, then secure them together. You'll get a rustic look that blends into most yards, and the slats provide good visibility so you can keep an eye on your dog. Plus, the gaps between slats let air flow through, which keeps the area cooler in summer.
Before you start, check with local businesses like garden centers or hardware stores. They usually have pallets stacked out back and are happy to give them away. Just make sure they're heat-treated (stamped with HT) rather than chemically treated, since some chemicals can be harmful to pets.
Once you've got your pallets, clear the area where you want the run. Level the ground as best you can, then arrange the pallets in a rectangle or square. Use heavy-duty zip ties or screws to connect them at the corners.
For extra stability, drive wooden stakes into the ground alongside the pallets and screw the pallets to the stakes. That way, even if your dog bumps into the fence, it won't topple over. If you want a gate, leave one pallet unattached on one side and add hinges and a latch.
Or simply leave a gap and block it with a piece of plywood when needed. The whole thing can be taken apart and moved if you rent, which is a huge plus.
Sourcing Pallets For Free
Start by calling around to locally owned shops, landscaping companies, or warehouses. Ask if they have any pallets they're looking to get rid of. Avoid pallets that are broken or have protruding nails, and always check for the HT stamp to ensure they're safe for pets.
Building A Sturdy Frame
Lay your pallets flat on the ground first to map out the shape. Then stand them up and connect them using 3-inch exterior screws or heavy zip ties. For corners, use metal L-brackets for extra strength.
If the ground is uneven, dig a shallow trench to set the pallets in, or add small blocks of wood under the low spots.
Making It Dog-safe
Sand down any rough edges and remove stray nails or staples. If your dog is a digger, line the bottom with chicken wire or bury the pallets a few inches into the ground. You can also attach a piece of lattice or wire mesh to the inside to prevent smaller dogs from squeezing through the slats.
3. Portable Exercise Pen Zone
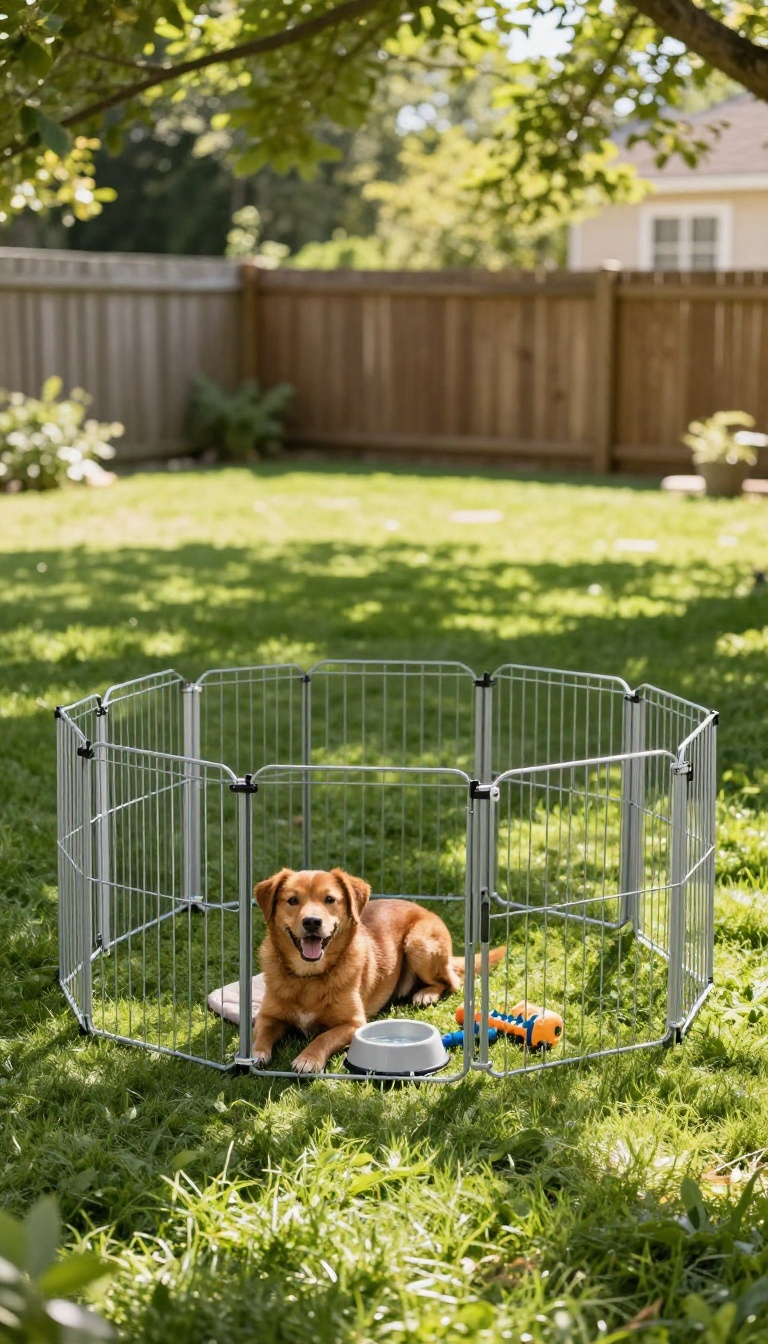
A foldable metal exercise pen gives you a dog run that moves wherever you need it. Set it up on grass, patio, or deck in under five minutes, and you've got a safe zone without digging a single post hole. Most pens cost between $40 and $100 depending on height and panel count, and they fold flat for storage or travel.
These pens are basically wire panels connected by hinges, so you can shape them into a square, rectangle, or even a hexagon around a tree. They work best for small to medium dogs, though taller panels handle bigger breeds fine. The key is picking a spot your dog already likes and making it feel like a destination, not a cage.
Pick The Right Spot
Flat ground is non-negotiable. A pen on a slope will wobble, and your dog will find the weak spot fast. Grass is ideal because it drains and feels natural, but a patio works too if you add a bed or shade.
Avoid placing it right against a fence where your dog can pace and bark at neighbors.
Size And Height Matter
For a small dog, a 24-inch-tall pen with eight panels gives plenty of room. Medium dogs need 30 to 36 inches, and strong jumpers do better with 42 inches or a top. If your dog is a climber, look for pens with a roof panel or add a mesh top yourself.
A pen that's too small turns into a boredom zone real quick.
Make It Comfortable
Drop in a water bowl that clips to the wire so it doesn't tip. Add a shaded corner with a tarp or a small doghouse, and put down a bed or a piece of artificial turf if the ground is hard. A few toys or a chew stick keep your dog busy and stop them from testing the panels.
Move It Around
The best part is you can shift the pen every few days to fresh grass. That keeps the lawn from turning into a mud pit and gives your dog new smells to explore. Just fold it up, move it, and stake it down again.
No tools, no fuss.
4. T-post and Wire Fence Run
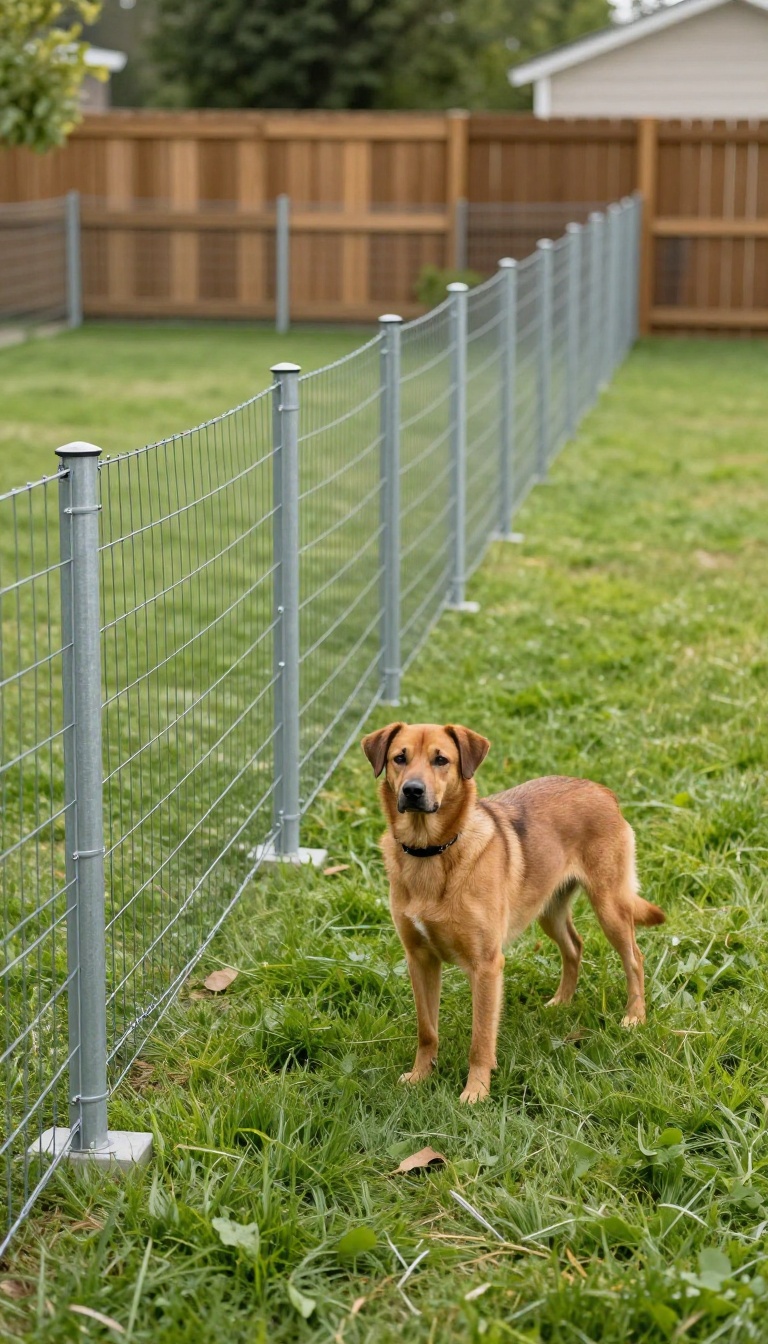
A T-post and wire fence run is about as straightforward as it gets. You drive metal posts into the ground and string welded wire between them, creating a secure boundary without a single bag of concrete. It works great for medium to large yards where you need a long, straight run that won't break the bank.
The whole setup is cheap, sturdy, and easy to adjust if you change your mind later.
This option shines when you want a dedicated dog run that follows a fence line or cuts across an open stretch of grass. T-posts are inexpensive, usually a few bucks each, and welded wire comes in rolls that cover plenty of ground. You can build a run that's 10 feet long or 50 feet long with the same basic approach.
The only tools you really need are a post driver, a pair of pliers, and maybe a hammer for the staples.
What You'll Need
Grab steel T-posts, a roll of welded wire, and some fence staples or zip ties. A post driver makes quick work of setting the posts, but a heavy mallet works in a pinch. If your ground is soft, you can skip the driver and push the posts in by hand, though they won't be as stable.
For a run that lasts, aim for posts every 6 to 8 feet.
Setting The Posts
Drive each T-post straight down until the spade is fully buried. Leave about 4 feet above ground for a secure fence height. If you hit a rock, move over a few inches and try again.
Once the posts are in, check that they're roughly level with each other. A slight lean won't hurt, but too much and the wire will sag.
Attaching The Wire
Unroll the welded wire along the posts and secure it with fence staples or heavy-duty zip ties. Pull it tight as you go so there's no slack at the bottom. Dogs can push under loose wire, so keep the bottom edge snug against the ground.
If you have a digger, bury the bottom few inches or lay a line of pavers along the base.
Making It Dog-proof
A wire run is only as good as its weak points. Add a top rail or a strand of tension wire along the top to keep the fence from bowing. For jumpers, you can extend the height with another roll of wire or angle the top section inward.
And always double-check the gate area, since that's where most escapes happen.
5. Shade Sail and Kiddie Pool Combo
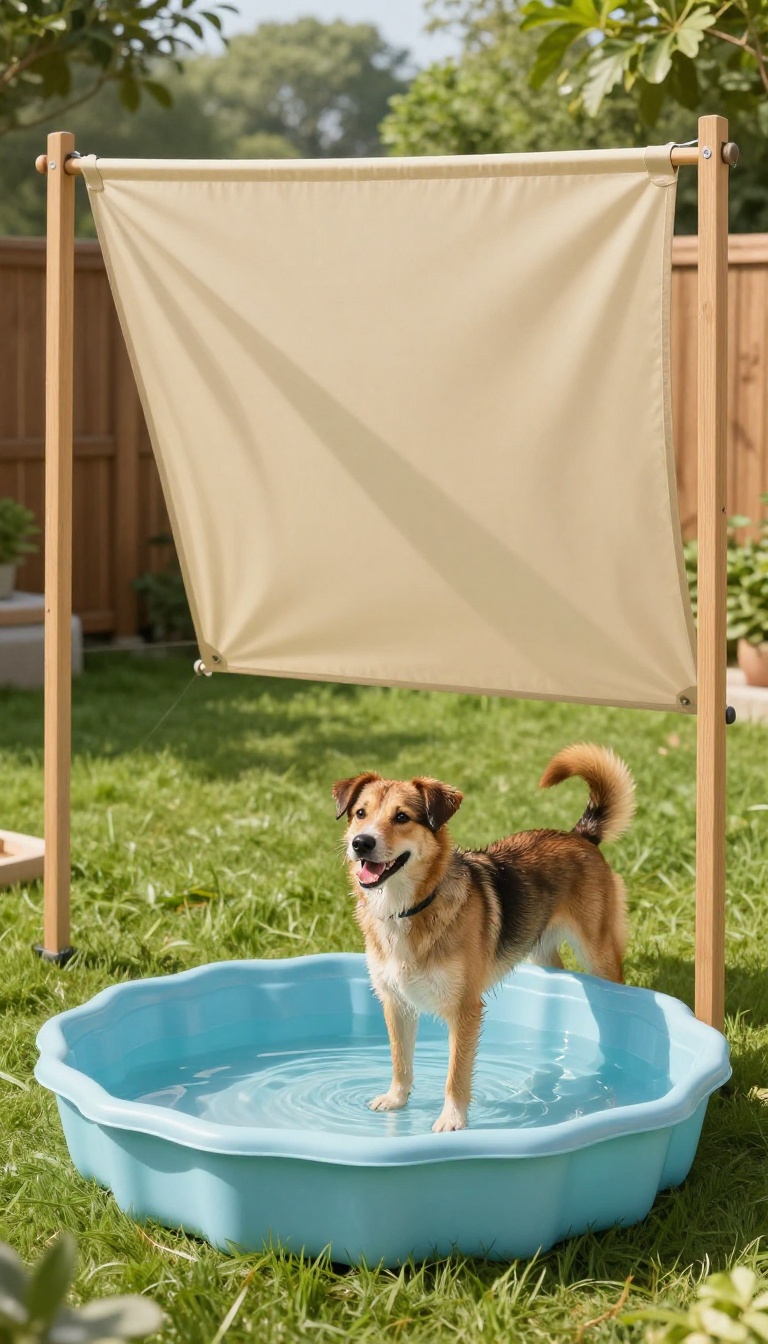
Heat is the quiet deal-breaker in a backyard dog run. A patch of bare grass in full sun turns into a baking pan by early afternoon, and most dogs will just stop using the space. A shade sail overhead and a plastic kiddie pool on the ground fix that for well under a hundred bucks.
The shade sail does the heavy lifting. It blocks a big chunk of direct sun without turning the run into a dark cave, and it lets air move through so the spot stays breezy instead of stuffy. The pool gives your dog an actual way to cool off, not just a cooler place to lie down.
Together they turn a hot, ignored corner into the spot your dog picks on purpose.
Hanging The Shade Sail
You don't need a fancy kit. A basic triangle or square sail, a few turnbuckles, and two or three anchor points get the job done. Use existing fence posts if they're solid, or sink a pair of pressure-treated 4x4s for a cleaner setup.
Angle the sail so it slopes slightly. That sheds rain and stops water from pooling in the middle, which is the main reason cheap sails sag and tear. Leave a gap between the sail and the fence so wind can pass through instead of catching it like a parachute.
Aim for coverage over the pool and one lounging area, not the whole run. Partial shade keeps the ground from staying damp, and your dog still gets a sunny spot to nap in when it wants one.
Picking And Placing The Pool
A hard plastic kiddie pool beats the inflatable kind every time. It survives dog nails, it doesn't deflate overnight, and you can drag it around by yourself. Grab one in the 40 to 50 inch range unless you've got a giant breed.
Set it on level ground and check the drain plug before you fill it. A slow leak turns the pool into a mud pit, which is fun for about ten minutes and a mess after that. If your dog shreds plastic, look for a rigid pool with thicker walls or a small stock tank instead.
Don't fill it to the brim. A few inches of water is plenty for cooling off, and shallow water is easier to dump and refill. Change it every day or two in summer so it doesn't turn into mosquito soup.
Making It Work Together
Put the pool where the sail throws shade in the afternoon, not the morning. That's when the heat actually matters, and a pool sitting in full sun just becomes warm bathwater. Add a cheap rubber mat or a few pavers next to the pool.
Wet paws plus bare dirt equals a mud track straight to your back door, and a small landing pad cuts that down fast. A towel draped over the fence nearby is a nice touch too. If your dog won't get in the water, don't force it.
Some dogs just want the shade. Toss a couple of treats in the empty pool first and let curiosity do the rest.
Keeping Costs Down
Shop end-of-season for both pieces. Shade sails and kiddie pools both drop hard in price by late summer, and a sail bought in September works just as well next June. Check marketplace listings for used sails from people who upgraded or moved.
Inspect the seams and hardware before you buy, since a frayed corner won't hold tension. For the pool, a plain hard plastic one from a discount store often costs less than a branded pet version with the same basic shape.
6. Repurposed Dog Run Along a Fence Line
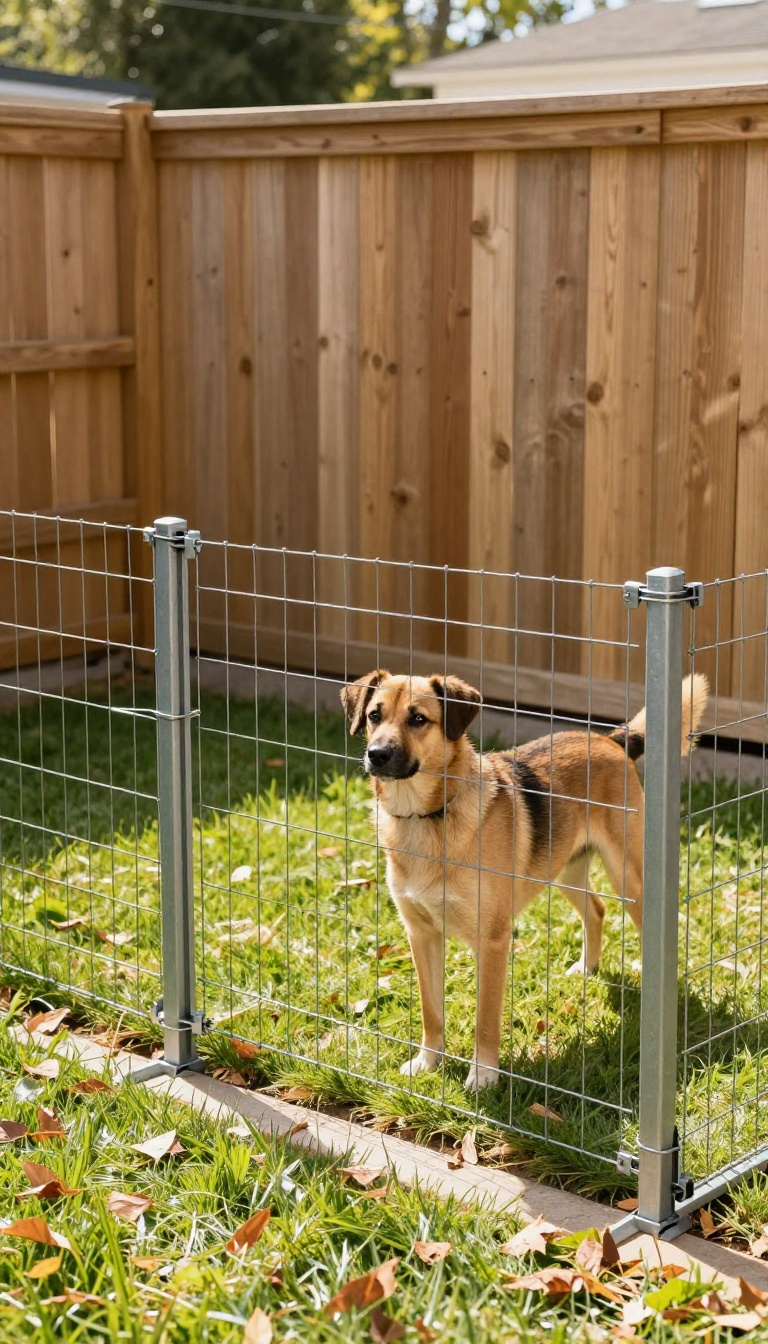
Your fence is already doing half the job, so why not let it? A fence-line run uses that existing barrier as one long wall, sometimes two if you're tucking it into a corner. From there, you only need to close off the open ends, which cuts your material list way down.
Most yards have at least one stretch of fence that doesn't get much use. That's your run. The fence handles the longest side for free, and you only build the short pieces.
This works with wood, vinyl, or chain link. Just check that the fence is solid and has no gaps your dog could squeeze through or dig under. ### Measure the Open Ends First Walk the stretch you want to use and figure out where the run starts and stops. Those two ends are what you're actually building.
A run 6 feet wide and 20 feet long still only needs two end panels and a gate. That's a fraction of what a full enclosure costs. ### Pick Your End Material Welded wire panels are the easiest option. They're sturdy, come in standard sizes, and attach straight to fence posts with brackets or heavy zip ties.
If you want something cheaper, rolled wire mesh and a few T-posts work too. It's less pretty but gets the job done for a fraction of the price. ### Close the Gaps and Corners Fence lines are rarely perfect. Look for spots where the fence meets the ground and fill those with buried wire or pavers.
Corners are the other weak point. If your run tucks into one, make sure the panels meet tight so there's no wiggle room.
Measure The Open Ends First
Walk the stretch you want to use and figure out where the run starts and stops. Those two ends are what you're actually building. A run 6 feet wide and 20 feet long still only needs two end panels and a gate.
That's a fraction of what a full enclosure costs.
Pick Your End Material
Welded wire panels are the easiest option. They're sturdy, come in standard sizes, and attach straight to fence posts with brackets or heavy zip ties. If you want something cheaper, rolled wire mesh and a few T-posts work too.
It's less pretty but gets the job done for a fraction of the price.
Close The Gaps And Corners
Fence lines are rarely perfect. Look for spots where the fence meets the ground and fill those with buried wire or pavers. Corners are the other weak point.
If your run tucks into one, make sure the panels meet tight so there's no wiggle room.
7. Pea Gravel Potty Patch
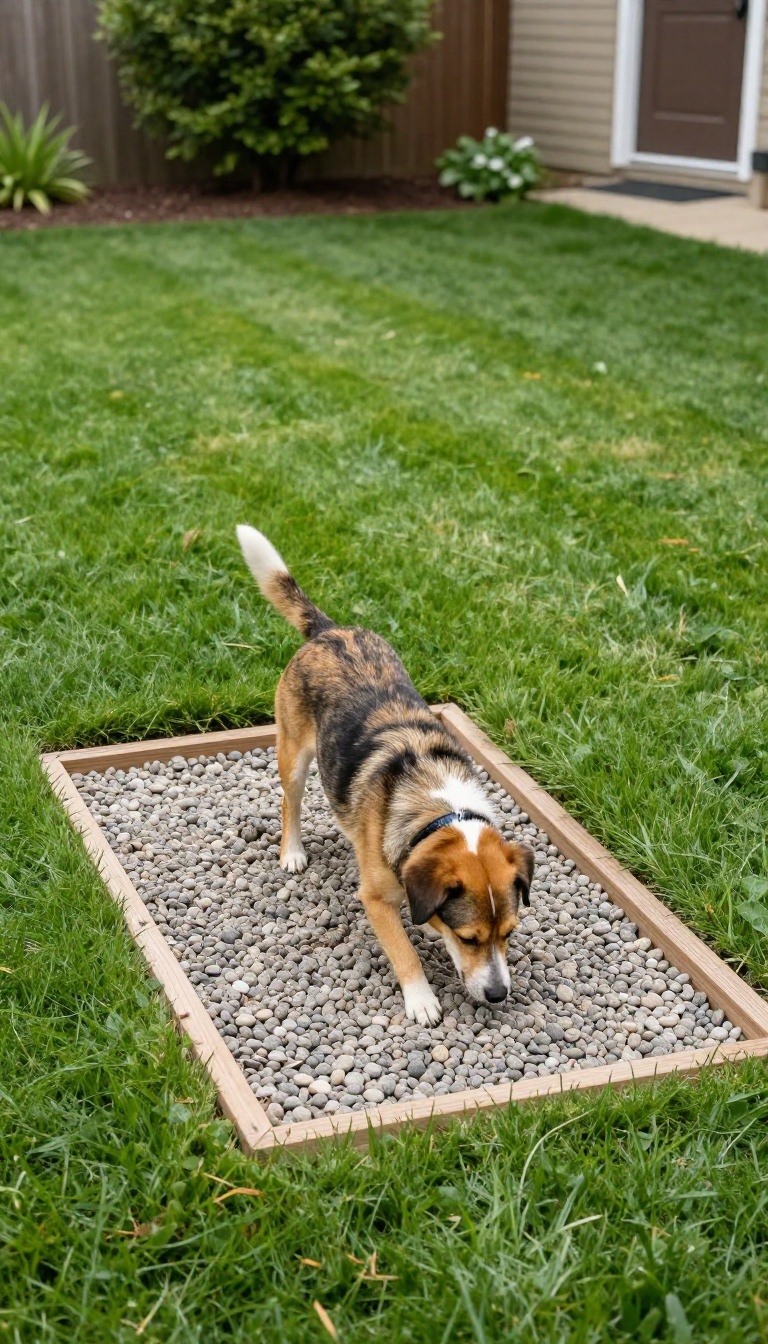
A dedicated potty spot keeps the rest of your yard from turning into a minefield. Pea gravel makes a great surface because it drains fast and rinses clean with a hose. With a simple border to hold it in place, you get a low-maintenance bathroom zone your dog can find on their own.
You don't need much space for this one. A patch about 4 by 6 feet works for most dogs, though bigger breeds might need closer to 5 by 8. Pick a corner that's easy to reach from the back door and away from your patio or garden beds.
The materials are cheap and basic: pea gravel, a border material, and some landscape fabric. You can use wood edging, brick, or even pressure-treated 2x4s for the border. The fabric goes underneath to stop weeds and keep the gravel from sinking into the mud.
Start by marking your area and removing any grass or sod. Level the ground as best you can, then lay down the landscape fabric. Add a 2- to 3-inch layer of pea gravel and rake it smooth.
That's it. Total cost for a small patch usually lands under $50.
Why Pea Gravel Works
Pea gravel drains quickly, so urine doesn't pool up or kill the grass underneath. It also doesn't stick to paws the way dirt or mulch does, which means less tracking into the house. And when it needs a refresh, you just hose it down or scoop out the solids.
Training Your Dog To Use It
Take your dog to the patch on a leash at their usual potty times. Wait a few minutes, and praise them right after they go. If they miss, clean it up and try again later.
Most dogs catch on within a week or two, especially if you keep the routine consistent.
Keeping It Clean
Scoop solids daily, just like you would in the yard. Once a week, spray the gravel with a hose and let it drain. A mix of water and a little white vinegar can help with odor if things get ripe.
Replace the gravel every year or two to keep it fresh.
8. Clothesline Zip Line Run
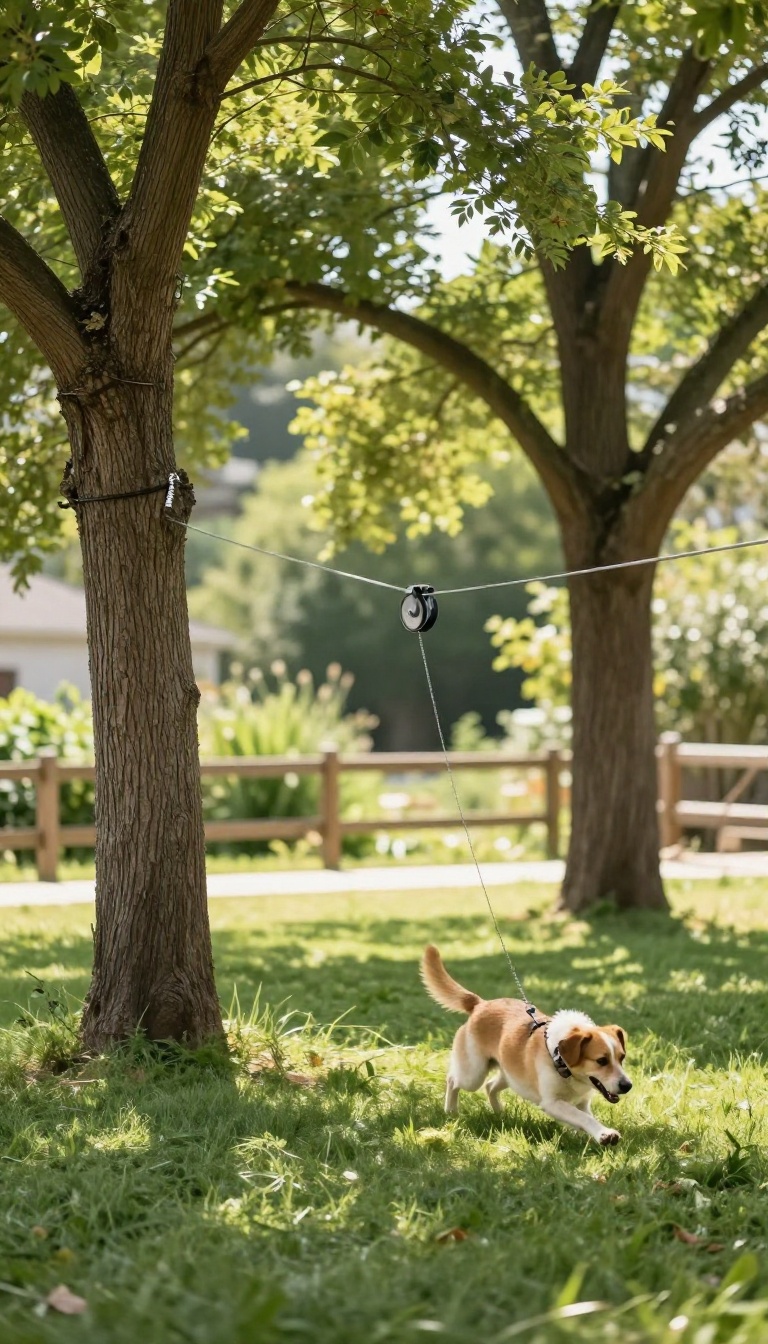
A clothesline-style zip line gives your dog room to move without fencing off the whole yard. You string a cable between two sturdy trees or posts, add a trolley, and clip a short lead to your dog's collar. The result is a long, straight runway that keeps your pup safe while letting them patrol, sniff, and stretch their legs.
This setup works best for dogs who need exercise but can't be trusted off-leash. It's also great for renters who can't build permanent fences. The whole thing can cost under $50 if you already have trees or posts in place.
What You'll Need
A steel cable, a pulley trolley, a shock-absorbing lead, and two anchor points. Look for a cable rated for at least 100 pounds more than your dog's weight. Hardware stores sell dog-specific zip line kits, but you can piece one together for less.
Setting It Up Safely
Pick two trees at least 20 feet apart, or sink two 4×4 posts in concrete. Attach the cable with eye hooks and turnbuckles so you can tighten it. Leave a little slack so it doesn't snap when your dog hits the end.
The trolley should glide smoothly without pinching.
Training And Daily Use
Start with short sessions on a loose leash so your dog learns the boundaries. Never leave them tied out unsupervised. Check the cable and hardware weekly for wear, and bring your dog inside during extreme weather.
9. Cinder Block and Wire Pen
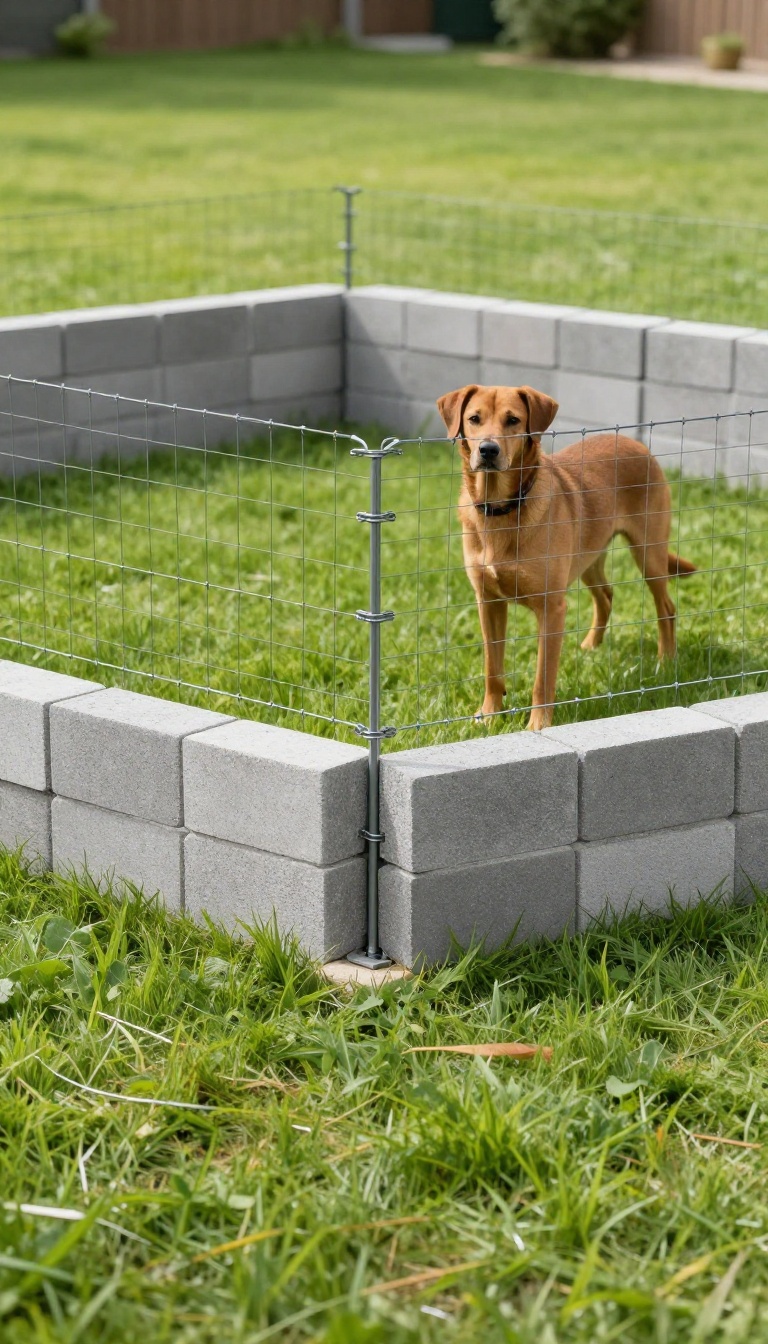
Cinder blocks and wire mesh make a dog run that laughs at diggers and jumpers. The blocks give you a solid, heavy base that won't budge, and the wire adds height without adding much cost. It's not the prettiest setup, but it's tough as nails and easy to put together with basic tools.
You can build this pen in a few hours with nothing more than a level, a hammer, and some wire cutters. The blocks stack like Legos, and the wire attaches with simple clips or ties. It's a favorite for dogs who treat fences like suggestions.
Why It Holds Up
Cinder blocks are heavy. A dog can't push them over or dig under them easily, especially when you set the first course slightly into the ground. The wire mesh adds a tall barrier that stops jumpers and climbers.
Together, they create a double defense that most dogs give up on.
Building The Base
Lay a row of blocks along your planned perimeter, then stack a second row on top with the holes facing up. Offset the seams like brickwork so the wall locks together. For extra security, drive rebar through the holes into the ground.
That keeps everything in place even if your dog body-slams the wall.
Attaching The Wire
Use 4-foot-tall welded wire or chain-link panels. Secure them to the blocks with masonry clips or heavy-duty zip ties. Overlap corners and fasten them tightly so there are no gaps.
If your dog is a climber, add a wire roof or an inward-facing overhang at the top.
Cost And Customization
You can often find used cinder blocks for a dollar or two each, and wire mesh runs about $20 for a 50-foot roll. That puts a 10×10 pen well under $150. Want a gate?
Leave a gap in the blocks and hinge a wire panel with a simple latch.
10. Indoor-Outdoor Patio Run
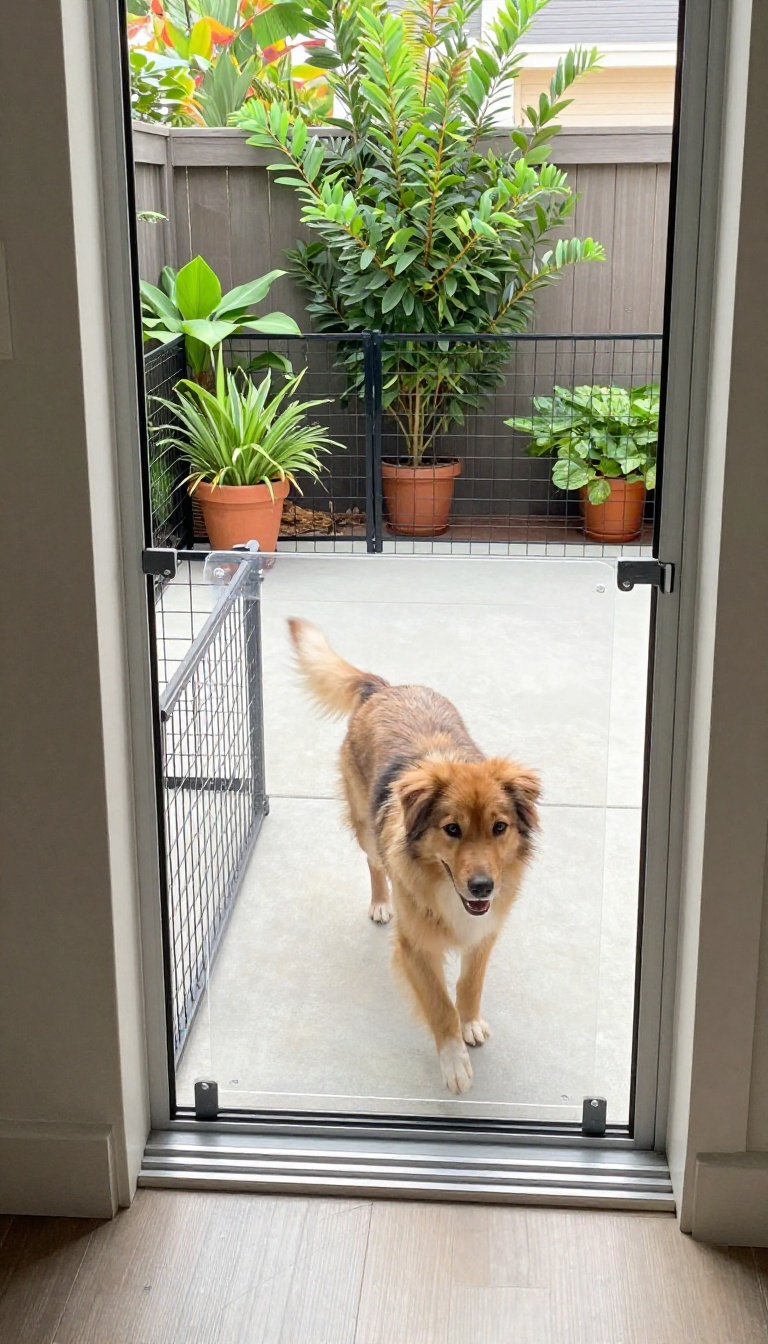
Not every dog has a yard to sprint across. If you live in an apartment or a small home, a dog door plus a fenced patio section can give your pup a safe outdoor run without the square footage of a full backyard. The setup is simple: install a dog door in a wall or door that leads to a patio, then enclose a small area with cheap fencing or wire panels.
Your dog gets fresh air and a place to stretch out, and you get a clean, controlled space that doesn't take over your whole property.
The beauty of this idea is that it works with what you already have. A sliding glass door, a back door, or even a window can host a dog door insert. From there, a few wire panels or a low fence create a boundary on the patio.
You're not building a whole new structure—just carving out a safe zone that connects inside and outside.
Pick The Right Dog Door
Dog doors come in three main types: wall-mounted, door-mounted, and sliding glass door inserts. For renters, a sliding glass door insert is a no-damage option that pops in and out. Homeowners might prefer a wall-mounted door for better insulation.
Measure your dog's height and width at the shoulders, then add a couple of inches for comfort. A cheap plastic flap door runs about $30 to $60 and does the job fine for mild climates. If you need weatherproofing, spend a bit more on a double-flap or insulated model.
Fence Off A Small Patio Zone
You don't need a full fence—just enough to keep your dog from wandering. Wire pet panels or exercise pens are the cheapest route. A set of eight 24-inch panels costs around $40 to $70 and clips together in minutes.
For a more permanent look, use pressure-treated lumber and welded wire mesh. Attach the mesh to posts with a staple gun, and you've got a secure run for under $100. Leave a small gap at the bottom if you want to hose it down easily.
Add Comfort And Safety
A patio run can get hot, so add shade. A cheap shade sail or a piece of shade cloth zip-tied to a corner works wonders. Put down a small piece of artificial turf or a few pavers to keep paws off hot concrete.
For safety, check that the dog door flap doesn't pinch, and secure any gaps in the fence. A water bowl that attaches to the fence keeps things tidy. And always supervise at first until your dog gets used to the new setup.
FAQ
What is the cheapest material for a dog run?
Gravel, mulch, and repurposed pallets are among the cheapest options. You can often find free pallets or low-cost gravel at local landscaping supply stores.
How big should a dog run be?
For small dogs, a 10×10 foot run works well. Medium and large dogs do better with at least 10×20 feet, but you can adjust based on how often they use it.
Can I build a dog run without digging holes?
Yes. Portable exercise pens, cinder block bases, and T-post setups don't require digging. They're great for renters or temporary setups.
How do I keep a dog run from getting muddy?
Add a layer of gravel or mulch, and make sure the area drains away from the run. A small French drain or slope can help if water pools.
Do dog runs need a roof?
Not always, but a shade sail or partial cover helps in hot climates. If your dog is a climber, a roof or top panel can prevent escapes.
Conclusion
You don't need a contractor or a fat budget to turn a plain patch of grass into a dog-friendly hangout. Most of these ideas cost less than a vet visit and take an afternoon to set up. Start with the one that fixes your biggest headache, whether that's muddy paws or a bored pup.
Then add pieces as you go. Your dog will tell you what works by actually using it, so watch where they dig, sprint, and nap. A good run builds itself around those habits, one cheap upgrade at a time.