10 Budget-Friendly Kitchen Counter Organization Ideas That Keep Everything Easy to Find
A cluttered counter can make even the most organized cook feel stressed before they start. You don't need a fancy remodel or expensive custom storage to fix it—just a few clever, low-cost tricks that put everyday items within arm's reach.
From repurposing household basics to using vertical space you never thought about, these 10 ideas are all about smart function without breaking the bank. Each one is simple to set up, easy to maintain, and designed to keep your kitchen feeling calm and efficient.
Let's get those counters clear and your cooking routine smoother.
1. Use Clear Canisters for Staple Ingredients
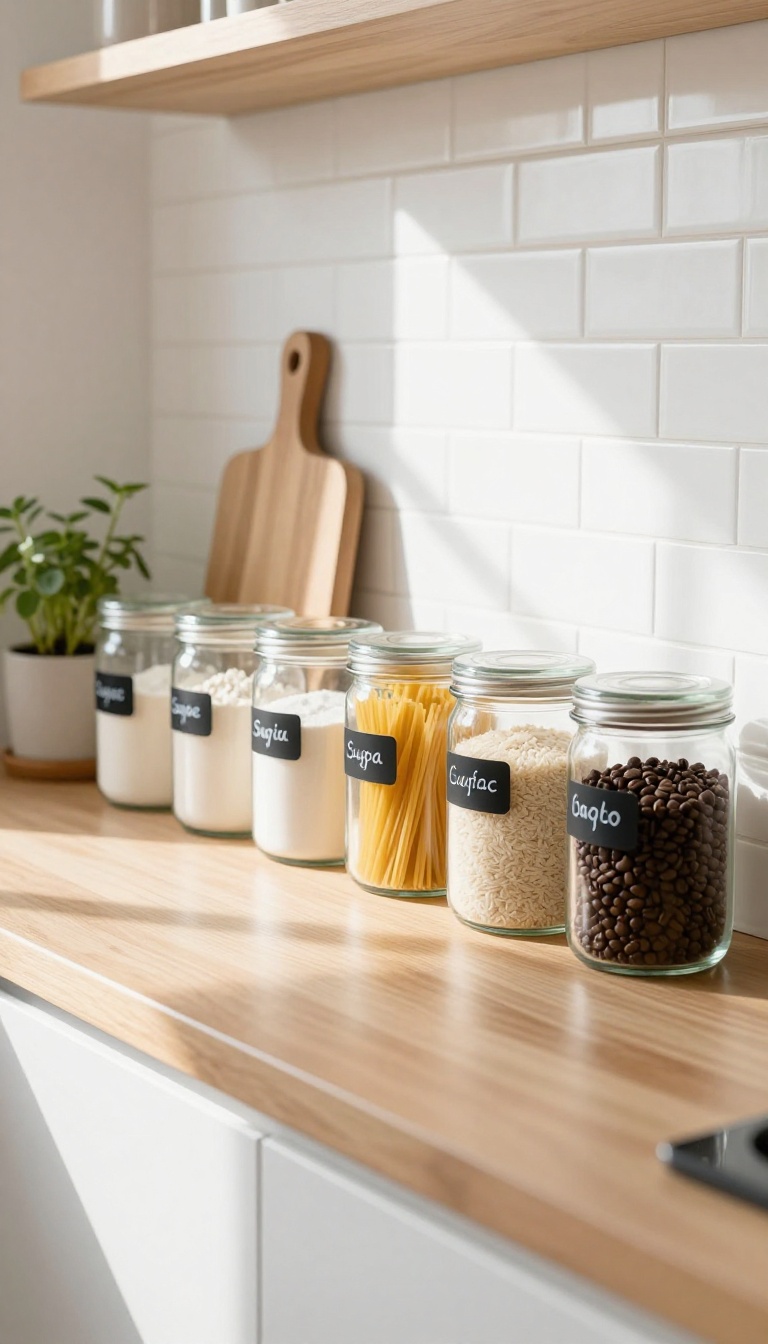
Open your pantry and you'll likely see a jumble of half-used bags and boxes. It's hard to tell how much flour you have or whether that pasta is really penne. Clear canisters solve this by giving every staple a visible home.
You'll instantly spot what's running low and what needs restocking, which cuts down on duplicate purchases and wasted food.
Transferring dry goods into clear, airtight canisters does more than just look tidy. It keeps ingredients fresh longer by blocking out air and moisture, and it makes your counter look intentional and organized. Plus, when everything is labeled and visible, you can grab what you need without rummaging through cabinets.
This small change can save you time and money, and it's one of the simplest upgrades you can make.
Choose The Right Canisters
Look for canisters with airtight seals, like glass jars with rubber gaskets or BPA-free plastic containers with locking lids. Square or rectangular shapes use space more efficiently than round ones, so they line up neatly on a shelf or counter. Pick a set that fits your most-used ingredients—flour, sugar, rice, pasta, and coffee beans—and make sure the openings are wide enough for measuring cups to fit inside.
Label Everything For Quick Identification
Even with clear glass, labels help you find things fast, especially if you have multiple similar-looking grains. Use a label maker or simple chalk labels, and write the name and maybe the expiry date. This is especially useful if you buy in bulk or store different types of flour.
Labels also make it easy for other family members to find and return items to the right spot.
Store On A Tray Or Turntable
Group your canisters on a small tray or a lazy Susan to keep them together and make them easy to move when you need to wipe the counter. A tray catches any spills and adds a neat, uniform look. A turntable lets you spin to the canister you need without moving everything else, which is handy for everyday cooking.
2. Repurpose a Magazine Holder for Cutting Boards and Trays
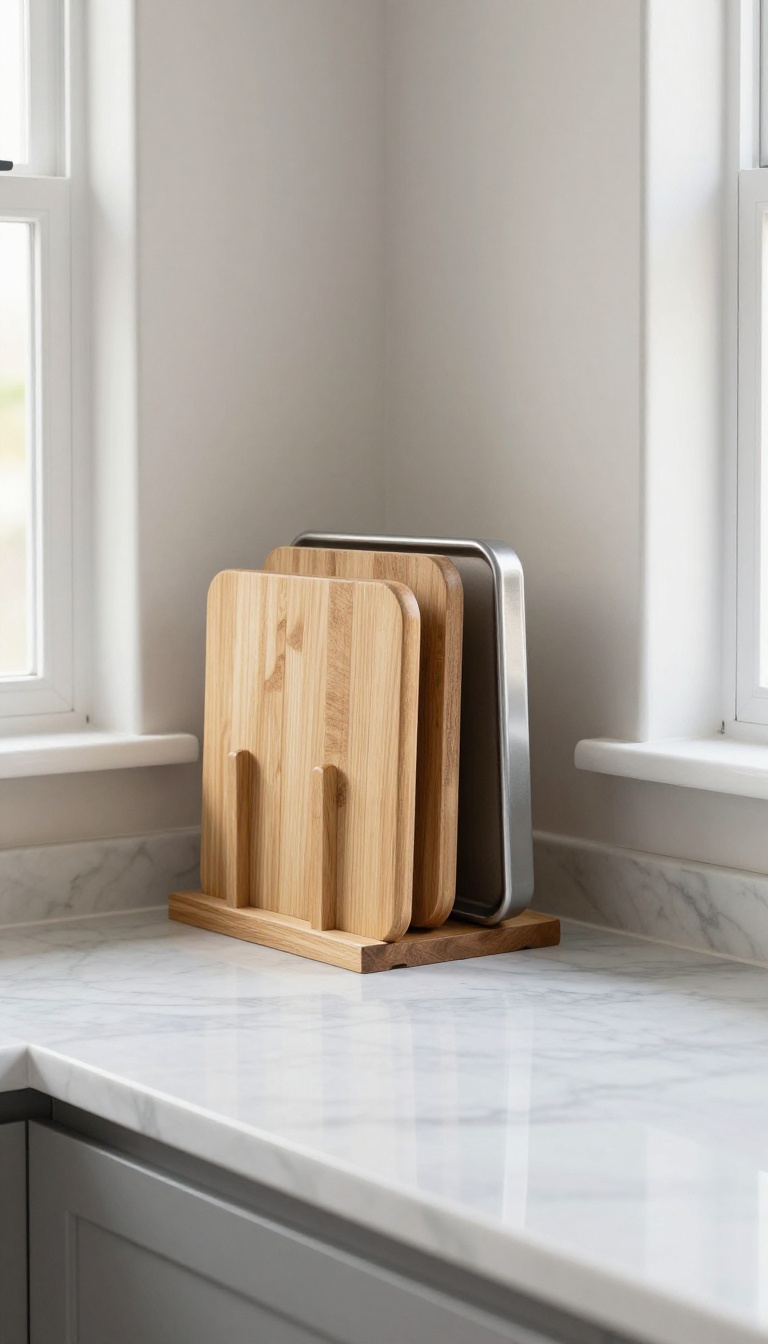
If your cutting boards keep sliding around in a drawer or leaning against the backsplash, a plain magazine holder can give them a permanent home. It’s a simple trick that turns a flat pile into an upright, easy-to-grab system. You probably have one lying around or can pick one up for a couple of dollars at a thrift store.
Stand your cutting boards, baking sheets, and trays vertically inside a sturdy magazine holder. Place it on the counter near your prep area or inside a lower cabinet. This keeps everything visible and within reach, so you can grab the right size without digging through a stack.
It also frees up valuable drawer space for other tools.
Why It Works
Stacked cutting boards are heavy and awkward to pull out. Standing them upright uses vertical space and lets you see every option at a glance. You’ll stop wrestling with a pile and just slide out the one you need.
Plus, it keeps the counter looking tidy because everything has a designated spot.
How To Choose The Right Holder
Look for a magazine holder that’s wide enough to fit your largest board and deep enough to keep it stable. Metal ones with an open front work best because they let you see the contents. If you want a softer look, a bamboo or fabric holder can do the job too—just make sure it has a solid base.
Placement Tips For Easy Access
Set the holder on the counter next to your stove or prep area, so it’s within arm’s reach while cooking. If counter space is tight, slide it into a cabinet right above the drawer where you used to store boards. You can also use two holders side by side—one for cutting boards, one for baking sheets.
3. Install a Tension Rod Under the Sink for Spray Bottles
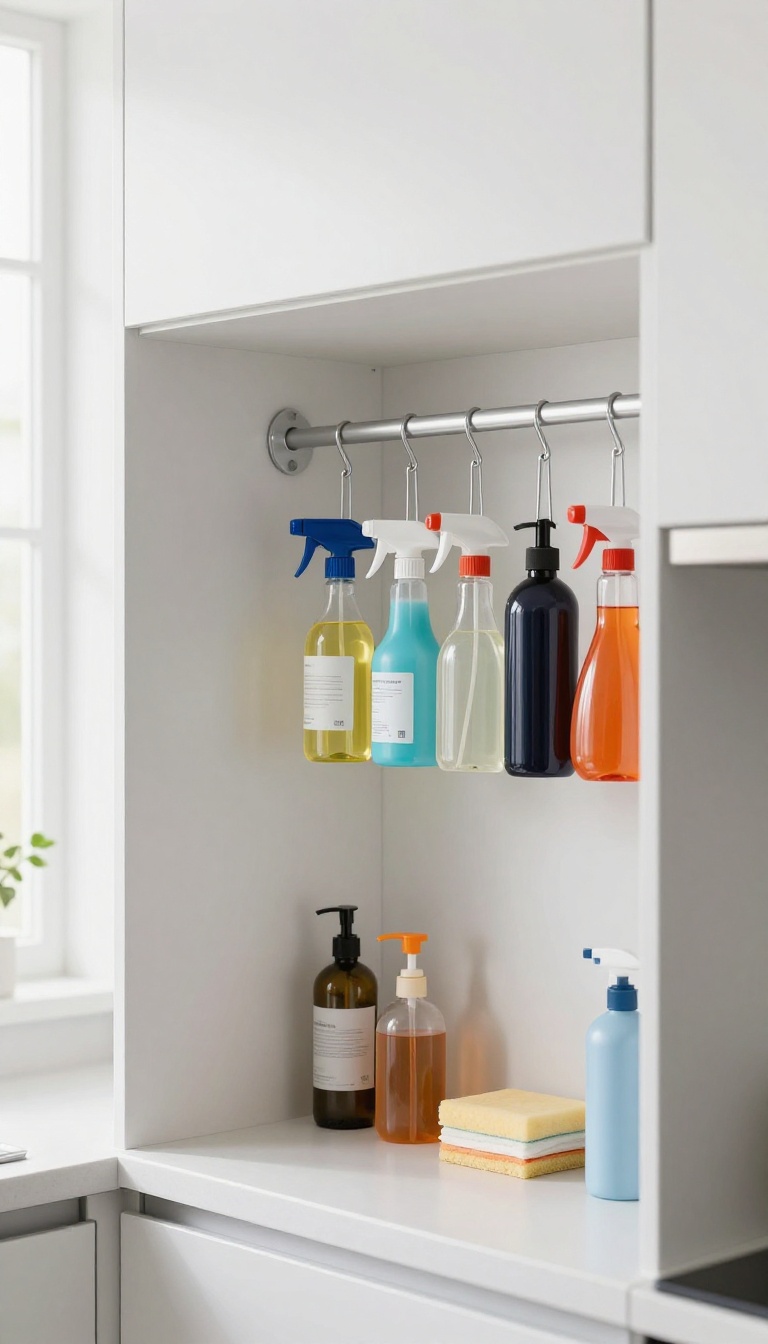
Under-sink cabinets can turn into a black hole for cleaning supplies, with bottles sliding to the back and getting lost. A simple tension rod changes that by giving your spray bottles a dedicated, visible spot. It's a five-minute fix that costs a few dollars and instantly clears clutter from your counters.
Instead of stacking bottles on the counter or digging through a dark cabinet, hang a tension rod under the sink and clip your spray bottles to it. This keeps them off the counter and within easy reach, making cleaning supplies easy to find. You'll also free up shelf space for larger items like dish soap refills or sponges.
How To Set It Up
Measure the width of your under-sink cabinet and pick a tension rod that fits snugly. Place the rod horizontally near the front of the cabinet, about halfway down, so bottles hang clear of the plumbing. Use S-hooks or carabiners to attach the bottles by their trigger handles.
Make sure the rod is tight enough to stay put even when you grab a bottle.
What To Hang
This trick works best for bottles with a trigger sprayer, like glass cleaner, all-purpose spray, or homemade vinegar solutions. You can also hang dish soap if it has a pump or a squeeze top. Avoid hanging heavy or large bottles that could bend the rod or make it slip.
Stick to lightweight, everyday items you reach for often.
Why It Works
Hanging bottles vertically uses the empty space under the sink that usually goes to waste. It also keeps the cabinet floor clear, so you can see what's there at a glance. Plus, it's easy to swap bottles in and out as you use them, so your cleaning routine stays smooth and your counters stay clear.
4. Magnetic Strip for Knives and Metal Utensils
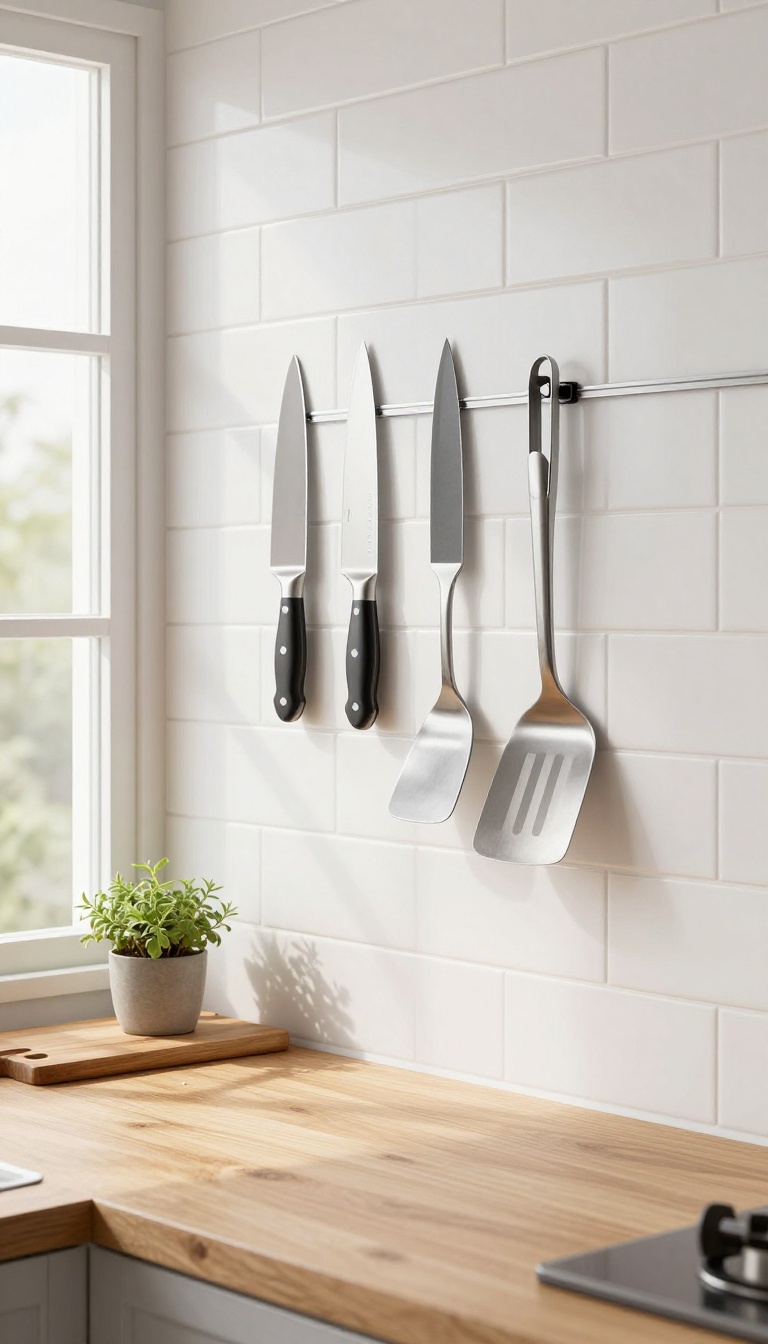
Drawer clutter often comes from bulky knife blocks and loose utensils. A magnetic strip solves both by using vertical wall space that's usually ignored. It's a cheap upgrade that makes your most-used tools visible and within reach, which also speeds up meal prep.
Mounting a magnetic strip is one of those small changes that instantly makes your kitchen feel more professional. You can attach it to the backsplash, inside a cabinet door, or even on the side of a cabinet. It frees up drawer space, keeps sharp knives safely off the counter, and lets you see what you have at a glance.
Plus, it's a straightforward DIY that takes about ten minutes.
Choosing The Right Strip
Look for a magnetic strip with enough strength to hold your heaviest knife. Most strips come with adhesive backing or screws—screws are more secure, but adhesive works fine for lighter items. Consider the length: a 12- to 18-inch strip is usually enough for everyday knives and a few metal utensils.
Placement Tips For Safety And Convenience
Install the strip where it's out of the way but still easy to grab. A common spot is along the backsplash between the counter and upper cabinets, or inside a cabinet door to keep it hidden. Make sure it's not too close to the stove or sink to avoid heat and moisture damage.
If you have kids, mount it high enough to be out of reach.
What To Store On It
Knives and metal utensils are the obvious choices, but you can also hang metal measuring spoons, kitchen shears, or even a small whisk. Just make sure items are clean and dry before placing them on the strip to prevent rust. Avoid storing tools with non-metal handles unless they have a metal strip that will stick.
5. Use a Tiered Shelf for Spices and Oils
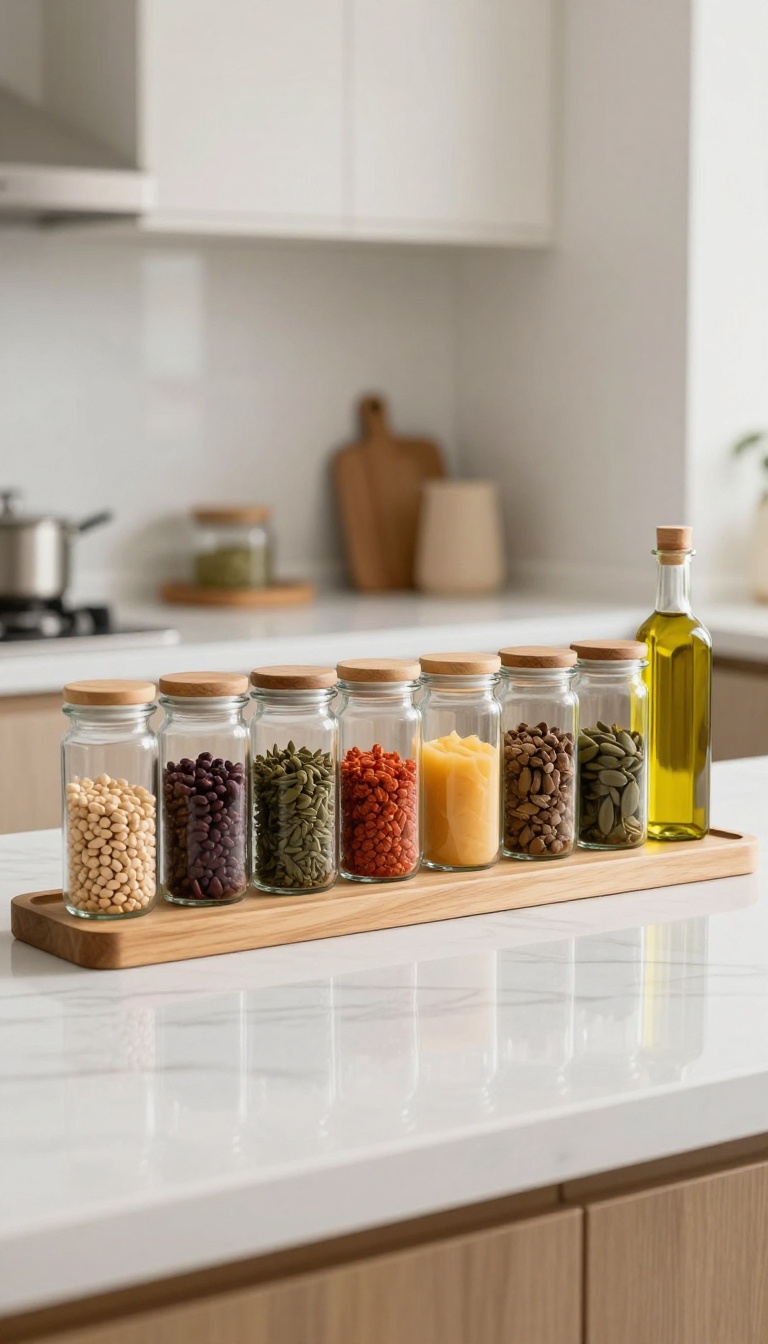
Spices and oils are the workhorses of flavor, but they're often crammed into dark cabinets or shoved behind other bottles. A tiered shelf or riser changes the game by letting you see every jar at a glance. No more digging around or buying a second jar of cumin because you couldn't find the first one.
This simple organizer works wonders on a countertop, inside a cabinet, or even on a shelf. It's an affordable fix that saves time and cuts down on waste. Plus, it makes your kitchen look neat and intentional, which is a bonus for anyone who loves to cook without the chaos.
A tiered shelf is one of those small upgrades that makes a big difference in daily cooking. By elevating the back row, you create a stadium-style view of your spices and oils. This means you can spot exactly what you need in seconds, whether you're reaching for smoked paprika or a bottle of olive oil.
The beauty of this idea is its flexibility. You can use a dedicated spice rack with tiers, or repurpose a simple riser meant for cans or toiletries. Either way, the goal is to stop rummaging and start cooking.
It's also a great way to keep your most-used oils within easy reach while storing the rest neatly.
Choose The Right Size And Material
When picking a tiered shelf, measure your counter space and the height of your tallest bottle. You don't want a riser that blocks your backsplash or makes bottles feel cramped. Opt for materials like bamboo, metal, or clear acrylic—they're durable and easy to wipe down.
A non-slip surface or small lips on the edges can keep jars from sliding off, which is especially handy if you have kids or a busy kitchen.
Arrange By Frequency Of Use
Place the spices and oils you reach for every day—like salt, pepper, olive oil, and garlic powder—on the front or bottom tier. Keep less common ones, like whole cloves or specialty vinegars, on the back or top tier. This way, your most-used items are within arm's reach, and you won't have to move anything to grab them.
Group similar items together, like all baking spices or all cooking oils, to make the system even more intuitive.
Maintain Visibility With Clear Jars
If you're using a tiered shelf, clear jars are your best friend. They let you see the color and amount of each spice at a glance, so you know when to restock. You can transfer spices from their original packaging into uniform glass jars with labels, which also makes your shelf look tidy.
Just make sure to keep them in a cool, dry place away from direct sunlight to preserve freshness.
6. Hang a Pegboard for Pots, Pans, and Utensils
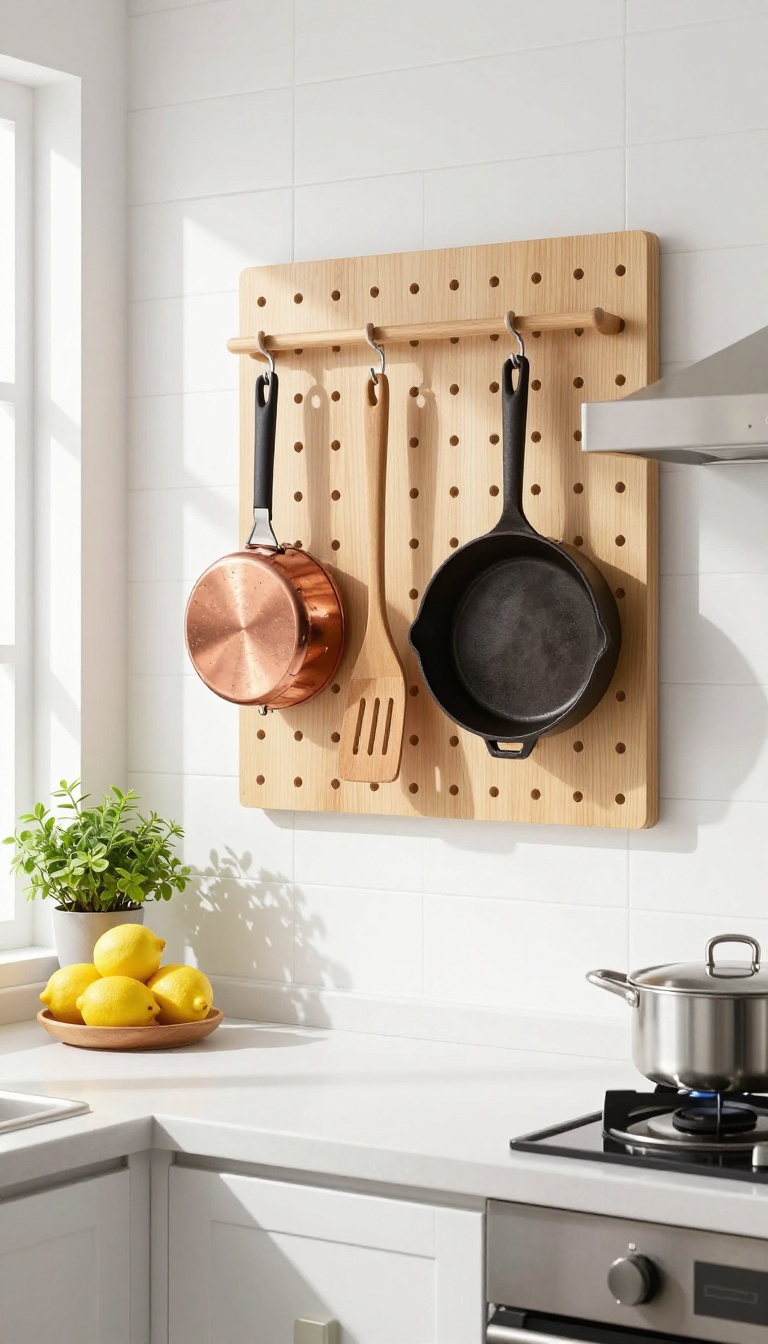
Pots and pans are the biggest counter hogs in most kitchens. They stack up by the stove, get tangled in drawers, and take forever to find the right lid. A pegboard solves that by turning an empty wall or cabinet door into a vertical storage station.
You can hang everything from skillets to spatulas, and swap hooks around whenever your needs change. It's a budget-friendly upgrade that costs less than a fancy pot rack and takes just an afternoon to install.
A pegboard is a classic workshop tool that works just as well in the kitchen. It's a board with a grid of holes that accept pegs and hooks, letting you customize your storage layout. You can mount it on a wall, inside a cabinet, or even on the side of an island.
The key is to choose a spot that's convenient but out of the way, like a blank wall near the stove or the inside of a pantry door. To get started, buy a standard pegboard panel (they're cheap at hardware stores) and cut it to fit your space. You'll need some spacers to keep it off the wall so hooks can slide in, plus screws and anchors.
Once it's up, add hooks for pots, pans, lids, and frequently used utensils. Arrange them by frequency of use—keep your daily skillet and favorite spatula within easy reach. One of the best parts is that pegboards are endlessly adjustable.
If you buy a new pan or realize you need more space for measuring cups, just move the hooks around. No drilling new holes or buying new organizers. It's a flexible system that grows with you, and you can paint the board to match your kitchen décor.
Choose The Right Spot And Mounting
Pick a location that's close to your main cooking area but doesn't interfere with your workflow. A wall between the stove and sink works well, or the side of a cabinet if you have the clearance. Make sure the board is mounted securely—use wall anchors if you're going into drywall.
You'll want the pegboard to sit about an inch off the wall so hooks have room to clip in.
Organize By Frequency And Weight
Hang heavy items like cast iron skillets on sturdy hooks near the bottom, and lighter items like spatulas and whisks on upper hooks. Group similar things together: all your lids in one spot, your most-used pots within arm's reach. This way, you can grab what you need without hunting or moving other items out of the way.
Add Extra Accessories For Small Items
Don't limit yourself to just hooks. Pegboard accessories include small shelves, baskets, and even cup hooks for measuring spoons or kitchen scissors. You can attach a small wire basket to hold onions or garlic, or a shelf for oils and spices.
This turns your pegboard into a full storage hub, not just a place for pans.
7. Use a Lazy Susan for Condiments and Daily Items
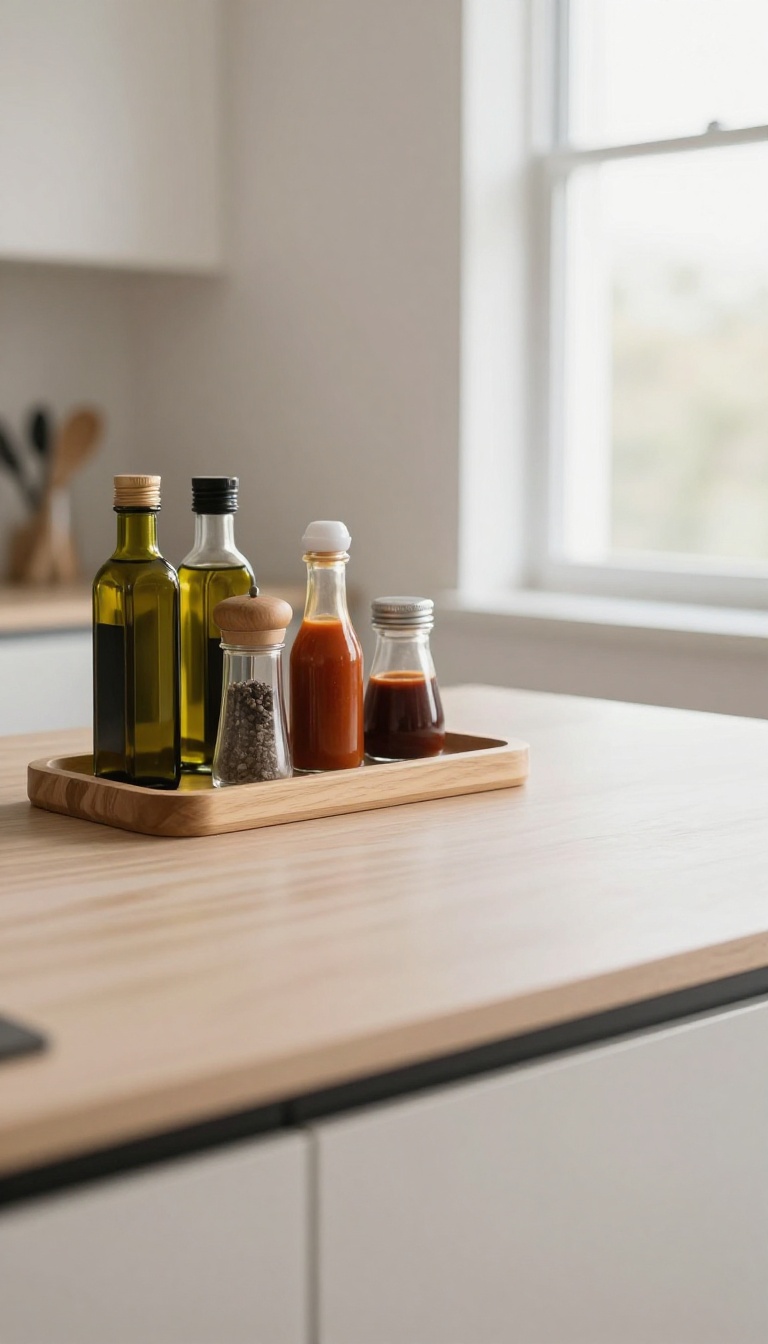
Corners and tight spots on your counter often become catch-alls for bottles and jars. A lazy Susan turns that awkward space into a rotating hub for the things you grab multiple times a day. One spin and what you need is right in front of you, no digging required.
A lazy Susan isn't just for the pantry or fridge. On the counter, it keeps everyday items like olive oil, salt, pepper, and hot sauce within easy reach. It also works wonders for coffee station supplies—sweeteners, stirrers, and your favorite mug.
The circular motion makes it simple to access items tucked at the back, so nothing gets forgotten or pushed aside.
Pick The Right Size And Material
Choose a lazy Susan that fits your counter space without overwhelming it. A 12-inch diameter works well for most kitchens. Bamboo or wood adds warmth, while plastic is easy to wipe down.
If you're storing oils, consider one with a raised rim to catch drips.
Organize By Frequency Of Use
Group items you reach for daily—like salt, pepper, and cooking oil—on one turntable. Reserve a second one for baking essentials such as vanilla, baking soda, and sprinkles. This way, you're not spinning through a mix of random bottles during a busy meal prep.
Keep It Clean And Tidy
Because a lazy Susan sits out, it can collect dust and grease. Wipe it down weekly with a damp cloth. Use small trays or jars on the turntable to corral loose packets and small jars, so everything stays neat and easy to grab.
8. Repurpose a Shoe Organizer for Cleaning Supplies
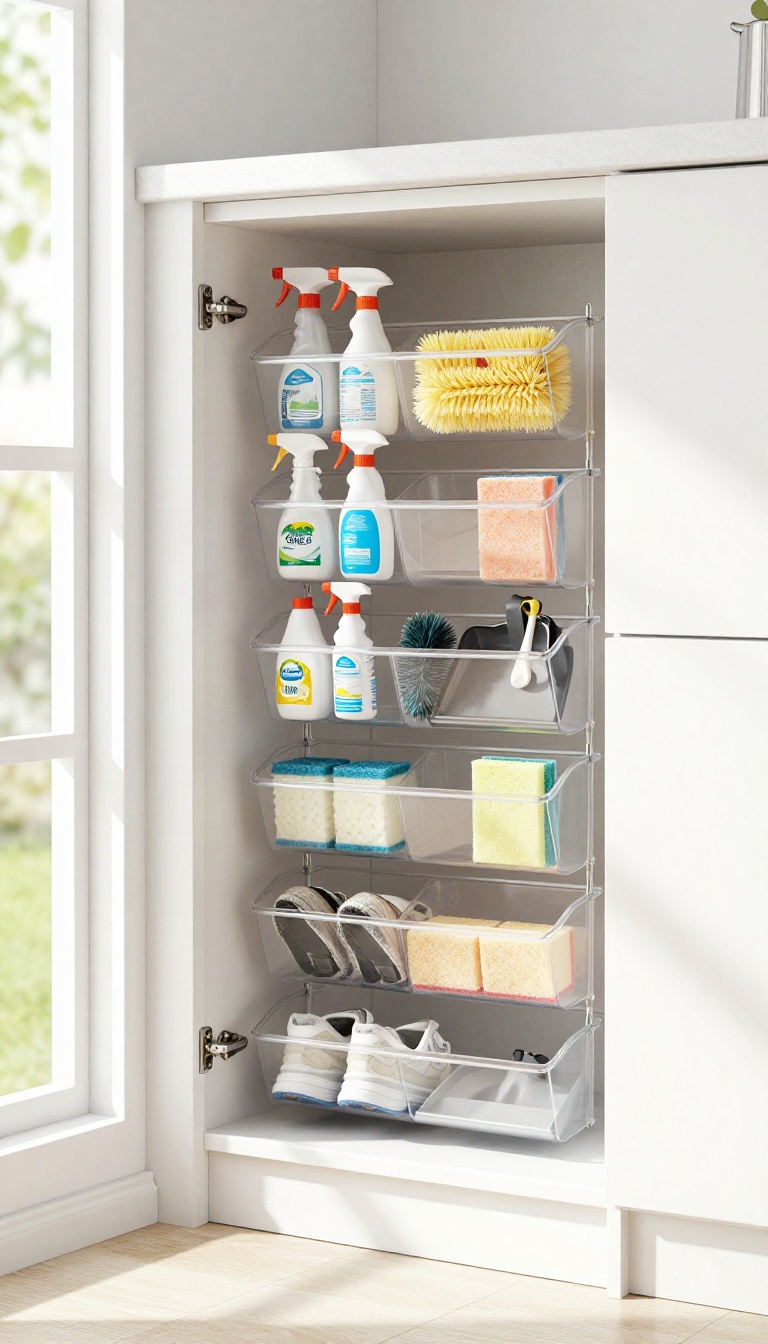
Cleaning supplies often end up scattered across counters or shoved under the sink where they get lost. A clear shoe organizer can solve that problem in minutes. Hang one on the back of a pantry door or inside a cabinet, and you’ll have a visible, accessible home for everything from spray bottles to scrub brushes.
This trick is a game-changer for small kitchens where every inch of counter space matters. By using vertical storage, you free up valuable work areas and keep cleaning products off the food-prep surfaces. The clear pockets let you see exactly what you have at a glance, so you’re not digging through a messy cabinet.
Choose The Right Organizer
Look for a clear, over-the-door shoe organizer with deep pockets—at least 3 to 4 inches deep. This will hold standard spray bottles and cleaning brushes without them falling out. Make sure the hooks are sturdy enough for the weight of full bottles, and consider a fabric one if you prefer a softer look.
Placement That Makes Sense
The back of a pantry door is an obvious spot, but think about other vertical surfaces too. Inside a cabinet under the sink, you can hang a small organizer on the inside of the door to keep sponges and brushes within reach. Or mount one on the side of a cabinet near the stove for quick access to everyday cleaners.
What To Store And What To Skip
Reserve the organizer for frequently used items like all-purpose cleaner, glass spray, sponges, and scrub brushes. Avoid storing heavy or bulky bottles that could strain the hooks. Keep it to essentials so it doesn’t become cluttered itself—you want to see what’s there at a glance.
9. Use a Cutlery Tray for Small Tools and Gadgets
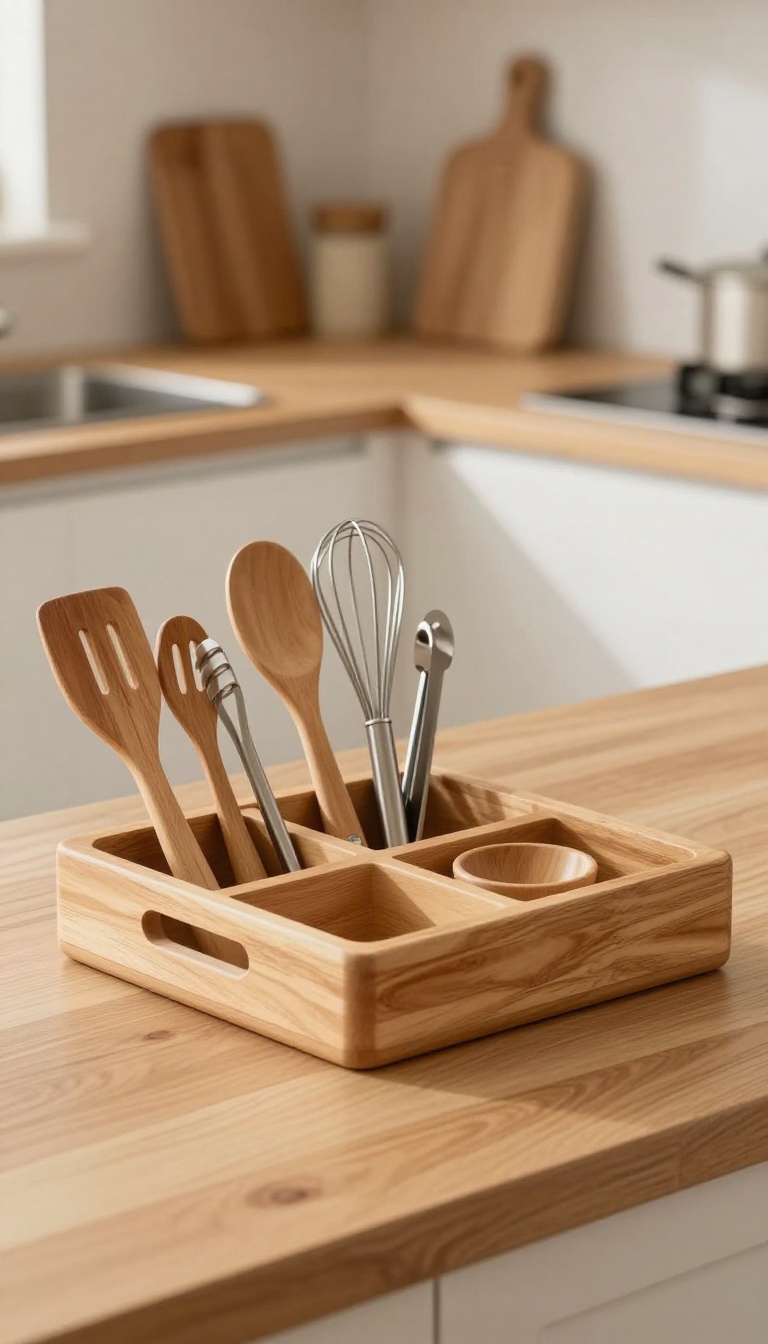
Small utensils like spatulas, whisks, and tongs tend to disappear into drawers, only to resurface when you've already grabbed a fork instead. A cutlery tray on the counter changes that by giving these everyday tools a visible, dedicated home. It's a simple swap that saves time and keeps your cooking flow uninterrupted.
Instead of digging through a cluttered drawer mid-recipe, you can reach over and grab exactly what you need. A cutlery tray—typically used in drawers—works just as well on a countertop, especially if you have a little spare space near your stove or prep area. It keeps tools upright and separated, so they don't tangle or get lost.
Plus, it's an inexpensive fix that you can set up in minutes.
Pick The Right Tray Size
Look for a tray that fits your counter space without crowding it. Measure the area where you plan to place it, then choose a tray with compartments that suit your most-used tools. A longer tray with slots for spatulas and tongs works well, while a shorter one might be better if you only need a few essentials.
Arrange By Frequency Of Use
Place the tools you grab most often—like a spatula or whisk—in the front compartments. Reserve the back sections for less frequently used items like a meat thermometer or a pastry brush. This way, you won't have to shuffle through everything to find what you need.
Keep It Clean And Dry
Since the tray sits on the counter, it can collect crumbs and moisture. Give it a quick wipe down after each cooking session, and make sure tools are dry before placing them back. If you have a dishwasher-safe tray, that's a bonus—just toss it in occasionally for a deeper clean.
10. Add a Wall-Mounted Spice Rack
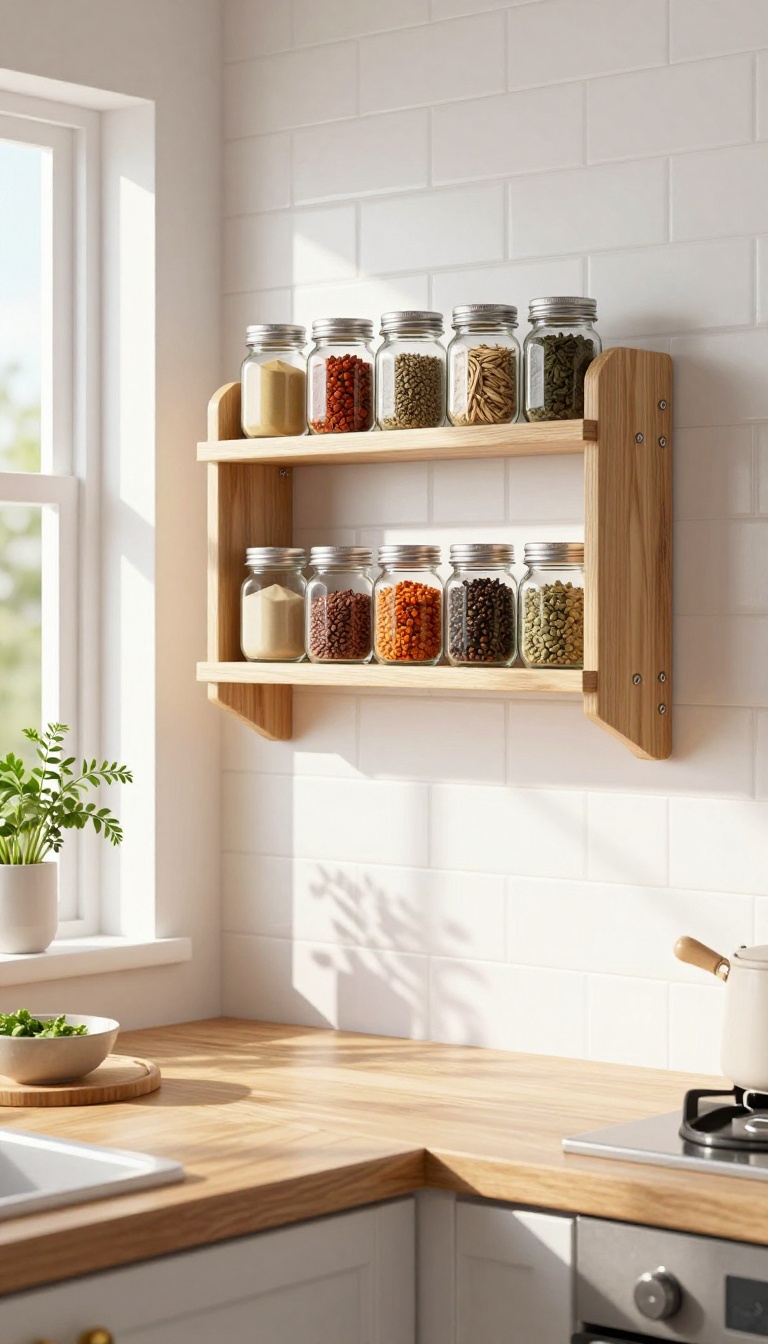
Spices are essential, but their bottles can quickly take over your counter. A wall-mounted rack solves this by moving them off the work surface and onto a spot that's both visible and reachable. You can install it on a bare wall or inside a cabinet door, depending on your space and preference.
This simple upgrade not only clears valuable counter space but also makes cooking smoother. No more digging through a crowded drawer or cabinet—just grab the spice you need and get back to your recipe.
A wall-mounted spice rack is a game-changer for small kitchens or anyone who loves to cook with a variety of seasonings. It keeps your most-used spices within arm's reach, so you can add a pinch of oregano or a dash of cumin without breaking your flow. Plus, it adds a touch of organized charm to your kitchen decor.
Here are a few things to consider when setting up your own rack:
Choose The Right Location
Pick a spot that's close to your prep area but out of the way of foot traffic. A wall between the stove and sink works well, or the inside of a cabinet door if you prefer to keep things hidden. Make sure it's not too high or too low—shoulder height is ideal for easy grabbing.
Pick A Style That Fits Your Space
You can find magnetic racks that stick to the fridge or a metal backsplash, or go with a classic wooden shelf that mounts with screws. There are also adhesive options for renters, but make sure they're strong enough to hold the weight of your spice jars. Think about how many spices you use regularly and choose a size that accommodates them without overcrowding.
Organize By Frequency Of Use
Arrange your spices so the ones you reach for most often are at eye level, and group similar ones together (like baking spices or Italian herbs). This way, you'll always know where to find them, and you'll avoid buying duplicates because you can see what you already have.
Keep It Easy To Maintain
Wipe the rack down occasionally to prevent dust buildup, and check that the jars are sealed tightly to keep spices fresh. If you notice any spills, clean them up right away to avoid sticky residue. With a little care, your wall-mounted rack will stay functional and neat for years.
FAQ
What is the best way to organize kitchen counters on a budget?
Start by decluttering and keeping only what you use daily. Use affordable organizers like clear canisters, tension rods, and magnetic strips. Repurpose items you already have, like magazine holders or shoe organizers, to save money.
How do I keep my kitchen counters clutter-free?
Designate a home for every item and put things away after use. Use vertical storage solutions like pegboards and wall-mounted racks to free up counter space. Regularly declutter to prevent buildup.
What are some DIY kitchen counter organization ideas?
Repurpose a magazine holder for cutting boards, use a tension rod under the sink for spray bottles, or create a magnetic strip for knives. These DIY solutions are inexpensive and effective.
How can I organize spices on a budget?
Use a tiered shelf or a wall-mounted spice rack to keep spices visible. You can also use clear canisters or small jars with labels. These options are affordable and make it easy to find what you need.
What should I store on my kitchen counter?
Keep only frequently used items like coffee makers, toasters, and daily spices on the counter. Store everything else in cabinets or drawers to minimize clutter and make the counter easier to clean.
Conclusion
A tidy kitchen doesn't have to come with a hefty price tag. These budget-friendly ideas prove that a little creativity and a few simple tools can make a big difference in how your space looks and works. Start with one or two that fit your routine, and you'll quickly see how much easier it is to find what you need.
The goal is a kitchen that feels calm, organized, and totally yours—without breaking the bank. Pick what feels right, and enjoy the clarity it brings.