15 Shower Niche Ideas That Keep Daily Essentials Tidy
A cluttered shower caddy can turn a relaxing rinse into a frustrating hunt for shampoo. Shower niches offer a built-in solution that keeps bottles, bars, and razors neatly stowed without taking up floor space.
Whether you're remodeling or looking for a quick upgrade, these 15 ideas will help you design a niche that works for your routine. From sleek tile inserts to budget-friendly prefab units, each option balances storage with style.
The key is matching the niche to your shower's size, your daily products, and how much maintenance you're willing to do. Let's walk through the best ways to keep everything tidy and accessible.
1. Built-In Tile Niche for a Seamless Look
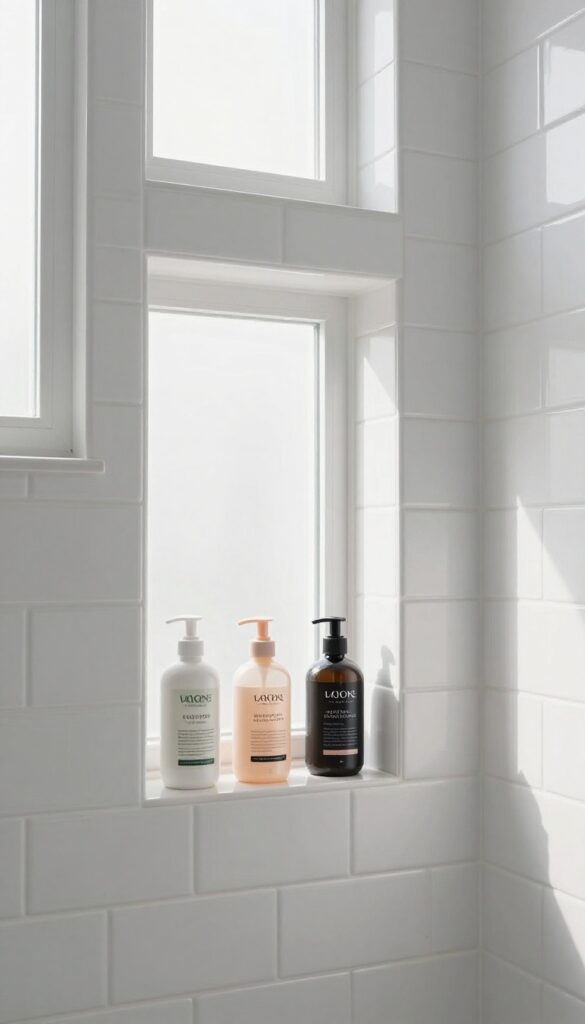
A recessed niche framed with matching tile blends into the wall and offers sturdy, waterproof storage. Best for new builds or major remodels, it can hold multiple bottles without sagging shelves.
A built-in tile niche is the classic choice for a reason. It disappears into the wall, creating a clean, custom look that works with any tile pattern. Since it's recessed, nothing protrudes into your shower space, making it ideal for smaller stalls.
The key is planning the size and placement before the walls go up.
Size And Depth Matters
Standard niches are about 12 to 14 inches tall and wide enough for two large bottles side by side. Depth should match your tile thickness plus backer board—usually around 3 to 4 inches. Too shallow and bottles stick out; too deep and you lose wall space.
Placement For Easy Reach
Install the niche at chest height so you can grab shampoo without bending or stretching. If you share the shower, consider a taller niche or two stacked niches at different heights. Avoid placing it directly under the showerhead to prevent water from pooling inside.
Tiling Tips For A Polished Finish
Use matching tile from your shower walls to keep the look seamless. For the floor of the niche, slope the tile slightly toward the drain to prevent standing water. Schluter strips or bullnose edges give a clean border without sharp grout lines.
2. Corner Niche to Maximize Awkward Spaces
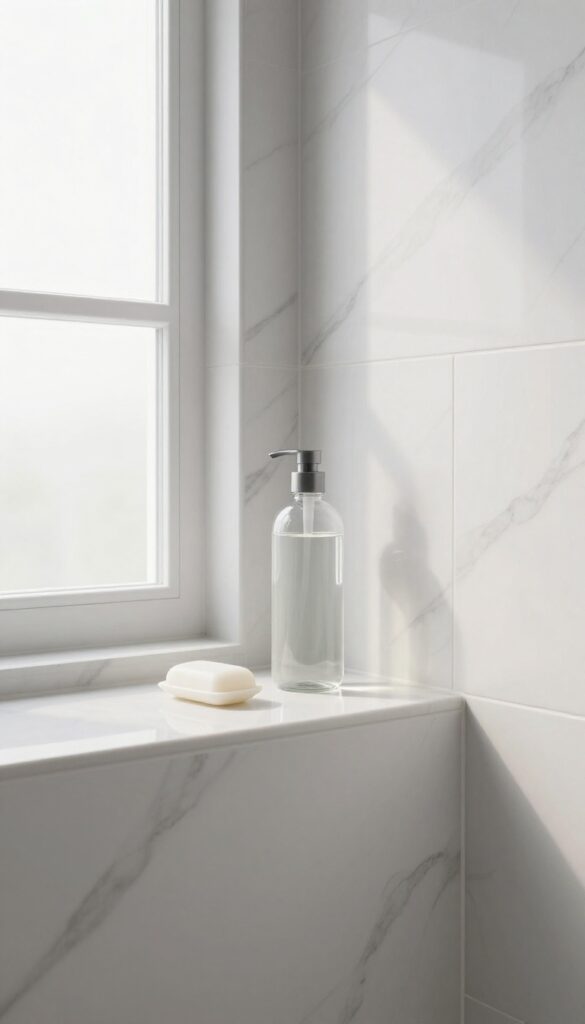
That unused corner in your shower? It’s prime real estate for a niche. A corner niche tucks neatly into the junction of two walls, turning dead space into a functional storage spot without eating into your showering area.
This is especially handy in small or oddly shaped showers where every inch counts. Because it sits in the corner, it doesn’t disrupt the visual flow of the shower. You can still have a spacious feel while keeping shampoo, soap, and razors within easy reach.
Plus, it’s a clever way to avoid bumping elbows into a wall-mounted caddy.
Corner niches work well in both new builds and renovations. They can be built with tile that matches your shower walls for a seamless look, or you can use a prefab metal or plastic insert for a quicker install. The triangular shape naturally fits bottles and bars, and you can adjust the depth to hold taller items.
One thing to keep in mind: corner niches are often smaller than rectangular wall niches, so plan your storage needs accordingly. But for a compact solution that maximizes awkward space, they’re hard to beat.
Seamless Tile Integration
For a high-end look, build the niche with the same tile as your shower walls. The corner placement makes the niche almost disappear, especially if you use a continuous pattern. This approach requires careful waterproofing and sloping the shelf slightly toward the drain to prevent water pooling.
Prefab Corner Inserts For Quick Diy
If you’re not up for a full tile job, prefab corner niches are a budget-friendly alternative. These come in stainless steel or plastic and can be installed during a shower remodel or even as a retrofit. They’re lightweight, easy to clean, and often include a built-in lip to keep bottles from sliding off.
Size And Depth Considerations
Corner niches typically range from 12 to 16 inches wide and 4 to 6 inches deep. That’s enough for standard shampoo bottles. But if you use large pump bottles, opt for a deeper niche or install two stacked niches.
Just make sure the niche doesn’t protrude into the shower space—it should be flush with the wall surface.
3. Floating Shelf Niche for Easy Installation
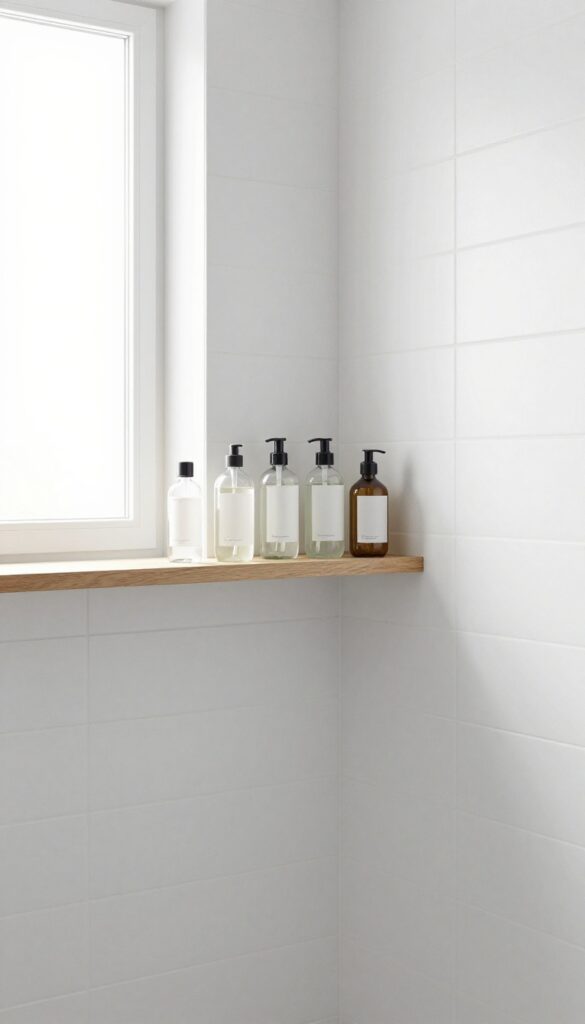
Not everyone can cut into their tile to create a recessed niche. A floating shelf mounted inside the shower offers a simple alternative that doesn't require demolition. It's a quick, renter-friendly solution that still keeps your bottles off the floor.
Floating shelves work best when you choose the right material. Look for waterproof options like teak, stainless steel, or tempered glass. Avoid particleboard or anything that can swell with moisture.
Mount the shelf at a height that's easy to reach, typically around shoulder level. Use heavy-duty anchors or adhesive strips rated for wet areas. The beauty of this setup is flexibility—you can swap out the shelf whenever you want a new look.
Material Matters
Teak is a top pick because it naturally resists water and mold. Stainless steel is sleek and easy to clean, though it can show water spots. Tempered glass looks modern but needs regular wiping to stay clear.
Whatever you choose, make sure it's rated for wet environments.
Installation Tips
If you're renting, use removable adhesive strips or tension rods that don't damage tile. For a more permanent hold, drill into grout lines rather than tile to avoid cracking. Always check that the shelf is level before loading it up.
Styling Your Shelf
Keep it tidy by grouping products by use—shampoo on one side, body wash on the other. Add a small suction cup hook underneath for a loofah or razor. Less is more: too many bottles defeat the purpose of a clean, open look.
4. Double-Height Niche for Tall Bottles
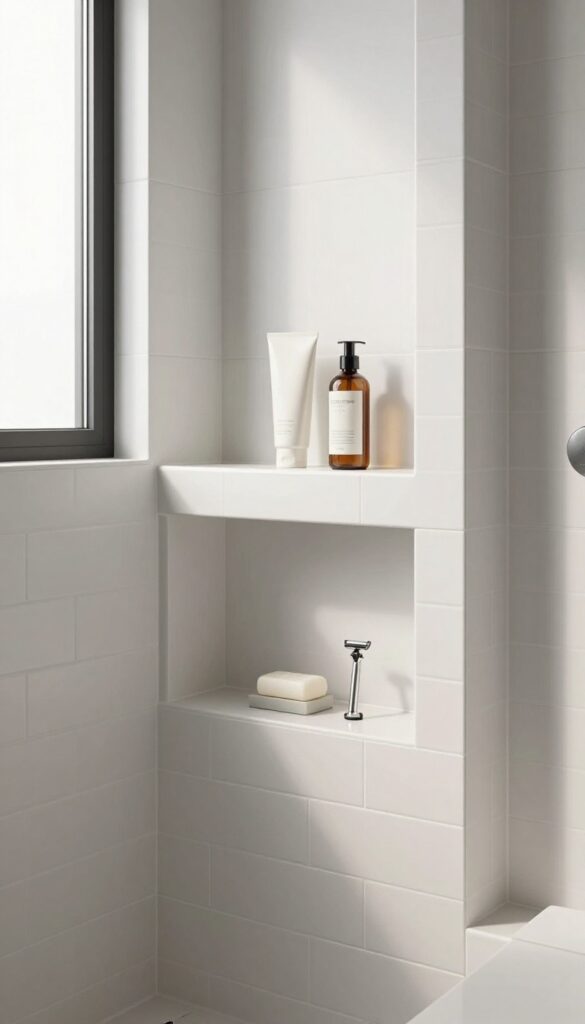
Tall shampoo and conditioner bottles often end up on the shower floor because standard niches aren't deep enough to hold them upright. A double-height niche solves this by stacking two recessed compartments vertically, giving you room for full-size bottles without stooping or reaching. This layout works especially well in larger showers where wall space allows for a taller insert.
A double-height niche keeps your tallest bottles at eye level and within easy reach. The lower compartment can hold smaller items like soap bars or razors, while the upper shelf accommodates liter-sized shampoo and conditioner. This vertical arrangement makes the most of your wall space and reduces clutter on the floor or caddy.
Ideal Placement
Install the double-height niche on a side wall opposite the showerhead, so bottles stay dry and don't block the water stream. Position the bottom shelf at least 12 inches above the floor to prevent water splashing in, and the top shelf at shoulder height for easy grabbing.
Tile And Finish Tips
Use the same tile as the surrounding wall for a seamless look, or contrast with a different color or material to make the niche stand out. A sloped shelf or a slight tilt toward the drain helps water run off and prevents pooling. Consider adding a small lip at the front edge to keep bottles from sliding out.
What To Store
The upper level is perfect for tall bottles of shampoo, conditioner, body wash, and even a large pump soap. The lower shelf can hold smaller items like a loofah, razor, or a bar of soap in a dish. Avoid storing heavy glass bottles on the top shelf to reduce risk of breakage.
5. Curbless Niche with a Bench for Seated Storage
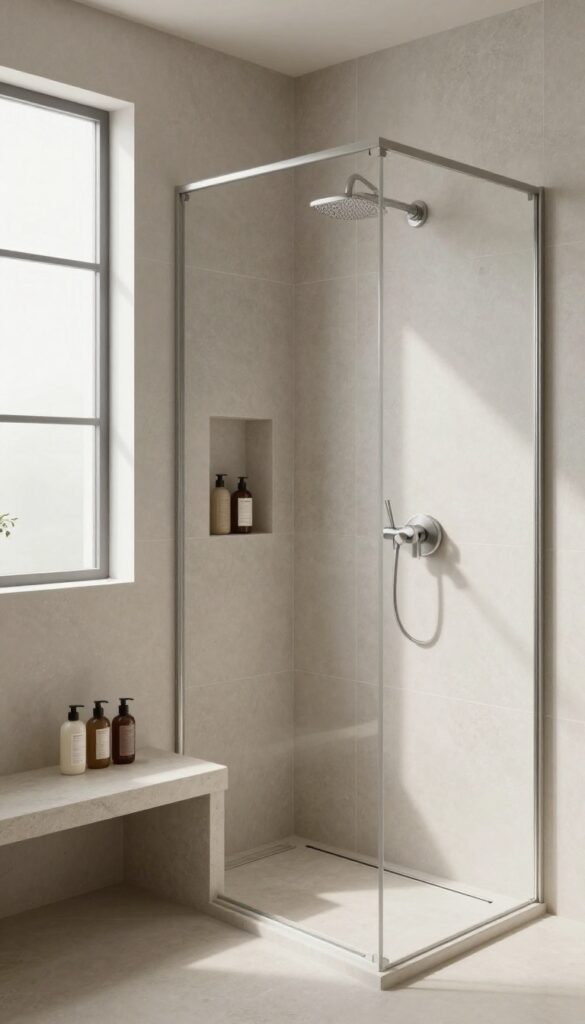
A curbless shower design already feels open and accessible. Add a built-in bench with a niche tucked underneath or beside it, and you get a spot to sit while keeping everything within arm's reach. This combo works especially well for anyone who wants extra safety or just enjoys a place to prop a foot while shaving.
The bench itself becomes a shelf for larger bottles or a basket of bath salts. Meanwhile, the niche holds daily essentials like soap and shampoo. It's a two-in-one solution that keeps the shower floor clear and your routine smooth.
The curbless niche with a bench is a smart way to blend seating and storage without taking up extra floor space. The niche can be carved into the wall next to the bench or built into the bench's side. Either way, you get a dedicated spot for frequently used items.
This idea shines in larger showers or wet rooms where you want a place to sit. It also works in smaller spaces if you use a compact bench. The key is to plan the niche depth so bottles don't stick out and the bench height is comfortable for sitting.
Design Options
You can make the niche a simple recessed cubby beside the bench, or integrate it into the bench itself with a cutout on the side. For a seamless look, tile the niche and bench with the same material. If you prefer contrast, use a different tile or a stone slab for the bench.
Adding a slight slope to the bench top helps water drain off.
Best Uses
This setup is ideal for households with elderly members, people with mobility concerns, or anyone who likes to sit while showering. The niche can hold shampoo, conditioner, body wash, and a razor within easy reach. The bench can hold a loofah, a small plant, or a decorative tray with bath salts.
Installation Tips
Work with a contractor to ensure proper waterproofing and slope. The bench should be at least 15 inches deep and 18 inches tall for comfortable seating. The niche should be at least 4 inches deep to hold standard bottles.
Consider adding a grab bar near the bench for extra safety.
6. Prefabricated Niche Insert for DIY Simplicity
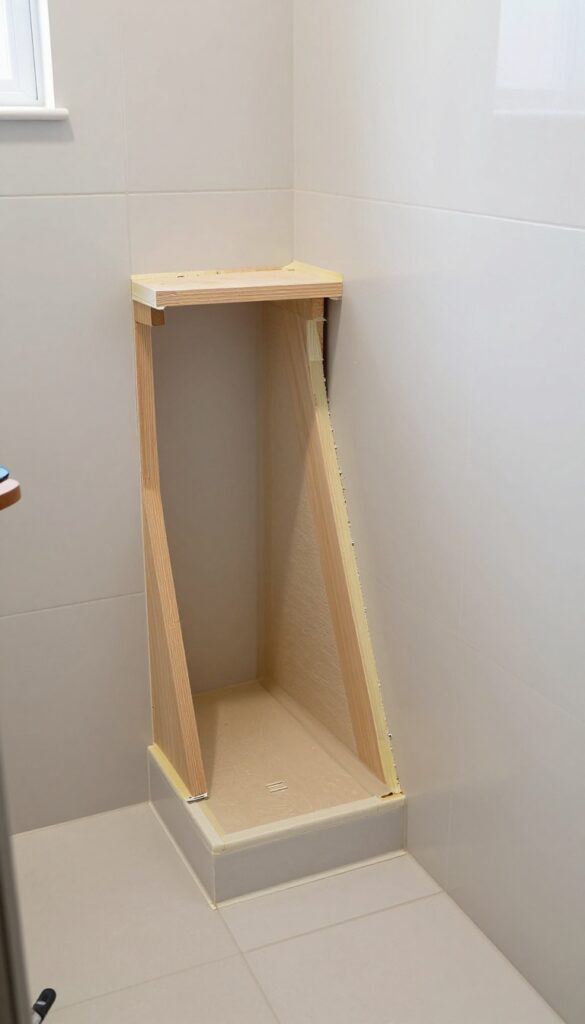
If cutting tile and building a custom frame sounds intimidating, a prefabricated niche insert is your shortcut. These pre-molded foam or plastic units fit between studs and come ready to waterproof and tile over. They're designed for DIYers who want a professional look without the steep learning curve.
Prefab niche inserts are a budget-friendly alternative to custom-built niches. They typically cost between $30 and $80, and installation requires basic framing and tile skills. The insert itself is waterproof, so you don't need extra membrane layers—just secure it, tape the seams, and tile right over the flange.
Most models have a slight slope to prevent water pooling, and some include shelves that snap into place at different heights.
Easy Installation Steps
Start by cutting a hole in the drywall between two studs. Slide the insert in, making sure the flange sits flush against the wall. Screw it into the studs through the pre-drilled holes, then apply waterproofing tape over the seams.
Finally, tile over the flange as if it were part of the wall. The whole process takes a few hours, not days.
Choosing The Right Size
Standard prefab niches come in single, double, or triple widths. Measure your shower space and the bottles you use daily. A single niche (about 10 inches wide) works for a couple of small bottles, while a double (14–16 inches) fits shampoo and body wash side by side.
Triple niches are great for families but require a wider stud bay.
Pros And Cons
The biggest advantage is simplicity—no complex framing or custom waterproofing. They're also lightweight and easy to cut if you need to adjust the height. On the downside, the shelf spacing is fixed, so tall bottles might not fit.
Also, the plastic or foam can feel less solid than a tiled niche, though once tiled over, the difference is minimal.
7. Glass Shelf Niche for a Modern Touch
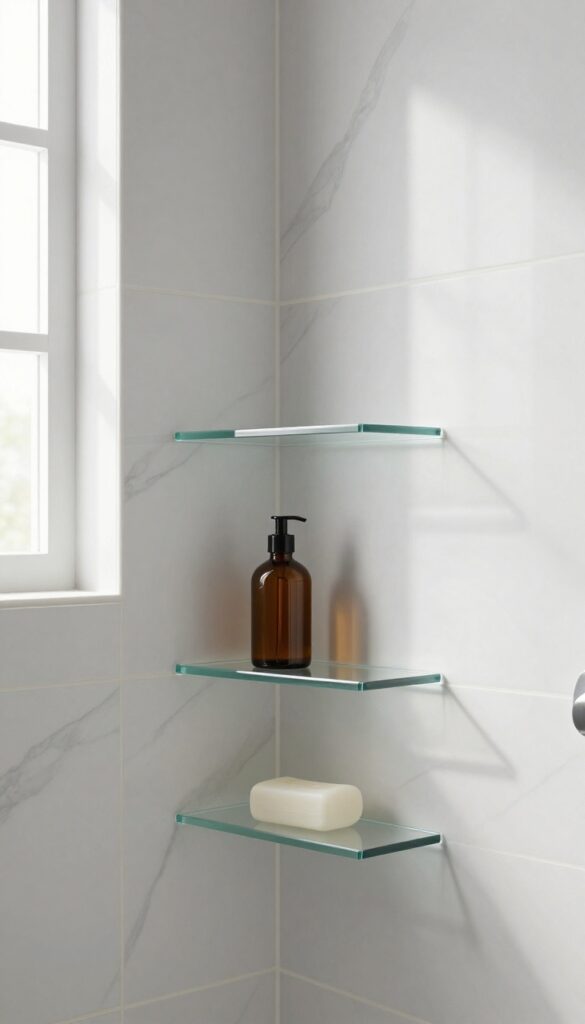
Tempered glass shelves inside a recessed niche create a sleek, almost invisible storage space. The transparency lets the tile shine through, keeping the shower feeling open and uncluttered. It's a minimalist choice that works especially well in modern or spa-like bathrooms.
Glass shelves are surprisingly sturdy and easy to clean. They resist water spots better than many materials, and the clear look prevents visual clutter. This niche style is ideal for holding a few carefully chosen bottles or a bar of soap without overwhelming the design.
Why Glass Works In Wet Areas
Tempered glass is designed to handle moisture and temperature changes. It won't warp, rust, or stain like wood or metal. A quick wipe with a squeegee keeps it looking crystal clear.
Pairing Glass With Tile
The glass shelf becomes a subtle accent when placed against bold or textured tile. Let the tile be the star—the glass just floats there, holding your essentials without competing for attention.
Installation Tips
Make sure the niche is deep enough to accommodate the glass thickness plus a secure mounting system. Use stainless steel brackets or clips that won't corrode. Professional installation is recommended for a flawless finish.
8. Niche with a Built-In Soap Dish
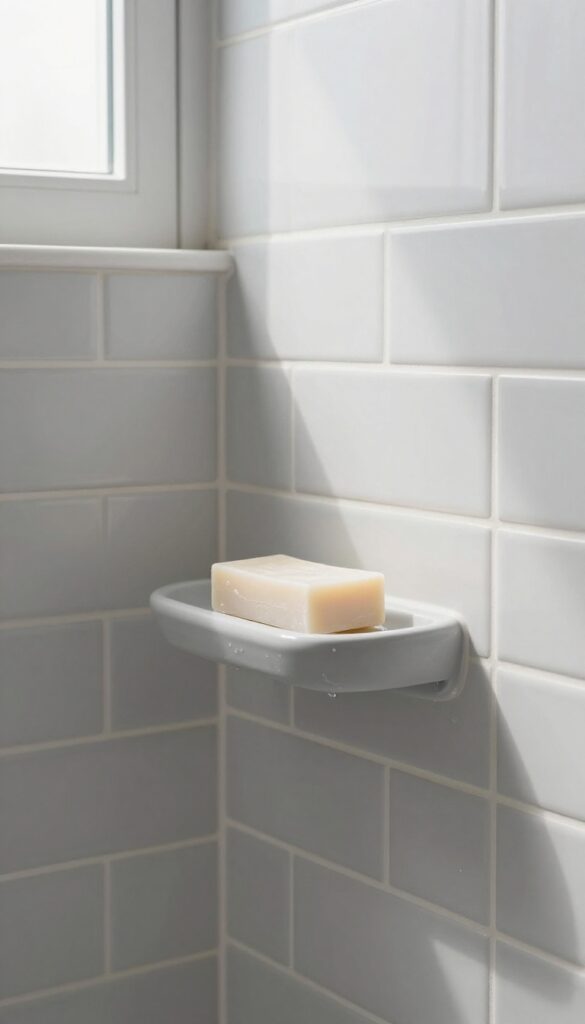
Bar soap lovers know the struggle: a wet, mushy bar sitting in a puddle on the niche floor. A built-in soap dish or small ledge within the niche solves that by keeping the bar elevated and drained. This simple addition prevents soap scum from building up in the niche and helps your soap last longer.
A dedicated soap dish integrated into the niche design is a small detail that makes a big difference. It keeps the bar dry between uses, reduces mess, and adds a touch of intentional design. You can choose a matching tile ledge or a separate stone or ceramic dish that sits flush with the niche.
Why It Works
Bar soap left in standing water turns into a slimy mess. A built-in dish with drainage holes or a slight slope lets water run off, keeping the soap firm and clean. It also stops soap residue from staining the niche surface, cutting down on scrubbing.
Design Options
You can create a small ledge by extending the niche bottom outward a few inches, or install a pre-made soap dish that matches your tile. For a seamless look, use the same tile for the dish. If you prefer contrast, a marble or slate dish adds visual interest.
Placement Tips
Position the soap dish at a comfortable height—usually around waist level—so you can reach it without bending. Keep it away from the showerhead stream to prevent direct water spray. If you share the shower, consider adding two small dishes on opposite sides.
9. Multi-Tier Niche for Family Bathrooms
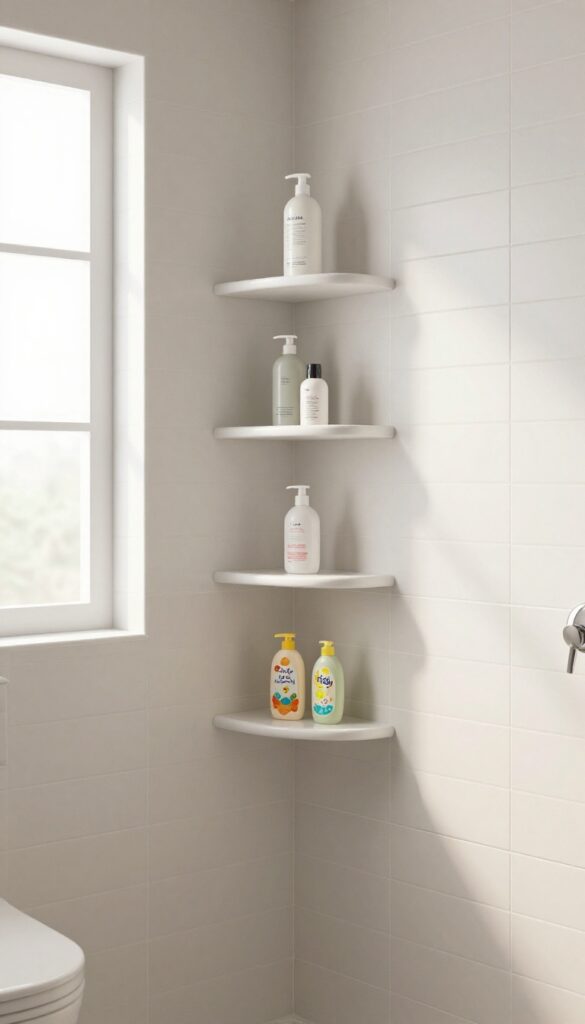
When multiple people share one shower, keeping everyone's products separate can feel impossible. A multi-tier niche solves this by giving each family member their own designated shelf. Instead of a single deep cubby that turns into a jumbled mess, three or four stacked shelves create clear zones.
Mom's shampoo on top, dad's body wash in the middle, and the kids' colorful bottles on the bottom. Everyone knows where their stuff lives, and nobody has to dig through someone else's conditioner.
Assigning Shelves By Person
The simplest approach is to label or color-code each shelf. Use small adhesive dots or assign a specific height for each person. For example, the lowest shelf works well for children since they can reach it easily.
The middle shelf is prime real estate for the most-used products, and the top shelf can hold backup bottles or less frequently used items.
Shelf Depth And Spacing
Standard niches are about 3. 5 to 4 inches deep, but for a family setup, consider going a bit deeper—5 to 6 inches—to accommodate larger bottles. Space the shelves 10 to 12 inches apart vertically so tall shampoo bottles fit upright.
If you're retrofitting an existing niche, add adjustable shelving brackets to customize the height between shelves.
Materials That Hold Up To Heavy Use
With multiple people grabbing bottles daily, the niche needs to be durable. Porcelain tile or solid surface materials resist moisture and scratches better than natural stone. For a budget-friendly option, use a pre-made acrylic or PVC insert.
Avoid porous grout lines that can stain or mold over time; opt for epoxy grout instead.
Adding A Drip Tray
A small drip tray or a slightly sloped shelf bottom prevents water from pooling and mixing with soap residue. You can install a tiny stainless steel or plastic tray on each shelf, or have the tile set with a slight pitch toward the front. This keeps bottles from sitting in water and reduces the need for frequent cleaning.
10. Niche with a Grab Bar Integration
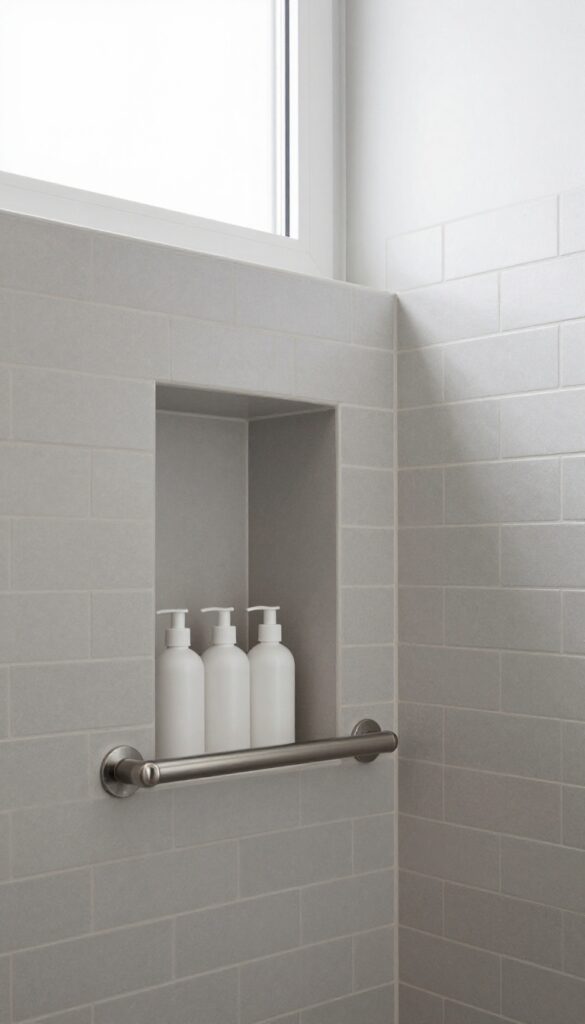
Safety and storage don't have to be separate concerns. A niche with a built-in grab bar gives you a sturdy handhold right where you need it, while keeping shampoo and soap within easy reach. This combo is especially smart for accessible bathrooms or anyone who wants extra stability without adding bulky hardware.
Why Combine A Grab Bar With A Niche?
A grab bar mounted inside a recessed niche serves double duty: it provides support when stepping in or out of the shower, and it doesn't eat up wall space. The niche holds your daily essentials, so you don't have to reach across the shower or bend down for a bottle. This setup reduces fall risk and makes the shower feel more open.
Best Placement For Maximum Safety
Install the grab bar horizontally or at a slight angle inside the niche, positioned so you can grip it naturally while standing. Place the niche near the shower entrance or where you typically stand to wash. For added stability, consider a second grab bar outside the niche, but the integrated one covers the basics.
Material And Design Tips
Choose a grab bar that matches your niche's finish—stainless steel, brushed nickel, or matte black all work well. Make sure the bar is securely anchored into wall studs or blocking. Tile the niche with a non-slip surface or use a textured insert to keep bottles from sliding.
Keep the niche depth at least 3. 5 inches to accommodate standard product sizes.
11. Backlit Niche for a Spa Vibe
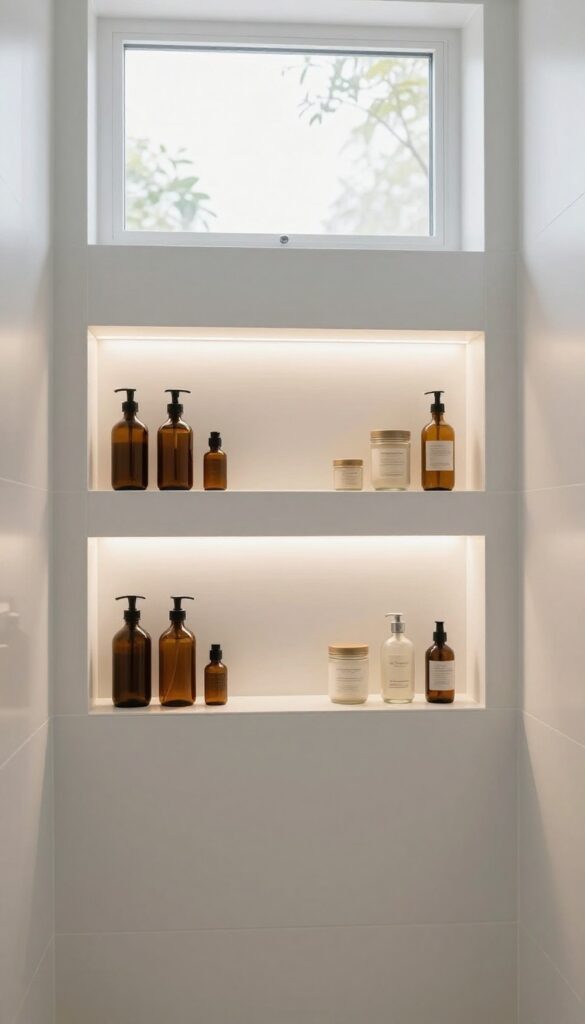
Lighting can make or break a shower’s atmosphere. A backlit niche uses waterproof LED strips to turn your storage into a glowing focal point. It’s dramatic, practical, and surprisingly easy to install during a remodel or as a retrofit.
Choosing The Right Lights
Look for IP67-rated LED strips designed for wet areas. Warm white (2700K–3000K) creates a soft, spa-like glow, while cool white (4000K) feels cleaner and more modern. RGB strips let you change colors for different moods, but stick with single-color for a more elegant look.
Installation Tips
During tile installation, run the wiring behind the waterproofing membrane and leave a small channel in the niche for the strip. Use an adhesive-backed strip that sticks to the back or top edge of the niche. For retrofits, battery-operated puck lights with remote controls work well—just make sure they’re rated for bathroom humidity.
Placement And Effect
The best effect comes from lighting the back wall of the niche so products are silhouetted against the glow. You can also line the top edge for a subtle halo. Avoid placing lights directly behind bottles, as they’ll block the illumination.
Dimmable options let you adjust brightness for a morning wake-up or evening wind-down.
12. Niche with a Sloped Bottom for Drainage
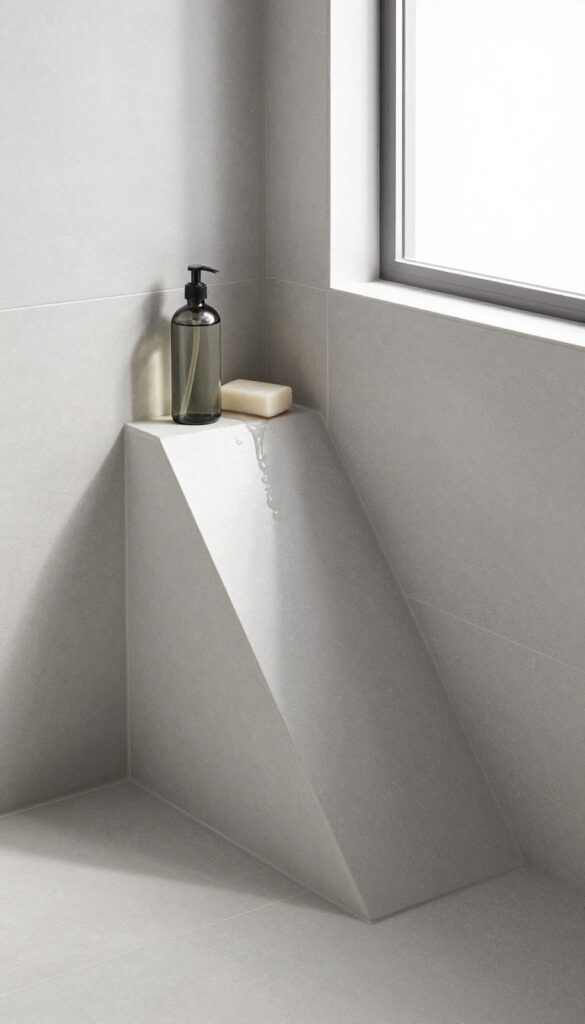
Water pooling in a shower niche is a recipe for mold, mildew, and grimy residue. A simple design tweak—angling the niche floor slightly toward the shower—lets water drain naturally, keeping the space drier and cleaner. This small adjustment makes a big difference in maintenance and hygiene.
A sloped bottom directs water out of the niche, preventing standing moisture that attracts mold. It's an easy modification during installation that pays off in less scrubbing and fresher storage. Pair with a smooth, non-porous tile finish for best results.
Why Slope Matters
Without a slope, water collects in the niche, creating a damp environment perfect for mildew. A 1–2 degree angle is enough to channel water back into the shower stream. This keeps bottles and bars from sitting in puddles, extending their life.
Installation Tips
When building the niche, set the bottom tile with a slight tilt using thin-set mortar. Use a level to check the angle. For prefab niches, look for models with built-in drainage channels or a sloped base.
Sealing grout lines adds extra protection.
Best Materials For Drainage
Porcelain or ceramic tiles with a textured finish reduce slipping and resist moisture. Large-format tiles minimize grout lines where water can linger. Avoid natural stone, which can stain and absorb water over time.
13. Recessed Niche with a Decorative Tile Accent
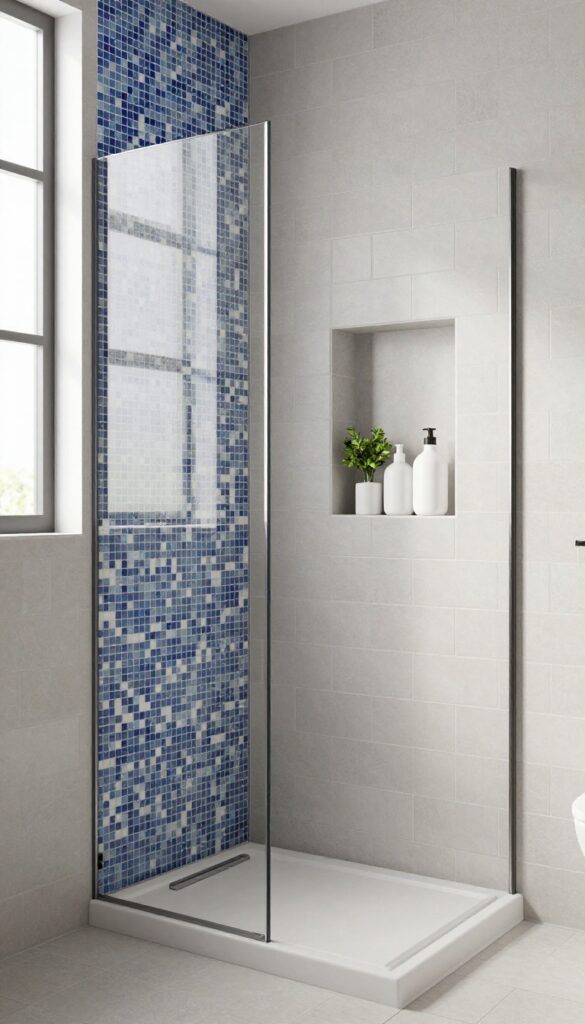
A recessed niche doesn't have to blend into the wall. By adding a decorative tile accent inside, you can turn a simple storage spot into a design statement. Contrasting or mosaic tiles draw the eye and add personality without overwhelming the shower's overall look.
This approach works especially well in minimalist bathrooms where a pop of color or pattern can break up the monotony.
The key is choosing an accent that complements your main tile without competing. A geometric mosaic, a hand-painted ceramic, or even a strip of marble can transform the niche into a focal point. Keep the rest of the shower neutral to let the accent shine.
This idea also allows you to experiment with trends like bold colors or textured tiles in a small, manageable area.
Choosing The Right Accent Tile
Pick a tile that contrasts with your shower walls—dark against light, glossy against matte, or patterned against solid. Small mosaic sheets are easy to install and create a cohesive look. For a subtle touch, use a metallic or glass tile that catches the light.
Avoid overly busy patterns that might clash with future decor changes.
Placement And Proportions
Center the accent tile on the back wall of the niche for maximum impact. If your niche is large, consider a full mosaic mural or a horizontal band of contrasting tile. For a smaller niche, a single row of decorative tiles at the bottom or top can add interest without overwhelming.
Keep the niche depth at least 3 inches to accommodate standard bottles.
Maintenance And Durability
Sealed ceramic or porcelain tiles are best for wet areas. Mosaics with small grout lines require more cleaning, so consider epoxy grout to resist stains. Glass tiles need occasional wiping to prevent water spots.
Avoid natural stone unless it's sealed regularly, as it can absorb moisture and discolor over time.
14. Niche with a Magnetic Strip for Metal Tools
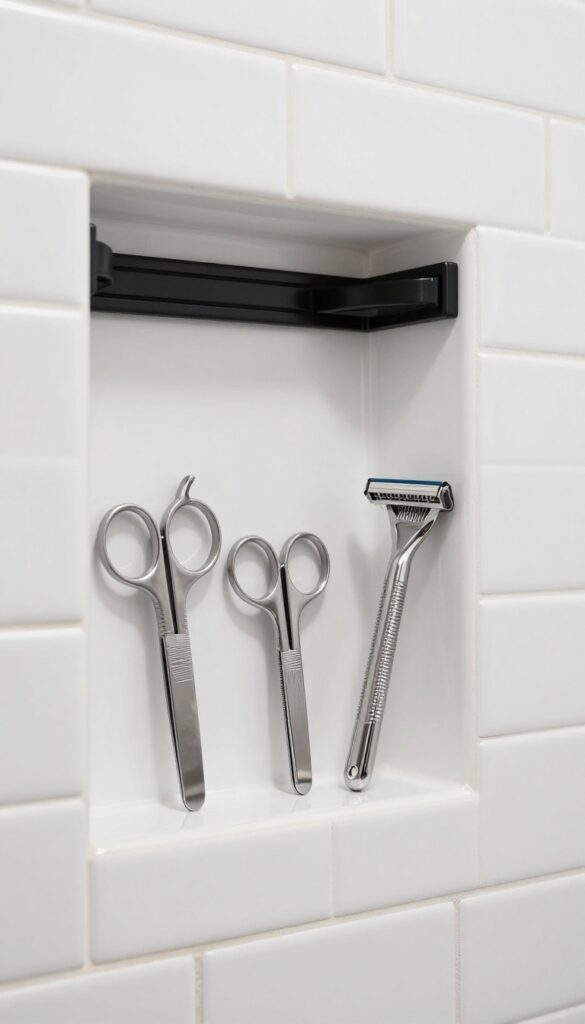
Tweezers, scissors, and razor heads are small but essential. They tend to clatter around the niche or get lost in a cup. A magnetic strip embedded into the niche wall keeps them visible, dry, and within reach.
It's a simple upgrade that makes a big difference in daily convenience.
This idea works best for metal grooming tools that you use every day. The magnetic strip holds them securely, so they don't slide off or get buried under bottles. Plus, they stay dry and rust-free because they're not sitting in a wet holder.
Installation is straightforward: you can embed a strip during tiling or retrofit one with strong adhesive.
Choosing The Right Magnet
You need a strong, waterproof magnet. Neodymium magnets are ideal because they hold well and resist moisture. Look for a strip with a protective coating to prevent rust.
Test the strength with your tools before installing.
Placement And Layout
Mount the strip on the back wall of the niche, about halfway up. This keeps tools accessible but out of the way of larger bottles. Leave enough space below for a soap dish or small cups.
If you have multiple tools, consider a wider strip or two parallel strips.
Maintenance Tips
Rinse the tools after use to remove soap residue, then stick them back. Occasionally wipe the magnetic strip with a damp cloth to prevent buildup. If you notice rust on any tool, replace it promptly to keep the strip clean.
15. Corner Caddy Niche for Quick Retrofit
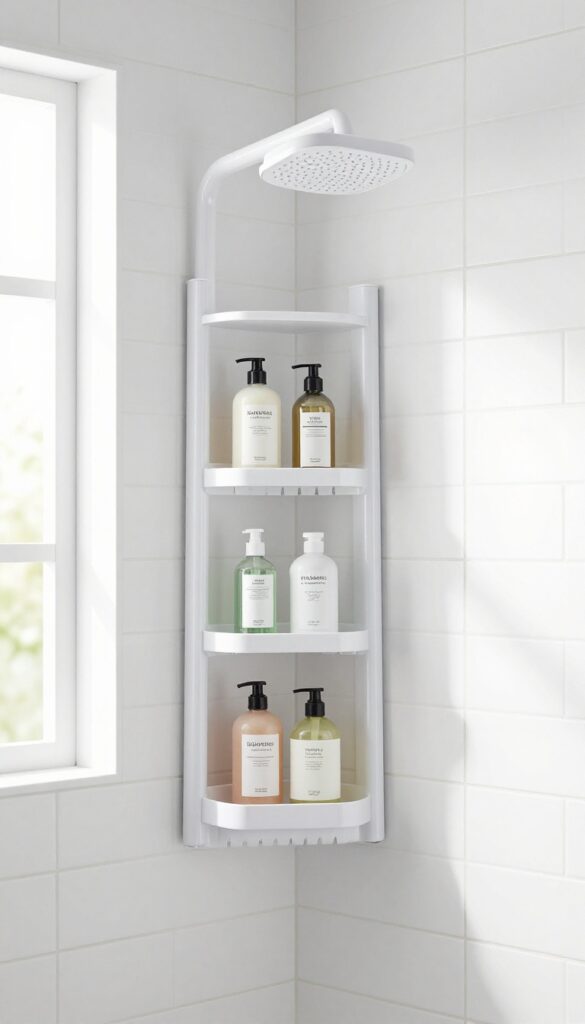
Not everyone can cut into their tile, and that's okay. A corner caddy that hangs from the showerhead or sticks with heavy-duty adhesive gives you a dedicated shower niche without any drilling. It's the perfect solution for renters, temporary setups, or anyone who wants to test out a niche before committing to a permanent install.
These caddies fit snugly into corners, making use of space that often goes wasted. Many models include multiple shelves, hooks, and even soap dishes, so you can keep your daily essentials organized without damaging the walls. The best part?
You can take it with you when you move.
A corner caddy niche is all about convenience and flexibility. It transforms an unused corner into a tidy storage zone that's easy to install and remove. Whether you're in a dorm, apartment, or just renting, this no-drill approach keeps your shower organized without any permanent changes.
No-drill Installation
Most corner caddies use tension rods, adhesive strips, or suction cups to stay in place. No tools, no holes, no landlord complaints. Installation takes minutes, and removal is just as quick.
Just make sure the surface is clean and dry before sticking, and check the weight limit so your bottles don't send everything crashing down.
Maximizing Corner Space
Corners are often dead zones in a shower. A corner caddy turns that empty angle into a functional niche. Look for designs with multiple tiers or adjustable shelves to fit tall shampoo bottles and small bars of soap.
Some even have built-in hooks for loofahs or razors, keeping everything off the floor and within reach.
Renter-friendly And Portable
Because there's no permanent installation, a corner caddy is ideal for renters or anyone who moves frequently. When it's time to leave, just peel it off (if adhesive) or unhook it, and your niche comes with you. No patching holes, no repainting.
It's a low-commitment way to enjoy the benefits of a shower niche.
FAQ
What is the best size for a shower niche?
A standard niche is about 12-14 inches tall, 6-8 inches deep, and wide enough for your largest bottle. Depth should be at least 3. 5 inches to accommodate most products.
Can I add a niche to an existing shower?
Yes, but it requires cutting into the wall and waterproofing. For a simpler retrofit, consider a floating shelf or adhesive caddy instead.
How do I prevent mold in a shower niche?
Use a sloped bottom for drainage, seal grout properly, and clean regularly. Good ventilation and a squeegee after showers also help.
What materials are best for a shower niche?
Tile, stone, or solid surface are durable and waterproof. Glass shelves are stylish but require more cleaning. Avoid wood unless sealed perfectly.
How many niches should I have in a shower?
One or two niches are usually enough. More can clutter the wall. Consider a double-height niche if you need extra space.
Conclusion
A well-placed shower niche can transform your daily routine by keeping everything you need right where you reach. Whether you opt for a built-in tile design or a simple adhesive caddy, the goal is to reduce clutter and make your shower more enjoyable.
Take a moment to assess your current setup and pick the idea that fits your space and style. With a little planning, you'll wonder why you didn't organize your shower sooner.