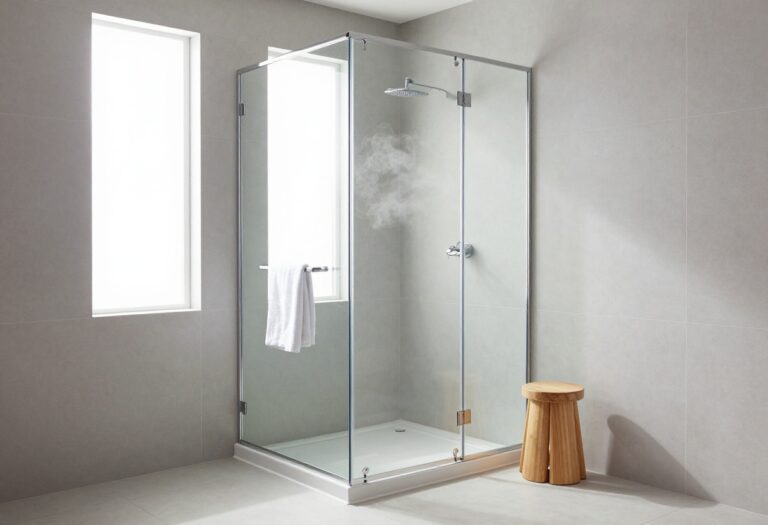
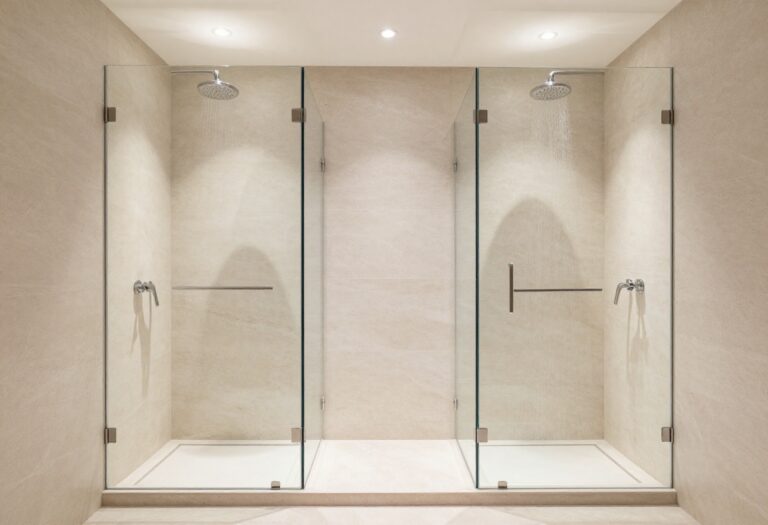
15 Tiny Bathroom Ideas with Shower Layout That Flows Well
A cramped shower doesn't have to ruin your morning. With the right layout, even the tiniest bathroom can feel open and effortless. The secret?
Smart planning that prioritizes flow over square footage. Think about how you move through the space. Every inch should work for you, not against you.
From door swings to drain placement, small details make a big difference. These 15 ideas focus on layouts that feel natural and uncluttered. Whether you're renovating or starting from scratch, you'll find practical ways to make your shower area work harder and look better.
1. Curbless Shower Entry
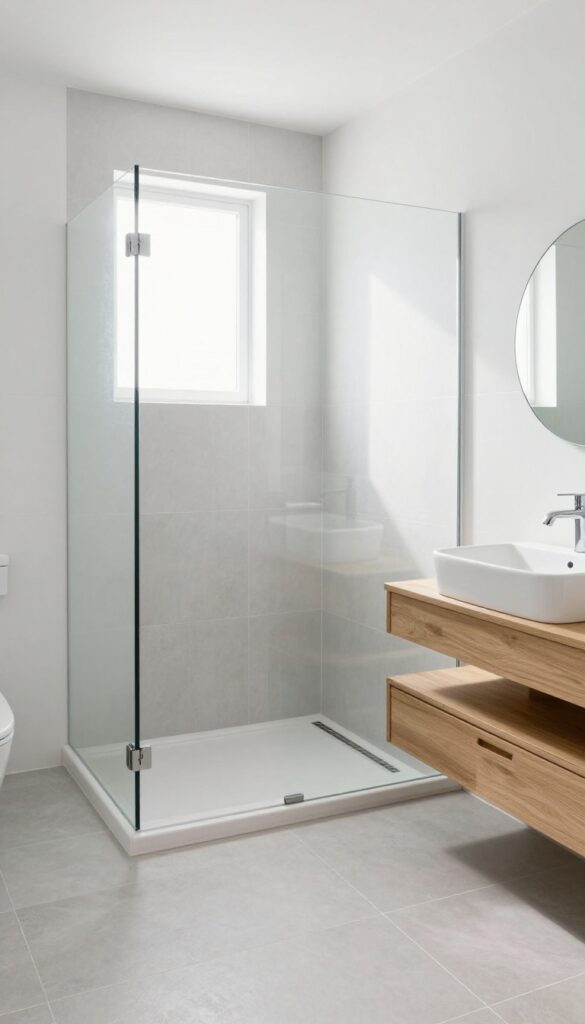
Removing the step-over barrier is one of the smartest moves you can make in a tiny bathroom. A curbless shower creates a seamless transition from the bathroom floor into the shower area, which instantly makes the whole space feel larger and more open. It also eliminates a tripping hazard, making the bathroom safer for everyone, from kids to older adults.
The visual continuity of a flush floor tricks the eye into seeing more square footage than there actually is. Plus, you gain flexibility in layout because you're not locked into a specific shower pan shape. The key is proper sloping of the floor toward the drain so water doesn't wander where it shouldn't.
With linear drains, you can place the drain along one edge, which simplifies tiling and gives a clean, modern look.
Linear Drain Placement
Instead of a traditional center drain, a linear drain sits along one wall or the shower entrance. This allows the floor to slope gently in one direction, making installation easier and creating a sleek, uninterrupted floor surface. It also works well with large-format tiles, reducing grout lines and visual clutter.
Tile Continuity Trick
Use the same tile on the bathroom floor and inside the shower to blur the boundary. When the tile runs continuously without a curb, the eye sees one cohesive surface. This simple trick makes a tiny bathroom feel significantly bigger and more polished.
Glass Panel Instead Of Curtain
Pair your curbless entry with a single panel of fixed or hinged glass. A frameless glass panel maintains the open feel while keeping spray contained. It also lets natural light flow through, which is a huge bonus in a small space.
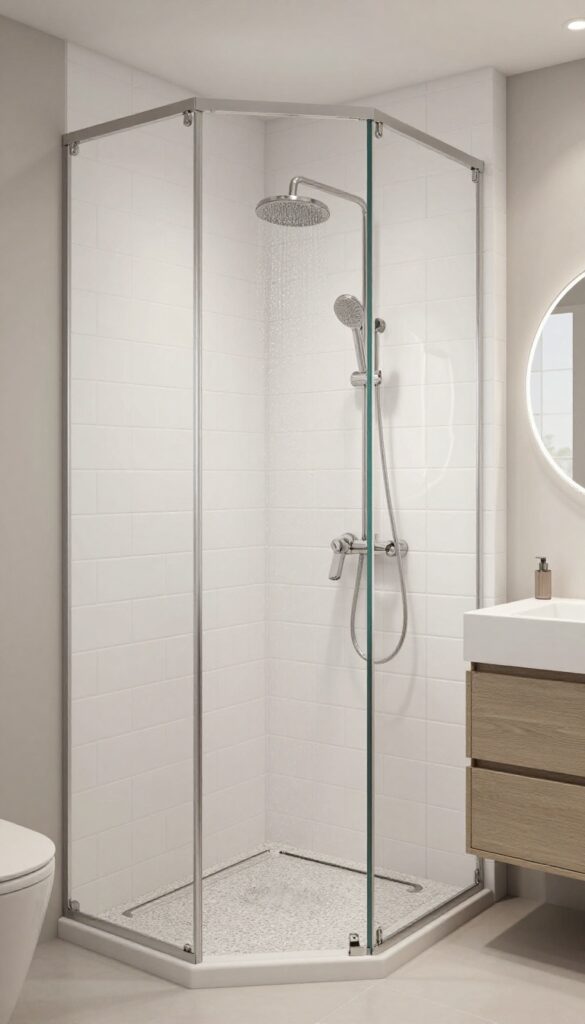
2. Corner Shower with Sliding Door
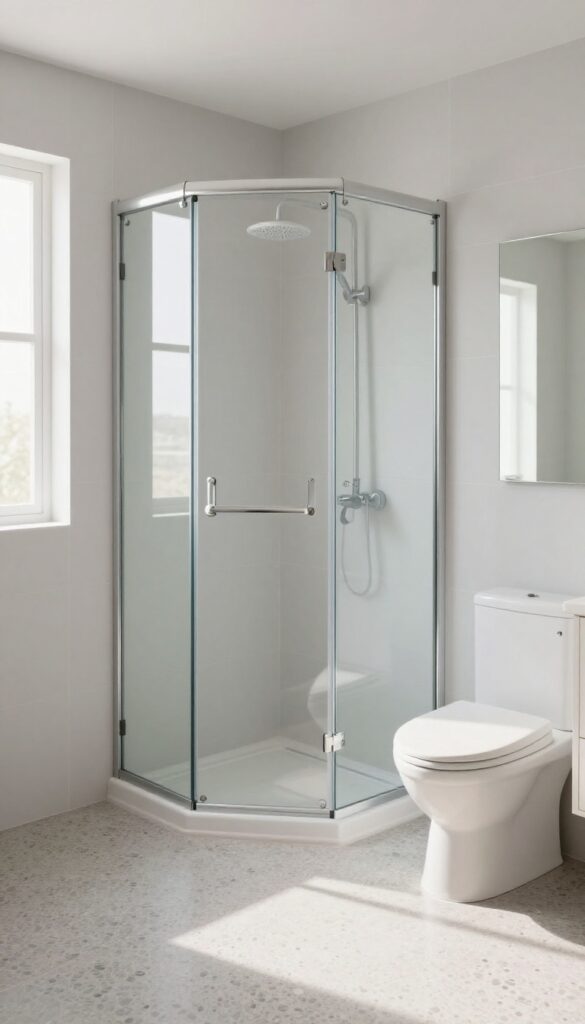
Corners often go to waste in small bathrooms, but they're actually prime real estate for a shower. A neo-angle or quadrant enclosure fits neatly into the corner, creating a compact wet zone without eating up floor space. The real game-changer is the sliding door.
Unlike a hinged door that needs clearance to swing open, a sliding door glides along a track, so you can place the shower right next to a toilet or vanity without any clearance issues. That means a more open, less cramped layout overall.
Corner showers are a classic space-saver, but the door choice makes or breaks the flow. Sliding doors are the obvious winner for tiny bathrooms because they don't intrude into the room. They also let you position the shower entry wherever it works best—often at an angle that aligns with the rest of the layout.
Pair this with a frameless glass enclosure to keep the sightlines clear, and your bathroom instantly feels larger.
Neo-angle Vs. Quadrant
Neo-angle showers have three panels and a angled door, while quadrant showers have a curved front. Neo-angles feel more modern and maximize corner depth, but quadrants offer a softer look and can be easier to clean. For tight spaces, a quadrant with a sliding door often fits better because the curved front gives a few extra inches of elbow room.
Sliding Door Hardware
Look for bottom-roller systems that keep the top track clean and minimal. Top-hung rollers are also common but require a sturdy header. Avoid cheap plastic rollers; opt for stainless steel or nylon for smooth, quiet operation.
Also, consider a bypass door that slides past a fixed panel—this gives a wider opening than a single sliding door.
Layout Tips
Place the shower in a corner that's visible from the door to avoid a cramped feel. Keep the shower floor flush with the rest of the bathroom floor (or use a low-profile curb) to maintain visual flow. Position the showerhead on the wall opposite the entry so water doesn't splash out when you open the door.
3. Wet Room Concept
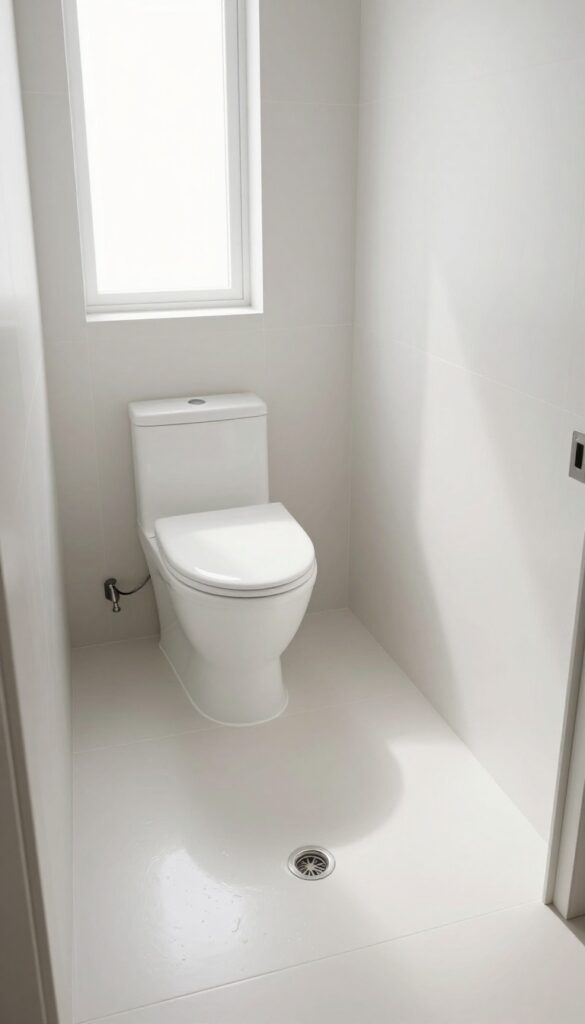
A wet room is essentially a waterproofed zone where the shower and toilet share the same floor space. There's no door or curtain needed—just a slight slope toward a central drain. This approach eliminates visual barriers, making the bathroom feel much larger than it actually is.
It's a bold move, but for tiny bathrooms, it can be a game-changer.
The wet room concept is about merging functions into one seamless space. By waterproofing the entire floor and using a single drain, you remove the need for a separate shower enclosure. This frees up square footage and creates a clean, minimalist look.
The key is to ensure proper sloping and drainage so water doesn't pool where it shouldn't. With the right materials and planning, a wet room can be both practical and beautiful.
Planning The Slope
The slope is the backbone of any wet room. You need a consistent gradient of about 1-2% toward the drain. This ensures water flows away quickly and doesn't linger.
Work with a professional to get the pitch right—too steep and it feels uneven, too shallow and water pools.
Choosing Materials
Waterproofing is non-negotiable. Use a tanking membrane under tiles or a continuous waterproof sheet. For flooring, non-slip tiles are a must.
Consider large-format tiles to minimize grout lines, which are potential weak spots. Wall materials should also be moisture-resistant, like porcelain or treated stone.
Toilet Placement
In a wet room, the toilet gets wet. That's fine as long as it's a wall-hung model with a concealed cistern. This keeps the floor clear and makes cleaning easier.
Place the toilet away from the shower head to reduce direct splashing. A glass screen or half-wall can offer a bit of separation if you prefer.
4. Linear Drain Along the Wall
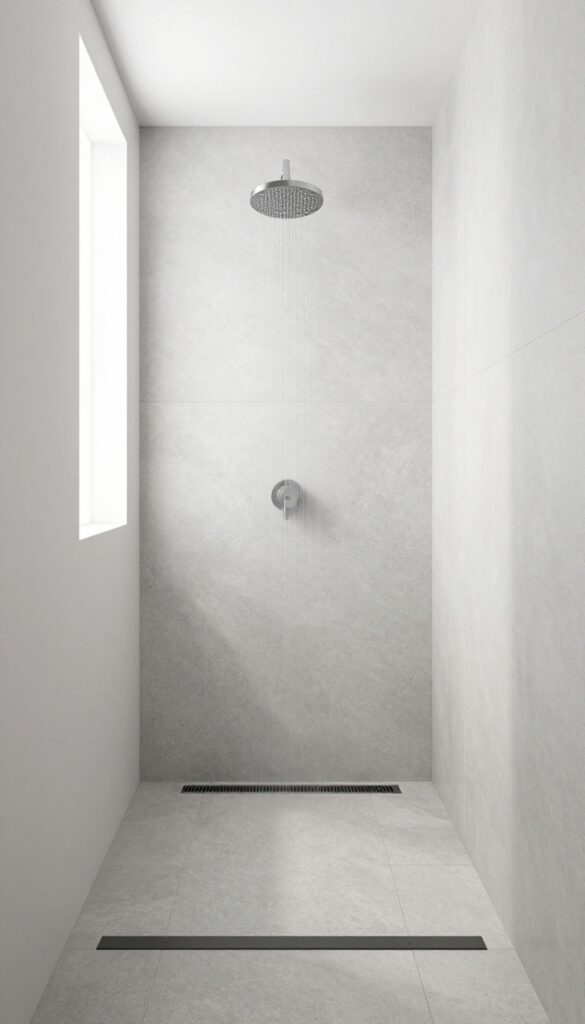
Drain placement might not be the first thing you think about when designing a shower, but it can make or break the layout. A linear drain along one wall changes the game for tiny bathrooms. Instead of a center drain that forces a multi-slope floor, you get a single slope that feels cleaner and more spacious.
By running the drain along one wall, the floor can tilt gently in one direction. This eliminates the need for a complicated tile pattern and reduces the visual clutter of a central drain. The result is a sleek, minimalist look that makes the shower feel larger.
Plus, the linear channel can double as a subtle design element, especially if you choose a contrasting grate material like brushed nickel or matte black.
How It Improves Flow
A single-slope floor means water naturally moves toward the wall, not pooling around your feet. This makes the shower feel more open because you're not standing on a sloped surface that angles toward a center point. It also simplifies installation for tilers, which can save on labor costs.
Design Flexibility
Linear drains work with any tile layout, from large-format slabs to small mosaic patterns. You can place the drain at the shower entrance to create a subtle threshold, or tuck it under a bench for a hidden look. The grate itself can be a design feature, available in various finishes and patterns.
Space-saving Benefits
In a tiny bathroom, every inch counts. A linear drain along the wall allows you to position the shower head on the opposite wall, keeping the spray contained without needing a bulky curb. This can free up floor space for a floating vanity or a compact toilet.
5. Pocket Door for Shower Entry
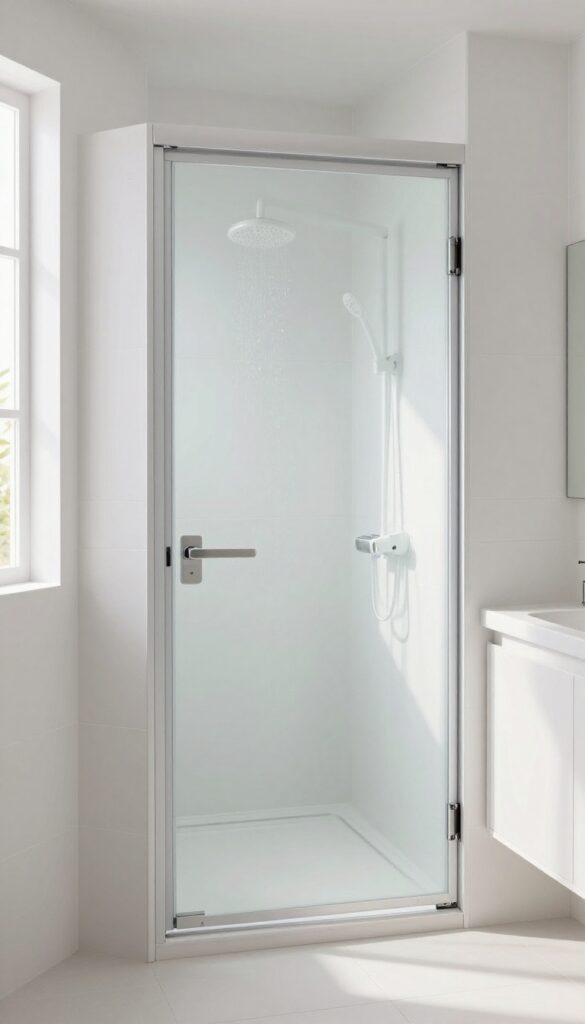
Swapping a traditional swinging shower door for a pocket door can be a game-changer in a tiny bathroom. Since it slides neatly into the wall, you don't need any clearance for the door to swing open. That frees up precious floor space and makes the whole layout feel less cramped.
Why It Works So Well
A pocket door disappears completely into the wall cavity when open, so there's no visual or physical obstruction. In a small bathroom, every inch counts, and not having to account for a door swing zone means you can place fixtures closer together without feeling tight. Plus, it eliminates the risk of the door hitting the toilet or vanity.
Installation Considerations
Installing a pocket door requires a wall that isn't load-bearing or can be reinforced. You'll also need a pocket door frame kit, which slides into the wall studs. The track and hardware should be high-quality to ensure smooth operation.
If you're not experienced with framing, it's best to hire a contractor for this part.
Design Options
Pocket doors come in various materials like frosted glass, solid wood, or moisture-resistant composites. Frosted glass lets light pass through while maintaining privacy, making the shower feel more open. You can also match the door style to your bathroom's aesthetic—modern, rustic, or minimalist.
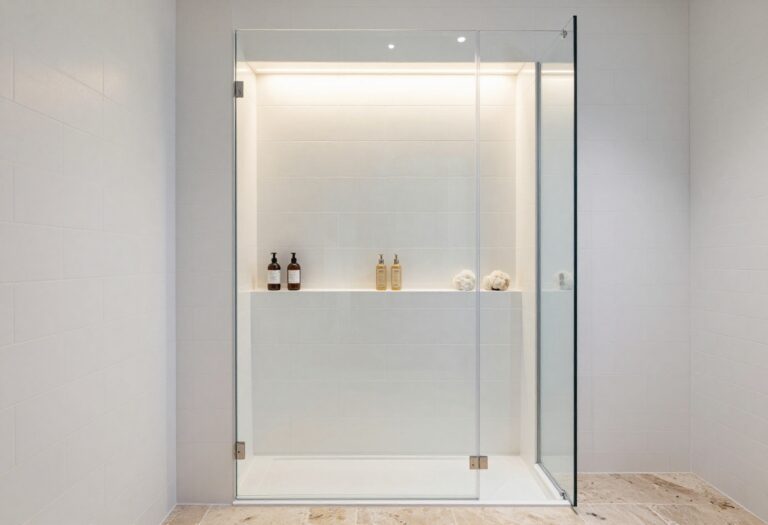
6. Shower Niche for Storage
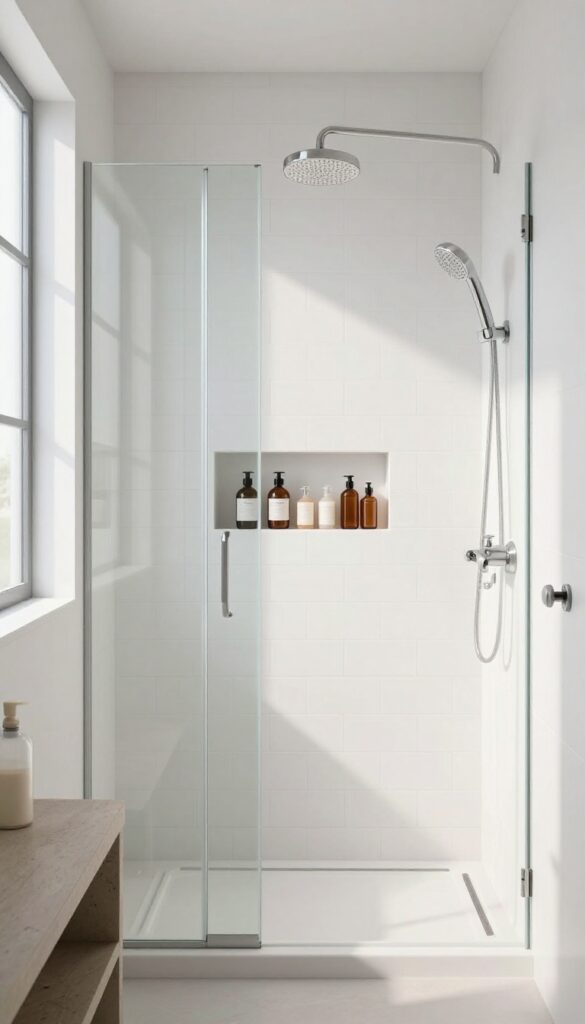
Built-in niches are a no-brainer for small showers. They keep bottles and soaps off the floor and out of the way, so you don't trip over clutter. Plus, they look like part of the design rather than an afterthought.
A niche doesn't just add storage; it helps maintain a clean, streamlined look. By recessing shelves into the wall, you eliminate bulky caddies that disrupt the visual flow. Place them at arm's reach from the showerhead so everything is handy without breaking the sightline.
Placement Matters
Install the niche on a wall that's not directly opposite the showerhead. That way, water doesn't pool on the shelves. Also, keep it at a height that's easy to reach—typically between 36 and 48 inches from the floor.
Size And Shape
A single niche is often enough for a small shower. Aim for about 12 inches wide and 6 inches deep. That fits most bottles without wasting space.
You can also go for a long, narrow niche if you prefer a more modern look.
Tiling Tips
Match the niche tile to the shower wall for a seamless look, or use a contrasting accent tile to make it pop. Either way, make sure the bottom slopes slightly toward the shower to prevent water from sitting.
7. Floating Vanity Next to Shower
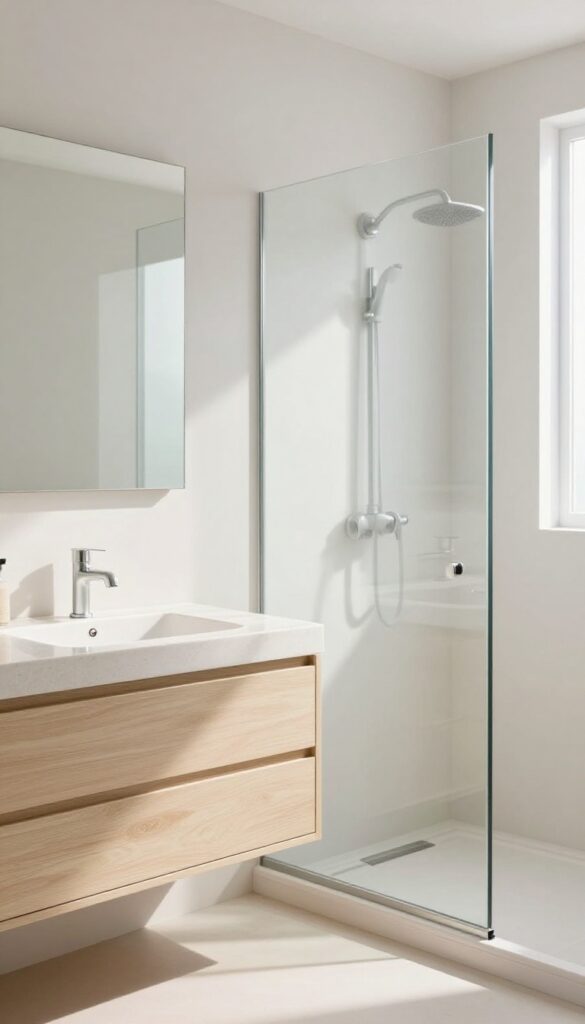
A wall-mounted vanity does more than just look sleek. By lifting the cabinet off the floor, you free up visual space that can flow right into the shower zone. That open gap underneath tricks the eye into seeing a larger floor area, making the whole bathroom feel less cramped.
Pairing a floating vanity with a curbless or low-threshold shower creates a seamless transition. The vanity’s clean lines and lack of bulky legs reduce visual weight, so the shower and vanity feel like part of one continuous space. Choose a vanity in a light finish or with integrated handles to keep the look airy.
Why It Works
Floating vanities expose more floor area, which makes the room appear bigger. The gap underneath also makes cleaning easier and gives you a spot to store a small stool or basket. When placed next to the shower, the open look prevents the vanity from feeling like a heavy, separate piece of furniture.
Placement Tips
Install the vanity so its top aligns with the shower curb or threshold for a unified line. Leave at least 2 inches of clearance between the vanity and the shower glass to avoid moisture damage. If space is really tight, consider a narrow floating vanity—around 18 inches deep—to keep the walkway wide.
Material Choices
Go with moisture-resistant materials like solid wood with a waterproof finish, marine-grade plywood, or even a stone top. Avoid particleboard near the shower. A glossy or matte white finish reflects light and keeps the vanity from feeling heavy.
Pair it with a vessel sink or an under-mount basin for a streamlined look.
8. Glass Block Shower Wall
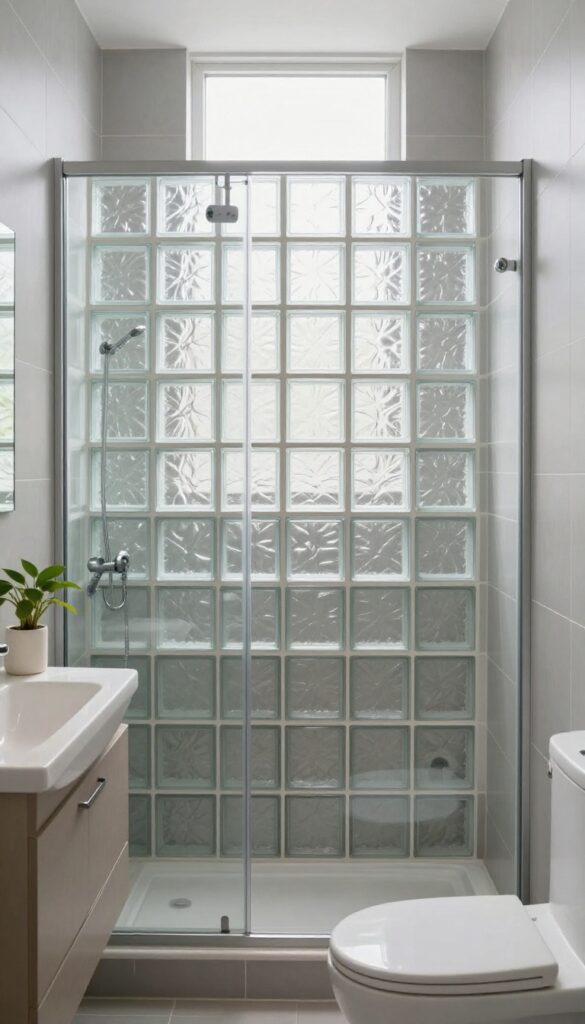
Glass blocks are making a quiet comeback, and for good reason. They let natural light pour into the shower while keeping your privacy intact. In a tiny bathroom, that combination is pure gold.
The translucent panels make the whole space feel brighter and more open without the upkeep of clear glass.
Light Without The Fishbowl Effect
Clear glass showers can feel exposed, especially in a small bathroom where the toilet might be right next to the shower. Glass blocks scatter light, so you get brightness without the clear view. Your shower stays private, but the room feels larger and airier.
It's the best of both worlds.
Easy Maintenance, No Streaks
Anyone who's cleaned a glass shower door knows the struggle with water spots and soap scum. Glass block walls are much more forgiving. The textured surface hides smudges, and you can clean them with a simple squeegee or mild cleaner.
Less scrubbing, more enjoying your morning routine.
Design Flexibility For Tight Spaces
Glass blocks come in different sizes, colors, and patterns. You can use them as a full wall, a half-wall, or even a curved partition. In a narrow bathroom, a glass block wall can replace a bulky shower curtain or door, freeing up precious inches.
Plus, the blocks add a subtle architectural detail that makes the space feel intentional.
9. Shower and Tub Combo with Folding Screen
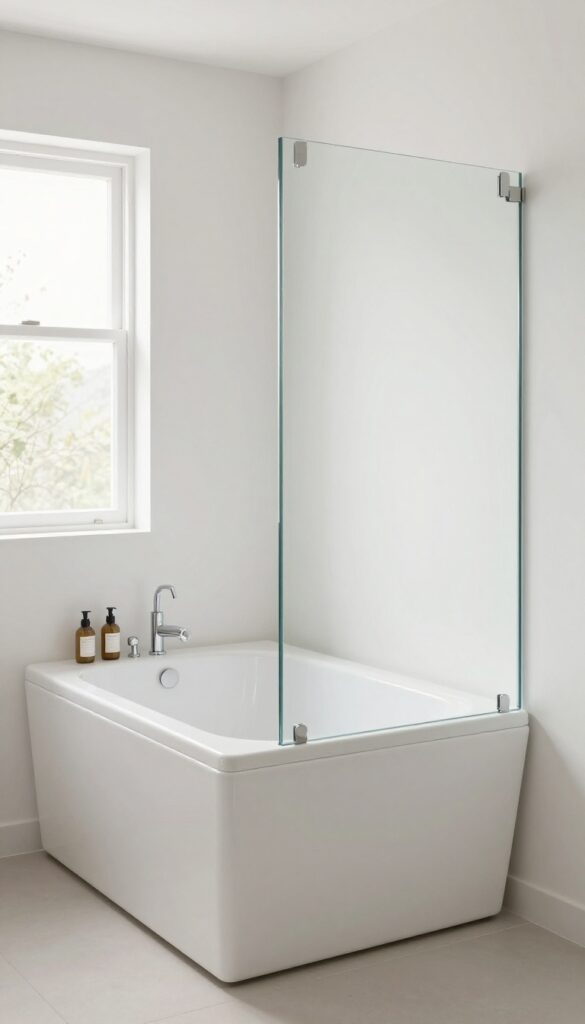
A compact tub with a foldable glass screen gives you both options without a permanent door. Fold it away when not in use to open up the space. This setup is perfect for small bathrooms where you want the flexibility of a soak and a quick shower without sacrificing room.
A shower-tub combo with a folding screen is a smart space-saver. The screen tucks neatly against the wall when you're bathing, and unfolds to keep water in during a shower. Choose a clear glass screen to maintain an open feel, or frosted for privacy.
Pair it with a deep soaking tub for maximum comfort.
Why Folding Screens Work
Unlike sliding doors or fixed panels, folding screens don't eat up floor space. They hinge on one side, so you can push them flat against the wall. This leaves the tub area completely open for easy entry and cleaning.
Plus, they're lightweight and easy to install.
Choosing The Right Tub
Look for a tub that's deep enough for soaking but not too long for your space. A standard 60-inch alcove tub works well. Consider a tub with a built-in ledge or shelf for storing bath essentials.
Acrylic tubs are lighter and retain heat better than cast iron.
Water Protection Tips
Make sure the screen overlaps the tub edge by at least two inches to prevent leaks. Use a bottom seal or sweep along the screen's edge. Install a handheld showerhead with a hose long enough to reach the tub's far end—this makes rinsing easier and keeps water where it belongs.
10. Offset Shower Head
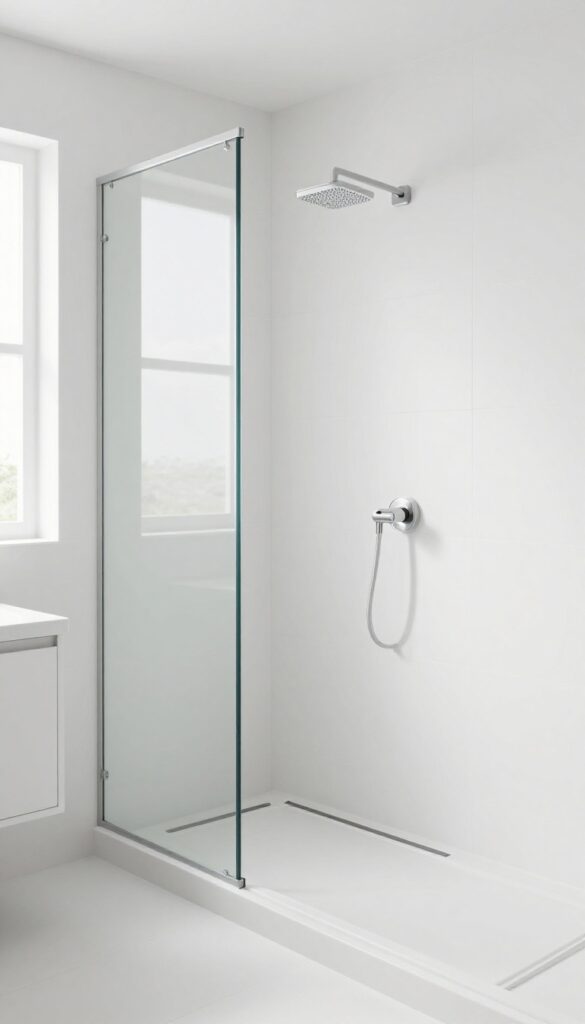
Standard center-mounted shower heads force you into a symmetrical layout that wastes precious space. By moving the shower head to a side wall, you can use a longer, narrower pan that fits snugly against one wall. This simple shift opens up the rest of the bathroom for a vanity or toilet without feeling cramped.
Offsetting the shower head changes the entire geometry of your shower area. Instead of a square or round pan, you can install a rectangular one that runs the length of a wall. This creates a distinct wet zone that doesn't interfere with the rest of the room.
The side-mounted head also means you're not standing directly under the water flow, which can make the space feel larger and more open.
Better Use Of Corners
An offset shower head works especially well in corner installations. Mount the head on the long wall of a corner shower, and you can fit a deeper bench or shelf on the opposite side. This turns an awkward corner into a functional showering area without extra square footage.
Door Clearance Solved
With the head on a side wall, you can use a sliding or pivoting door that doesn't swing into the room. This is a lifesaver in tiny bathrooms where every inch of floor space matters. The door can be shorter or narrower because you're not trying to center it around a traditional head.
Drain Placement Freedom
A side-mounted head lets you place the drain at the far end of the pan, away from the water source. This gives you more flexibility with slope and tile patterns. You can also use a linear drain along the wall, which looks modern and simplifies waterproofing.
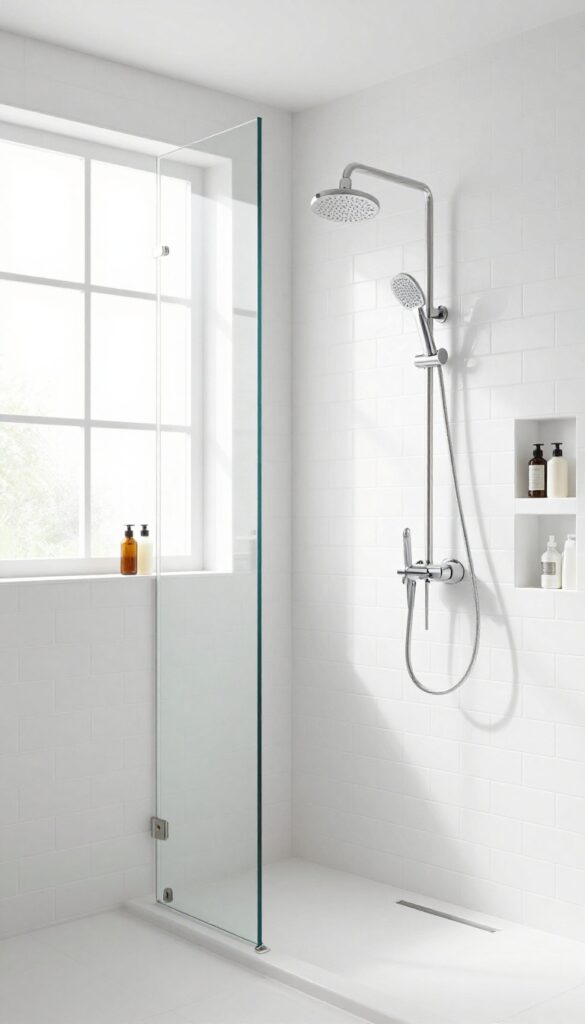
11. Half-Wall Shower Partition
A half-wall gives you the best of both worlds: splash protection without the claustrophobia of a full enclosure. It carves out a dedicated shower zone while letting light and sight lines travel freely across the room. This simple trick makes a tiny bathroom feel considerably larger than it really is.
The half-wall acts as a visual anchor, defining the wet area without boxing it in. You can tile it to match the shower walls or make it a feature with contrasting material. Because it stops short of the ceiling, the space above keeps the room open and airy.
Pair it with a rainfall shower head or a handheld unit mounted on the wall for a clean, modern look.
Splash Control Without The Clutter
A half-wall catches most of the spray from a standard shower head, so water stays where it belongs. Unlike a shower curtain, it won’t billow inward or stick to your skin. And unlike a full glass enclosure, there are no hinges, tracks, or frames to clean.
It’s a low-maintenance solution that keeps the floor drier.
Material Choices That Make A Statement
Half-walls work well with tile, stone, or even waterproof wood-look planks. If you want to keep the visual weight light, use the same tile as the shower walls. For contrast, try a dark stone base with lighter walls.
A built-in niche on the half-wall side gives you a handy shelf for shampoo and soap.
Layout Tips For Tight Spaces
Position the half-wall so it separates the shower from the toilet or vanity without blocking the path to the door. Keep the height between 36 and 48 inches—tall enough to block splashes, short enough to maintain sight lines. If the shower is against an exterior wall, consider a half-wall that runs the full length of the shower to create a private alcove.
12. Recessed Shelving in Shower
Carving out shelves between the studs inside your shower is one of those ideas that seems obvious only after you see it done. No bulky caddies hanging from the showerhead, no suction cups that eventually fail—just permanent, flush storage that disappears into the wall. It keeps bottles and bars within easy reach without stealing any floor or visual space.
Recessed shelving turns dead space into functional storage. By building niches between wall studs, you gain a spot for shampoo, conditioner, and soap that doesn't protrude into the shower area. This is especially valuable in tiny bathrooms where every inch counts.
The shelves blend into the tile or surround, creating a clean, built-in look that feels intentional rather than tacked on.
Placement Matters
Put the niche on a wall that won't get direct spray from the showerhead, or angle the shelf slightly downward so water runs off instead of pooling. Standard height is around 48 inches from the floor, but adjust based on who's using the shower. One tall niche or two smaller ones?
It depends on your bottle collection.
Tile And Finish Options
Match the shelf tile to the shower wall for a seamless look, or use a contrasting accent tile to make the niche a subtle feature. A solid surface like quartz or marble is easy to clean and looks high-end. Just avoid porous materials that can stain from soap scum.
Depth And Size Guidelines
A depth of 3 to 4 inches is enough for most bottles without them sticking out. Width can vary, but 12 to 16 inches is common. If you're tiling, plan the niche size to fit full tiles or minimize cuts.
This saves time and looks cleaner.
Lighting Inside The Niche
Adding a small LED strip or a waterproof puck light inside the niche makes it easier to grab the right bottle and adds a spa-like glow. Just make sure the fixture is rated for wet locations and installed by a pro.
13. Sliding Barn Door for Bathroom Entry
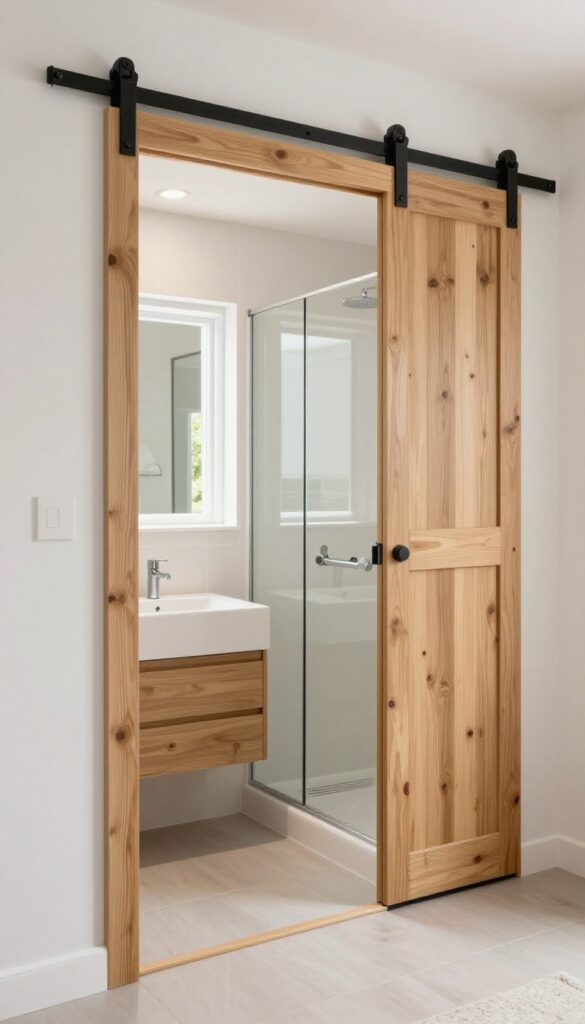
Standard hinged doors eat up precious floor space with their swing arc. In a tiny bathroom, that lost area could be the difference between a cramped shower and one that feels open. Swapping out the traditional door for a barn door that slides along the wall recovers that space instantly.
A sliding barn door glides parallel to the wall, so there's zero swing clearance needed. That means you can push the shower or vanity right up to the door opening without worrying about clearance. The result is a more flexible layout where every inch counts.
Plus, barn doors add a rustic or modern farmhouse touch that can make the bathroom feel like a stylish retreat.
Maximize Layout Freedom
Without a door swing, you can position the shower, toilet, or sink much closer to the doorway. This opens up possibilities like a larger shower pan or a deeper vanity. Measure your rough opening and choose a barn door kit that fits—many come with all hardware included.
Choose The Right Material
Bathrooms are humid, so opt for materials that can handle moisture. Solid wood with a good sealant, MDF with a waterproof finish, or even glass panels on a metal track work well. Avoid raw wood or particleboard that can warp over time.
Privacy And Sound
Barn doors don't seal as tightly as hinged doors, so consider adding a sweep at the bottom and weatherstripping along the jamb. For extra privacy, choose a door that's slightly wider than the opening and use a soft-close mechanism to avoid slamming.
14. Shower Bench at the Far End
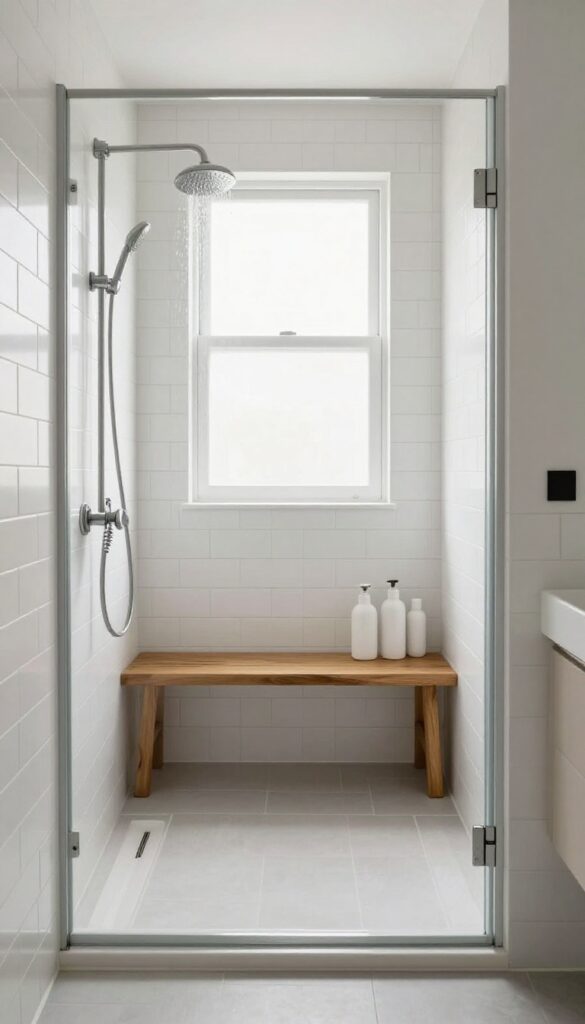
A slim bench placed at the far end of the shower does more than give you a place to sit. It acts as a natural ledge for toiletries and keeps the shower floor clutter-free. The key is positioning it against the back wall so it doesn't block the path or make the space feel tighter.
A bench at the far end creates a visual anchor that draws the eye forward, making the shower feel longer. It also provides a practical spot for shaving or just resting. The bench should be narrow—about 12 to 15 inches deep—so it doesn't eat into the showering area.
Materials like teak or stone work well because they handle moisture and add warmth.
Flow-friendly Placement
Putting the bench at the far end means you walk straight into the shower without an obstacle. The bench is out of the way when you're standing under the showerhead. This layout works especially well in rectangular showers where the door is at the short side.
Built-in Vs. Freestanding
A built-in tiled bench looks seamless and can double as a shelf for bottles. Freestanding benches offer flexibility—you can move them if you need more space. For small bathrooms, a fold-down bench is another option that tucks away when not in use.
Material Choices That Last
Teak is a classic choice because it's naturally water-resistant and warm underfoot. Stone or concrete benches add a modern look but need sealing. Avoid porous materials that can stain or grow mold.
A slight slope on the bench top helps water run off instead of pooling.
15. Use the Same Floor Tile Throughout
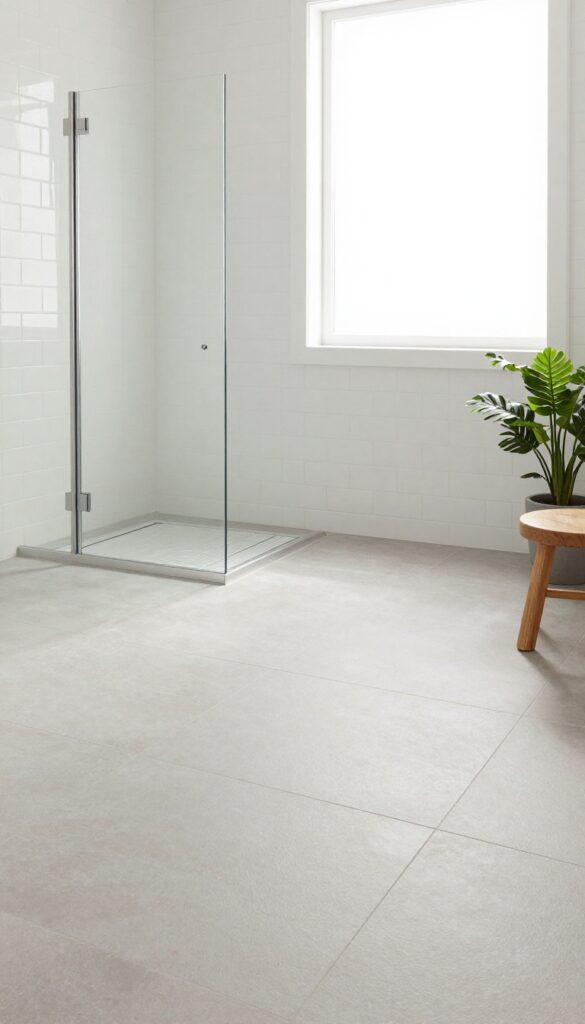
Continuous flooring from the bathroom floor into the shower creates a seamless look that makes the space feel larger. Without a visual break, the eye travels freely, tricking you into perceiving a more open area. This trick works especially well in tiny bathrooms where every inch counts.
By eliminating the traditional shower curb and using the same tile throughout, you create a wet-room effect that feels modern and spacious. The uninterrupted surface also makes cleaning easier since there are fewer transitions to catch grime.
Why It Works For Small Spaces
A single flooring material removes visual clutter. In a small bathroom, too many changes in texture or color can make the room feel choppy and cramped. Continuous tile streamlines the view, making the shower area feel like a natural extension of the room rather than a separate compartment.
Choosing The Right Tile
Go for large-format tiles in a light color to maximize the illusion of space. Rectangular tiles laid in a running bond pattern can also elongate the room. Make sure the tile is slip-rated for wet areas—porcelain or textured ceramic work well.
Installation Considerations
You'll need a linear drain at the shower entrance or along the wall to handle water runoff without a curb. The floor must slope properly toward the drain, so hire an experienced installer. Also, use a continuous waterproofing membrane under the tile to prevent leaks.
FAQ
What is the best shower layout for a tiny bathroom?
A curbless shower with a linear drain and sliding door is often best. It removes barriers and maximizes usable floor space.
Can I put a shower in a 5×5 bathroom?
Yes. A corner shower with a sliding door or a wet room layout works well in a 5×5 space. Keep fixtures minimal and use light colors.
How do I make a small shower feel bigger?
Use clear glass doors, light-colored tiles, and a curbless entry. Adding a large mirror outside the shower also helps visually expand the room.
Should I use a shower curtain or door in a small bathroom?
A frameless glass door is better for a clean, open look. If space is extremely tight, a curved shower rod with a curtain can work but may feel less spacious.
What is a wet room bathroom?
A wet room is a fully waterproofed bathroom where the shower area is open and on the same level as the rest of the floor. Water drains via a floor drain.
Conclusion
Small bathrooms don't have to feel cramped. With smart shower layouts and a few design tricks, you can create a space that flows well and feels much larger than it is. Pick one idea that addresses your biggest challenge—whether it's storage, light, or layout—and start there.
Small changes add up fast. Before you know it, your tiny bathroom will become a room you actually enjoy stepping into.