17 Bathroom Cleaning Routine Ideas for Simple Days
A clean bathroom doesn't have to mean a full weekend scrub-down. Small, consistent habits can keep your space fresh with way less effort. These 17 ideas are designed to fit into your daily life, not take it over.
Think of them as tiny resets that prevent grime from building up in the first place. A quick wipe here, a spray there, and you're done. No marathon cleaning sessions required.
The goal is simple: a bathroom that feels clean without eating into your free time. Pick a few ideas that click with your routine and see how much easier things get.
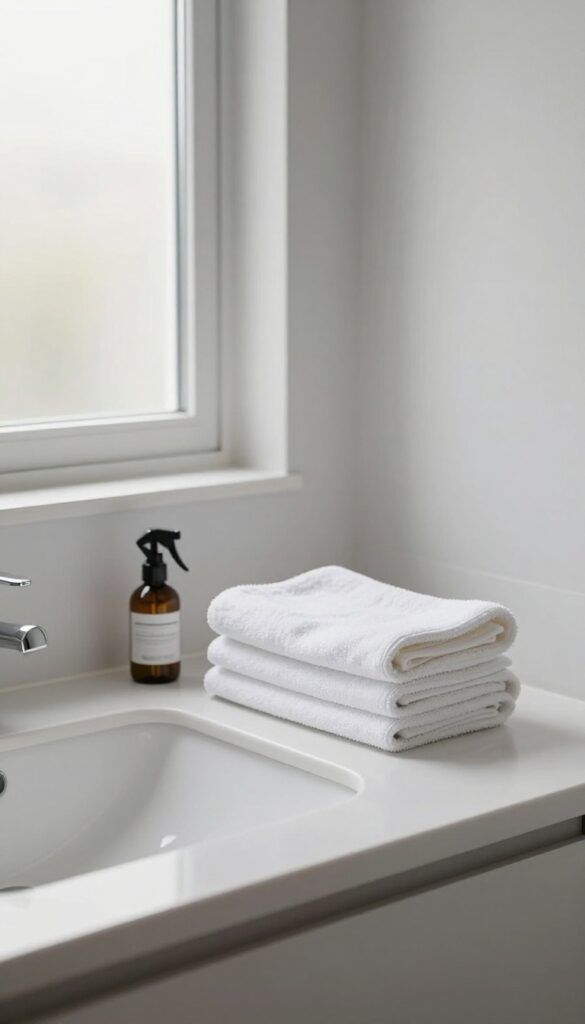
1. Keep a Daily Wipe-Down Cloth Handy
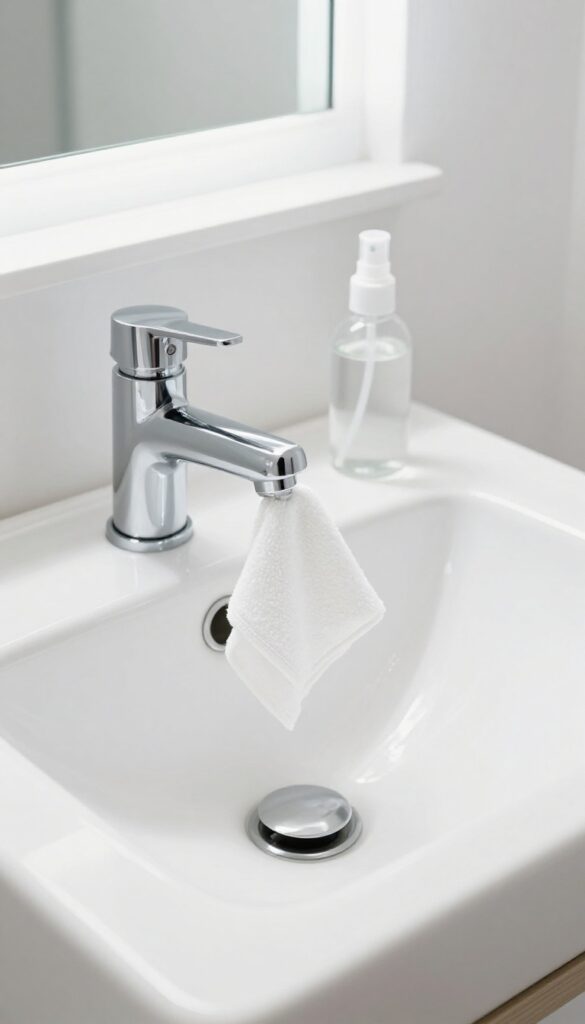
The secret to a bathroom that always looks clean is wiping down surfaces before grime sets in. A microfiber cloth kept right by the sink makes this effortless. Just a few seconds after brushing your teeth or washing your hands can save you from scrubbing dried toothpaste and water spots later.
This habit is less about deep cleaning and more about maintenance. By catching messes fresh, you prevent buildup that requires harsh chemicals or elbow grease. It's the kind of small, consistent action that keeps your bathroom feeling fresh with minimal effort.
Choose The Right Cloth
Microfiber is ideal because it traps dust and absorbs water without leaving lint. Keep a dedicated cloth just for the bathroom and wash it weekly. Avoid using the same cloth for multiple areas to prevent cross-contamination.
Make It A Routine
Tie the wipe-down to an existing habit, like after brushing your teeth. Store the cloth in a visible spot, such as draped over the faucet or in a small caddy. Out of sight often means out of mind, so keep it accessible.
Bonus: Use A Daily Spray
For extra freshness, mix a simple solution of water and a drop of dish soap in a spray bottle. A quick spritz before wiping dissolves grime instantly. This works wonders on mirrors and chrome fixtures.
2. Squeegee the Shower Walls After Every Use
If you want to cut down on scrubbing time, a squeegee is your best friend. Running it over the walls and glass door after each shower takes about 30 seconds but makes a huge difference in how long your shower stays clean. Soap scum and water stains don't get a chance to set, so you can go longer between deep cleans.
Keep a squeegee hooked inside your shower or on a nearby rack so it's always ready. After you turn off the water, quickly swipe the walls from top to bottom. Don't forget the corners and the door if you have one.
That little habit keeps everything looking clearer and reduces the need for harsh cleaners.
Why It Works So Well
Hard water minerals and soap residue cling to wet surfaces. By removing the water, you take away the environment where grime builds up. It's a simple prevention step that saves you from scrubbing later.
Squeegee Tips For Best Results
Use a squeegee with a rubber blade that's still soft. If the blade gets nicked or hard, replace it. Wipe the blade dry after each use to keep it in good shape.
For glass doors, a microfiber cloth can also work if you prefer.
How Often To Deep Clean Anyway
Even with regular squeegeeing, you'll still need a weekly or biweekly wipe-down with a mild cleaner. But the effort is way less—just a quick spray and rinse instead of scrubbing off stubborn buildup.
3. Use a Toilet Cleaning Tablet in the Tank
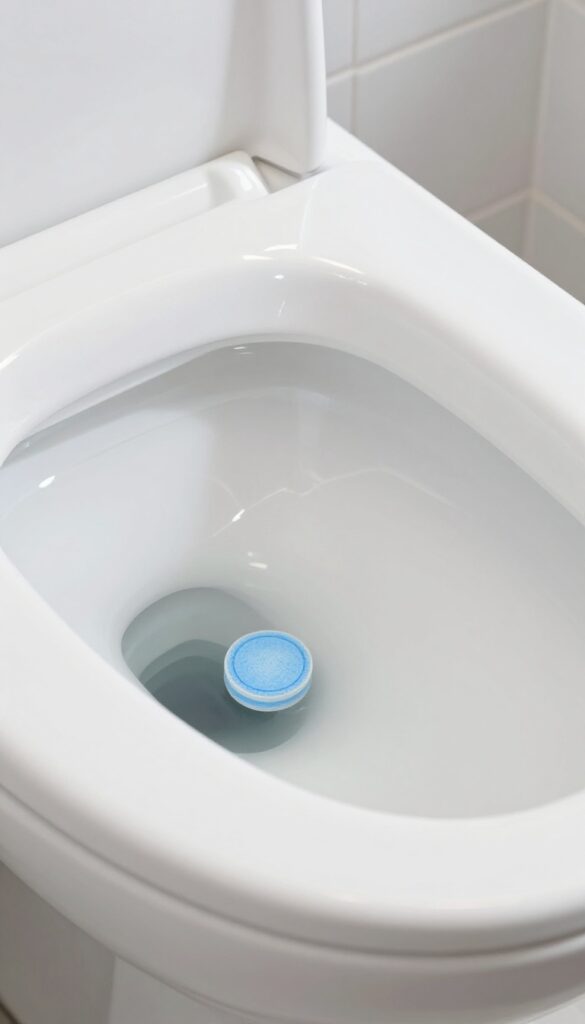
Let the toilet do some of the work for you. Dropping a cleaning tablet into the tank means every flush helps scrub the bowl. It's a low-effort way to keep stains and odors at bay between deep cleans.
A toilet cleaning tablet is a simple addition that pays off. Just drop one in the tank, and it releases cleaning agents with each flush. This helps prevent mineral buildup and keeps the bowl looking fresh.
It's especially handy if you have hard water that leaves rings. The key is choosing a tablet that's safe for your toilet's components. Some can damage rubber seals over time, so look for ones labeled as septic-safe or compatible with all parts.
Replace the tablet every month or as directed. This trick won't replace a thorough scrub, but it stretches the time between them. You'll notice fewer stains and less odor, which makes the whole bathroom feel cleaner.
Choosing The Right Tablet
Not all tablets are created equal. Look for ones that are bleach-free if you have a septic system or sensitive pipes. Many brands offer enzyme-based formulas that break down waste without harsh chemicals.
Check reviews to see if a tablet leaves residue or discolors the bowl. A good tablet should dissolve slowly and evenly.
Installation Tips
Drop the tablet directly into the tank, away from the flush valve and fill tube. Avoid placing it near moving parts to prevent clogs. Let it dissolve completely before adding another.
If you notice the flush weakens, the tablet might be too large or dissolving too fast. Switch to a smaller size or a different brand.
When To Skip This Trick
If your toilet has a rubber flapper that's prone to deterioration, skip tablets with bleach or harsh chemicals. They can eat away at rubber over time. Also, if you have a high-efficiency toilet that uses little water, the concentrated cleaner might not dilute enough.
In that case, use a drop-in bowl cleaner instead.
4. Spray Down the Shower with a Daily Cleaner
A daily spray is one of the easiest ways to keep your shower clean. You don't need to scrub—just mist the walls and floor after your last rinse. It takes seconds and stops mildew and soap scum before they start.
A daily shower spray can be store-bought or homemade. Mix equal parts water and white vinegar with a few drops of dish soap in a spray bottle. After your shower, give the walls and floor a quick spritz.
The vinegar cuts through soap residue, and the soap helps it cling. No rinsing needed—just let it air dry. This simple habit keeps grime from building up, so your weekly deep clean is much easier.
Why It Works
Soap scum and mildew need time to set in. A daily spray disrupts that process by breaking down residue while it's still fresh. The acidic vinegar dissolves mineral deposits, and the surfactant action lifts oils.
Doing this every day means you're always one step ahead of the grime.
Best Practices
Use a spray bottle with a fine mist setting to cover surfaces evenly. Focus on corners and grout lines where mildew likes to hide. If you have natural stone, skip the vinegar and use a pH-neutral cleaner instead.
Keep the bottle in your shower caddy so it's always handy.
When To Skip It
If your shower has poor ventilation, a daily spray might not be enough—you'll still need to squeegee first. Also, avoid spraying directly on metal fixtures if your cleaner is acidic, as it can dull the finish over time. Rinse fixtures with plain water if needed.
5. Wipe the Mirror with a Microfiber Cloth
Mirrors attract every splash, fingerprint, and bit of fog. But a dedicated microfiber cloth tucked nearby makes quick work of them. No sprays, no streaks, just a few swipes and your reflection is crystal clear again.
A dry microfiber cloth is all you need for daily mirror upkeep. It lifts dust and moisture without leaving lint or smears. Keep one hanging on a hook or in a small basket next to the sink so it's always within reach.
After washing your hands or brushing your teeth, give the mirror a quick wipe. It takes seconds and prevents buildup that would require more effort later.
Why Microfiber Works Best
Microfiber has split fibers that trap particles rather than pushing them around. Unlike paper towels, it doesn't leave fuzz. And unlike cotton cloths, it won't streak when used dry.
This makes it perfect for mirrors, where any residue is instantly noticeable.
Where To Keep The Cloth
Store your microfiber cloth in a spot you pass every day. A small hook on the side of the vanity, a drawer divider, or a decorative basket on the counter all work well. The key is visibility and convenience.
If you have to hunt for it, you won't use it.
When To Wash It
Microfiber cloths need washing every few uses to stay effective. Toss it in with your regular laundry, but skip fabric softener—it clogs the fibers. Air dry or tumble dry on low.
A clean cloth means streak-free mirrors every time.
6. Empty the Trash Can Every Few Days
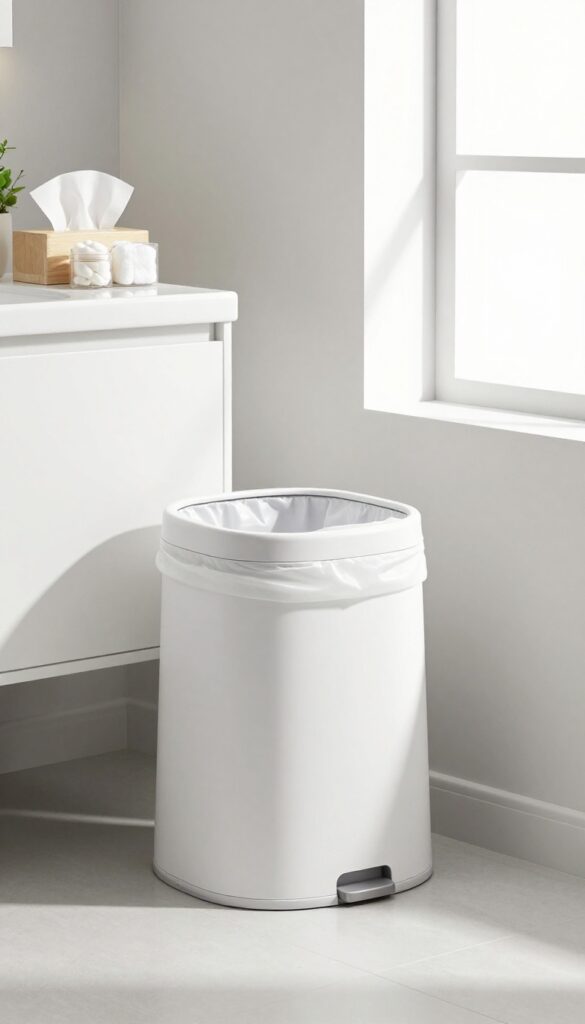
Trash cans in bathrooms fill up faster than you think, especially with tissues, cotton rounds, and empty product containers. Waiting until it's overflowing invites odors and can lead to leaks from damp trash. A simple habit of emptying it every two or three days keeps things fresh and prevents messes from spilling onto your floor.
Make it part of your routine to check the trash whenever you leave the bathroom. If it's more than half full, take it out. This small habit stops odors from building up and keeps the can itself cleaner for longer.
Pick The Right Bag Size
Use bags that fit snugly but are easy to remove. A bag that's too small will tear when you pull it out, while an oversized bag bunches up and traps debris. Scented bags can add a light freshness, but unscented ones work just as well if you prefer no added fragrance.
Wipe The Can When You Replace The Bag
Every time you swap out the bag, give the inside of the can a quick wipe with a disinfectant wipe or a spray of all-purpose cleaner. This prevents sticky residue and odors from clinging to the plastic. Let it air dry for a minute before inserting a new bag.
Use A Small Can To Force Frequent Changes
A compact trash can naturally limits how much waste accumulates, encouraging more frequent emptying. It also takes up less floor space. If you have a large can, consider downsizing to one that holds only a few days' worth of trash.
7. Toss a Deodorizing Disc in the Trash Can
Bathroom trash cans can get funky fast, especially with damp tissues and used cotton rounds. Instead of masking odors with sprays, stop them at the source. A simple deodorizing disc or dryer sheet tucked under the liner works quietly behind the scenes.
This trick is almost zero effort. Grab a small deodorizing disc made for trash cans, or just use a scented dryer sheet you already have. Lift the liner, drop the disc or sheet at the bottom, then put the liner back.
Every time you toss something in, the scent gets a little boost.
How It Works
The disc or sheet absorbs and neutralizes odors as air circulates inside the can. Dryer sheets are especially good at trapping moisture, which cuts down on musty smells. Replace the disc every few weeks or when you change the liner.
Best Options To Try
You can buy purpose-made trash can deodorizers in the cleaning aisle, but a simple unscented or lightly scented dryer sheet works just as well. For a DIY version, put a few drops of essential oil on a cotton ball and tuck it under the liner.
Pro Tip For Maximum Freshness
If your bathroom trash can has a lid, the deodorizing effect lasts longer. For open cans, place the disc or sheet near the bottom center so air can circulate around it. Toss it out when you change the bag so you never forget.
8. Keep a Small Trash Can for Cotton Swabs and Floss
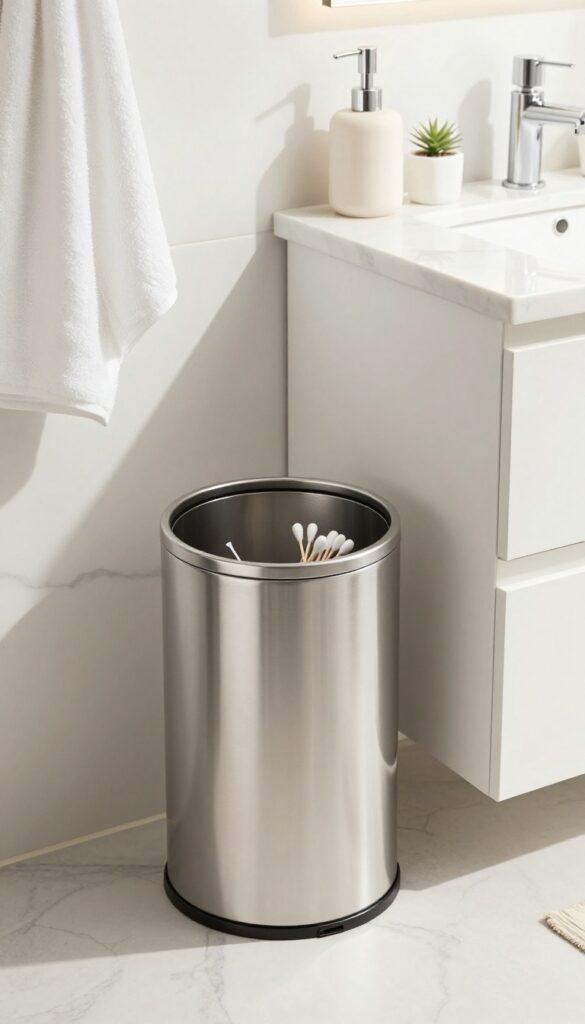
A tiny bin right next to the sink makes it effortless to toss cotton swabs, floss picks, and other small waste without having to walk over to the main trash can. This simple addition keeps your counter clutter-free and makes daily routines smoother. Empty it once a week to prevent any odors or overflow.
Position a small, lidded trash can near your sink or vanity. Look for one that's compact enough to fit in tight spaces but large enough to hold a week's worth of small items. Empty it on the same day you take out the main bathroom trash to keep things consistent.
This habit stops stray cotton swabs from ending up on the counter or floor.
Choose The Right Size And Style
A can about 4 to 6 inches wide is ideal. Look for a sleek, easy-to-clean material like stainless steel or plastic. A lid helps contain odors and keeps the contents out of sight.
Find one that matches your bathroom decor.
Place It Within Arm's Reach
Set the bin right next to your sink or on the vanity edge. The goal is to make it so convenient that you never hesitate to toss something small. Avoid putting it under the sink or behind a door where it's less accessible.
Empty It Weekly Without Fail
Pick a regular day, like Sunday, to empty the small bin. Tie off the bag and toss it in the main trash. Give the can a quick wipe with a disinfectant wipe to keep it fresh.
This routine prevents buildup of used cotton rounds or floss that can get smelly.
9. Use a Toothbrush Holder with Drainage
That gunk at the bottom of your toothbrush holder is not just gross—it's a breeding ground for bacteria. A simple switch to a holder that lets water drain away can save you from scrubbing slime later. It's one of those small swaps that make a big difference in daily bathroom hygiene.
Traditional toothbrush holders trap water at the base, creating a damp environment where mold and bacteria thrive. Over time, that pinkish slime or black mold can transfer to your toothbrush bristles. A holder with proper drainage keeps things dry and clean with zero extra effort.
Why Drainage Matters
When water pools, it creates a perfect home for microbes. A holder with slots or a raised base allows water to drip out and evaporate quickly. Your toothbrushes stay drier, and you avoid that slimy buildup that requires frequent deep cleaning.
What To Look For
Choose a holder with open slots, a wire rack, or a tilted design that encourages water runoff. Materials like stainless steel or ceramic are easier to clean than plastic. Avoid holders with deep, enclosed cups where water collects unseen.
Quick Maintenance Tip
Even with good drainage, give your holder a rinse once a week. Pop it in the dishwasher if it's dishwasher-safe, or wipe it down with a disinfectant spray. This keeps it fresh and prevents any stubborn residue from forming.
10. Swap Out Bath Mats Weekly
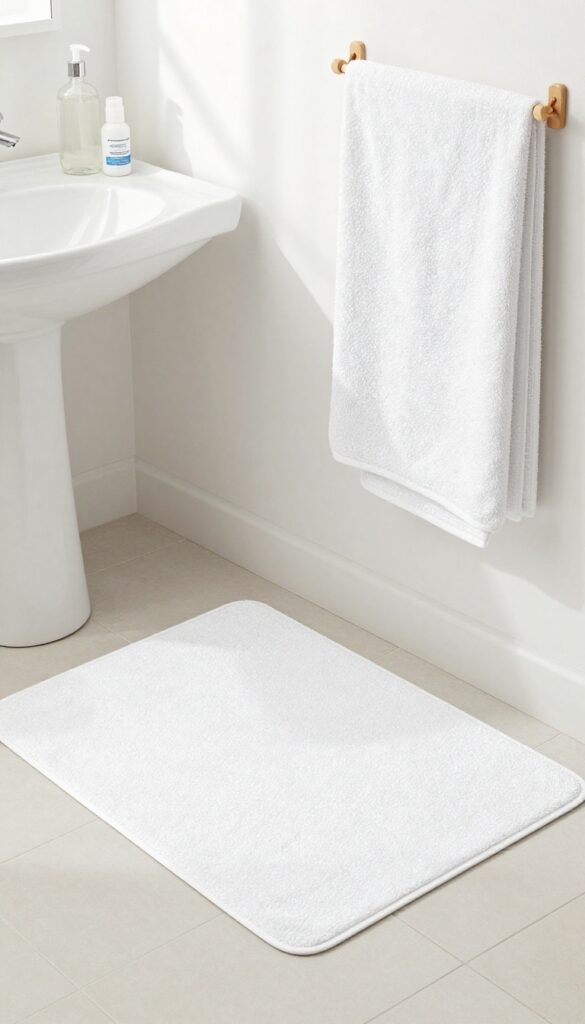
Bath mats do a lot of the dirty work—they soak up water, catch stray hairs, and trap soap scum. But all that moisture turns them into a breeding ground for mildew if you leave them too long. A weekly swap keeps your floor fresh and your mat from turning into a science experiment.
Tossing bath mats in the wash once a week is one of the easiest ways to prevent musty smells and extend their life. For best results, wash in warm water with a bit of bleach or vinegar, then dry thoroughly. If your mat is rubber-backed, air-dry it to avoid peeling.
Have a spare mat ready so you can swap instantly—no waiting for laundry to finish.
Wash With The Right Cycle
Use warm water and a gentle detergent. Add half a cup of white vinegar to the rinse cycle to kill odors and soften the mat. Skip fabric softener—it can coat the fibers and reduce absorbency.
For rubber-backed mats, avoid high heat in the dryer; air-dry or use a no-heat setting to prevent the backing from cracking.
Keep A Backup Mat Handy
Having a second mat makes the swap seamless. Store it folded in a linen closet or under the sink. When you take the dirty one off, put the clean one down immediately.
No one wants to step onto a cold wet floor while waiting for laundry.
Don't Forget The Hook Or Rack
Between washes, hang your bath mat to dry completely after each use. A simple hook on the back of the door or a towel rack works perfectly. This alone cuts down on mildew growth and keeps the mat fresher longer.
11. Run the Exhaust Fan During and After Showers
That little switch on the wall does more than make noise. The exhaust fan is your first line of defense against bathroom moisture and all the problems it brings. Getting into the habit of using it properly can save you from scrubbing mold off grout and dealing with musty smells.
Turning on the fan before you start the shower might seem like a small step, but it makes a big difference. It starts pulling humid air out right away, preventing condensation from settling on mirrors, walls, and fixtures. Leave it running for 15–20 minutes after you finish to clear out the remaining moisture.
This simple routine cuts down on mold growth and keeps your bathroom fresher longer.
Why Timing Matters
If you wait until after the shower to turn on the fan, moisture has already had time to cling to surfaces. Starting it before the water runs means the air is moving from the get-go. That extra 30 seconds makes the whole process more effective.
How Long Is Long Enough?
Most people turn off the fan as soon as they step out, but that leaves a lot of humidity behind. A good rule is to keep it running for at least 15 minutes after your last rinse. If your fan is quiet, you might forget it—set a timer or tie it to another habit like putting away your towel.
Keep The Fan Itself Clean
A dusty fan can't do its job well. Every few months, pop off the cover and vacuum the grille and blades. This keeps airflow strong and reduces noise.
A clean fan also means less dust blowing around your bathroom.
12. Keep a Spray Bottle of Vinegar and Water for Hard Water Spots
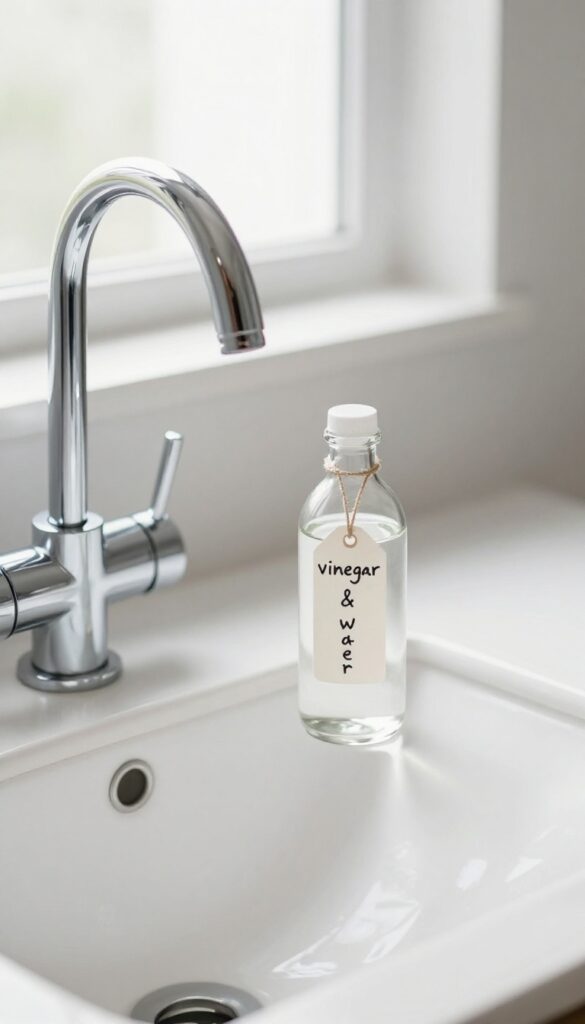
Hard water spots are stubborn, but you don't need a specialty cleaner to tackle them. A simple mix of white vinegar and water works wonders on faucets, showerheads, and glass doors. Keep a spray bottle under the sink and you'll always be ready for a quick fix.
Hard water deposits build up fast, especially in bathrooms with mineral-heavy water. Instead of scrubbing with harsh chemicals, reach for a vinegar solution. It's cheap, effective, and safe for most surfaces.
Just spray, let it sit for a minute, and wipe away.
Why Vinegar Works
Vinegar is acidic, which breaks down the calcium and lime in hard water stains. It dissolves the deposits without damaging chrome or glass. Plus, it's non-toxic, so you don't have to worry about fumes around kids or pets.
How To Make And Use The Spray
Mix equal parts white vinegar and water in a clean spray bottle. Shake gently. Spray directly onto faucets, showerheads, or glass doors.
Let it sit for 30 seconds to a minute, then wipe with a microfiber cloth. For tough spots, let it soak longer or scrub lightly with a soft brush.
Where to Use It
This spray is perfect for chrome fixtures, stainless steel, and glass. Avoid using it on natural stone like marble or granite, as the acid can etch the surface. Stick to metal and glass for best results.
13. Use a Silicone Scrubber for Quick Tub Cleaning
Tub cleaning usually feels like a workout—bending, scrubbing, and rinsing. But a silicone scrubber with a long handle changes the game. You just add a little cleaner, give it a quick scrub, and rinse.
No strain, no heavy lifting, and it takes under a minute.
Why Silicone Beats Bristles
Silicone scrubbers don't trap hair or soap scum like traditional brushes. They rinse clean instantly and dry fast, so they stay hygienic. Plus, the soft blades are gentle on all tub surfaces—no scratches on acrylic or fiberglass.
The One-minute Routine
After your shower, spray a daily cleaner or all-purpose spray around the tub. Grab the silicone scrubber and give the walls and floor a quick once-over. Rinse with the showerhead.
That's it—no kneeling, no scrubbing on your hands and knees.
Where To Keep It
Hang the scrubber on a hook inside the shower or over the tub edge. If it's always within reach, you'll actually use it. Some models come with a suction cup holder that sticks to the tile.
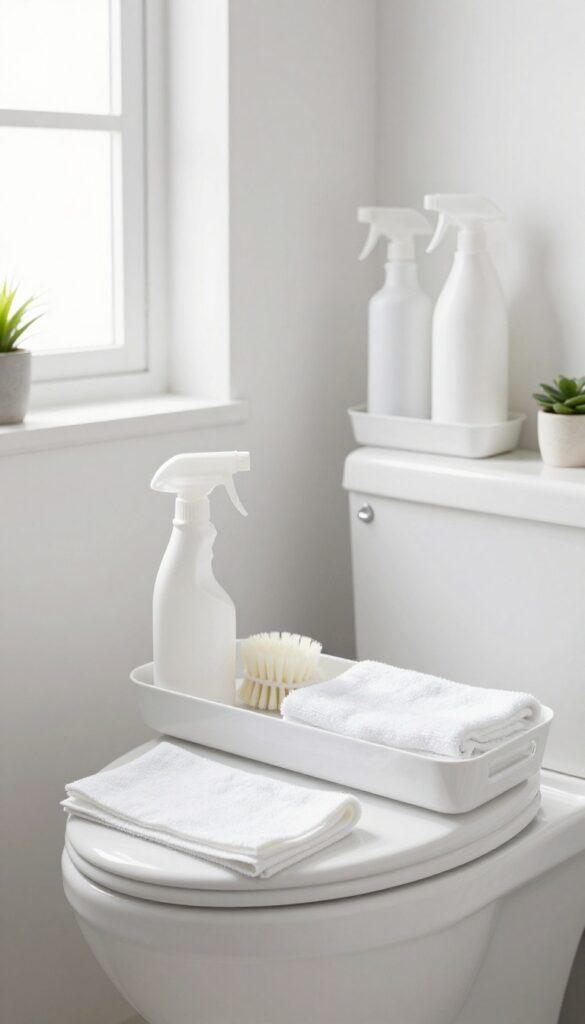
14. Store Cleaning Supplies in a Caddy Under the Sink
You know that moment when you spot a toothpaste smear on the mirror and think, “I’ll grab a cloth and cleaner”—but then you have to dig under the sink, move bottles around, and by the time you find what you need, the motivation is gone. That’s where a simple caddy changes everything. A small plastic or wire basket with a handle keeps your daily cleaning kit together and easy to grab.
A caddy under the sink is like a grab-and-go cleaning station. It holds your spray cleaner, microfiber cloths, a scrub brush, and maybe a squeegee. When you see a quick job—a splash of toothpaste, a foggy mirror, a ring in the sink—you just pull out the caddy, do the task, and put it back.
No rummaging, no excuses. This one habit makes it much more likely you’ll actually do those two-minute cleanups throughout the day.
What To Put In Your Caddy
Stick to the essentials: an all-purpose bathroom spray, a glass cleaner, a pack of microfiber cloths, a small scrub brush, and a squeegee. Add a disposable glove or two if you like. Resist the urge to cram in every bottle you own—the caddy should be light enough to carry with one hand.
Where To Keep It
Place the caddy on the floor of the under-sink cabinet, near the front. If you have a double cabinet, put it on the side you use most. The goal is visibility and easy access—not buried behind extra toilet paper rolls or cleaning products you rarely use.
Make It A Habit
After each use, immediately return the caddy to its spot. If you notice a cloth is dirty, toss it in the laundry right away. Restock the spray bottle when it’s low.
Keeping the caddy ready to go means you’re always prepared for a quick clean, and that consistency keeps your bathroom looking good with minimal effort.
15. Do a 5-Minute Evening Reset
Evenings are for winding down, but a tiny bit of bathroom effort can set you up for a stress-free morning. Think of it as a quick reset—just five minutes to tidy up before you call it a night. You’ll wake up to a clean counter and a calm vibe, no extra work required.
The evening reset is all about consistency, not perfection. Spend a few minutes wiping down surfaces, straightening towels, and putting things back where they belong. It’s a small habit that pays off big when you walk into a fresh bathroom the next day.
What To Tackle In Five Minutes
Focus on the high-impact areas: the counter, sink, and mirror. A quick wipe with a microfiber cloth or a daily spray cleaner removes toothpaste splatters and water spots. Hang towels neatly and toss any used ones in the laundry.
Put away toiletries and makeup so the space looks clutter-free.
Make It A Ritual, Not A Chore
Pair the reset with something you already do at night, like brushing your teeth or washing your face. Keep a small caddy or basket with a spray bottle and cloth under the sink so everything’s within reach. The easier it is to start, the more likely you’ll stick with it.
The Morning Payoff
When you walk into a clean bathroom in the morning, you start the day with a small win. No grumpy encounters with yesterday’s mess. Just a fresh, organized space that makes your morning routine smoother.
That five-minute investment really adds up.
16. Use a Lint Roller for Hair on the Floor
Hair on the bathroom floor is one of those annoyances that seems to reappear minutes after you clean. A lint roller is the fastest way to grab it without bending over or dragging out the vacuum. Keep one tucked in a drawer or under the sink for quick touch-ups.
A lint roller picks up hair from bathroom floors and baseboards faster than a broom or vacuum. Keep one in the bathroom for quick touch-ups.
Why It Works So Well
The adhesive sheet grabs every strand, even short bristles that brooms miss. You don't need to bend or sweep—just roll over the spots where hair collects. It's especially effective on tile and linoleum.
Where To Keep It
Store a lint roller in a caddy or hang it on a hook inside the vanity cabinet. You'll remember to use it when you spot hair, and it takes seconds to do a quick pass.
Bonus For Baseboards And Corners
Baseboards and corners trap dust and hair that brooms push around. A lint roller reaches into those tight spaces easily. Run it along the baseboard edge and in corners for a clean finish without a damp cloth.
17. Schedule a Weekly Deep Clean for One Area
Deep cleaning doesn't have to mean spending your entire Saturday scrubbing every surface. By focusing on just one area each week, you spread out the heavy lifting and keep your bathroom consistently fresh without the burnout.
Pick Your Zone
Each week, choose a different spot: the toilet, the shower, the vanity, or the cabinets. Write it down or set a reminder so you don't forget. Rotating prevents any one area from becoming neglected.
Keep Supplies Handy
Store a caddy with your deep-cleaning tools under the sink or in a nearby closet. Having everything ready makes it easy to jump in for 15 minutes without hunting for supplies.
Set A Timer
Commit to just 15–20 minutes for that one zone. When the timer goes off, you're done. This keeps the task manageable and prevents it from turning into a full-day ordeal.
FAQ
How often should I deep clean my bathroom?
Aim for a deep clean once a week, but you can rotate areas to spread the work out. Daily quick wipes and weekly focused cleaning keep things manageable.
What's the best way to prevent mold in the bathroom?
Run the exhaust fan during and after showers, squeegee wet surfaces, and keep the bathroom well-ventilated. A daily shower spray also helps.
Can I use vinegar on all bathroom surfaces?
Vinegar is great for glass, tile, and chrome, but avoid it on natural stone like marble or granite. It can etch the surface over time.
How do I keep my shower glass doors streak-free?
Squeegee after every use and occasionally wipe with a microfiber cloth. A vinegar-water spray can help remove stubborn water spots.
What's the easiest way to clean a toilet without scrubbing?
Use a toilet cleaning tablet in the tank and a daily spray cleaner for the bowl. This reduces stains and keeps it fresh between deeper cleans.
Conclusion
A clean bathroom doesn't have to be a chore that eats up your whole day. These 17 ideas are meant to fit into your routine without adding stress. Pick the ones that feel doable and build from there.
Small, consistent actions add up to a bathroom that always looks and feels fresh. You don't need to do everything at once—just start with one or two and see how much easier things get.