How to Clean Tile Grout in 13 Brightening Steps Fast
Grout lines can go from bright to grimy fast, but you don't need harsh chemicals or a professional cleaner to bring them back. With a few household staples and some elbow grease, you can restore that fresh, clean look in no time.
These 13 steps target everything from light discoloration to stubborn, set-in stains. Each method is practical and designed to fit different grout types and mess levels.
Whether you prefer natural solutions like baking soda or need the heavy lifting of a commercial cleaner, there's a fix here for you. Best of all, most of these techniques use items you probably already have in your pantry.
1. Start With a Baking Soda Paste for Gentle Scrubbing
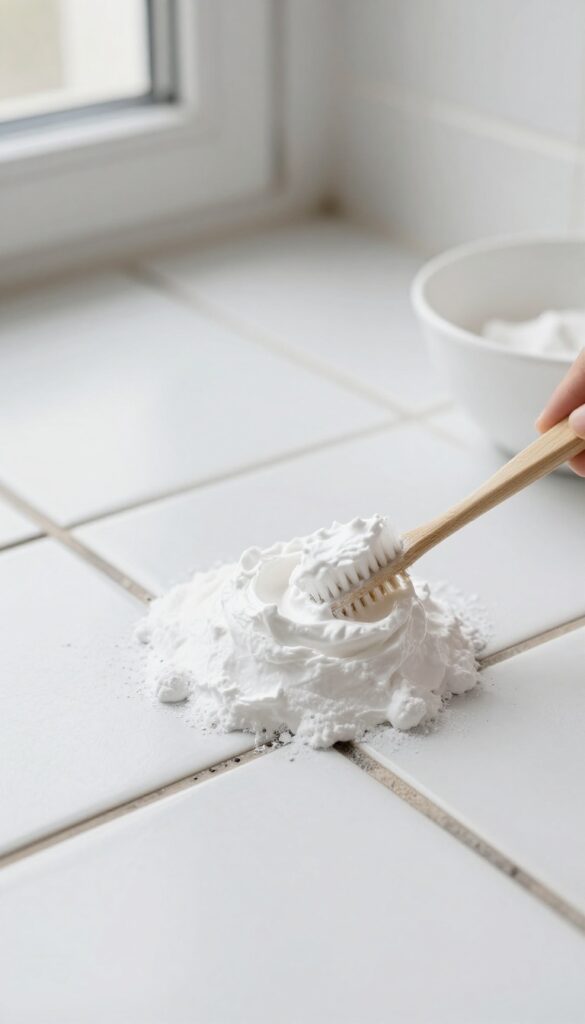
Baking soda is a gentle powerhouse when it comes to cleaning grout. It's mildly abrasive, so it lifts dirt without scratching your tiles. Mixing it into a paste gives you control over the consistency, making it easy to apply exactly where you need it.
To make the paste, combine three parts baking soda with one part water in a small bowl. Stir until it forms a thick, spreadable consistency. Use an old toothbrush or a grout brush to apply the paste directly onto the grout lines, working it into the crevices.
Let it sit for about 10 minutes to loosen embedded grime. Then scrub in a circular motion with firm pressure. Rinse with warm water and wipe away residue with a damp cloth.
This method works best for light to moderate dirt and is safe for all grout types, including colored or sealed grout.
Why Baking Soda Works So Well
Baking soda's fine crystalline structure acts like a soft scrub, breaking down dirt particles without scratching. It's also alkaline, which helps dissolve acidic stains like coffee or juice. Plus, it's non-toxic, so you don't have to worry about fumes or residue.
Tips For Maximum Effectiveness
For extra stubborn spots, add a splash of white vinegar to the paste after applying it. The fizzing action helps lift dirt. Avoid using vinegar on natural stone grout, as it can etch the surface.
Always test a small hidden area first to ensure the paste doesn't discolor your grout.
2. Use White Vinegar to Cut Through Soap Scum
White vinegar is a natural acid that works wonders on soap scum and hard water deposits. It's cheap, non-toxic, and surprisingly effective at breaking down the mineral buildup that makes grout look dull. Just keep it away from natural stone like marble or travertine, as the acid can etch those surfaces.
Why Vinegar Works So Well
Soap scum is basically a mix of calcium and fatty acids. The acetic acid in vinegar reacts with these minerals, turning them into water-soluble compounds that rinse away easily. That's why you see fizzing when you spray it on—the acid is doing its job.
How To Apply It Safely
Fill a spray bottle with undiluted white vinegar and mist it directly onto the grout lines. Let it sit for 5 minutes to fizz and penetrate the gunk. Then scrub with a stiff-bristled brush, working in small circles.
Rinse thoroughly with water afterward to prevent any lingering vinegar smell.
When To Skip This Method
Don't use vinegar on unsealed or porous grout, as the acid can weaken it over time. Also avoid it on natural stone tiles. For those surfaces, stick to a pH-neutral cleaner or a baking soda paste instead.
3. Try Hydrogen Peroxide for Stubborn Stains
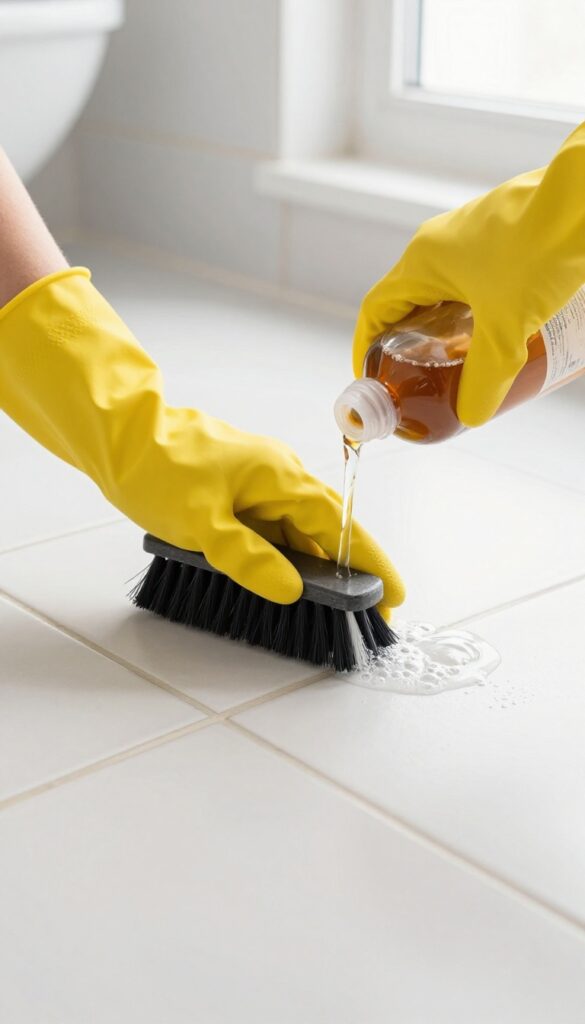
Some stains just won't budge with baking soda or vinegar. That's where hydrogen peroxide comes in. It's a natural bleaching agent that lifts deep discoloration without the harsh smell of bleach.
Hydrogen peroxide is especially good for light-colored grout that has yellowed or developed dark spots. It works by releasing oxygen bubbles that break down stain molecules. The 3% solution you find at the drugstore is safe for most grout types and won't damage surrounding tile.
How To Apply It
Pour a small amount of 3% hydrogen peroxide directly onto the stained grout lines. Let it sit for about 10 minutes – you'll see it start to bubble as it works. Scrub with a stiff brush, then rinse with water.
For extra whitening power, mix hydrogen peroxide with baking soda into a paste.
Best For White Or Light Grout
This method works best on white or light-colored grout because hydrogen peroxide has a mild bleaching effect. On darker grout, it may lighten the color unevenly. Test in an inconspicuous spot first to be sure.
Safety Tips
Always wear gloves when handling hydrogen peroxide, as it can irritate skin. Keep the area ventilated, and avoid mixing with other cleaners, especially bleach or ammonia, which can create toxic fumes.
4. Make a Lemon Juice and Cream of Tartar Paste
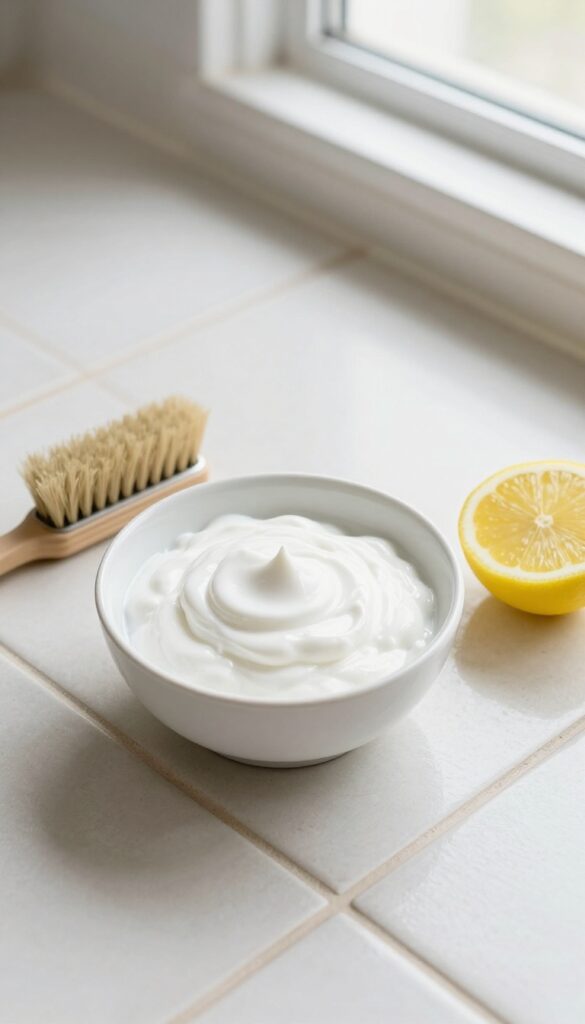
If you want a brightening boost without resorting to bleach, lemon juice and cream of tartar make a surprisingly effective duo. The citric acid in lemon juice naturally lifts stains and discoloration, while cream of tartar acts as a fine, gentle abrasive that won't scratch your grout. Together, they form a paste that targets dull, dingy lines and leaves them looking fresher.
This paste is especially good for light-colored grout that has yellowed over time. It's also a great option if you prefer to avoid strong chemical smells. The mixture works well on ceramic and porcelain tiles, but test it on a small, hidden area first to make sure it doesn't affect the tile finish.
How To Mix And Apply
Mix two tablespoons of cream of tartar with enough lemon juice to form a thick paste—about one to two tablespoons. Apply the paste directly onto the grout lines using a small brush or your finger (wearing gloves). Let it sit for 15 minutes so the acid can work on the stains.
Then scrub with a stiff-bristled brush and rinse with warm water.
Why It Works So Well
Lemon juice is a natural bleaching agent that gently lightens stains without the harshness of chlorine bleach. Cream of tartar is a mild abrasive that helps physically remove grime without damaging the grout. The combination is particularly effective on organic stains like coffee, tea, or food spills.
When To Use This Method
This paste is ideal for routine cleaning or for tackling light to moderate discoloration. It's not strong enough for heavy mold or mildew, but it works great as a maintenance step between deeper cleans. Use it on kitchen backsplashes, bathroom walls, or any tiled surface that needs a brightness boost.
5. Steam Clean for a Deep, Chemical-Free Clean
If you want a deep clean without any harsh chemicals, steam cleaning is a game-changer. The high heat does all the work, loosening dirt and killing mold and mildew on contact. It’s especially effective on older grout that has years of grime embedded deep in the pores.
A handheld steam cleaner with a grout attachment is ideal for this job. The concentrated steam penetrates the porous surface, breaking up dirt and sanitizing at the same time. After steaming, simply wipe away the loosened residue with a clean, dry cloth.
Your grout will look noticeably brighter without any scrubbing or chemical smells.
Why Steam Works So Well
Steam reaches temperatures above 200°F, which is hot enough to dissolve grease, soap scum, and even tough stains. The heat also kills most bacteria and mold spores, making it a great choice for bathrooms and kitchens. Plus, there’s no residue left behind, so your grout stays clean longer.
How To Steam Clean Grout
Start by vacuuming or sweeping the area to remove loose debris. Fill your steam cleaner with water and let it heat up. Use the grout nozzle and move it slowly along the grout lines, letting the steam work for a few seconds.
Wipe away the dirt with a microfiber cloth. For stubborn spots, repeat the process.
Tips For Best Results
Don’t let the steam cleaner sit in one spot too long, as excess moisture can damage grout over time. Work in small sections and dry immediately. If your grout is heavily stained, pre-treat with a baking soda paste before steaming for an extra boost.
6. Apply a Bleach Pen for Precision Whitening
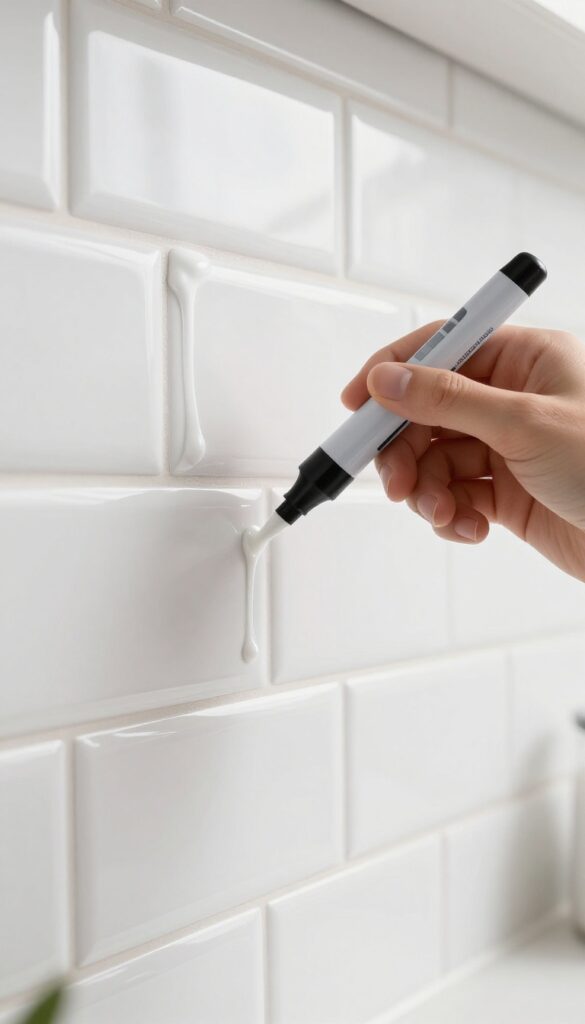
Sometimes you just need to hit the grout lines directly without messing up the surrounding tile. That's where a bleach pen comes in handy. It lets you apply a concentrated whitening solution exactly where you want it, making spot treatments quick and mess-free.
Why A Bleach Pen Works
Bleach pens are designed with a precision tip that dispenses a thick gel. This gel clings to vertical grout lines without dripping, so you can treat only the stained areas. The bleach in the gel breaks down organic stains and whitens the grout effectively.
Step-by-step Application
Start by cleaning the grout surface to remove loose dirt. Squeeze the pen tip along the grout lines, applying an even bead of gel. Let it sit for about 10 minutes—don't let it dry completely.
Then scrub with a stiff brush and rinse thoroughly with water.
Best Uses And Precautions
Bleach pens are ideal for light-colored grout that has yellowed or developed dark spots. Avoid using them on colored grout, as bleach can cause fading. Always test in an inconspicuous area first.
Wear gloves and ensure good ventilation during use.
7. Use an Old Toothbrush for Tight Spaces
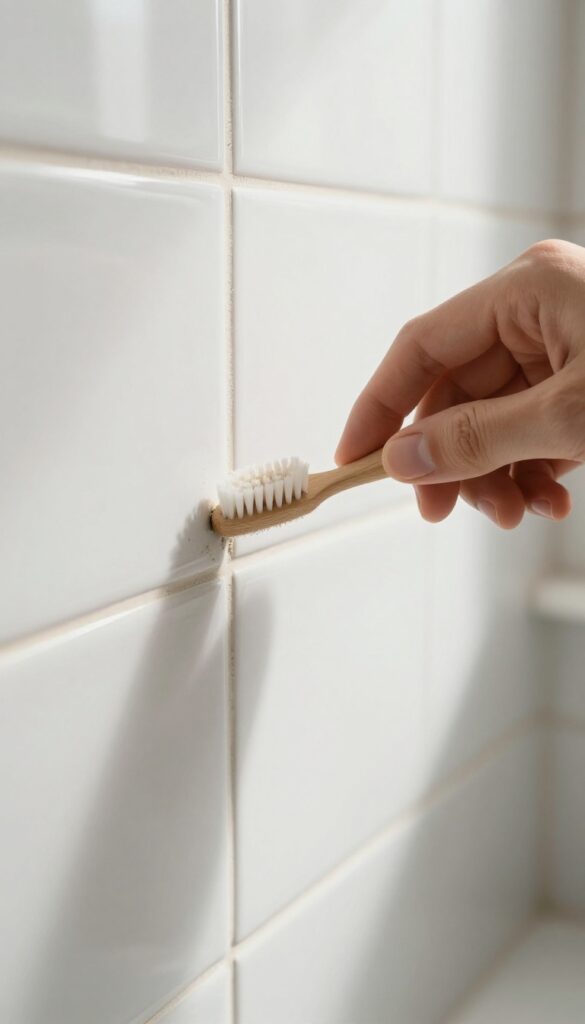
Not every grout line is wide enough for a scrub brush or sponge. That's where an old toothbrush really shines. Its small head and stiff bristles can reach into narrow crevices that larger tools simply can't access.
Plus, it gives you precise control over the scrubbing motion, which is key for avoiding splatter and working cleaner deep into the line.
Grab a toothbrush you no longer use for brushing and dip the bristles into your chosen cleaning solution. Work in small circular motions, pressing firmly enough to dislodge dirt but not so hard that you damage the grout. Focus on corners, edges, and any spot where a sponge or brush can't fit.
For extra stubborn spots, let the cleaner sit for a few minutes before scrubbing. Rinse the toothbrush frequently to avoid redepositing grime.
Why A Toothbrush Works Best
The bristles on a toothbrush are stiff enough to scrub away grime but flexible enough to avoid scratching tile. The small head lets you target individual grout lines without cleaning the tile surface, which means less wiping and rinsing afterward. Plus, the handle gives you a good grip, so you can apply steady pressure without hand fatigue.
Best Cleaners To Pair With A Toothbrush
A toothbrush works well with almost any cleaner, but thick pastes or gels tend to stay put better than thin liquids. Try a baking soda and water paste, a hydrogen peroxide and baking soda mix, or a commercial grout cleaner. Apply the paste along the grout line, then scrub with the toothbrush.
The bristles will work the paste into the pores of the grout, lifting dirt that a sponge would leave behind.
Pro Tip: Angle The Brush For Better Reach
Hold the toothbrush at a 45-degree angle to the grout line. This lets the bristles dig into the groove without scraping the tile edges. For vertical grout lines on a backsplash, scrub in an upward motion to avoid drips.
For floor grout, work in short bursts and wipe away loosened dirt with a damp cloth before it dries.
8. Try a Commercial Grout Cleaner for Tough Jobs
When DIY mixes aren't cutting it, it's time to bring in the big guns. Commercial grout cleaners are formulated to tackle heavy stains like grease, mold, and years of embedded dirt. They're stronger than anything you can whip up at home, but they still need proper handling.
Choose a gel or spray designed specifically for grout, not just an all-purpose cleaner. Gels cling to vertical surfaces better, while sprays cover large floor areas quickly. Always test in an inconspicuous spot first, especially on colored or sealed grout.
Follow the product instructions closely—most require you to apply, let it sit for 5–15 minutes, scrub with a stiff brush, then rinse thoroughly. Don't let the cleaner dry on the surface, as it can leave residue. For extra-stubborn spots, you can repeat the process or use a grout brush with a handle to save your knees.
Wear gloves and ventilate the area, as these cleaners often contain bleach or other strong chemicals.
Choosing The Right Cleaner
Look for cleaners labeled 'heavy-duty' or 'professional strength. ' Gel formulas are great for walls and shower grout because they stay put. Spray cleaners work well on floors and large horizontal areas. Avoid products with harsh acids if you have natural stone tiles, as they can etch the surface.
For colored grout, use a cleaner specifically marked as color-safe.
Application Tips For Best Results
Apply the cleaner generously along the grout lines, making sure to cover the stain completely. Let it dwell for the recommended time—longer isn't always better, as it can damage the grout. Use a stiff nylon brush for scrubbing; avoid wire brushes that can scratch tile.
Rinse with clean water and wipe away any leftover residue with a damp cloth.
Safety Precautions
Always work in a well-ventilated area, opening windows or using a fan. Wear rubber gloves and safety glasses to protect your skin and eyes. Keep children and pets away until the area is completely dry.
If you have respiratory issues, consider wearing a mask. Dispose of used cleaning cloths properly, as they may contain chemical residues.
9. Make a Oxygen Bleach Soak for Dark Grout
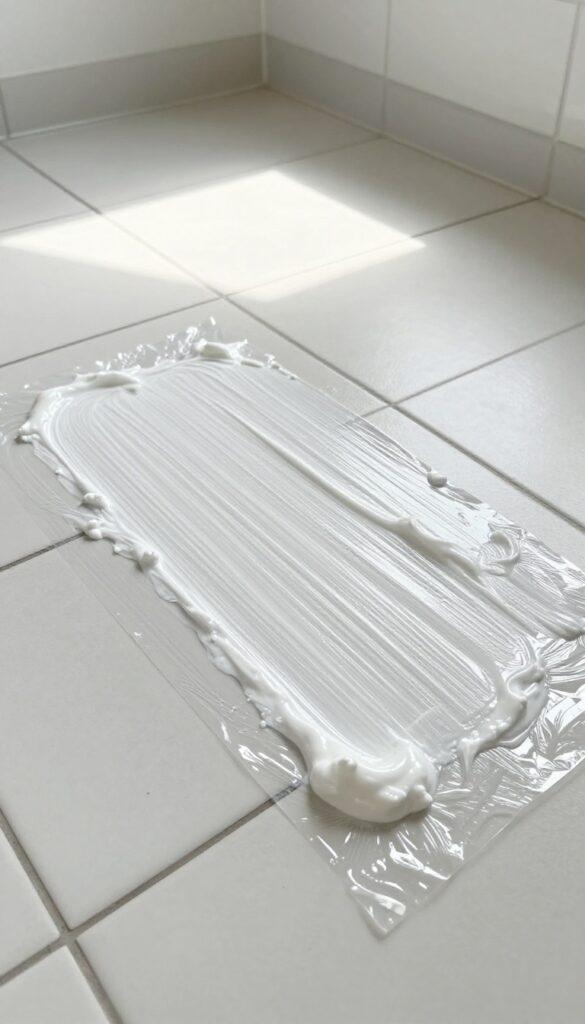
Stubborn dark stains call for something stronger than vinegar or baking soda. Oxygen bleach is a gentle but powerful cleaner that lifts deep-set grime without damaging your grout. This method works especially well on porous grout that has absorbed years of dirt.
Oxygen bleach powder, often sold as OxiClean or similar brands, releases oxygen bubbles when mixed with water. These bubbles penetrate the grout and break apart organic stains like mildew, coffee, and grease. Unlike chlorine bleach, it won't yellow or weaken your grout over time.
Mix The Paste
In a small bowl, combine oxygen bleach powder with warm water until it forms a thick paste. Use about 2 parts powder to 1 part water. Stir until smooth, then let it sit for a minute to activate.
The paste should be spreadable but not runny.
Apply And Cover
Using a small spatula or an old toothbrush, spread the paste over the grout lines. Make sure you cover them completely. Then press a sheet of plastic wrap directly onto the paste.
This keeps it moist and allows the oxygen to work longer without drying out.
Let It Soak
Leave the plastic wrap in place for 1 to 2 hours. For extra-stubborn stains, you can leave it overnight. The oxygen bubbles will slowly lift dirt from deep within the grout.
You might see the paste lighten as it works.
Rinse And Reveal
Remove the plastic wrap and scrub the grout lightly with a damp brush. Then rinse thoroughly with clean water. Use a wet-dry vacuum or a cloth to remove all residue.
The grout should look noticeably brighter. Repeat if needed for heavily stained areas.
10. Use a Magic Eraser for Quick Touch-Ups
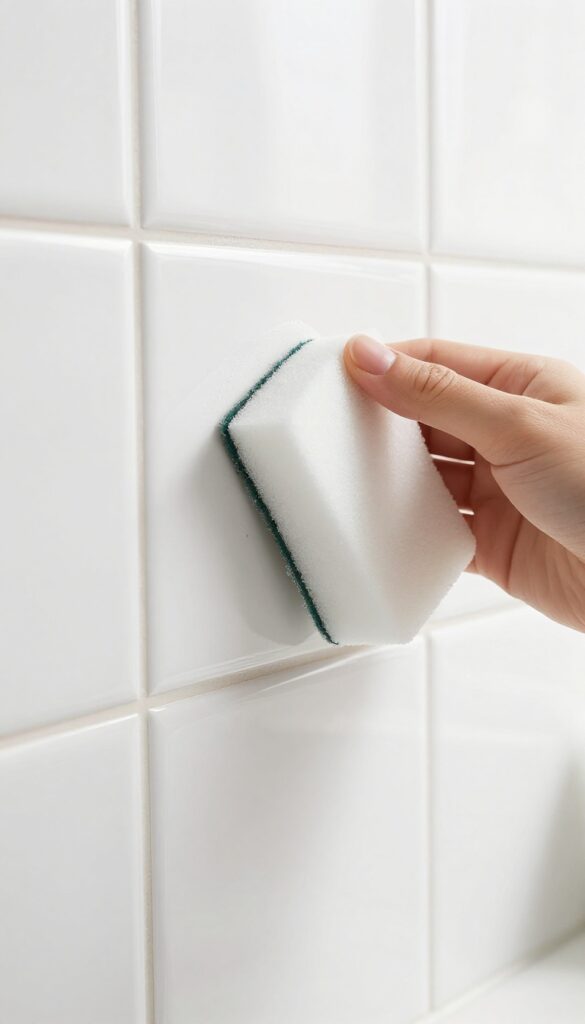
For those small, stubborn spots that resist your regular scrubbing, a melamine sponge—often sold as a Magic Eraser—can be a lifesaver. It works like a fine abrasive, lifting surface stains without the need for extra chemicals. This method is perfect for quick touch-ups between deeper cleans, especially on lighter grout where discoloration shows most.
How It Works
Dampen the sponge until it's wet but not dripping. Gently rub the grout lines using light pressure—the sponge's micro-abrasive texture does the work. Rinse the sponge frequently to prevent redepositing dirt, and avoid over-scrubbing, which can wear down the grout surface.
Best Use Cases
This technique shines on smooth, glazed tiles where grout is slightly raised. It's ideal for spot-cleaning high-traffic areas like kitchen backsplashes or bathroom floors. Avoid using it on unsealed or porous grout, as the abrasion may cause damage.
Pro Tip
Cut the sponge into smaller pieces to get more mileage out of each one. Also, test on an inconspicuous area first to ensure the sponge doesn't dull the tile finish.
11. Seal Your Grout After Cleaning for Long-Lasting Results
You've put in the work to scrub those grout lines clean—now make sure they stay that way. Sealing your grout after cleaning is like putting a raincoat on it: it repels spills, dirt, and moisture, so future cleanings are a breeze. This step is especially important in high-moisture areas like showers and kitchen backsplashes.
Once your grout is completely dry (wait at least 24 hours after cleaning), apply a penetrating grout sealer using a small brush or applicator. Work it into the lines carefully, avoiding the tile surface, and wipe away any excess immediately. Let it cure according to the manufacturer's instructions—usually 24 to 48 hours—before exposing it to water.
Sealed grout resists stains and makes next cleaning as simple as a quick wipe.
Choose The Right Sealer
Not all sealers are the same. For porous unsealed grout, a penetrating sealer works best because it soaks in and protects from within. For already sealed or less porous grout, a topical sealer can add an extra layer.
Check the label to ensure it's suitable for your grout type and tile material.
Application Tips For Even Coverage
Use a small foam brush or a grout sealer applicator pen for precision. Apply in small sections, working the sealer into the grout lines. Wipe off any sealer that gets on the tile right away to avoid haze.
Let it dry completely before moving to the next section.
How Often To Reseal
Grout sealer isn't permanent. Depending on foot traffic and moisture exposure, reseal every 6 to 12 months. A simple water test—sprinkle a few drops on the grout; if they bead up, the seal is still good; if they soak in, it's time to reseal.
12. Maintain With a Weekly Spray and Wipe Routine
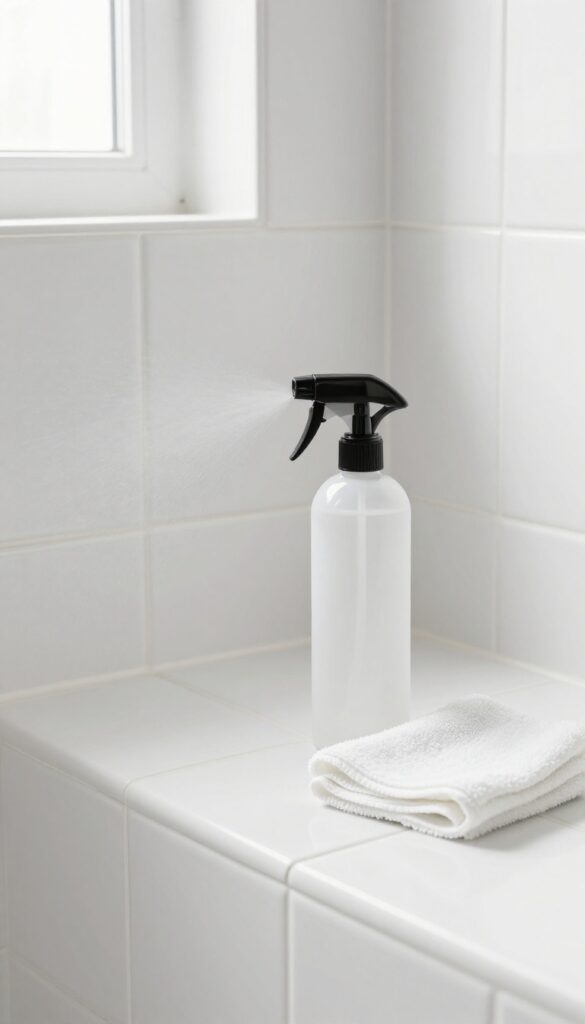
Once you've put in the effort to deep clean your grout, you'll want to keep it looking fresh without repeating the whole process every month. A simple weekly maintenance routine can make a huge difference, preventing dirt and grime from building up in the first place. The key is consistency and using the right solution that's gentle enough for regular use.
The weekly spray-and-wipe method is your best bet for low-effort upkeep. Mix equal parts white vinegar and water in a spray bottle, spritz the grout lines, let it sit for about a minute to loosen any surface dirt, then wipe with a clean cloth or sponge. This quick habit stops grime from settling into the porous grout, keeping it bright and reducing the need for deep scrubbing.
Why Vinegar Works Best
White vinegar is mildly acidic, which helps dissolve mineral deposits and soap scum without damaging the grout. It's also safe for most tile types, though you should avoid it on natural stone like marble or travertine. For those surfaces, use a pH-neutral cleaner instead.
Tools For The Job
A spray bottle with a fine mist setting ensures even coverage. For wiping, a microfiber cloth is ideal because it traps dirt rather than pushing it around. If your grout lines are narrow, an old toothbrush can help work the solution into crevices.
When To Adjust The Routine
If your grout gets heavy traffic or you notice it dulling faster, increase the frequency to twice a week. In bathrooms, a quick spray after every shower can prevent soap residue from building up, making your weekly wipe even easier.
13. Know When to Call a Professional or Regrout
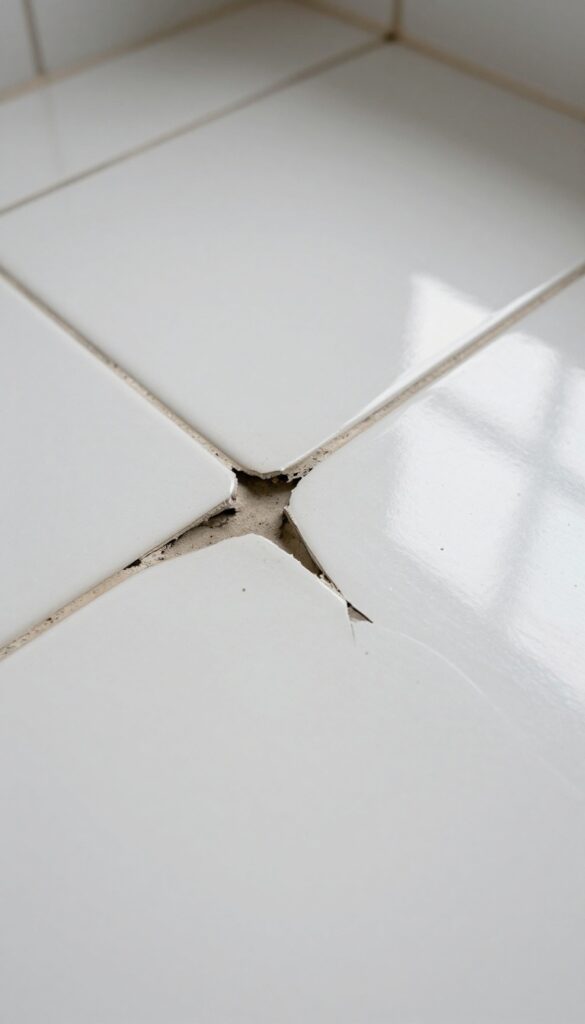
No matter how much elbow grease you apply, some grout is beyond saving. If you're facing crumbling, deeply embedded stains, or mold that returns after every cleaning, it's a sign the grout has failed. Continuing to scrub won't fix the underlying problem—it's time to consider professional help or a full regrout.
Knowing when to stop cleaning and start replacing saves time and frustration. Grout that is cracked, missing, or soft to the touch can't be restored; it needs to be removed and reapplied. Similarly, if you've tried multiple cleaning methods and the grout still looks dark or stained, the discoloration may have penetrated too deep.
A professional can assess the situation and recommend either a deep cleaning with industrial equipment, regrouting, or sealing with epoxy grout for a permanent, non-porous finish.
Signs Your Grout Needs Replacement
Look for crumbling, missing chunks, or grout that feels soft or spongy when pressed. Persistent mold or mildew that returns after cleaning also indicates the grout is compromised. If water seeps through the grout during a shower, it's no longer waterproof and needs to be replaced.
When To Hire A Pro
Call a professional if the area is large, the grout is deeply embedded with mold, or you're unsure about removing old grout without damaging tiles. Pros have industrial steam cleaners and can apply epoxy grout, which resists stains and moisture far better than standard cement-based grout.
Diy Regrouting Tips
If you're handy, you can regrout small areas yourself. Use a grout saw or oscillating tool to remove old grout carefully. Clean the gaps thoroughly, apply new grout, and seal it after curing.
For best results, choose a sanded or unsanded grout that matches your tile spacing.
FAQ
Can I use bleach on colored grout?
Bleach can discolor colored grout. Test in a hidden area first, or use a non-chlorine cleaner like hydrogen peroxide or oxygen bleach.
How often should I clean tile grout?
For maintenance, clean grout every 2-4 weeks with a mild cleaner. Deep clean every 3-6 months depending on traffic and moisture.
What is the fastest way to clean grout?
A steam cleaner is the fastest method for deep cleaning without chemicals. For quick touch-ups, a Magic Eraser or baking soda paste works in minutes.
Does vinegar damage tile grout?
Vinegar is safe for most grout, but avoid using it on unsealed or natural stone tile. Rinse thoroughly to prevent acid residue from weakening grout over time.
How do I prevent grout from getting dirty again?
Seal grout after cleaning and apply a hydrophobic sealer. Wipe up spills quickly, use a squeegee in showers, and run a bathroom fan to reduce moisture.
Conclusion
With these 13 steps, your grout can look almost new without hours of scrubbing. The biggest takeaway? Let your cleaner sit and use the right tool for the job—a stiff brush or steam cleaner makes all the difference.
Once you've got a routine, maintenance is quick and easy.
Don't stress about getting every speck in one go. Even a partial improvement brightens the whole room. Pick a method that fits your schedule, and enjoy your fresher, cleaner tile.