10 Warm Dustbin Storage Kitchen Ideas That Keep Everything Easy to Find
Dustbin storage rarely gets the attention it deserves, but the right setup can turn a cluttered corner into a calm, organized zone. When everything has a home—and slides out smoothly—you stop digging through bags and start finding what you need in seconds.
These 10 ideas focus on real kitchens, real messes, and simple upgrades that make daily life easier. From pull-out drawers to clever corner solutions, each one is practical and easy to adapt.
Let's walk through them.
1. Pull-Out Bin Drawers for Effortless Access
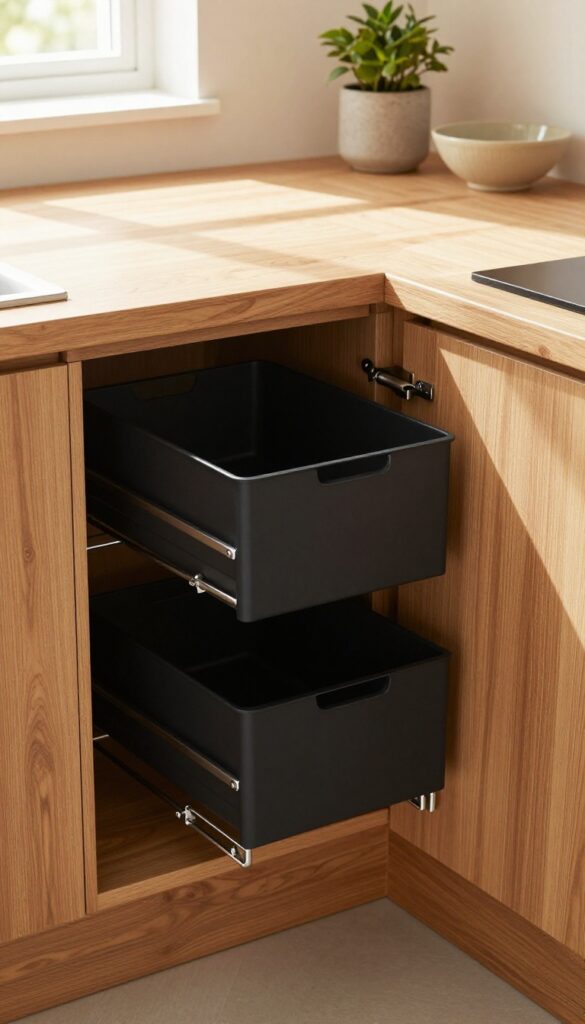
Opening a cabinet door and pulling out a bin drawer feels surprisingly satisfying—no more bending, rummaging, or wrestling with a lid. These drawers slide on smooth runners, so you can toss vegetable peels or packaging without breaking your cooking flow. Plus, they keep everything out of sight, which makes the kitchen look tidier instantly.
Pull-out bin drawers are a game-changer for busy kitchens. They tuck trash and recycling into lower cabinets, freeing up floor space and hiding the bins behind a clean facade. The best part?
You can choose from warm wood tones or matte finishes that blend seamlessly with your cabinetry, so the storage doesn't scream 'garbage'—it just looks like another drawer. Whether you're prepping a big meal or doing a quick tidy-up, having the bin slide right to you makes the whole process feel effortless.
Why They Beat Open Bins
Open bins are fine, but they take up floor space, collect dust, and often end up hidden behind a door anyway. Pull-out drawers solve all that by putting the bin exactly where you need it—inside a cabinet. You avoid the visual clutter of a plastic bin sitting out, and you don't have to bend down to reach the bottom of a deep can.
The drawer glides out smoothly, so you can even use it as a temporary landing spot for scraps while you chop.
Choosing The Right Size And Finish
Measure your cabinet base before you buy—most pull-out bins come in standard widths like 15, 18, or 21 inches, but custom options exist. Think about how much waste you generate daily; a family of four might need a 30-liter bin, while a couple could manage with 20. For the finish, warm oak or walnut fronts add a cozy touch, while matte black or gray works well in modern kitchens.
Match the drawer front to your existing cabinet style for a built-in look.
Installation Tips For Smooth Sailing
You can install pull-out bins as a DIY project if you're handy—just make sure the slides are level and the bin sits securely. If you're not comfortable, a carpenter can do it in under an hour. Pro tip: add a soft-close mechanism to prevent slamming, and place a liner at the bottom of the bin to catch drips.
That way, cleanup is as simple as wiping down the drawer.
2. Under-Sink Compartmentalized Bins
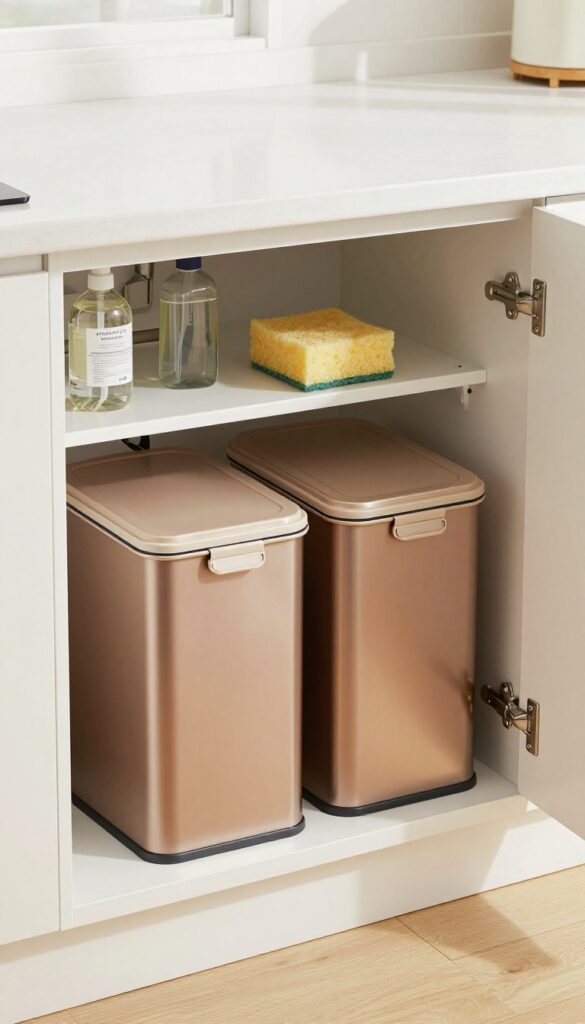
The space under the sink is often a black hole of cleaning supplies and tangled bags. A dual-compartment bin changes that by giving trash and recycling their own slots, so you never have to guess which bag goes where. The soft-close lid keeps odors in and adds a touch of quiet luxury, while the warm bronze or copper finish catches the light and makes the area feel intentional.
This setup works best when you measure the cabinet floor first. Look for a bin with two equal or slightly unequal compartments, depending on your waste habits. The soft-close mechanism prevents slamming, which is a small but noticeable upgrade.
The metallic finish doesn't just look good—it also resists fingerprints and wipes clean easily.
Why Two Compartments Beat One
A single bin forces you to separate recyclables manually or toss everything together. With two compartments, you can sort as you go, which saves time and reduces the chance of mixing wet trash with clean paper. Plus, you can use one side for food scraps if you compost, and the other for general waste.
Choosing The Right Size And Finish
Measure the width, depth, and height of your under-sink cabinet, leaving room for plumbing. A bin that's too tall won't slide out easily, and one that's too wide blocks access to pipes. For the finish, warm bronze or copper pairs well with most cabinet hardware and adds a subtle glow without being flashy.
If you prefer a matte look, brushed nickel works too, but the warm tones are the real star here.
Installation And Daily Use Tips
Most compartmentalized bins sit on the cabinet floor, but some come with a sliding tray or rails for easier access. If yours doesn't, a simple pull-out shelf underneath makes a world of difference. When you empty the bins, use the handles to lift each compartment separately—no more wrestling with a single heavy bag.
And because the lid closes softly, you can leave it open while cooking without it banging shut.
3. Built-In Recycling Center with a Wooden Top
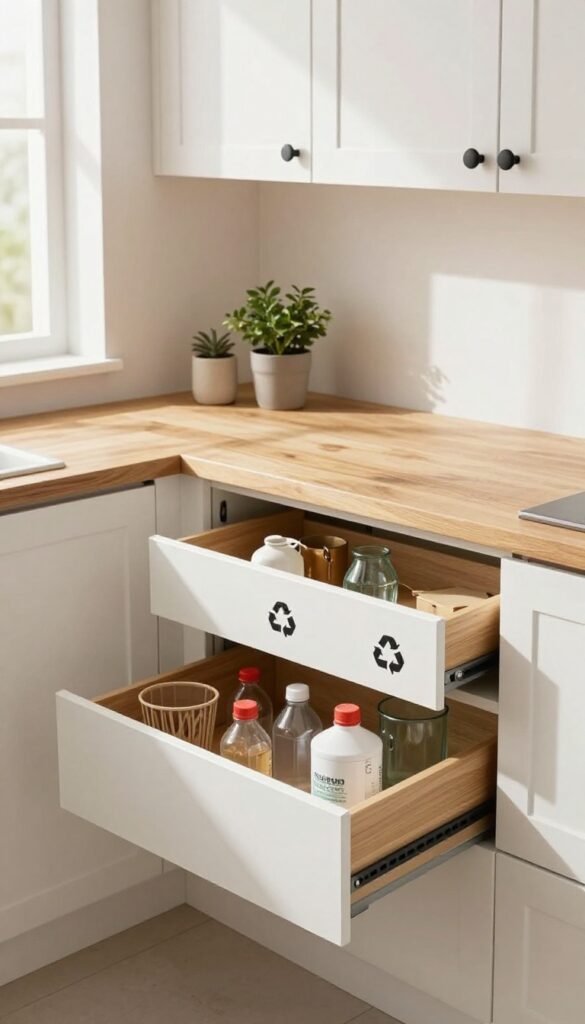
Recycling bins often end up in a corner, cluttering the room and making you wish they were invisible. A built-in recycling center changes that by tucking the bins into a dedicated cabinet, often with a wooden top that pulls double duty as extra counter space. The warm wood tones soften the utilitarian look, making the station feel like part of the kitchen rather than an afterthought.
This setup usually features a pull-out drawer or tilt-out door that reveals separate bins for paper, plastic, and glass. The wooden top can be a butcher block or a sturdy plywood with a natural finish, giving you a spot to sort recyclables or set down groceries. Because everything is built in, you don't have to look at bins or bags, and the clean lines keep the kitchen feeling tidy.
Why The Wooden Top Works
The wooden top adds warmth and function. It gives you a place to sort items or rest a bag while you're loading the bins. It also makes the unit feel like furniture, not just a trash can.
Choose a wood that matches your cabinets or go with a contrasting tone for a subtle design statement.
How To Set It Up
Start by measuring the space under your counter or in a base cabinet. You can buy a ready-made recycling pull-out system or build one with a simple drawer slide. Use separate bins for different materials and label them clearly so everyone in the house knows where to put things.
Add a soft-close mechanism to avoid slamming.
Keeping It Easy To Use
The key is making the bins easy to reach and empty. A pull-out drawer that glides smoothly is a game-changer. Position the most-used bin at the front, and consider a lid that opens with a gentle push.
You can also add a small trash bag dispenser inside the cabinet to keep everything in one place.
4. Slide-Out Tilt-Out Bins for Small Corners
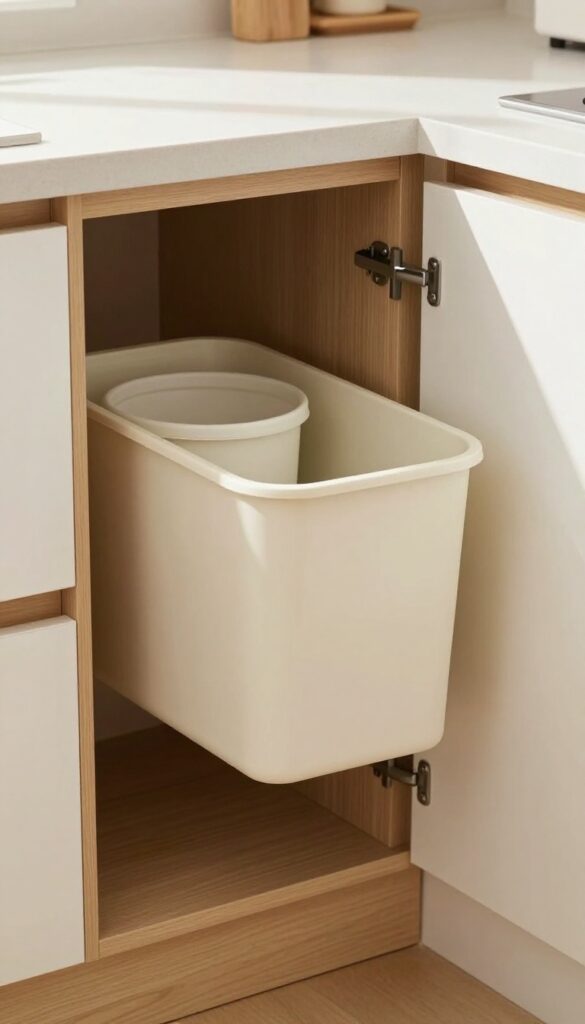
Corners are the forgotten real estate of most kitchens, especially the tight spot next to the fridge or under a counter. A slide-out tilt-out bin turns that awkward gap into a functional waste station without eating up floor space. The gentle tilt motion lets you toss trash without opening a full cabinet door, and the warm cream finish keeps it looking intentional.
These bins are designed to fit into narrow cabinets or open nooks, making them ideal for galley kitchens or islands with limited clearance. The tilt-out mechanism is smooth and quiet, so you can use it one-handed while cooking. The cream or beige finish matches most cabinet styles, from modern to cottage, and the bin itself is easy to wipe down.
Because it slides out fully, you can also access the surrounding storage without moving the bin.
Why Tilt-out Beats Pull-out In Tight Spots
Pull-out bins need a clear path to slide forward, which often means clearing the floor or adjusting cabinet doors. Tilt-out bins pivot on a hinge, so they work even when there's only a few inches of clearance. That makes them perfect for the sliver of space beside a refrigerator or under a window.
You also avoid the full extension that can bump into neighboring cabinets.
Choosing The Right Size And Mount
Measure the width, depth, and height of your target space before buying. Most tilt-out bins range from 10 to 18 inches wide, and you can choose between under-counter mounts or freestanding units. Look for a bin with a soft-close hinge to prevent slamming, and a removable inner bucket for easy emptying.
If you have a double cabinet, you can install two bins side by side for trash and recycling.
Styling With A Warm, Seamless Look
The cream or beige finish is more than just aesthetic—it helps the bin disappear into your cabinetry. Pair it with a wooden cutting board on top or a small plant to make the corner feel intentional. You can also add a label to the front panel to indicate what goes inside, which is handy for family members.
The goal is to make waste storage feel like a natural part of the kitchen, not an afterthought.
5. Cabinet Door-Mounted Mini Bins
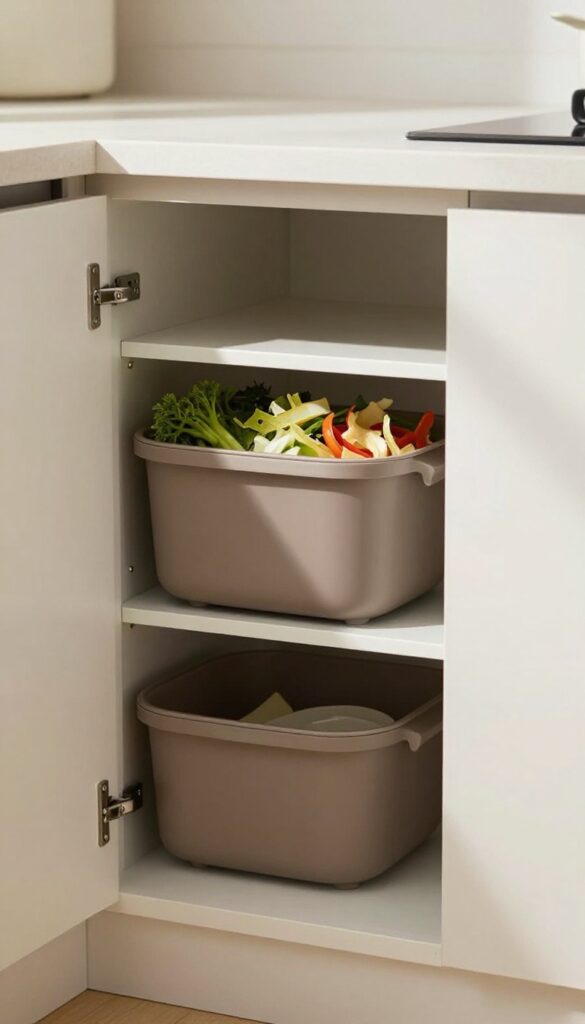
When every inch of counter space matters, the inside of a cabinet door is prime real estate. A slim bin mounted there keeps scraps within arm's reach without stealing floor or counter space. It's a simple swap that makes prep work feel smoother and cleanup quicker.
Mounting a mini bin to the inside of a cabinet door turns wasted space into a handy drop zone. Choose a bin with a lid that opens easily, like a flip-top or a slide-out model, so you can toss peels and trimmings without breaking your flow. The warm gray or taupe finish blends with most cabinet interiors, so it looks intentional rather than like an afterthought.
Perfect For Prep Zones
Place the bin near your main prep area, like under the sink or beside the stove. When you're chopping vegetables, you can sweep scraps straight into the bin without moving from your spot. That saves steps and keeps your workspace clear.
Easy To Clean And Empty
Look for a bin with a removable inner bucket or a smooth, wipeable surface. That way, you can rinse it out quickly after a big cooking session. Some models even have a handle that lets you carry it to the compost pile or trash can without spilling.
Great For Small Kitchens
If you're short on floor space, this is a game-changer. No more bulky bins taking up room underfoot. The door-mounted design keeps everything tucked away, so your kitchen feels more open and less cluttered.
6. Island Pull-Out Waste Drawer
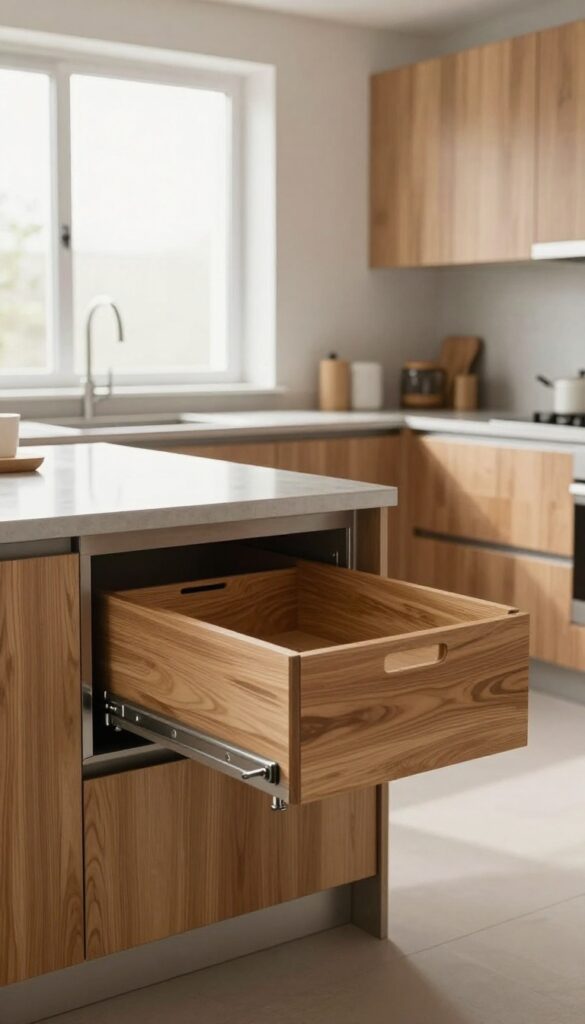
The kitchen island is the natural gathering spot, so why not put the trash there too? An island pull-out waste drawer puts a bin right where you need it, whether you're prepping dinner or clearing plates. It's a central solution that keeps the mess out of sight but within arm's reach.
Adding a pull-out waste drawer to your island is a smart move for anyone who spends time cooking and entertaining in the same space. You can toss scraps straight into the bin without crossing the room, and the drawer hides everything when you're done. With a wooden front that matches your cabinetry, it blends in seamlessly and adds a warm, custom touch.
Why It Works
The island is often the busiest surface in the kitchen, so having a bin right there cuts down on trips and keeps prep tidy. A pull-out drawer also keeps the trash out of sight, which is a big plus if your island faces a dining or living area. Plus, you can use the same drawer for recycling or compost if you set up separate inserts.
Installation Tips
You'll need a base cabinet with a drawer slide rated for the weight of a full bin. Measure the space carefully to ensure the bin fits when closed, and consider a soft-close mechanism to avoid slamming. If you're handy, this is a doable weekend project; otherwise, a carpenter can handle it quickly.
Customization Options
The beauty of this idea is how customizable it is. You can choose a single large bin, a double bin for sorting, or add a lid that opens automatically when you pull the drawer. Match the drawer front to your island's wood tone for a cohesive look, or add a small handle that's easy to grip even with messy hands.
7. Rolling Cart with Bins and a Butcher Block Top
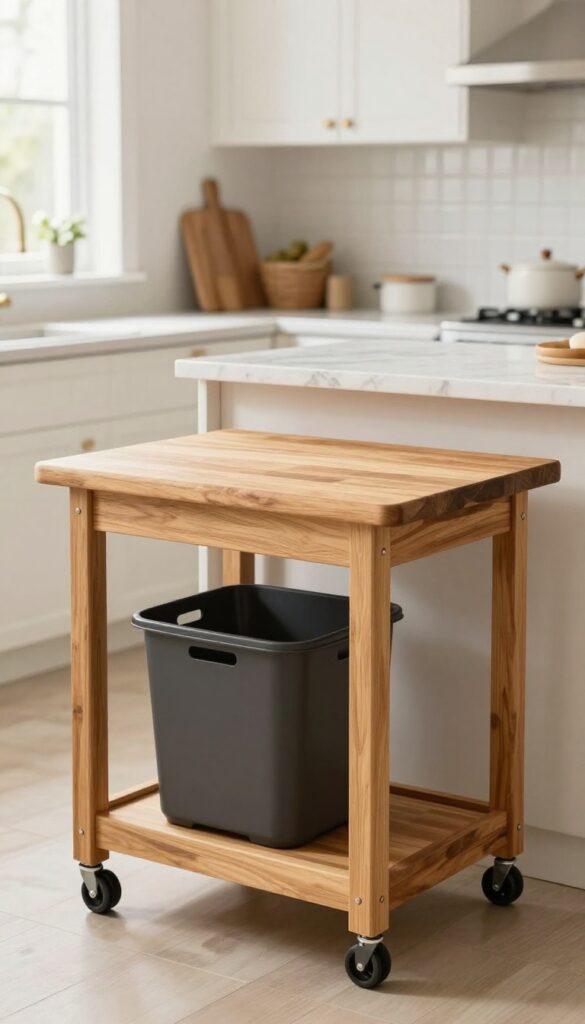
Sometimes the best solution is the one that moves with you. A rolling cart with built-in bins and a butcher block top brings flexibility to any kitchen, letting you store trash and recycling exactly where you need it—then roll it out of the way when you don't. The warm wood surface adds a rustic charm that fits most styles, and the extra counter space is a bonus for meal prep or serving guests.
This idea shines in kitchens where space is tight or where the layout changes throughout the day. You can keep it near the main prep area while cooking, then roll it to the side when you need more floor space. The butcher block top gives you a sturdy surface for chopping or setting down hot pans, making the cart a true multitasker.
Why A Mobile Cart Works
A rolling cart adapts to your workflow. If you're prepping at the island, keep it close. When guests arrive, tuck it into a corner or pantry.
The built-in bins keep trash and recycling hidden but accessible, so you don't have to walk across the room every time you peel a vegetable. Plus, the butcher block top is a natural fit for quick tasks like slicing bread or assembling sandwiches.
Choosing The Right Bins And Cart
Look for a cart with sturdy casters and a brake system so it stays put when you need it. Bins should be easy to lift out for emptying—ideally with handles or a lip. The butcher block should be sealed and easy to wipe down.
Some carts come with a towel bar or hooks on the side, which are handy for hanging dish towels or reusable bags. Measure your space to ensure the cart fits through doorways and under counters when parked.
Styling And Placement Tips
Place the cart near your main prep zone but out of the main walkway. If you have a kitchen island, tuck it at the end for easy access. Use the top to display a small plant or a bowl of fruit when not in use—it adds warmth without clutter.
Match the wood tone to your existing cabinets or countertops for a cohesive look. The cart can also double as a bar cart for parties, with the bins holding ice or bottles.
8. Custom Pull-Out with Soft-Close Mechanism
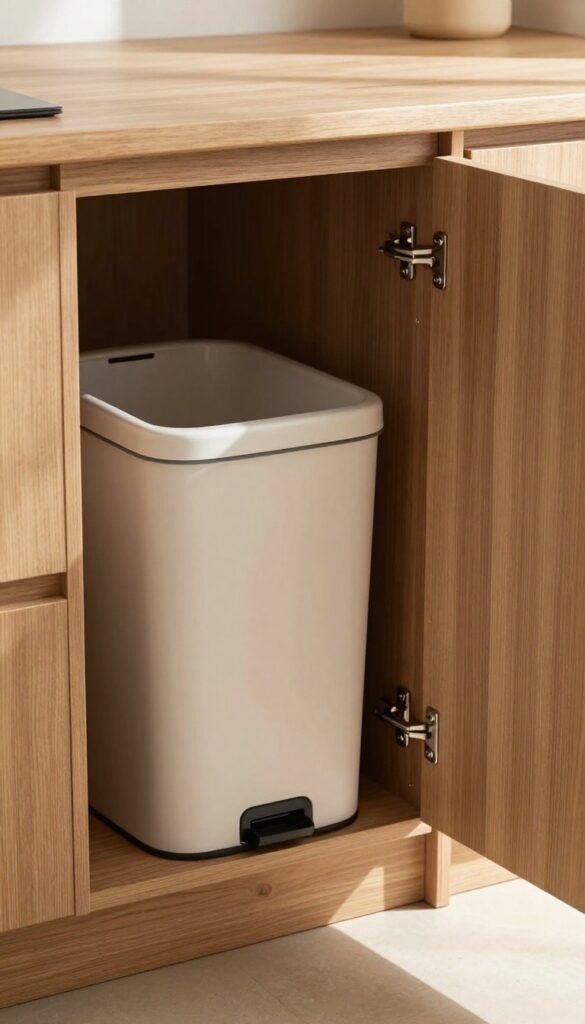
Slamming cabinet doors and rattling bins can take the calm out of a kitchen. A custom pull-out with soft-close slides solves that by letting the bin glide shut gently every time. It’s a small upgrade that feels premium and keeps the space quiet and tidy.
A soft-close pull-out isn’t just about convenience—it’s about protecting the bin and the cabinet from wear and tear. The mechanism slows the slide as it closes, so there’s no jarring impact. This means less noise, less damage, and a smoother experience overall.
Plus, the warm oak or walnut front panel adds a natural touch that blends with most kitchen styles.
Why Soft-close Matters
Soft-close slides prevent the bin from slamming shut, which reduces noise and extends the life of both the bin and the cabinet. They also make the pull-out feel more refined, like the high-end hardware you’d find in luxury kitchens. If you have kids or just hate loud bangs, this is a game-changer.
Choosing The Right Wood Finish
Warm oak or walnut finishes bring a cozy, natural feel to the kitchen. Oak is lighter and more casual, while walnut adds richness and depth. Match the front panel to your existing cabinetry or use it as a subtle contrast to make the bin area a design feature rather than an afterthought.
Installation Tips
Measure the cabinet space carefully and order a pull-out that fits snugly. If you’re handy, you can install it yourself with basic tools, but hiring a professional ensures perfect alignment and smooth operation. Make sure the slides are rated for the weight of your bin and its contents, so it glides without strain.
9. Corner Carousel with Bins
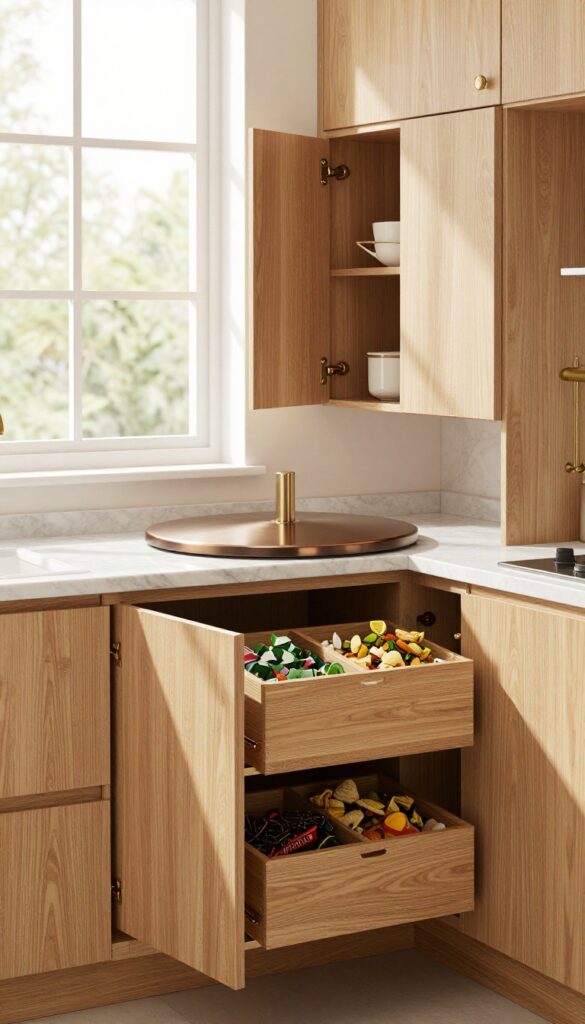
Corner cabinets are often the Bermuda Triangle of the kitchen—things go in, and they never come out. A lazy Susan-style carousel flips that script completely. Instead of digging through dark shelves, you get a spinning platform that brings every bin right to you.
With removable bins in warm wood or metal tones, it looks intentional and keeps waste and recycling within easy reach.
This setup works best in a base corner cabinet, where a full-extension carousel can be installed. The bins sit on the turntable, so a gentle spin brings the one you need to the front. Choose bins with lids that open easily, or go lidless for quick toss-ins.
The warm finishes—think oak, walnut, or bronze—blend with most kitchen styles, adding a touch of sophistication to a utilitarian spot.
Why A Carousel Works In Corners
Corners are awkward because they’re deep and hard to see into. A carousel solves that by making everything accessible from a single point. You don’t have to crawl or reach blindly.
The spinning motion is smooth and quiet, and because the bins are removable, you can lift them out for emptying or cleaning without any fuss. It’s a simple mechanical fix that turns wasted space into a hardworking station.
Picking The Right Bins
Not all bins are created equal. Look for ones that fit the carousel’s diameter without overhanging. Rectangular bins work well because they maximize the circular footprint.
Choose bins with sturdy handles and a non-slip base so they stay put when the carousel spins. For a warm look, consider bamboo or wood-effect bins, or go with matte metal in bronze or copper tones. Just make sure they’re easy to wipe down.
Installation And Setup Tips
Measure your cabinet’s interior before buying. A standard 36-inch base cabinet fits a 24-inch carousel, but always check. Install the carousel on the cabinet floor, ensuring it rotates freely without hitting the door or frame.
Place heavier bins on opposite sides to balance the load. If you’re handy, this is a DIY afternoon project; if not, a carpenter can do it quickly. Once in place, label the bins (trash, recycling, compost) to keep everything clear.
10. Open Shelving with Woven Baskets
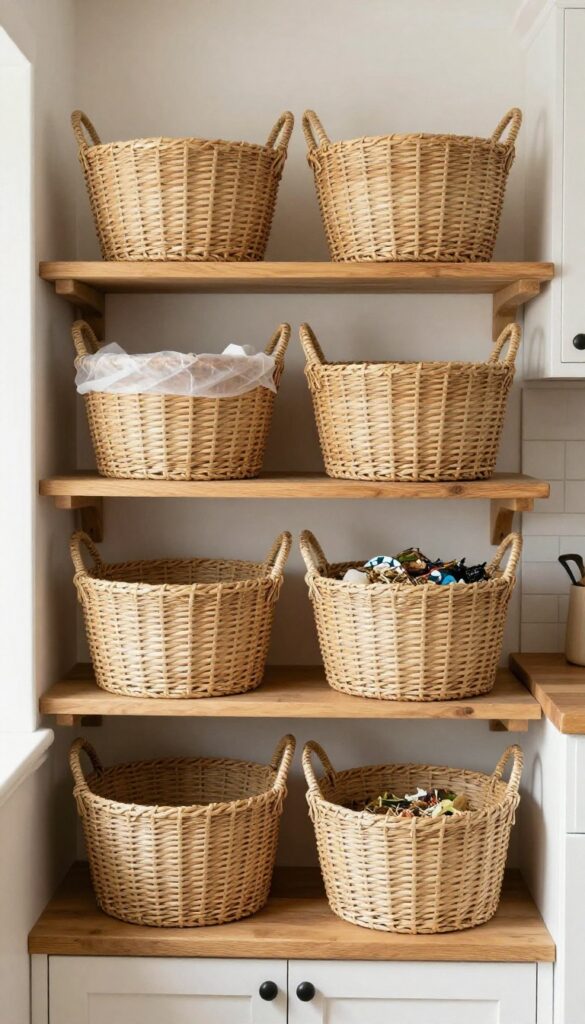
Open shelves bring a cozy, farmhouse vibe to any kitchen, and woven baskets take that warmth up a notch. Instead of hiding your trash bins behind closed doors, place them in stylish baskets that are easy to grab and carry. This setup keeps things visible but tidy, and it makes taking out the trash feel less like a chore.
Woven baskets on open shelves are a simple swap that adds texture and charm. They’re perfect for holding trash bags, recycling, or even compost scraps. Because the baskets are lightweight, you can lift them straight off the shelf and head outside without wrestling with a bin.
Plus, the natural fibers hide any mess inside, so your kitchen stays looking put together.
Choosing The Right Baskets
Look for baskets with sturdy handles and a tight weave—they’ll hold up better and won’t snag on bags. Seagrass or water hyacinth are great options because they’re durable and easy to wipe down. Pick sizes that fit your shelves and leave a little room for easy lifting.
Organizing Inside The Basket
Line each basket with a small trash bag or a reusable liner to keep it clean. You can dedicate one basket to trash and another to recycling, or use one for bags and another for compost. Label the baskets with small chalkboard tags so everyone in the house knows where things go.
Placement Tips
Install open shelves near your prep area or by the back door for quick access. Keep heavier baskets on lower shelves to avoid reaching overhead. If you’re worried about smells, add a small baking soda pouch at the bottom of each basket—it absorbs odors without taking up space.
FAQ
What is the best way to hide a dustbin in a small kitchen?
In small kitchens, consider a cabinet door-mounted mini bin or a slim pull-out drawer that fits into narrow gaps. These options keep the bin out of sight without taking up valuable floor space.
How do I keep my dustbin storage area smelling fresh?
Use bins with tight-sealing lids, line them with scented bags, and place a small baking soda container or charcoal filter inside. Regularly wipe down the bin and surrounding area to prevent odors.
Can I install a pull-out bin myself?
Yes, many pull-out bin kits are DIY-friendly. You'll need basic tools like a screwdriver and drill. Just measure your cabinet space carefully and follow the manufacturer's instructions.
What materials are best for warm dustbin storage?
Warm wood finishes like oak, walnut, or bamboo add a cozy feel. For bins themselves, stainless steel with a bronze or copper coating offers durability and a warm tone. Woven baskets are also great for a natural look.
How do I choose the right size dustbin for my kitchen?
Consider your household size and how often you take out the trash. A 12-16 gallon bin works for most families, but if you have limited space, opt for a smaller bin and empty it more frequently. Measure your cabinet or designated area to ensure a proper fit.
Conclusion
A well-organized dustbin storage setup is about more than hiding bins—it's about making your daily kitchen flow feel effortless. Once you find the spot that works for your space and habits, you'll wonder why you waited so long to sort it out. Start with one idea that solves your biggest frustration, and build from there.
Whether it's a pull-out cabinet or a simple corner nook, the right solution makes tidying up feel almost automatic. Pick the approach that fits your kitchen's layout, and enjoy the calm that comes with everything having a place.