10 Walk In Tile Shower Ideas That Feel Open and Seamless
Stepping into a shower without a door or curb changes the whole feel of a bathroom. It’s not just about accessibility—it’s about creating a smooth, open space that flows with the rest of the room.
Walk-in showers have become a favorite for their clean lines and easy maintenance, and the tile choices you make can either highlight that openness or clutter it. In this guide, we’ll walk through ten tile ideas that keep your walk-in shower feeling airy, seamless, and inviting.
Whether you’re planning a full remodel or just dreaming, these ideas will help you make the most of your space.
1. Curbless Entry with Large-Format Tiles
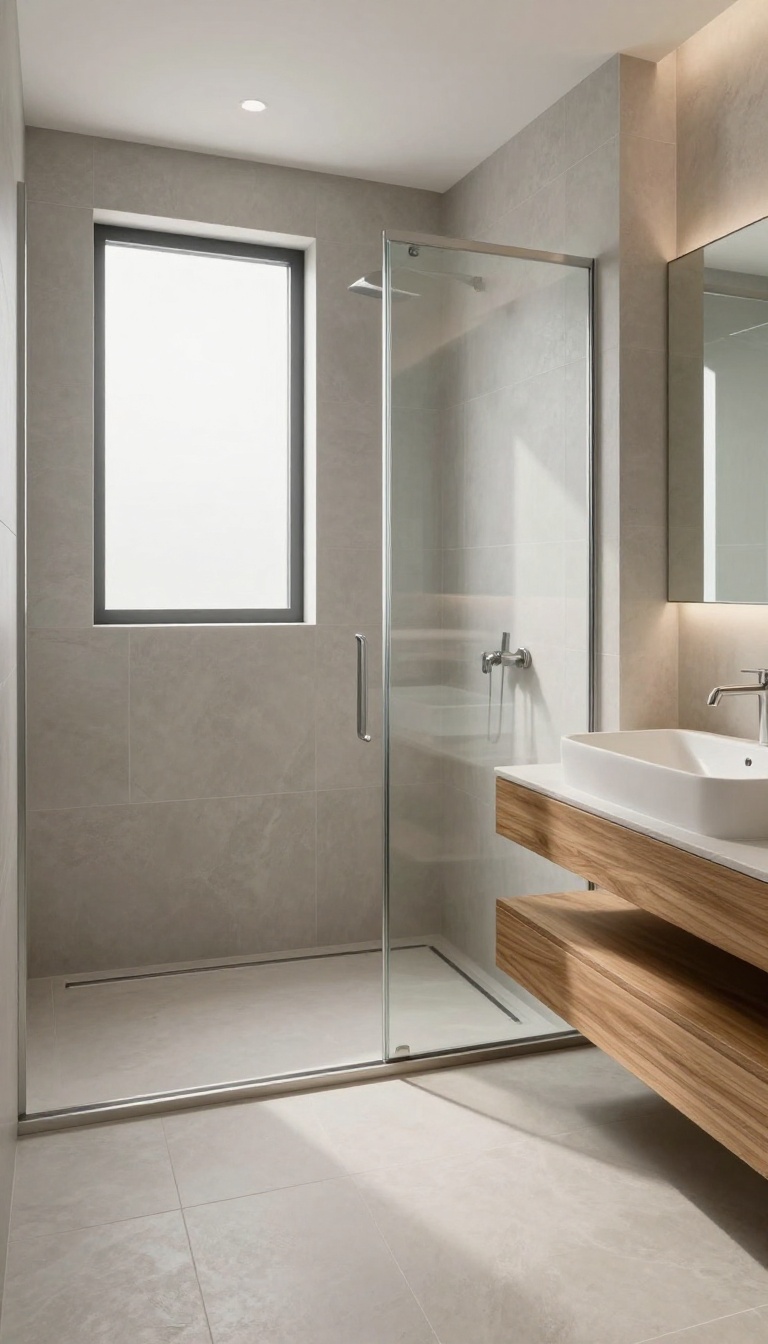
A curbless entry is the ultimate way to make a walk-in shower feel like part of the room. By removing the step, you create a seamless transition that not only looks sleek but also makes the space safer and easier to access. Pair that with large-format tiles, and you'll minimize grout lines, which helps the floor appear continuous and the bathroom feel bigger.
When you go curbless, the shower floor and the bathroom floor become one. This is where large-format tiles shine. Tiles like 24×48 inches or even larger cover more area with fewer joints, so the eye isn't interrupted by a grid of grout lines.
The result is a smooth, uninterrupted surface that visually expands the space. Plus, fewer grout lines mean less maintenance and fewer places for mold to hide.
Why Curbless Works
A curbless entry eliminates the physical barrier, making the shower feel more open and accessible. It's a popular choice for aging in place or for anyone who wants a clean, modern look. Without a curb, water needs proper sloping and drainage, so it's essential to work with a professional to ensure the floor pitches correctly toward the drain.
Choosing The Right Large-format Tile
Large-format tiles come in a variety of materials, from porcelain to natural stone. Porcelain is durable and water-resistant, making it a top pick for showers. Look for tiles with a matte or textured finish to improve slip resistance, especially on the shower floor.
Also, consider the size of your shower—larger tiles can make a small shower feel more expansive, while in a large shower, they emphasize the openness.
Grout Color And Layout Tips
To enhance the seamless look, choose grout that closely matches the tile color. This minimizes the visual contrast and makes the surface appear more continuous. For layout, a straight or staggered pattern works well.
Avoid busy patterns that break up the flow. If you want to add interest, consider a subtle linear drain that runs along the entry, which can double as a design feature.
2. Floor-to-Ceiling Marble-Look Porcelain
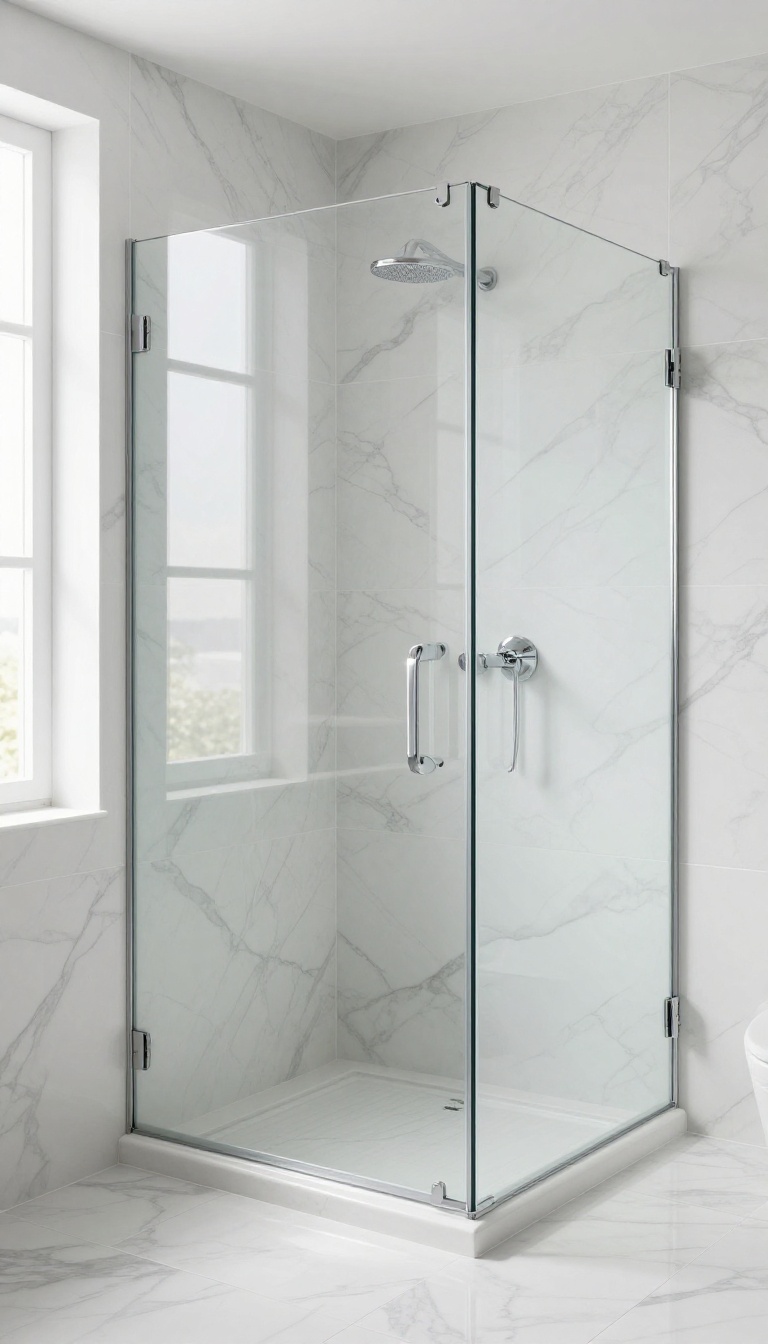
Nothing says seamless quite like marble, but real marble in a wet area can be high-maintenance. Marble-look porcelain gives you that high-end appearance without the worry of staining or etching. Taking the tile all the way up to the ceiling eliminates visual breaks that can make a shower feel boxed in.
The continuous surface draws the eye upward, making the space feel taller and more expansive.
Porcelain tiles that mimic marble have come a long way. They now capture the subtle veining and soft color variations of natural stone, but they’re far more durable and easier to care for. When you use them from floor to ceiling, you create a monolithic look that feels both luxurious and calm.
The key is to choose large-format tiles, like 12×24 or 24×48 inches. Fewer grout lines mean a smoother, more uninterrupted surface. That’s what really sells the seamless effect.
Plus, large tiles are quicker to install, which can save you a bit on labor. To keep the flow going, match the grout color to the tile. A contrasting grout will break up the surface and defeat the purpose.
Opt for a grout that blends in, and you’ll barely notice the lines at all.
Pick The Right Finish
Marble-look porcelain comes in polished, matte, and textured finishes. For a shower floor, choose a matte or textured finish to prevent slips. Polished works fine on walls, but it can be slippery underfoot.
A soft matte finish also hides water spots better and gives a more natural, stone-like feel.
Keep The Veining Consistent
When installing large-format marble-look tiles, pay attention to the pattern. Some tiles have a distinct direction to the veining. If you install them randomly, the lines can clash and break the seamless look.
Work with your installer to orient the tiles so the veining flows naturally, like a real slab of marble.
Consider A Coordinating Accent
Even with a seamless design, you might want a subtle accent. A niche or bench in a complementary solid color can add function without disrupting the flow. Choose a tone that appears in the marble veining, like a soft gray or beige, to keep the overall look cohesive.
3. Linear Drain with a Single Tile Pattern
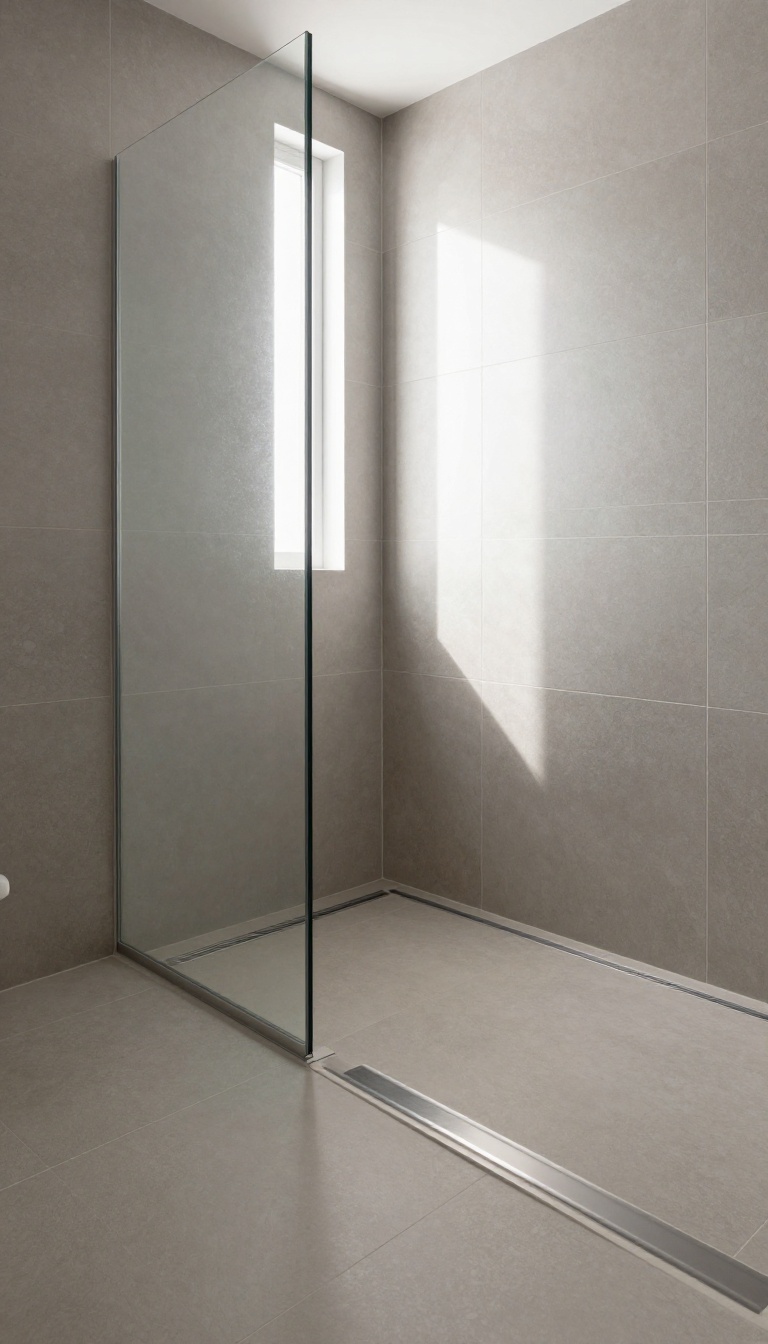
A linear drain at the far end lets you keep the shower floor perfectly flat, which is a game-changer for that seamless look. Instead of a traditional center drain that forces slopes and cuts, a linear drain runs along one edge, so the tile can flow uninterrupted from wall to wall. When you use the same tile throughout the shower and the rest of the bathroom floor, the eye doesn't stop at the shower boundary.
It just keeps going, making the space feel larger and more connected.
The magic here is in the details. A linear drain not only looks sleek but also simplifies the tile layout. You can run large-format tiles in one continuous direction, avoiding awkward cuts and small pieces that break the visual flow.
Plus, with the drain tucked at the back, you get a clean, unobstructed floor that's easy to clean and a joy to stand on.
Why A Linear Drain Works
A linear drain is installed flush with the floor, so there's no raised grate or visible slope. This allows the shower floor to be perfectly level, which is essential for a seamless transition. It also gives you more flexibility with tile size and layout, since you don't have to worry about water pooling around a center drain.
The result is a minimalist, spa-like feel that's both functional and beautiful.
Choosing The Right Tile
For this idea, large-format tiles—like 12×24 or 24×24 inches—work best. They have fewer grout lines, which enhances the seamless look. Porcelain or ceramic tiles are ideal because they're durable, water-resistant, and come in a variety of finishes that mimic natural stone or concrete.
Pick a matte or textured finish for the floor to prevent slipping, and consider the same tile for the walls to create a truly continuous surface.
Installation Tips
Proper installation is key. The floor needs to be sloped slightly toward the linear drain, even though it looks flat. Work with a professional who knows how to set up the drainage system correctly.
Also, plan the tile layout so that the grout lines align with the drain and continue seamlessly into the bathroom floor. This attention to detail makes the difference between a good job and a stunning one.
4. Glass Panel with Minimal Framing
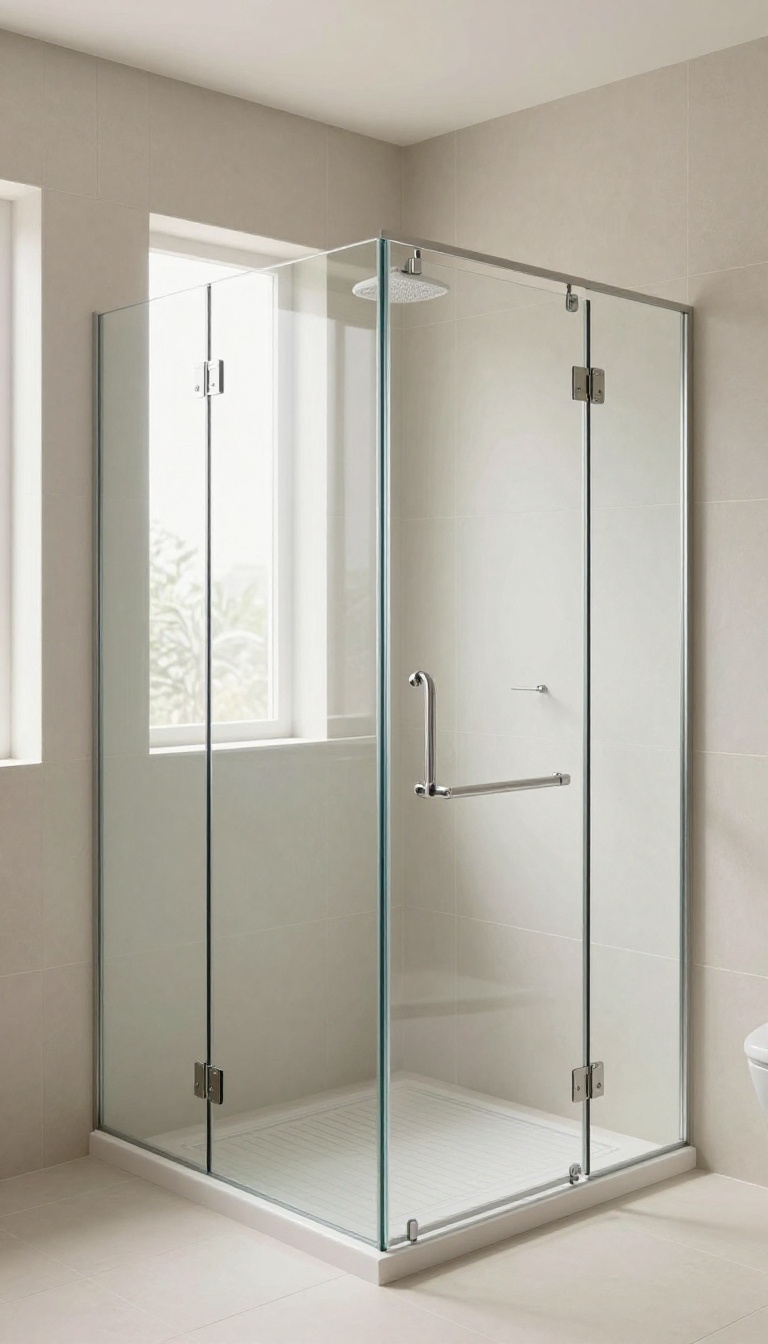
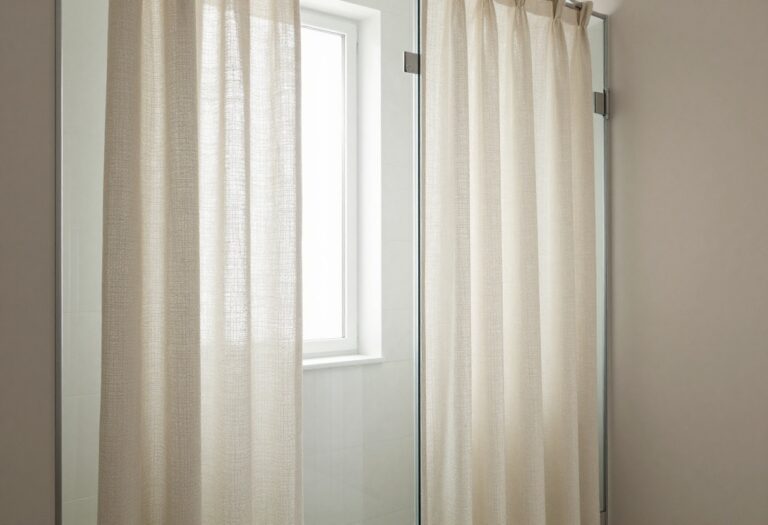
A frameless glass panel is one of the simplest ways to keep a walk-in shower feeling open and seamless. Instead of a bulky door or heavy enclosure, a single sheet of glass acts as a subtle divider, stopping water from splashing out while leaving the view completely unobstructed. It’s a clean, modern look that pairs beautifully with large-format tiles, letting the tilework take center stage.
The magic of a minimal glass panel lies in what it doesn’t do—it doesn’t box you in. With no frame to break the line of sight, the shower blends effortlessly into the rest of the bathroom. This approach works especially well in smaller spaces, where a traditional door can feel heavy and visually intrusive.
By keeping the glass clear and the hardware minimal, you preserve that airy, spa-like atmosphere that makes walk-in showers so appealing.
Why Frameless Works
Frameless glass panels rely on sturdy hinges and clamps rather than metal frames, which means fewer visual interruptions. The lack of a frame also means less grime to clean—no tracks or seals to scrub. Plus, the glass can be cut to fit your exact space, so you can have a panel that’s as wide or narrow as you need, without compromising on style.
Tile Pairings That Shine
To really make the glass panel disappear, choose large tiles—like 24×48-inch porcelain slabs or 12×24-inch ceramic planks. Fewer grout lines create a smoother backdrop, so the eye isn’t drawn to the shower boundary. For a truly seamless look, carry the same tile from the shower floor onto the bathroom floor, or use a matching accent strip to tie the areas together.
Installation Considerations
A frameless glass panel needs a solid anchor point, usually a wall or a sturdy header. If you’re planning this in a new build or remodel, make sure the wall is reinforced to support the weight of the glass. Also, think about the hinge side—you want the panel to swing outward or stay fixed, depending on your layout.
Hiring a professional for the glass installation is often worth it, as precise measurements and tempered glass handling are crucial.
5. Recessed Niches and Shelves with Matching Tile
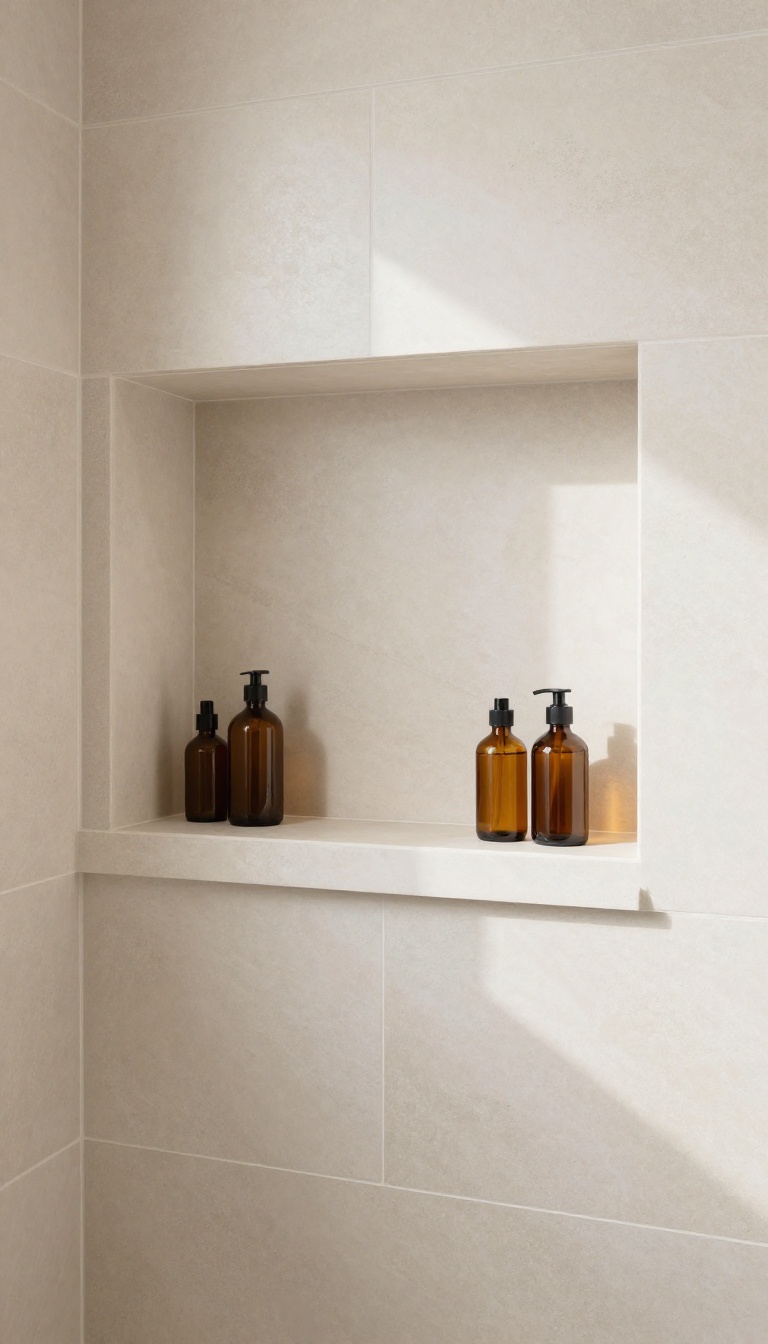
Built-in niches and shelves that use the same tile as the walls blend seamlessly into the design, offering storage without visual clutter or protruding fixtures. When done right, they disappear into the surface, keeping the shower looking clean and uninterrupted. This approach is perfect for maintaining that open, airy feel while still having a spot for your shampoo and soap.
Recessed niches are a practical addition to any walk-in shower, but the way you tile them makes all the difference. By using the same tile as the surrounding walls, you create a continuous surface that doesn't break the visual flow. This trick works especially well with large-format tiles or natural stone, as the lack of grout lines helps the niche blend in completely.
Keep The Grout Lines Aligned
One of the secrets to a seamless niche is aligning the grout lines with the rest of the wall. If your wall tiles have a consistent pattern, carry that same layout into the niche. This might require some extra planning, but the result is a niche that looks like it was always part of the wall, not an afterthought.
Use The Same Tile For The Back Of The Niche
Many people choose a contrasting tile for the back of the niche, but using the same tile creates a more unified look. If you want a subtle hint of depth, you can use the same tile but in a slightly different finish, like matte vs. polished. This adds interest without breaking the seamless feel.
Consider A Full-height Niche Or Shelf
Instead of a small square niche, think about a full-height recessed shelf that runs from the floor to the ceiling. This can serve as a built-in caddy for all your shower essentials, and when tiled with the same material, it looks like a natural part of the wall. It's a great way to add storage without any visual clutter.
6. Light Neutral Palette with Subtle Texture
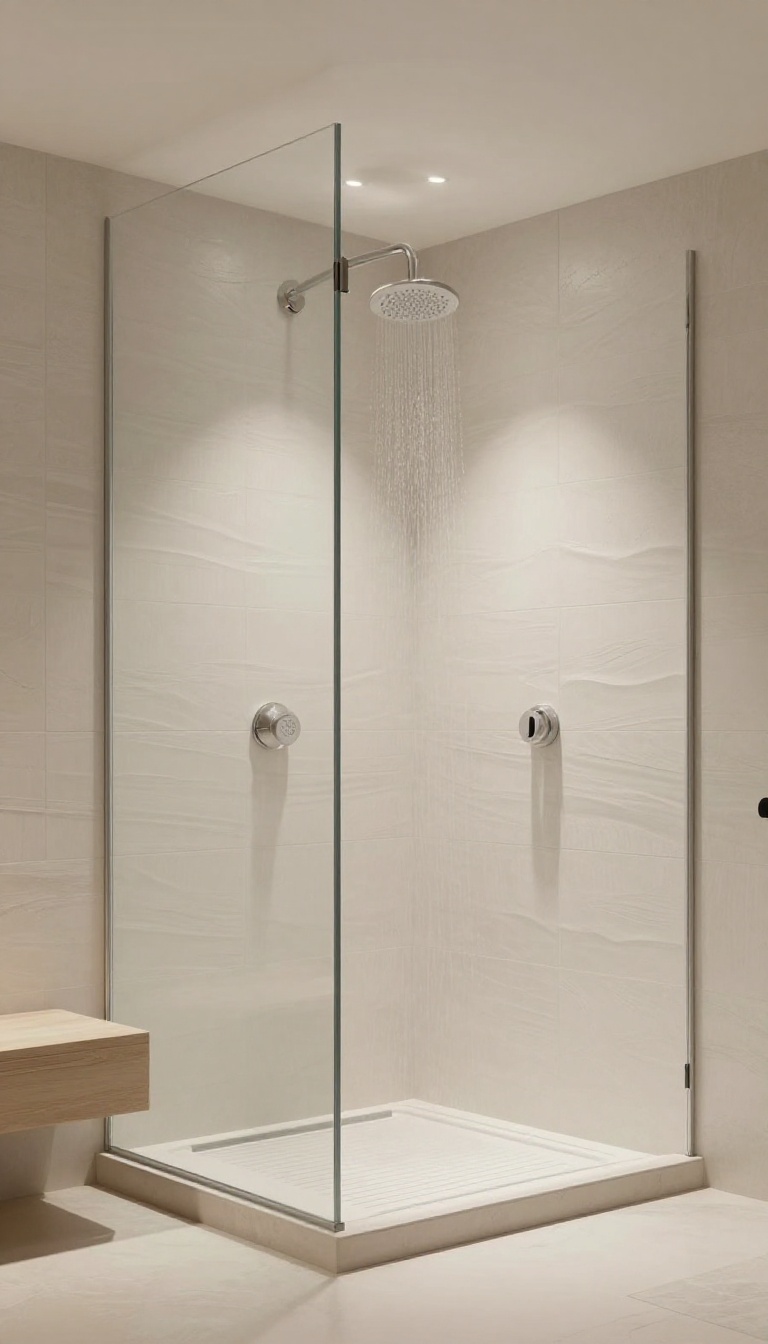
Soft whites, warm beiges, and light grays can make a walk-in shower feel bigger and brighter. But plain neutral tiles can sometimes read as flat or sterile. Adding a subtle texture—like a brushed finish or a gentle wave—gives the surface depth without breaking the calm, open vibe.
This idea is all about balance: keeping the palette light while letting the tile's surface do the talking.
When you choose a light neutral palette, you're working with colors that reflect light and visually expand the space. The texture, whether it's a matte finish, a slight ripple, or a faint linear pattern, catches light in different ways and adds a layer of interest. This approach works especially well in walk-in showers because it maintains the seamless, airy feel while preventing the walls from feeling like a blank canvas.
Why Texture Matters In A Neutral Shower
Texture adds dimension. In a shower where the walls and floor are all similar tones, a subtle texture prevents the space from looking monotonous. It also gives the eye something to trace, which can make the shower feel more intentional and designed.
Plus, textured tiles can offer better grip underfoot, especially on the floor, which is a practical bonus.
Best Tile Finishes For A Soft, Natural Look
Look for tiles with a matte or satin finish rather than high gloss. A brushed or honed surface mimics natural stone and feels softer underfoot. Porcelain and ceramic tiles with a subtle embossed pattern, like a faint linen weave or a gentle wood grain, are great options.
These finishes don't compete with the light, neutral colors—they just add a quiet richness.
How To Keep The Space Feeling Open
To maintain that open, seamless feel, use the same tile on the walls and floor, or choose tiles that are close in tone. Keep grout lines thin and match the grout color to the tile. Avoid busy patterns or high-contrast accents.
The goal is a continuous, soft surface that lets light bounce around. If you want a little contrast, add it with a shower bench or a niche in a slightly darker neutral, but keep it subtle.
7. Vertical Stacked Tile Layout
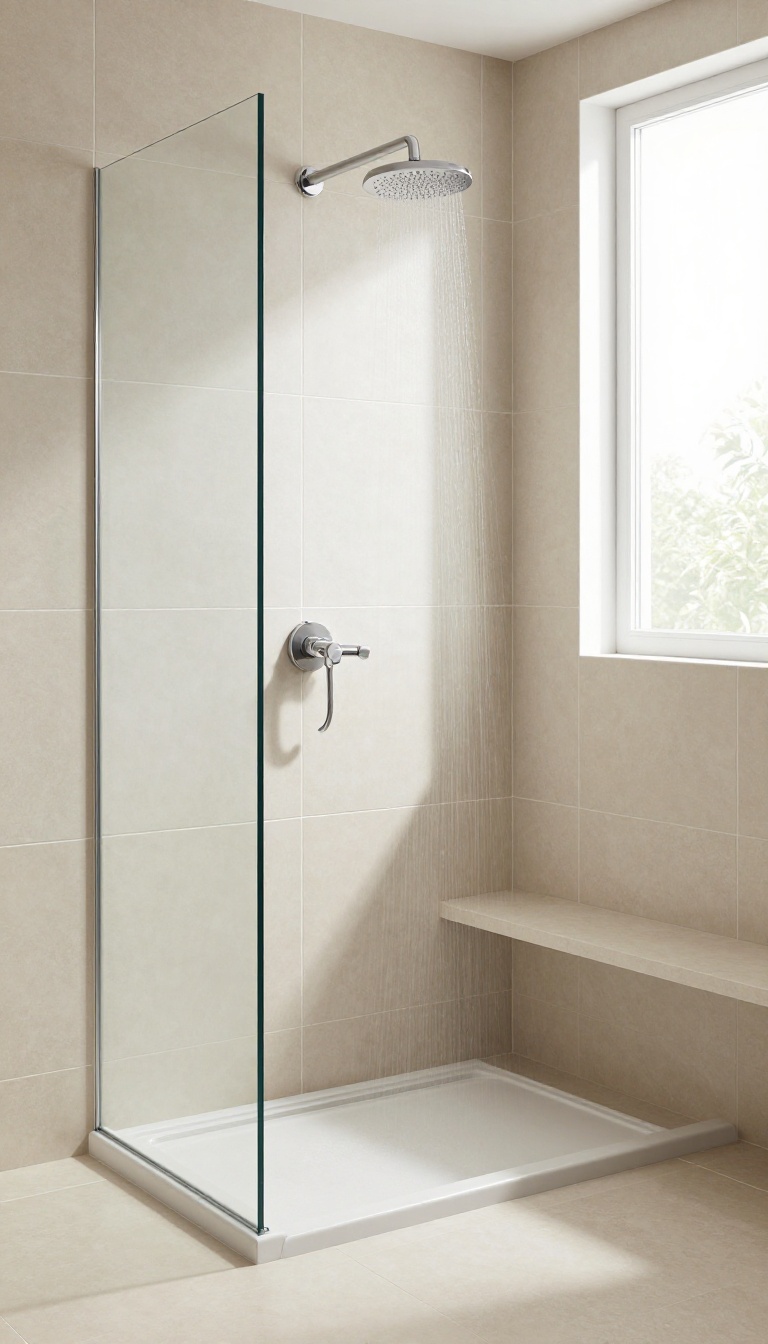
If you want to make your walk-in shower feel taller and more open, the direction of your tile can do a lot of the heavy lifting. Vertical stacked tile—where rectangular tiles are laid in a straight grid, with the longer side running up and down—creates clean, continuous lines that pull the eye upward. It’s a simple trick that adds a modern, seamless feel without any extra materials or complicated patterns.
The vertical orientation is especially effective in showers with lower ceilings or narrow footprints, as it visually stretches the space. The stacked format also keeps the grout lines perfectly aligned, which contributes to that smooth, uninterrupted look you’re after. Plus, it’s a layout that works with a variety of tile sizes and materials, so you can adapt it to your style.
Why Vertical Stacking Works
Vertical lines naturally guide the eye upward, making a ceiling feel higher than it is. In a walk-in shower, this can make the entire space feel more expansive and airy. The stacked pattern also creates a sense of order and simplicity, which complements the open, seamless vibe of a curbless design.
Best Tile Sizes And Finishes
Large-format tiles, like 12×24 or 6×24 inches, are ideal for vertical stacking because they minimize grout lines and emphasize the vertical lines. Glossy or matte finishes both work well, but a subtle texture can add depth without breaking the clean look. Porcelain and ceramic are practical choices for wet areas, while natural stone can bring a touch of luxury if you’re willing to maintain it.
Pairing With Other Elements
To keep the seamless feel, use the same tile on the walls and the floor, or choose a complementary shade for the floor. A linear drain at the far end works beautifully with vertical stacking, as it doesn’t interrupt the flow of the lines. Keep accessories minimal and match the grout color to the tile for an even more unified appearance.
8. Continuous Floor Tile from Bathroom to Shower
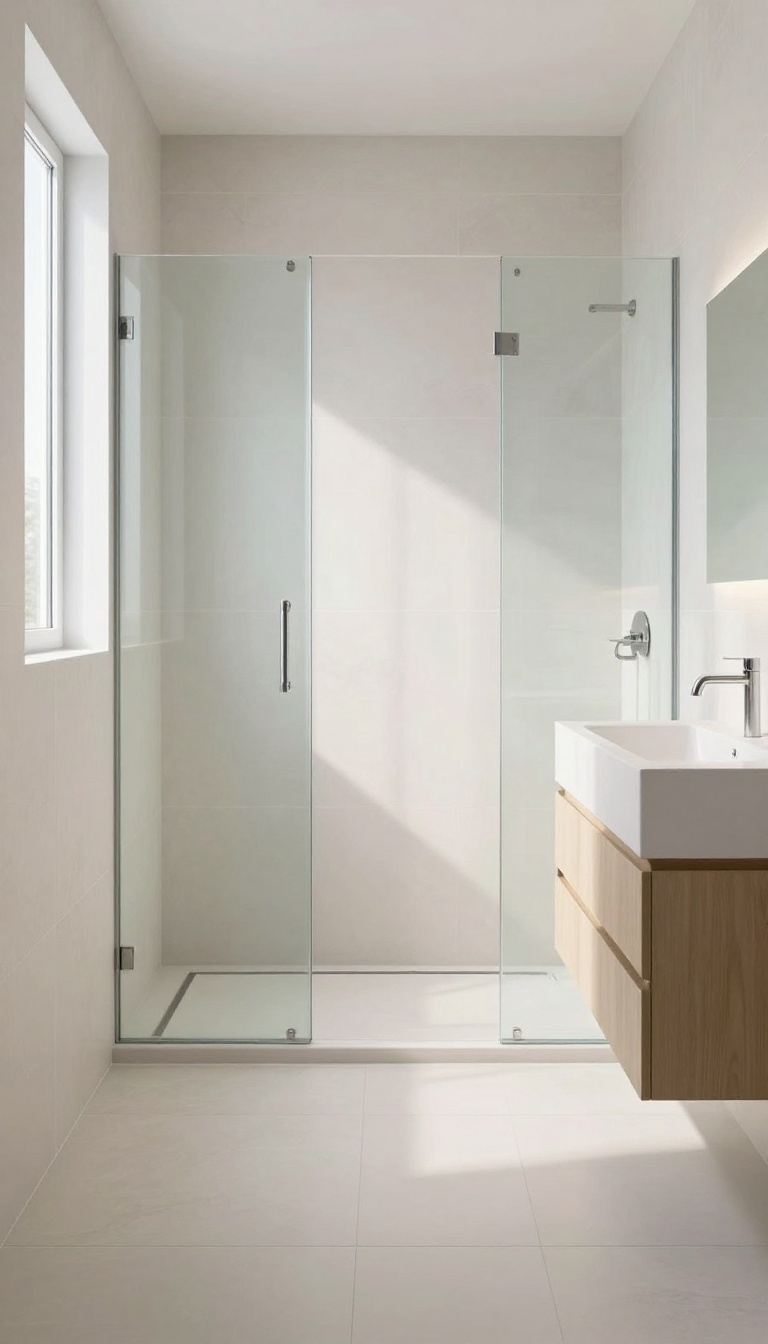
One of the most effective ways to make a walk-in shower feel truly seamless is to use the same tile on the floor from the bathroom right into the shower. This trick visually connects the two spaces, making the shower feel like a natural extension of the room rather than a separate, enclosed area. It works especially well with a curbless design and a linear drain, which allow the floor to stay perfectly level and uninterrupted.
When you carry the same floor tile from the bathroom into the shower, you eliminate the visual break that usually happens at the threshold. This creates a continuous surface that tricks the eye into seeing a larger, more open space. The key is to plan the layout so the tile lines up seamlessly, which often means using larger format tiles to minimize grout lines and make the flow even smoother.
A linear drain placed at the far end or along the wall helps keep the floor flat, avoiding the need for a curb or a slope change that would disrupt the visual continuity.
Why This Works So Well
The main advantage is the illusion of space. When the floor doesn't change, the shower area doesn't feel like a separate zone. This is especially powerful in smaller bathrooms where every visual trick counts.
Also, it simplifies the design—you're not trying to match two different tiles or deal with awkward transitions. The result is a clean, modern look that's easy to maintain since there's no threshold to clean or trip over.
Choosing The Right Tile
For a seamless look, pick a tile that's practical for both areas. Porcelain and ceramic are great because they're durable, water-resistant, and come in many styles. Large-format tiles (like 12×24 inches or bigger) reduce grout lines, which not only looks sleeker but also makes cleaning easier.
If you want a natural stone look, make sure it's sealed properly to handle moisture. Avoid highly textured tiles in the shower floor for comfort underfoot, but ensure they have some slip resistance.
Installation Tips
The most important part is getting the floor slope right. Even with a linear drain, you need a slight pitch toward the drain to prevent water pooling. Work with a professional to ensure the tile is laid out so the pattern continues without awkward cuts at the shower entrance.
Also, consider using the same tile on the walls for an even more immersive effect, though that's optional. A curbless entry with a recessed linear drain is the best way to achieve that true seamless transition.
9. Minimal Grout Lines with Thin Grout
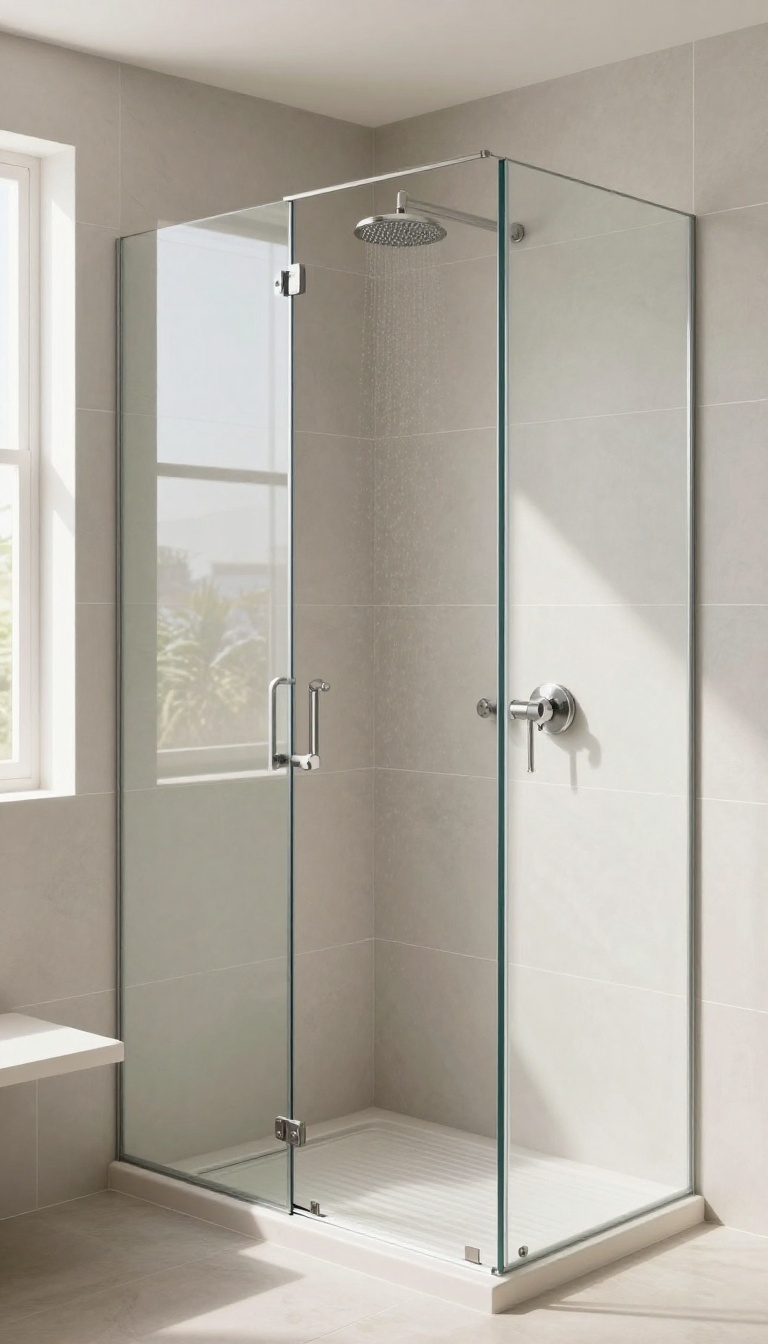
Grout lines might seem like a minor detail, but they can make or break the seamless look you’re after. Wide grout lines add visual noise and break up the tile surface into busy squares. By using larger tiles and keeping grout lines to a slim 1/16 inch, you create a smooth, continuous surface that feels more like a solid wall than a tiled one.
The trick is to match your grout color to the tile as closely as possible. When the grout blends in, the eye doesn’t stop at each joint, so the shower feels more expansive and less cluttered. This approach works especially well with large-format porcelain or ceramic tiles, which naturally have fewer grout lines than smaller mosaics.
Why Thin Grout Lines Work
Thin grout lines reduce the visual fragmentation of the wall. Instead of seeing a grid, you see a nearly unbroken surface. This makes the shower feel larger and more open, which is exactly what you want in a walk-in design.
Plus, fewer grout lines mean less surface area for soap scum and mildew to build up, making cleaning easier.
Choosing The Right Grout
For a truly seamless look, opt for unsanded grout, which is best for joints under 1/8 inch. Choose a color that closely matches your tile—whether that’s white, beige, or gray. If you’re feeling bold, you can go slightly darker for a subtle definition, but the goal is to keep the contrast low.
Installation Tips For Best Results
Work with a tiler who’s comfortable with large tiles and tight joints. Make sure the substrate is perfectly flat to avoid lippage, which can ruin the smooth effect. Use tile spacers of 1/16 inch and check alignment frequently.
The payoff is a clean, modern look that feels anything but busy.
10. Skylight or High Window with Light-Reflective Tiles
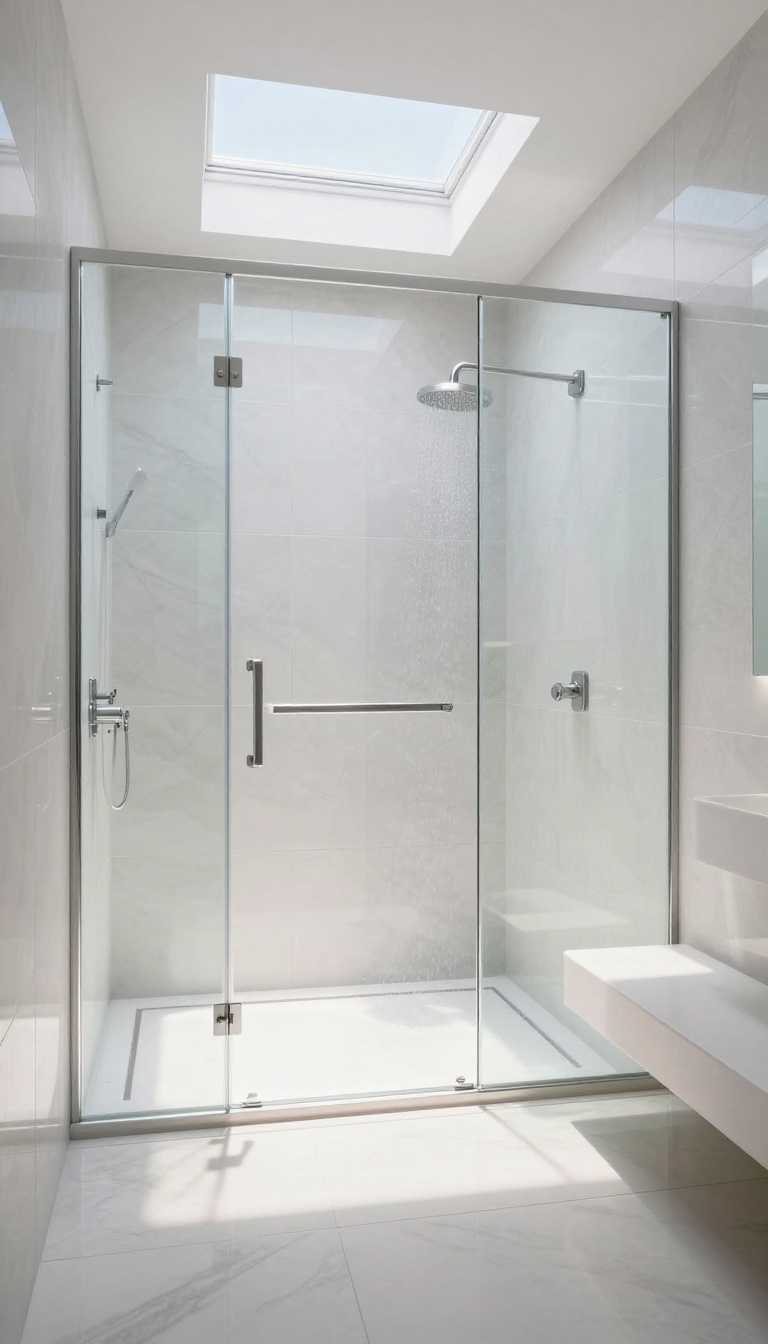
Natural light is a game-changer in a walk-in shower, but it needs the right partner to truly shine. When you have a skylight or a high window, pairing it with glossy or light-reflective tiles can turn that sunlight into a room-brightening tool. The result is a shower that feels open and airy, even if the square footage is on the smaller side.
The combination of overhead light and reflective surfaces creates a multiplier effect. Instead of light just coming in from above, it bounces off the tiles and fills every corner of the shower. This not only makes the space feel larger but also adds a subtle, luxurious glow that’s hard to replicate with artificial lighting alone.
Choose Glossy Finishes
Glossy ceramic or porcelain tiles are the most straightforward choice for maximizing light reflection. Their smooth, shiny surface acts like a mirror, catching both natural and artificial light. You don’t have to go full high-gloss—even a soft sheen can make a noticeable difference.
Just keep in mind that glossy tiles can be slippery when wet, so look for options with a textured surface or use them on walls rather than the floor.
Consider Large-format Tiles
Large-format tiles, like 12×24 or 24×48 inches, have fewer grout lines, which means less visual interruption. When light hits these bigger surfaces, it reflects more smoothly, creating a cleaner, more seamless look. They also make the shower feel more expansive because there are fewer lines to break up the visual flow.
Placement Matters
Where you put the reflective tiles matters as much as the finish. For maximum effect, install them on the wall directly opposite the skylight or window. That way, the light hits the tiles and bounces back into the shower.
You can also extend the tile up to the ceiling to catch light from above, making the height of the space feel more open.
FAQ
What is the best tile size for a walk-in shower?
Large-format tiles (12×24 inches or bigger) are ideal because they reduce grout lines, which makes the space look more seamless and easier to clean.
Do walk-in showers need a door?
No, but a glass panel or partial enclosure can help contain water while maintaining an open feel. A curbless design with a linear drain also helps manage water flow.
How do I prevent water from escaping a curbless shower?
Ensure the floor slopes slightly toward a linear drain, and use a glass panel or a slight recess to keep water inside. Proper waterproofing is essential.
What tile finish is best for shower walls?
Glossy or polished finishes reflect light and make the space feel brighter, but they can be slippery when wet. For floors, choose a matte or textured finish for safety.
Can I use the same tile on the floor and walls?
Yes, using the same tile throughout creates a seamless look. If you prefer contrast, use a complementary color or pattern on the floor, but keep it subtle to maintain openness.
Conclusion
Walk-in showers are all about creating a smooth, open experience, and the right tile choices can make that vision a reality. From large-format tiles to curbless entries, each idea focuses on reducing visual clutter and enhancing the sense of space.
Whether you’re renovating or building new, these concepts will help you design a shower that feels both seamless and inviting. Take your time to choose materials that match your style and practical needs, and you’ll enjoy a bathroom that feels like a personal retreat.