13 Fresh Kitchen Sideboard Ideas That Make the Space Feel Finished
Your kitchen sideboard doesn't have to be just a catch-all for clutter. With the right design choices, it can anchor the room, add storage, and even double as a workspace or entertaining hub.
The key is to think beyond the basic console table and explore options that fit your daily rhythm. From built-in banquettes to convertible desk areas, these 13 ideas will help you turn that often-overlooked stretch of wall into a finished, functional feature.
Whether you're working with a sprawling open plan or a snug galley, there's a fresh approach here that balances style with real-world use.
1. Built-In Banquette Seating
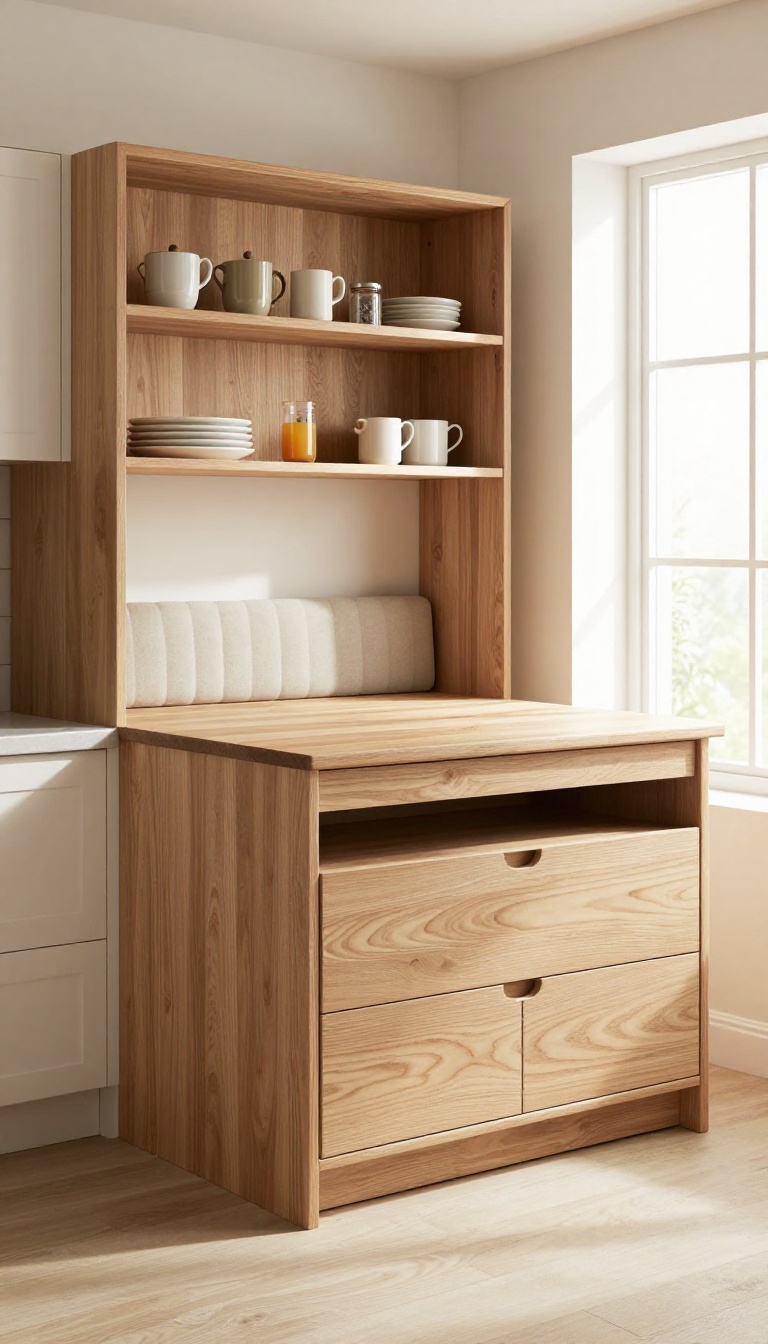
A sideboard doesn't have to stand alone against the wall. Tucking it into a built-in banquette creates a cozy breakfast nook that feels intentional and polished. This approach saves floor space and gives you that seamless, custom look that instantly makes the kitchen feel more finished.
Built-in banquette seating is a smart way to merge storage with seating. The sideboard acts as the backbone, offering drawers and cabinets for linens, serveware, or extra pantry items. The banquette wraps around it, providing a comfy spot for morning coffee or casual meals.
It's a practical solution that maximizes every inch of your kitchen.
Why It Works
The sideboard becomes part of the architecture, not an afterthought. It anchors the seating area and gives you a place to stash things within arm's reach. Plus, the built-in look adds value and character to your home.
Space-saving Benefits
In a compact kitchen, a banquette with built-in storage eliminates the need for bulky chairs and extra furniture. The sideboard's drawers can hold table linens, napkins, or even small appliances, freeing up cabinet space elsewhere.
Design Tips
Choose a sideboard with a durable countertop that can handle daily use. Add cushions to the banquette for comfort, and consider open shelving above for display. Keep the color palette cohesive with the rest of the kitchen for a unified look.
2. Open Shelving for Display
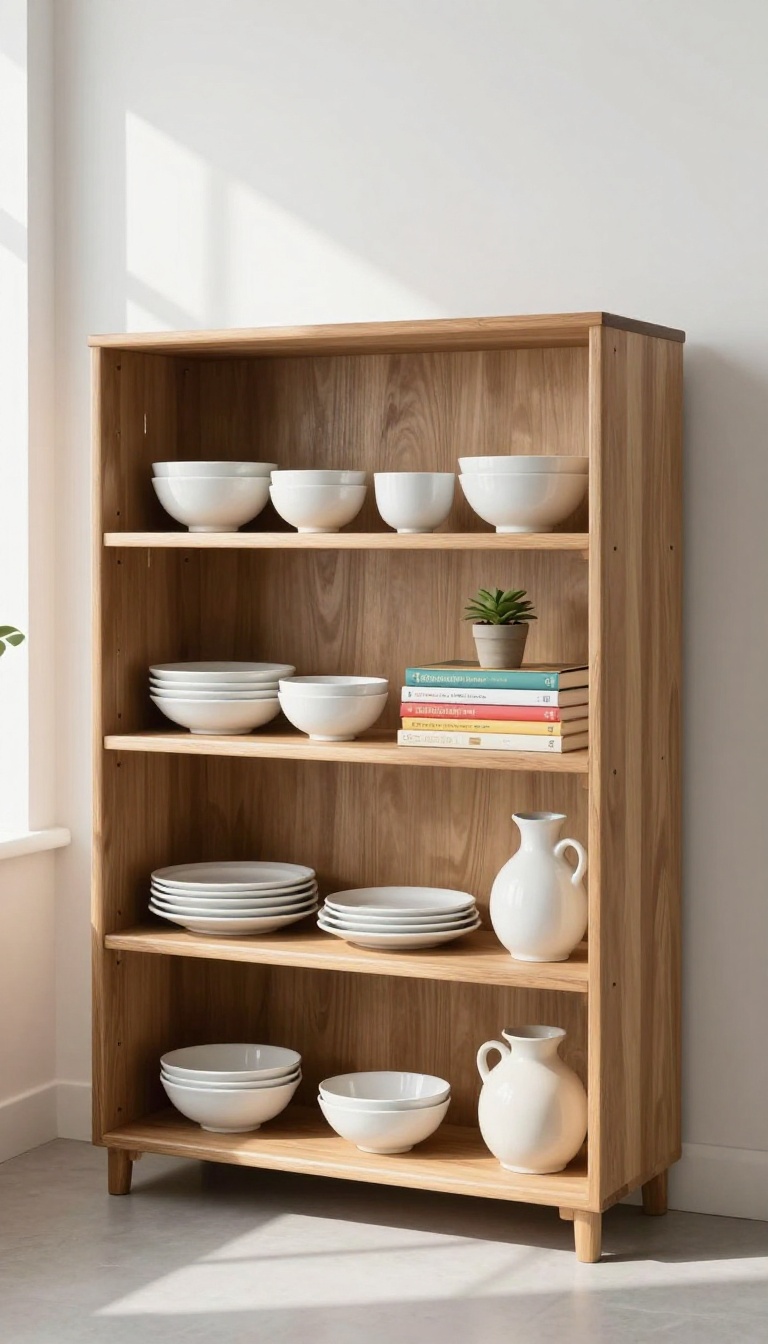
Solid doors can make a sideboard feel heavy and closed off. Swapping them for open shelves changes the whole vibe—lighter, more personal, and surprisingly practical. You get to see what's inside at a glance, which cuts down on digging around for that one platter you only use twice a year.
Open shelving turns your sideboard into a mini gallery. Instead of hiding everything away, you're putting your everyday dishes, favorite glassware, or a stack of well-loved cookbooks on display. It's a simple swap that makes the space feel intentional and lived-in, not cluttered.
What To Put On Those Shelves
Think about what you use most. Everyday plates and bowls in a neutral tone keep it calm. Mix in a few colorful pieces or vintage finds for personality.
Cookbooks stacked flat or upright add a cozy, lived-in feel. Don't forget a small plant or a ceramic vase to break up the lines.
Styling Tips For A Balanced Look
Group similar items together—like all white dishes on one shelf, glassware on another. Vary the heights: a tall pitcher next to a stack of plates. Leave some empty space so it doesn't feel packed.
Odd numbers of objects often look more natural, so aim for threes or fives.
Keep It Dust-free Without The Fuss
Open shelves do collect dust, but a quick weekly wipe with a microfiber cloth keeps things fresh. If you're worried about sticky kitchen grease, choose items you use often so they get washed regularly. A small tray under frequently used items can catch crumbs and make cleaning easier.
3. Mixed Materials: Wood and Metal
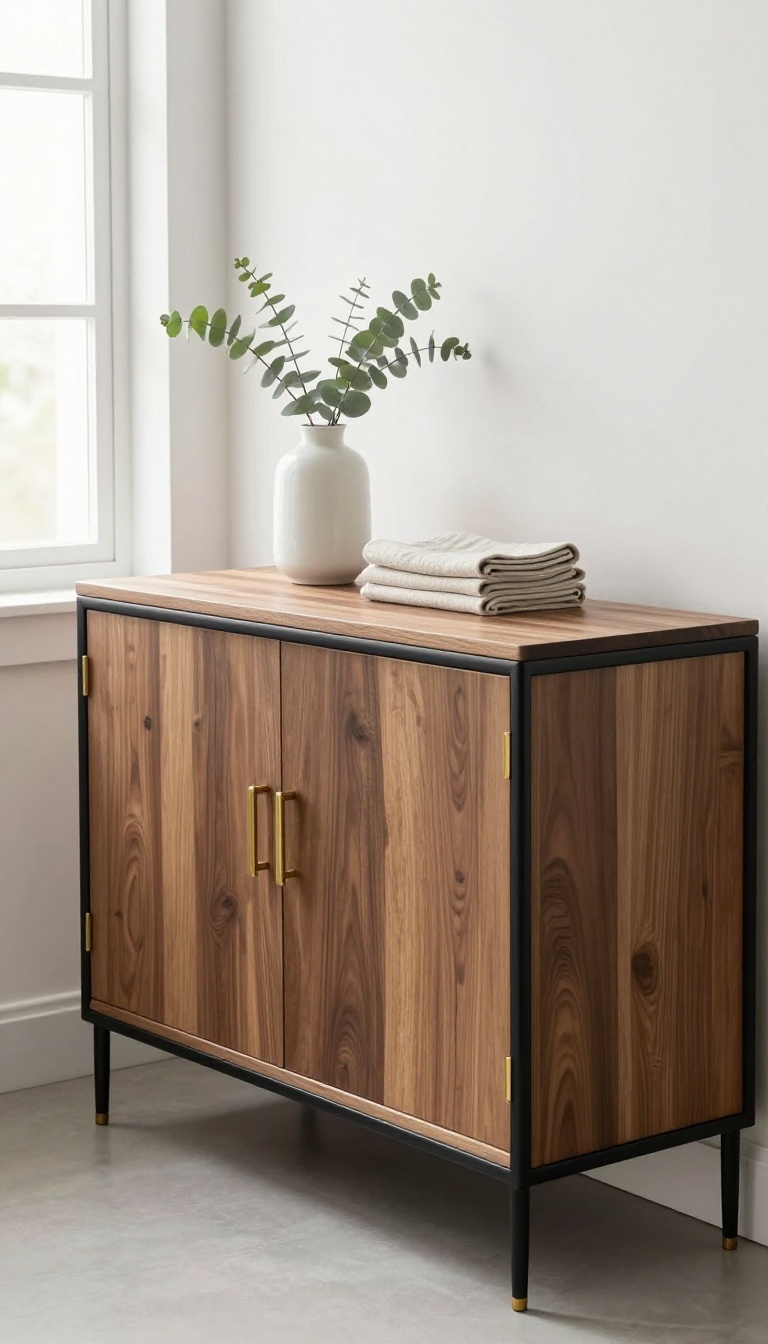
Pairing the warmth of wood with the cool precision of metal is a quick way to give a sideboard personality. The contrast keeps the piece from feeling too rustic or too industrial, landing somewhere that feels both grounded and current. It's a look that works in modern farmhouse, loft-style, or even transitional kitchens, and it adds a tactile layer that plain cabinetry often lacks.
When you mix wood and metal, you're not just picking a style—you're building a piece that feels alive. The wood brings natural grain and a sense of history, while metal adds structure and an edge. Together, they create a sideboard that stands out without shouting.
Here's how to make it work in your kitchen.
Start With The Frame
The easiest way to get this look is to choose a sideboard with a metal frame and wooden doors or drawers. A black steel frame gives a crisp outline, while brass or copper adds a warmer glow. If you're handy, you can even retrofit an old wooden dresser with metal legs or handles—just make sure the proportions feel balanced.
Play With Finishes
Don't be afraid to mix finishes within the same piece. A walnut top with brushed nickel pulls, or oak doors with matte black hinges, can add subtle depth. The key is to keep the metal finish consistent in tone—warm metals like brass pair best with honey-toned woods, while cooler metals like stainless steel suit darker, richer woods.
Balance The Visual Weight
Wood can feel heavy, and metal can feel sparse. To strike the right balance, use metal for the legs or frame and wood for the bulk of the body. Or go the opposite way: a solid wood top with metal base.
You want the eye to move smoothly across the piece, not get stuck on one material.
4. Wine Bar and Glass Racks
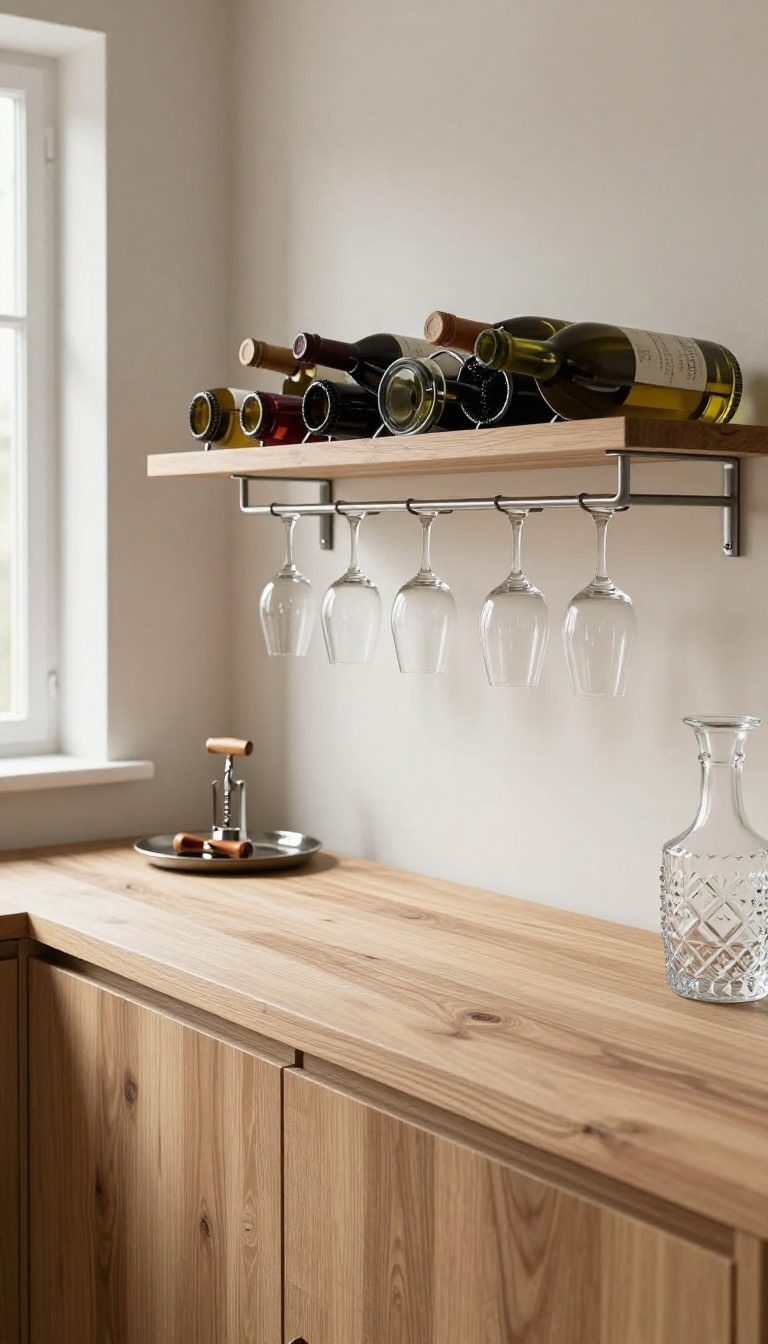
If you enjoy a glass of wine after work or love hosting casual get-togethers, a sideboard can become the perfect home for your bottles and stemware. Instead of letting wine clutter your countertops or pantry, dedicate this piece of furniture to a stylish, functional bar area. With a few smart additions, you'll have everything you need within arm's reach—and it'll look great too.
Turning your sideboard into a wine station is all about combining storage with display. You can add racks for bottles, hooks for stemware, and a small prep zone for corkscrews and decanters. This setup not only keeps your wine organized but also makes it a focal point in the room, especially when you arrange bottles by type or vintage.
Plus, it frees up valuable kitchen cabinet space for other essentials.
Pick The Right Racks
Start by choosing racks that fit your sideboard's dimensions. You can find countertop bottle racks in wood, metal, or acrylic that hold 6 to 12 bottles. If you're handy, you can even install slide-out racks inside the sideboard's cabinets for a hidden storage solution.
For a more decorative look, opt for a wall-mounted rack above the sideboard to display your collection.
Add Stemware Holders
Hanging wine glasses upside down not only saves space but also keeps them dust-free. You can attach a stemware rack under the sideboard's top shelf or mount a hanging rail on the wall. If you prefer a simpler approach, use a countertop glass holder with slots for stems.
Just make sure the glasses are secure and won't easily tip over.
Style The Top And Surroundings
Make the area inviting by adding a small tray for corkscrews, wine stoppers, and pourers. A small chalkboard or wine chalk marker lets you note the vintage or tasting notes. Consider adding a dimmable lamp or LED strip to highlight the bottles, and keep a small bin for used corks to add a rustic touch.
This turns your sideboard into a cozy wine nook that guests will love.
5. Coffee Station with Hidden Storage
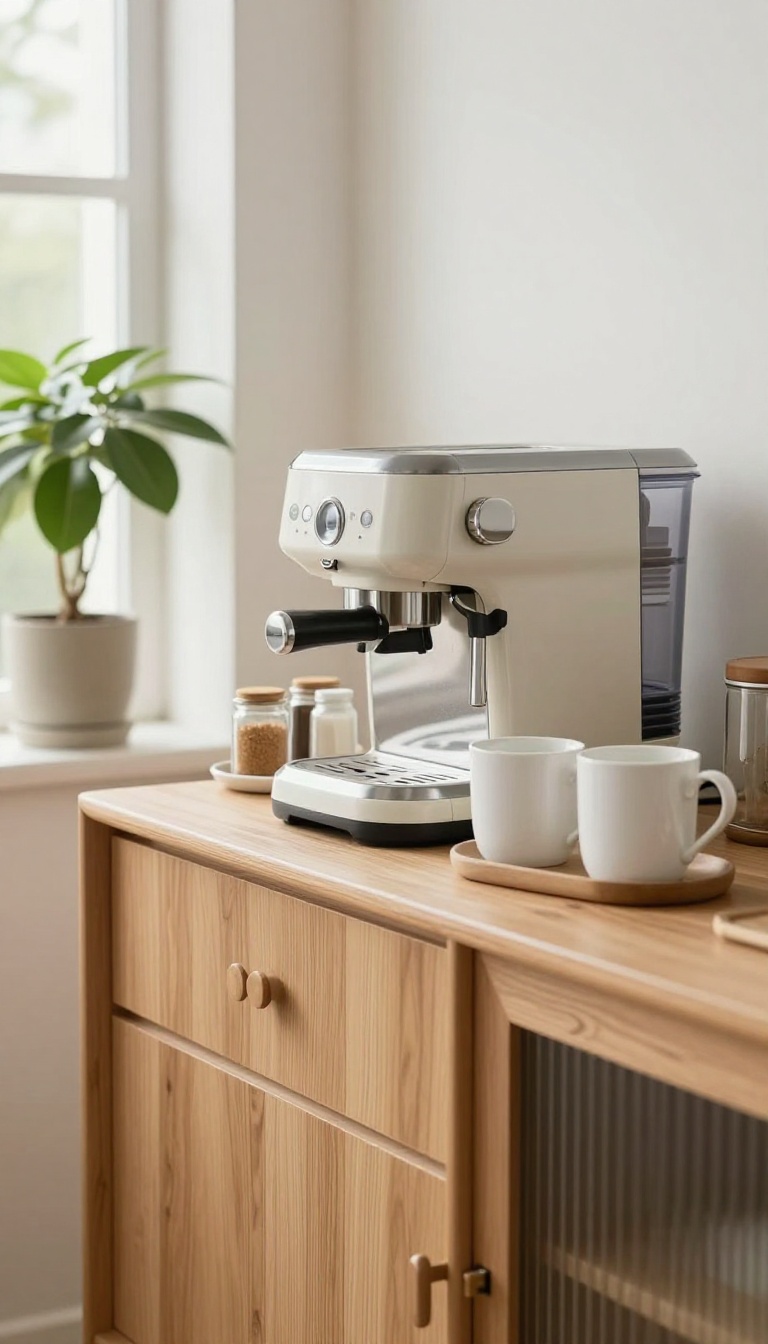
Morning routines run smoother when everything you need for that first cup lives in one spot. A sideboard can become a dedicated coffee station, but the trick is keeping the surface clear and the supplies tucked away. Closed cabinets and drawers hide the bags of beans, mugs, and syrups, so the counter stays ready for action.
A coffee station sideboard works best when it balances easy access with tidy concealment. You want your machine or kettle within reach, but the visual noise of bags, filters, and extra mugs tucked behind doors. This setup keeps your kitchen feeling calm and intentional, even during the busiest mornings.
Designate A Landing Zone
Clear a spot on the sideboard for the essentials: the coffee maker, a mug or two, and maybe a small tray for sweeteners. Keep the rest—extra mugs, beans, filters, and accessories—behind closed doors. A dedicated landing zone makes the station feel purposeful and prevents the surface from becoming a dumping ground.
Maximize Drawer Dividers
Use drawer dividers to sort pods, stirrers, and lids. Small bins or trays inside drawers keep everything visible and easy to grab. Dividers also stop items from sliding around when you open and close the drawer, so your station stays organized without extra effort.
Add A Pull-out Shelf
If your sideboard has a lower cabinet, consider adding a pull-out shelf or drawer. This gives you a hidden prep area for filling the water tank or grinding beans. When you're done, slide it back in and the surface looks clean again.
It's a small upgrade that makes a big difference in daily use.
6. Bold Color Pop
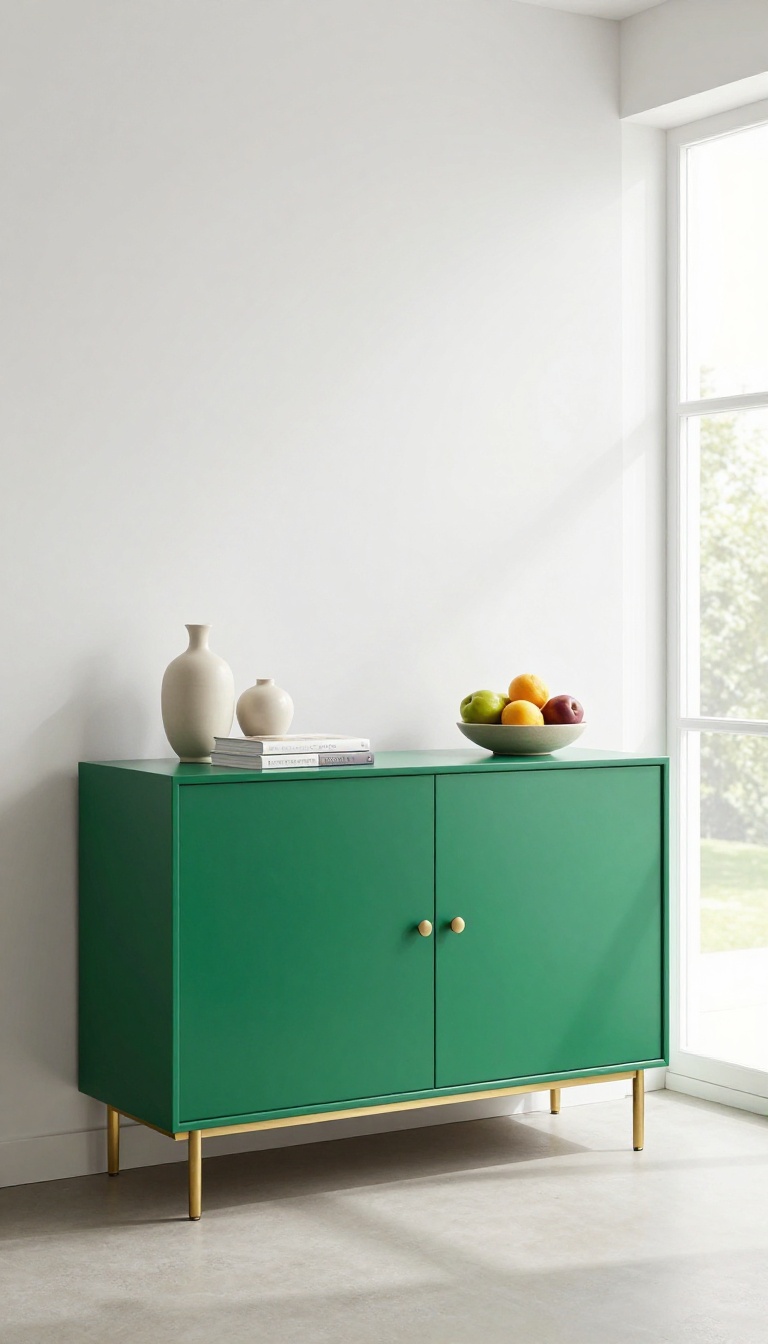
A splash of bold color on your sideboard can instantly energize the entire kitchen. Instead of playing it safe with neutrals, choose a vibrant shade that reflects your personality and makes the piece a true focal point. This simple change adds depth and character, turning a functional storage unit into a statement piece that anchors the room.
Painting your sideboard a bold color is a low-commitment way to experiment with color in your kitchen. It works especially well if the rest of the room is fairly neutral, as the sideboard becomes the visual anchor. Plus, it's a fun DIY project that can be completed in a weekend, giving you an immediate refresh without a full renovation.
Choosing The Right Shade
Think about the mood you want to create. A deep emerald green or navy adds sophistication, while a sunny yellow or coral brings a playful, energetic vibe. Consider the existing colors in your kitchen—cabinetry, backsplash, and flooring—and pick a shade that complements them without clashing.
If you're unsure, test a few paint swatches on the sideboard to see how they look in different lighting throughout the day.
Pairing With Hardware And Decor
Once you've chosen your color, think about the hardware and decor. Brass or gold knobs and pulls add warmth and elegance, while matte black offers a modern contrast. Keep the styling simple: a few ceramic vases, a stack of cookbooks, or a bowl of fresh fruit can enhance the look without overwhelming it.
The goal is to let the color shine while still feeling cohesive with the rest of the room.
Diy Painting Tips
If you're painting an existing sideboard, start by cleaning it thoroughly and lightly sanding the surface to help the paint adhere. Use a high-quality primer, then apply two coats of paint, letting each dry completely. For a smooth finish, use a foam roller and consider a topcoat for durability, especially if the sideboard will see daily use.
Don't rush the process—patience pays off with a professional-looking result.
7. Vintage-Inspired Details
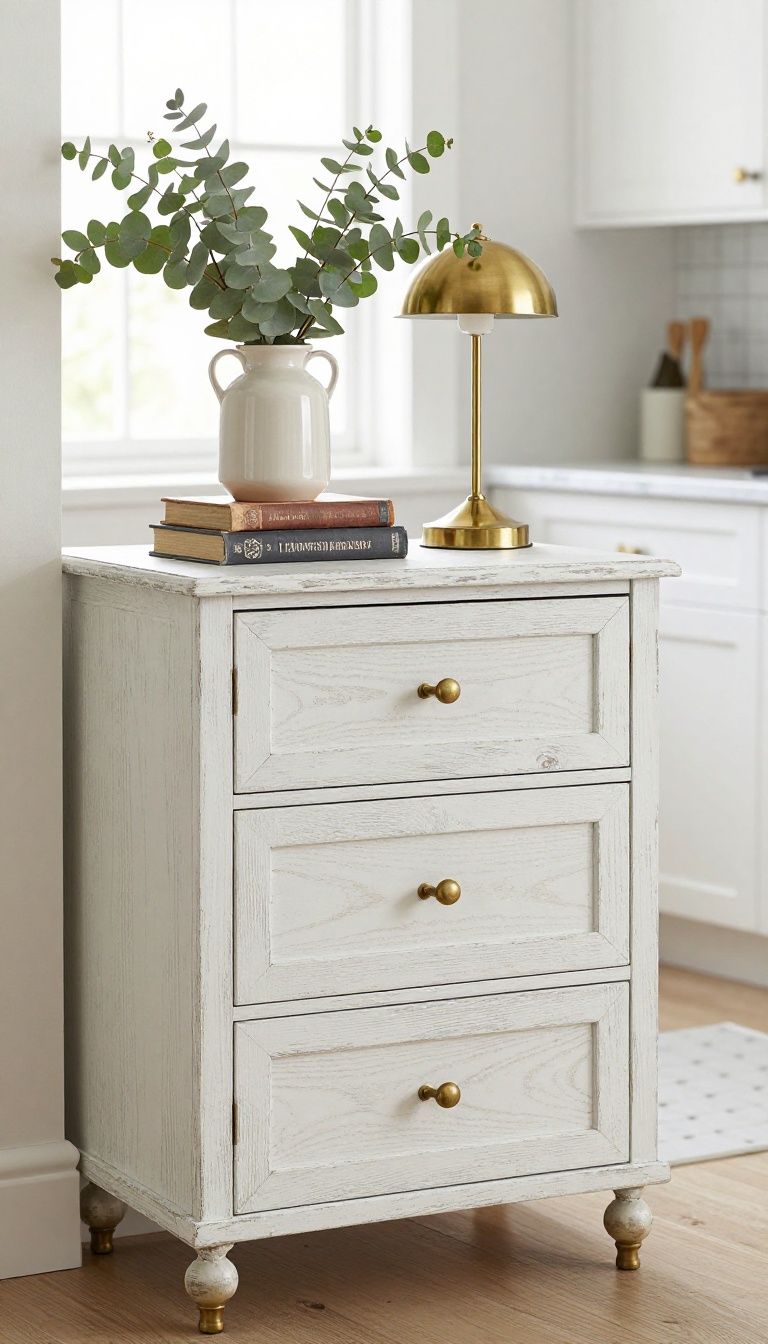
Sideboards with vintage-inspired details bring a layer of warmth and character that newer pieces often lack. Antique brass hardware, intricate carvings, or a timeworn finish can make your kitchen feel collected over time, not just assembled from a catalog. These details add depth and a sense of history, turning a functional storage piece into a conversation starter.
Vintage-inspired sideboards work especially well in kitchens that blend old and new. They soften the hard edges of modern appliances and add a touch of elegance that feels lived-in. Whether you choose a genuine antique or a new piece with aged styling, the key is to let those details shine without overwhelming the space.
Choose Hardware That Tells A Story
Swap out standard knobs and pulls for antique brass or oil-rubbed bronze options. Look for shapes like cup pulls, bin pulls, or vintage glass knobs that feel authentic to an earlier era. These small changes can make a big difference in the overall look and feel of your sideboard.
Embrace Imperfect Finishes
A distressed paint finish or natural wood with visible grain adds character and hides everyday wear. Consider a sideboard with a chipped paint look or a hand-rubbed patina that gives it a story. These imperfections make the piece feel authentic and inviting, not precious or fragile.
Mix With Modern Elements
Don't be afraid to pair your vintage sideboard with sleek, modern accessories. A sculptural lamp, a minimalist vase, or a piece of abstract art can create an interesting contrast that keeps the look fresh. The goal is balance—let the vintage details stand out without making the whole room feel like a period piece.
8. Slim Profile for Small Spaces
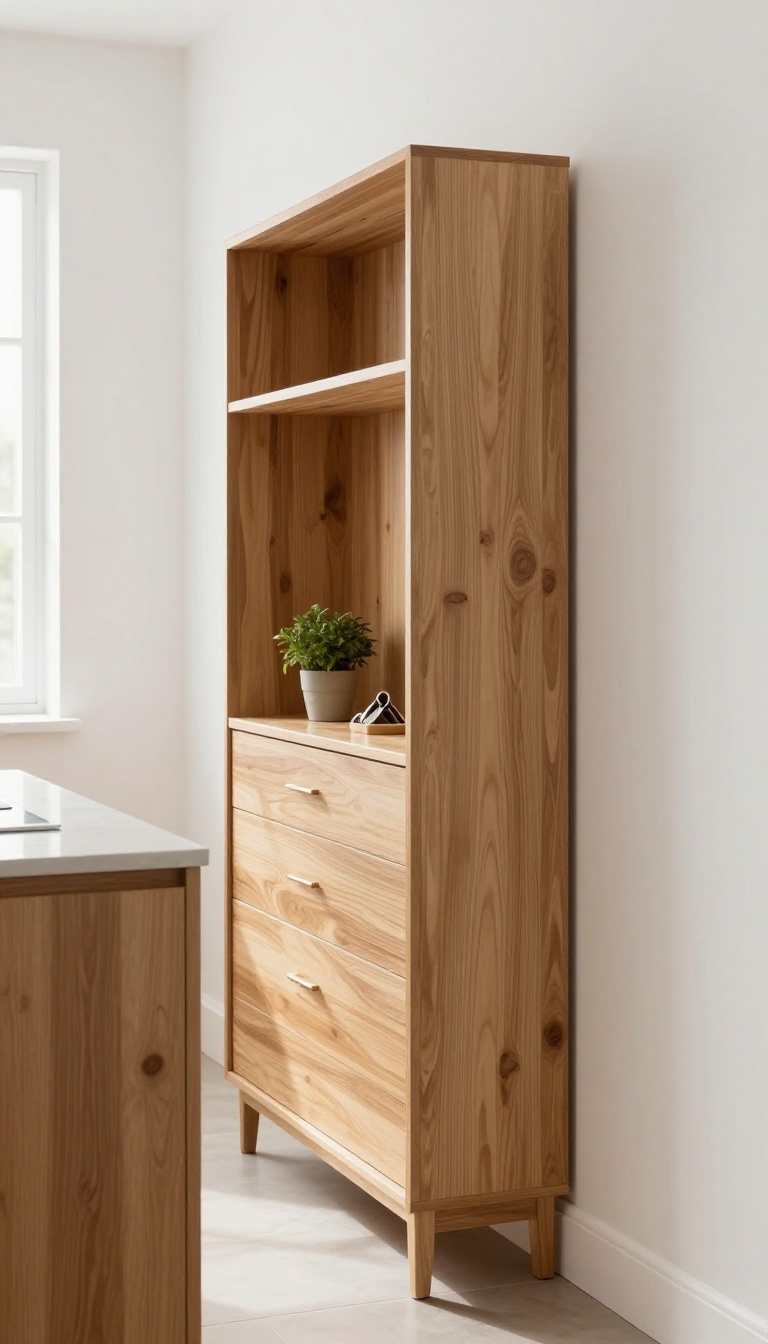
Not every kitchen has room for a bulky sideboard, and that's okay. A slim, wall-hugging piece can still deliver serious storage and style without eating up your floor space. The trick is choosing a design that feels intentional, not just squeezed in.
When square footage is tight, a narrow sideboard becomes your best friend. It tucks neatly against the wall, leaving plenty of room to move around. Look for pieces that are shallow—around 12 to 15 inches deep—so they don't jut into walkways.
Even a few inches of depth can make a big difference in a compact kitchen.
Measure First, Shop Later
Before you fall in love with a piece, grab a tape measure. Check the width of your available wall space and the depth from the wall to your counter or island. Don't forget to account for door swings and drawer pulls.
A slim sideboard should feel like it was made for the spot, not just placed there.
Look For Multi-functional Features
In a small kitchen, every piece should pull its weight. Consider a sideboard with a flip-down top that doubles as a desk or extra prep space. Or choose one with wine storage and drawers for utensils.
The more functions it serves, the more valuable it becomes in a tight layout.
Style It To Feel Airy
A slim profile doesn't mean you have to sacrifice style. Keep the top mostly clear with just a few decorative items, like a small plant or a tray for keys. Use baskets or bins inside to keep clutter hidden.
Light-colored wood or a glossy finish can also make the piece visually recede, keeping the room feeling open.
9. Multi-Purpose Island Extension
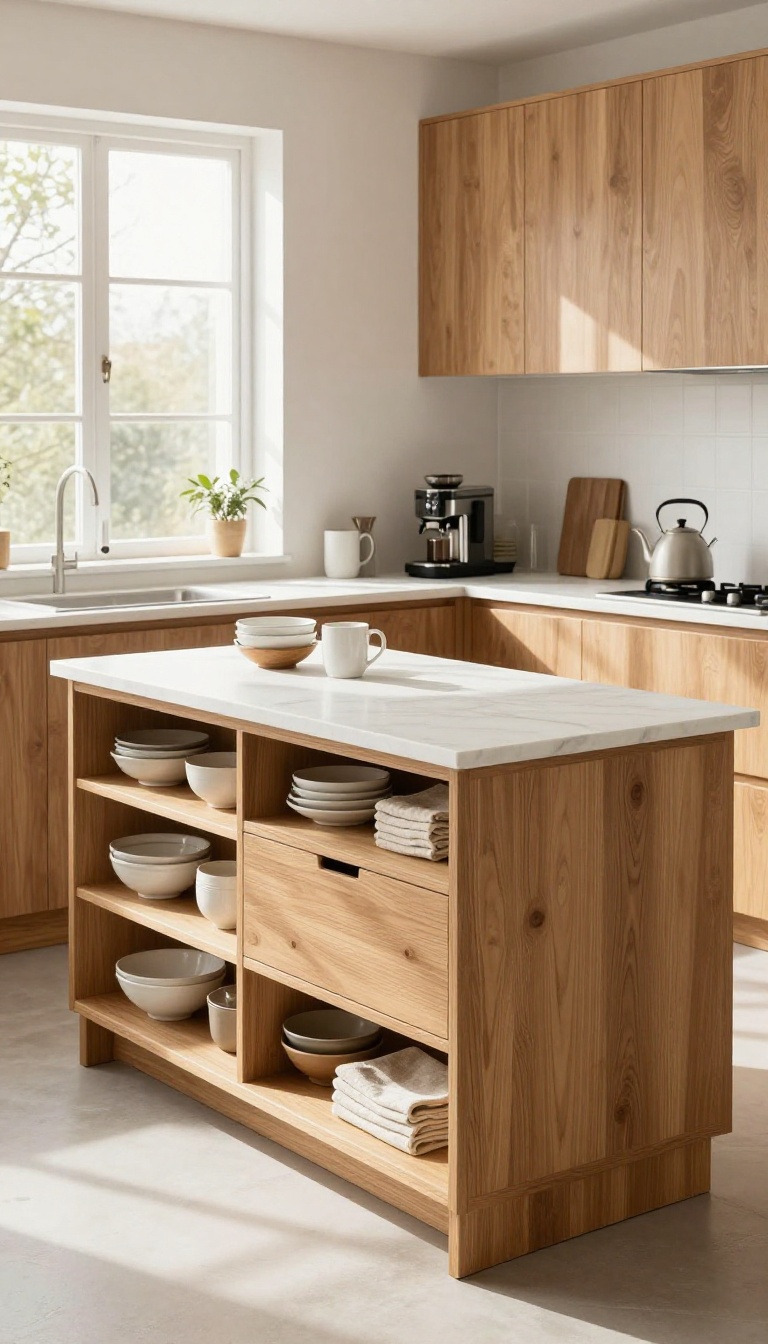
If your kitchen island feels like it's always in the way or just not pulling its weight, extending it with a sideboard-style base could be the fix. This setup gives you a longer counter for prep or serving, plus a whole lot of hidden storage underneath. It's a smart way to make one piece of furniture do the job of two, especially if you're short on floor space.
Think of it as an island that moonlights as a sideboard. The base can be designed with cabinets, drawers, or open shelving, so you can stash everything from mixing bowls to extra napkins. The top becomes a natural landing spot for a coffee station, a buffet spread, or just a place to set down groceries.
It’s flexible enough to adapt to how you actually cook and entertain.
Design It To Fit Your Flow
The beauty of this idea is that you can tailor it to your kitchen's layout. If you have a long, narrow island, add a deeper base on one end to create a T-shape or an L-shape. That gives you a dedicated sideboard zone without blocking traffic.
Or, if your island is already wide, simply extend the countertop over a base that sits flush with the existing cabinets. The key is to keep the proportions balanced so it doesn't feel clunky.
Storage That Works For You
The base can be as simple or as detailed as you need. Pull-out drawers are great for utensils and small gadgets, while cabinet doors hide larger appliances like a mixer or a slow cooker. Open shelving on the side facing the dining area can display pretty dishes or cookbooks.
You can even add a wine rack or a towel bar for extra function. The goal is to make every inch useful.
Make It Look Seamless
To keep the extension from looking like an afterthought, match the materials and finishes to your existing island. Use the same countertop material and cabinet fronts, or choose a complementary color that ties the whole space together. Adding a decorative corbel or a contrasting trim can give it a custom, built-in feel.
The result is a piece that looks like it was always meant to be there.
10. Glass-Front Cabinets
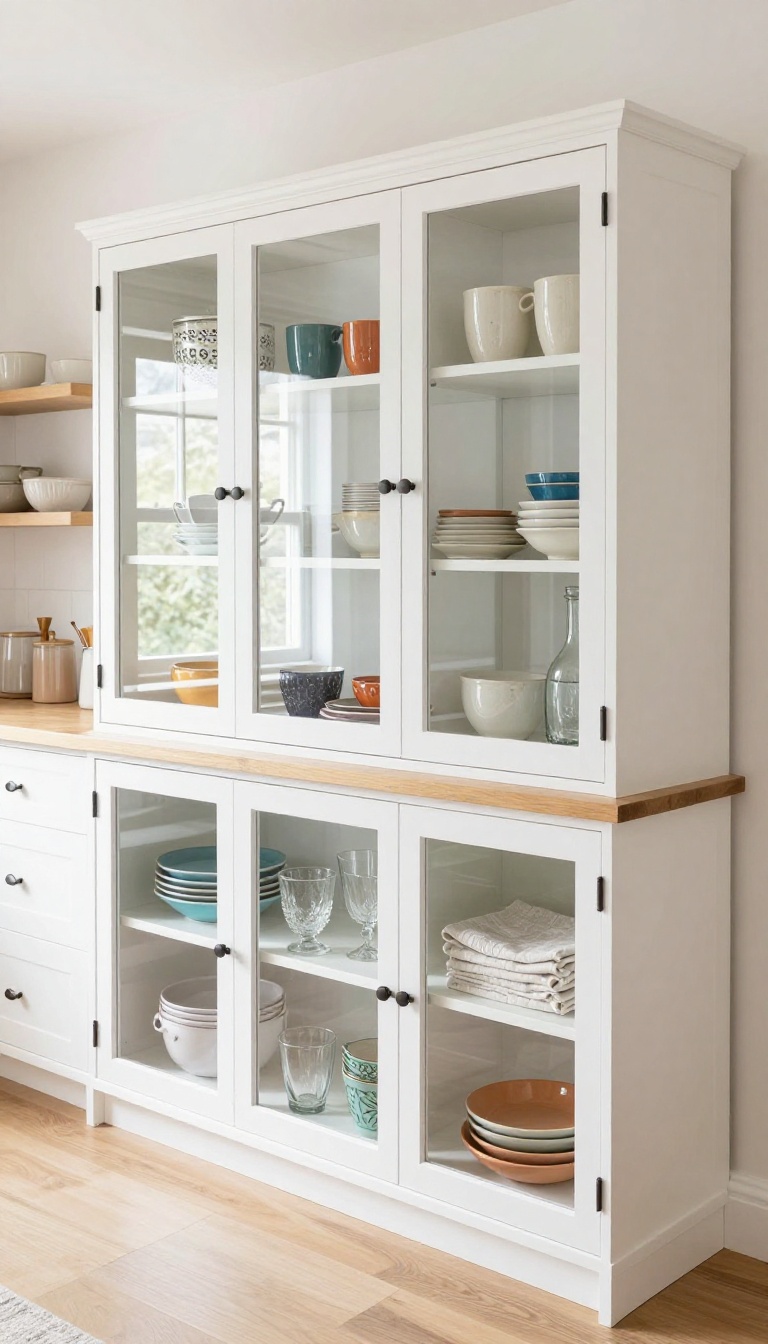
Glass-front cabinets turn your sideboard into a display case rather than just a storage bin. They let you show off the things you love—colorful ceramics, vintage glassware, or neatly stacked linens—while keeping everything behind closed doors. Dust and grease stay out, and your kitchen instantly feels more curated and intentional.
The beauty of glass-front doors is how they balance openness with protection. You get the visual interest of open shelving without the constant dusting and the risk of sticky splatters. Plus, they make a small sideboard feel less boxy and heavy, since the glass lets your eye travel through the piece.
Choose The Right Glass
Clear glass is the obvious choice, but it's not the only one. If you're not a fan of keeping everything perfectly styled, opt for frosted or seeded glass. These obscure the contents just enough to hide clutter while still adding a soft, textured look.
For a more traditional feel, leaded or beveled glass catches the light beautifully.
Style The Shelves Like A Pro
The key to making glass-front cabinets look great is editing what you put inside. Group items by color or material, and leave a little breathing room between pieces. Stack plates horizontally, line up mugs in neat rows, and add a few taller pieces for height variation.
Don't forget to use shelf risers or small trays to create layers.
Lighting Makes It Shine
Adding a strip of LED lighting inside the cabinet turns it into a focal point, especially in the evening. You can install battery-operated puck lights or hardwired strips along the top shelf to highlight your dishware. Warm white bulbs work best for a cozy glow, while cool white feels more modern and crisp.
11. Integrated Lighting
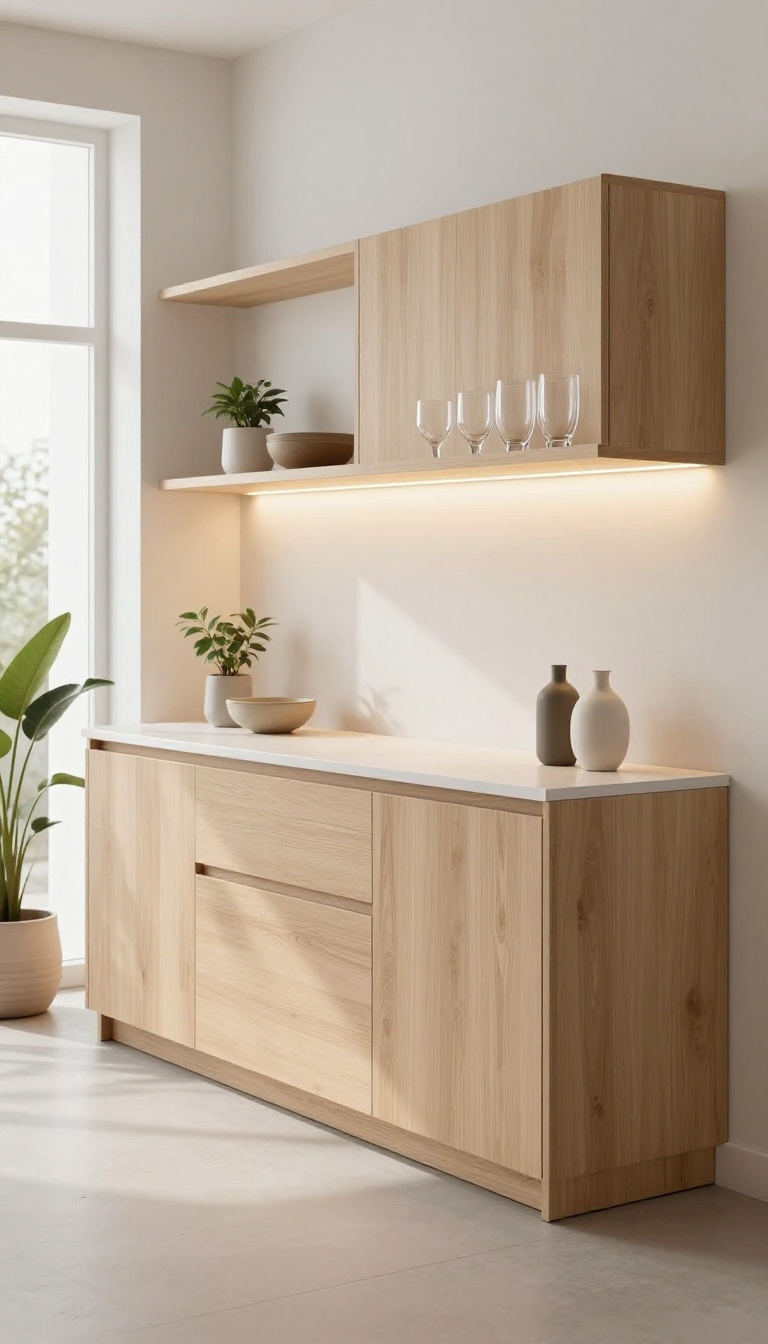
Lighting is often an afterthought when styling a sideboard, but it can completely change how the piece feels in the room. Instead of relying on overhead fixtures alone, adding integrated lights brings a soft, inviting glow that makes the space look intentional and polished. It’s a small upgrade that pays off every time you use the kitchen.
Under-shelf or inside-cabinet lighting does more than just brighten—it highlights the items you’ve carefully arranged, from glassware to decorative bowls. It also adds depth, making the sideboard feel like a custom-built feature rather than a simple piece of furniture. The best part?
Modern LED strips are easy to install and many are battery-operated, so you don’t need an electrician.
Pick The Right Light Temperature
Warm white (2700K–3000K) works best for a cozy, welcoming vibe, while cooler tones can feel too clinical. Consider dimmable options so you can adjust the brightness based on the time of day or the mood you want to create.
Place Lights Where They Matter
Think about what you want to showcase. Under the top shelf, lights can cast a glow on items below. Inside glass-front cabinets, they make contents pop.
Even a simple strip along the back edge of the countertop can add a subtle halo effect that feels high-end.
Hide The Hardware For A Clean Look
The goal is to see the light, not the fixture. Use adhesive clips or recessed channels to keep wires and strips out of sight. Battery-powered puck lights are great for quick fixes, but wired options offer a more seamless finish if you’re up for a little DIY.
12. Convertible Desk Area
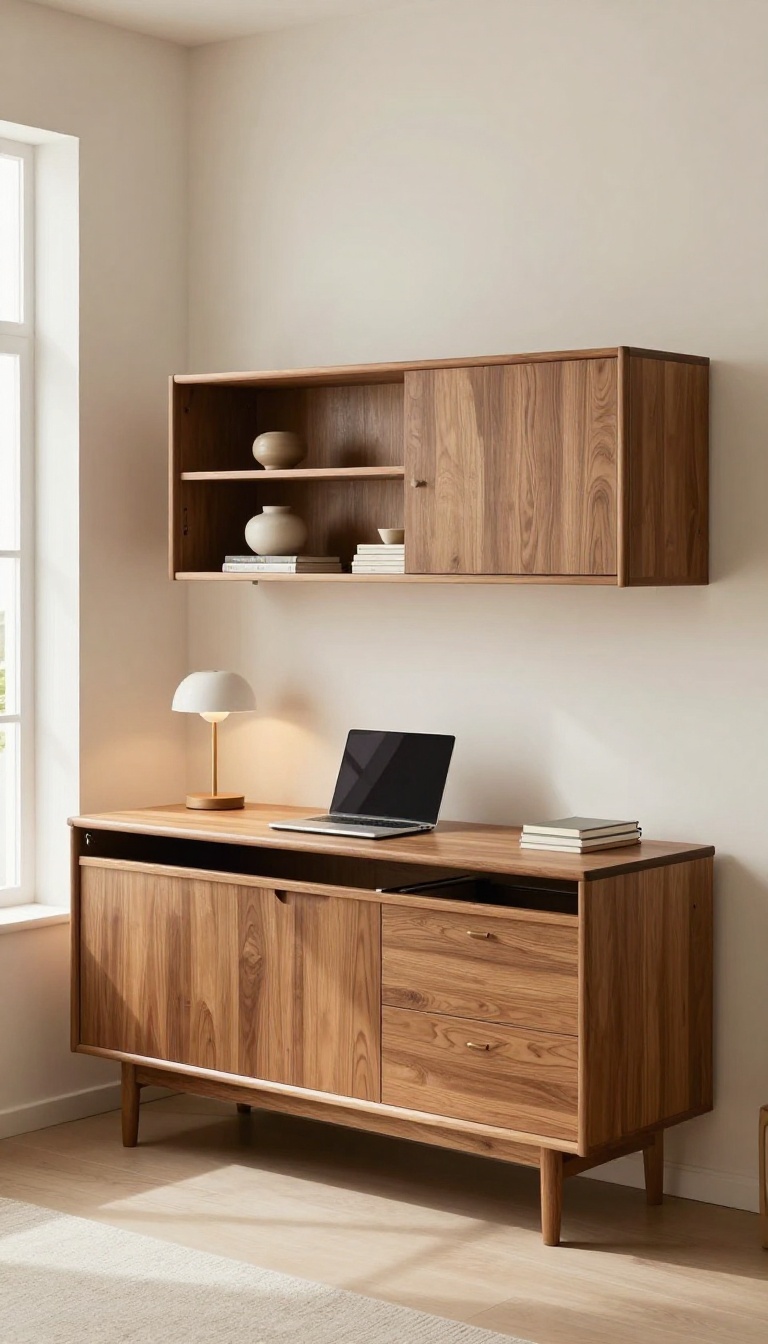
A sideboard that moonlights as a desk is a smart move for kitchens where space is tight. You get the storage and surface you need for everyday meals or coffee, plus a dedicated spot to pay bills or help with homework. The trick is to keep it looking like a sideboard when not in use, so it doesn't feel like an office in your kitchen.
When the fold-down surface is up, it looks like a standard sideboard with a flat top. When you need a desk, just pull it down and you have a sturdy work area. This dual-purpose design is perfect for small homes or open-plan kitchens where every inch counts.
Choosing The Right Mechanism
Look for a fold-down table with a locking hinge or a drop-leaf design that feels sturdy when open. You don't want it wobbling while you're typing or writing. A wall-mounted version with a fold-down shelf is another option if you're handy with tools.
Styling For Dual Function
Keep the top clear of permanent decor, or use shallow trays that can be moved easily. When closed, display a few small items like a vase or a stack of cookbooks. When open, you'll have room for a laptop, notebooks, and a desk lamp.
Storage For Office Essentials
Use the sideboard's drawers or cabinets to store office supplies, chargers, and paperwork. Baskets or bins inside keep everything tidy and out of sight. That way, you can close the desk and immediately return to a clean kitchen.
13. Natural Stone Top
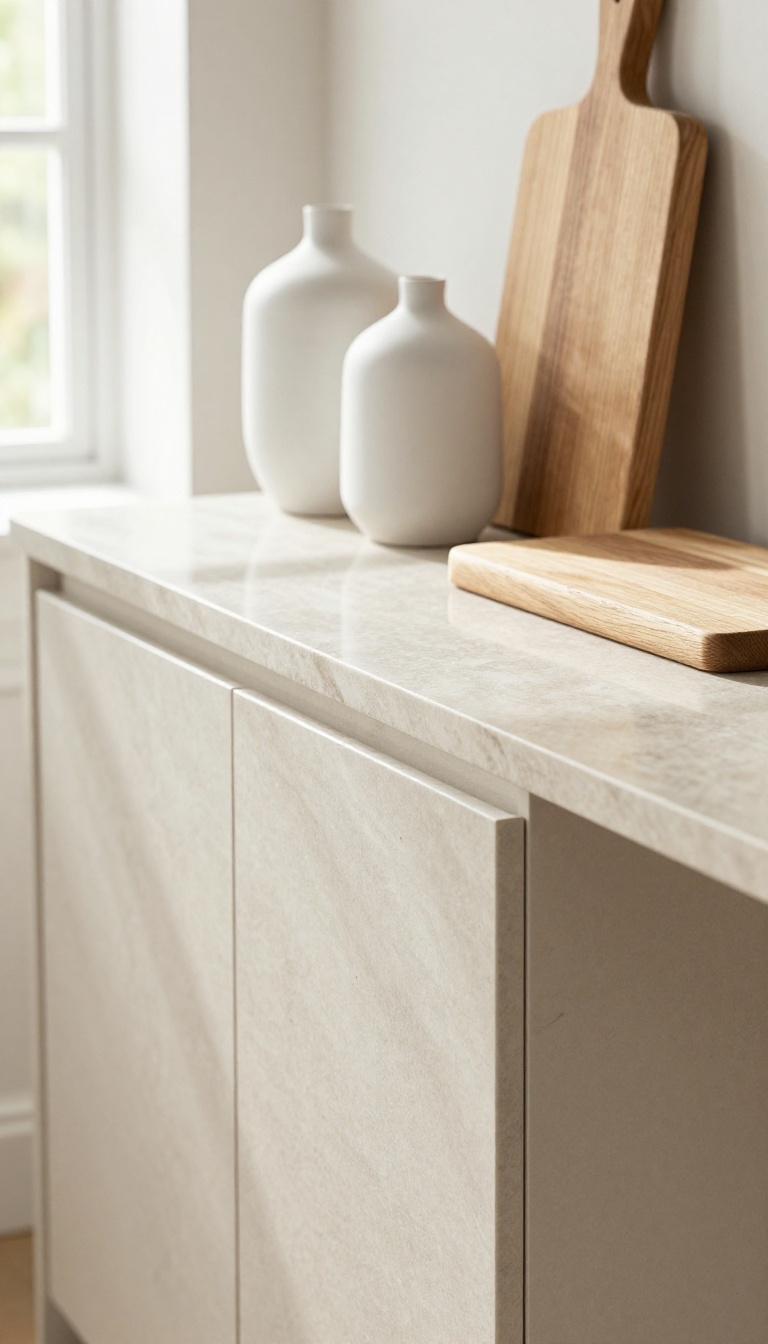
A stone top instantly elevates a sideboard from simple furniture to a statement piece. Marble and quartz bring a cool, smooth surface that’s not only gorgeous but also practical for daily kitchen life. Whether you’re serving breakfast, prepping ingredients, or just setting down hot pans, stone handles it all without a worry.
Choosing stone for your sideboard top is about blending beauty with brawn. Marble offers classic veining and a timeless look, while quartz provides durability with a wide range of colors and patterns. Both are heat-resistant, scratch-resistant, and easy to wipe clean—making them ideal for a busy kitchen.
Plus, the natural material adds a touch of luxury that makes the whole room feel more polished.
Why Stone Works In The Kitchen
Stone stands up to the daily chaos of cooking and entertaining. Spills wipe away easily, hot dishes won’t leave marks, and you don’t have to baby it like wood. It also pairs beautifully with a variety of cabinet styles, from modern to farmhouse, so you can match your existing decor without clashing.
Marble Vs. Quartz: What To Pick
Marble is the classic choice, with its unique veining and soft, elegant look. It’s slightly more porous, so it needs sealing, but many people love the patina it develops over time. Quartz is engineered to be non-porous and nearly maintenance-free, making it a practical alternative if you want the stone look without the upkeep.
Think about how much time you want to spend caring for the surface.
Styling Around The Stone
Let the stone be the star. Keep the sideboard top relatively clear, with just a few decorative items like a vase or a stack of cookbooks. Choose accessories in complementary tones—brass, wood, or ceramic—to soften the stone’s coolness.
If your sideboard has open shelving below, use baskets or bins to keep clutter hidden, so the stone top remains the focal point.
FAQ
What is the ideal height for a kitchen sideboard?
The ideal height is typically between 30 and 36 inches, which aligns with standard counter height and works well for serving and prep.
How deep should a kitchen sideboard be?
A depth of 18 to 24 inches is common, but consider your space and how you plan to use it. Deeper sideboards offer more storage but take up more floor space.
Can I use a sideboard as a kitchen island?
Yes, a sideboard can serve as a mobile island if it has casters or is lightweight. Just ensure it’s sturdy enough for food prep and has a durable surface.
What materials are best for a kitchen sideboard?
Hardwoods like oak and walnut are durable and classic. For a modern look, consider metal frames with wood or stone tops. Avoid materials that can’t handle moisture or heat.
How do I style a kitchen sideboard?
Start with a few functional pieces like a coffee maker or tray, then add decorative items like vases or framed photos. Keep it balanced and leave some empty space to avoid clutter.
Conclusion
A sideboard that feels intentional can quietly tie your whole kitchen together. Whether you lean into extra storage, a coffee station, or a styled display, the trick is choosing pieces that match how you actually live.
Start with one idea that solves a real problem, then build from there. The best sideboards don't just look good—they make your mornings easier and your space feel complete.