10 Tub Shower Tile Ideas for a Unified and Durable Finish
Tub showers often end up with mismatched tiles that make the space feel choppy and dated. The fix isn't just about picking a pretty tile—it's about choosing materials and layouts that tie the whole zone together while standing up to constant moisture.
From classic subway to bold geometrics, these ten ideas balance style with durability, so you can create a seamless look that lasts. Whether you're updating a guest bath or tackling a full remodel, you'll find practical options that work with your budget and taste.
Let's explore finishes that unify your tub area and simplify maintenance.
1. Classic Subway Tile with a Modern Twist
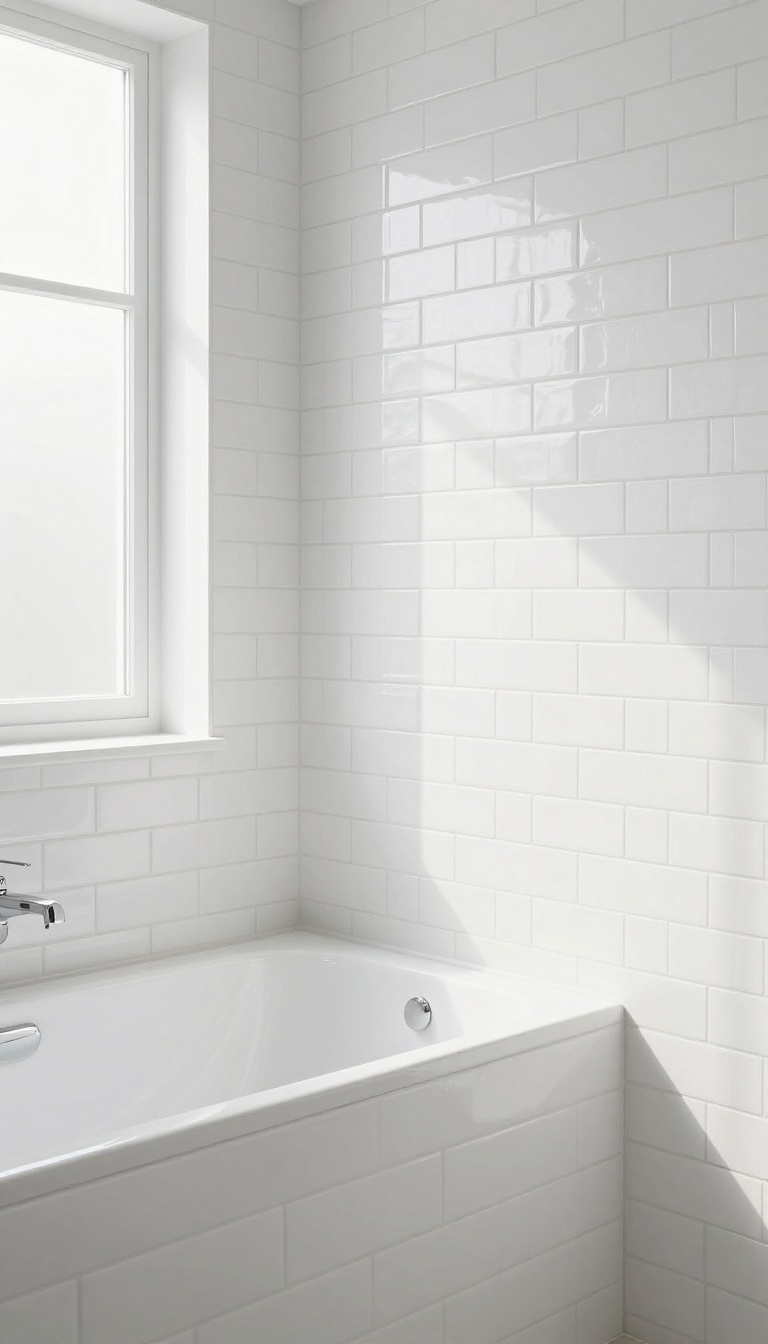
Subway tile has been a bathroom staple for over a century, and for good reason. It’s affordable, easy to clean, and works with almost any style. But the standard horizontal brick pattern can feel a bit predictable.
By changing the layout, you can give this timeless tile a fresh, contemporary look that still feels classic.
The beauty of subway tile lies in its versatility. You can keep the traditional white gloss for a crisp, clean look, or choose a colored or textured version to add depth. The key to making it feel modern is in the installation pattern.
Instead of the usual running bond, try a vertical stack or a herringbone layout. These patterns draw the eye upward or add visual interest without overwhelming the space. Plus, subway tile’s smooth surface makes it a breeze to wipe down, which is essential in a tub area.
Vertical Stack For Height
A vertical stack, where tiles are laid one above the other, creates clean, straight lines that make your ceiling feel taller. It’s a simple change that adds a contemporary edge while keeping the classic subway charm. This pattern works especially well in smaller bathrooms where you want to maximize the sense of space.
Herringbone For Movement
If you want to add energy and movement, the herringbone pattern is a stunning choice. It involves placing tiles at a 45-degree angle to create a zigzag effect. This layout can make the tub area the focal point of the bathroom.
It’s a bit more labor-intensive, but the result is a dynamic, eye-catching design that still feels timeless.
Grout Color Matters
The grout you choose can dramatically affect the overall look. White grout with white tile creates a seamless, monolithic appearance. Darker grout, like charcoal or navy, adds contrast and makes the tile pattern pop.
It also hides dirt better, which is a practical plus in a high-moisture area.
2. Large-Format Porcelain for Minimal Grout Lines
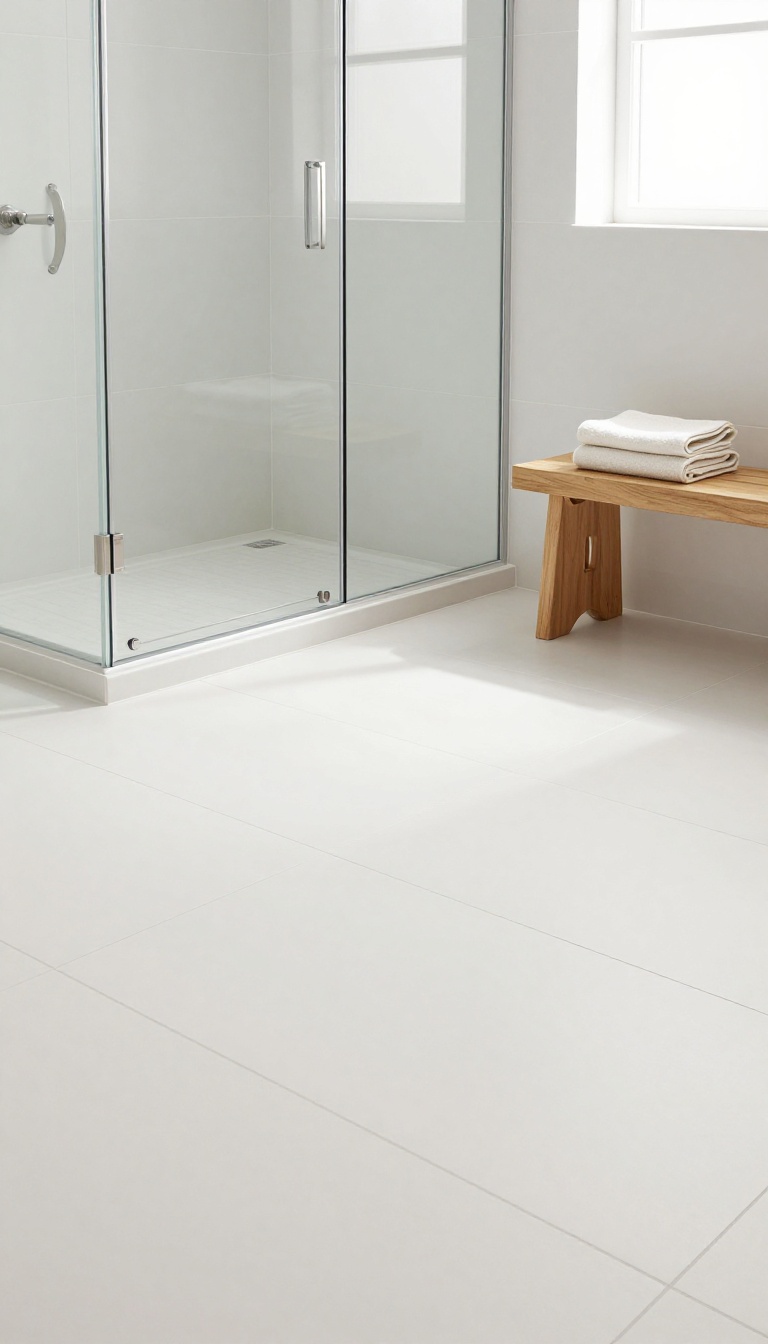
If scrubbing grout lines is your least favorite chore, large-format porcelain tiles are about to become your best friend. These oversized slabs, often 12×24 inches or bigger, dramatically reduce the number of grout joints in your tub shower. The result is a cleaner, more streamlined look that feels modern and airy.
Large-format tiles also make a small bathroom appear larger because there are fewer visual interruptions. The eye glides over the surface without stopping at busy lines, creating a sense of openness. Plus, porcelain is naturally moisture-resistant and tough, making it a smart choice for a wet area that gets constant use.
Why Bigger Tiles Mean Less Maintenance
Fewer grout lines mean less surface area for soap scum, mildew, and hard water stains to accumulate. With large-format porcelain, you'll spend less time scrubbing and more time enjoying your shower. The minimal grout also means fewer places for moisture to sneak through, which helps protect your walls from water damage over time.
Choosing The Right Size And Finish
For a tub surround, 12×24 or 12×36 inches are popular choices. If you're feeling bold, consider even larger slabs for a seamless look. Matte finishes hide water spots better than glossy ones, while textured surfaces add grip for safety.
Just make sure the tile is rated for wall use and has a high PEI rating for durability.
Installation Tips For A Perfect Fit
Large tiles require a perfectly flat surface, so your walls may need extra preparation. Use a leveling system to keep the tiles flush and avoid lippage. Also, have a professional cut the tiles precisely around fixtures and corners to ensure a clean, polished result.
Good installation is key to making the minimal grout lines look intentional and beautiful.
3. Hexagon Tiles for a Playful Yet Sophisticated Vibe
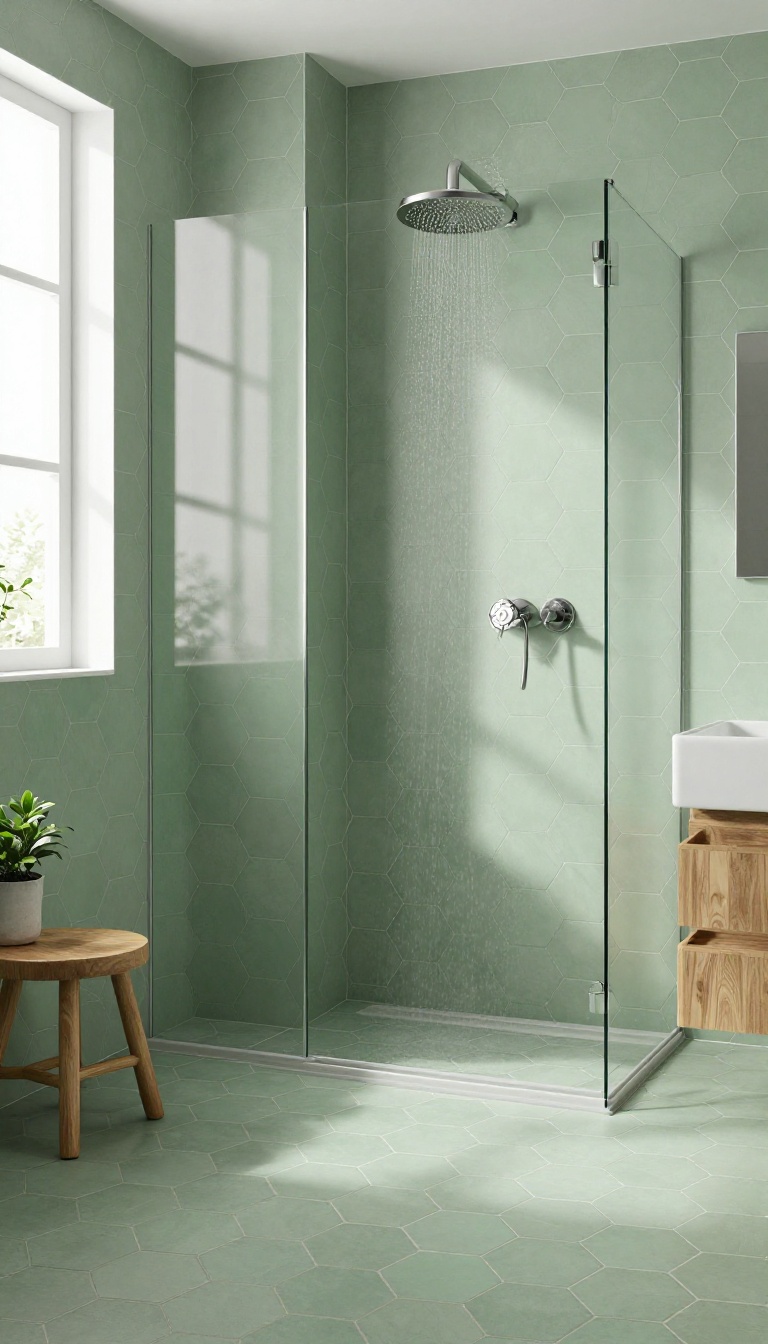
Hexagon tiles are having a serious moment, and it's easy to see why. Their six-sided shape adds a subtle geometric rhythm that feels fresh without shouting for attention. In a tub shower, they break up large wall areas and introduce a soft, honeycomb-like texture that makes the space feel more dynamic.
Matte finishes are the smart pick here. They offer better slip resistance underfoot and give the surface a contemporary, almost stone-like feel that pairs well with both modern and traditional fixtures. Plus, hexagons work beautifully as a full wall treatment or as a feature strip behind the tub.
Hexagon tiles bring a playful yet sophisticated energy to a tub shower. The shape alone creates visual interest, but the real magic happens when you play with scale, color, and placement. Whether you go with classic white or a muted sage, hexagons adapt to your style without overwhelming the space.
A matte finish is a practical choice for a wet area. It provides better grip than glossy alternatives and hides water spots and soap scum better, which means less scrubbing. The subtle sheen also reflects light softly, making the shower feel airy and calm.
You can use hexagons in a few different ways. Cover the entire shower wall for a bold, cohesive look, or create a horizontal band at eye level to break up larger tiles. Another idea is to use hexagons on the floor and continue them up the wall for a seamless transition that visually expands the space.
Scale Matters: Small Vs. Large Hexagons
The size of the hexagon changes the whole feel. Small hexagons, around 1 to 2 inches, create a busy, textured surface that adds depth and hides imperfections. They're great for smaller showers where you want a lot of visual interest without a heavy pattern.
Larger hexagons, 4 to 6 inches, give a more modern, minimal look with fewer grout lines. They make the space feel bigger and are easier to clean. Choose based on the mood you want: small for cozy and intricate, large for sleek and open.
Color Play: Monochrome Or Muted Tones
White or light gray hexagons are timeless and keep the shower bright. If you want a bit more personality, consider muted tones like dusty blue, sage green, or warm terracotta. These colors add warmth without being overpowering.
You can also mix two shades in a random pattern for a custom, artistic feel. Just keep the palette cohesive—stick to one hue family or use a single accent color to avoid a chaotic look.
Grout Color: Invisible Or Contrasting
Grout color is a game-changer with hexagons. Matching grout to the tile creates a seamless, almost continuous surface that feels calm and unified. Contrasting grout, like white tiles with dark gray grout, makes the hexagon shape pop and adds a graphic, modern edge.
For a playful vibe, try a soft blush or pale blue grout with white tiles—it's subtle but adds a hint of fun. Just remember that lighter grout shows dirt more, so weigh your maintenance tolerance.
Placement Ideas: Feature Wall Or Full Coverage
You don't have to commit to hexagons everywhere. A full wall of hexagons behind the tub is a bold statement that anchors the space. If that feels like too much, use hexagons on the floor and lower half of the wall, then switch to larger tiles above.
Another option is to create a vertical stripe of hexagons in a contrasting color—it draws the eye upward and adds height. For a playful touch, scatter a few random colored hexagons among the main tiles for a subtle surprise.
4. Natural Stone for a Spa-Like Retreat
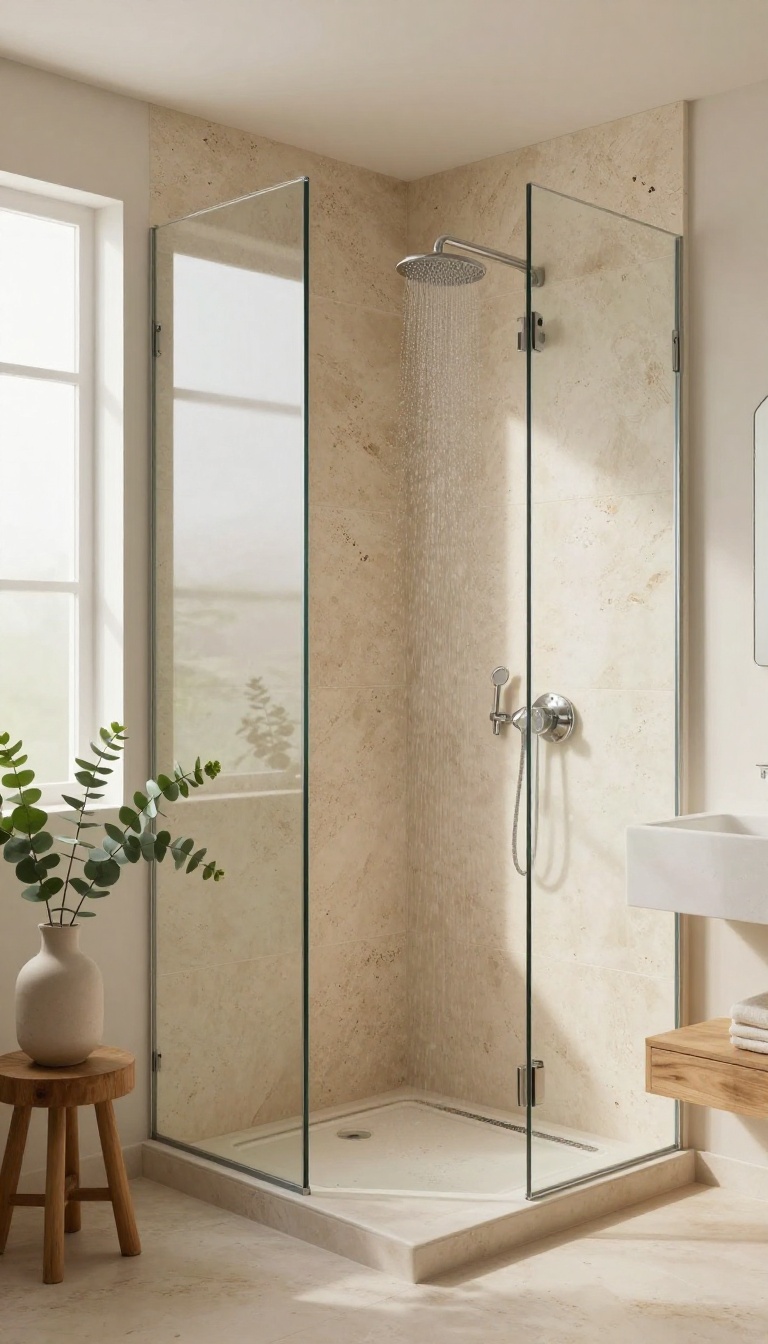
There's a reason high-end spas lean on natural stone—it instantly adds warmth and texture that manufactured tiles can't quite replicate. Travertine, slate, and marble bring a quiet, organic feel that makes your tub shower feel like a private retreat. The catch?
Stone is porous, so it needs a little extra care to stay beautiful in a wet environment.
Before you fall for that gorgeous travertine, think about how it will handle daily showers. Proper sealing is non-negotiable—it protects the stone from moisture, soap scum, and staining. You'll also want to pick a finish that suits your lifestyle: honed stone feels smooth and matte, while tumbled stone offers a more rustic, textured surface.
Both work well, but honed is easier to clean and less likely to harbor grime in the crevices.
Choosing The Right Stone For Your Space
Travertine is a classic choice for its warm, earthy tones and natural pits that add character. Slate offers a darker, more dramatic look with a rugged texture that's naturally slip-resistant—great for a shower floor. Marble, while stunning, is softer and more prone to etching from acidic soaps, so it's better for walls or accent areas rather than high-traffic zones.
Consider the overall vibe you want: warm and cozy or cool and elegant.
Sealing And Maintenance Essentials
Sealing is your first line of defense. Use a high-quality penetrating sealer and reapply it every year or so, depending on how often the shower is used. Clean with a pH-neutral stone cleaner to avoid damaging the sealant.
Avoid abrasive scrubbers and acidic cleaners like vinegar or lemon-based products—they can eat away at the stone's surface. A little regular care goes a long way in keeping your stone looking fresh.
Mixing Stone With Other Materials
You don't have to cover every inch in stone. Pairing natural stone with glass or ceramic tiles can create a beautiful contrast and help balance cost. For example, use stone on the main wall and a coordinating solid-color tile for the niche or accent strip.
This approach lets you enjoy the spa-like feel without breaking the bank. Just make sure the grout color complements the stone—neutral tones like beige or gray work best.
5. Mosaic Tiles to Add Color and Pattern
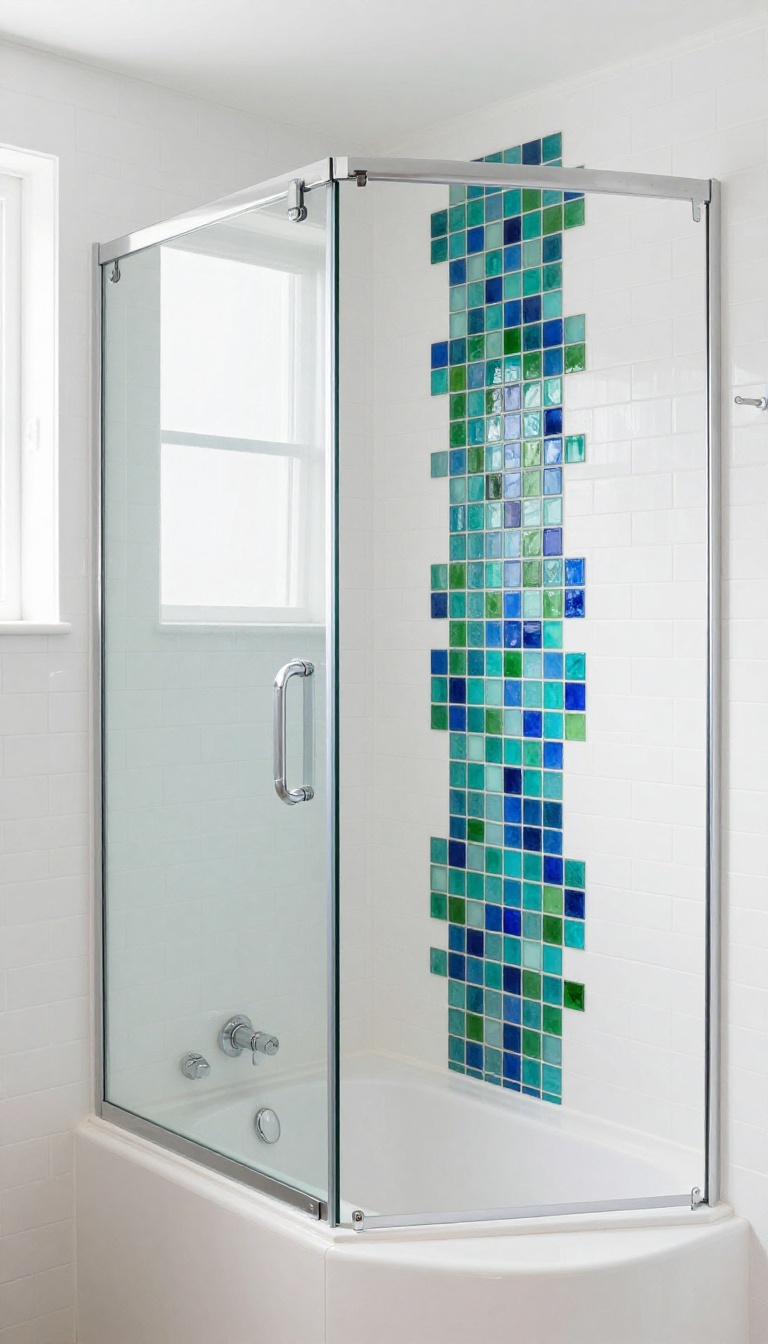
Mosaic tiles are a playful way to inject personality into a tub shower without overwhelming the space. These small tiles come in sheets, making installation faster than you might think, and they offer endless possibilities for color and pattern. Whether you want a subtle accent or a bold statement, mosaics can transform a plain alcove into a visual highlight.
Mosaic sheets are a practical choice for tub showers because they're durable, water-resistant, and easy to clean. The mesh backing keeps tiles aligned, reducing installation time and ensuring a professional finish. Plus, with so many materials—glass, ceramic, porcelain, and stone—you can match any aesthetic, from modern to rustic.
One of the biggest advantages of mosaics is their ability to create a focal point without a full wall of bold tile. A single accent strip behind the tub or a framed niche can draw the eye and add depth. For a cohesive look, pick a color from the mosaic and use it in the rest of the shower's tile or fixtures.
Choosing The Right Mosaic Material
Glass mosaics are a favorite for their glossy finish and light-reflecting qualities, but they can be slippery on floors—use them on walls only. Porcelain and ceramic mosaics offer durability and a matte texture, making them safer for shower floors. Natural stone mosaics like travertine or slate add organic texture but require sealing to prevent staining.
Consider the maintenance level you're comfortable with before committing.
Placement Ideas For Maximum Impact
Instead of tiling the entire wall, use mosaics in a vertical strip from the ceiling to the floor, or create a horizontal band at eye level. A mosaic niche for shampoo bottles adds a pop of color and breaks up large expanses of plain tile. For a subtle touch, frame the tub's edge or the shower curb with a thin mosaic border.
These placements keep the look intentional and balanced.
Mixing Mosaics With Larger Tiles
Pairing mosaics with larger format tiles creates contrast and visual interest. For example, use large subway tiles on the main walls and a mosaic accent strip behind the tub. The busy pattern of the mosaic becomes a highlight rather than overwhelming the space.
Stick to a cohesive color palette to ensure the combination feels unified.
6. Wood-Look Tiles for Warmth Without the Worry
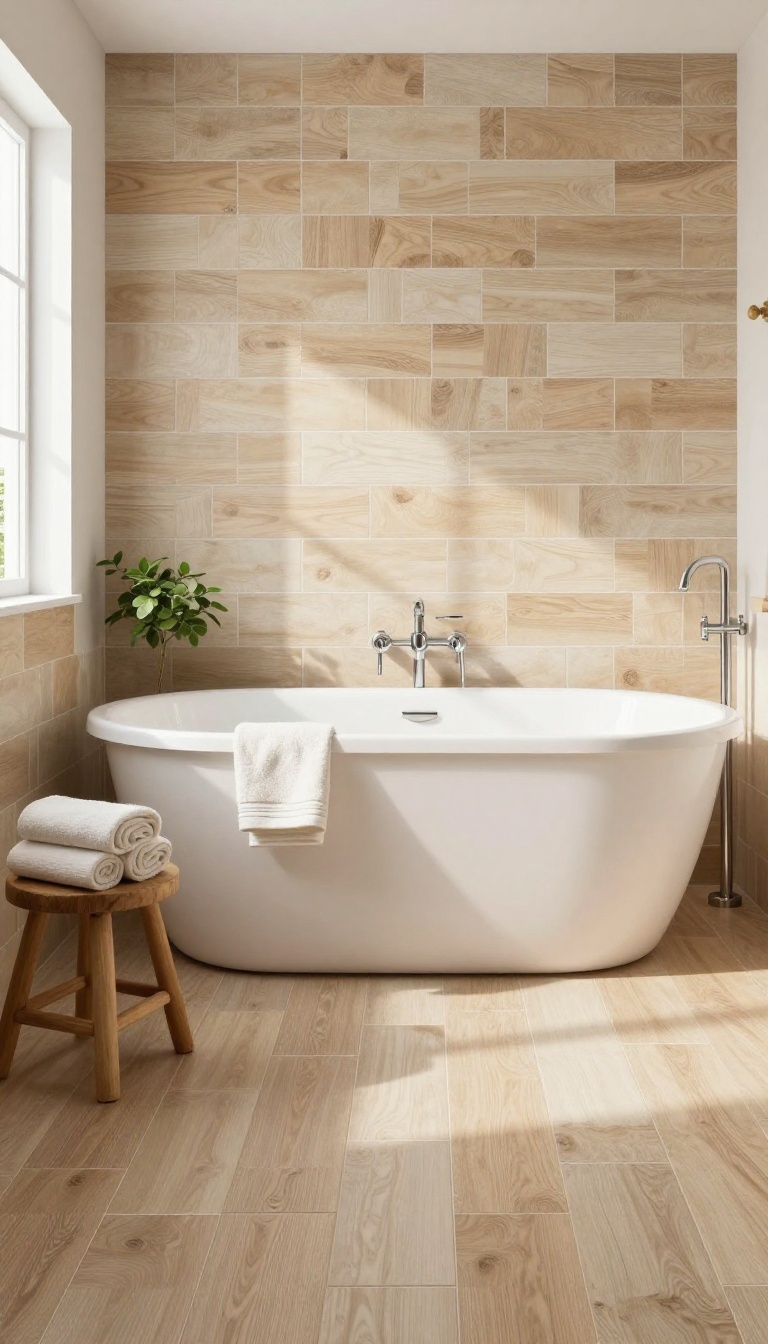
Craving that cozy, cabin-like feel but worried about water damage? Wood-look tiles give you the best of both worlds. They mimic the natural grain and warmth of hardwood, yet they're made of ceramic or porcelain—so they shrug off moisture, stains, and humidity without a second thought.
Perfect for a tub surround, they bring organic charm to your bathroom while staying as practical as any other tile.
Wood-look tiles have come a long way from the fake-looking planks of the past. Today's options feature realistic grain patterns, varied textures, and even matte finishes that feel almost like real wood underfoot. Because they're durable and waterproof, you can enjoy that rustic or modern-farmhouse aesthetic without the constant worry of warping or rotting.
Plus, they're easy to clean—just wipe them down like any other tile.
Choosing The Right Plank Size And Layout
Plank size matters more than you think. Longer planks (like 6×24 or 8×36 inches) create a seamless, expansive look that makes a small bathroom feel larger. For a more traditional vibe, shorter planks in a staggered brick pattern add subtle movement.
If you're feeling adventurous, try a herringbone layout for a touch of elegance—just be prepared for more cuts and a bit more installation time.
Color And Finish Options To Match Your Style
From light oak to deep walnut, wood-look tiles come in a spectrum of shades. Light tones brighten the space and make it feel airy, while darker woods add drama and coziness. For a spa-like feel, opt for a matte finish that reduces glare and mimics the soft sheen of natural wood.
Glossy finishes are easier to wipe down but can be slippery when wet, so consider a textured surface for safety.
Grout And Accessories That Complement The Look
The right grout can make or break the wood effect. Choose a grout color that blends with the tile—like a warm beige or gray—to keep the lines subtle and let the wood grain shine. For a more defined plank look, use a contrasting grout, but keep it thin to avoid a busy appearance.
Pair the tiles with natural wood-toned accessories, like a teak bench or bamboo mat, to reinforce the organic feel without overdoing it.
7. Geometric Patterns for a Bold Statement
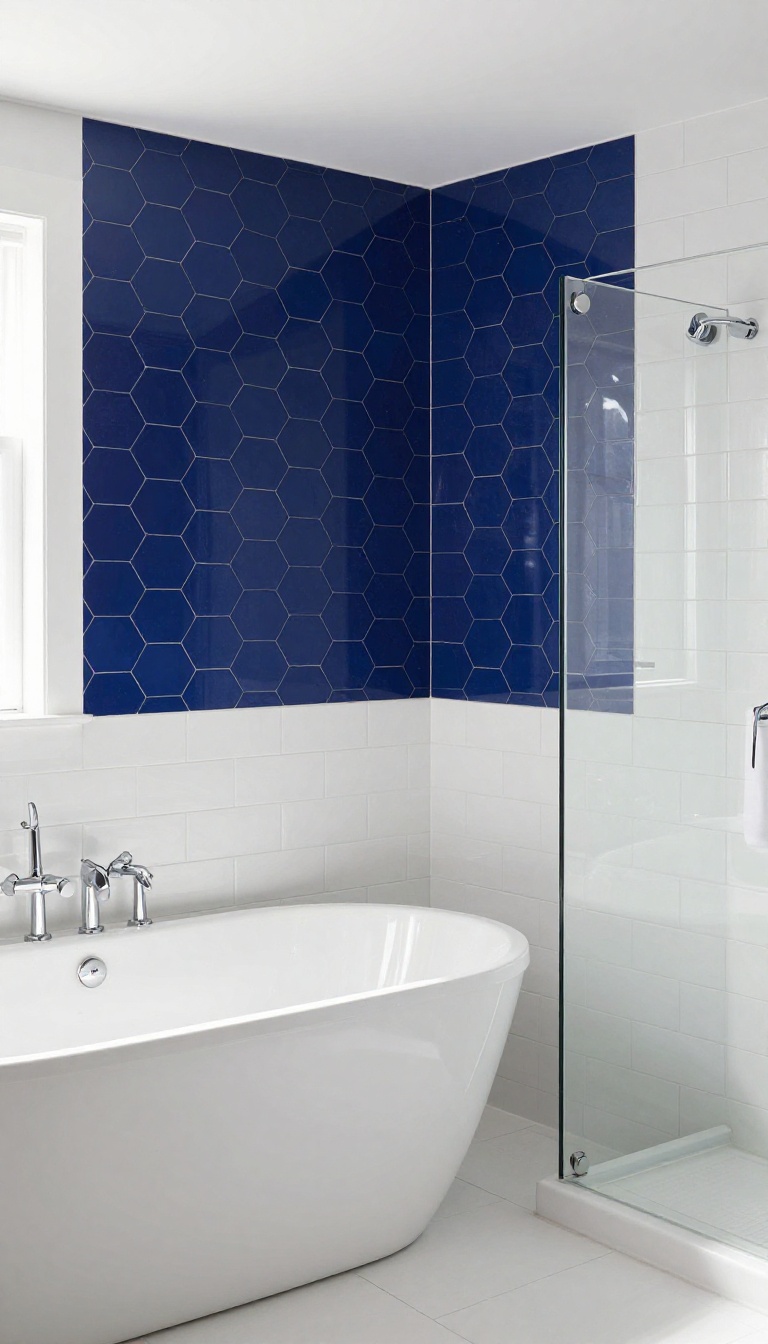
Geometric tiles bring instant energy to a tub shower, turning a plain alcove into a focal point. Unlike plain subway or field tile, shapes like arabesque, fish scale, or hexagon add movement and depth that catch the eye. The trick is restraint: use them on one wall or a niche to keep the space from feeling busy.
Geometric tiles are a smart way to inject personality without committing to a full pattern overload. They work well in both modern and traditional bathrooms, and they pair beautifully with neutral fixtures and simple accessories. Because they're often smaller than standard tiles, they also help with curved surfaces or corners, making them a practical choice for tub surrounds.
Choosing The Right Shape
Arabesque and fish scale tiles offer a soft, organic feel, while hexagons give a more structured, contemporary look. Consider the scale of your bathroom: large hexagons can make a small space feel bigger, while smaller patterns add texture. Pick a shape that complements your existing decor—curved shapes soften sharp lines, and angular shapes add crispness.
Where To Place Them
Limit geometric tiles to the shower wall behind the tub or the niche area to create a striking backdrop without overwhelming the room. If you're feeling bolder, extend the pattern from the tub to the ceiling for a dramatic vertical effect. Pairing them with solid-color tiles on adjacent walls keeps the design balanced.
Color And Grout Considerations
Neutral tones like white, gray, or beige keep the pattern subtle, while bold colors like navy or emerald make a statement. Grout color matters too—matching grout makes the pattern blend, while contrasting grout highlights the shapes. For a seamless look, choose grout close to the tile color; for extra definition, go darker.
8. Neutral Tones with Textured Finishes for Depth
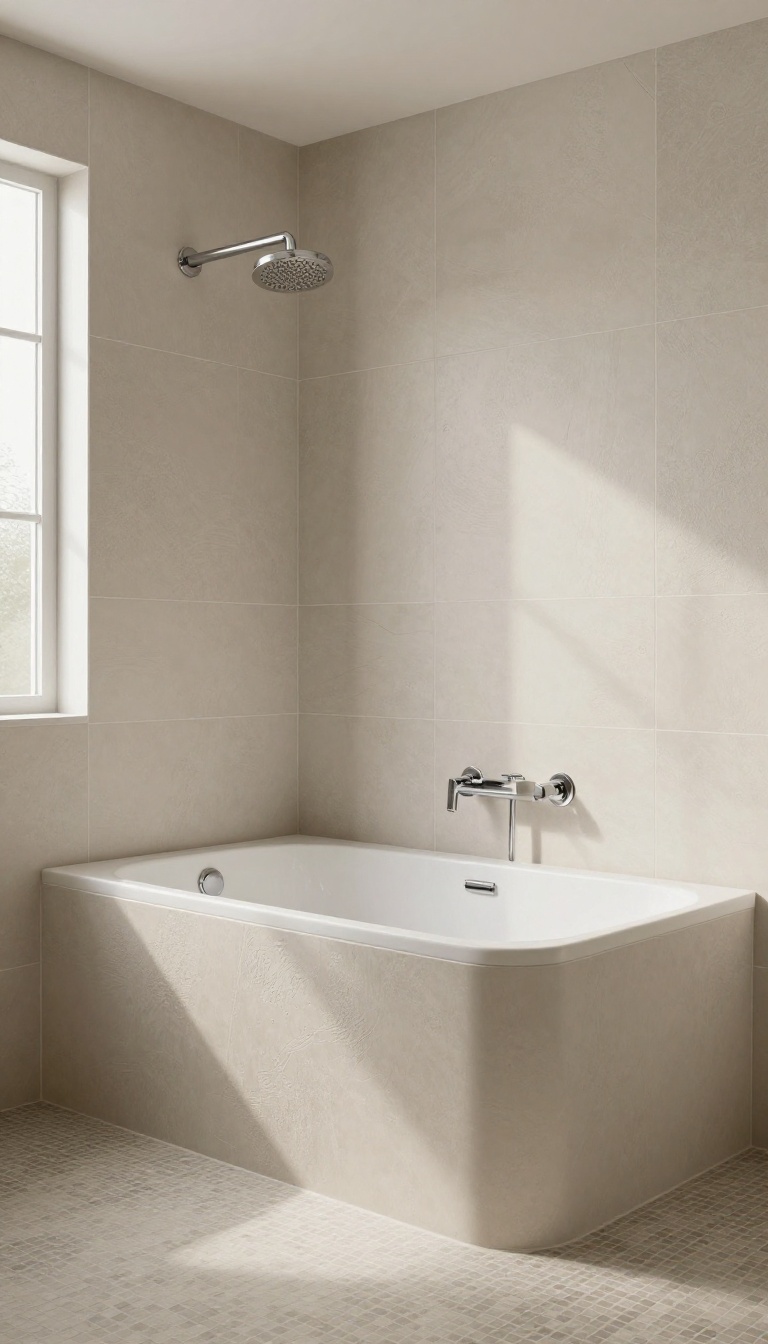
Neutral tiles don't have to be flat or boring. By choosing textured finishes in soft beige, gray, or white, you add subtle dimension that catches light and creates visual interest. The texture also provides a better grip underfoot, which is a smart safety feature in a wet area.
Plus, these tones are incredibly forgiving—they hide water spots and soap scum far better than glossy dark tiles.
Textured neutral tiles bring a calm, spa-like feel to your tub shower while staying practical. The key is to mix finishes thoughtfully—pair a matte textured tile on the walls with a slightly rougher floor tile to define the space without breaking the visual flow. This approach keeps the look unified but adds enough variation to prevent monotony.
Why Texture Matters
Texture isn't just about looks—it's about function. A slightly rough surface gives your feet more traction, reducing slips. It also scatters light, which softens the appearance of water spots and hard water stains.
You'll spend less time scrubbing and more time enjoying your shower.
Choosing The Right Shade
Stick to warm beiges, greiges, or cool grays that complement your fixtures and vanity. Lighter neutrals make a small tub shower feel bigger, while mid-tone grays add coziness. Avoid pure white if you're worried about grout lines showing—off-whites and creams are more forgiving.
Mixing Textures For Balance
Use a large-format textured tile on the main walls to minimize grout lines, then switch to a smaller mosaic or penny tile with a matte finish on the floor. This contrast adds depth without clashing. You can also add a vertical band of a different texture—like a ribbed or slate-like tile—to break up the expanse.
9. High-Gloss Tiles to Brighten the Space
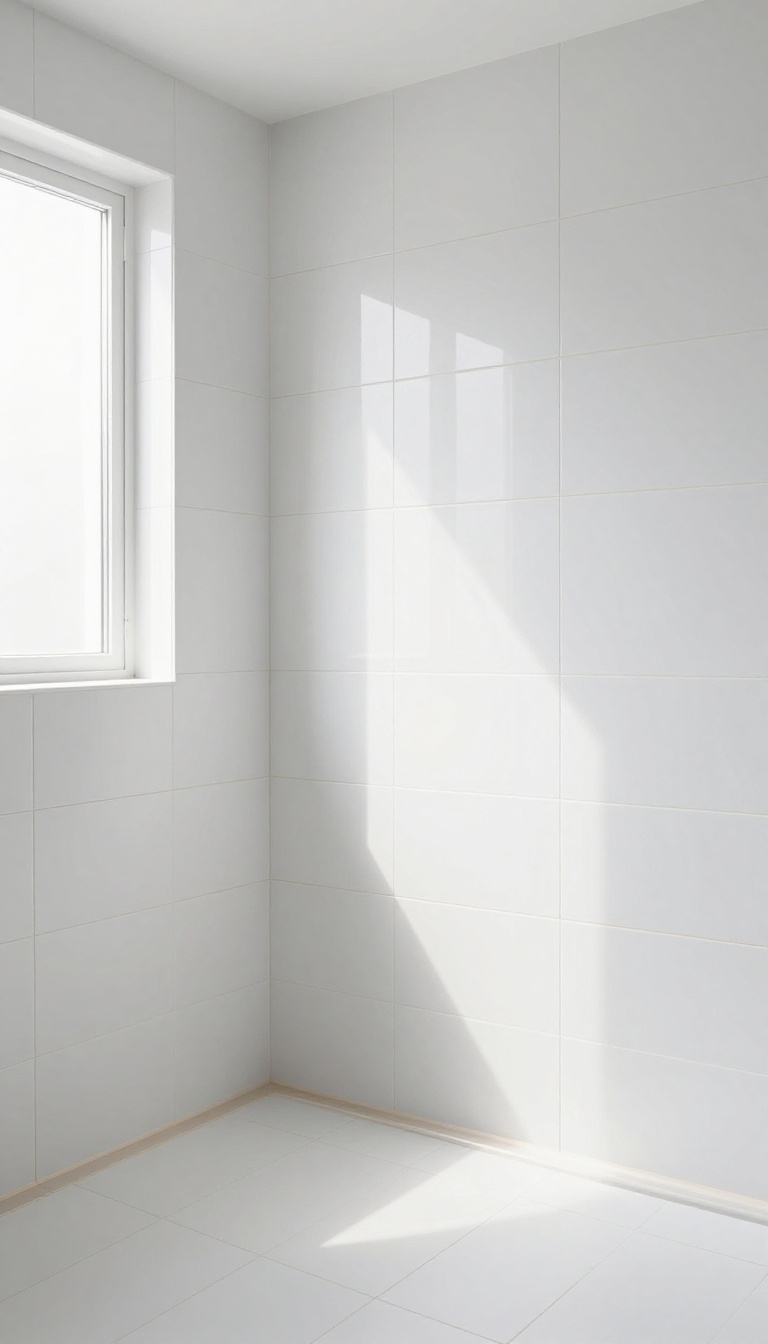
If your tub shower feels dark or cramped, high-gloss tiles can work wonders. Their reflective surface bounces light around, making the area appear larger and more inviting. Plus, they're a breeze to clean—soap scum and grime don't cling easily, so a quick wipe keeps them sparkling.
High-gloss tiles are a smart choice for tub showers because they combine practicality with a bright, polished look. The shiny finish not only enhances natural light but also makes the space feel more open, which is perfect for smaller bathrooms. And because they resist moisture and stains, they're built to handle the daily wear and tear of a busy household.
Choose The Right Finish
When picking high-gloss tiles, look for a finish that's smooth and non-porous, like ceramic or porcelain. These materials are less likely to absorb water, reducing the risk of mold and mildew. A polished glaze adds extra shine and makes cleaning even easier—just a damp cloth and mild detergent will do.
Play With Light Colors
For maximum brightness, go with light-colored glossy tiles like white, cream, or soft pastels. These shades reflect more light, making the shower feel airy and fresh. If you're worried about a sterile look, pair them with warm-toned grout or add a contrasting accent strip for visual interest.
Combine With Matte Accents
To avoid a slippery or overly shiny environment, mix high-gloss tiles with matte ones. Use glossy tiles on the main walls and matte tiles on the floor or in niches. This not only adds texture but also improves safety underfoot, giving you the best of both worlds.
10. Mixed Materials for a Custom Look
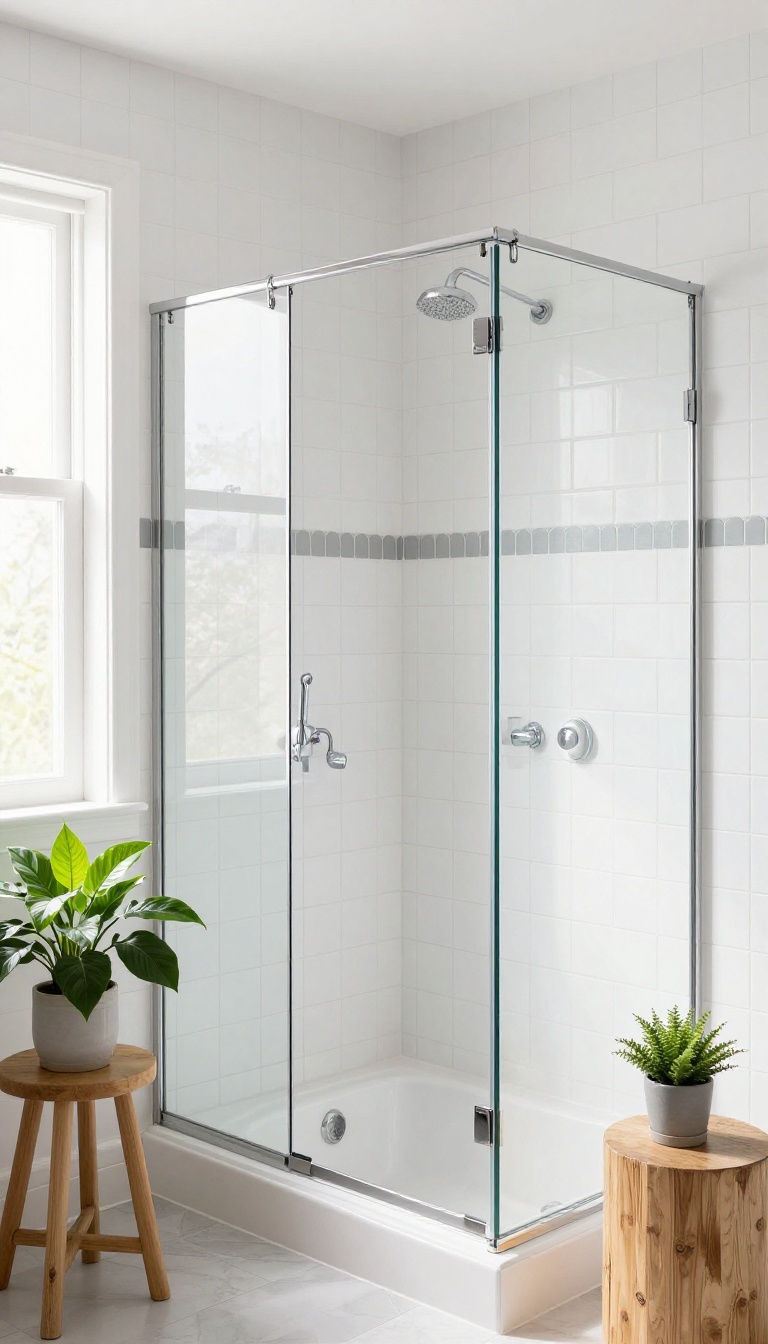
Mixing tile materials and shapes is a surefire way to give your tub shower a one-of-a-kind feel. Instead of sticking to a single tile type, you can pair different textures or colors to create visual interest that still feels cohesive. This approach works especially well when you want to break up large expanses of tile without adding a lot of extra maintenance.
Combining different tile shapes or colors creates a custom design that feels intentional. For example, pair classic subway tiles with a decorative band of hexagonal or penny tiles. Or use a contrasting grout color to make the pattern pop.
The key is to keep the overall palette balanced so the mix doesn't feel chaotic.
Subway And Hexagon Combo
A timeless pairing is white subway tile on the main walls with a hexagon accent strip at eye level or around the niche. The hexagons add texture and a modern twist without overwhelming the space. You can also use hexagon tiles on the floor and carry the color up into the shower for a seamless transition.
Contrasting Grout For Definition
If you're using tiles of the same color, a contrasting grout can define each tile and add depth. For instance, bright white tiles with a charcoal grout create a crisp, graphic look. This works particularly well with subway or square tiles, and it helps hide dirt and soap scum between tiles.
Mixing Textures For Depth
Don't be afraid to combine smooth glazed tiles with matte or textured ones. A matte finish on the lower half of the wall can add grip and visual weight, while a glossy upper half reflects light and makes the space feel taller. This mix also reduces the risk of slipping in a wet tub area.
FAQ
What is the best tile for a tub-shower combo?
Porcelain or ceramic tiles are ideal because they're durable, water-resistant, and low-maintenance. Choose a textured or matte finish for better slip resistance.
How can I make my tub-shower tile look cohesive?
Use the same tile throughout the entire surround, or pick a secondary tile that complements the main one. Consistent grout color also helps unify the look.
Do I need to seal natural stone tiles in a shower?
Yes, natural stone is porous and should be sealed regularly to prevent water damage and staining. Always follow the manufacturer's recommendations.
What is the best grout for a shower?
Epoxy grout is the most durable and stain-resistant option, but it's harder to work with. Cement-based grout with a sealer is also a good choice.
Can I use large tiles in a small bathroom?
Absolutely. Large tiles reduce grout lines, which can make a small space feel larger and more seamless. Just ensure the surface is properly prepared.
Conclusion
Tub shower tile ideas are about blending style with everyday durability. You don't need to redo the whole bathroom to get a unified look—just pick a tile that handles moisture well and matches your routine. Start with one wall or a single accent strip, and build from there.
The right tile will make your tub area feel intentional and easy to clean. Take your time, measure twice, and choose something you'll enjoy seeing every day. Your bathroom will thank you.