How to Clean a Shower Curtain Liner in 10 Easy Steps
A grimy shower curtain liner can make your whole bathroom feel dingy, but you don’t need harsh chemicals or expensive replacements to get it clean. With a few household staples and a little patience, you can restore that liner to like-new condition in no time.
This step-by-step guide walks you through ten practical actions—from a simple baking soda paste to a weekly rinse habit—that keep mold and soap scum at bay.
Start with the first step and watch the grime disappear without breaking a sweat.
1. Remove the Liner and Check for Mold
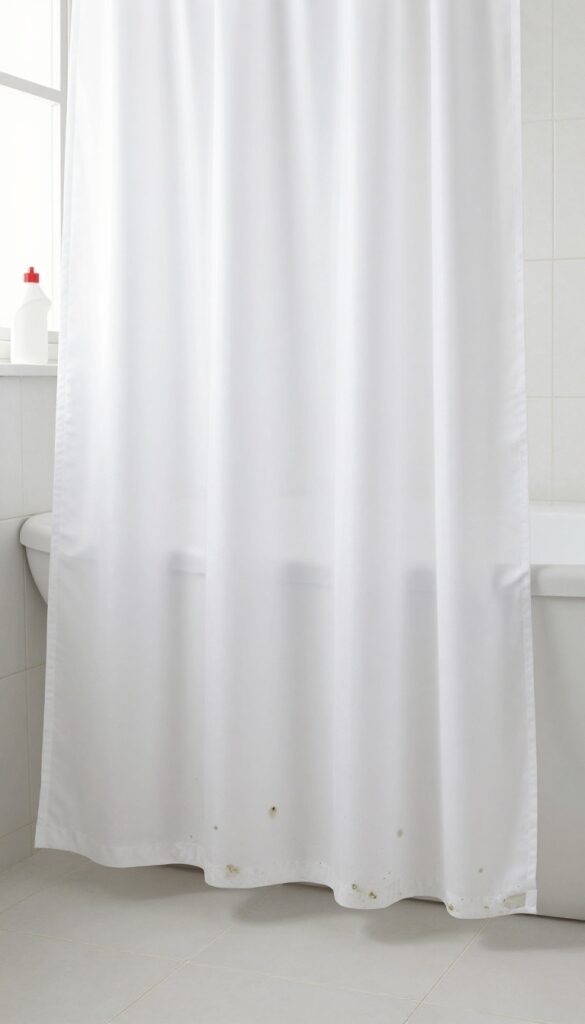
Before you toss the liner in the wash, take it down and give it a good once-over. This quick inspection tells you exactly what you're dealing with—and whether a simple wash will cut it or you need to bust out the heavy artillery.
Unhook the liner from the shower rod carefully to avoid tearing it. Lay it flat on the bathroom floor or spread it outside on a clean surface. Look for dark spots, greenish patches, or fuzzy growth, especially along the bottom hem and in the corners where water pools.
If you see just a little light mildew, a regular wash with bleach or vinegar should handle it. Heavy mold, however, needs a pre-treatment before the main wash. Also check for any rips or holes—if the liner is torn, it might be time for a replacement instead of a cleaning.
Spot The Problem Areas
Focus on the bottom third of the liner—that's where most mold and soap scum collect. Run your fingers along the hem to feel for slimy residue. If you see black or dark green spots, that's mold.
Light pink or orange stains are usually bacteria from soap, which are easier to remove.
Decide On A Cleaning Method
If you spot only light mildew, a machine wash with hot water and bleach or vinegar will work. For heavy mold, you'll want to pre-soak the liner in a bleach solution or scrub it with a baking soda paste before washing. If the mold has eaten through the fabric or left permanent stains, replace the liner.
2. Shake Off Loose Debris Outside
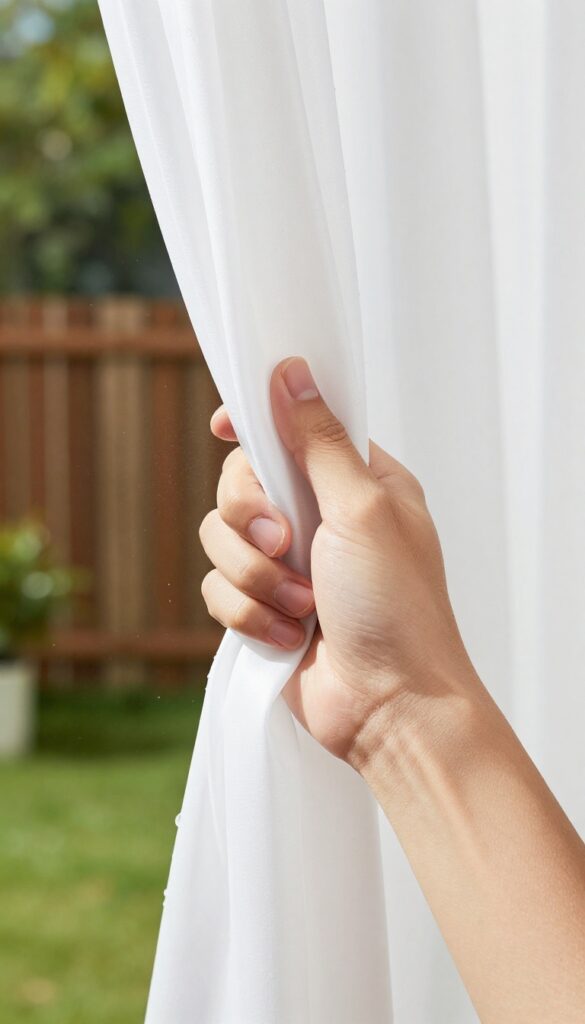
Before you even think about soaking or scrubbing, take the liner outside for a quick shake. This simple step removes loose hair, dust, and dried soap flakes that would otherwise end up clogging your washing machine or tub drain. It also gives you a chance to inspect the liner for any stubborn spots you'll need to treat later.
Just grab the liner by the top edge and give it a few vigorous shakes—like you're airing out a rug. You'll be surprised how much gunk falls off.
Why Bother Shaking?
A shower curtain liner collects all sorts of debris: loose strands of hair, lint from towels, and crusty soap residue. If you skip this step, that debris will either dissolve into a sludgy mess in the wash or settle in your drain. Shaking it off outside keeps your washing machine cleaner and prevents plumbing headaches.
Plus, it's the easiest way to remove dry scum without any chemicals.
Best Spot For Shaking
Take the liner to an open area like your backyard, balcony, or even a driveway. Avoid shaking it indoors—you'll just redistribute the dust and hair onto your floors. If you live in an apartment, a fire escape or a patch of grass works fine.
Just make sure you're not shaking it into a neighbor's space.
What To Do With The Debris
After shaking, you'll likely see a pile of hair and dust on the ground. If you're on grass, leave it—it'll decompose. On concrete or a balcony, sweep it up and toss it in the trash.
This small cleanup keeps the area tidy and prevents the debris from blowing back into your home.
3. Pre-Treat Stubborn Stains with Baking Soda Paste
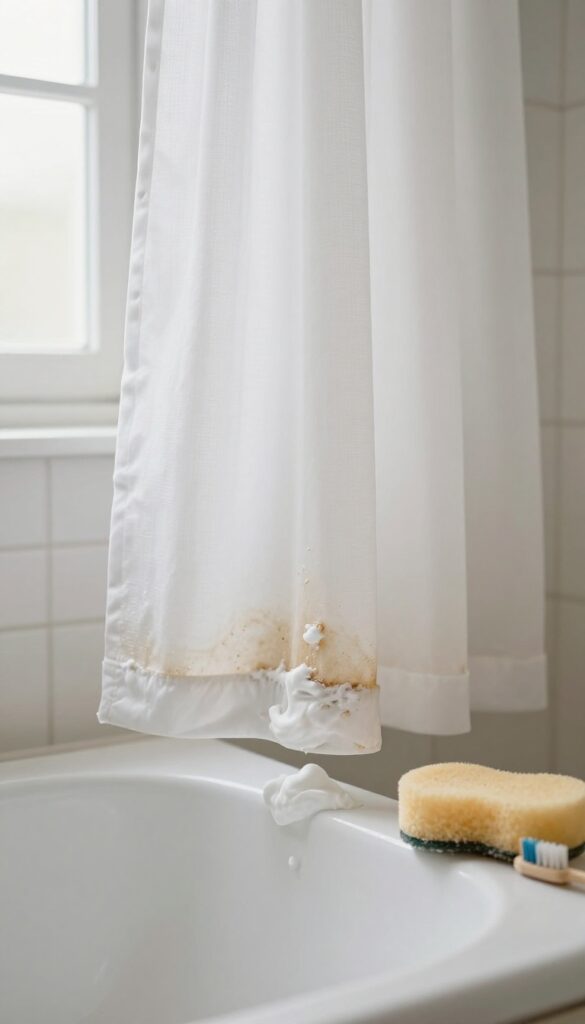
Some spots just won't budge with a simple soak. That's where baking soda comes in. This gentle abrasive works wonders on mold, mildew, and soap scum without scratching the liner.
A quick paste treatment targets those problem areas so the rest of your cleaning is more effective.
Mix three parts baking soda with one part water to form a thick paste. Use an old toothbrush or your fingers to apply it directly to stained or moldy patches. Let it sit for about 15 minutes—longer if the stains are really set in.
The baking soda breaks down grime and deodorizes at the same time. After the wait, scrub gently with a soft brush or sponge, then rinse with warm water. You'll see a noticeable difference before moving on to the next step.
Why Baking Soda Works
Baking soda is mildly alkaline, which helps dissolve fatty acids in soap scum. Its fine grit provides gentle scrubbing power without damaging plastic or fabric liners. Plus, it's natural and safe for septic systems.
Application Tips For Best Results
Focus on creases, hems, and corners where moisture collects. For vertical stains, press the paste on and let it cling. If the paste dries out, spritz with a little water to reactivate.
Wear gloves if you have sensitive skin.
When To Use A Stronger Treatment
For black mold that won't lift, add a few drops of hydrogen peroxide or white vinegar to the paste. Test on a hidden spot first to check for colorfastness. Never mix baking soda with bleach—it creates toxic fumes.
4. Soak the Liner in a Vinegar Solution
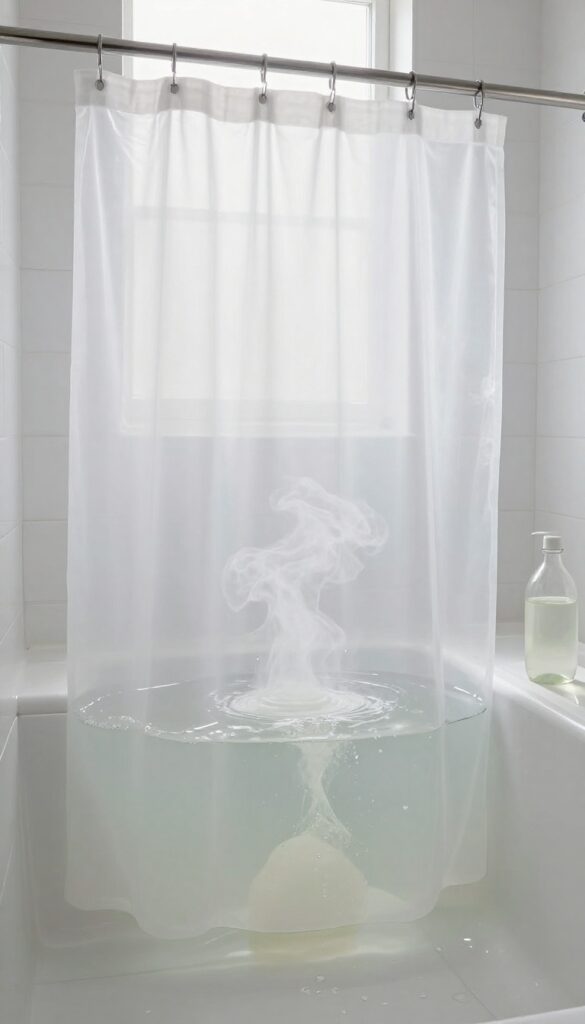
A long soak in vinegar is one of the most effective ways to break down stubborn soap scum and kill mildew without scrubbing. The acetic acid in white vinegar cuts through grime and disinfects naturally, leaving your liner fresh and clean. All you need is hot water, vinegar, and a little patience.
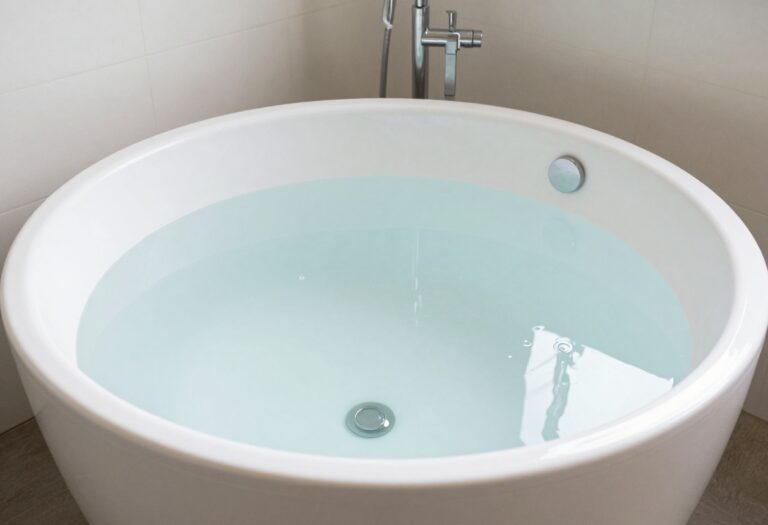
Fill your bathtub with enough hot water to fully submerge the liner. Add 1/2 cup of white vinegar and swish it around to mix. Place the liner in the tub, making sure it's completely underwater, and let it soak for at least an hour.
For heavy buildup, you can leave it overnight. After soaking, drain the tub and rinse the liner with cool water before hanging it back up.
Why Vinegar Works So Well
White vinegar is a mild acid that dissolves mineral deposits from hard water and breaks down soap residue. It also creates an environment where mold and mildew can't survive, making it a safe, non-toxic alternative to bleach. Plus, it's cheap and you probably already have it in your pantry.
How To Get The Best Results
For maximum effectiveness, make sure the water is hot—not just warm—to help activate the vinegar. If your liner has heavy mildew stains, add 1/2 cup of baking soda to the soak for extra cleaning power. After soaking, give the liner a quick scrub with a soft brush on any remaining spots before rinsing.
What To Do After The Soak
Once the soak is done, drain the tub and rinse the liner thoroughly with cool water to remove any vinegar smell. Hang it back up on the shower rod and let it air dry completely before using the shower again. The liner should look noticeably cleaner and smell fresh.
5. Scrub Gently with a Soft Brush
After the liner has soaked long enough, it’s time to give it a little physical encouragement. A gentle scrub loosens the grime that the vinegar bath has softened, especially in those tricky spots where mold and soap scum love to hide. You don’t need to go full elbow grease—just a soft brush and a bit of patience will do the trick.
Focus on the creases and the bottom edge of the liner, where dirt tends to accumulate the most. Use a soft-bristled brush or a non-abrasive sponge to avoid tearing the material. Work in small circular motions, and you’ll see the grime lift away easily.
Rinse the brush or sponge frequently to avoid redepositing dirt.
Where To Focus Your Scrubbing
Pay extra attention to the bottom hem and any fold lines. These areas trap moisture and soap residue, making them prime spots for mildew. Also check the corners where the liner meets the rod—grime often builds up there too.
Tools That Work Best
A soft scrub brush with a handle gives you leverage, but a clean dish sponge works just as well. Avoid steel wool or stiff bristles—they can scratch or tear the liner. For stubborn spots, add a little baking soda to your brush for extra gentle abrasion.
Rinse As You Go
Keep a bucket of clean water nearby or use a handheld showerhead to rinse the liner after scrubbing each section. This helps you see which spots still need attention and prevents soap scum from settling back onto the liner.
6. Rinse Thoroughly with Cold Water
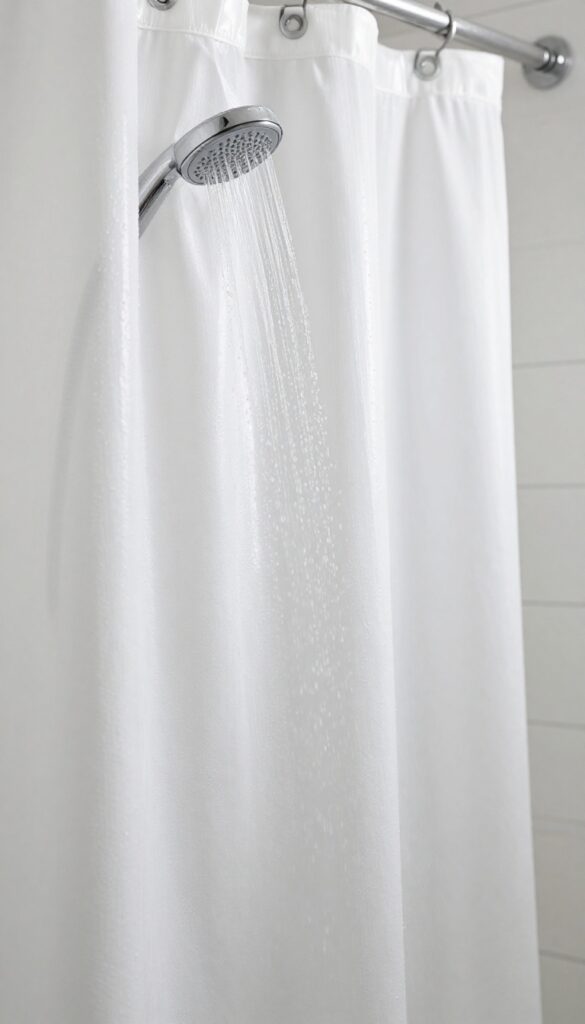
After the vinegar soak and a gentle scrub, your liner is finally free of grime—but it's not done yet. Rinsing thoroughly is the make-or-break step that ensures no vinegar or loosened dirt remains. Skipping this can leave behind a sticky residue or a faint sour smell, so give it the attention it deserves.
Drain the tub completely and switch to cold water. Use a handheld showerhead or a cup to rinse every inch of the liner, starting from the top and working your way down. Pay extra attention to the bottom hem and any folds where soap scum likes to hide.
Run your hand over the surface to feel for any slippery spots—if you find any, rinse again until it's gone. A final shake helps remove excess water before you hang it back up.
Why Cold Water Works Best
Hot water can set certain stains or warp the liner material, especially if it's vinyl or PEVA. Cold water is gentle and effective at flushing away vinegar and dissolved grime without causing damage. It also helps the liner dry faster and prevents any lingering odors.
How To Check For Residue
After rinsing, do a quick touch test. Rub a small area between your fingers—if it feels slick or soapy, you missed a spot. Also look for any cloudy patches or streaks.
A second rinse with a little more pressure usually clears them up. When the liner feels clean and looks clear, you're good to go.
Drying Tips After Rinsing
Once rinsed, squeeze out excess water gently (don't wring) and let the liner drip for a minute. Then hang it back on the shower rod, spread it out fully, and leave the bathroom door open for airflow. Avoid folding it while wet, as that can trap moisture and lead to mildew.
7. Machine Wash (If Liner Is Machine-Safe)
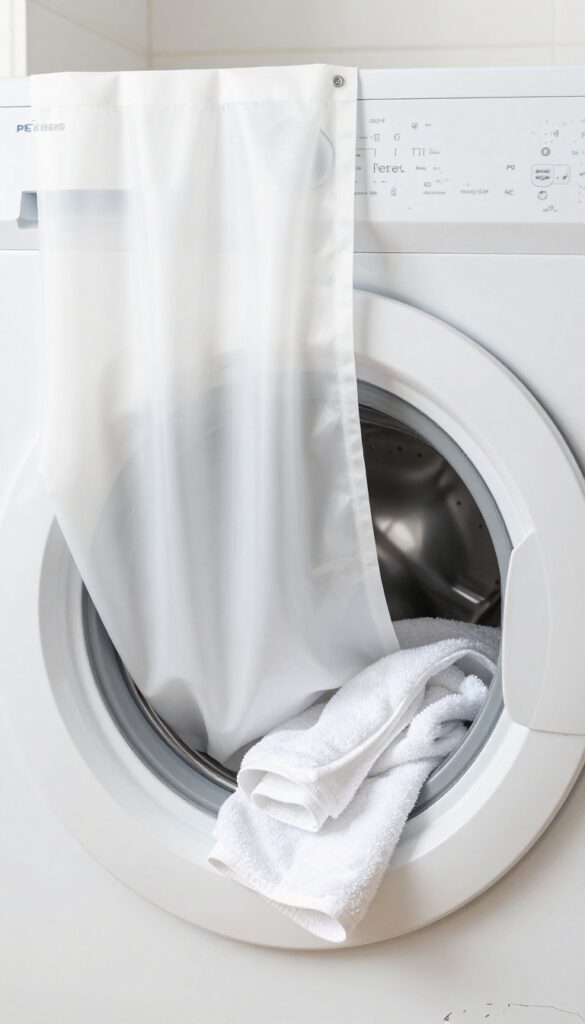
If your shower curtain liner is labeled machine washable, you're in luck—this is the quickest and easiest method. Tossing it in the washing machine saves you from scrubbing by hand, but you still need to do it right to avoid damage. Grab a couple of old towels and your usual detergent, and let the machine do the heavy lifting.
Machine washing is a hands-off way to deep clean a liner, but only if the care tag says it's safe. Polyester, PEVA, and some vinyl liners can handle the gentle cycle, while others may crack or warp. Always check the label first.
If it's good to go, add a few towels to the load—they act as scrubbers to agitate dirt and soap scum off the liner. Use a small amount of detergent (too much can leave residue) and choose cold water on a gentle cycle. Skip the spin cycle if possible, as high speeds can stress the material.
Once done, hang the liner back up immediately to air dry—don't put it in the dryer unless the label explicitly allows it.
Prepping The Liner For The Wash
Before tossing the liner in, remove any metal rings or hooks—they can rust or scratch the machine. Give the liner a quick shake outside to dislodge loose debris. If there are stubborn mildew spots, spot-treat them with a dab of laundry stain remover or a paste of baking soda and water.
Let it sit for 10 minutes before washing.
Choosing The Right Cycle And Detergent
Set your machine to a gentle or delicate cycle with cold water. Hot water can melt or distort some liners. Use a mild detergent—about half the amount you'd use for a regular load.
Avoid bleach or fabric softener, as they can degrade the liner's water-repellent coating. Adding two or three bath towels helps scrub the liner without damaging it.
Drying And Reinstalling
Once the cycle ends, remove the liner immediately to prevent wrinkles. Hang it back on the shower rod to air dry. Do not put it in the dryer unless the care label specifically says it's safe—most liners will shrink or melt.
Smooth out any folds while wet so it dries flat. Reattach the rings or hooks once the liner is fully dry.
8. Add Bleach or Oxygen Cleaner for Extra Whitening
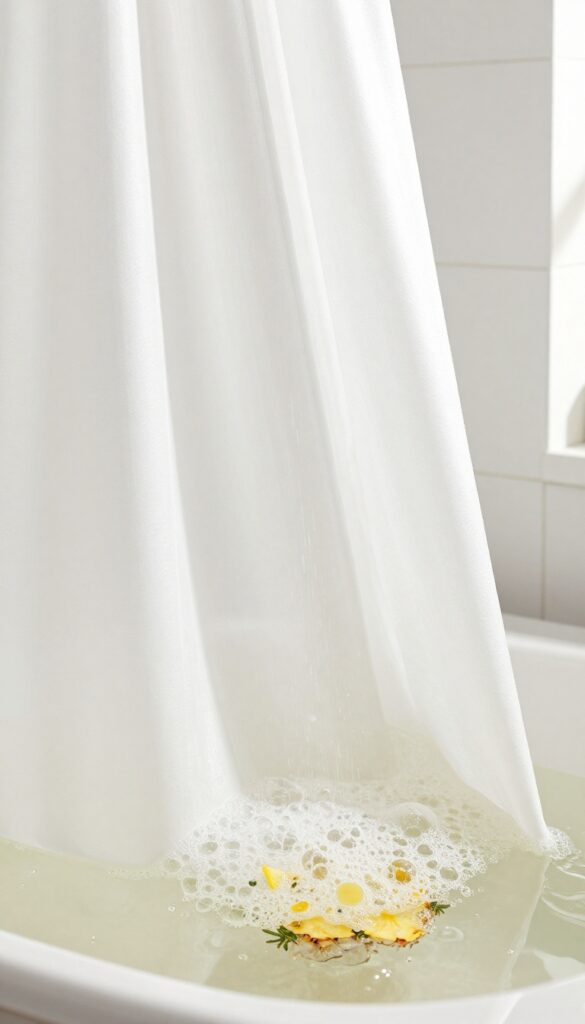
If your white liner has yellowed or lost its brightness, it's time to bring out the bleach—or a gentler alternative. Adding a whitening agent during the wash cycle not only restores color but also kills any lingering bacteria or mold spores. This step is optional but highly recommended for liners that look dingy despite a good cleaning.
Choosing Between Bleach And Oxygen Cleaner
Bleach is powerful and effective, but it can be harsh on some fabrics and may produce strong fumes. Oxygen-based cleaners (like OxiClean or sodium percarbonate) are safer for colored liners and gentler on the environment. Both work well, so pick based on your liner's material and your sensitivity to chemicals.
How Much To Add
For a standard top-loading machine, add 1/2 cup of bleach or one scoop of oxygen cleaner directly to the detergent dispenser or the drum before starting the wash. If hand washing, dissolve the product in a bucket of warm water and soak the liner for 15–30 minutes before rinsing.
Safety Tips For Best Results
Never mix bleach with vinegar or ammonia—it creates toxic gas. Also, check your liner's care label; some materials (like PEVA or polyester) can handle bleach, while others may discolor. For oxygen cleaners, hot water activates them best, so use the hottest setting safe for your liner.
9. Hang the Liner Back Immediately to Prevent Wrinkles
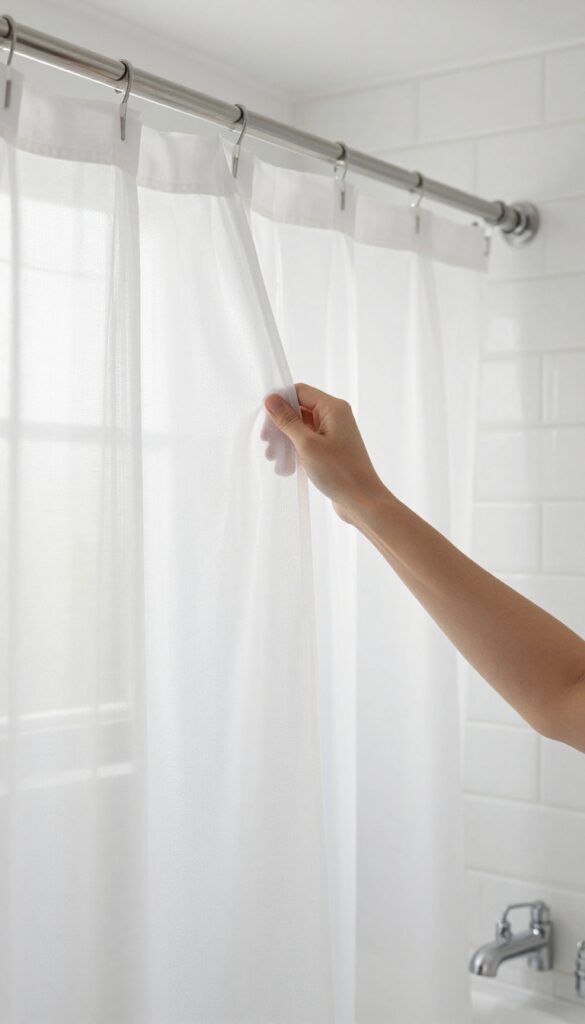
Once the wash cycle finishes, don't let the liner sit in the machine. Leaving it there, even for a few minutes, can set deep wrinkles that are tough to remove. The goal is to get it back on the rod while it's still damp and pliable.
Why Timing Matters
Wet fabric is flexible, but as it dries, it holds whatever shape it's in. If you let the liner sit crumpled in the washer, those folds become permanent creases. Hanging it immediately lets gravity and air do the smoothing work for you.
How To Smooth Out Wrinkles
Once the liner is on the rod, run your hands over it from top to bottom, pressing out any folds. Pay extra attention to the edges and corners. For stubborn wrinkles, give the liner a light tug or use a spray bottle to mist the area and then smooth again.
A Quick Tip For Extra Stubborn Creases
If you notice a few deep wrinkles after the liner has dried, don't worry. Simply dampen the creased area with water and smooth it out by hand. You can also use a hairdryer on low heat to help relax the fabric while you flatten it.
10. Maintain with Weekly Quick Rinses
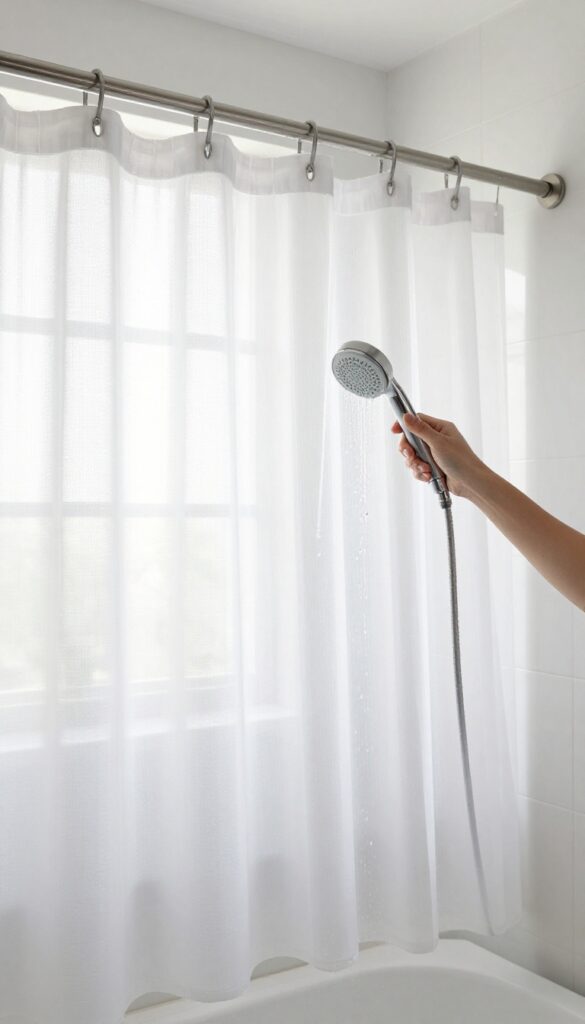
You've put in the work to get your liner sparkling, so let's keep it that way. The secret to long-lasting cleanliness isn't a deep clean every week—it's a simple rinse after each shower. This tiny habit stops mold and soap scum from getting a foothold, meaning you can go weeks or even months between serious scrubbing sessions.
The 30-second Rinse Routine
After your shower, while the liner is still wet, grab the showerhead or use a detachable sprayer. Rinse the liner with cool water from top to bottom, focusing on the bottom edge where soap scum tends to collect. This takes less than a minute and washes away the fresh residue before it has a chance to dry and harden.
Spread It Out To Dry
Once rinsed, pull the liner across the rod so it's fully spread out. Don't bunch it up or leave it folded—trapped moisture is an open invitation for mildew. If your liner has magnets or weights, make sure they're lying flat against the tub or floor so water can drip off freely.
Good airflow is your best defense against grime.
Why This Works Long-term
Mold and soap scum need time and moisture to build up. By rinsing and drying after every use, you interrupt that cycle. Over time, this habit reduces the need for harsh chemicals and keeps your liner looking newer longer.
Plus, it makes your deep-cleaning sessions faster and easier since there's less gunk to fight.
FAQ
Can I clean a shower curtain liner in the washing machine?
Yes, if the care label says it's machine washable. Use a gentle cycle with cold water and add a few towels to help scrub the liner. Avoid high heat in the dryer—hang it to dry instead.
How often should I clean my shower curtain liner?
Deep clean every 1-2 months, but do a quick rinse and spread it out to dry after every shower to prevent mold buildup.
What's the best homemade cleaner for shower liner mildew?
A mixture of white vinegar and water (1: 1) works great. For tougher stains, make a paste with baking soda and water, apply it, then scrub.
Can I use bleach on a colored shower curtain liner?
Bleach can fade colors. Use an oxygen-based cleaner like OxiClean instead, which is color-safe and effective against mold.
Why does my shower liner get moldy so fast?
Mold thrives in damp, poorly ventilated spaces. After showering, spread the liner out fully and leave the bathroom door open or run a fan to speed up drying.
Conclusion
Cleaning your shower curtain liner doesn't have to be a dreaded chore. With these ten straightforward steps, you can keep it looking fresh without harsh chemicals or expensive replacements.
Pick a routine that fits your schedule—whether it's a quick weekly spray or a monthly deep soak—and stick with it. Your liner will last longer, and your bathroom will feel cleaner with minimal effort.