How to Deep Clean Your Bathroom in 15 Reset Steps Fast
Your bathroom can go from clean to grimy in what feels like minutes, but a deep clean doesn't have to take hours. With the right sequence, you can tackle the toughest spots in just 15 focused steps—no wasted effort, no backtracking. This isn't about scrubbing aimlessly; it's a strategic reset that transforms your space fast.
Start by clearing everything out and letting cleaners soak while you dust and wipe from top to bottom. By the time you reach the floor, the grime has already loosened, making each step more effective.
The result is a bathroom that feels fresh, smells clean, and looks like you spent the whole day on it. Ready to reset your bathroom in record time?
1. Clear the Decks: Remove Everything
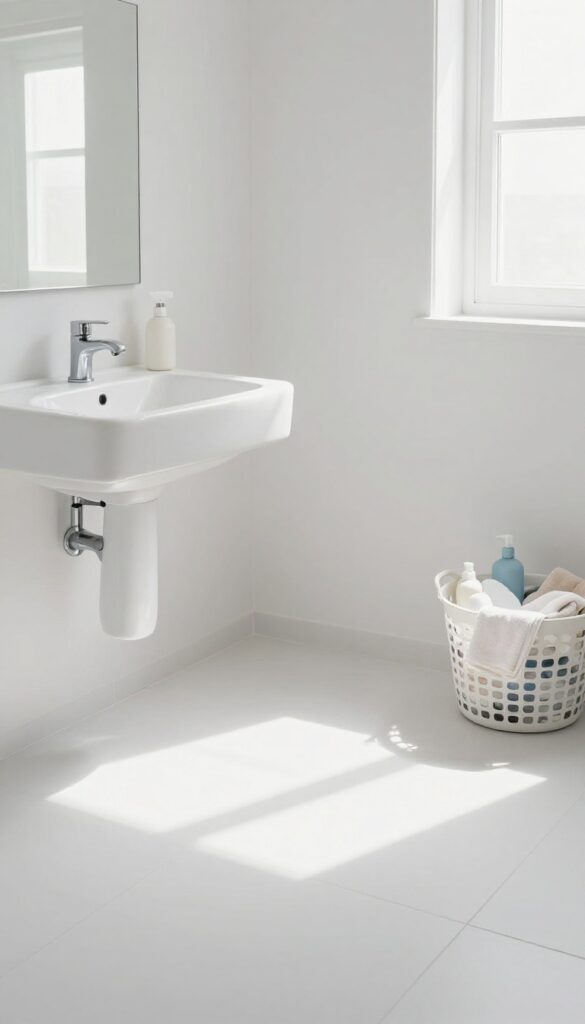
Before you can deep clean, you need a blank canvas. Grab a laundry basket or a box and strip the bathroom of every single item: shampoo bottles, toothbrush holders, towels, bath mats, trash can, and that collection of half-used lotions. This step isn't just about clearing space—it prevents cleaners from getting blocked by clutter and lets you reach every corner without moving things around mid-scrub.
Plus, seeing an empty bathroom makes the task feel more manageable.
With everything out of the way, you can work faster and more thoroughly. Start by taking items to another room or a hallway, grouping them by category (linens, toiletries, decor) so putting them back later is easy. While you're at it, toss any empty bottles or expired products—fewer items mean less to clean around.
This five-minute purge sets you up for an efficient, uninterrupted deep clean.
Why Emptying The Room Matters
When surfaces are bare, you can spray cleaner directly onto every inch of counter, shelf, and tile without worrying about damaging your stuff. You'll also spot hidden grime—like toothpaste splatters behind the faucet or dust bunnies under the cabinet—that you'd normally miss. A clear space means no excuses for skipping those sneaky spots.
What To Do With The Removed Items
Sort everything into piles: linens go straight to the laundry, toiletries can be wiped down later before returning, and trash gets tossed immediately. For small accessories like soap dispensers or toothbrush holders, place them in a sink of warm, soapy water to soak while you clean the main surfaces. This multitasking saves time and ensures everything gets refreshed.
Pro Tip: Work Top To Bottom
Once the room is empty, you're ready to clean from the highest point (ceiling fan, light fixtures) down to the floor. But don't start scrubbing yet—first, let cleaning products sit on surfaces to loosen grime. With everything cleared, you can spray down the shower, toilet, and sink all at once, then move to dusting and wiping while the chemicals do the hard work.
2. Pre-Treat the Toilet Bowl
Let the cleaner do the hard work while you focus elsewhere. Squirt a toilet bowl cleaner under the rim and let it sit. This gives the formula time to break down stubborn stains and mineral deposits, so you barely have to scrub later.
Don't waste energy scrubbing a dry bowl. By pre-treating early, you're essentially setting a timer for the cleaner to work its magic. When you come back, a quick brush and flush will leave the bowl sparkling.
Choose The Right Cleaner
Pick a gel or liquid cleaner with bleach or citric acid for tough stains. Avoid abrasive powders that can scratch the porcelain. Squirt a generous ring under the rim, making sure it coats the sides.
Let It Soak While You Work
Now walk away. The longer it sits, the better—aim for at least 10 minutes. Use that time to clean the sink, mirror, or counter.
When you return, the grime will be loose and easy to remove.
One Quick Scrub And Done
After the soak, use a toilet brush to scrub the bowl, focusing on the rim and waterline. Flush and admire the result. No elbow grease required.
3. Spray and Soak the Shower
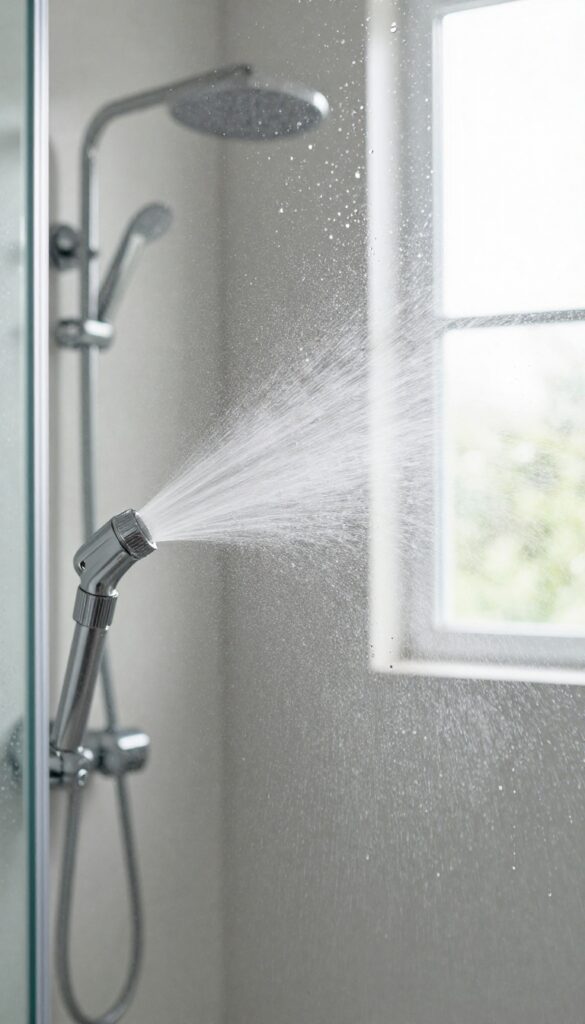
Your shower takes the brunt of daily use, but a quick spray and soak can do the heavy lifting for you. Instead of scrubbing right away, let the cleaner break down soap scum and hard water deposits while you move on to other tasks. This simple step saves time and makes the rest of the process much easier.
Choose a bathroom cleaner or a DIY vinegar solution (equal parts white vinegar and water) and spray it generously on shower walls, doors, and fixtures. Pay extra attention to corners and areas where water pools. Let it sit for at least 5 minutes—longer if buildup is heavy.
The dwell time is key; it loosens grime so you can wipe it away with minimal effort later.
What To Use
A commercial bathroom spray works great, but a vinegar solution is just as effective and cheaper. Avoid vinegar on natural stone surfaces like marble or granite—stick to a pH-neutral cleaner instead. For glass doors, a squeegee after each shower prevents buildup, but for now, a good soak will cut through the haze.
Where To Spray
Focus on tiles, grout, glass doors, and metal fixtures. Don't forget the showerhead—spray it thoroughly to remove mineral deposits. If your shower has a built-in shelf, hit that too.
The goal is to cover every surface that gets wet regularly.
Why It Works
Soap scum and hard water spots are stubborn because they bond to surfaces. A dwell time allows the cleaner to penetrate and dissolve those bonds. By the time you come back to rinse, the grime slides off with a quick wipe, saving you from heavy scrubbing.
4. Dust from Top to Bottom
Dust is sneaky. It settles on light fixtures, vent covers, and the top of the toilet tank, then drifts down onto your freshly cleaned surfaces. By dusting first, you avoid that annoying rework and keep wet cleaning more efficient.
Grab a microfiber duster or a slightly damp cloth and work from the highest point in the room down. Start with ceiling corners, light fixtures, and exhaust fan grilles. Then move to shelves, mirror frames, and the top of the toilet tank.
If you have a pedestal sink, don't forget the back ledge where dust bunnies hide. Finish by wiping baseboards and door frames. This step takes only a couple of minutes but makes everything else easier.
Why Dust First Matters
When you spray or wipe wet surfaces, dust in the air settles onto them almost immediately. By removing dust before any liquid cleaning, you prevent that gritty film from forming. It's a simple order-of-operations trick that saves time and effort.
Tools That Work Best
A microfiber duster with an extendable handle reaches high spots without a ladder. For vents and grilles, a soft brush attachment on a vacuum works wonders. If you use a damp cloth, wring it out well—too much moisture can damage light fixtures or leave streaks.
Don't Skip The Hidden Spots
The top of the toilet tank, the ledge behind the sink, and the top edge of the shower door track collect surprising amounts of dust. A quick swipe there prevents that dust from falling into your cleaning bucket or onto the floor you just mopped.
5. Tackle Grout and Tile
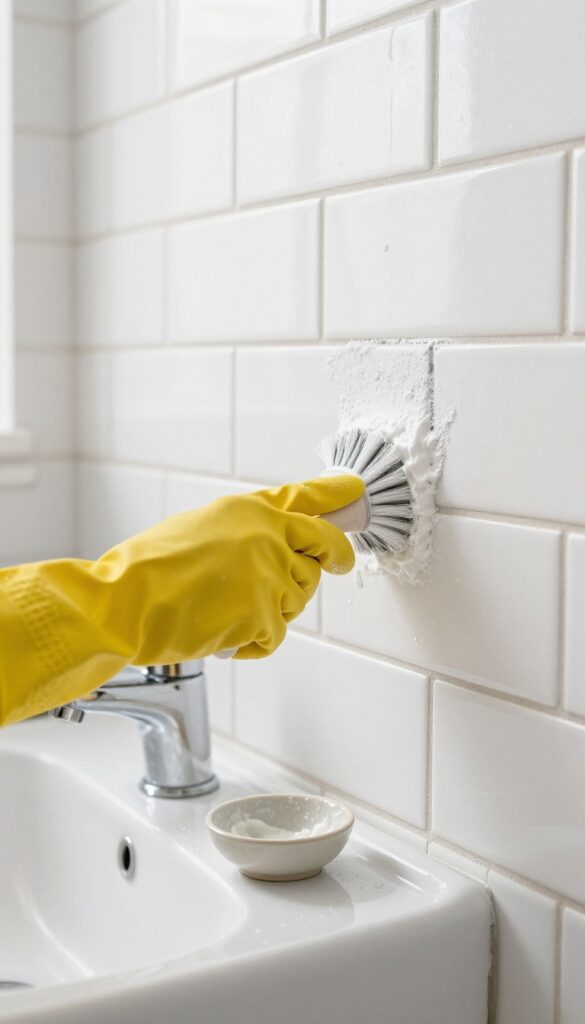
Grout lines are like magnets for grime, especially in a bathroom that sees daily use. They can turn from bright to dingy before you know it, making even a clean bathroom look neglected. But you don't need heavy chemicals or a professional scrub—just the right technique and a little elbow grease.
Mix Your Own Grout Cleaner
Baking soda and water make a simple paste that works wonders on most grout. Spread it along the lines, let it sit for a few minutes, then scrub with a stiff brush. For tougher stains, add a splash of white vinegar—but test on a small area first to avoid etching.
Focus On High-traffic Zones
The shower floor and the area around the tub see the most moisture and dirt. Start there, using a circular motion to lift embedded grime. If you have a grout sealer, reapply it after cleaning to keep future dirt from sinking in.
Don't Forget The Tile Faces
While you're at it, give the tile surfaces a quick wipe. Soap scum and hard water deposits can build up, dulling their shine. A mixture of equal parts water and vinegar works well on ceramic or porcelain tiles.
Rinse thoroughly to avoid residue.
6. Clean the Mirror and Glass
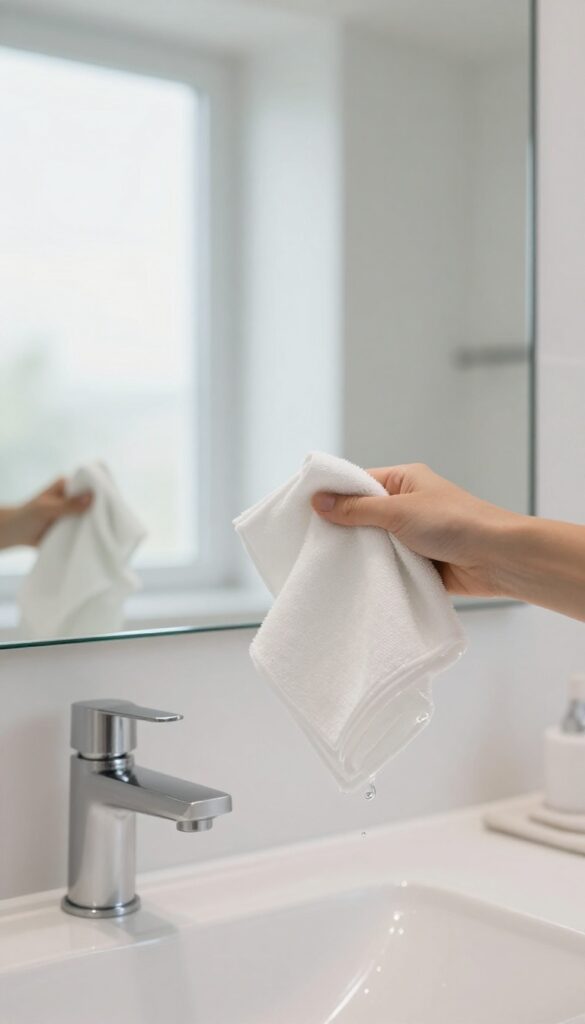
Mirrors and glass shower doors are the first things you notice when you walk into a bathroom. Smudges, toothpaste splatters, and hard water spots can make even a freshly cleaned space look dull. Getting them streak-free is easier than you think—you just need the right tools and technique.
Choose The Right Glass Cleaner
Not all glass cleaners are created equal. A dedicated streak-free glass cleaner works best, but you can also make your own with equal parts white vinegar and distilled water. Avoid ammonia-based products on tinted glass or mirrors with special coatings.
Spray the cleaner directly onto a microfiber cloth rather than the glass to prevent overspray on surrounding surfaces.
Use The Right Cloth
Lint-free microfiber cloths are your best friend for glass. Paper towels leave lint and can scratch delicate surfaces. Old cotton T-shirts also work well.
Make sure the cloth is clean and dry before you start—using a damp cloth can leave streaks.
Master The Wiping Technique
Work in circular motions first to loosen grime, then finish with horizontal or vertical strokes in one direction. This two-step method prevents streaks and gives a crystal-clear finish. For large mirrors, divide the surface into sections and clean top to bottom so drips don't ruin already-cleaned areas.
Tackle Hard Water Spots On Glass Doors
If your shower door has stubborn mineral deposits, spray it with a 50/50 vinegar-water solution and let it sit for five minutes. Scrub gently with a non-abrasive sponge, then rinse thoroughly. Dry with a squeegee after every shower to prevent future buildup—this single habit keeps glass doors sparkling between deep cleans.
7. Scrub the Sink and Countertops
The sink and countertops see a lot of action—toothpaste splatters, soap scum, and the occasional splash of hair product. They deserve more than a quick rinse. A dedicated scrub ensures every surface is smooth, shiny, and free of buildup.
Start by clearing the counter of everything: toothbrush holders, soap dispensers, and any clutter. Give the sink and counters a quick rinse with warm water to loosen surface grime. Then apply your chosen cleaner—either a gentle abrasive like baking soda paste for tough stains or an all-purpose spray for daily maintenance.
Let it sit for a minute to break down residue. Scrub with a non-abrasive sponge, working in circular motions. Pay special attention to the faucet base where grime collects and the drain area where toothpaste and gunk build up.
Rinse thoroughly with warm water and dry with a microfiber cloth to prevent water spots.
Choose The Right Cleaner
For porcelain or ceramic sinks, a mild abrasive like Bar Keepers Friend or a paste of baking soda and water works wonders without scratching. For natural stone countertops, stick to pH-neutral cleaners to avoid etching. Avoid bleach or harsh chemicals on colored surfaces—they can cause discoloration.
Don't Forget The Faucet And Fixtures
The faucet base and handles collect hard water stains and grime. Use an old toothbrush dipped in your cleaner to scrub around the base and under the handle. For chrome fixtures, a paste of vinegar and baking soda can remove water spots.
Rinse and buff dry for a streak-free shine.
Tackle The Drain Area
The area around the drain often harbors soap scum and toothpaste residue. Scrub with a sponge or a small brush, getting into the crevices. If the drain has a pop-up stopper, remove it (if possible) and clean underneath.
Rinse well to avoid any cleaner residue lingering.
8. Wipe Down Fixtures and Hardware
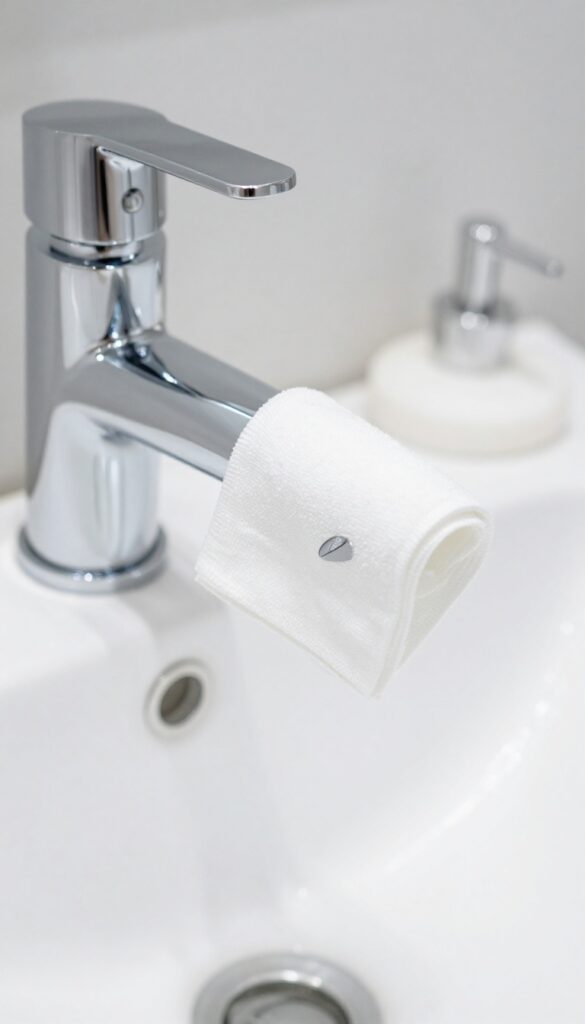
Faucets, handles, and towel bars collect water spots, fingerprints, and grime that dull their shine. This step adds a polished finish to your bathroom without any heavy scrubbing. A quick wipe makes everything look brand new.
Grab a microfiber cloth and dry-wipe all metal surfaces first to remove loose dust. Then dampen a fresh cloth with a little white vinegar and go over each fixture, paying attention to crevices around handles and bases. Buff dry with a clean part of the cloth to prevent streaks.
For stubborn water spots on chrome or stainless steel, let the vinegar sit for 30 seconds before wiping. Avoid abrasive cleaners that can scratch finishes. This simple step takes under two minutes but makes your bathroom feel noticeably cleaner.
Start With The Faucet
Your faucet is the most-used fixture, so it deserves extra attention. Wipe the base, handle, and spout with a vinegar-dampened cloth. Use an old toothbrush to dislodge grime around the aerator if needed.
Rinse and buff for a streak-free shine.
Don't Forget The Towel Bars
Towel bars and robe hooks collect dust and soap scum. Run a microfiber cloth over each bar, then follow with a vinegar wipe. For tight corners, wrap the cloth around your finger.
This keeps hardware looking spotless and prevents tarnish.
9. Deep Clean the Toilet
The toilet is often the most dreaded part of bathroom cleaning, but it doesn't have to be. With the right approach, you can make it quick and effective. Start by giving the inside a good scrub, then move to the outside for a thorough wipe-down.
This two-step method ensures every surface is fresh and sanitary without extra effort.
Deep cleaning the toilet involves more than just a quick swipe. You'll want to tackle both the bowl and the exterior to eliminate stains, germs, and odors. Here's how to do it efficiently.
Scrub The Bowl
Apply a toilet bowl cleaner under the rim and let it sit for a few minutes to break down stains and mineral deposits. Then, use a toilet brush to scrub the entire bowl, paying extra attention to the waterline and under the rim. Flush to rinse away the cleaner and loosened grime.
Wipe Down The Exterior
Spray a disinfectant cleaner or use a disinfectant wipe on the lid, seat, both sides of the seat, the base, and the tank. Let it sit for the recommended contact time to kill germs. Wipe dry with a clean cloth or paper towel.
Don't forget the flush handle and the hinge area.
Tackle Stubborn Stains
For hard water rings or stubborn stains, make a paste of baking soda and vinegar or use a pumice stone (wet it first). Gently scrub the stain, then flush. Avoid harsh abrasives that can scratch the porcelain.
10. Refresh the Shower Curtain or Door
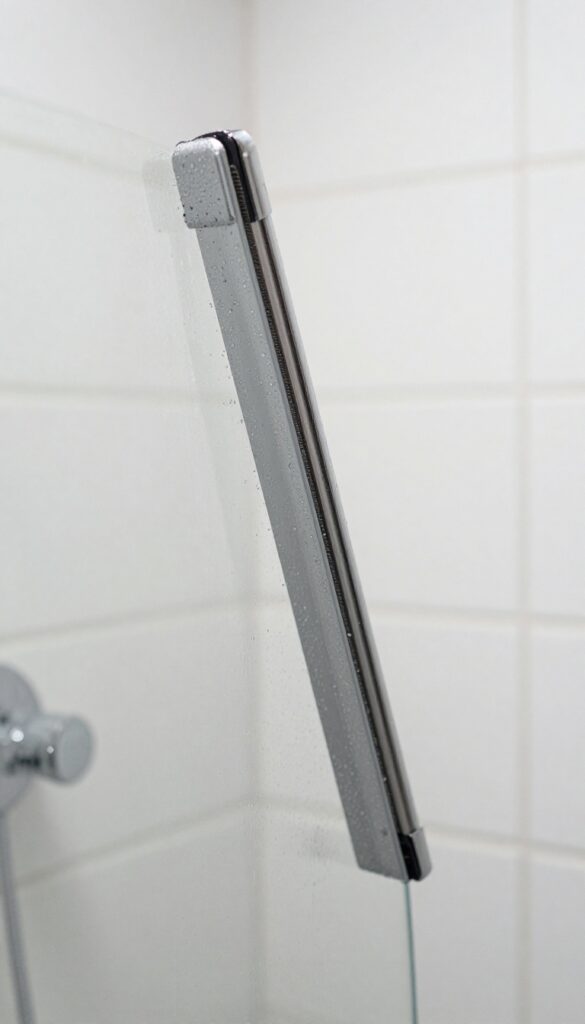
Shower curtains and doors take the brunt of soap scum, mildew, and hard water stains. A dingy curtain or streaky door can undo all your hard work, so give them some attention. This step takes minimal effort but makes a huge visual difference.
Your shower curtain or door is one of the first things you see when you walk into the bathroom. A clean, fresh curtain or sparkling glass door instantly makes the whole room feel cleaner. Don't overlook this step—it's a quick win that boosts the overall look.
Wash Fabric Curtains In The Machine
Remove the fabric curtain and toss it in the washing machine with a cup of white vinegar added to the detergent. Use warm water and a gentle cycle. Vinegar helps kill mildew and break down soap scum without harsh chemicals.
After washing, hang it back up to air dry—do not put it in the dryer, as heat can damage the liner.
Scrub And Rinse Plastic Liners
If you have a plastic or vinyl liner, you can usually clean it in place. Spray it with a mixture of equal parts white vinegar and water, let it sit for 5 minutes, then scrub with a soft brush or sponge. Rinse thoroughly with warm water.
For stubborn mildew spots, make a paste of baking soda and water, apply it, and scrub gently. Avoid abrasive pads that can scratch the surface.
Squeegee Glass Doors For A Streak-free Finish
Glass shower doors look best when they're free of water spots and soap scum. After cleaning the doors with a glass cleaner or vinegar solution, use a squeegee to remove all moisture. Start at the top and pull down in overlapping strokes.
This prevents streaks and mineral deposits from forming. For extra shine, wipe with a microfiber cloth afterward.
Don't Forget The Track And Frame
The bottom track of a sliding shower door collects grime and mildew. Use an old toothbrush dipped in vinegar to scrub the track, then rinse with water. Wipe the frame with a damp cloth to remove any residue.
A clean track prevents future buildup and keeps the door sliding smoothly.
11. Clean the Floor
Once everything above is sparkling, the floor is your final frontier. All the dust, hair, and cleaner drips that fell during earlier steps have settled here, so this last pass makes the whole room feel complete. A thorough floor cleaning not only lifts visible grime but also removes lingering odors trapped in corners.
Start by removing any mats or rugs and shaking them out outside. Sweep or vacuum the floor to collect loose hair, dust, and debris—especially in corners and behind the toilet where buildup hides. Then mop using a cleaner appropriate for your flooring type (tile, vinyl, or stone).
Work from the farthest corner toward the door so you don't walk on wet areas. For stubborn spots, use a soft brush or sponge. Let the floor air dry completely before replacing mats.
Prep The Floor
Clear everything off the floor—trash can, scale, hamper, and any rugs. Shake rugs outside or toss them in the wash if machine-safe. Give the floor a quick dry sweep to pick up hair and dust bunnies before adding water.
Choose The Right Cleaner
Check your floor manufacturer's recommendations. For ceramic tile, a mild detergent or vinegar solution works well. For natural stone, use a pH-neutral cleaner to avoid etching.
Avoid oily or wax-based products on vinyl—they can leave a slippery residue.
Mop Strategically
Dip your mop or microfiber pad into the cleaning solution, wring it well so it's damp not soaking, and mop in overlapping strokes. Start at the far corner and work your way out. Pay extra attention to grout lines and edges.
Rinse the mop frequently to avoid spreading dirty water.
Finishing Touches
Once the floor is dry, replace the clean rugs and trash can. Give the baseboards a quick wipe with a damp cloth if they collected splashes. Step back and enjoy the fresh, clean result—you've completed your 15-step reset.
12. Disinfect High-Touch Areas
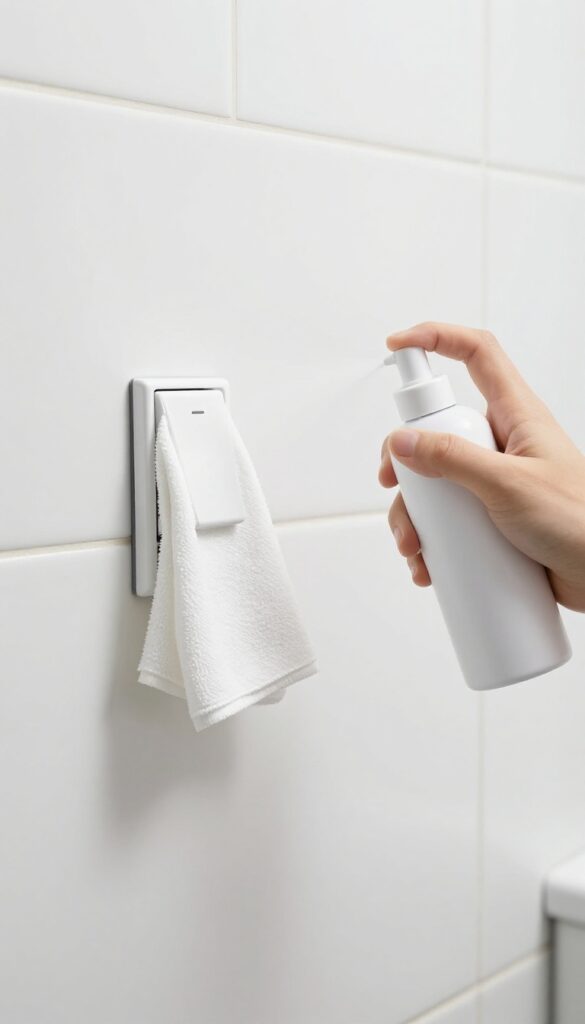
You've scrubbed the surfaces that get visibly dirty, but what about the ones that get touched all day long? Light switches, door handles, and cabinet pulls are germ magnets that rarely get the attention they deserve. A quick spray and wipe can make a big difference in keeping your bathroom truly clean and healthy.
Which Spots To Hit
Focus on everything your hands regularly touch: light switches, door handles (inside and out), cabinet pulls, drawer knobs, toilet flush lever, and the faucet handles. Don't forget the towel bar or ring—it's handled with wet hands multiple times a day. Also include any other frequently touched surfaces like the shower door handle or the toilet paper holder.
Choose The Right Disinfectant
Use a disinfectant spray or wipe that's labeled effective against bacteria and viruses. Read the label for the required dwell time—usually 30 seconds to a few minutes—to ensure it actually kills germs. If you're using a spray, apply enough to keep the surface wet for the full contact time.
For a natural alternative, a 70% isopropyl alcohol solution works well on most surfaces.
Let It Sit, Then Wipe
After applying the disinfectant, let it sit for the recommended time before wiping. This step is crucial—rushing it reduces effectiveness. Use a clean microfiber cloth or a fresh paper towel to wipe away any residue.
For light switches and outlets, be careful not to let liquid seep into the openings; spray the cloth instead of the switch.
13. Wash or Replace Rugs and Towels
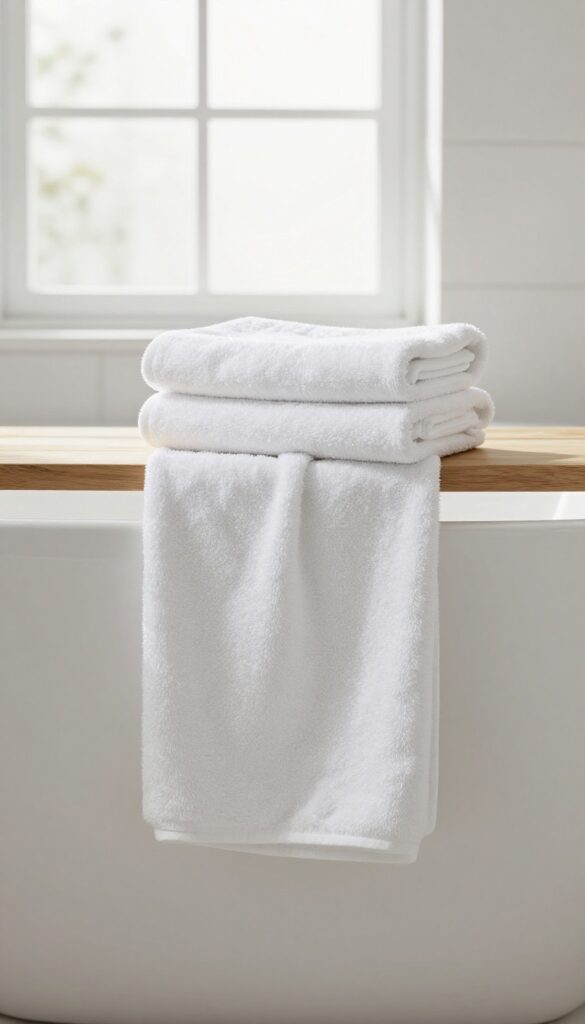
Rugs and towels are the unsung heroes of a clean bathroom—they absorb moisture, catch dirt, and get handled constantly. But they also trap bacteria, mildew, and odors if left too long. This step is your chance to swap in fresh linens and start a load of laundry so your bathroom stays truly clean.
Once the surfaces are spotless, it's time to address the soft goods. Grab all used towels, washcloths, and bath mats. If any are stained or past their prime, set them aside for replacement.
For machine-washable rugs, toss them in the washer with hot water and a quality detergent. Add a cup of white vinegar to the rinse cycle to kill mildew and soften fibers. While the laundry runs, lay out fresh towels and a clean bath mat.
This simple swap instantly makes the bathroom feel hotel-quality.
Check For Mold And Mildew
Before washing, inspect rugs and towels for any black spots or musty smells. If you find mildew, pre-treat with a bleach solution or oxygen-based cleaner. For colored items, test a small area first.
Toss any items that are beyond saving—they'll only reintroduce spores into your clean bathroom.
Choose The Right Detergent And Cycle
Use a heavy-duty detergent for best results. Add a scoop of baking soda to boost cleaning power. Wash on the hottest setting the fabric can handle, and run an extra rinse cycle to remove all residue.
Avoid fabric softener—it reduces absorbency and can trap bacteria.
Dry Thoroughly
Tumble dry on high heat until completely dry. If air-drying, hang in direct sunlight—UV rays naturally kill bacteria. Never put damp rugs back in the bathroom; they'll breed mildew.
Once dry, fold or hang immediately to keep them fresh.
14. Organize and Restock
Now that every surface is clean and dry, it's time to put everything back in its place. This step is about more than just tidying up—it's your chance to reset the bathroom's functionality. By returning items to their designated spots and tossing what's expired or empty, you'll create a space that's both organized and ready for daily use.
Declutter As You Go
Before restocking, take a hard look at each item. Toss empty shampoo bottles, dried-out toothpaste tubes, and any expired medications or cosmetics. If you haven't used something in months, consider donating or recycling it.
This simple purge prevents clutter from building up again and makes your bathroom feel more spacious.
Assign A Home For Everything
Group like items together: toiletries in one caddy, cleaning supplies under the sink, and extra towels on a shelf. Use drawer dividers, small baskets, or clear containers to keep things separated. When every item has a designated spot, it's easier to maintain order and find what you need quickly.
Restock Essentials
Now is the perfect time to refill soap dispensers, replace toilet paper rolls, and lay out fresh towels. Make sure your daily-use items are within easy reach—toothbrush, toothpaste, hand soap, and a clean hand towel. A well-stocked bathroom saves you from hunting for basics later.
15. Final Freshening Touches
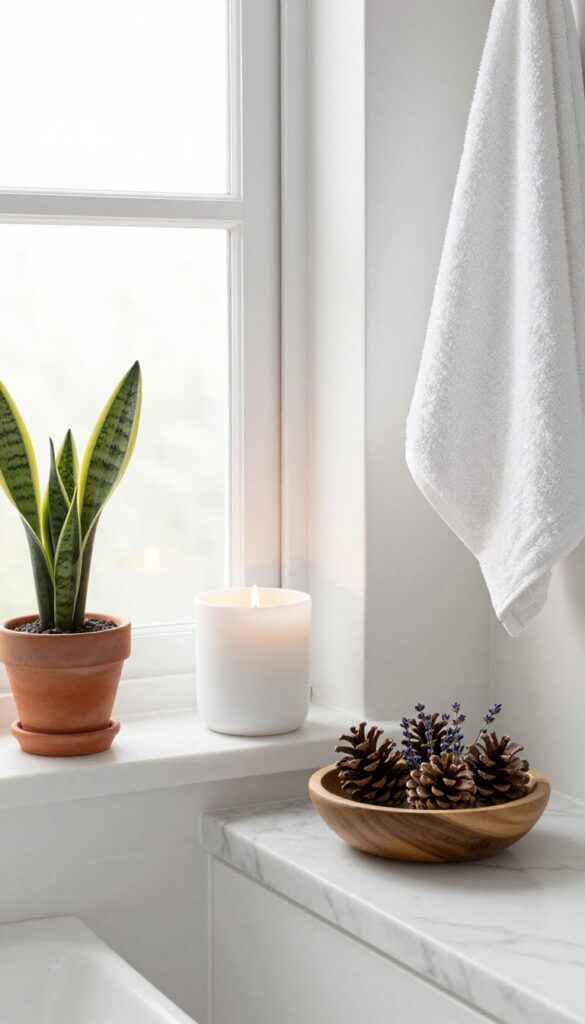
After all that scrubbing, wiping, and organizing, your bathroom is spotless—but does it feel inviting? That last sensory layer makes all the difference. A few simple finishing touches can transform a clean room into a relaxing retreat, signaling that the reset is truly complete.
The final step is about ambiance, not elbow grease. Think of it as the reward for your hard work. Light a candle, place a small plant, or set out a bowl of potpourri.
These small additions make the bathroom feel fresh, calm, and welcoming.
Light A Scented Candle
A candle does double duty: it adds soft, warm light and a pleasant fragrance. Choose a clean, fresh scent like eucalyptus, lavender, or citrus. Place it on the counter or near the tub, and let it burn for a few minutes to fill the space.
Just remember to never leave it unattended.
Add A Low-maintenance Plant
Plants bring life to any room, and bathrooms often have the humidity they love. Go for easy varieties like pothos, snake plant, or bamboo. Place one on the windowsill or a shelf.
It instantly softens the space and improves air quality.
Display A Bowl Of Potpourri Or Stones
A small decorative bowl with dried flowers, scented stones, or even a few pinecones adds a natural touch. It's a no-effort way to keep the room smelling good between cleans. Swap it out seasonally for a fresh look.
FAQ
How often should I deep clean my bathroom?
Aim for a deep clean every one to two weeks, depending on usage and household size. Regular maintenance between deep cleans helps keep things manageable.
What's the best cleaner for soap scum?
A mixture of equal parts white vinegar and dish soap works wonders on soap scum. Spray it on, let it sit for 10 minutes, then scrub and rinse.
How do I prevent mold in the shower?
Keep the bathroom well-ventilated by running the exhaust fan during and after showers. Squeegee the walls and door after each use, and wash the shower curtain regularly.
Can I use bleach on grout?
Yes, but use it sparingly. Bleach can lighten colored grout and may damage the sealant. For regular cleaning, a baking soda paste is safer and effective.
How do I clean a glass shower door without streaks?
Use a squeegee after every shower to prevent buildup. For a deep clean, spray with a vinegar-water solution, wipe with a microfiber cloth, and buff dry.
Conclusion
Deep cleaning your bathroom doesn't have to be an all-day ordeal. With these 15 reset steps, you can transform a grimy space into a fresh, inviting room in under an hour. The key is working smart—tackling the toughest grime first and letting cleaners do the heavy lifting.
Pick a few steps that target your biggest pain points, then build from there. Once you experience how fast a deep clean can be, you'll never dread bathroom duty again. Your future self will thank you every time you step into that sparkling clean room.