17 Cleaning Hardwood Floors Tips for Lasting Natural Shine
Your hardwood floors take a beating every day—scratches from furniture, grime from shoes, and dullness from the wrong cleaners. You don't need harsh chemicals or expensive treatments to keep them shining. A few simple habits, like dusting daily with a microfiber mop and choosing a pH-neutral cleaner, can make all the difference.
These 17 tips focus on practical, budget-friendly methods that protect your floors and bring out their natural luster. From preventing damage with furniture pads to knowing when to skip the vinegar, each idea targets a specific issue.
Ready to get that lasting shine without the guesswork? Let's dive in.
1. Dust Daily with a Microfiber Mop
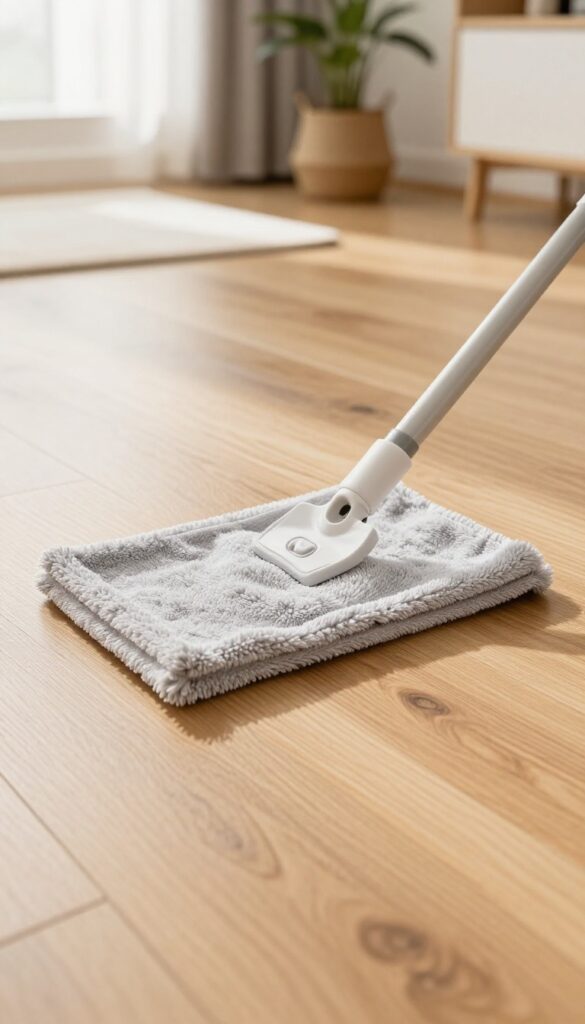
Grit and dust are the biggest enemies of hardwood finishes. When you walk across the floor, tiny particles act like sandpaper, scratching the surface and dulling the shine over time. The simplest fix is a quick daily dusting with a microfiber mop.
Microfiber traps dust electrostatically, lifting particles instead of pushing them around. Cotton cloths and traditional brooms often leave a fine layer behind, which can still cause micro-scratches. A few minutes each day keeps your floors looking fresh without any extra effort.
Making dusting a daily habit is the easiest way to protect your floors. You don't need to scrub or use any liquid—just a dry microfiber mop works wonders. Focus on high-traffic areas like hallways and the kitchen, where dirt accumulates fastest.
If you have pets or live in a dusty area, consider a quick evening pass to catch anything tracked in during the day. Consistency beats intensity here; a light daily sweep prevents the need for heavy cleaning later.
Why Microfiber Works Best
Microfiber is made of ultra-fine synthetic fibers that create a static charge, attracting dust like a magnet. Unlike cotton, which can push dirt into the grain, microfiber lifts and holds particles until you rinse it out. This reduces the risk of scratching and leaves a cleaner surface.
How To Use Your Microfiber Mop
Use a dry mop head and glide it gently across the floor in long, straight strokes. Avoid aggressive back-and-forth motions that can grind debris into the finish. Rinse or replace the mop head when it looks dirty, and wash reusable pads after each use to maintain effectiveness.
When To Skip The Broom
Traditional brooms often have stiff bristles that can leave fine scratches, especially on older or softer wood. Straw or nylon bristles may also shed, adding more debris. Stick with microfiber for daily maintenance, and reserve brooms for outdoor or garage use.
2. Use a Vacuum with a Hardwood Setting
Sweeping is great, but it can kick dust into the air and miss fine grit that settles into scratches. A vacuum designed for hard floors gets the job done without the mess. The key is using the right attachment and avoiding anything that could scrape or dent the wood.
Choose A Bare-floor Setting
Most modern vacuums have a setting that turns off the brush roll or lowers it so it doesn't touch the floor. This prevents the bristles from scuffing the finish. If your vacuum doesn't have a bare-floor mode, use a soft brush attachment instead.
Skip The Beater Bar
Beater bars are designed for carpets and can be too aggressive for hardwood. The spinning bristles can scratch the sealant over time, especially on older floors. Always check the vacuum head and switch to a hard-floor tool if possible.
Vacuum High-traffic Areas More Often
Dirt and grit act like sandpaper underfoot, wearing down the finish. Vacuum entryways, hallways, and kitchen zones at least twice a week. For less-used rooms, once a week is enough.
This simple habit prevents micro-scratches that dull the shine.
3. Damp Mop, Never Wet Mop
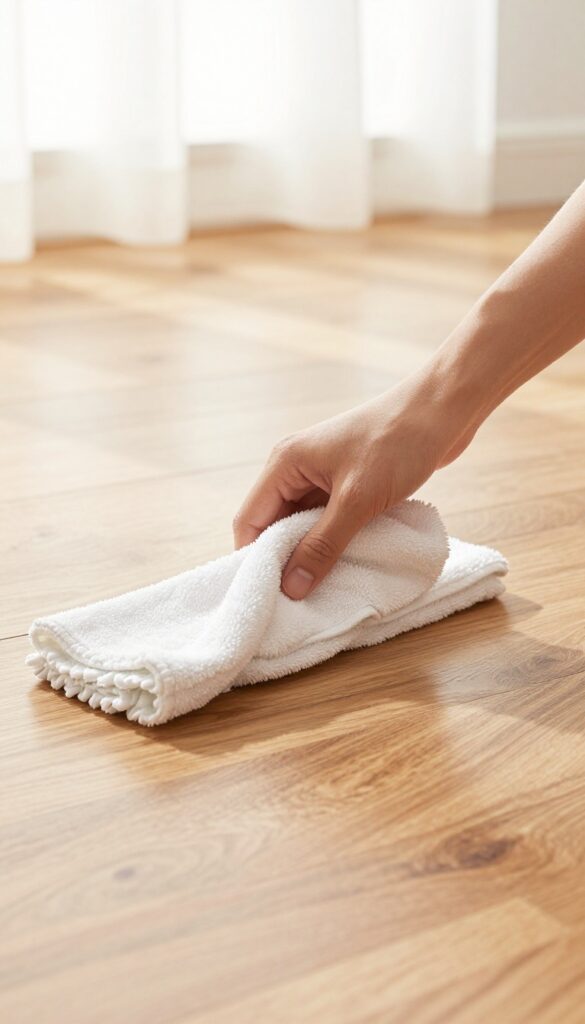
Water is hardwood’s worst enemy. Even a small puddle left sitting can seep into the seams, causing the wood to swell, cup, or warp over time. The golden rule is simple: your mop should feel barely damp to the touch, not dripping wet.
After mopping, go over the floor with a dry microfiber cloth to pick up any lingering moisture. This two-step approach keeps your floors clean without the risk of water damage.
Mopping seems straightforward, but the difference between damp and wet can save your floors. A soaking wet mop forces water into the grain and between planks, leading to costly repairs. Always wring out your mop thoroughly until no water drips when you hold it up.
Work in small sections, and dry each area immediately with a clean, soft cloth. This habit preserves the finish and prevents the cloudy haze that leftover moisture can cause.
The Right Mop For The Job
Not all mops are hardwood-friendly. Avoid sponge mops or heavy cotton string mops that hold too much water. Instead, use a flat microfiber mop with a removable, washable pad.
Microfiber lifts dirt without scratching and allows you to control moisture better. Spray the cleaner onto the floor rather than soaking the mop head, then spread it evenly with the dry pad. This method gives you full control over how much liquid touches the wood.
Why Immediate Drying Matters
Even with a damp mop, a thin film of moisture remains on the surface. If left to air dry, it can dull the finish or leave streaks. Grab a clean, dry microfiber cloth and buff the floor as you go.
This extra step not only prevents water damage but also polishes the surface, enhancing the natural shine. It takes just a few extra minutes and makes a noticeable difference in the long run.
4. Choose a pH-Neutral Cleaner
Harsh chemicals can strip the protective finish off your hardwood floors, leaving them dull and vulnerable. That's why reaching for a pH-neutral cleaner is one of the smartest moves you can make. These gentle formulas clean effectively without damaging the sealant, preserving that natural shine you're after.
Many all-purpose cleaners are too acidic or alkaline for wood. Over time, they break down the finish, causing discoloration and a cloudy appearance. A pH-neutral cleaner, typically around 7 on the pH scale, is safe for all types of hardwood finishes.
You can buy one at any home store, or make your own by adding a few drops of mild dish soap to a bucket of warm water. Just be sure to wring out your mop well—excess moisture is another enemy of hardwood.
Why Ph Matters For Hardwood
The finish on your floors is like a protective shield. Acidic cleaners (like vinegar) can etch the finish, while alkaline ones (like ammonia) can cause it to become brittle and crack. A pH-neutral cleaner maintains the integrity of the finish, so your floors stay shiny longer.
Store-bought Vs. Diy Options
Commercial pH-neutral cleaners are convenient and often include ingredients that help lift dirt without residue. If you prefer DIY, mix a few drops of a gentle dish soap (like Dawn) with warm water. Avoid using too much soap—it can leave a film.
Test any new cleaner on a hidden area first.
Application Tips For Best Results
Always use a well-wrung microfiber mop to apply the cleaner. Spray the cleaner onto the mop, not directly on the floor, to control moisture. Work in small sections, and follow up with a dry microfiber cloth to buff the floor dry.
This prevents water spots and streaks.
5. Spot Clean Spills Immediately
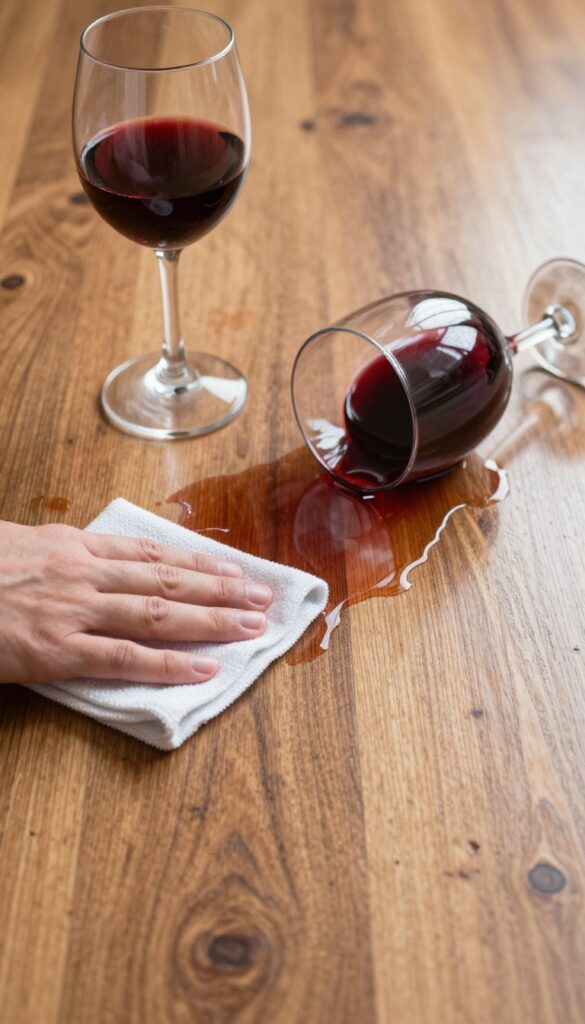
A spill left unattended is an open invitation for stains and water damage. Even a few minutes can allow liquid to seep into the grain, causing discoloration or raising the wood. Quick action is your best defense against permanent marks.
The moment you notice a spill, grab a soft, absorbent cloth and blot—don’t rub. Rubbing spreads the liquid and can push it deeper into the seams. After blotting, wipe the area with a damp (not wet) cloth and then dry it thoroughly with a clean towel.
Why Blotting Beats Rubbing
Rubbing grinds the liquid into the finish and can scratch the surface. Blotting lifts the spill without forcing it into the wood fibers. Use a microfiber or cotton cloth for best results.
The Right Drying Technique
After wiping with a damp cloth, immediately dry the spot with a soft towel. Standing moisture is the enemy. For sticky spills, a tiny drop of pH-neutral cleaner on the damp cloth helps, but always follow with a dry pass.
Common Spills To Watch For
Water is obvious, but wine, juice, pet accidents, and even condensation from glasses can cause trouble. Keep a stack of soft cloths handy in high-traffic areas or near the kitchen so you can react fast.
6. Avoid Vinegar and Ammonia
It might seem natural to reach for vinegar as a cheap, non-toxic cleaner, but on hardwood floors it's a risky choice. The acetic acid in vinegar can slowly eat away at the protective finish, leaving floors looking cloudy and worn over time. Similarly, ammonia-based cleaners are far too aggressive—they can strip the finish and even discolor the wood itself.
Stick to products specifically formulated for hardwood floors, which are pH-balanced and safe for the finish. If you prefer a DIY option, a mild soap solution (like a few drops of castile soap in warm water) works well without causing harm. Remember: if a cleaner fizzes or smells strong, it's probably too harsh for your floors.
Why Vinegar Is A Problem
Vinegar's acidity (pH around 2–3) is great for cutting grease but terrible for polyurethane or wax finishes. Over repeated use, it breaks down the protective layer, making floors more susceptible to scratches and moisture damage. You might not notice the dullness right away, but after several months, the shine will fade.
Ammonia: Too Harsh For Wood
Ammonia is a strong alkaline that can react with the finish, causing it to become brittle and crack. It can also lighten or discolor certain wood species. Even diluted, it's risky—stick to cleaners labeled 'hardwood safe' to be sure.
Better Alternatives
Look for pH-neutral hardwood floor cleaners at any home store. For a quick homemade mix, combine a few drops of mild dish soap (like Dawn) with warm water—just don't oversaturate. Always wring your mop until it's barely damp.
7. Use Furniture Pads on All Legs
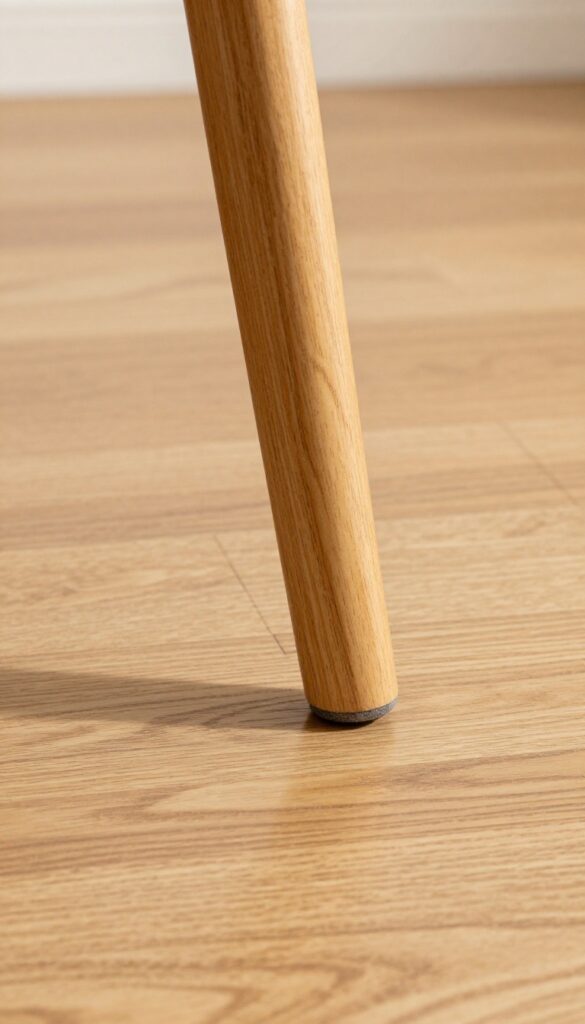
Furniture legs are a major source of scratches and scuffs on hardwood floors. Every time you slide a chair or rearrange a table, the unprotected wood or metal can gouge the finish. Felt pads provide a simple, low-cost barrier that keeps your floors looking pristine.
Attach self-adhesive felt pads to the bottom of all furniture legs—chairs, tables, sofas, and even heavy cabinets. They let you slide furniture without damaging the floor. Over time, pads wear down or pick up grit, so check them every few months and replace any that are thin or dirty.
For heavier pieces, use thicker pads or glides designed for weight.
Choose The Right Pads
Not all felt pads are created equal. Look for dense, high-quality felt that won't flatten quickly. Avoid cheap pads that shed fibers or lose their stickiness.
For heavy furniture, consider rubber-backed pads or furniture glides that screw into the leg.
Install Them Correctly
Clean the leg bottom thoroughly before applying the pad—any dust or grease will prevent adhesion. Press firmly and wait a few hours before moving the furniture. For uneven legs, use a pad with a slightly larger diameter to ensure full coverage.
Inspect And Replace Regularly
Pads can pick up small stones or debris that turn into scratch agents. Every month or so, flip furniture over and check the pads. If you see embedded dirt or thinning felt, replace them immediately.
A pack of pads is cheap insurance against costly refinishing.
8. Place Mats at Entryways
Think of your doormats as the first line of defense for your hardwood floors. Every time someone walks in, they bring in dirt, grit, and moisture that can scratch and dull the finish. A good mat catches most of that before it reaches the wood.
Invest in high-quality mats for both outside and inside each entrance. Look for ones with a rough texture to scrape off dirt and a absorbent layer to trap moisture. Shake them out weekly and wash them monthly to keep them effective.
Choose The Right Material
Coir or rubber mats work best outdoors—they scrub shoes clean. Inside, go with a fabric or microfiber mat that soaks up water and fine dust. Avoid mats with rubber backing that can stain or discolor your floor over time.
Keep Mats Clean
A dirty mat just spreads grime around. Vacuum or shake out mats at least once a week. For deeper cleaning, hose them down or toss washable ones in the laundry.
Replace mats when they start to look worn or frayed.
Add A No-shoe Policy
Pair your entryway mats with a simple rule: no shoes past the door. Provide a bench and a shoe rack to make it easy. This habit alone can cut the dirt tracked onto your floors by more than half.
9. Keep Pet Nails Trimmed
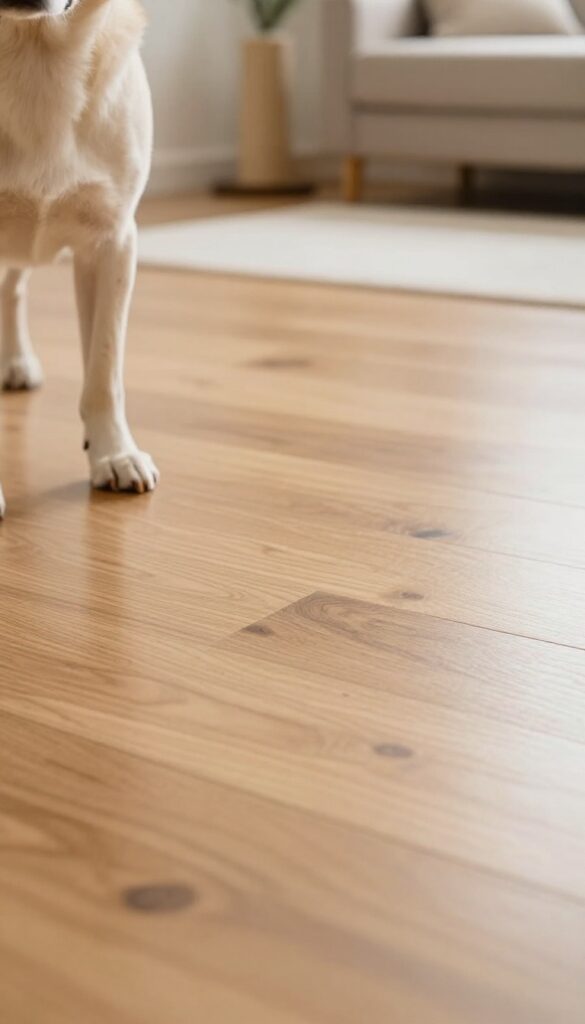
If you share your home with a furry friend, you already know they leave more than just fur behind. Those tiny claws can act like mini ice skates, scratching and scuffing your hardwood floors with every excited dash across the room. The good news?
A little nail maintenance goes a long way in keeping your floors scratch-free and shiny.
Long nails are like tiny chisels that dig into the wood finish, especially when your pet runs or jumps. Over time, even light scratches accumulate, dulling the surface and making the floor look worn. Regular trims—every 3-4 weeks for most dogs and cats—keep nails short and blunt, minimizing damage.
If your pet hates nail clippers, try a nail grinder for a gentler approach. Another option is soft nail caps, which cover the claw tip and prevent scratches entirely. They're safe, painless, and last about 4-6 weeks.
Combine these habits with a good doormat and you'll cut down on dirt tracked in, too. Your floors—and your pet—will thank you.
Why Nail Length Matters
When nails are too long, they don't retract fully and make contact with the floor even when your pet is standing still. Each step becomes a potential scratch. Short, well-maintained nails glide over the surface without catching.
Trimming Tips For Reluctant Pets
Start slow—let your pet sniff the clippers or grinder while it's off. Reward calm behavior with treats. Trim just the tip at first, avoiding the quick (the pink part inside the nail).
If you're unsure, your vet or groomer can show you how.
Soft Nail Caps As A Backup
Nail caps are small vinyl covers that glue onto each claw. They're painless, come in fun colors, and prevent scratches even if your pet still has long nails. They do require replacement every few weeks as nails grow, but they're a great solution for aggressive scratchers.
10. Rearrange Rugs and Furniture Periodically
Even the most careful cleaning routine can't stop sunlight and foot traffic from leaving their mark. Over time, high-traffic areas fade and wear faster than spots hidden under a rug or sofa. The fix is simpler than you'd think—just move things around every few months.
This small habit helps your floor age evenly, so you don't end up with a patchwork of light and dark zones.
Rotating rugs and shifting furniture prevents uneven wear and keeps the whole floor looking consistent. It also gives you a chance to clean areas that are normally covered, reducing hidden dirt buildup.
Why Sunlight And Traffic Create Uneven Wear
Direct sunlight bleaches wood over time, while heavy foot traffic wears down the finish. Areas that are always covered stay darker and less worn, creating a noticeable contrast when you finally move things. By rotating rugs and shifting furniture, you distribute both light exposure and traffic, so the floor ages uniformly.
How Often And How To Rearrange
Aim to rotate rugs and swap furniture positions every three to six months. Slide furniture with felt pads or use furniture sliders to avoid scratching. For heavy pieces, get help to lift rather than drag.
Mark the original positions with painter's tape so you can rotate back later.
Bonus: Clean Underneath While You're At It
When you move a rug or sofa, take the opportunity to vacuum and mop that spot. Dirt and dust trapped under rugs can scratch the finish over time. A quick clean before putting things back in place keeps the whole floor healthier.
11. Use a Hardwood Floor Polish Sparingly
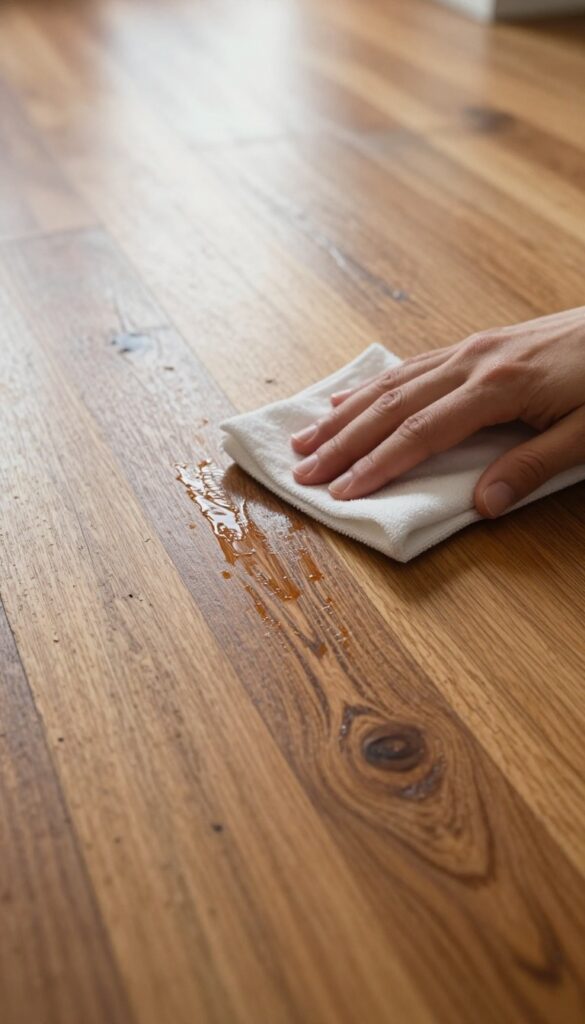
Polish can be tempting when you want that mirror-like shine, but it's easy to overdo it. Too much polish leaves a sticky layer that traps dust and dulls the finish over time. The key is restraint: only polish when the floor genuinely looks tired, and always follow the product instructions to the letter.
When To Reach For Polish
Wait until your floor shows clear signs of wear—like light scratches, dull patches, or a loss of gloss that cleaning can't fix. A good test: after mopping, if the floor still looks matte or uneven, it might be time. But don't polish on a schedule; many floors go years between applications.
How To Apply Without Residue
Start with a thoroughly clean, dry floor. Apply a thin, even coat using a microfiber mop or applicator pad—never pour directly onto the wood. Work in small sections and buff gently with a clean dry cloth to remove excess.
Let it cure fully before walking on it, usually 2 to 4 hours.
The Risks Of Over-polishing
Each layer of polish adds a film that can yellow, crack, or peel over time. This buildup not only looks worse but also makes future refinishing more difficult. If you notice a hazy or tacky surface, you've likely used too much.
Strip it with a manufacturer-recommended remover and start fresh.
12. Test Cleaners in an Inconspicuous Spot
Before you pour a new cleaner all over your floors, take a minute to test it somewhere hidden. A quick patch test can save you from a costly mistake—like a discolored patch or a ruined finish. It's a simple step that many skip, but it's the smartest way to protect your investment.
Even cleaners labeled 'safe for hardwood' can react differently depending on your floor's finish, age, or sealant. A spot test helps you catch problems before they spread. Choose a spot behind a sofa, under a rug, or in a closet corner.
Apply the cleaner as directed, wait the recommended time, and then check for any changes in color, sheen, or texture. If everything looks good after 24 hours, you're clear to use it on the rest of the floor.
What To Look For
After applying the cleaner, look for cloudiness, dull spots, sticky residue, or any color change. Also run your hand over the area—if it feels rough or tacky, the cleaner may be damaging the finish. A good test area should look and feel exactly like the rest of the floor.
When To Test Again
Re-test whenever you switch brands, try a homemade solution, or use a cleaner on a different floor. Even if you've used a product before, a new batch or a change in your floor's condition can affect results. Make testing a habit, not an afterthought.
13. Remove Scuffs with a Tennis Ball or Eraser
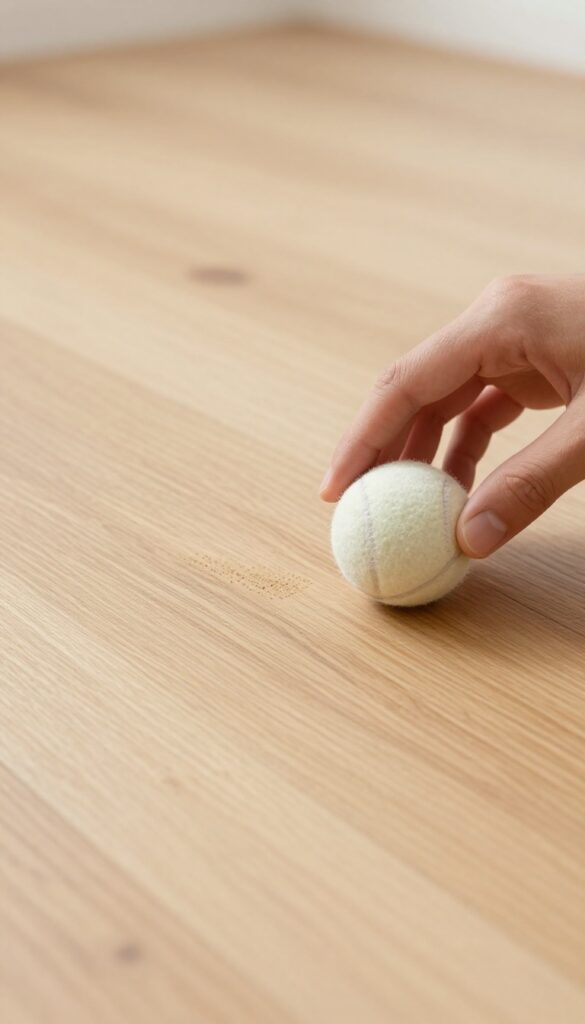
Scuff marks from shoes or furniture can make your hardwood floors look worn and messy. Instead of reaching for harsh chemicals or abrasive pads, try a simple trick that’s gentle on the finish. A clean tennis ball or a standard pencil eraser can lift those marks without damaging the wood.
Scuffs are common on hardwood floors, especially in high-traffic areas or near entryways. The rubbery texture of a tennis ball or eraser creates enough friction to rub away the mark without scratching the finish. This method is quick, chemical-free, and costs next to nothing.
Why It Works
Scuff marks are usually rubber or plastic residue left by shoe soles or furniture feet. The rubber in a tennis ball or eraser grabs onto that residue and rolls it off the floor’s surface. Because the material is softer than the floor’s finish, it won’t leave scratches or dull the shine.
How To Do It Right
Cut a small slit in a clean tennis ball and attach it to a broom handle for easy pressure, or simply rub the ball directly over the scuff. For a pencil eraser, gently rub the mark in one direction. Avoid pressing too hard—let the rubber do the work.
Wipe away any residue with a dry cloth.
When To Skip This Method
This trick works best on surface-level scuffs on finished hardwood. It won’t help with deep scratches or marks that have penetrated the stain. If the floor is unfinished or has a wax coating, test in a hidden spot first, as the rubber might leave a faint mark.
14. Control Humidity Levels
Wood is a natural material that reacts to its environment. When the air is too dry, your floorboards can shrink and create unsightly gaps. Too much moisture, and they'll swell, leading to cupping or buckling.
Keeping your indoor humidity in the sweet spot protects both the look and the structure of your hardwood.
Hardwood floors are surprisingly sensitive to moisture in the air. Seasonal changes can cause them to expand and contract, which over time leads to gaps, warping, or even cracks. The fix isn't complicated: maintain a consistent humidity level between 30% and 50%.
A simple hygrometer costs little and takes the guesswork out of monitoring. In dry months, a humidifier helps; in humid months, run your air conditioner or a dehumidifier. Your floors will stay flat and tight, and you'll avoid costly repairs down the road.
The Right Humidity Range
Aim for 30% to 50% relative humidity year-round. Below 30%, wood dries out and shrinks, causing cracks between boards. Above 50%, wood absorbs moisture, swells, and may cup or buckle.
Use a digital hygrometer to keep tabs—it's cheap and accurate.
Seasonal Adjustments
Winter heating can dry out your home, so run a humidifier near your hardwood areas. In summer, air conditioning naturally removes excess moisture, but if you live in a very humid climate, a dehumidifier in the basement or main living area can make a big difference.
Quick Tips For Stability
Place area rugs in high-traffic zones to buffer humidity changes. Avoid large temperature swings by keeping your thermostat steady. And never wet-mop excessively—standing water is a fast track to moisture damage.
15. Deep Clean with a Steam Mop? Think Twice
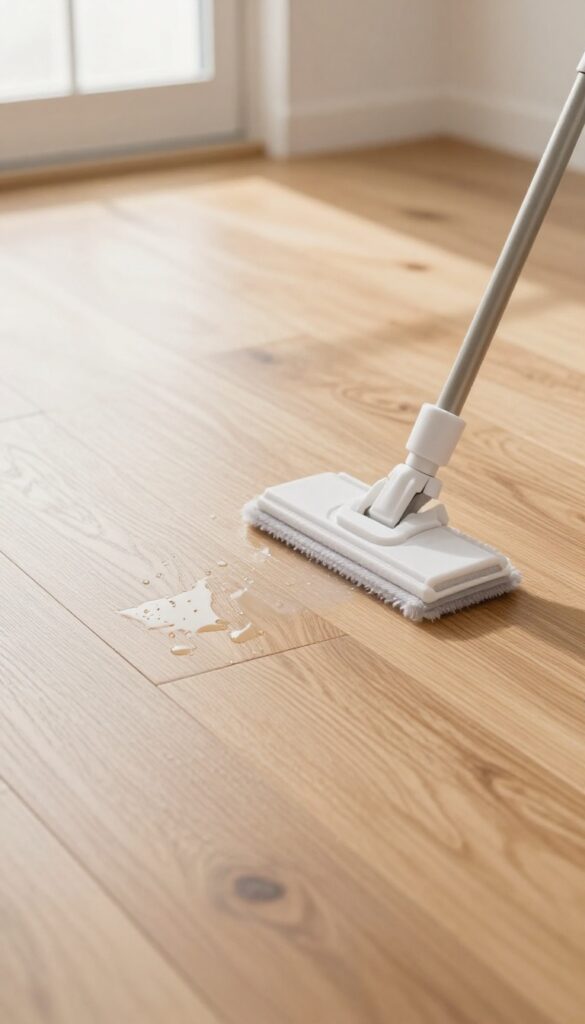
Steam mops promise a deep, chemical-free clean, but they come with a hidden risk for hardwood floors. The intense heat and moisture can seep into the wood, causing warping, cupping, or finish damage over time. Before you reach for that steam mop, it's important to understand when—and if—it's safe to use on your floors.
Many homeowners assume steam mops are safe for all hard surfaces, but hardwood is uniquely vulnerable. The combination of heat and moisture can penetrate the finish and swell the wood fibers, especially if the sealant is compromised. Even a single use on the wrong floor can lead to costly repairs.
When Steam Is A No-go
If your hardwood floors are unfinished, have a wax finish, or show signs of wear like scratches or peeling, keep the steam mop away. These conditions allow moisture to reach the raw wood, causing permanent damage. Also avoid steam on engineered hardwood with a thin veneer—the moisture can delaminate the layers.
If You Must Steam, Do It Right
Only use a steam mop specifically labeled for sealed hardwood floors. Set it to the lowest steam setting and keep the mop moving steadily—never let it sit in one spot. Test in an inconspicuous area first, and always dry the floor immediately with a microfiber cloth to remove any residual moisture.
Safer Alternatives For Deep Cleaning
For a deep clean without the risk, use a well-wrung microfiber mop with a pH-neutral hardwood cleaner. For stubborn grime, a slightly damp cloth with a drop of mild dish soap works wonders. These methods give you a thorough clean without jeopardizing your floor's finish.
16. Refresh with a Homemade Cleaning Solution
Store-bought cleaners can be pricey and full of chemicals you don't really need. A simple homemade solution works just as well for regular maintenance cleaning—if you mix it right. The key is using the right ingredients and applying them sparingly so you don't damage the finish or leave residue.
Mix 1/4 cup of white vinegar (if your floor is very durable) or a few drops of mild dish soap with a gallon of warm water. Use sparingly and dry immediately.
Why Vinegar Works (and When To Skip It)
Vinegar is a natural degreaser and disinfectant, but it's acidic. On floors with a strong polyurethane finish, a diluted vinegar solution is safe for occasional use. However, if your floors have a wax finish or are unsealed, skip the vinegar—it can dull or etch the surface.
Stick to a tiny amount of dish soap instead.
The Right Way To Apply
Dampen a microfiber mop in the solution, then wring it out until it's almost dry. You want a light mist, not a soaking wet mop. Work in small sections, and immediately follow with a dry microfiber cloth to pick up any excess moisture.
Standing water is the enemy of hardwood.
When To Use This Solution
This homemade mix is perfect for light cleaning between deeper cleans. Use it every two to four weeks, or whenever your floors look a bit dull or have light dirt. For heavy grime or sticky spots, you might need a dedicated hardwood cleaner.
Always test on a hidden area first.
17. Know When to Refinish
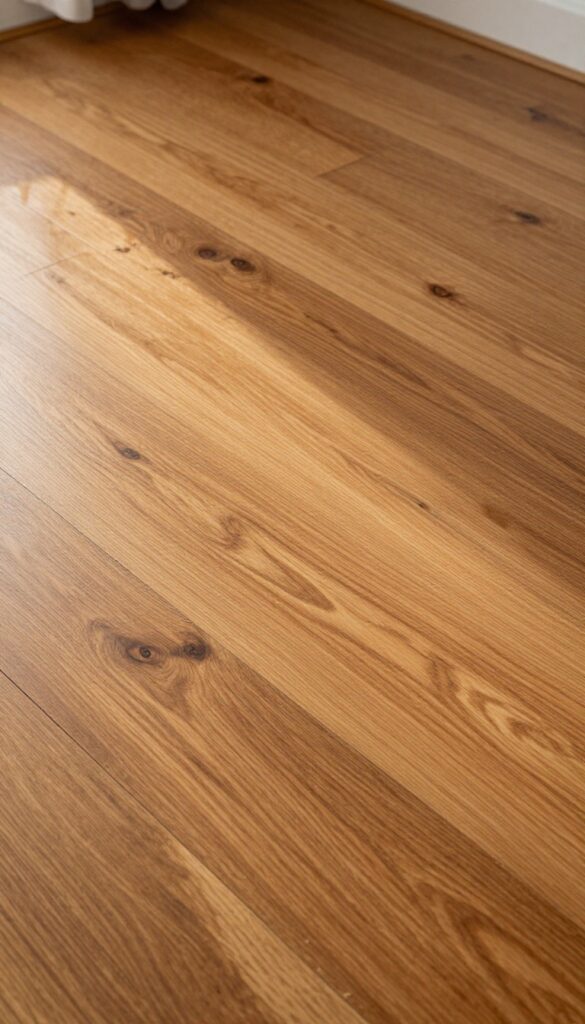
Even with the best care, hardwood floors eventually show their age. Deep scratches, worn finish, or discoloration that won't buff out are signs that cleaning alone won't fix. Refinishing strips away the old finish and applies a fresh protective layer, restoring that like-new shine and extending the life of your floors.
Refinishing isn't something you do every year—it's a major refresh that can last a decade or more with proper maintenance. The key is recognizing the right moment so you don't sand away good wood too soon or wait until the damage is irreversible.
Signs It's Time
Look for areas where the finish has worn through to bare wood, especially in high-traffic zones like hallways or in front of the sink. Water stains that have darkened the wood, deep scratches that catch your fingernail, or a general dullness that won't polish away are all clear indicators. If your floors look tired no matter how much you clean, refinishing is the answer.
Diy Vs. Pro
Renting a drum sander and doing it yourself can save money, but it's risky—one wrong move and you'll create gouges that are hard to fix. Professionals have the right equipment and experience to get an even sand and a smooth finish. For most people, hiring a pro is worth the investment for a flawless result that lasts.
What To Expect
The process usually takes a few days: sanding, staining (if desired), and applying multiple coats of sealant. You'll need to move furniture out and stay off the floors until the finish cures. Plan ahead for a weekend or two of inconvenience, but the payoff is floors that look brand new and stay protected for years.
FAQ
Can I use vinegar to clean hardwood floors?
It's best to avoid vinegar because its acidity can dull the finish over time. Use a pH-neutral cleaner or a mild dish soap solution instead.
How often should I mop hardwood floors?
Damp mop once a week or as needed. Daily dusting or vacuuming is more important to prevent scratches from grit.
What's the best way to remove scuff marks?
Rub a clean tennis ball or a pencil eraser gently over the scuff. For stubborn marks, try a dab of baking soda on a damp cloth.
Can I use a steam mop on hardwood floors?
Steam mops can damage the finish by forcing moisture into the wood. If you use one, ensure it's designed for sealed hardwood and keep it on the lowest setting.
How do I prevent scratches from furniture?
Attach felt pads to the bottom of all furniture legs. Check them regularly and replace when they wear down.
Conclusion
Your hardwood floors don't need a complicated routine to keep their natural shine. Focus on the tips that address your biggest issue—whether it's dullness, scratches, or sticky residue—and build a simple weekly habit from there.
A little consistency with the right tools and techniques will keep your floors looking beautiful for years. Start with one or two changes today, and you'll see the difference without extra effort or expense.