How to Clean Shower Heads in 15 Deep Rinse Steps Fast
A clogged shower head sprays unevenly and loses pressure, turning your morning rinse into a frustrating trickle. Mineral deposits build up over time, but you don't need a plumber or harsh chemicals to fix it.
With just white vinegar, baking soda, and a few household tools, you can restore full flow in under 15 steps. This guide walks you through each stage, from removing the head to reassembling it with fresh Teflon tape.
You'll have a powerful, sparkling shower head by the time you're done.
1. Gather Your Cleaning Supplies
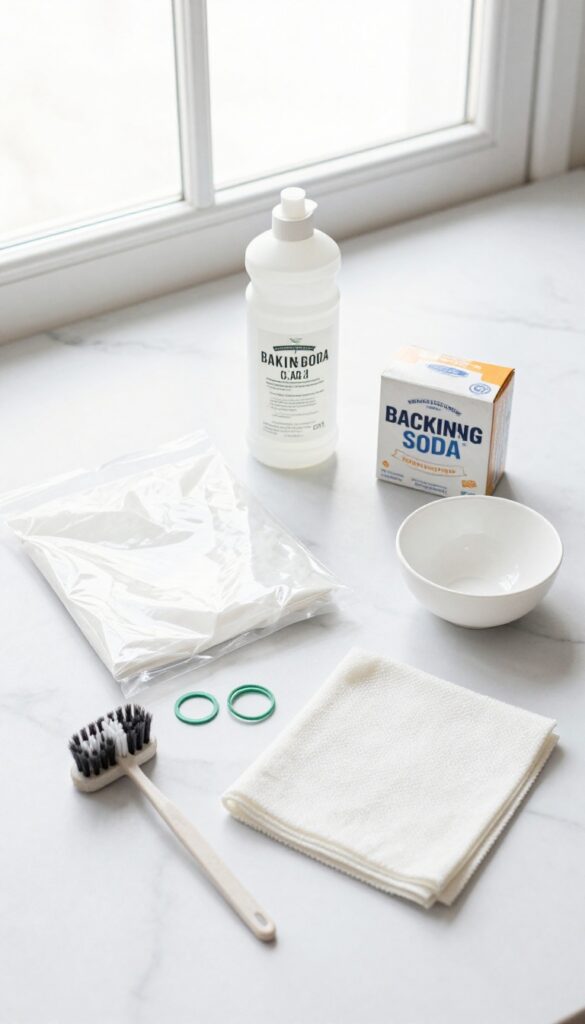
Before you start scrubbing, take a minute to round up everything you'll need. Having all your tools within reach keeps the process smooth and fast. You likely already have most of these items at home.
The right supplies make the difference between a quick fix and a frustrating chore. White vinegar is your main weapon against mineral buildup, while baking soda handles tougher stains. A plastic bag and rubber bands let you soak the head without removing it, and an old toothbrush or small brush gets into tight spots.
A microfiber cloth finishes the job for a streak-free shine.
Why White Vinegar Works Best
White vinegar is mildly acidic, which dissolves calcium and lime deposits without damaging metal or plastic. It's cheap, non-toxic, and far safer than commercial descalers. If you're out of vinegar, lemon juice can substitute in a pinch.
Don't Forget The Tools
A plastic bag big enough to cover the shower head, a couple of rubber bands to secure it, and an old toothbrush for scrubbing are essential. A small nylon brush helps reach nozzles, and a microfiber cloth prevents water spots after cleaning.
Optional But Helpful Additions
If your shower head has heavy buildup, consider a commercial descaling spray or a small pick to clear stubborn nozzle holes. Teflon tape is handy if you plan to remove and reinstall the head. Gloves protect your hands from vinegar smell.
2. Remove the Shower Head (If Possible)
Getting the shower head off makes cleaning way easier. You can soak it properly and reach every nook. But if it's a fixed model or you're not comfortable unscrewing it, don't worry—you can still clean it in place.
Check The Connection First
Look where the shower head meets the pipe (the shower arm). Most are threaded and unscrew counterclockwise. If there's a set screw or grub screw, loosen it with an Allen wrench before twisting.
For old or stuck heads, spray some penetrating oil and wait five minutes.
Use A Wrench Carefully
Wrap the jaws of a wrench with electrical tape or a cloth to avoid scratching chrome or nickel finishes. Grip the shower head's nut—not the arm—and turn slowly. If it's hand-tight, just twist with your palm.
Never force it; you can damage the pipe.
Protect The Threads
Once removed, wrap a strip of plumber's tape (Teflon tape) around the shower arm threads. This prevents leaks and makes future removal easier. If you're cleaning in place, skip this step—just be careful not to drip water into the wall opening.
Cleaning A Fixed Head In Place
For fixed heads that won't come off, fill a plastic bag with vinegar and tie it around the head with a rubber band. Let it soak for a few hours or overnight. After soaking, scrub with an old toothbrush and run the water to flush out debris.
3. Soak in White Vinegar
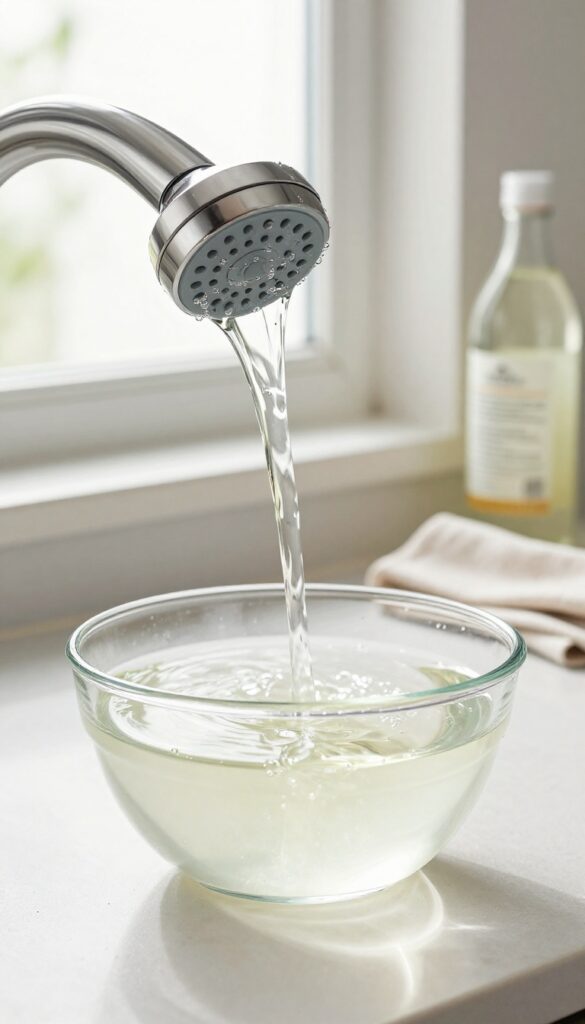
White vinegar is the unsung hero of shower head cleaning. Its mild acidity breaks down calcium and lime scale without damaging metal or plastic finishes. You probably already have a bottle under your sink, making this step both cheap and effective.
Submerging the shower head in vinegar lets the solution reach every nook and cranny. For a handheld model, fill a bowl large enough to fully cover the head. For a fixed unit, fill a sturdy plastic bag, secure it around the neck with a rubber band or zip tie, and make sure the head is completely immersed.
Let it sit for at least 30 minutes – overnight if the buildup is thick and crusty.
Choose Your Container
A deep bowl works best for removable heads. For fixed heads, a gallon-size zip-top bag or a produce bag is ideal. Double-bag if you're worried about leaks.
How Long To Soak
Thirty minutes is the minimum for light deposits. For stubborn white or green crust, leave it for 6–8 hours or overnight. Check progress by rubbing a finger over the nozzles – they should feel smooth, not gritty.
After The Soak
Remove the head and rinse it under warm water. Use an old toothbrush to gently scrub any remaining residue from the nozzles. If some holes are still blocked, poke them with a toothpick or paper clip.
4. Scrub the Exterior
Once the shower head has soaked, it's time to tackle the outside. Soaking loosens the grime, but a little elbow grease makes sure nothing is left behind. This step focuses on the visible surfaces, giving your fixture a like-new shine.
Choose Your Scrub Tool
An old toothbrush is perfect for this job. Its bristles are firm enough to dislodge mineral deposits but soft enough to avoid scratching chrome or brushed nickel finishes. If you don't have a toothbrush, a soft-bristled nail brush works just as well.
Dip In Vinegar For Extra Power
Pour a small amount of white vinegar into a bowl and dip the brush before scrubbing. The acid helps break down any remaining scale. Work in small circles, covering the entire head, including the neck and any decorative ridges.
Focus On Crevices And Nozzles
Grime loves to hide in the gaps between nozzles and around the base of the head. Angle the brush to get into those tight spots. Pay extra attention to any rubber nozzles—they often collect a ring of white buildup that can block water flow.
Rinse And Inspect
After scrubbing, rinse the shower head under warm running water. Hold it up to the light to check for missed spots. If you still see stains, repeat the scrub on those areas.
A clean exterior not only looks better but also prevents debris from falling back into the water stream.
5. Clean the Nozzles with a Pin
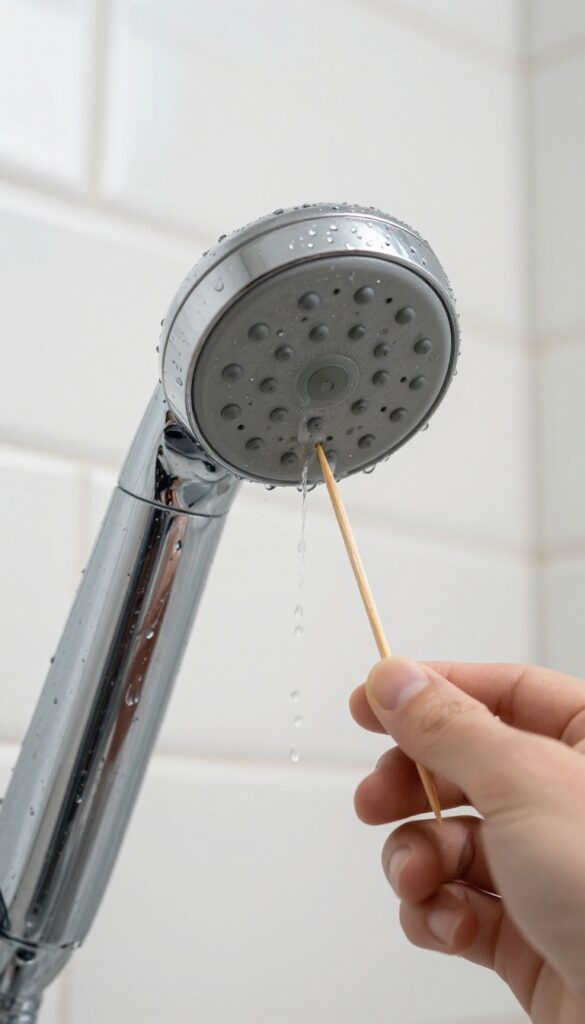
Even after a good soak, some stubborn mineral deposits cling to the tiny nozzles. That's where a simple pin or toothpick comes in handy. This step ensures every hole is clear, restoring even water flow across the entire shower head.
Take a pin, sewing needle, or wooden toothpick and gently poke each nozzle. Work slowly and carefully to avoid damaging rubber or plastic nozzles. You'll feel a slight give when the deposit breaks free.
Rinse the head under running water to flush out loosened debris.
Why Poking Works
Mineral buildup often hardens into tiny plugs inside the nozzle openings. Soaking softens them, but poking physically dislodges what's left. It's a quick, precise fix that doesn't require any special tools.
Watch Your Pressure
Use gentle, steady pressure. If a nozzle feels stuck, don't force it—soak the head a bit longer. For metal nozzles, you can use a slightly firmer touch, but rubber ones can tear easily.
After You're Done
Once all nozzles are clear, hold the shower head under running water to wash away any loose grit. Inspect each hole by holding it up to the light. If some still look blocked, repeat the poking and rinsing.
6. Rinse with Warm Water
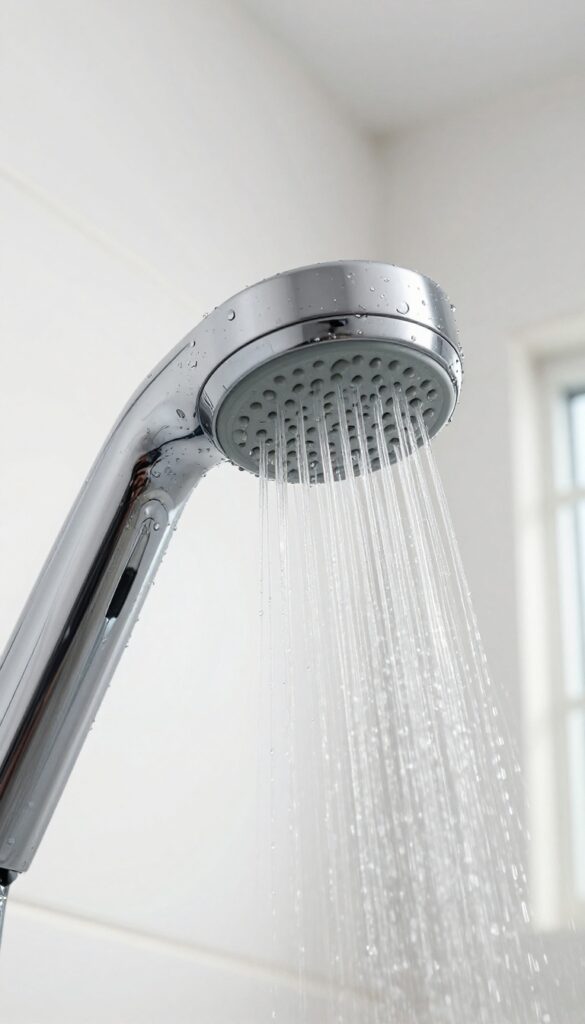
After the vinegar soak and scrubbing, the shower head is free of most gunk, but it still has vinegar residue and loose particles inside. A thorough warm water rinse clears everything out so no leftover vinegar smell or debris affects your next shower. This step is quick but essential for a clean finish.
Flush Out The Vinegar
Hold the shower head under a stream of warm tap water. Let it run through both the inlet and outlet sides for at least 30 seconds. This washes away any vinegar trapped in the internal passages.
You can also use a spray nozzle on your sink to blast water into each opening.
Shake To Dislodge Remaining Debris
After rinsing, grip the shower head firmly and give it a few gentle shakes. This helps loosen any small mineral flakes that are stuck inside. You might hear them rattling around—that's a good sign.
Shake until you don't hear anything moving.
Check The Nozzles
Inspect each nozzle to make sure water flows freely. If any are still blocked, use a toothpick or pin to clear them while the head is wet. A final quick rinse under warm water will wash away the last bits.
7. Apply Baking Soda Paste for Tough Stains
Some stains just won't budge with vinegar alone. Hard water deposits can leave white or crusty patches that need a little extra muscle. That's where baking soda comes in as a gentle abrasive that won't scratch your shower head's finish.
Mix a few tablespoons of baking soda with just enough water to form a thick paste. Apply it directly to the stained areas, covering any remaining buildup. Let it sit for about 10 minutes so it can break down the minerals.
Then grab an old toothbrush and scrub gently in circular motions. Rinse with warm water and check the results. Repeat if necessary.
Why Baking Soda Works
Baking soda is mildly alkaline, which helps neutralize acidic deposits. Its fine grit provides scrubbing power without scratching chrome, brass, or plastic surfaces. It's also non-toxic, so you don't have to worry about harsh fumes around your shower.
How To Make The Perfect Paste
Start with a 3: 1 ratio of baking soda to water. Add water a few drops at a time until the mixture is spreadable but not runny. You want it thick enough to cling to vertical surfaces without dripping off.
Scrubbing Tips For Best Results
Use a soft-bristled toothbrush or a small nylon brush. Focus on each nozzle individually if needed. For hard-to-reach spots, a cotton swab dipped in the paste works wonders.
Rinse thoroughly after scrubbing to avoid leaving any residue.
8. Deep Clean the Threads and Connector
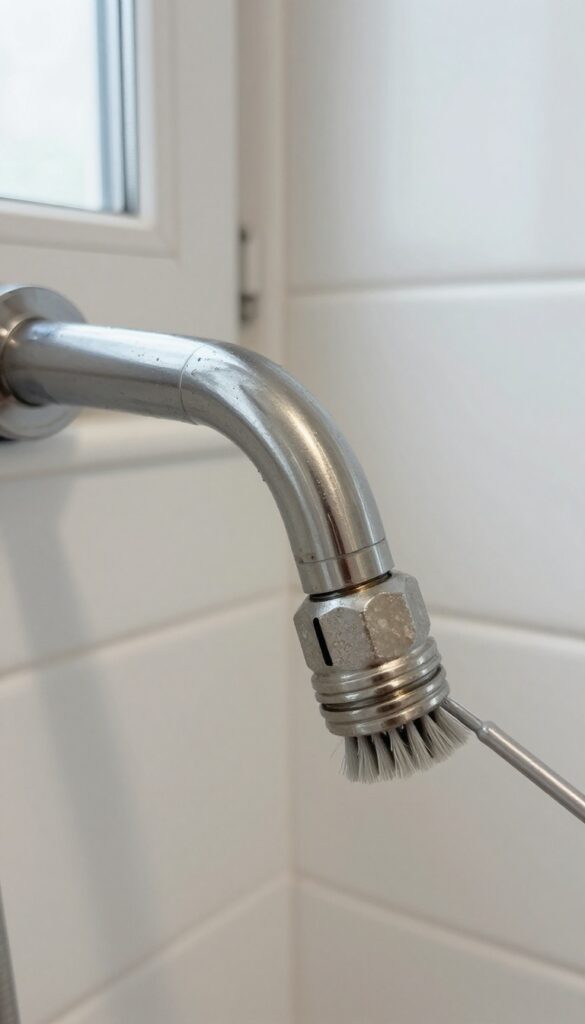
The threads and connector area often get overlooked, but they can harbor old Teflon tape, mineral deposits, and grime. This buildup can prevent a tight seal and cause leaks. A quick scrub here ensures a clean connection when you reattach the shower head.
Why It Matters
Old Teflon tape and debris can interfere with the threads, making it hard to get a watertight seal. Even a small amount of gunk can cause drips or reduce water pressure at the connection point.
How To Clean
Use a small brush or an old toothbrush to scrub the threads on both the shower arm and the shower head connector. Pay extra attention to any visible buildup. If there's old Teflon tape, peel it off completely.
Rinse with water and dry with a cloth.
Inspect For Damage
While cleaning, check the threads for any cracks or wear. Damaged threads can cause leaks and may require replacing the shower head or arm. If everything looks good, you're ready for fresh Teflon tape.
9. Soak in Vinegar Again (If Needed)
Sometimes one vinegar soak isn't enough, especially if your shower head hasn't been cleaned in years. If the water flow is still weak or uneven after the first soak and scrub, don't worry—you can simply repeat the process. A second soak for 15-20 minutes will dissolve any remaining mineral deposits hiding deep inside.
After the first soak, scrubbing, and rinse, test the water flow. If it's still not back to full pressure, refill the bag with fresh vinegar and reattach it to the shower head. Let it soak for another 15-20 minutes.
This extra time ensures that any stubborn calcium or lime scale breaks down completely. Rinse thoroughly afterward and test again. Most shower heads will be fully restored after a second soak.
When A Second Soak Makes Sense
If you live in an area with hard water, mineral deposits can be thick and layered. A single 30-minute soak might not penetrate all the way through. Signs you need another round include weak spray, uneven streams, or visible white buildup around the nozzles after cleaning.
Don't skip this step—it's the difference between a so-so clean and a like-new shower head.
How To Speed Up The Second Soak
For a faster second soak, heat the vinegar to near boiling (but not boiling) before pouring it into the bag. Hot vinegar works faster at dissolving minerals. Just be careful handling the hot bag—use gloves and a bowl to catch drips.
Alternatively, you can use a commercial descaling solution if you prefer, but plain white vinegar is usually enough.
10. Rinse and Dry Thoroughly
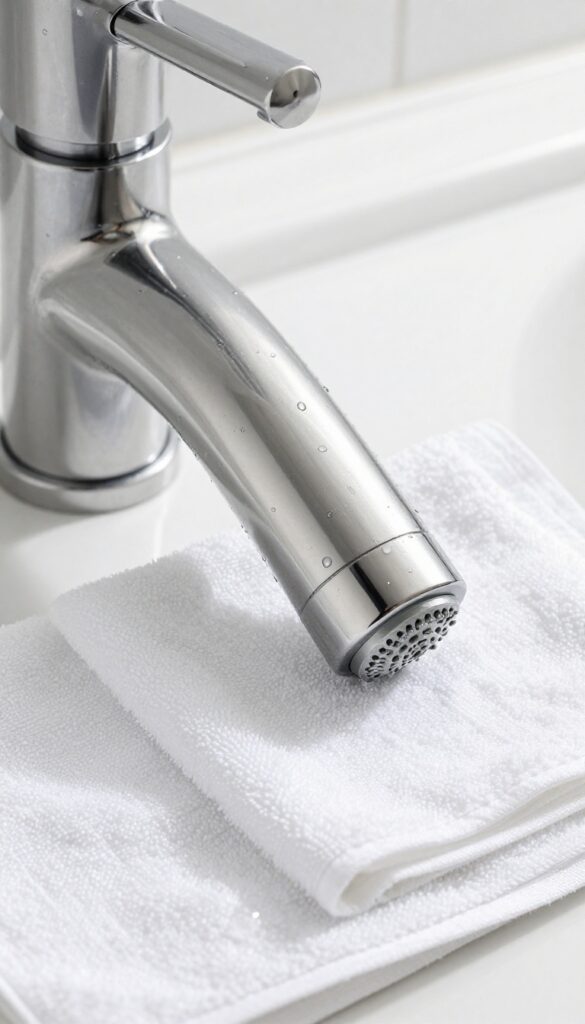
Once you've scrubbed away every trace of mineral buildup and grime, the final rinse and dry step is what really seals the deal. Skipping this can leave behind vinegar residue or moisture that invites future deposits. A thorough rinse and dry ensures your shower head is completely clean and ready to perform at its best.
After all that scrubbing and soaking, give the shower head a final rinse under warm running water. Hold it under the faucet for a minute or two, making sure water flows through every nozzle. This flushes out any loosened debris and leftover vinegar.
Then, grab a clean microfiber cloth and dry the entire surface, including the threads and the inside of the connector. Microfiber is ideal because it won't leave lint or scratches. Pay extra attention to the nozzle openings—use a toothpick or a pin to clear any stubborn bits, then dry again.
Make sure no moisture remains inside the shower head before reattaching it to the arm. Any trapped water can lead to mold or mineral buildup down the line.
Flush Out The Residue
Turn on the warm water and let it run through the shower head for about a minute. Move it around so water hits all angles. This step ensures that any vinegar or cleaning solution is completely gone.
You might see small particles coming out—that's normal. Keep flushing until the water runs clear.
Dry Every Nook And Cranny
Use a microfiber cloth to dry the exterior, then wrap a corner of the cloth around a toothpick to gently dry inside each nozzle. Don't forget the threaded connection area—any moisture there can cause corrosion or make it hard to apply new Teflon tape. Let it air dry for a few minutes if needed.
Inspect Before Reassembly
Before putting the shower head back on the arm, inspect it under good light. Check for any remaining residue or moisture. If you see any, repeat the rinse and dry steps.
A clean, dry shower head ensures a tight seal and optimal water flow once it's reinstalled.
11. Clean the Shower Arm Threads
The shower arm threads are easy to ignore, but they collect mineral deposits and old Teflon tape over time. A quick wipe-down ensures a clean, tight seal when you reattach the shower head, preventing leaks and maintaining water pressure.
Why Threads Matter
The threads on the shower arm are where the shower head screws on. If they're coated in scale or grime, the connection won't seal properly. That can cause drips, reduce flow, or make the head sit crooked.
Cleaning them is a small step that prevents big annoyances.
What You'll Need
Grab a clean cloth or rag and some white vinegar. You can also use a small brush, like an old toothbrush, for stubborn buildup. No special tools required.
How To Wipe Them Clean
Dampen the cloth with vinegar (not soaking wet) and wrap it around the threads. Twist the cloth back and forth to scrub away deposits. For tough spots, dip a toothbrush in vinegar and scrub directly.
Wipe off any residue with a dry cloth afterward.
Check The Old Teflon Tape
While you're at it, inspect the old Teflon tape on the threads. If it's frayed, discolored, or peeling, remove it completely. You'll apply fresh tape later when reassembling.
Clean threads help the new tape stick better and create a tighter seal.
12. Apply New Teflon Tape
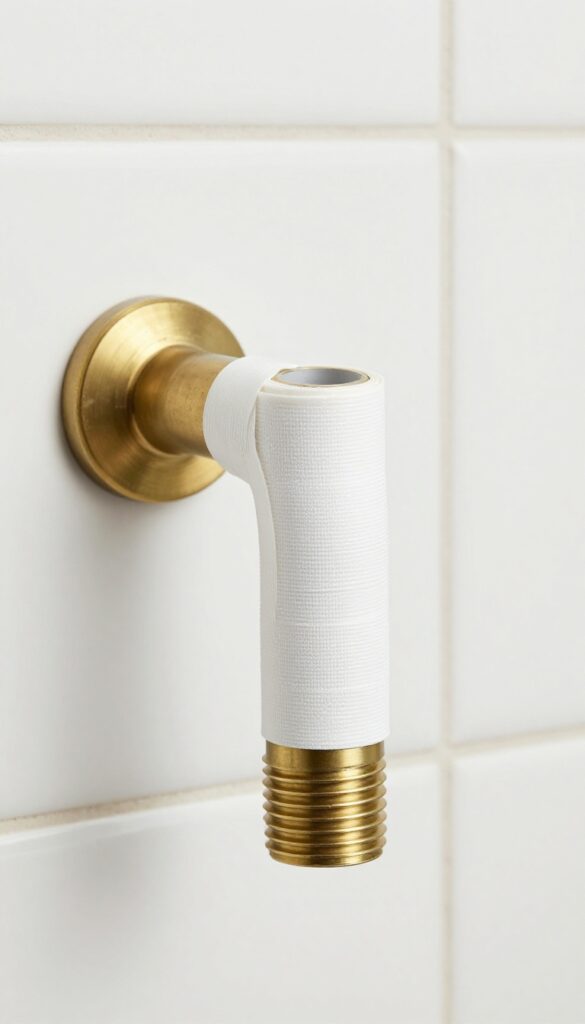
Before you screw the shower head back on, take a moment to wrap the threads with fresh Teflon tape. It's a small step that makes a big difference in preventing leaks and ensuring a tight seal. Plus, it'll make future removal much easier.
Wrap the tape clockwise around the shower arm threads, overlapping each wrap by about half the tape's width. Two to three layers are usually enough. Press the tape firmly into the threads to keep it in place while you attach the head.
Why Clockwise Matters
Wrapping clockwise ensures the tape doesn't unravel when you screw on the shower head (which is also turned clockwise). If you wrap counterclockwise, the tape will bunch up and fail to seal.
How Many Layers?
Two to three layers is the sweet spot. Too few and you risk leaks; too many and the shower head won't thread on properly. If you feel resistance, you've probably used too much.
Don't Forget The End
Start the tape about one thread from the end of the pipe. This leaves the first thread exposed, making it easier to start threading the shower head without the tape getting in the way.
13. Reattach the Shower Head
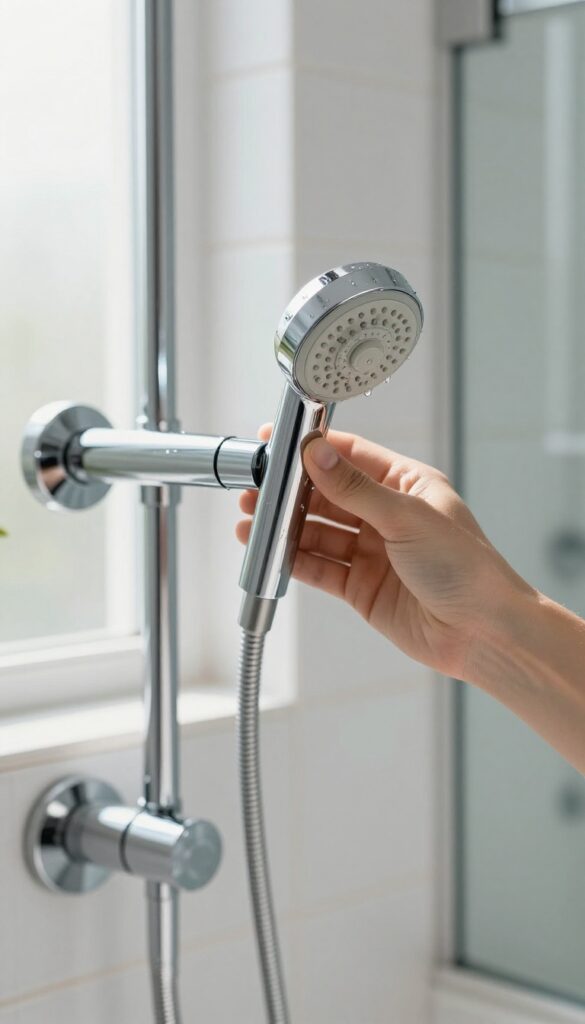
Now that the threads are wrapped and the shower head is clean and dry, it's time to put everything back together. This step is straightforward, but a little care goes a long way to prevent leaks or damage. You'll want a snug fit—not a cranked-down, overtightened one.
Hand-tighten First
Start by screwing the shower head onto the shower arm by hand. Turn it clockwise until you feel resistance. This ensures the threads align properly and the Teflon tape stays in place.
Going slowly helps you feel when it's seated correctly.
Use A Wrench Sparingly
Once hand-tight, give it a gentle quarter-turn with a wrench. Wrap the jaws with a cloth to avoid scratching the finish. The goal is just snug—if you feel the head starting to resist, stop.
Overtightening can crack plastic parts or strip the threads.
Test For Leaks
Turn the water on slowly and check for drips at the connection. If you see a leak, tighten a little more—no more than an eighth of a turn. A small drip usually means the Teflon tape needs another wrap, not brute force.
14. Flush the System
After reassembling the shower head, it's time to clear out any remaining loose particles. A final flush ensures nothing blocks the nozzles and confirms your work is leak-free.
Turn the water on full blast for a full minute. This high-pressure rinse dislodges any debris that settled during reassembly. Watch the spray pattern—if it's still uneven, repeat the vinegar soak on stubborn nozzles.
While the water runs, inspect the connection point for drips. A slow leak now can cause mold or water damage later. If you spot moisture, tighten the joint gently with a wrench—but don't overtighten, or you risk cracking the fitting.
Check For Leaks
Run your hand along the connection while the water is on. Even a small drip means the Teflon tape or tightness needs adjustment. Tighten just a quarter turn at a time and recheck.
Inspect The Spray Pattern
A full blast should produce even streams from every nozzle. If some holes still sputter, shut off the water and poke them clean with a pin. Then flush again for 30 seconds.
15. Wipe Down and Enjoy
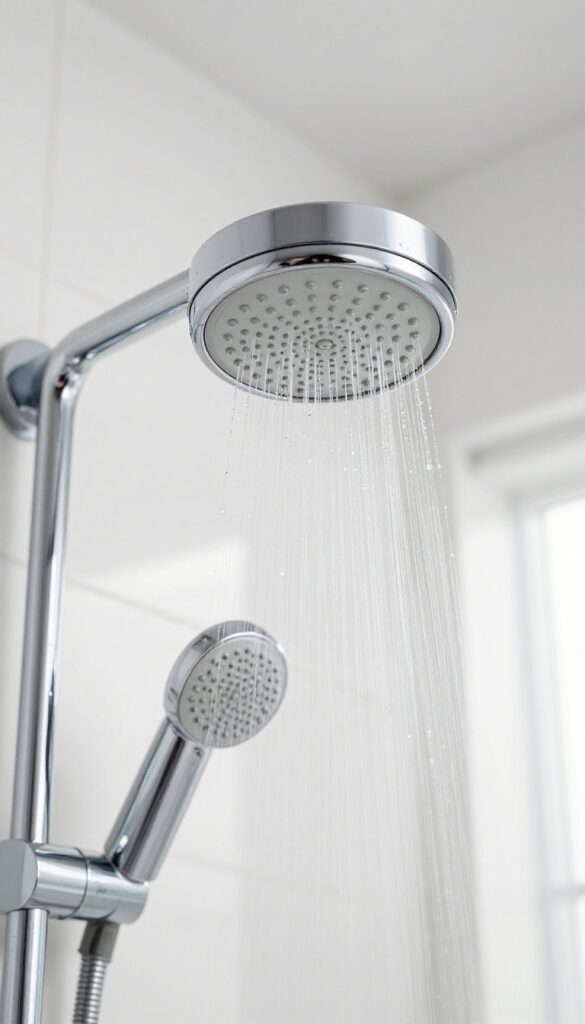
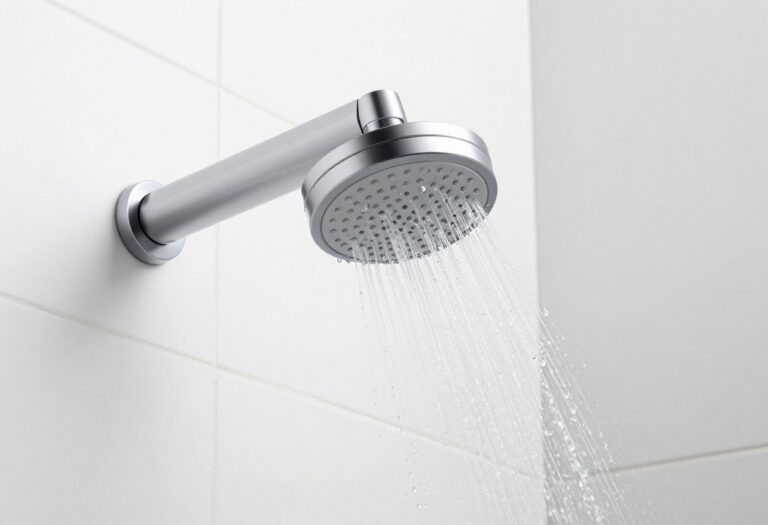
After all that scrubbing, rinsing, and reassembling, the final step is pure satisfaction. A quick wipe with a dry cloth removes any lingering water spots and gives the shower head a polished, like-new shine. This small finishing touch makes the whole cleaning effort feel complete.
Now it's time to turn the water back on and enjoy the reward. You'll immediately notice the difference: a strong, even spray and a sparkling fixture that looks as good as it performs. Take a moment to appreciate the improved water flow and the fresh, clean look of your bathroom.
Why A Final Wipe Matters
Water spots and mineral residue can dull the finish even after a deep clean. A dry microfiber cloth buffs the surface to a streak-free shine and prevents new deposits from forming. It also removes any moisture that could lead to mildew or corrosion over time.
Admire The Results
Turn on the shower and watch the water flow evenly through every nozzle. The pressure should be noticeably stronger, and the spray pattern more consistent. This is the payoff for your 15-step effort—a shower head that feels brand new.
Maintain The Sparkle
To keep your shower head performing well, give it a quick wipe after each use to reduce mineral buildup. You can also repeat this deep cleaning process every few months. A little regular care goes a long way in maintaining that just-cleaned feeling.
FAQ
How often should I clean my shower head?
Every 3 to 6 months, or more often if you have hard water. Regular cleaning prevents buildup and maintains water pressure.
Can I clean a shower head without removing it?
Yes. Fill a plastic bag with vinegar, secure it over the shower head with a rubber band, and let it soak. Then scrub and rinse in place.
What if vinegar doesn't remove the buildup?
Try a commercial descaling product or a mixture of lemon juice and baking soda. For extreme buildup, soak in undiluted vinegar overnight.
Is it safe to use bleach on a shower head?
Bleach can damage finishes and rubber components. Stick to vinegar or mild cleaners. If you must disinfect, use a diluted bleach solution sparingly and rinse thoroughly.
Why does my shower head still have low pressure after cleaning?
There may be internal blockages in the shower arm or pipes. Check the arm for debris, or consider a water softener if hard water is severe.
Conclusion
Once you've run through these 15 deep rinse steps, your shower head should be flowing like new. The whole process takes less than half an hour, and the improvement in water pressure is immediately noticeable. Make this a regular part of your cleaning routine—every few months is enough to prevent mineral buildup from coming back.
A clean shower head means a more refreshing shower and less strain on your plumbing. You've done the hard work, so now enjoy that steady, powerful spray every time you step in. Your shower will thank you.