How to Clean Floor Tile Grout in 13 Easy Steps Fast
You walk across your kitchen floor and notice it: the grout lines are darker than the tiles themselves. That dingy gray isn't just ugly—it makes the whole room feel dirty, even when you've just mopped. The good news?
You don't need to scrub for hours or call a pro. With the right approach, you can bring grout back to life in a single afternoon. These 13 steps are designed to be fast, effective, and gentle on your tiles.
Whether you're dealing with mild discoloration or stubborn stains, there's a method here that works. Let's start with the simplest tricks and work up to the heavy-duty solutions. Your floors are about to look a whole lot better.
1. Start with a Dry Vacuum and Dust Mop
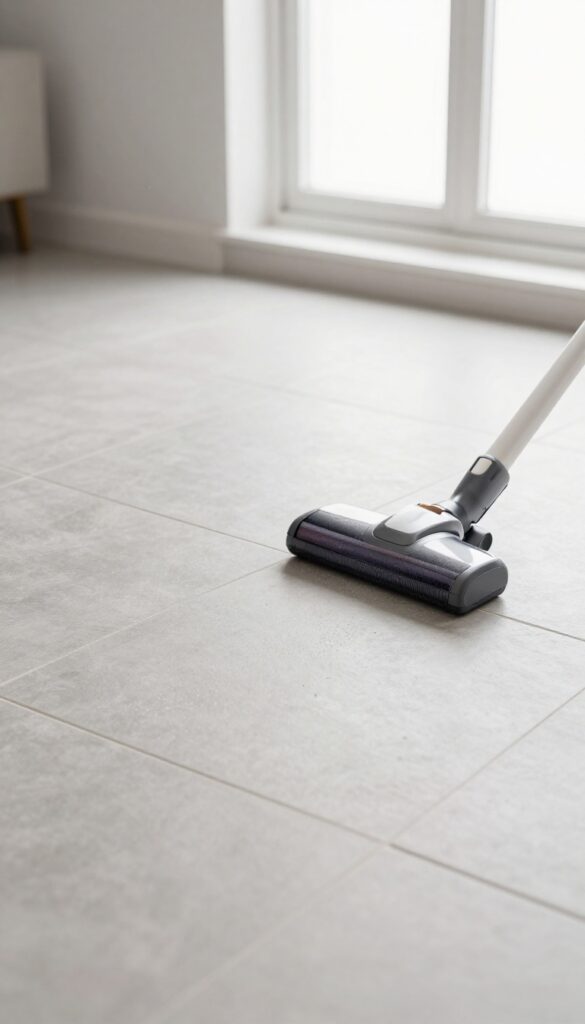
Before you bring out any cleaning solution, you need to get rid of the loose dirt sitting on top of the grout. If you skip this step, you're basically rubbing grit into the porous grout lines, which can make them look worse. A quick dry clean makes everything that follows more effective.
Grab a vacuum with a brush attachment or a microfiber dust mop. The brush attachment helps lift debris from the grout grooves without scratching the tile. If you use a dust mop, make sure it's clean and dry.
Go over the entire floor methodically, paying extra attention to corners and edges where dust tends to accumulate. This step takes just a few minutes but sets you up for success.
Why Dry Cleaning Matters First
Wet cleaning pushes loose dirt deeper into the grout if you haven't removed it first. That trapped dirt then becomes harder to lift later. A dry vacuum or mop prevents this by capturing particles before they get a chance to settle into the pores.
Best Tools For The Job
A handheld vacuum with a crevice tool works great for tight spaces. For larger areas, a standard vacuum with a floor brush attachment is faster. Microfiber dust mops are excellent because they trap dust without scratching.
Avoid using a broom—it tends to scatter fine dust rather than collect it.
2. Mix a Baking Soda and Vinegar Paste
When you need a gentle but effective cleaner, baking soda and vinegar are a winning combo. The fizzing action helps lift dirt from deep within the grout, while the paste clings to vertical lines without dripping. This method is perfect for light to moderate grime and is safe for all tile types.
Getting The Ratio Right
Start with 1/2 cup of baking soda. Add white vinegar slowly, stirring until it forms a spreadable paste. You want it thick enough to stay put on grout lines but not so dry that it crumbles.
A spoonful at a time works best.
Application And Waiting
Use an old toothbrush or a small spatula to press the paste into the grout lines. Cover a 3-foot section at a time so it doesn't dry out. Let it sit for 5 minutes—the fizzing is normal and means it's working.
For tougher spots, let it sit up to 10 minutes.
Scrubbing And Rinsing
Scrub with a stiff-bristled brush, focusing on areas that look darker. Rinse with water and wipe away residue with a damp cloth. Repeat if needed.
This method is gentle enough for weekly maintenance but strong enough to remove built-up grime.
3. Use a Grout Brush or Old Toothbrush
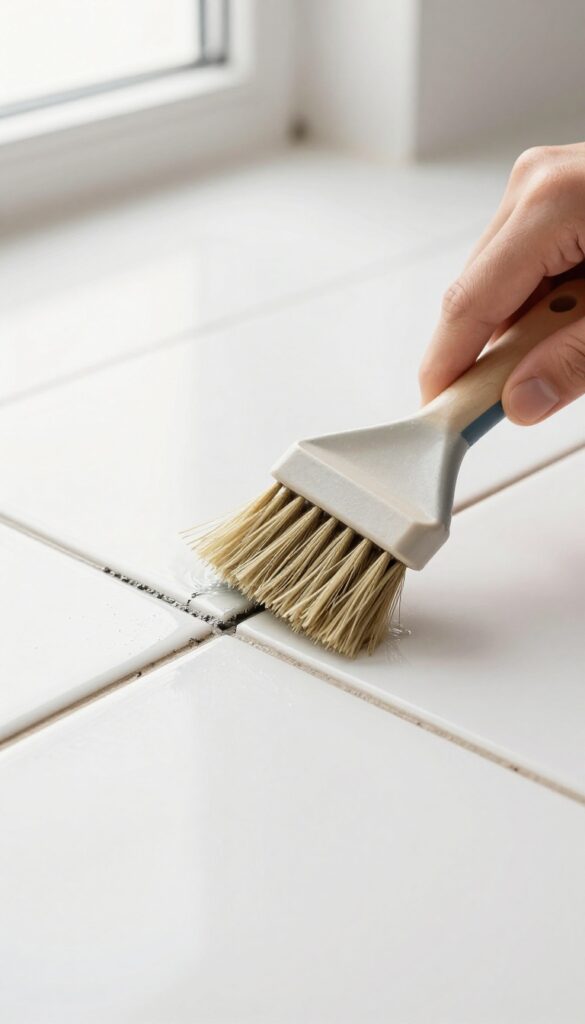
A soft sponge won't cut it when grout is really dirty. You need something with stiff bristles that can dig into the narrow grooves and scrub away the grime that's been building up for months. A dedicated grout brush is the best tool for the job, but an old toothbrush works surprisingly well for tight spots and corners.
Using the right brush makes a huge difference in how much elbow grease you need to apply. The stiff bristles get deep into the pores of the grout, loosening dirt and cleaning solution residue that a cloth would just smear around. Plus, a good brush lets you apply pressure exactly where it's needed without damaging the tile surface.
Choose The Right Brush
Look for a grout brush with a comfortable handle and stiff, but not scratchy, bristles. Nylon bristles are a safe bet—they're tough on grout but gentle on tile. For corners and edges, an old toothbrush with firm bristles is perfect.
Just make sure it's clean before you start.
Scrub In A Circular Motion
Don't just scrub back and forth in a straight line. Use a circular motion to work the cleaning paste or solution deep into the grout pores. This helps lift embedded dirt and ensures even coverage.
Apply steady pressure, but don't bear down so hard that you risk damaging the grout.
Focus On One Section At A Time
Work in small areas—about two square feet at a time. This keeps the cleaning solution from drying out before you've had a chance to scrub it in. It also helps you stay organized and avoid missing spots.
Rinse the brush frequently to keep it from redepositing dirt.
4. Try a Hydrogen Peroxide and Baking Soda Mix
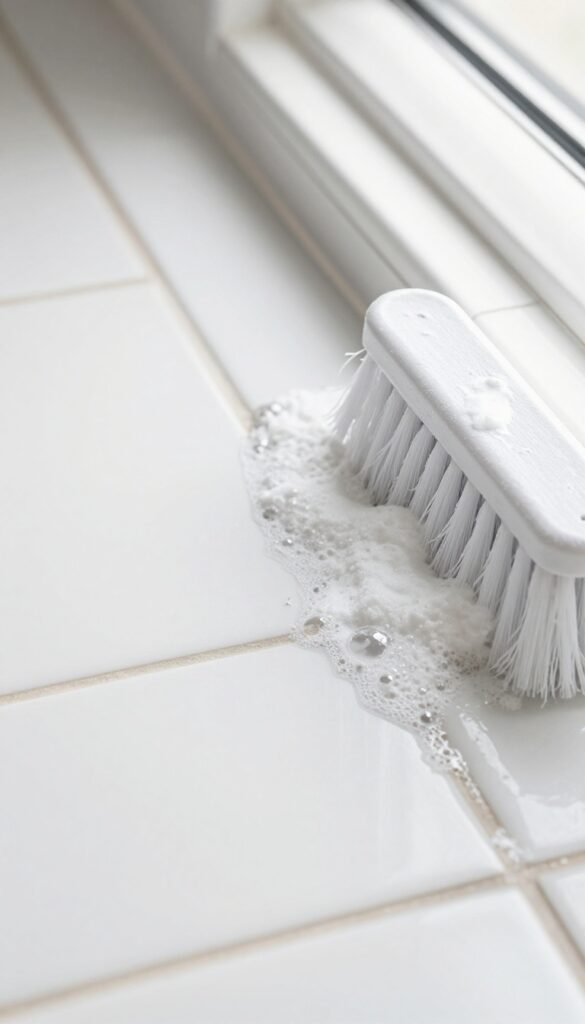
When vinegar isn't cutting it, hydrogen peroxide steps in. It's a stronger oxidizer that whitens grout without that pungent smell. Mixed with baking soda, it forms a paste that clings to vertical surfaces and tackles deep-set stains.
This combo is especially good for light-colored grout that has yellowed over time.
For tougher stains, swap vinegar for hydrogen peroxide. The peroxide whitens without the smell. Apply, let sit for 10 minutes, then scrub and rinse.
Mixing The Paste
In a small bowl, combine 1/2 cup of baking soda with 1/4 cup of hydrogen peroxide (3% solution). Stir until it forms a thick, spreadable paste. If it's too runny, add more baking soda; if too dry, add a few more drops of peroxide.
Applying And Waiting
Use a small spatula or an old toothbrush to apply the paste directly onto the grout lines. Spread it evenly, making sure to fill the grooves. Let it sit for about 10 minutes—longer for really stubborn stains, but don't let it dry completely.
Scrubbing And Rinsing
After the wait, scrub the grout with a stiff-bristled brush or an old toothbrush. Work in small circles to lift the dirt. Then rinse thoroughly with warm water and wipe away any residue with a damp cloth.
Repeat if needed.
5. Apply a Commercial Grout Cleaner
Sometimes homemade solutions just don't cut it, especially if your grout has years of embedded grime or mold. That's when a dedicated commercial grout cleaner can save the day. These products are formulated to tackle tough stains without damaging your tiles.
The key is choosing the right one and using it safely.
When DIY mixes aren't cutting it, choose a grout-specific cleaner. Look for one with bleach or oxygen bleach. Follow the label instructions and ventilate the area.
Choosing The Right Cleaner
Not all cleaners are created equal. For white grout, a bleach-based product works wonders on stains and mold. For colored grout, opt for oxygen bleach to avoid discoloration.
Check the label to ensure it's safe for your tile type—some acidic cleaners can etch natural stone.
Application Tips
Apply the cleaner directly to the grout lines, using a squeeze bottle or a small brush for precision. Let it sit for the recommended time—usually 5 to 15 minutes—but don't let it dry completely. Scrub gently with a stiff brush, then rinse thoroughly with water.
Work in small sections to maintain control.
Safety First
Many commercial cleaners contain strong chemicals. Always wear gloves and eye protection, and ensure the room is well-ventilated by opening windows or using a fan. Keep kids and pets away until the area is dry.
If you have respiratory issues, consider wearing a mask.
6. Use a Steam Cleaner for Deep Grime
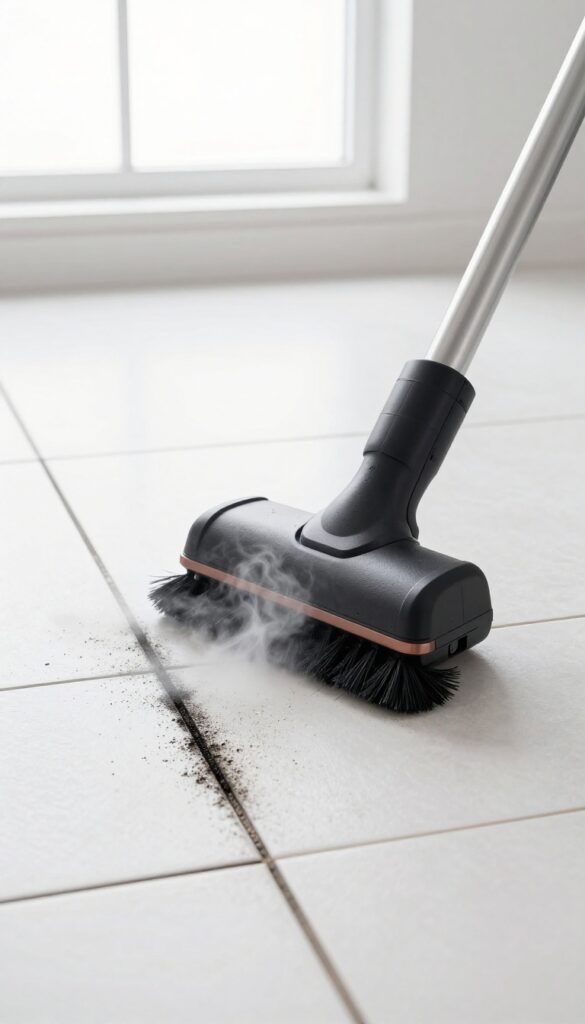
If you've ever used a steam cleaner on your floors, you know the satisfying blast of hot vapor that lifts dirt like magic. For grout, it's a game-changer. The high heat loosens years of embedded grime without any chemicals, and the brush attachment scrubs as you go.
It's especially ideal for large areas or heavy buildup where elbow grease alone won't cut it.
Steam cleaning is one of the fastest ways to deep-clean grout. The steam penetrates porous grout lines, expanding and dislodging dirt particles. As you glide the brush over the surface, the combination of heat and mechanical action breaks down stains that have been set for months or even years.
Plus, since no chemicals are involved, it's safe for all tile types and grout colors, and you won't have to worry about rinsing or residue.
Choose The Right Steam Cleaner
Not all steam cleaners are created equal. Look for one with a brush attachment specifically designed for grout lines—a narrow, stiff-bristled brush works best. Handheld steamers are great for small bathrooms, while a full-size steam mop with a grout tool can tackle large kitchen floors.
Make sure the machine produces consistent, high-temperature steam for effective cleaning.
Prep The Area And Work In Sections
Before you start, sweep or vacuum the floor to remove loose debris. Fill the steam cleaner with water according to the manufacturer's instructions and let it heat up. Work in small sections, about 2×2 feet at a time.
Slowly move the brush along the grout lines, overlapping each pass to ensure even coverage. For stubborn spots, hold the steam brush in place for a few seconds to let the heat work deeper.
Wipe Away Residue And Let Dry
After steaming, you'll notice loosened dirt floating on the surface. Use a clean microfiber cloth or mop to wipe it away before it settles back into the grout. Then let the floor dry completely—this can take 30 minutes to an hour.
Once dry, you'll see a dramatic difference. If any stains remain, you can repeat the process or follow up with a targeted cleaner.
7. Tackle Mold and Mildew with Bleach
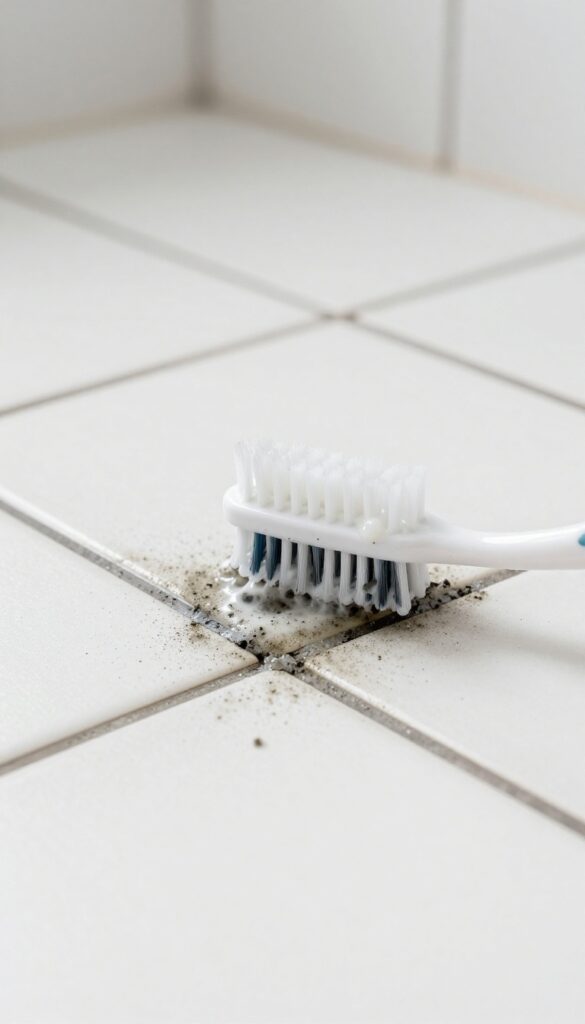
Mold and mildew in grout lines are more than just an eyesore—they can be a health concern. If you notice black or greenish patches that don't scrub out with gentler cleaners, it's time to bring out the bleach. This method is powerful and fast, but you need to use it carefully to avoid damaging your tiles or harming yourself.
Mix The Right Solution
The standard ratio is one part bleach to three parts water. This is strong enough to kill mold and lighten stains without being too harsh on your grout. Use a plastic or glass bowl—never metal, as bleach can react with it.
Stir gently to combine.
Apply And Let It Sit
Using an old toothbrush or a small grout brush, dip into the solution and apply it directly to the moldy areas. Don't scrub yet—let the bleach sit for about 10 minutes. This dwell time is crucial for the bleach to penetrate and kill the mold spores.
Scrub And Rinse Thoroughly
After 10 minutes, scrub the grout lines with your brush. You should see the dark spots lighten or disappear. Then, rinse the area with plenty of clean water.
Use a damp cloth or sponge to wipe away all bleach residue. Leftover bleach can damage grout over time and leave a sticky film.
Safety First
Bleach fumes are strong, so open windows and doors for ventilation. Wear rubber gloves to protect your skin, and avoid getting bleach on your clothes or nearby surfaces. If you have colored grout, test on an inconspicuous spot first—bleach can lighten it.
8. Rinse with Clean Water and a Sponge
You've scrubbed, sprayed, and maybe even steamed your grout. Now comes a step that's easy to overlook but absolutely essential: rinsing. Leftover cleaning solution—whether it's vinegar, peroxide, or a commercial product—can actually attract dirt once it dries.
That means your freshly cleaned grout could look dingy again in days. A thorough rinse removes all residue and gives you a clean slate.
Grab a clean sponge and a bucket of fresh water. Wipe down the grout lines, rinsing the sponge often so you're not just spreading dirty water around. For best results, do two passes: one with a damp sponge to lift the cleaner, then a second with a barely wet sponge to pick up any remaining suds.
Let the floor air-dry completely before walking on it or sealing the grout.
Why Rinsing Matters
Cleaning products are designed to break down dirt and grease, but they leave behind surfactants and other chemicals. If you skip the rinse, those residues act like a magnet for new grime. Over time, this can make your grout look worse than before.
A simple rinse prevents that cycle and keeps your grout cleaner for longer.
The Right Technique
Use a sponge that's dedicated to grout work—not the one you use for dishes. Dip it in clean water, wring it out until it's just damp, and wipe along the grout lines. Rinse the sponge frequently in a separate bucket of clean water.
For large areas, a microfiber mop can speed things up, but a sponge gives you more control around edges and corners.
Drying After Rinsing
Once you've rinsed, let the grout dry completely. Open windows or turn on a fan to speed up the process. If you plan to seal the grout, wait at least 24 hours to ensure it's fully dry.
Walking on wet grout can track dirt back into the lines, so keep foot traffic off until it's dry to the touch.
9. Dry the Grout Completely
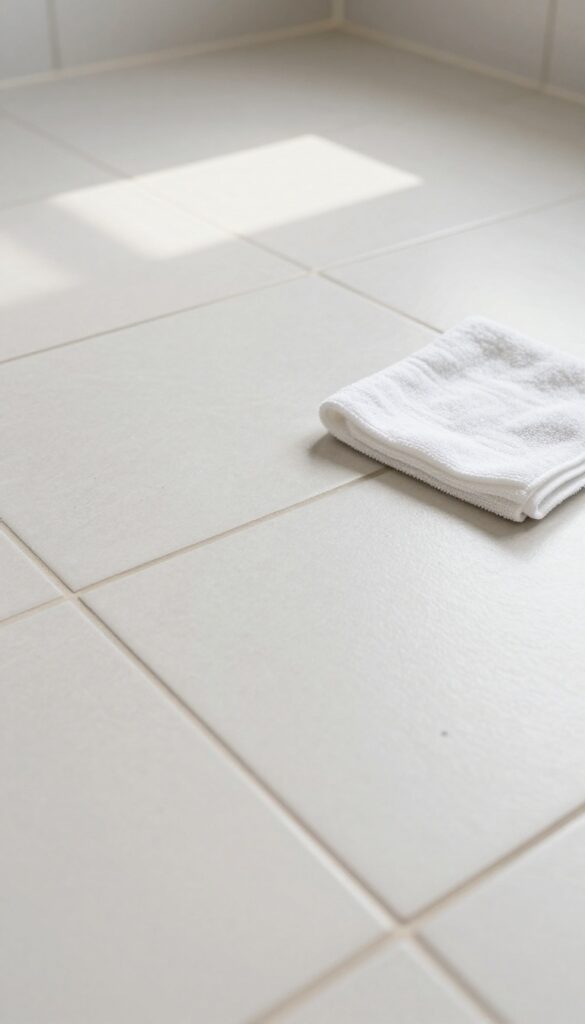
After all that scrubbing and rinsing, it's tempting to call it done. But skipping the drying step is a fast track to disappointment. Wet grout not only looks darker and dirtier than it actually is, but it also becomes a breeding ground for mold and mildew.
A few extra minutes of drying can make the difference between grout that looks fresh and grout that looks grimy again within days.
Use a clean, dry microfiber cloth to blot up any standing moisture from the grout lines. Then, if you're in a hurry, point a fan directly at the floor or use a hair dryer on a low, cool setting. Make sure the grout feels completely dry to the touch before you move on to sealing or just enjoying your clean floor.
Why Drying Matters
Grout is porous, so it holds onto moisture like a sponge. When it stays damp, dirt and soap residue get trapped, and mold spores have a chance to settle in. Drying thoroughly prevents that cycle and keeps your grout looking clean longer.
The Best Way To Speed It Up
A microfiber cloth is your best friend here—it absorbs water without leaving lint. For larger areas, a floor fan set on low does the job in under an hour. Avoid walking on the floor until it's fully dry, or you'll just track dirt back onto the clean grout.
10. Seal the Grout to Prevent Future Stains
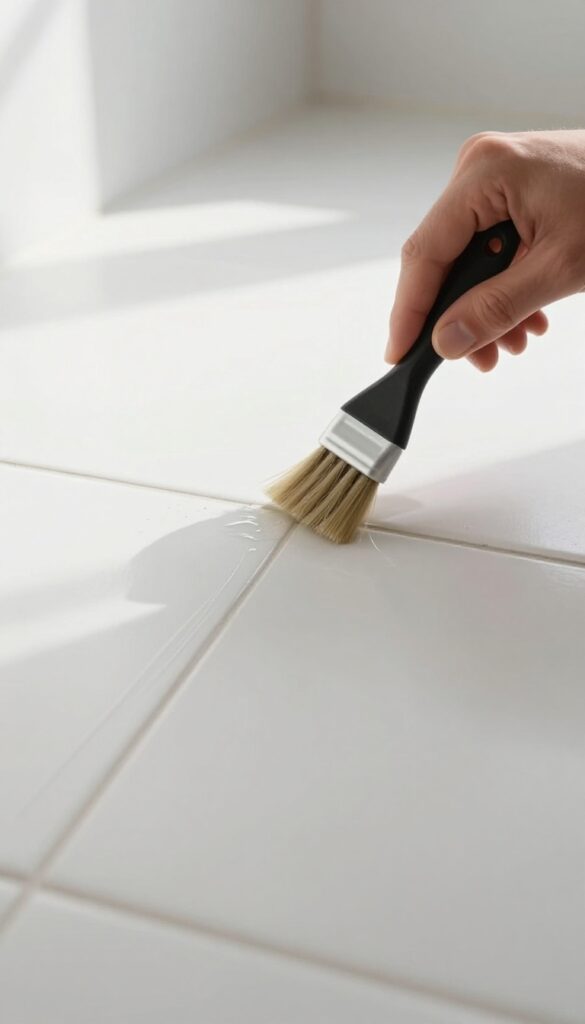
After all that scrubbing and rinsing, it's tempting to call it done. But if you skip sealing, your grout will soak up dirt and moisture again within weeks. A good sealer locks in the clean look and makes future maintenance way easier.
Sealing grout is the final step that protects your hard work. It acts like a raincoat for your grout lines, repelling spills and grime so they don't penetrate the porous surface. Most sealers are easy to apply with a small brush or applicator bottle, and they dry quickly.
Just make sure your grout is completely dry before you start—wait at least 24 hours after deep cleaning. Reapply every 6 to 12 months depending on foot traffic and how often the floor gets wet.
Choosing The Right Sealer
Not all sealers are the same. Penetrating sealers soak into the grout and protect from within, while membrane-forming sealers sit on top. For most tile floors, a penetrating sealer is best because it doesn't change the color or texture.
If your grout is in a high-moisture area like a shower, look for a sealer with mold resistance.
How To Apply Sealer
Apply the sealer carefully along each grout line using a small brush or a squeeze bottle with a fine tip. Work in small sections so you don't miss any spots. Wipe away any excess sealer that gets on the tile surface within a few minutes, or it can dry into a hazy film.
Let the sealer cure for the time recommended on the label before walking on the floor or getting it wet.
11. Maintain with a Weekly Quick Wipe
You've put in the work to get your grout looking new, so let's keep it that way. A quick weekly wipe is all it takes to prevent dirt from settling back into the pores. This simple habit saves you from having to deep-clean again anytime soon.
After sealing, your grout is protected, but it's not invincible. A weekly wipe with a mild pH-neutral cleaner removes surface grime before it can stain. Avoid acidic or abrasive cleaners—they can wear down the sealer and damage the grout over time.
A soft microfiber mop or cloth is perfect for this job.
Choose The Right Cleaner
Stick with pH-neutral, grout-safe cleaners. You can buy one or make your own by mixing a few drops of mild dish soap with warm water. Stay away from vinegar, lemon juice, or bleach—they're too harsh for sealed grout.
The Quick Wipe Technique
Dampen your microfiber mop or cloth with the cleaner, then wipe along the grout lines. No need to scrub—just a gentle pass to pick up dust and spills. Rinse the mop frequently to avoid spreading dirt.
Spot Clean Spills Immediately
If you spill something like wine, oil, or sauce, blot it up right away. The longer it sits, the more likely it is to seep into the grout. A quick dab with a damp cloth can prevent a permanent stain.
12. Spot Clean Spills Immediately
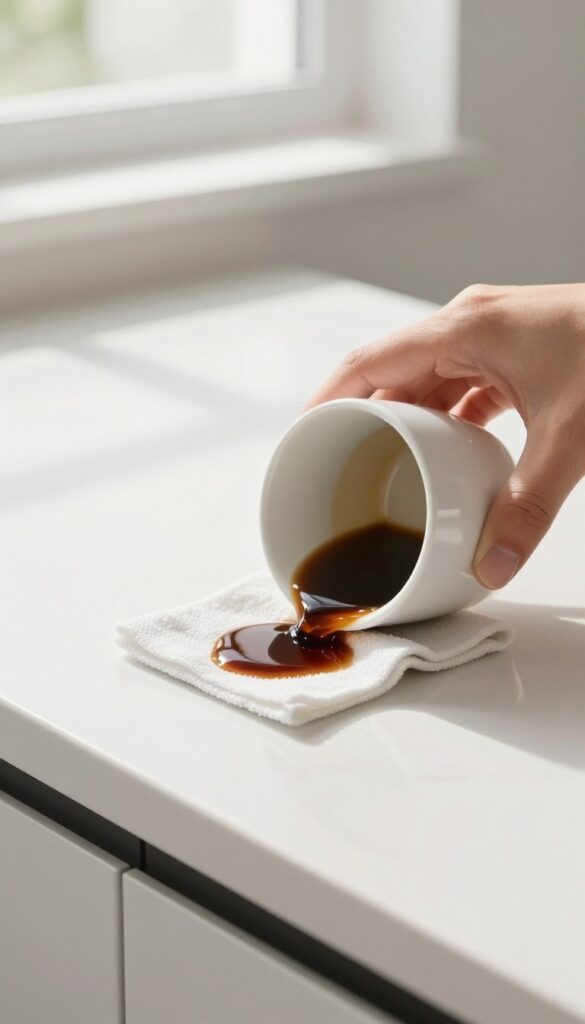
Spills happen. The difference between a quick wipe and a permanent stain is often just a few minutes. Grout is porous, so liquids seep in fast.
Once a stain sets, removing it takes way more effort. That's why the best cleaning strategy is catching spills before they settle.
Keep a small spray bottle of water and a microfiber cloth within arm's reach in your kitchen or bathroom. When something spills—coffee, wine, sauce, or even just soapy water—blot it up right away. Don't rub, because that pushes the liquid deeper into the grout.
Just press and lift. If the spill is sticky or sugary, follow up with a quick spritz of water and another blot. This simple habit prevents most stains from ever forming.
It also reduces the frequency of deep cleaning sessions. Make it part of your daily routine, and your grout will stay lighter longer.
The 60-second Rule
You have about one minute after a spill to act before the liquid starts soaking into grout. Set a mental timer. Grab your cloth and blot immediately.
Even if you can't fully clean it right then, blotting buys you time. For acidic spills like lemon juice or vinegar, rinse with water after blotting to neutralize the acid.
What To Keep In Your Cleaning Caddy
A spray bottle filled with plain water, a stack of clean microfiber cloths, and a small scrub brush for sticky messes. Store them under the sink or in a nearby cabinet. If you have pets or kids, consider a portable caddy you can move from room to room.
The easier it is to grab, the more likely you'll use it.
When A Spill Has Already Dried
Don't panic. Mix a paste of baking soda and water, apply it to the stain, and let it sit for 15 minutes. Then scrub gently with a soft brush and rinse.
For tougher dried stains, use a 50/50 vinegar and water solution, but test on a hidden area first to avoid damaging the grout sealant.
13. Know When to Call a Professional
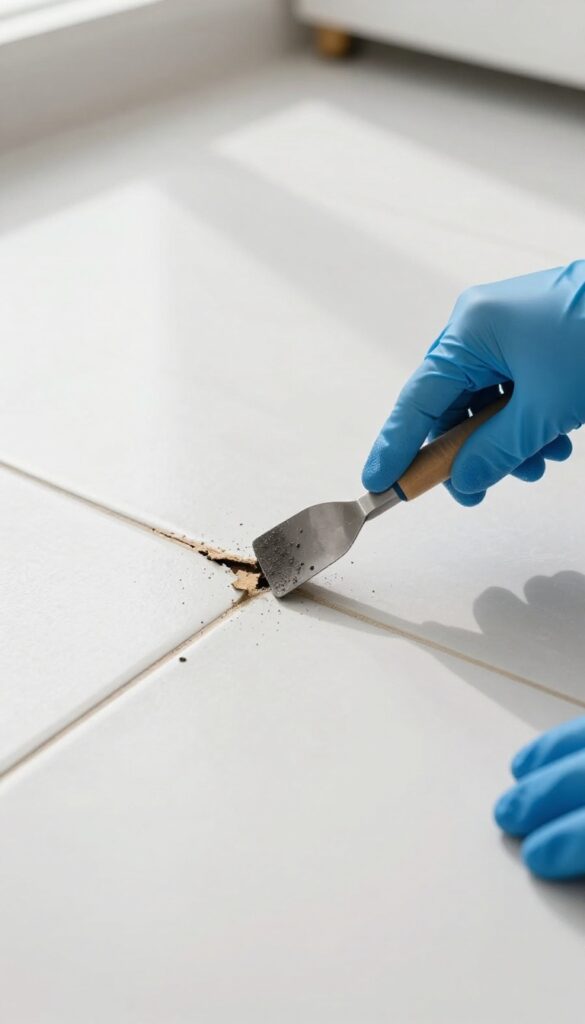
Not every grout problem is a DIY fix. If your grout is crumbling, deeply stained despite multiple treatments, or you've tried every method in this guide with no luck, it might be time to bring in a pro. A professional can regrout, seal, or use industrial-grade cleaning that's too harsh for home use.
Sometimes the smartest move is knowing when to hand over the sponge.
Signs You Need A Pro
Look for crumbling or missing grout—that's a structural issue, not just a stain. Deep-set mold that keeps returning after cleaning also warrants expert help. If you've tried baking soda, vinegar, steam, and commercial cleaners with no lasting results, a pro's equipment can make a world of difference.
What A Professional Does
Grout pros often use high-pressure steam, industrial-strength cleaners, or even grind out old grout and replace it entirely. They can also apply a durable sealant that lasts years. The cost varies, but for a small bathroom or kitchen floor, it's often under a few hundred dollars—worth it for a fresh start.
Is It Worth The Investment?
Consider the age of your grout and your home's value. If you're selling soon, fresh grout can boost appeal. If you plan to stay, professional regrouting can save you hours of future scrubbing.
Weigh the cost against your time and frustration—sometimes paying someone else is the best clean.
FAQ
Can I use bleach on colored grout?
Bleach can discolor or lighten colored grout. Test in an inconspicuous area first, or use a non-bleach cleaner designed for colored grout.
How often should I clean grout?
Light cleaning every 1–2 weeks with a mild cleaner helps prevent buildup. Deep cleaning with a paste or steam is recommended every 3–6 months.
Does vinegar damage grout?
Vinegar is acidic and can etch unsealed grout over time. Use it sparingly and always rinse thoroughly. For regular maintenance, use a pH-neutral cleaner.
What's the best homemade grout cleaner?
A paste of baking soda and hydrogen peroxide is effective and gentle. For tough stains, add a few drops of dish soap. Avoid mixing bleach with vinegar or ammonia.
How long does grout sealer last?
Most sealers last 6–12 months depending on foot traffic and moisture. Reapply when water no longer beads on the grout surface.
Conclusion
Cleaning floor tile grout doesn't have to be a dreaded chore. With these 13 steps, you can tackle any level of grime and keep your floors looking fresh. Start with the simplest method and work your way up—you might be surprised how much a little baking soda and elbow grease can do.
Once your grout is clean, make sealing and quick spot cleaning part of your routine. That way, the next deep clean will be even easier. Your floors will thank you, and so will your guests.