How to Clean Tile Grout Floors in 15 Simple Steps Fast
That dingy gray between your tiles can make the whole floor look dirty, even after you've mopped. Grout is porous and traps dirt deep, but you don't need harsh chemicals or a pro to fix it.
These 15 steps use simple tools and pantry staples to get grout bright again fast. We'll start with the quickest wins and work up to stubborn stain solutions.
Each step is practical, budget-friendly, and designed to save you effort. By the end, your floors will look like new without the elbow grease.
1. Clear the Floor Completely
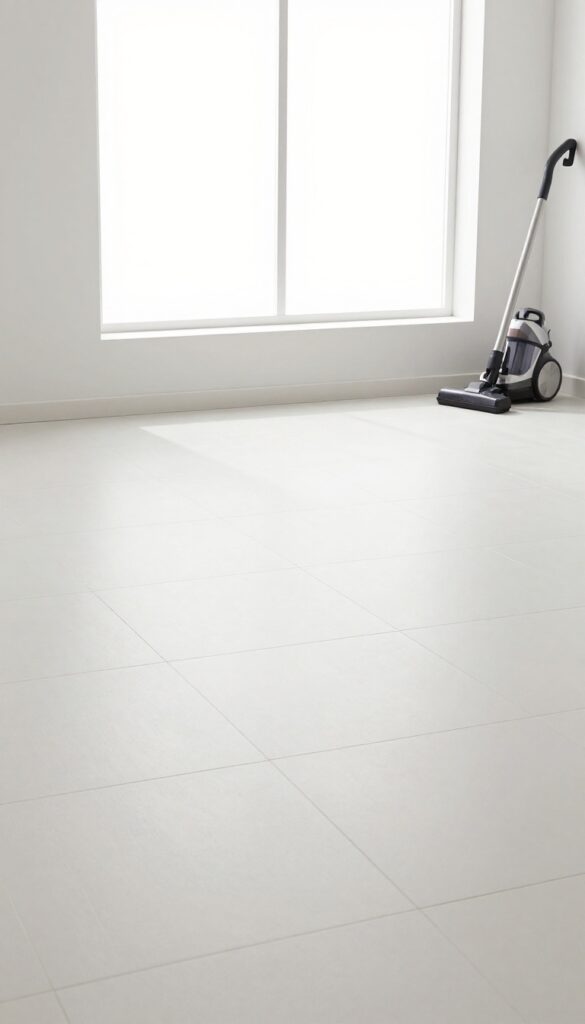
Before you can make grout look new, you need a blank slate. Furniture, rugs, and random clutter only get in the way and hide the dirtiest spots. Taking a few minutes to clear everything out will save you time and frustration later.
Start by moving all furniture—chairs, tables, even heavy pieces like sofas if possible. Slide them into another room or push them to one side if you're working in sections. Roll up area rugs and bath mats, and pick up small items like plant pots, trash cans, or shoe racks.
Sweep or vacuum the bare floor to remove loose dust and debris. This step ensures you can see every grout line and work without obstacles. A clear floor also helps cleaning solutions reach the grout without interference, so you get better results with less effort.
Why A Clear Floor Matters
Grout lines are narrow and easy to miss when furniture blocks your view. Clearing the floor lets you spot stains, mold, or discoloration you might otherwise overlook. It also prevents cleaning products from splashing onto furniture legs or rug edges, which could cause damage.
How To Move Heavy Items Safely
For heavy furniture, use furniture sliders or a dolly to protect your floors and your back. If you can't move a piece entirely, at least shift it enough to access the grout underneath. Place cardboard or old towels under legs to avoid scratches when you slide them back.
Don't Forget The Corners And Edges
Baseboards, corners, and areas under cabinets often collect hidden grime. Once the floor is clear, run a vacuum crevice tool along edges to pull out dust and hair. This prep work makes the actual cleaning much more effective.
2. Dry Vacuum or Sweep Thoroughly
You might be tempted to grab a mop and start scrubbing right away. But that's a mistake. Any loose dirt or dust on the surface will turn into a muddy paste when you add water, making the job harder and leaving grout looking worse.
Why Dry Cleaning Matters
Grout is porous, so it acts like a sponge. When you wet the floor without removing debris first, you're basically pushing dirt deeper into the pores. A dry vacuum or sweep lifts that grit away so your cleaning solution can actually reach the grout.
Best Tools For The Job
A vacuum with a brush attachment works great for corners and edges. For larger areas, a stiff-bristle broom is faster. If you have a dust mop, that works too.
Just make sure you get into every crevice where crumbs and hair hide.
Don't Forget The Baseboards
Dust loves to cling to baseboards and along the wall-floor joint. Give those areas a quick once-over with a vacuum crevice tool or a dry cloth. It takes an extra minute but prevents that dust from washing down into your grout later.
3. Mix a Baking Soda Paste
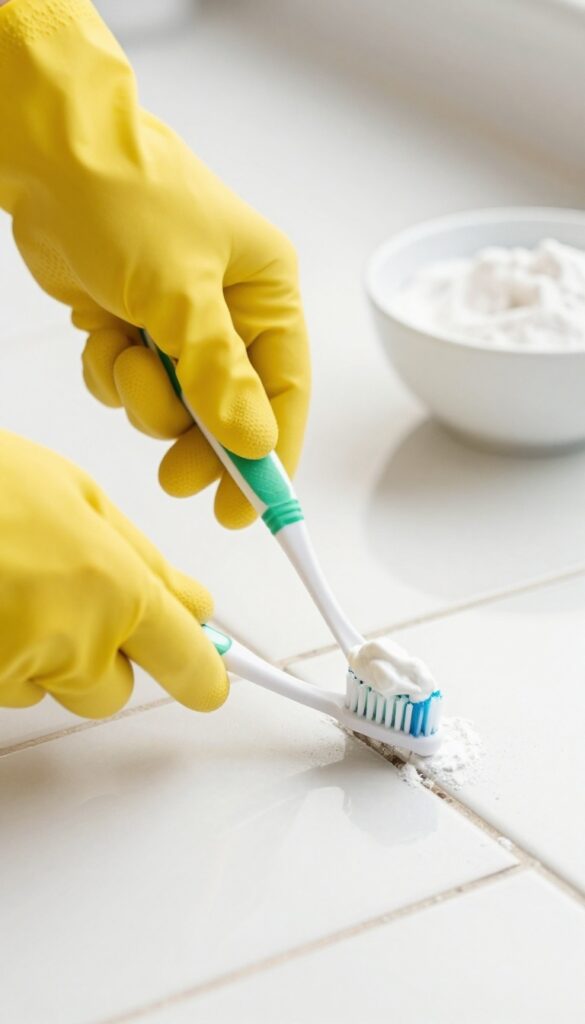
Baking soda is a gentle abrasive that works wonders on grout without damaging your tiles. When you mix it with water, it forms a thick paste that clings to the porous grout lines and lifts dirt and stains as you scrub. This simple pantry staple is safe, cheap, and surprisingly effective for most everyday grime.
To make the paste, combine about ½ cup of baking soda with 2–3 tablespoons of water in a small bowl. Stir until it reaches a spreadable consistency—like toothpaste or slightly thicker. You want it to stay put on vertical surfaces and not drip.
Apply the paste directly onto the grout lines using an old toothbrush, a grout brush, or even your finger (wear gloves if you prefer). Let it sit for 5–10 minutes so the baking soda can start breaking down the dirt. Then scrub in a circular motion with a stiff brush.
The paste will turn gray as it picks up grime. Rinse with water and a damp cloth, then dry with a towel. For extra stubborn spots, add a splash of white vinegar to the paste—but test on a hidden area first, as vinegar can etch some natural stone tiles.
Why Baking Soda Works
Baking soda has a mild alkaline pH and fine crystalline structure that acts as a gentle scrub. It breaks down greasy soil and organic stains without scratching ceramic, porcelain, or glass tiles. Unlike bleach or ammonia, it won't produce harsh fumes or discolor colored grout.
Pro Tips For Application
Work in small sections—about 2 square feet at a time—so the paste doesn't dry out before you scrub. Use a dedicated grout brush or an old toothbrush with firm bristles. If the paste is too thick, add a few more drops of water; if too runny, add more baking soda.
When To Add Vinegar
For heavy stains, spray a 1: 1 vinegar-water solution over the baking soda paste after it sits. The fizzing reaction helps lift deep grime. But skip this on natural stone grout—vinegar can etch the surface.
Always rinse thoroughly after using vinegar.
4. Apply the Paste to Grout Lines
Now that your baking soda paste is mixed to a thick, spreadable consistency, it's time to put it to work. This step is where the magic happens, but how you apply the paste matters more than you might think. Getting it deep into the porous grout is key to lifting that embedded grime.
Use a small brush or your finger to press the paste into the grout, focusing on heavily soiled areas. A stiff-bristled toothbrush or a grout brush works perfectly for working the paste into the lines. For larger sections, you can use a putty knife or even a gloved finger to smear the paste along the grout lines, making sure it fills every crevice.
Don't be shy—apply a generous layer so the paste sits on top of the grout, not just smeared across the tiles. Let it sit for 10–15 minutes to break down the dirt before scrubbing.
Choosing The Right Applicator
A small, stiff brush gives you the most control and gets the paste deep into the grout. A toothbrush works great for tight spots, while a grout brush with a handle saves your knees. Avoid soft-bristled brushes—they won't push the paste into the pores effectively.
How Much Paste To Use
Apply enough paste so the grout lines are completely covered and the paste is slightly mounded. You want a thick layer that won't dry out too fast. If the paste looks thin or translucent, add more baking soda to thicken it up.
Letting The Paste Sit
After applying, let the paste sit for 10–15 minutes. This gives the baking soda time to work on the dirt. For really stubborn stains, you can leave it on for up to 30 minutes, but don't let it dry completely—it should still be damp when you scrub.
5. Spray with Vinegar Solution
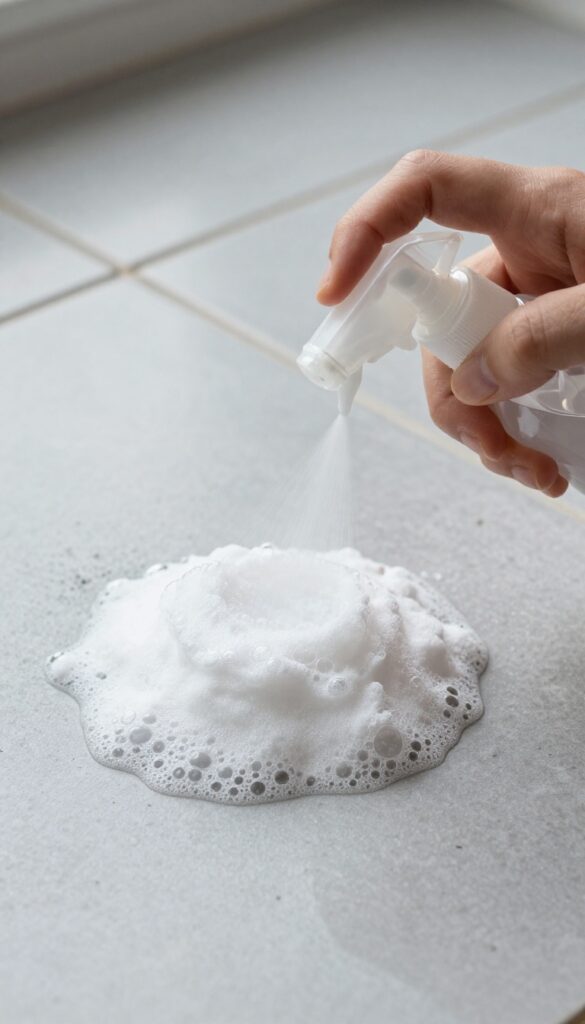
Once the baking soda paste has sat long enough, it's time to activate it with vinegar. The fizzy reaction that follows is more than just fun to watch—it helps lift dirt and grime out of the porous grout. This step turns a simple paste into a deep-cleaning powerhouse.
Fill a spray bottle with equal parts white vinegar and water. Mist the solution generously over the baking soda paste, covering all the areas you applied it to. You'll see bubbles and fizz immediately as the vinegar reacts with the baking soda.
This chemical reaction helps break down stubborn stains and loosen embedded dirt. Let it sit for 5 to 10 minutes while the fizzing does the work.
Why The Fizz Helps
The fizzing action is a mild form of mechanical cleaning. As the bubbles form and pop, they dislodge dirt particles from the grout's surface. This makes the next scrubbing step much easier and more effective.
Don't Let It Dry Out
Keep an eye on the mixture while it sits. If it starts to dry, give it another light mist of the vinegar solution. You want the paste to stay damp and active for the full 5 to 10 minutes.
Vinegar Safety Tips
White vinegar is safe for most tile types, but avoid using it on natural stone like marble or travertine, as the acid can etch the surface. If you're unsure, test on a small hidden area first.
6. Let It Sit for 5–10 Minutes
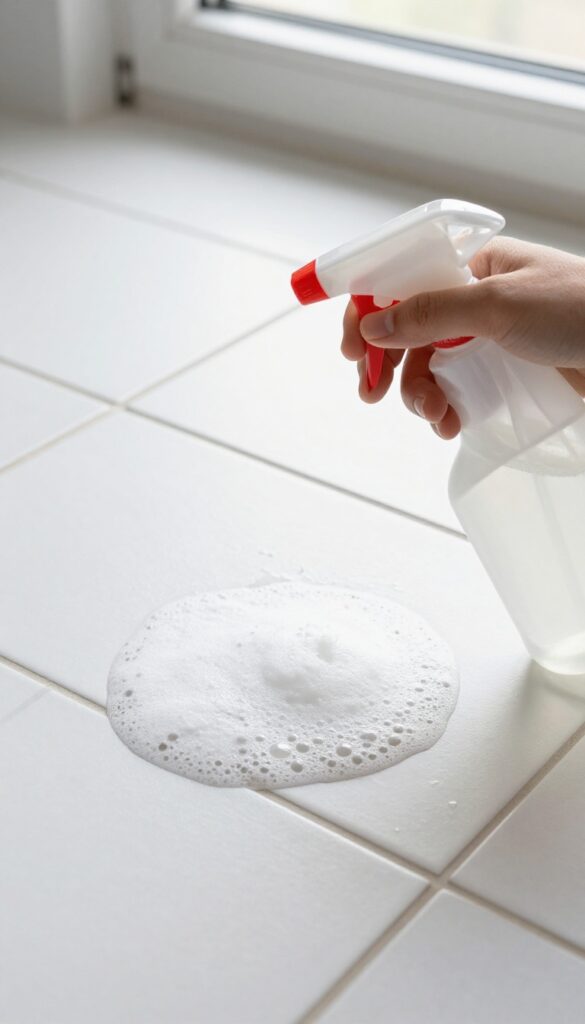
Patience is a secret weapon when cleaning grout. After you've applied the vinegar and watched it fizz, resist the urge to scrub immediately. That bubbling reaction is working hard to break down grime, but it needs time to penetrate the porous grout lines.
Letting the mixture sit for several minutes makes the next scrubbing step far more effective.
Why The Wait Matters
Grout is like a sponge—it soaks up dirt and stains deep into its surface. The fizzy reaction between baking soda and vinegar creates carbon dioxide bubbles that help lift particles out of those tiny pores. If you scrub too soon, you only remove surface grime and miss the embedded dirt.
Giving it 5–10 minutes allows the solution to dissolve stubborn residue, so you get cleaner lines with less effort.
Don't Let It Dry Out
While you want the mixture to dwell, you don't want it to dry completely. If the paste starts looking crusty or flaking off, it's lost its cleaning power. For larger areas, work in sections and spritz a little more vinegar on spots that look dry.
Keep the grout lines visibly damp but not flooded. A spray bottle makes this easy to manage without over-wetting the tiles.
What To Do While You Wait
Use this downtime wisely. Prep your scrubbing tools—grab a stiff-bristled brush, an old toothbrush for tight corners, and a bucket of warm water for rinsing. If you're cleaning multiple sections, you can apply the mixture to the next area while the first one sits.
Just keep track of timing so no section sits too long and dries out.
7. Scrub with a Grout Brush or Old Toothbrush
Now it's time to get physical. A good scrub is what really lifts the dirt from those porous grout lines. You don't need a fancy tool—a stiff-bristled grout brush or even an old toothbrush works perfectly.
The key is to use firm, circular motions that work the cleaning solution deep into the grout.
Scrubbing is where the magic happens. The friction dislodges grime that soaking alone can't touch. Focus on one small section at a time, applying steady pressure.
You'll see the grout lighten as you go. For extra stubborn spots, dip the brush in your cleaning solution or a little baking soda paste to boost abrasion.
Choose The Right Brush
A grout brush has stiff bristles and a long handle to save your knees. If you don't have one, an old toothbrush works just as well for tight spots. Avoid wire brushes—they can scratch tiles.
Look for nylon bristles that are tough on grout but gentle on ceramic.
Master The Motion
Use small, circular scrubbing motions rather than back-and-forth. This helps the bristles get into every pore. Apply firm pressure, but don't grind so hard that you damage the grout.
You'll feel the brush grab as dirt loosens. Rinse the brush occasionally to avoid redepositing grime.
Work In Sections
Divide your floor into manageable areas—about 2×2 feet each. Scrub each section thoroughly before moving on. This prevents the cleaning solution from drying out and keeps your effort focused.
You'll see immediate results, which is super satisfying and keeps you motivated.
8. Rinse with Clean Water
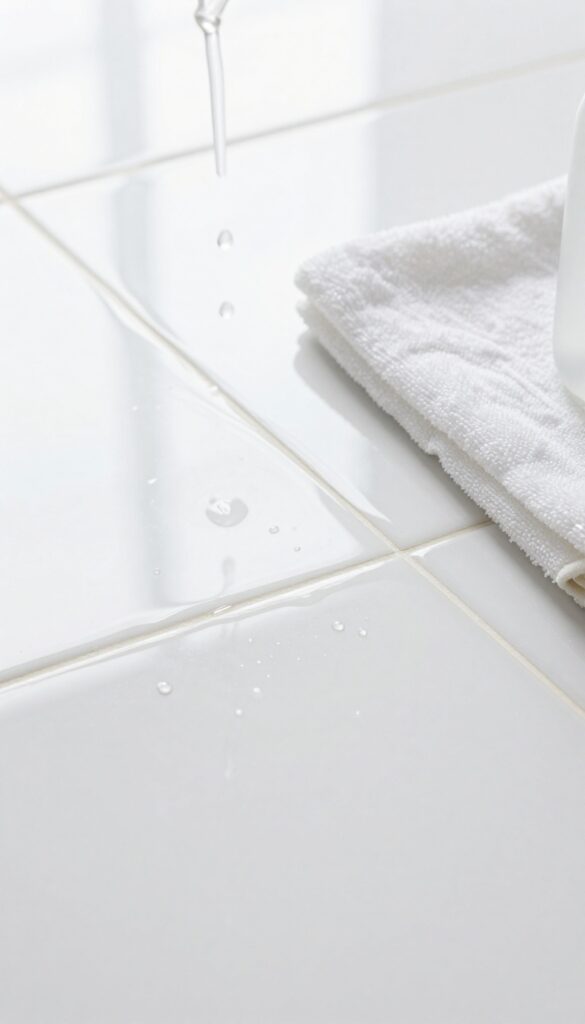
After all that scrubbing and chemical action, your grout might look cleaner, but leftover paste and vinegar can leave a sticky film that attracts dirt right back. Rinsing thoroughly is the final step to reveal bright, residue-free grout. Don't skip it—this simple rinse makes all the difference in how long your clean floors last.
Grab a clean bucket of warm water and a fresh mop or microfiber cloth. Go over the entire floor, focusing on the grout lines, to lift away any remaining baking soda paste and vinegar solution. Change the water if it gets cloudy, and do a second pass with plain water to ensure no residue is left behind.
For stubborn spots, use a spray bottle with clean water to blast the grout lines directly, then wipe with a dry cloth. Let the floor air dry completely before walking on it or applying any sealer.
Why Rinsing Matters
Baking soda and vinegar react to form water and sodium acetate, but if not rinsed, the sodium acetate can leave a sticky, dull film. This residue attracts dust and dirt, making your grout look dirty again quickly. A thorough rinse removes all traces, leaving grout clean and ready to stay that way longer.
Best Tools For The Job
A microfiber mop or cloth is ideal because it picks up residue without leaving lint. Avoid using too much water, especially if your grout is old or cracked, as excess moisture can seep underneath and cause damage. A wet-dry vacuum can also be handy for sucking up dirty water from grout lines.
Drying After Rinsing
After rinsing, open windows or turn on fans to speed up drying. Standing water on grout can lead to mold or mildew growth. For best results, use a clean, dry towel to blot the grout lines, then let the floor air dry completely before sealing or walking on it.
9. Tackle Stubborn Stains with Hydrogen Peroxide
Some grout stains just won't budge with baking soda and vinegar alone. That's where hydrogen peroxide comes in. It's a mild bleach that lifts deep discoloration without the harsh fumes of chlorine bleach.
This method works especially well on white or light-colored grout. For darker grout, test in an inconspicuous spot first to make sure it doesn't lighten the color. Hydrogen peroxide is safe for most tile types, but avoid it on natural stone like marble or travertine.
Hydrogen peroxide is a powerful oxidizer that breaks down organic stains and kills mold spores. It's a go-to for those stubborn spots that make you want to give up. Here's how to use it effectively.
Apply And Let It Sit
Pour 3% hydrogen peroxide directly onto the stained grout lines. You can use a squirt bottle or a small brush to apply it precisely. Let it sit for about 10 minutes—this gives it time to penetrate and lift the stain.
You'll see it start to fizz as it works.
Scrub And Rinse
After 10 minutes, scrub the grout with a stiff brush. The stain should come off much easier now. Rinse the area with clean water and wipe away any residue.
If the stain is still visible, repeat the process or let the peroxide sit a bit longer next time.
Safety And Ventilation
Work in a well-ventilated area and wear gloves to protect your skin. Hydrogen peroxide can bleach fabrics, so avoid getting it on clothes or rugs. Keep it away from your eyes.
After rinsing, dry the floor to prevent new stains from forming.
10. Use a Steam Cleaner for Deep Grime
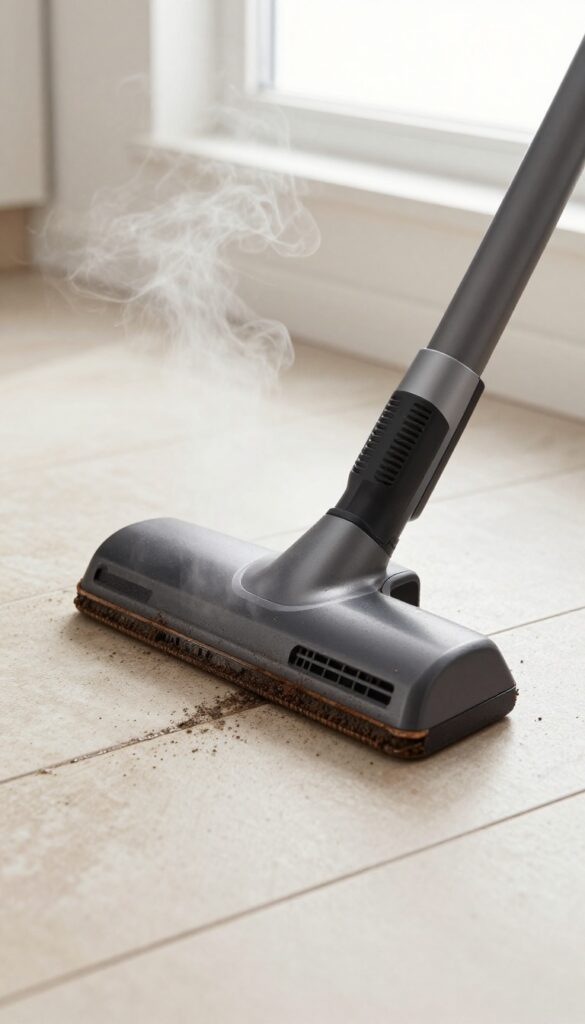
If you have a steam cleaner, this is the time to pull it out. The combination of high heat and pressurized steam can blast through years of embedded dirt in grout lines without any chemicals. It's especially effective on kitchen and bathroom floors where grease and soap scum have built up over time.
A steam cleaner works by heating water to around 200°F and forcing it out as vapor. When directed at grout lines, the steam loosens dirt and kills mold spores. The key is to move slowly along each line, letting the steam penetrate for a few seconds before moving on.
For best results, use the smallest nozzle attachment to concentrate the steam. After steaming, wipe away the loosened grime with a microfiber cloth. This method is safe for sealed and unsealed grout, but avoid it on damaged or crumbling grout.
Prepping Your Steam Cleaner
Fill the tank with distilled water to prevent mineral buildup. Attach the grout or detail brush if your model has one. Let it heat up fully before starting—usually 2-3 minutes.
Test on an inconspicuous area first to ensure the grout can handle the heat.
Steaming Technique
Work in small sections, about 2×2 feet at a time. Hold the nozzle at a 45-degree angle and move it slowly along the grout lines. Overlap each pass slightly to avoid missing spots.
Don't linger too long in one place to avoid damaging the grout.
Post-steam Wipe Down
After steaming, immediately wipe the area with a dry microfiber cloth to pick up the loosened dirt. If you see residue, mist the grout with water and wipe again. Let the floor dry completely before walking on it.
11. Dry the Floor Completely
Damp grout is a breeding ground for mold and mildew. After all that scrubbing and rinsing, the final step is to make sure the floor is bone-dry. Skipping this can undo all your hard work by letting new stains and musty odors take hold.
Once you've finished rinsing, grab a clean, dry microfiber towel or mop to soak up any standing water. For larger areas, you can also open windows or turn on fans to speed up air circulation. The goal is to get the grout completely dry within a few hours, not days.
Why Drying Matters
Grout is porous, so moisture seeps in deep. If left wet, it creates the perfect environment for mold spores to multiply. A thorough dry also prevents dirt from sticking to damp surfaces later.
Best Drying Methods
Use a clean, lint-free towel to blot the grout lines, then let the floor air-dry with good ventilation. For faster results, a fan or dehumidifier works wonders. Avoid walking on the floor until it's fully dry.
12. Seal the Grout (Optional but Recommended)
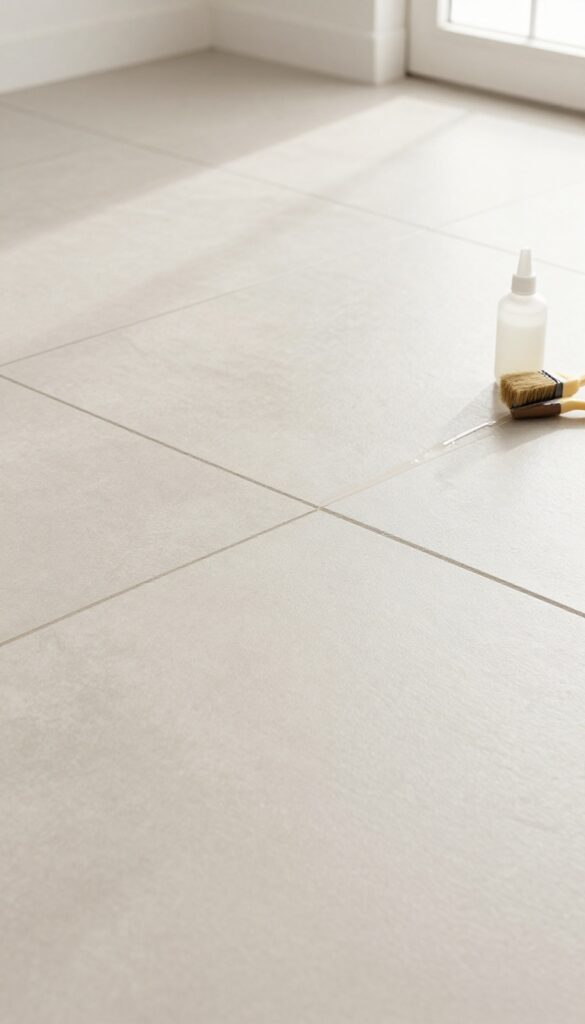
You've put in the work to get your grout clean—now keep it that way. Sealing grout creates a protective barrier that repels dirt, spills, and moisture, making future cleanings a breeze. It's an optional step, but if you want your floors to stay bright longer, it's worth the extra hour.
Why Seal?
Grout is porous, like a sponge. Without sealer, every drop of spilled juice or muddy footprint soaks right in. A good sealer fills those tiny pores so liquids bead up on the surface instead.
That means less scrubbing and fewer stains down the road.
Choosing The Right Sealer
You'll find two main types: penetrating sealers that soak into the grout, and membrane-forming sealers that sit on top. For most floors, a penetrating sealer is best—it doesn't change the look or feel and lasts longer. Check the label to make sure it's compatible with your grout type (sanded or unsanded).
How To Apply
First, make sure the grout is completely dry—wait at least 24 hours after cleaning. Apply the sealer with a small brush or applicator bottle, working it into the grout lines. Wipe away any excess from the tile surface immediately with a clean cloth.
Let it cure for the time recommended on the bottle (usually a few hours). Avoid walking on the floor until it's fully dry.
13. Maintain with Weekly Sweeping and Mopping
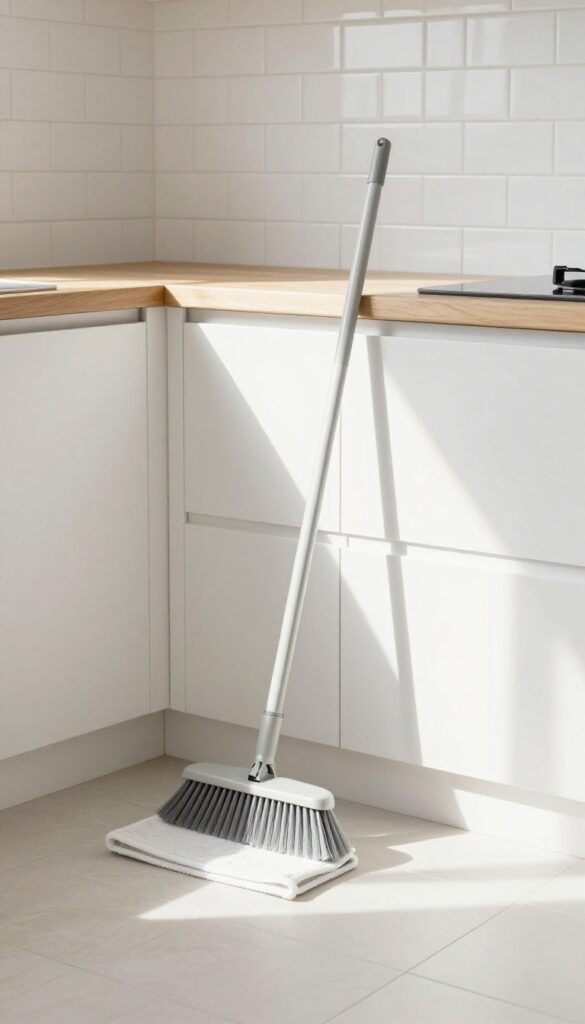
Once your grout is clean, the real trick is keeping it that way without another deep scrub session. A simple weekly routine stops dirt from settling into the porous grout lines in the first place. This isn't about heavy labor—just consistent, gentle care that pays off big time.
Regular sweeping removes the gritty particles that act like sandpaper on grout, while damp mopping with a pH-neutral cleaner lifts everyday grime before it has a chance to stain. Avoid acidic or alkaline cleaners that can etch or discolor grout over time. A microfiber mop is ideal because it traps dirt without leaving excess moisture that seeps into grout lines.
Stick to a schedule—once a week is usually enough for most homes, but high-traffic areas might need a quick mid-week sweep.
Sweep First, Mop Second
Always sweep or vacuum before you mop. Loose dirt and hair turn into muddy streaks when wet, and they can grind grout down over time. Use a soft-bristle broom or a vacuum with a hard-floor setting to avoid scratching tiles.
Choose The Right Cleaner
Not all floor cleaners are grout-friendly. Look for a pH-neutral cleaner specifically labeled safe for grout and tile. Steer clear of bleach, ammonia, or vinegar-based products for routine mopping—they can weaken grout and dull tile shine.
Damp Mop, Not Wet
Excess water is grout's enemy. Wring your mop until it's just damp, not dripping. Standing water in grout lines invites mold and mildew.
A microfiber mop head works best because it holds moisture without releasing too much.
14. Spot Clean Spills Immediately
That glass of red wine or splash of coffee might seem harmless if you wipe it up in a few minutes. But grout is like a sponge—it soaks up liquids fast, and once they set, those stains are tough to reverse. The easiest way to keep grout looking fresh is to catch spills before they have a chance to penetrate.
Blot spills as soon as they happen to stop liquids from seeping into porous grout and causing stains. A quick response can save you from scrubbing later.
Blot, Don't Wipe
When a spill happens, grab a clean cloth or paper towel and press down firmly to absorb the liquid. Wiping can spread the spill deeper into the grout lines. For thicker spills like sauce or grease, scrape up the excess first with a spatula or spoon, then blot the residue.
Use A Neutral Cleaner
After blotting, spray the area with a pH-neutral cleaner or a mix of water and a few drops of dish soap. Gently dab with a cloth—no scrubbing needed. Avoid vinegar or bleach for spot cleaning because they can etch grout or discolor it over time.
Rinse with a damp cloth and dry.
Keep A Spot-clean Kit Handy
Store a small spray bottle of water with a drop of dish soap and a microfiber cloth under the sink or in a nearby cabinet. When a spill happens, you'll have everything ready in seconds. This habit alone can prevent most grout stains from ever setting in.
15. Refresh Grout Color with a Pen or Paint
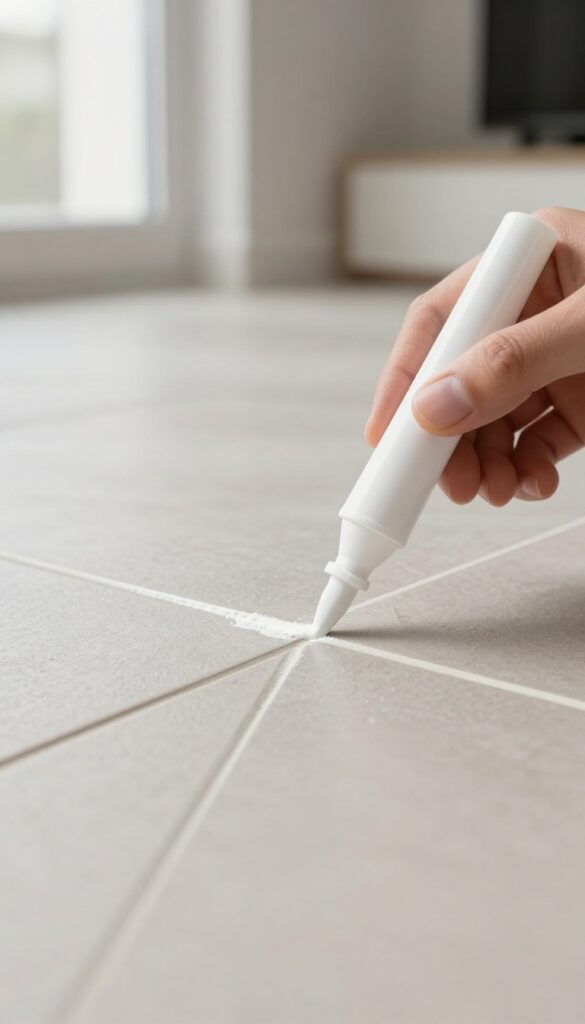
After all that scrubbing, some grout lines may still look faded or uneven. A grout colorant pen or paint is the easiest way to give them a uniform, fresh appearance. This quick fix can make your entire floor look brand new without retiling.
Why Grout Colorants Work
Grout colorants are specially formulated to penetrate porous grout and bond with it, creating a waterproof seal. They come in a wide range of colors, so you can match your existing grout or even change the color entirely. Unlike paint, they won't peel or flake off with foot traffic.
How To Apply A Grout Pen
Start with clean, dry grout. Shake the pen well and test it on an inconspicuous area. Then, simply draw along the grout lines, pressing firmly to release the colorant.
Wipe away any excess from the tile surface immediately with a damp cloth. Let it dry for at least 24 hours before walking on it.
Using Grout Paint For Larger Areas
If you have a lot of grout to cover, a small paintbrush and grout paint might be faster. Apply the paint carefully along the lines, using a steady hand. For best results, use painter's tape to protect the tiles.
Two thin coats usually provide better coverage than one thick coat.
Maintenance After Coloring
Once your grout is recolored, it's sealed and easier to clean. Avoid harsh scrubbing for the first week to let the colorant cure fully. After that, regular sweeping and damp mopping will keep it looking fresh for months or even years.
FAQ
Can I use bleach to clean grout?
Yes, but use it sparingly. Bleach can lighten grout and damage tile over time. Dilute with water and rinse thoroughly.
How often should I clean tile grout floors?
Deep clean grout every 3–6 months, with regular sweeping and damp mopping weekly to prevent buildup.
What is the best homemade grout cleaner?
A paste of baking soda and water, followed by a spray of vinegar, is highly effective and safe for most tiles.
Do I need to seal grout after cleaning?
Sealing is recommended to protect grout from stains and moisture. It makes future cleaning much easier.
Can I use a steam mop on grout?
Yes, steam mops are safe for sealed grout and tiles. Avoid using on unsealed or damaged grout to prevent moisture penetration.
Conclusion
Once you've worked through these 15 steps, your tile grout should look noticeably cleaner without breaking your budget or your back. The key is matching the method to the mess—start mild, then go stronger only if needed. Make sealing and quick spot cleaning part of your routine, and you'll stretch the time between deep cleans.
A little regular maintenance saves you from hours of scrubbing later. Now enjoy walking on fresher, brighter floors every day.