How to Clean Out Your Closet in 15 Decluttering Stages
Your closet doesn't have to be a black hole of chaos. With 15 focused stages, you can transform it from overwhelming to organized without losing your mind.
This isn't about perfection—it's about practical steps that actually work for real people with busy lives. Start with an empty floor and end with a closet that makes getting dressed easier every single day.
Ready to reclaim your space? Let's walk through each stage together.
1. Empty Your Entire Closet
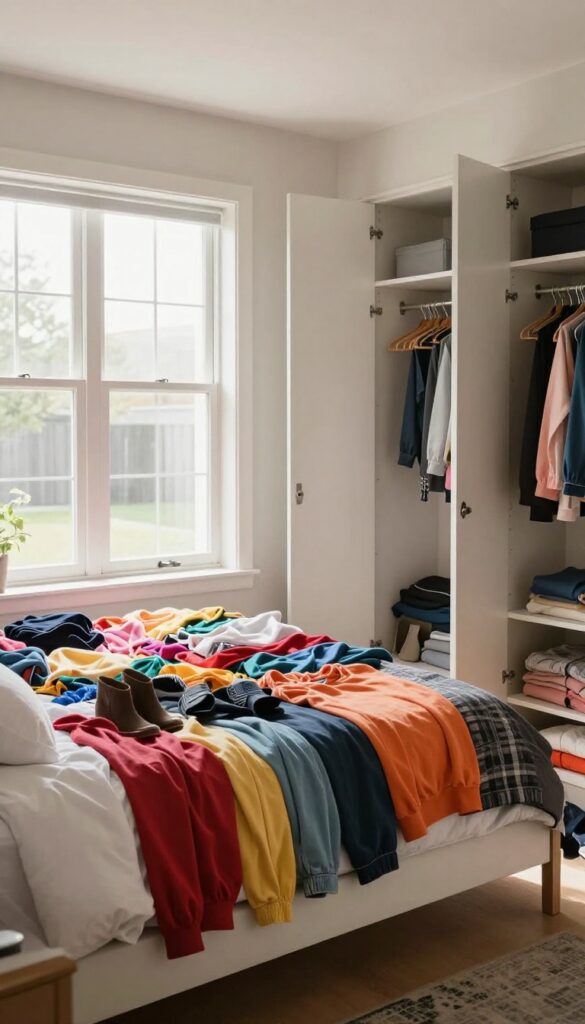
Before you can organize anything, you need to see what you're working with. Pulling everything out—clothes, shoes, accessories, and random items—gives you a blank slate. It forces you to confront every single piece you own, which is the first step toward making real decisions.
Start by clearing your closet completely. Lay everything on your bed, floor, or a clean surface. This might feel overwhelming at first, but trust the process.
Seeing everything at once helps you spot duplicates, forgotten items, and pieces that don't fit your life anymore.
Why Starting From Scratch Works
When you empty the entire space, you reset your mental connection to your closet. You're no longer working around clutter—you're building from zero. This approach also makes it easier to clean shelves, vacuum corners, and wipe down surfaces before anything goes back in.
What To Do With The Pile
As you pull items out, create separate piles or zones: keep, donate, repair, and trash. Don't overthink it yet—just group things loosely. The goal here is to get everything out in the open so you can move to the next stage with a clear view.
2. Sort Into Three Piles: Keep, Donate, Trash
Now that everything is on the floor, it's time to make decisions. The three-pile method is simple but forces you to be honest. No maybes, no "I'll think about it"—just three clear categories.
Grab three large bags or boxes and label them Keep, Donate, and Trash. As you pick up each item, ask yourself: Do I wear this regularly? Does it fit?
Is it in good condition? If the answer is no to any, it doesn't belong in the Keep pile. Be ruthless—if it's stained, torn, or worn out, it's Trash.
If it's still usable but not for you, it's Donate. Try not to overthink; a quick gut check usually works best.
The Honesty Rule
It's easy to cling to items with sentimental value or that you spent good money on. But if you haven't worn it in a year, you probably never will. Be honest about your lifestyle and what you actually reach for.
That dress you love but never wear? It's time to let it go.
Handling The Gray Area
Some items feel hard to categorize—like a shirt that's almost perfect but has a small flaw. If it's fixable (like a missing button), put it in a separate "mend" pile. If not, it's trash.
For items that are still nice but not your style, donate without guilt. Someone else will love them.
Keep Your Keep Pile Clean
Once an item lands in Keep, don't second-guess it. Keep moving. The goal is to end up with a pile of clothes you actually wear and love.
If you find yourself hesitating, it probably doesn't belong there.
3. Try On Questionable Items

Some pieces in your closet are obvious keepers or goners, but others sit in a gray zone. You might have held onto a dress for years without wearing it, or kept a pair of jeans that never quite fit right. The only way to decide is to put them on your body and see how they actually feel.
Check The Fit And Comfort
When you try on a questionable item, start with the basics: does it fit well? Not just sort of okay, but well. If you have to suck in, tug, or adjust constantly, it's not a keeper.
Also pay attention to comfort—if the fabric itches, the waistband digs, or the sleeves restrict movement, your body is telling you something. Trust it.
Notice How It Makes You Feel
Beyond fit, consider your emotional reaction. Does wearing this piece make you feel confident, happy, or at ease? Or does it bring up feelings of frustration, self-criticism, or obligation?
If it doesn't spark joy or serve a clear purpose (like a uniform or formal wear you actually need), it's probably time to let it go. Your closet should lift you up, not weigh you down.
Decide Based On Reality, Not Fantasy
Be honest about whether you'll actually wear this item. That blazer you bought for a future job interview that never happened? The heels you plan to break in someday?
If you haven't worn it in the past year and don't have a concrete event coming up, chances are you never will. Letting go of aspirational items frees up space for clothes that fit your real life.
4. Clean the Empty Closet
With everything pulled out and sorted, your closet is finally bare. Before you start putting things back, take a moment to clean the space from top to bottom. Dust, dirt, and grime accumulate in corners and on shelves, and a fresh start makes your organized closet feel even better.
Cleaning an empty closet is quick and satisfying. You can see every surface clearly and reach every spot without obstacles. A thorough cleaning also helps prevent musty odors and keeps your clothes fresher longer.
Vacuum Every Surface
Start by vacuuming the floor, baseboards, and any shelves or cubbies. Use a crevice tool to get into corners and along the edges where dust bunnies hide. If you have carpet, go over it slowly to pick up embedded dirt and debris.
Wipe Down Shelves And Rods
Dampen a microfiber cloth with a gentle cleaner (like diluted dish soap or a vinegar-water mix) and wipe down all shelves, rods, and brackets. Pay extra attention to the top shelf, which often collects a surprising amount of dust. Let everything dry completely before putting items back.
Freshen The Space
Once surfaces are dry, consider a quick deodorizing step. You can place a small bowl of baking soda in the closet overnight or use a fabric refresher spray lightly on the walls and floor. Avoid heavy fragrances that might transfer to clothes.
5. Assess Your Storage Needs
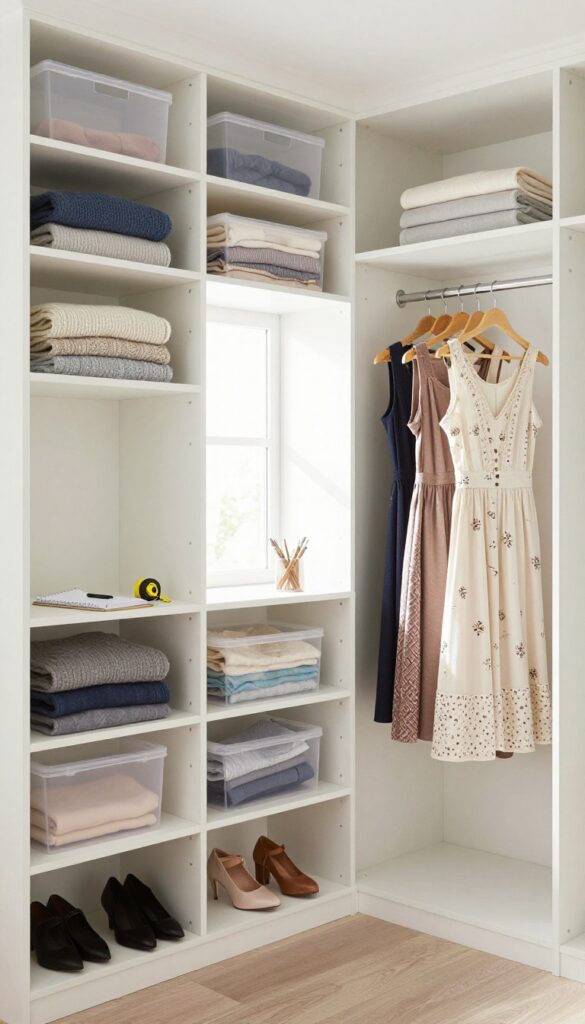
Now that you've sorted through everything and know what's staying, it's time to think about how to store it all. This stage is about identifying what storage tools will make your closet work better for you. Resist the urge to buy anything yet—just make a list.
Take Inventory Of What You're Keeping
Walk through your keep pile and note the types of items you have. Lots of folded sweaters? You might need shelf dividers.
Hanging dresses and blouses? Quality hangers will save space. Shoes scattered everywhere?
A tiered rack or over-door organizer could help. Write down what you see.
Measure Your Space
Grab a tape measure and note the dimensions of your closet—height, width, and depth of shelves, rods, and floor space. This prevents buying bins that don't fit. Also check if you have room for add-ons like a second rod or wall hooks.
List Potential Solutions
Based on your inventory and measurements, jot down specific items that could solve your storage challenges. Think clear bins for visibility, velvet hangers to prevent slipping, or drawer organizers for accessories. Keep the list handy for when you're ready to shop.
6. Group Like Items Together
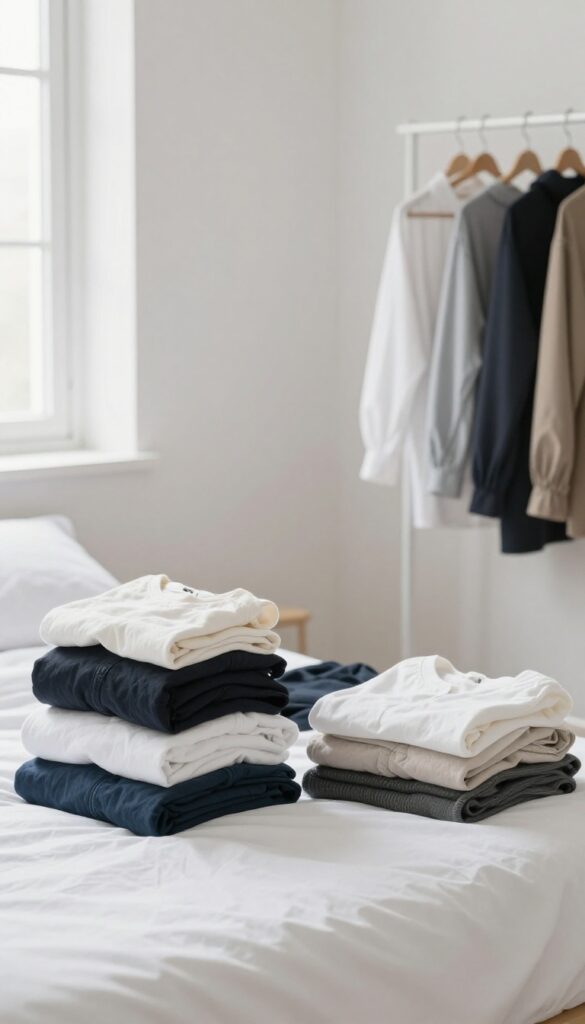
Once you've decided what's staying, it's time to bring order to your keep pile. Sorting your clothes by category—tops, bottoms, dresses, outerwear—lets you see exactly how many of each type you own. This simple step prevents you from rebuying items you already have and makes it much easier to figure out where everything should live.
Why Grouping Matters
When you group like items, you instantly spot gaps and duplicates. You might realize you have five black turtlenecks but no white button-down. That clarity helps you shop smarter and dress faster.
Plus, it's the foundation for any good closet system—whether you fold, hang, or roll.
How To Sort Efficiently
Start with the biggest categories: tops, bottoms, dresses, outerwear, and shoes. Then break those down further—short sleeves vs. long sleeves, jeans vs. trousers. Use your bed or a clean section of floor to lay out each group.
Keep accessories like scarves and belts separate too.
What To Do With The Sorted Piles
Now that everything is grouped, you can decide on placement. Heavier items like sweaters go on shelves; delicate blouses belong on hangers. Grouping also makes it easy to rotate seasonal pieces—store off-season categories in bins or high shelves.
The result is a closet that makes sense every time you open it.
7. Choose a Hanging System
How you arrange your hanging clothes can make or break your daily routine. A consistent system saves time and keeps your closet looking tidy. Whether you prefer color coordination, grouping by type, or organizing by season, pick one method and stick with it.
The key to a functional hanging system is consistency. Once you decide on a method, maintain it as you add new items. This prevents clutter from creeping back in and makes putting away laundry a breeze.
By Color
Arranging clothes by color creates a visually pleasing rainbow effect. Start with white, then move through light colors to dark. This system makes it easy to find matching pieces and gives your closet a curated look.
By Type
Grouping by type—like all shirts together, all pants together—is practical for grabbing what you need quickly. Within each type, you can further organize by sleeve length or formality.
By Season
Seasonal arrangement works well if you have limited space. Keep current-season clothes at eye level and store off-season items higher up or in another area. Rotate twice a year to keep things relevant.
8. Fold and Store Sweaters and Delicates
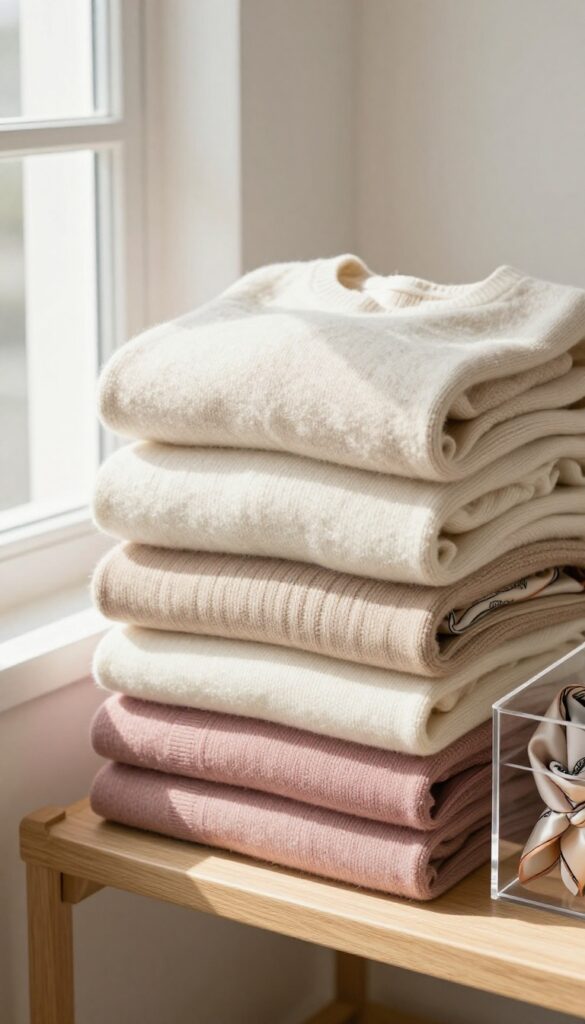
Not everything belongs on a hanger. Heavy knits, cashmere, and delicate fabrics can stretch out or lose their shape if hung for too long. Folding these items properly keeps them looking new and makes your closet more functional.
Why Folding Beats Hanging For Certain Fabrics
Sweaters and delicates are prone to shoulder bumps and stretching when hung. Folding distributes the weight evenly and prevents permanent damage. Plus, folded stacks are easier to see and grab without disturbing other items.
The Best Way To Fold Sweaters
Lay the sweater flat, fold the sleeves inward, then fold the body in thirds. For bulky knits, roll them instead to save space and reduce creases. Store in a drawer or on a shelf where stacks are no more than three high to avoid crushing.
Using Shelf Dividers And Bins
Shelf dividers keep stacks upright and prevent toppling. Clear bins work well for delicates like lingerie or silk scarves, protecting them from snags. Label bins by category so you can find what you need without rummaging.
9. Organize Shoes by Frequency of Use
Shoes can quickly turn into a jumbled mess if you don't have a system. The trick is to arrange them based on how often you actually wear them. This way, your go-to pairs are always within easy reach, while seasonal or special-occasion shoes stay out of the way until you need them.
Start by grouping your shoes into three categories: daily wear, occasional wear, and seasonal or rarely worn. Daily shoes—like your work sneakers or favorite boots—should live at eye level or on a low, accessible rack. Occasional shoes can go on a mid-level shelf or in a clear bin.
Seasonal pairs, such as winter boots or beach sandals, belong on the highest shelf or in labeled storage boxes under the bed. Keep each pair together, and consider using shoe trees or dividers to maintain shape. This system saves time every morning and keeps your closet floor clutter-free.
Sort By Wear Frequency
Pull out all your shoes and sort them into three piles: wear weekly, wear monthly, and wear rarely. Be honest—if you haven't worn those heels in two years, they're probably rarely worn. This sorting step is quick but makes a huge difference in how functional your shoe storage becomes.
Assign Prime Real Estate
The most accessible spots in your closet—eye level shelves or a low rack near the door—should hold your daily shoes. Reserve mid-level shelves for occasional pairs. High shelves or storage bins are perfect for seasonal shoes.
This hierarchy ensures you're not digging through snow boots in July.
Keep Pairs Together
Nothing slows you down like hunting for a missing shoe. Use shoe racks that keep pairs side by side, or store each pair in a clear plastic bin. For boots, consider boot shapers to keep them upright and paired.
A simple rule: one shoe should never be far from its mate.
10. Corral Accessories
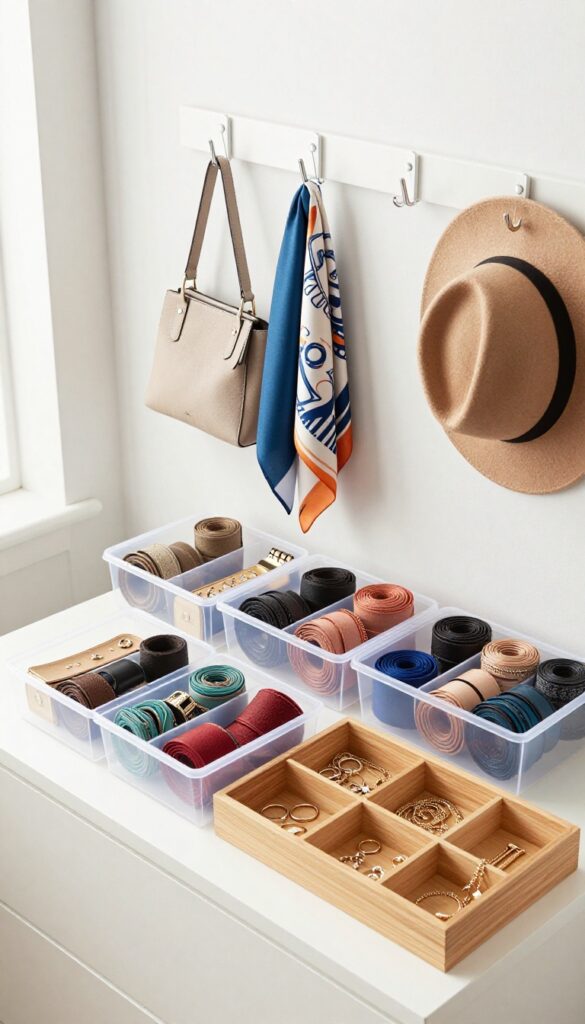
Accessories are the finishing touches that pull an outfit together, but they're also the easiest things to lose in a messy closet. Small items like belts, scarves, hats, and jewelry need a dedicated home so you can find them fast. The trick is to group them by type and use the right storage tools for each category.
Use Small Bins For Belts And Scarves
Belts and scarves can tangle into a knotty mess if tossed in a drawer. Clear plastic bins or fabric boxes with dividers keep them separate and visible. Roll each belt or scarf into a neat coil and stand them upright like files.
This way you can see every option at a glance without digging.
Hooks And Racks For Hats And Bags
Hats lose their shape if stacked, and bags get scuffed when crammed together. Install a row of sturdy hooks on the inside of your closet door or on an empty wall. Hang hats by the brim and bags by their straps.
For baseball caps, a simple over-the-door rack works wonders.
Drawer Organizers For Jewelry
Jewelry is the most delicate accessory and the easiest to tangle. Use compartmentalized trays or small ice cube trays inside a drawer to separate rings, earrings, and necklaces. For necklaces, a dedicated jewelry box with hooks or a small pegboard inside a drawer keeps chains from knotting.
11. Store Off-Season Items Out of the Way
Once your closet is streamlined, the next step is to make sure the clothes you don't need right now aren't taking up prime real estate. Off-season items—like bulky winter coats in July or sundresses in January—can crowd your daily space and make it harder to find what you actually wear. By packing them away smartly, you free up room for the season at hand and protect your clothes from dust and damage.
Storing off-season items is about more than just tossing them in a bin. You want easy access when the weather changes and peace of mind that your clothes are safe. Vacuum-seal bags are a game-changer for bulky items like sweaters and comforters—they shrink volume by up to 80%.
For delicate pieces, breathable fabric bins work better. Label everything clearly so you don't have to dig through boxes later. Store bins on high shelves, under the bed, or in a dedicated storage area.
Rotate your wardrobe twice a year, and you'll always have a closet that feels fresh and functional.
Choose The Right Storage Method
Not all off-season clothes need the same treatment. Heavy knits and winter gear do well in vacuum bags because they compress easily. Lighter items like summer dresses or linen pants can go in clear plastic bins with lids—stackable and see-through.
For anything delicate (silk, lace, wool), use breathable cotton or canvas bags to prevent moisture buildup. Avoid cardboard boxes; they attract pests and can warp over time.
Label Everything Clearly
Labeling might seem obvious, but it's easy to skip and regret later. Use a label maker or permanent marker on tape. Include the season, a brief list of contents (e. g. , “Winter sweaters – size M”), and the year you packed them.
This makes seasonal swaps a breeze. Bonus: snap a photo of the bin's contents and keep it on your phone for quick reference.
Maximize Your Storage Spots
High shelves are perfect for bins you only need twice a year. Under-bed storage is great for flat bins or vacuum bags. If you have a spare closet or a storage bench, use that.
Just make sure the area is clean, dry, and away from direct sunlight to prevent fading. Rotate your bins with the seasons—bring summer stuff down in spring, winter gear out in fall.
12. Create a 'Maybe' Box
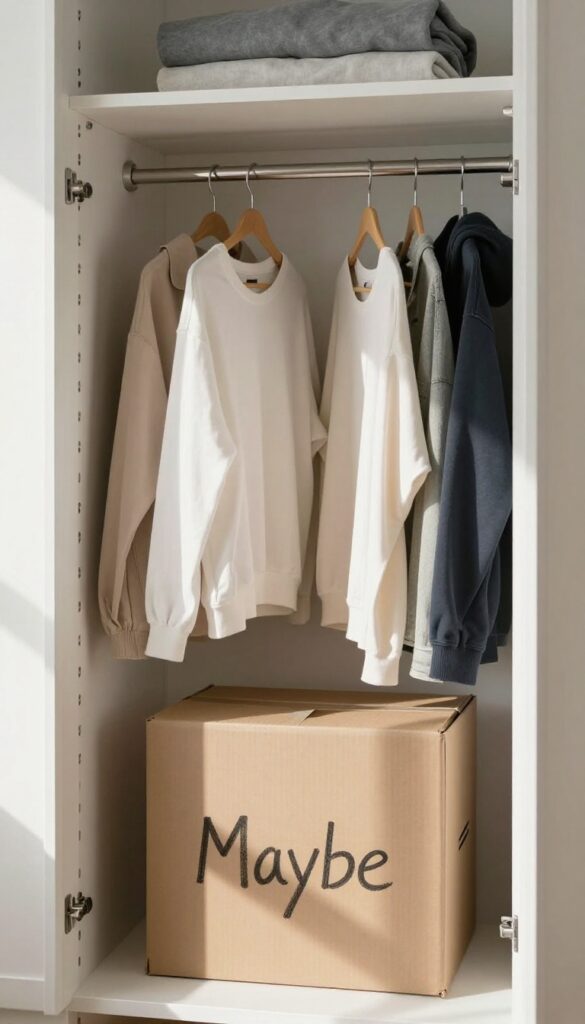
Even after all these stages, you might still have a few items you're on the fence about. That's totally normal. Instead of forcing a decision you're not ready to make, give yourself a grace period with a 'maybe' box.
Grab a sturdy box or bin and label it with a date three months from now. Toss in everything you're still unsure about—that dress you've worn once, the jeans that might fit again, the sweater your aunt gave you. Seal it up and stash it out of sight.
If you haven't opened it by the deadline, donate the whole box without peeking. This trick breaks the paralysis of indecision and lets you move forward without regret.
Set A Firm Deadline
Pick a specific date—write it on the box in big letters. Three months is ideal because it's long enough to forget what's inside but short enough to keep you accountable. Put a reminder on your phone for that day.
No Peeking Allowed
The magic of the maybe box works only if you don't open it early. If you're tempted, remember that the goal is to let go. If you truly needed something, you'd have reached for it by now.
Donate Without Opening
When the deadline arrives, resist the urge to check inside. Just grab the box and drop it off at a donation center. This final act builds trust in your decision-making and keeps your closet clutter-free.
13. Label Everything
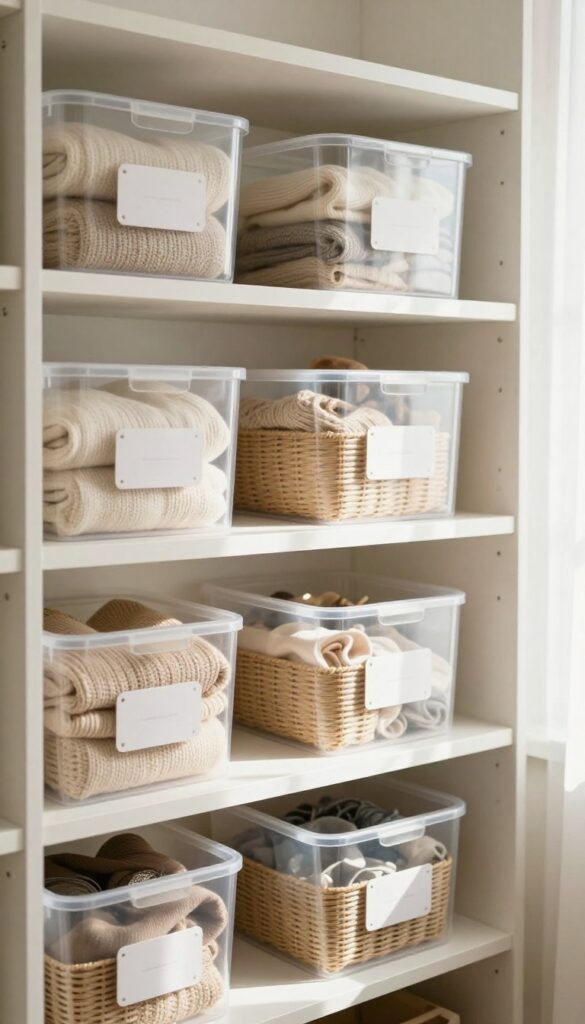
Labels are the unsung heroes of an organized closet. After you've sorted, folded, and hung everything, a simple label tells everyone—including future you—exactly where things belong. No more guessing, no more piles creeping back.
Labels turn your hard work into a lasting system. They're cheap, easy to apply, and they make maintenance effortless. Whether you use a label maker, printable tags, or handwritten chalk labels, the key is consistency.
Label every bin, shelf, and box so that putting things away becomes automatic.
Why Labels Matter
Without labels, even the best-organized closet can slide back into chaos. A label removes the mental load of remembering where each item goes. It also helps other family members—or a future you who's in a hurry—return things to the right spot without hesitation.
What To Label
Start with the big categories: sweaters, jeans, T-shirts, accessories. Then go deeper for bins: winter scarves, workout gear, sentimental items. Don't forget shelves for folded clothes and boxes for off-season storage.
The more specific, the better.
Labeling Tools And Tips
A label maker gives a clean, uniform look, but printable sticker labels work just as well. For a rustic touch, use chalkboard labels and a white chalk marker. Stick labels on the front of bins and on the edge of shelves so they're visible at a glance.
Keep a spare label sheet handy for when you add new categories.
14. Set Up a Daily Maintenance Routine
You've put in the work, and your closet looks amazing. Now the real challenge is keeping it that way. A daily maintenance routine is your secret weapon against clutter creeping back in.
Just two minutes each day can make all the difference.
The key is to make it a non-negotiable habit. Pick a consistent time—maybe right after you get dressed or before bed. Spend those two minutes putting things back where they belong.
Hang up that jacket, fold the scarf, and toss any stray items into their designated spots. It's quick, painless, and stops messes from piling up. Over time, this small daily reset becomes automatic, and your closet stays organized without any big cleanup sessions.
Why Two Minutes Works
Two minutes is short enough that you can't talk yourself out of it. It's also just enough time to tackle the small things that would otherwise accumulate. Think of it as a mini habit that builds consistency without feeling like a chore.
What To Do During Your Two Minutes
Focus on the three most common clutter culprits: shoes left out, hangers with no clothes, and items that ended up on the floor or a chair. Return shoes to their rack, remove empty hangers, and hang or fold any misplaced garments. That's it.
You'll be surprised how much order you can restore in such a short time.
Tie It To An Existing Habit
Anchor your new routine to something you already do daily, like brushing your teeth or making your morning coffee. After you brush your teeth, spend two minutes in your closet. This pairing makes it easier to remember and stick with until it becomes second nature.
15. Schedule Your Next Declutter Session
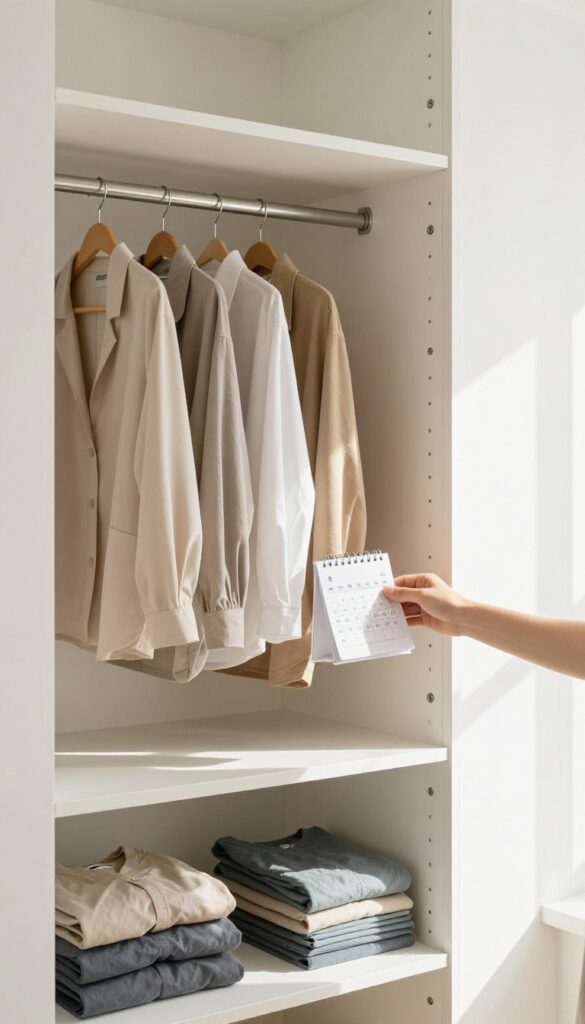
You've done the hard work, and your closet looks incredible. But without a plan, clutter has a way of creeping back in. The final stage is about locking in your progress so you don't have to start from scratch next time.
Mark a date on your calendar for a quick review in six months. Regular check-ins keep your closet from sliding back into chaos. This isn't a full overhaul—just a 30-minute touch-up to catch any items that have strayed or accumulated.
Treat it like a low-stakes appointment with yourself. When that day comes, you'll be grateful for the reminder.
Why Six Months Works
Six months is the sweet spot between too soon and too late. It's enough time for seasonal changes to happen and for any bad habits to show up, but not so long that the mess becomes overwhelming. Think of it as a seasonal reset that keeps your system fresh.
What To Do During The Check-in
Grab a laundry basket and quickly scan each section. Pull out anything that no longer fits, is damaged, or hasn't been worn since the last session. Donate or toss those items right away.
Then, refold or rehang anything that's out of place. That's it—no need to overthink it.
Make It A Habit
Pair your closet check-in with another recurring event, like daylight saving time or your birthday. When the reminder is tied to something you already remember, you're more likely to follow through. Soon, it'll feel as natural as changing your smoke alarm batteries.
FAQ
How long does it take to declutter a closet using these stages?
Depending on the size of your closet and how much you have, the full process can take anywhere from a few hours to a full weekend. Each stage is designed to be manageable on its own.
What should I do with clothes that are too worn to donate?
Repurpose them as cleaning rags or check if local textile recycling programs accept them. Many brands also offer take-back programs for old clothing.
How do I decide what to keep if I'm sentimental?
Limit sentimental items to a small box or a specific shelf. If you haven't worn or used something in over a year, it's likely more about memory than utility.
Should I buy storage containers before decluttering?
No, wait until you've sorted everything and know what you're keeping. That way you buy only what you actually need and avoid wasting money.
How do I maintain my closet after decluttering?
Adopt the 'one in, one out' rule: for every new item you bring in, remove an old one. Also, spend a few minutes each day tidying up to keep things in order.
Conclusion
Once you've worked through these 15 stages, your closet will feel like a whole new space—organized, breathable, and easy to maintain. The key is to tackle one step at a time, so you never feel overwhelmed.
Keep this list handy for seasonal refreshes, and you'll never dread closet cleaning again.