13 How to Clean Pots and Pans for a Fresh Kitchen Reset
Your pots and pans take a beating every day. Burnt-on food, stubborn grease, and discoloration can make even the best cookware look tired. A fresh kitchen reset starts with clean, well-maintained pans that actually perform well.
But not all pans are created equal. Stainless steel needs different care than cast iron, and nonstick surfaces require gentle handling. Scrubbing everything the same way can ruin your cookware.
That's why we've put together 13 specific, actionable tips to clean every type of pot and pan. Whether you're dealing with baked-on messes or just want to restore that like-new shine, these methods will help you reset your kitchen without the stress.
1. Deglaze Stainless Steel Pans with Vinegar
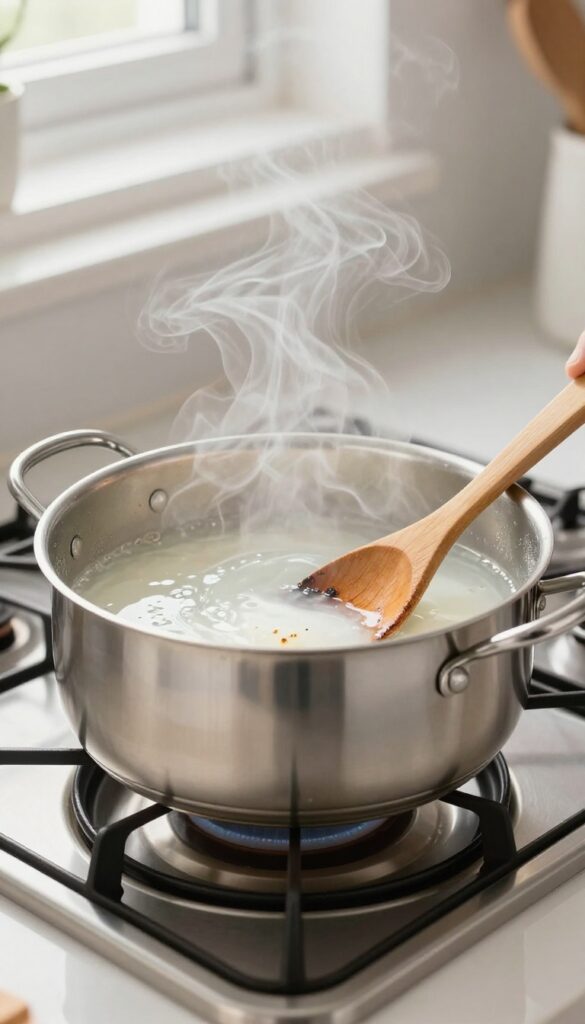
Stainless steel pans are workhorses, but they love to hold onto burnt bits. Before you reach for an abrasive scrubber, try deglazing. It's a simple trick that uses steam and acidity to lift stubborn residue without damaging the surface.
Deglazing is a technique borrowed from professional kitchens. After cooking, while the pan is still hot, pour in a mixture of equal parts white vinegar and water. Let it simmer for about a minute, then use a wooden spoon or silicone spatula to scrape the bottom.
The steam and acid break down the burnt food, making it easy to wipe away. Rinse with warm soapy water and dry immediately to prevent water spots.
Why Vinegar Works
Vinegar's acetic acid is a mild solvent that dissolves mineral deposits and carbonized food. Unlike harsh chemicals, it's food-safe and won't strip the stainless steel's protective layer. Plus, it's cheap and already in your pantry.
When To Deglaze
Do this right after cooking, while the pan is still warm but not smoking. If the pan has cooled, reheat it gently with a little water before adding vinegar. Avoid using cold liquid on a hot pan—it can warp the metal.
What If It's Really Stuck?
For extra stubborn spots, let the vinegar solution sit for 5-10 minutes after simmering. Then scrub with a non-abrasive pad. If that doesn't work, sprinkle baking soda into the pan before adding vinegar for a fizzy boost.
2. Use Baking Soda Paste for Stubborn Burns
Burnt-on food can feel impossible to remove, but you don't need harsh chemicals. Baking soda is a gentle abrasive that lifts carbonized bits without scratching most surfaces. This simple paste works on stainless steel, enamel, and even some nonstick pans when used carefully.
To make the paste, mix three parts baking soda with one part water until it forms a spreadable consistency. Apply a thick layer over the burnt areas and let it sit for 15 minutes. The baking soda will start breaking down the burnt residue.
Then, scrub gently with a soft sponge or cloth. For extra tough spots, add a splash of white vinegar to create fizzing action, which helps lift stubborn grime. Rinse thoroughly and dry immediately to prevent water spots.
Why Baking Soda Works So Well
Baking soda is mildly alkaline, which helps dissolve acidic burnt residues. Its fine particles provide gentle abrasion that won't scratch like steel wool. Plus, it's non-toxic and safe for food contact surfaces, making it ideal for kitchen use.
Tips For Different Pan Materials
For stainless steel, let the paste sit longer—up to 30 minutes—for heavy burns. On nonstick pans, use a soft cloth and avoid scrubbing too hard. For cast iron, skip this method; it can strip seasoning.
Instead, use coarse salt and oil for stuck-on bits.
When To Add Vinegar
If the paste alone isn't cutting it, sprinkle a little vinegar over the baking soda layer. The fizzing reaction helps dislodge burnt food. Just be careful with enamel pans, as the acid can dull the finish over time.
Rinse immediately after scrubbing.
3. Boil Lemon Slices to Remove Discoloration
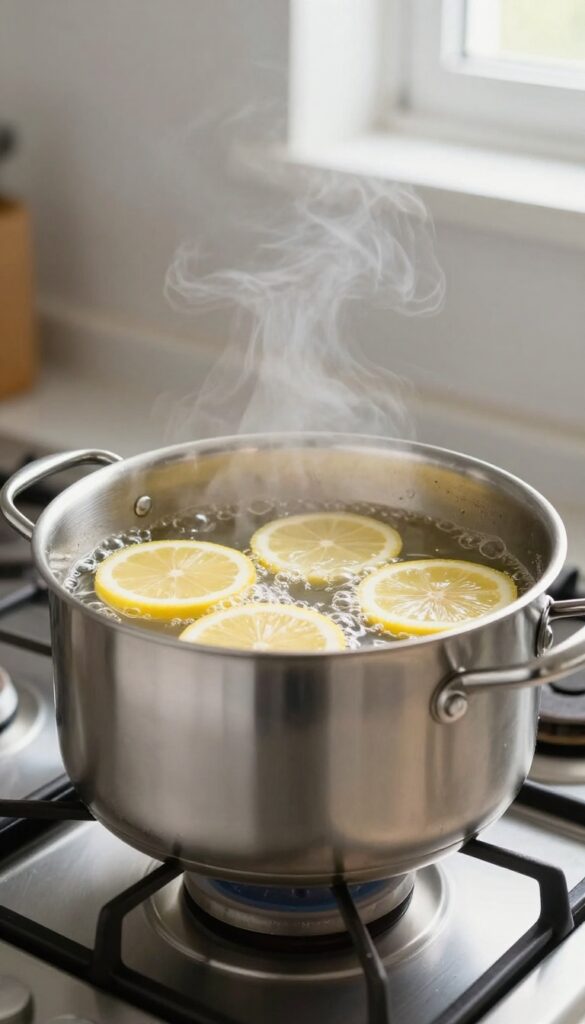
Discoloration on stainless steel or enamel pans can make them look worn out, even if they're still in great shape. The good news is you can brighten them up with something you probably already have in your fridge: lemons. This simple method uses natural acidity to lift stains and restore that fresh, clean look without any harsh chemicals.
Why Lemons Work
Lemons are packed with citric acid, a natural bleaching agent that breaks down mineral deposits and food residues that cause discoloration. When you boil lemon slices, the acid gets activated and helps loosen stubborn stains, especially on light-colored cookware. It's a gentle but effective alternative to abrasive cleaners that can scratch surfaces.
Step-by-step Process
Start by filling your pan with enough water to cover the stained area. Add 2 to 3 lemon slices (or the juice of half a lemon if you don't have slices). Bring the water to a boil and let it simmer for 10 minutes.
The steam and bubbling action help circulate the acid. After boiling, let the water cool slightly, then discard it and wash the pan with mild dish soap and a soft sponge. Rinse well and dry immediately.
Best Cookware For This Method
This trick works wonders on stainless steel and enameled cast iron. It's also safe for ceramic-coated pans, but avoid using it on aluminum or uncoated cast iron, as the acid can react with the metal and cause pitting or a metallic taste. For nonstick pans, stick to gentler cleaning methods to protect the coating.
When To Repeat
For heavy discoloration, you may need to repeat the process two or three times. If the stains are particularly stubborn, let the lemon water sit in the pan for an hour after boiling before scrubbing. Regular use—say once a month—can keep your pans looking bright and prevent buildup from returning.
4. Clean Cast Iron with Salt and Oil
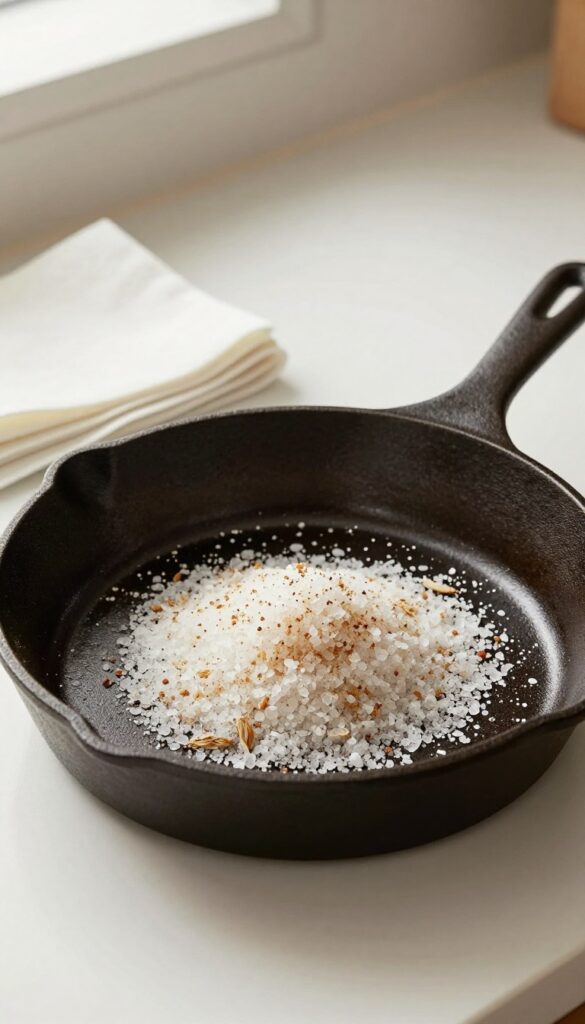
Cast iron is a kitchen legend, but it demands a gentle touch. Harsh soaps and abrasive scrubbers can strip away the precious seasoning that makes it nonstick. The secret to cleaning cast iron without ruining it is a simple duo: coarse salt and a little oil.
This method lifts stuck-on food and grease while preserving the pan's seasoned surface.
Start by warming your cast iron pan on the stove over low heat. You want it warm to the touch, not hot. Sprinkle a generous layer of coarse kosher or sea salt onto the pan.
The salt acts as a gentle abrasive that won't scratch the seasoning. Use a folded paper towel or a stiff-bristled brush to scrub the salt into the pan, focusing on any stuck-on bits. The salt will absorb grease and lift debris.
Once the pan looks clean, rinse it quickly with hot water. Don't use soap—it can strip the seasoning. Dry the pan immediately with a clean towel or by placing it back on the stove over low heat until all moisture evaporates.
Finally, rub a thin layer of vegetable oil or flaxseed oil over the entire surface, inside and out, using a paper towel. This restores the protective coating and keeps the pan ready for its next meal.
Why Salt Works Better Than Soap
Soap is designed to break down grease, but on cast iron, that grease is part of the seasoning. Salt, on the other hand, is a natural abrasive that physically scrubs away food without dissolving the oil-based seasoning. It's also food-safe and leaves no chemical residue.
Plus, salt is cheap and always in your pantry.
How To Handle Stubborn Burnt-on Food
If your pan has a really stubborn layer of burnt food, try boiling a little water in it first. Add about half an inch of water and bring it to a simmer. Use a wooden spatula to scrape up the loosened bits.
Then pour out the water and proceed with the salt scrub. For extra tough spots, make a paste of salt and a tiny bit of water, let it sit for a few minutes, then scrub.
Drying And Oiling: The Final Step
Cast iron rusts easily if left wet. After rinsing, dry it thoroughly with a towel, then heat it on the stove for a minute to evaporate any hidden moisture. While it's warm, apply a thin coat of oil.
Use a high-smoke-point oil like vegetable, canola, or flaxseed. Wipe off any excess—you want a barely-there sheen, not a sticky layer.
5. Soak Nonstick Pans in Warm Soapy Water
Nonstick pans are lifesavers for quick meals, but they need gentle care. Harsh scrubbing can ruin the coating, leaving food stuck forever. The easiest fix?
A warm, soapy soak that loosens messes without any elbow grease.
Fill your nonstick pan with warm water and add a drop of mild dish soap. Let it sit for 10 to 15 minutes—this softens stuck-on food so it slides off. Never use abrasive sponges or scouring pads; they'll scratch the coating.
Instead, wipe gently with a soft cloth or silicone brush. Rinse well and dry with a towel to avoid water spots. This simple soak keeps your nonstick pans performing like new.
Why A Soak Works Best
Heat and soap work together to break down grease and food residue. Warm water relaxes the nonstick surface, making it easy to clean without scrubbing. Skipping the soak means you'd have to rub harder, which can wear down the coating over time.
What To Avoid
Steer clear of metal utensils, steel wool, and harsh cleaners. Even a rough sponge can cause micro-scratches that lead to peeling. Stick to soft tools and mild soap only.
Drying Matters Too
After rinsing, pat the pan dry with a soft towel. Letting it air-dry can leave mineral deposits from hard water. A quick dry keeps the surface smooth and prevents stains.
6. Remove Grease with Dish Soap and Hot Water
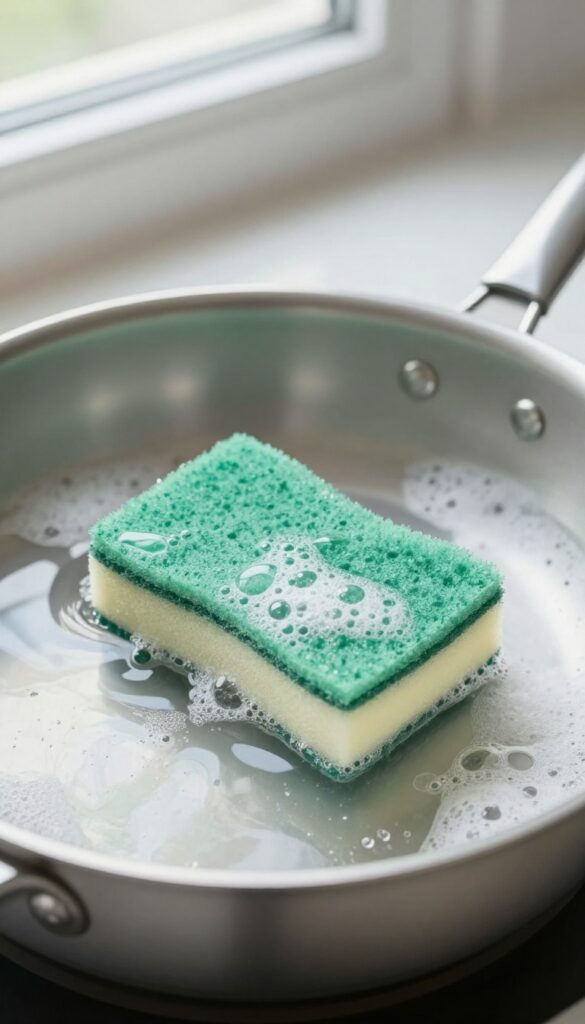
Grease can be one of the toughest residues to tackle, especially after frying or sautéing. The good news is that you don't need fancy chemicals—just hot water and dish soap. This classic method works wonders on most pans when done right.
Fill the greasy pan with hot water and add a generous squirt of dish soap. Let it sit for a few minutes to loosen the grease. Then scrub with a non-abrasive sponge, focusing on the greasy areas.
Rinse thoroughly with hot water to remove all soap residue. For stubborn grease, repeat or use a paste of baking soda and water.
Why Hot Water Matters
Hot water helps melt and dissolve grease more effectively than cold water. It also activates the dish soap's surfactants, making them better at lifting oil. Just make sure the water is hot but not boiling to avoid damaging nonstick coatings.
Choosing The Right Sponge
Always use a non-abrasive sponge or soft cloth to avoid scratching your pans. For cast iron or stainless steel, you can use a stiff brush or nylon scrubber. Avoid steel wool on nonstick or enamel surfaces.
Dealing With Stubborn Grease
If grease persists, try adding a tablespoon of white vinegar to the hot soapy water. The acidity helps break down oil. Alternatively, sprinkle baking soda on the pan and scrub with a damp sponge for gentle abrasion.
7. Use a Bar Keepers Friend for Tough Stains
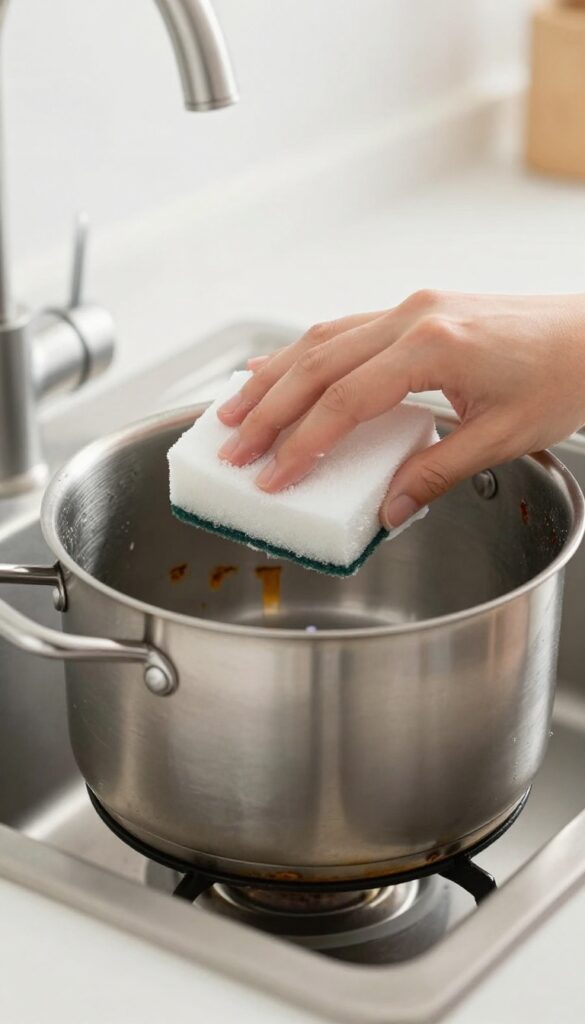
When scrubbing with baking soda or vinegar isn't cutting it, Bar Keepers Friend steps in. This powdered cleaner is a go-to for stainless steel and ceramic cookware because it tackles stubborn stains without scratching. It's cheap, easy to find, and works fast.
Bar Keepers Friend contains oxalic acid, which breaks down discoloration and burnt-on residue. It's safe for most surfaces except nonstick and aluminum. Always test a small area first.
Use it sparingly—a little goes a long way.
Make A Paste And Let It Sit
Sprinkle a small amount of powder onto the stained area. Add a few drops of water to form a thick paste. Let it sit for about a minute—don't let it dry completely.
The acid needs time to work, but leaving it too long can damage the finish.
Scrub Gently With A Soft Sponge
Use a non-abrasive sponge or soft cloth to scrub in circular motions. You'll see the stain lift almost immediately. For stubborn spots, add a little more paste and scrub again.
Avoid steel wool or harsh scrubbers that can scratch.
Rinse Thoroughly And Dry
Rinse the pan with warm water until all residue is gone. Soap isn't necessary, but a quick wash with mild dish soap helps remove any leftover cleaner. Dry immediately with a towel to prevent water spots.
8. Dry Cast Iron Immediately to Prevent Rust
Cast iron is a kitchen legend, but it demands a gentle touch. After washing, drying it properly is just as important as cleaning. If you let it air dry, moisture can cause rust and ruin the seasoning you've built up.
The trick is to dry it on the stove over low heat for a few minutes. This removes every last drop of water. Then, apply a thin layer of oil to protect the surface and keep it nonstick.
After washing your cast iron skillet with hot water and a stiff brush, rinse it well. Place it on the stove over low heat. Let it warm up for 2–3 minutes until all moisture evaporates.
You'll see the pan go from wet to dry. Once it's completely dry, turn off the heat. Use a paper towel to rub a small amount of vegetable oil or flaxseed oil over the entire cooking surface, including the sides and handle.
Buff off any excess oil so the pan looks barely shiny. This thin layer seals the seasoning and prevents rust. Store the pan in a dry place.
If you notice any rust spots, scrub them off with steel wool and repeat the seasoning process.
Why Stove Drying Works Best
Air drying leaves water droplets that can settle into tiny pores in the cast iron. Over time, those droplets cause rust. Stove drying uses gentle, even heat to evaporate moisture quickly.
It also warms the pan, which helps the oil penetrate the seasoning better. Just don't use high heat—that can warp the pan or damage the seasoning.
Choosing The Right Oil
Not all oils are equal for cast iron. Use oils with a high smoke point, like vegetable, canola, grapeseed, or flaxseed. Flaxseed oil is a favorite because it polymerizes into a hard, durable coating.
Avoid olive oil or butter—they can become sticky and won't protect as well. Apply a very thin layer; too much oil will feel greasy and may flake off.
What To Do If Rust Appears
If you spot rust, don't panic. Scrub the area with steel wool or a stiff brush and soap. Rinse and dry immediately.
Then, re-season the pan by coating it with oil and baking it upside down in a 375°F oven for an hour. Let it cool inside the oven. This restores the protective layer and prevents further rust.
9. Clean Copper Pans with Lemon and Salt
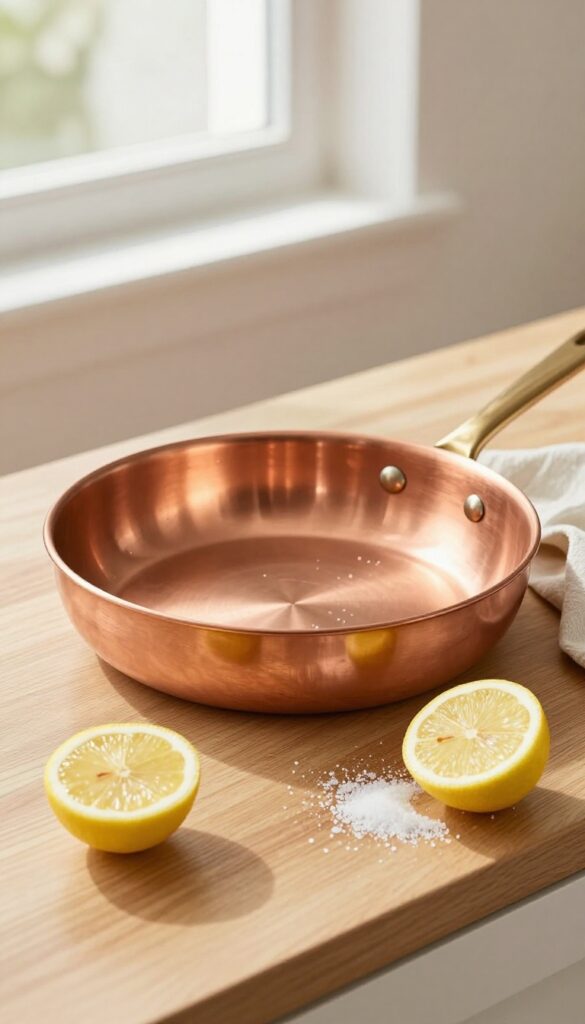
Copper pans are stunning, but they tarnish quickly. That dull, dark patina might look rustic on some cookware, but on copper, it hides its natural beauty. Luckily, you don't need harsh chemicals to bring back the shine.
A simple lemon and salt scrub works like magic.
The acidity of lemon juice reacts with the tarnish, while the salt acts as a gentle abrasive to lift it away. This method is safe for copper and leaves your pans looking like new. Plus, it's cheap and uses ingredients you already have.
Why Lemon And Salt Work
Lemon juice contains citric acid, which breaks down the copper oxide that causes tarnish. Salt provides the scrubbing power without scratching the soft metal. Together, they create a natural polishing paste that's effective and non-toxic.
Step-by-step Cleaning
Cut a lemon in half and sprinkle salt on the cut surface. Rub the lemon over the copper in a circular motion, applying gentle pressure. Rinse with warm water and dry immediately with a soft cloth to prevent water spots.
When To Skip This Method
If your copper pans have a lacquer coating, do not use this method. The acid can damage the coating. Also, avoid using this on copper that's lined with tin or stainless steel—stick to the exterior only.
10. Remove Burnt Food with Dryer Sheets
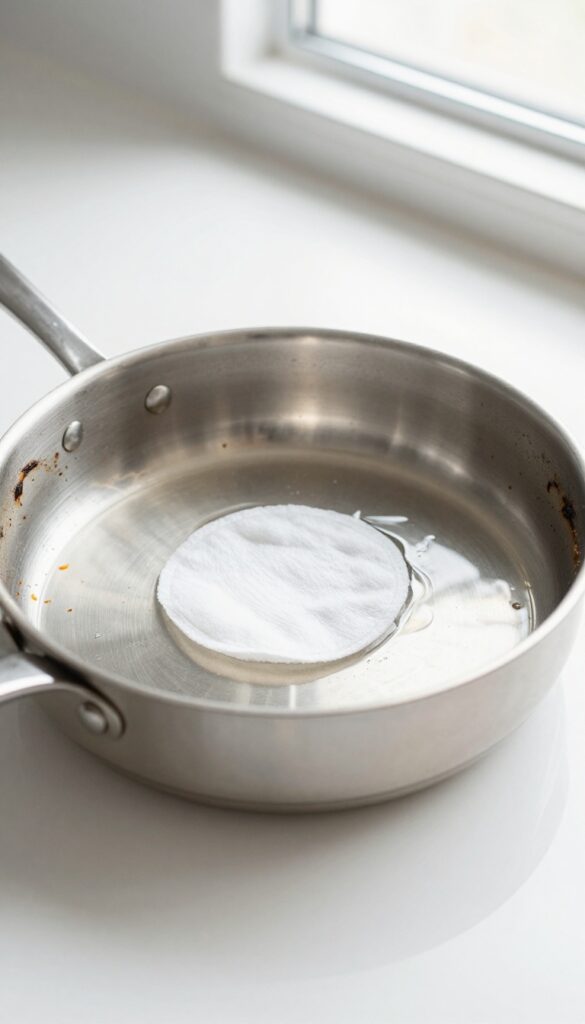
You might think dryer sheets are only for laundry, but they have a secret talent: loosening burnt-on food from pans. The fabric softener contains surfactants that break down stubborn residue, making scrubbing effortless. It’s a weird trick that actually works.
When you have a pan with a layer of burnt food that refuses to budge, grab a dryer sheet. Place it in the pan, fill with enough water to cover the burnt area, and let it soak overnight. The next morning, dump the water and scrub gently with a sponge.
The burnt bits should slide right off. This method works best on stainless steel and enameled cookware, but avoid using it on nonstick pans as the chemicals may damage the coating.
Why Dryer Sheets Work
Dryer sheets contain cationic surfactants that reduce surface tension, helping water penetrate and lift burnt food. They also have mild abrasives that aid in scrubbing without scratching most surfaces.
Best Practices For Best Results
Use an unscented or gentle dryer sheet to avoid leaving a fragrance on your pan. For extra tough spots, add a drop of dish soap to the soak. Rinse thoroughly after scrubbing to remove any residue.
What To Avoid
Do not use this method on cast iron or carbon steel, as the chemicals can strip seasoning. Also avoid on nonstick pans to prevent coating damage. Stick to stainless steel, aluminum, or ceramic cookware.
11. Use a Magic Eraser for Stubborn Marks
Sometimes, even the best scrubbing leaves behind those mysterious scuff marks or dark stains that just won't budge. Before you reach for harsh chemicals, try a melamine sponge—commonly known as a Magic Eraser. It's a gentle abrasive that can lift marks from enamel and stainless steel without scratching, as long as you use it correctly.
How It Works
Melamine foam acts like ultra-fine sandpaper when dampened. It creates friction that lifts stuck-on residue without the need for strong cleaners. Just wet the sponge, squeeze out excess water, and gently rub the mark in a circular motion.
The foam will wear down as you use it, so replace it when it gets dirty or crumbles.
Where to Use It
Magic Erasers are great for enameled cast iron, stainless steel, and ceramic-coated pans. They can remove tea stains from white enamel interiors, scuff marks from stainless steel exteriors, and baked-on food residue from ceramic surfaces. Always test on a small hidden area first to make sure it doesn't dull the finish.
What To Avoid
Never use a Magic Eraser on nonstick surfaces. The abrasive foam will scratch and ruin the coating, causing food to stick and potentially releasing harmful particles. Also avoid using it on copper or anodized aluminum, as it can strip the protective layer.
Stick to the recommended cookware types for safe cleaning.
12. Season Carbon Steel Pans After Each Wash
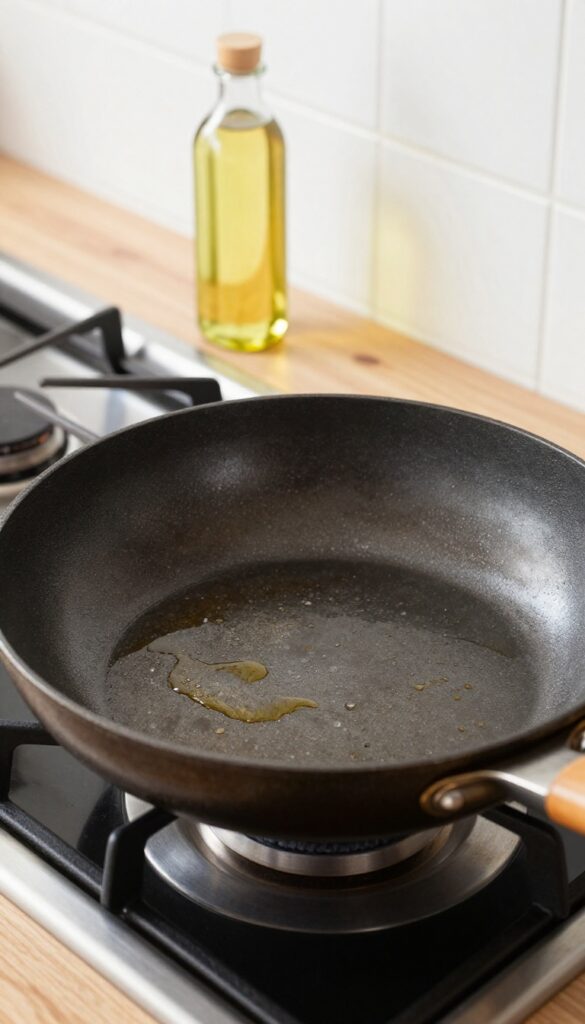
Carbon steel pans are prized for their lightweight feel and natural nonstick surface, but that patina only lasts if you treat it right. After every wash, you need to re-season the pan to keep it slick and rust-free. It's a quick step that makes a huge difference in performance.
Once your pan is clean and completely dry, place it on the stove over medium heat. Add a teaspoon of a high-smoke-point oil like flaxseed or avocado oil, then wipe it around with a paper towel until the entire cooking surface is coated. Let the pan heat until the oil just starts to smoke, then remove it from the heat and let it cool.
This thin layer polymerizes into a protective, nonstick coating.
Why Seasoning Matters
Without a fresh seasoning, carbon steel is prone to rust and sticking. The polymerized oil fills microscopic pores in the metal, creating a smooth surface that releases food easily. It also prevents moisture from causing corrosion.
The Right Oil For The Job
Not all oils work well for seasoning. Stick with oils that have a high smoke point and are low in polyunsaturated fats, like avocado, grapeseed, or flaxseed. Avoid olive oil or butter, as they can leave a sticky residue.
How Often To Season
After every wash is ideal, but at minimum season after cooking acidic foods like tomatoes or after any scrub that might have stripped the patina. Over time, the coating will build up into a dark, glossy finish that is naturally nonstick.
13. Store Pans with Protective Liners
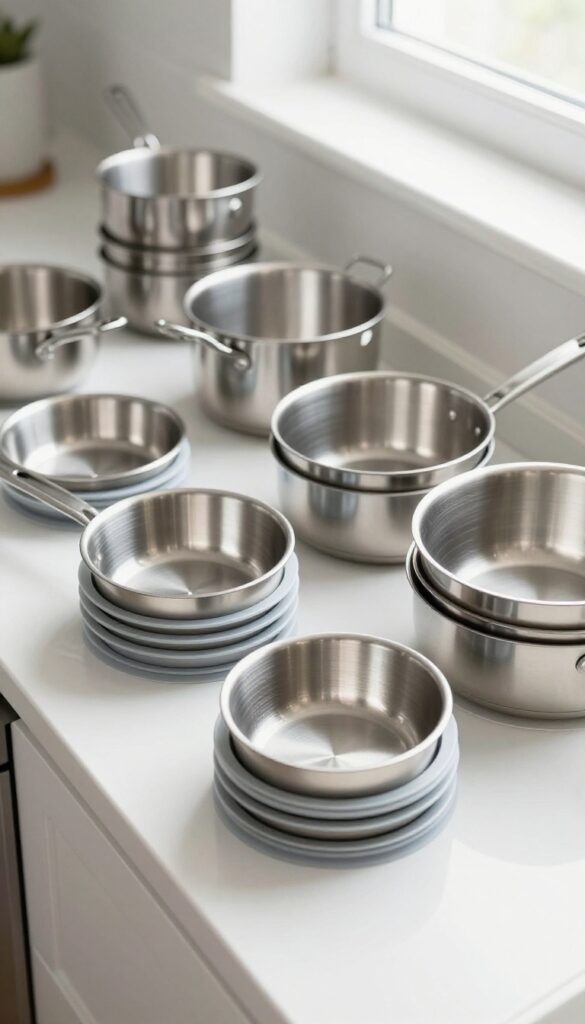
You've scrubbed, dried, and polished your pans to perfection. But if you stack them carelessly, all that effort can be undone in seconds. Metal on metal contact causes scratches, chips, and worn-out coatings.
The fix is simple: use protective liners between each pan.
Paper towels, felt pads, or silicone sheets act as a buffer when you stack your cookware. They prevent the bottom of one pan from scraping the interior of another. This is especially important for nonstick and enameled surfaces, where scratches ruin performance and appearance.
For stainless steel or cast iron, liners still reduce scuffs and keep your stack tidy.
Choose The Right Liner Material
Paper towels are cheap and disposable, but they can tear or shift. Felt liners are thicker and reusable, but they trap moisture if not dried properly. Silicone pan protectors are non-slip and easy to clean, making them a favorite for frequent cooks.
Pick what fits your storage style and budget.
How To Layer Your Stack
Start with the largest pan at the bottom. Place a liner on top, then the next pan, then another liner. Continue until all pans are stacked.
For lids, store them separately or place a liner between each lid to avoid scratching. This method keeps every piece in its best shape.
Bonus: Use Liners For Transport Too
If you take pans to a potluck or camping, liners prevent rattling and damage during travel. Simply wrap each pan in a liner or place a sheet between them in your bag. It's a small step that protects your investment.
FAQ
Can I use steel wool on stainless steel pans?
It's best to avoid steel wool because it can scratch the surface. Use a non-abrasive scrubber or a paste of baking soda instead.
How do I remove white spots from my nonstick pan?
White spots are often mineral deposits. Boil a mixture of water and vinegar (1: 1) for 5 minutes, then wash normally. This usually removes them.
Is it safe to put cast iron in the dishwasher?
No, never put cast iron in the dishwasher. The harsh detergents and moisture will strip the seasoning and cause rust. Always hand wash.
How often should I season my cast iron pan?
Season after each use if you notice food sticking or the surface looks dull. For regular use, a light oil rub after drying is enough.
Can I use baking soda on nonstick pans?
Yes, but gently. Make a paste and use a soft sponge. Avoid scrubbing too hard, as abrasive particles can damage the coating over time.
Conclusion
Cleaning your pots and pans doesn't have to be a dreaded chore. With the right technique for each material, you can keep your cookware looking fresh without harsh chemicals or endless scrubbing.
Pick a few methods that match your most-used pans, and you'll build a routine that works. Your kitchen will feel cleaner, your pans will last longer, and you'll actually enjoy cooking again.