15 How to Clean Mirrors Without Streaks or Cloudy Film
Streaks and cloudy film can turn a freshly cleaned mirror into a frustrating blur. The good news? You don't need a cabinet full of specialty products to get a flawless reflection.
Simple household staples and a few smart techniques make all the difference. From the right cloth to the perfect spray ratio, these 15 methods tackle smudges, hard water spots, and everyday grime with ease.
You'll find quick fixes for touch-ups and deeper solutions for stubborn buildup. Pick the trick that fits your routine, and your mirrors will stay crystal clear with minimal effort.
1. Use a Microfiber Cloth Instead of Paper Towels
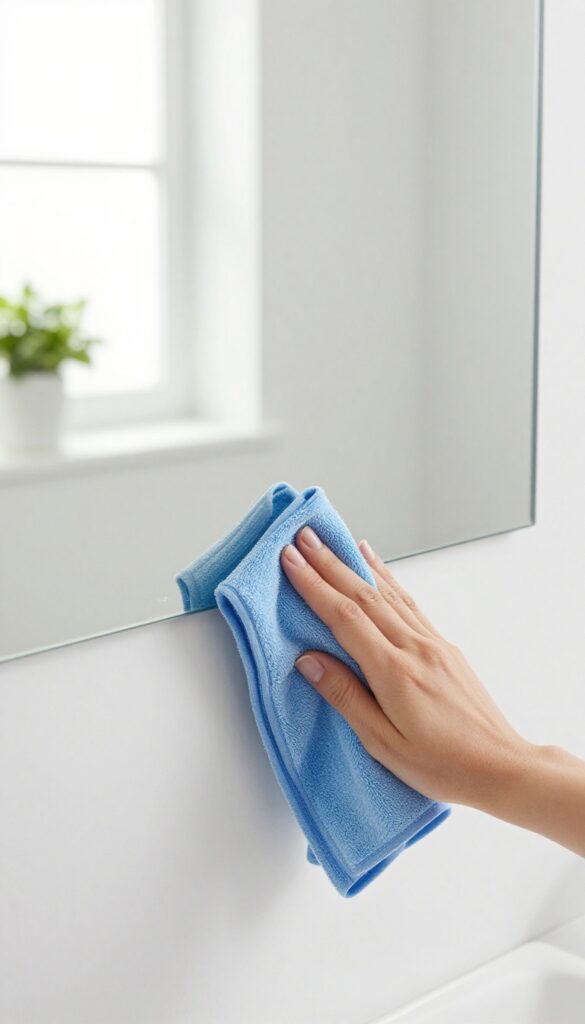
Most people grab a paper towel when they need to clean a mirror, but that's exactly where the streaks begin. Paper towels are made of wood pulp that breaks apart easily, leaving behind tiny fibers and lint that cling to the glass. Those fibers scatter light and make the surface look dull and cloudy, even after you've wiped it clean.
A microfiber cloth, on the other hand, is woven from ultra-fine synthetic fibers that are about 1/100th the thickness of a human hair. These fibers act like tiny hooks that trap dust, dirt, and moisture instead of pushing them around. The result is a mirror that dries faster and shines brighter, with no residue left behind.
Switching to a microfiber cloth is the simplest change you can make for streak-free mirrors. It's a one-time purchase that pays off every time you clean. Here's how to get the most out of it.
Why Paper Towels Fail
Paper towels are designed for absorbency, not for polishing glass. Their rough texture can also leave tiny scratches on the mirror's surface over time, which makes streaks worse. Even the 'lint-free' brands often shed fibers when wet.
If you've been fighting streaks, your cloth might be the culprit.
Choosing The Right Microfiber Cloth
Not all microfiber cloths are equal. Look for one with a high GSM (grams per square meter) — around 300 to 400 is ideal for glass. A denser weave means better absorption and less streaking.
Avoid cloths with rough edges or those meant for heavy-duty scrubbing, as they can scratch. A dedicated glass-cleaning cloth is a great investment.
How To Use It For Best Results
Spray your cleaning solution onto the mirror, then wipe with the microfiber cloth using a zigzag or S-shaped motion. This prevents you from re-depositing dirt. Flip the cloth to a dry side for the final buffing pass.
Wash your microfiber cloths separately with mild detergent and no fabric softener, which can clog the fibers and ruin their effectiveness.
2. Try the Classic Vinegar and Water Solution
Vinegar and water is a time-tested combo that works wonders on mirrors. It cuts through grime and evaporates quickly, leaving no cloudy film behind. You probably have both ingredients in your kitchen right now, so there's no need for fancy sprays.
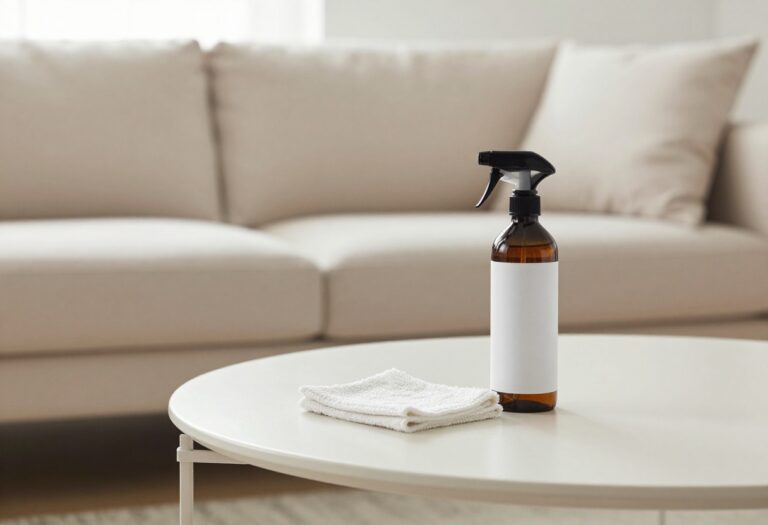
Mix equal parts white vinegar and water in a spray bottle. Spray the solution onto the mirror, then wipe with a microfiber cloth. The vinegar breaks down dirt and grease, while the water helps it spread evenly.
It dries fast, so streaks don't have a chance to form.
Why Vinegar Works So Well
Vinegar is a mild acid that dissolves mineral deposits and soap scum. That's why it's great for hard water spots on mirrors. It also cuts through fingerprints and smudges without leaving a residue.
Plus, it's cheap and eco-friendly.
How To Mix And Use It Right
Use a 1: 1 ratio of white vinegar to water. Pour it into a clean spray bottle and shake gently. Spray lightly onto the mirror—don't soak it.
Then wipe with a dry microfiber cloth in a zigzag or circular motion. For extra shine, buff with a second dry cloth.
When To Skip This Method
Avoid vinegar on mirrors with damaged or worn backing, as the acid could seep in and corrode the silvering. Also, if your mirror has a special coating, like anti-fog, check the manufacturer's instructions first. In those cases, stick to a gentle glass cleaner.
3. Add a Drop of Dish Soap for Extra Grease-Cutting Power
Plain vinegar and water handles dust and light smudges, but it can struggle against the oily residue left by hair products, face creams, and even the natural oils from your skin. That's where a drop of dish soap comes in. It breaks down those greasy films so your mirror gets truly clean, not just wiped around.
Adding dish soap to your cleaning solution is a simple tweak that makes a big difference for mirrors in bathrooms or bedrooms. The soap acts as a degreaser, lifting away the oily grime that plain vinegar can't dissolve. It also helps the solution spread more evenly across the glass, which reduces the chance of streaks.
Just be careful not to overdo it—too much soap can leave a residue that makes the mirror look cloudy once it dries.
The Right Ratio
You don't need much soap to get the job done. For a standard spray bottle filled with a 50/50 mix of water and vinegar, add just one small drop of dish soap. You can use a toothpick to transfer a tiny amount if you're worried about pouring too much.
That's all it takes to cut through grease without leaving a soapy film.
Best Soap Choices
Any clear dish soap works well, but ones labeled as 'grease-cutting' are especially effective. Avoid soaps that contain lotion or moisturizers, as those can leave a film on the glass. A basic, fragrance-free formula is your safest bet.
You can also use a drop of baby shampoo if you prefer a gentler option.
How To Apply And Wipe
Spray the solution onto the mirror, then wipe with a clean microfiber cloth. Use a zigzag or S-shaped motion to avoid leaving streaks. If you notice any soapy residue after drying, buff the mirror with a dry part of the cloth.
This method works wonders on mirrors in bathrooms where hairspray and other products tend to build up.
4. Use Rubbing Alcohol for a Quick-Dry Finish
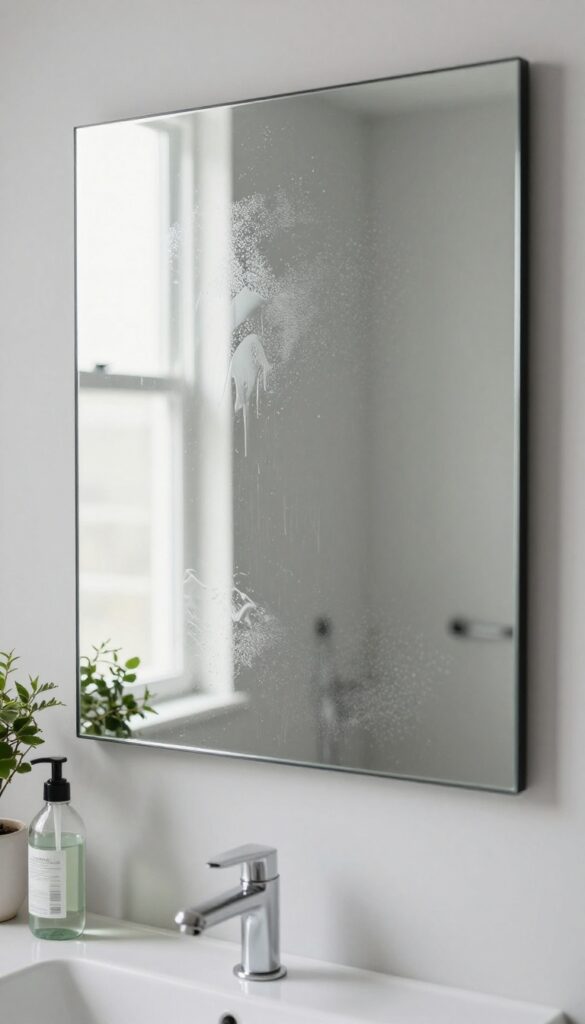
When you need a mirror spotless in a hurry, rubbing alcohol is your best friend. It evaporates almost instantly, which means it doesn't have time to leave those annoying streaks behind. Plus, it cuts through grime and oils that water alone can't touch.
Mixing rubbing alcohol with water and a splash of vinegar creates a powerful, streak-free cleaner that dries fast. The alcohol speeds up evaporation, the vinegar tackles hard water spots, and the water dilutes everything to a safe strength. It's a simple DIY solution that works better than many store-bought sprays.
The Perfect Diy Alcohol Spray
Combine 1 cup of water, 1 cup of rubbing alcohol (70% or 91% works fine), and 1 tablespoon of white vinegar in a spray bottle. Shake gently to mix. This solution is safe for most mirrors and won't leave a cloudy film.
Spray it lightly on the mirror—no need to drench it—and wipe with a clean, lint-free cloth.
Why Alcohol Prevents Streaks
The secret is evaporation. Alcohol dries much faster than water or vinegar alone, so it doesn't have time to pool and leave mineral deposits. That quick-dry action is what keeps the surface crystal clear.
It also helps dissolve fingerprints and smudges from hair products or skin oils that plain water misses.
When To Use This Method
This is your go-to for a quick touch-up before guests arrive or when you're in a rush. It's also great for mirrors in bathrooms with high humidity, because the fast drying means less chance of water spots. Just avoid using it on mirrors with damaged edges or worn silvering, as the alcohol could seep in and cause further damage.
Pro Tips For Best Results
Use a microfiber cloth instead of paper towels—paper towels can leave lint. Wipe in a zigzag or S-pattern to avoid redepositing grime. If you notice a haze after cleaning, it might be from using too much product; a light mist is all you need.
And always test on a small, hidden corner first if you're unsure about your mirror's coating.
5. Try the Newspaper Trick for a Classic Streak-Free Shine
Before microfiber cloths and spray bottles, people relied on something they already had lying around: the newspaper. It might sound old-fashioned, but the paper's texture works surprisingly well on glass. The ink and fibers help lift grime without leaving lint or streaks behind.
You probably don't get a daily paper anymore, but if you have old flyers, coupon circulars, or even junk mail, you can put them to use. The trick is all in the crumple and the technique. It's a zero-cost method that delivers a mirror so clear you'll wonder why you ever bought fancy glass cleaner.
The newspaper trick has been around for generations, and for good reason. Unlike paper towels, which can leave behind tiny fibers, newspaper is highly absorbent and lint-free. The printing ink acts as a mild abrasive that helps break down stubborn spots without scratching the glass.
Plus, it's an eco-friendly way to reuse paper that would otherwise end up in the recycling bin. To get the best results, you need to use the right kind of paper and the right motion. Glossy pages from magazines won't work as well because they're coated and less absorbent.
Stick with standard newsprint, which is the thin, uncoated paper used in most newspapers and flyers. And don't worry about the ink smudging—once it's dry, it stays put, so it won't transfer onto your mirror. The key is to crumple the paper into a loose ball, not a tight one.
A tight ball becomes too stiff and can leave streaks, while a loose ball conforms to the glass and picks up more solution. You'll also want to work in a circular or zigzag motion, overlapping your strokes to avoid missing any spots. With a little practice, you'll get a streak-free shine that rivals any commercial product.
Why Newspaper Works So Well
Newspaper's secret lies in its structure. The fibers are soft enough to avoid scratching but firm enough to lift dirt and grime. The ink, especially the black ink, contains a small amount of solvent that helps dissolve oily residues.
That's why newspaper can cut through smudges that leave paper towels useless. Another advantage is that newspaper doesn't shed fibers like cloth or paper towels. When you wipe a mirror with a regular towel, tiny threads can cling to the surface and leave a hazy film.
Newspaper leaves nothing behind, so you get a clean, clear reflection every time.
How To Use The Newspaper Trick
Start by spraying your mirror with your favorite glass cleaner or a simple DIY solution of vinegar and water. Then, take a few sheets of newspaper and crumple them into a loose ball. The size should fit comfortably in your hand—about the size of a baseball works well.
Wipe the mirror in a circular motion, starting from the top and working your way down. Overlap each stroke slightly to ensure full coverage. As the paper gets damp, turn it to a dry section or grab a fresh sheet.
Continue until the mirror is dry and streak-free. If you notice any residue, buff it lightly with a clean, dry section of newspaper.
When To Skip This Method
While newspaper is fantastic for most mirrors, there are a few situations where you might want to use something else. If your mirror has an anti-fog coating or a special tinted finish, the ink could potentially leave a residue. Test on a small, inconspicuous corner first.
Also, if you have very delicate or antique mirrors, the ink might seep into cracks or edges. In that case, stick with a microfiber cloth. But for everyday mirrors in your bathroom, bedroom, or hallway, newspaper is a reliable, budget-friendly choice that never goes out of style.
6. Use a Squeegee for Large Mirrors
Big mirrors, like the ones in bathrooms or dressing rooms, can be a pain to wipe down with a cloth. You end up with streaks, missed spots, and a sore arm. That's where a squeegee comes in—it's the tool professional cleaners swear by for large glass surfaces.
A squeegee isn't just for windows. It works wonders on large mirrors, especially in bathrooms where steam and water spots are common. The key is to use it correctly: pull it in one smooth, continuous motion from top to bottom, overlapping each pass slightly.
This pushes the water and cleaning solution off the surface without leaving streaks or a cloudy film behind.
Why A Squeegee Works Better
Unlike cloths, a squeegee doesn't leave lint or fibers behind. Its rubber blade glides over the glass, removing every drop of liquid in its path. This makes it ideal for large mirrors where a cloth might dry before you finish, leaving residue.
Plus, it's faster—you can clean a full-length mirror in under a minute.
How To Get The Best Results
Start by spraying your mirror with a cleaning solution (like vinegar and water or a glass cleaner). Then, place the squeegee at the top of the mirror and pull it down in a straight line. Wipe the blade with a dry cloth after each pass to prevent drips.
Overlap each stroke by about an inch to avoid missing any spots. Finish by wiping the edges with a microfiber cloth to catch any leftover moisture.
When To Use A Squeegee
A squeegee is perfect for large mirrors, shower mirrors, or any mirror that gets wet regularly. It's also great for quick cleanups after a hot shower—just keep one in the bathroom and give the mirror a quick once-over. For small mirrors, a cloth might be easier, but for anything bigger than a hand mirror, a squeegee saves time and effort.
7. Make a DIY Glass Cleaner with Cornstarch
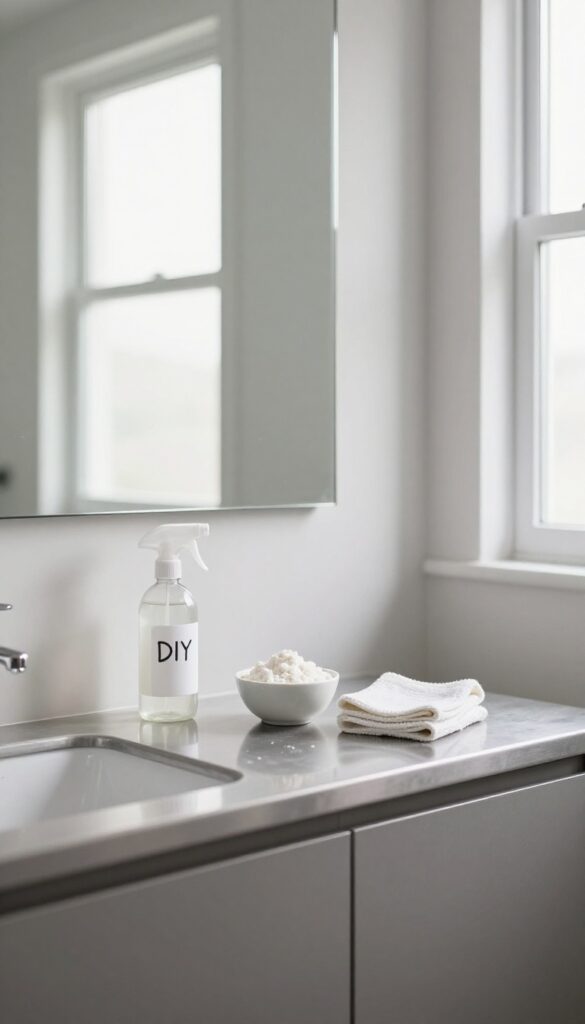
Cornstarch might seem like an odd addition to a glass cleaner, but it’s a game-changer for mirrors. The fine powder acts as a gentle abrasive that lifts away grime and buffs the surface to a streak-free shine. This simple recipe is cheap, non-toxic, and works better than many store-bought sprays.
Mix one cup of water, one cup of white vinegar, and one tablespoon of cornstarch in a spray bottle. Shake well before each use, because the cornstarch will settle. Spray the solution onto your mirror and wipe with a microfiber cloth or lint-free towel.
The cornstarch helps cut through stubborn spots and leaves a brilliant, residue-free finish.
Why Cornstarch Works
Cornstarch is a mild abrasive, which means it physically lifts away dried-on gunk without scratching glass. It also helps the vinegar spread evenly and prevents the solution from beading up, which is what causes those annoying streaks. The result is a smooth, polished surface that looks like you used a professional cleaner.
How To Mix And Use It
In a clean spray bottle, combine 1 cup warm water, 1 cup white vinegar, and 1 tablespoon cornstarch. Shake vigorously until the cornstarch is fully dissolved. Spray the mirror generously, then wipe with a dry microfiber cloth using a circular motion, followed by vertical strokes to catch any remaining streaks.
For extra shine, buff with a second dry cloth.
Tips For Best Results
Always shake the bottle before spraying, since cornstarch settles quickly. Use warm water to help it dissolve faster. Avoid using paper towels, as they can leave lint.
If your mirror has heavy buildup, let the solution sit for a minute before wiping. Store the mixture in a cool, dark place and use within a few weeks.
8. Use a Coffee Filter for a Lint-Free Buff
After you've sprayed and wiped your mirror, a final buff can make all the difference. But if you're using a paper towel or an old t-shirt, you might be leaving behind tiny fibers that create a hazy look. That's where a simple coffee filter comes in—it's lint-free, gentle, and perfect for a final polish.
Coffee filters are made from finely woven paper that doesn't shed fibers the way regular paper towels do. They're also soft enough to avoid scratching the glass, yet absorbent enough to pick up any leftover moisture or cleaner residue. Using one as a final buff after your main cleaning step will leave your mirror streak-free and crystal clear.
Why Coffee Filters Work So Well
The key is the tight weave of the paper. Unlike paper towels, which have a looser structure and can leave behind lint, coffee filters are designed to trap fine particles without breaking down. That means no fluff on your mirror, just a smooth, polished surface.
Plus, they're disposable, so you don't have to worry about washing and drying a cloth that might pick up dust or oils.
How To Use A Coffee Filter For Best Results
Start by cleaning your mirror as you normally would—spray your cleaner and wipe with a microfiber cloth or squeegee. Then, take a dry coffee filter and gently buff the entire surface in circular motions. Focus on any spots that still look streaky.
You'll notice the filter absorbs any remaining moisture and leaves a brilliant shine. For large mirrors, you might need two or three filters, but they're cheap and easy to keep on hand.
When To Skip This Trick
Coffee filters are great for regular maintenance, but they're not ideal for heavy-duty cleaning jobs. If your mirror has stubborn hard water spots or heavy grime, you'll want to use a dedicated cleaner and a bit of elbow grease first. The filter is best as a finishing touch, not a primary cleaning tool.
Also, avoid using filters that are already wet from brewing—they'll just smear the cleaner around.
9. Try a Dry Erase Marker Trick for Hard Water Spots
Hard water spots are stubborn little splotches that seem to laugh at regular cleaners. They're caused by mineral deposits left behind when water evaporates, and they can make a mirror look cloudy and dirty no matter how much you wipe. Here's a trick that sounds odd but works surprisingly well: grab a dry erase marker.
The same markers you use in the office can dissolve the minerals clinging to your mirror. The solvent in the marker breaks down the deposits, making them easy to wipe away. It's a quick fix that saves you from scrubbing and harsh chemicals.
Why It Works
Dry erase markers contain a solvent that dissolves the marker's ink—and it also breaks down mineral deposits. The marker's ink acts as a carrier, lifting the minerals off the glass so you can wipe them away. It's a clever chemistry hack that turns a common office supply into a glass cleaner.
Step-by-step Instructions
Start with a dry mirror. Color over the hard water spots with a dry erase marker, covering them completely. Let it sit for a few seconds, then wipe with a soft cloth.
You'll see the spots lift away with the ink. If any residue remains, follow up with your regular glass cleaner.
When To Use This Trick
This trick is perfect for stubborn spots that won't budge with regular cleaners. It's especially handy for bathroom mirrors that get splashed with hard water daily. Keep a marker in your cleaning caddy for quick touch-ups between deep cleans.
10. Use a Lemon Juice Solution for a Natural Clean
When you want to skip the chemicals but still get a streak-free shine, lemons have your back. The natural acidity in lemon juice cuts through grease and grime, while the fresh scent leaves your bathroom smelling like a citrus grove. It’s a simple, eco-friendly alternative that works surprisingly well on mirrors.
Making a lemon juice cleaner is as easy as squeezing a lemon. Mix equal parts lemon juice and water in a spray bottle, shake it up, and you’re ready to go. The citric acid breaks down soap scum and hard water spots, while the water helps rinse away dirt.
Just spray, wipe, and buff for a clear reflection.
Why Lemon Works On Glass
Lemon juice is naturally acidic, which makes it a great degreaser. It dissolves the oils left behind by fingerprints and skincare products, and it also helps lift mineral deposits from hard water. Unlike some commercial cleaners, lemon juice doesn’t leave a hazy film when used correctly.
How To Mix And Apply
Start with a clean spray bottle. Add two tablespoons of fresh lemon juice (or bottled, if that’s what you have) to one cup of water. Shake gently to combine.
Spray the solution onto your mirror, then wipe with a microfiber cloth in a zigzag or circular motion. Follow up with a dry part of the cloth to buff away any remaining moisture.
Tips For Best Results
Use fresh lemon juice if possible—bottled versions may contain added sugars that can leave a sticky residue. Always spot-test on a small corner first, especially if your mirror has any special coating. And don’t forget to wipe down the edges and corners where grime tends to hide.
11. Use a Shaving Cream Hack for an Anti-Fog Mirror
Stepping out of a hot shower to a completely fogged mirror is one of those small annoyances that can throw off your whole morning. You either wipe a streak across the glass or wait around for it to clear. There's a simple fix hiding in your bathroom cabinet that handles both fog and grime in one go.
Shaving cream isn't just for a smooth shave. It's a surprisingly effective cleaner and anti-fog agent for mirrors. The same ingredients that help it glide over skin leave a thin, invisible barrier on glass that repels moisture.
That means no more foggy patches after a steamy shower, and the mirror gets cleaned at the same time.
Why Shaving Cream Works So Well
Shaving cream contains mild surfactants that break down dirt, oils, and soap scum without harsh chemicals. When you wipe it off, a microscopic film remains. This film prevents water droplets from clinging to the surface, which is exactly what causes fog.
It's a two-for-one deal: clean mirror, fog-free finish.
Step-by-step: How To Apply It
Squeeze a dollop about the size of a golf ball onto a soft, dry cloth. Spread it evenly across the entire mirror, just like you would with a glass cleaner. Let it sit for a minute or two—this gives the cream time to break down grime.
Then buff it off with a clean, dry microfiber cloth. You'll see the mirror turn clear and streak-free.
Tips For Best Results
Use plain, white shaving cream—skip gels or ones with added moisturizers, as those can leave a greasy residue. Work in small sections if your mirror is large, so the cream doesn't dry before you wipe it. For extra stubborn spots, let the cream sit a bit longer before buffing.
And remember, a little goes a long way.
12. Use a Spray Bottle with a Fine Mist Setting
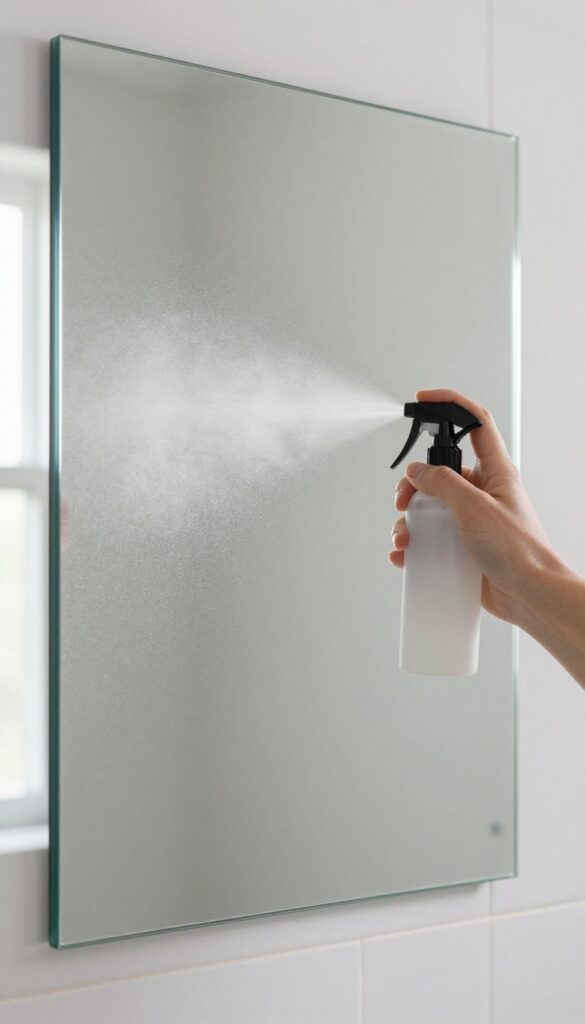
The way you apply your cleaning solution matters just as much as the solution itself. A heavy spray drenches the mirror, leaving excess liquid that dries into streaks and cloudy patches. Switching to a fine mist changes the game entirely.
A fine mist coats the surface evenly with just enough moisture to lift dirt and grime. You use less product, avoid drips, and make wiping easier. It’s a small adjustment that delivers noticeably clearer results.
When you spray too much, the excess liquid pools and takes longer to dry. During that time, it picks up dust and leaves residue behind. A fine mist prevents over-wetting, so the mirror dries quickly and evenly.
This method also saves money. You’ll use less cleaner per session, and your bottle lasts longer. Plus, it’s safer for nearby surfaces—no drips running down the wall or onto your countertop.
To get the best results, hold the bottle about 6 to 8 inches from the mirror. Spray in a light, sweeping motion to cover the whole surface. Then wipe immediately with a clean, dry microfiber cloth.
Adjust Your Nozzle For The Right Spray Pattern
Most spray bottles have a nozzle that twists to adjust the spray pattern. Set it to the finest mist setting—usually the one that produces a soft, fog-like spray. Avoid the stream setting, which dumps too much liquid in one spot.
If your bottle doesn't have an adjustable nozzle, consider buying a dedicated fine-mist sprayer. They're inexpensive and make a big difference. You can even use one for plain water to dampen your cloth for a quick touch-up.
Pair With A Microfiber Cloth For Streak-free Results
A fine mist works best with the right cloth. Microfiber is ideal because it absorbs moisture without leaving lint or streaks. Use a dry, clean microfiber cloth to wipe the misted surface in a zigzag or circular motion.
Avoid paper towels—they can leave fibers and sometimes cause streaking. If the cloth gets too wet, flip it to a dry side or switch to a fresh one. This keeps the mirror dry and clear.
When To Use This Method
This technique is perfect for regular maintenance and quick cleanups. It's gentle enough for daily use and works well on mirrors in bathrooms, bedrooms, or entryways. For heavily soiled mirrors, you can still use a fine mist—just spray a bit more and let the solution sit for a few seconds before wiping.
It's also great for cleaning glass tabletops or picture frames. The even application prevents drips and makes the job faster.
13. Use a Soft Bristle Brush for Stubborn Grime
Some spots just don't want to leave. Dried toothpaste, hairspray residue, or old water spots can cling to the glass no matter how much you spray and wipe. That's where a soft bristle brush comes in handy.
A gentle scrub with the right brush loosens the gunk without scratching the mirror. It's a simple step that saves you from rubbing the same spot over and over with a cloth. Keep one near your cleaning supplies, and you'll be ready for those extra-tough messes.
When a cloth alone won't cut it, a soft bristle brush is your secret weapon. The key is to use a brush with gentle bristles—like a baby toothbrush, a soft nail brush, or a dedicated cleaning brush with fine bristles. Avoid anything with stiff or metal bristles, as those can scratch the glass and ruin the reflective coating.
Dip the brush into your cleaning solution (whether that's a homemade mix or a store-bought glass cleaner) and gently scrub the problem area in small circles. The bristles work the solution into the grime, breaking it down without you having to press hard. After a few seconds, wipe the area with your usual microfiber cloth, and the spot should lift away.
This method works especially well for textured mirrors or those with beveled edges where grime tends to hide. It's also great for cleaning the frame and corners where a cloth can't reach. Just remember to be gentle—let the brush do the work, not your elbow grease.
Choosing The Right Brush
Not all brushes are safe for mirrors. Look for soft, fine bristles that bend easily. A baby toothbrush is a great option because it's small and gentle.
You can also use a soft nail brush or a makeup brush that you no longer use. Avoid kitchen scrubbing brushes or anything with stiff plastic bristles, as they can leave micro-scratches that show up in certain lighting.
The Perfect Scrubbing Technique
Dip the brush in your cleaning solution and shake off any excess. Use light pressure and move in small circles, letting the bristles do the work. Focus on the spot for about 10-15 seconds, then wipe with a clean microfiber cloth.
If the grime is really stuck, you can let the solution sit for a minute before scrubbing. This softens the buildup, making it easier to remove.
When To Skip The Brush
If your mirror has an anti-fog coating or any special finish, check the manufacturer's instructions before scrubbing. Some coatings can be worn away by even soft bristles. In that case, stick to a microfiber cloth and a gentle cleaner.
Also, avoid using a brush on mirrors with decorative etching or painted details, as the bristles might catch and damage the design.
14. Use a Steam Cleaner for a Chemical-Free Shine
Steam cleaning isn't just for carpets and upholstery—it's a game-changer for mirrors too. A handheld steam cleaner blasts away grime with nothing but water, making it perfect for homes with kids, pets, or anyone sensitive to harsh chemicals. The heat loosens stubborn residue, and the steam itself lifts dirt without leaving behind any soapy film.
All you need is a good microfiber cloth to wipe away the moisture, and you're left with a crystal-clear reflection that looks professionally done.
Using a steam cleaner on mirrors is surprisingly simple and effective. The high-temperature steam breaks down oils, hard water spots, and even dried-on toothpaste splatter that regular sprays might miss. Plus, because you're not introducing any cleaning agents, there's zero risk of residue buildup that can cause streaking over time.
This method is especially handy for large mirrors or bathroom mirrors that get fogged and dirty frequently. Just be sure to use a steam cleaner with a nozzle attachment for precise control, and always test on a small area first if your mirror has any special coating.
How To Steam Clean A Mirror Properly
Start by filling your handheld steam cleaner with distilled water (to avoid mineral deposits). Hold the nozzle a few inches from the mirror and move it in slow, overlapping sweeps. The steam will loosen the grime, but you'll need to follow up quickly with a clean, dry microfiber cloth to wipe away the moisture and any dissolved dirt.
Work in small sections so the steam doesn't dry before you can wipe it. If you're dealing with a particularly dirty mirror, you might need to go over it twice, but the results are worth it.
Why Steam Beats Chemical Cleaners
Steam cleaning is not only eco-friendly but also incredibly efficient. It cuts through grease and grime without leaving any chemical residue that can attract dust or cause streaking. For households with little ones or pets, it's a safer alternative to spray cleaners that might leave harmful fumes.
Plus, it's cost-effective—you just need water, no need to buy a new bottle of glass cleaner every month. Many people find that steam cleaning leaves mirrors noticeably clearer and with a longer-lasting shine compared to traditional methods.
Tips For Best Results With Steam
To get the best streak-free finish, always use a high-quality microfiber cloth that's completely dry. Avoid using a cloth that's been washed with fabric softener, as that can leave a residue. Work in small sections and wipe immediately after steaming to prevent water spots.
If your mirror has a frame, be careful not to direct steam at it for too long, as the heat and moisture could damage the material. For extra shine, give the mirror a final buff with a clean, dry part of the cloth. This method works wonders on bathroom mirrors, vanity mirrors, and even large wall mirrors.
15. Use a Commercial Glass Cleaner with Ammonia
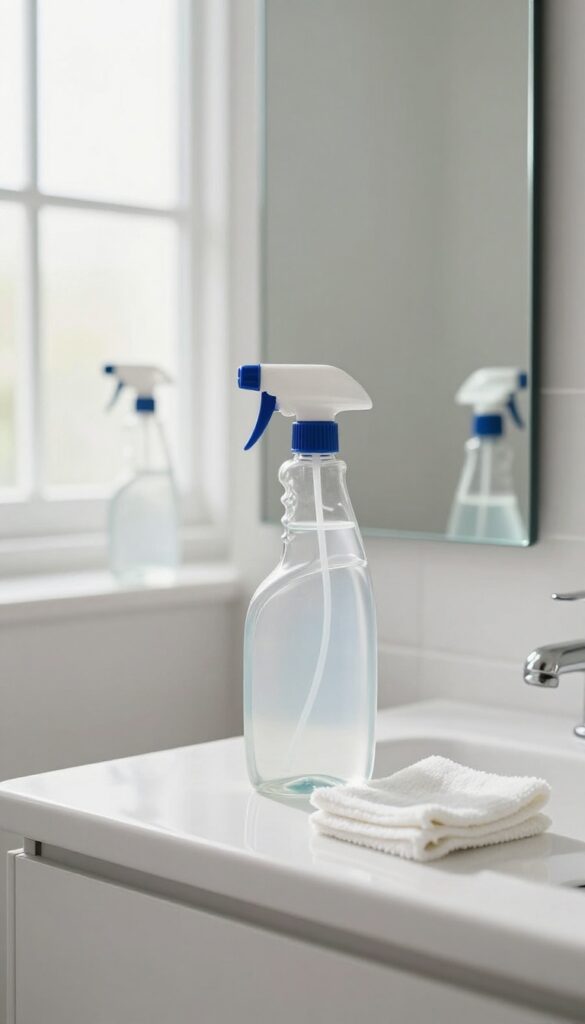
Sometimes, the classic approach is the most reliable. Commercial glass cleaners with ammonia have been a staple for decades, and for good reason. They cut through grime and evaporate quickly, leaving behind a streak-free shine that’s hard to beat.
If you’re dealing with heavy buildup or just want a no-fuss option, these cleaners are a solid choice. They’re especially effective on mirrors that have been neglected for a while, restoring clarity with minimal effort.
Ammonia-based cleaners are formulated to evaporate rapidly, which means less time for streaks to form. They also break down oils and residues that plain water or vinegar might leave behind. The key is to use them correctly: spray, wipe, and then buff with a dry cloth for that final polish.
One thing to keep in mind: ammonia can be harsh on certain surfaces and finishes, so always test in an inconspicuous spot first. Also, avoid mixing ammonia with bleach or other cleaners, as that can create toxic fumes. Stick to using it in a well-ventilated area.
Why Ammonia Works So Well
Ammonia is a powerful solvent that dissolves grease and grime on contact. Its high evaporation rate means it doesn’t linger on the surface, reducing the chance of streaks. Plus, it’s affordable and widely available, making it an easy go-to for most households.
The Right Way To Apply
Spray the cleaner directly onto the mirror, but don’t go overboard—a light mist is enough. Use a clean, lint-free cloth or paper towel to wipe in a zigzag or S-pattern, which helps avoid leaving streaks. Then, take a dry microfiber cloth and buff the surface until it shines.
When To Avoid Ammonia
If your mirror has an anti-fog coating or is part of a decorative frame that might be sensitive, check the manufacturer’s instructions. Ammonia can damage some coatings and finishes. In those cases, opt for a gentler cleaner like a vinegar solution or a dedicated ammonia-free glass cleaner.
FAQ
What is the best homemade mirror cleaner?
A mix of equal parts white vinegar and water is the most effective homemade cleaner. Add a drop of dish soap for extra grease-cutting power.
Why do my mirrors look cloudy after cleaning?
Cloudiness often comes from using too much cleaner or not buffing enough. Use a microfiber cloth and a fine mist spray to avoid residue.
Can I use newspaper to clean mirrors?
Yes, newspaper is lint-free and absorbent, making it a great option for a streak-free shine. Just be sure to use black-and-white pages.
How do I keep my bathroom mirror from fogging up?
Apply a thin layer of shaving cream, let it sit, then wipe it off. This creates a protective barrier that prevents fogging.
Is rubbing alcohol safe for mirrors?
Yes, rubbing alcohol is safe for mirrors. It evaporates quickly and leaves no streaks, making it a great addition to your cleaning routine.
Conclusion
You don’t need fancy sprays or endless buffing to get a crystal-clear mirror. Just pick a few of these methods that fit your routine, grab the right cloth, and you’ll see the difference right away.
The key is consistency—a quick wipe every week beats a heavy scrub once a month. Start with the simplest trick that works for you, and soon streak-free reflections will feel like the norm.